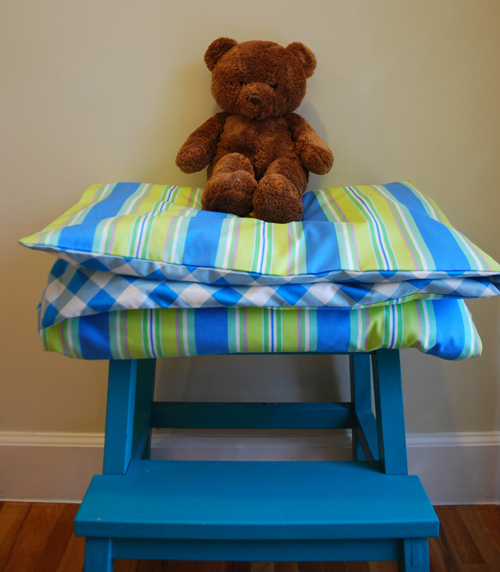
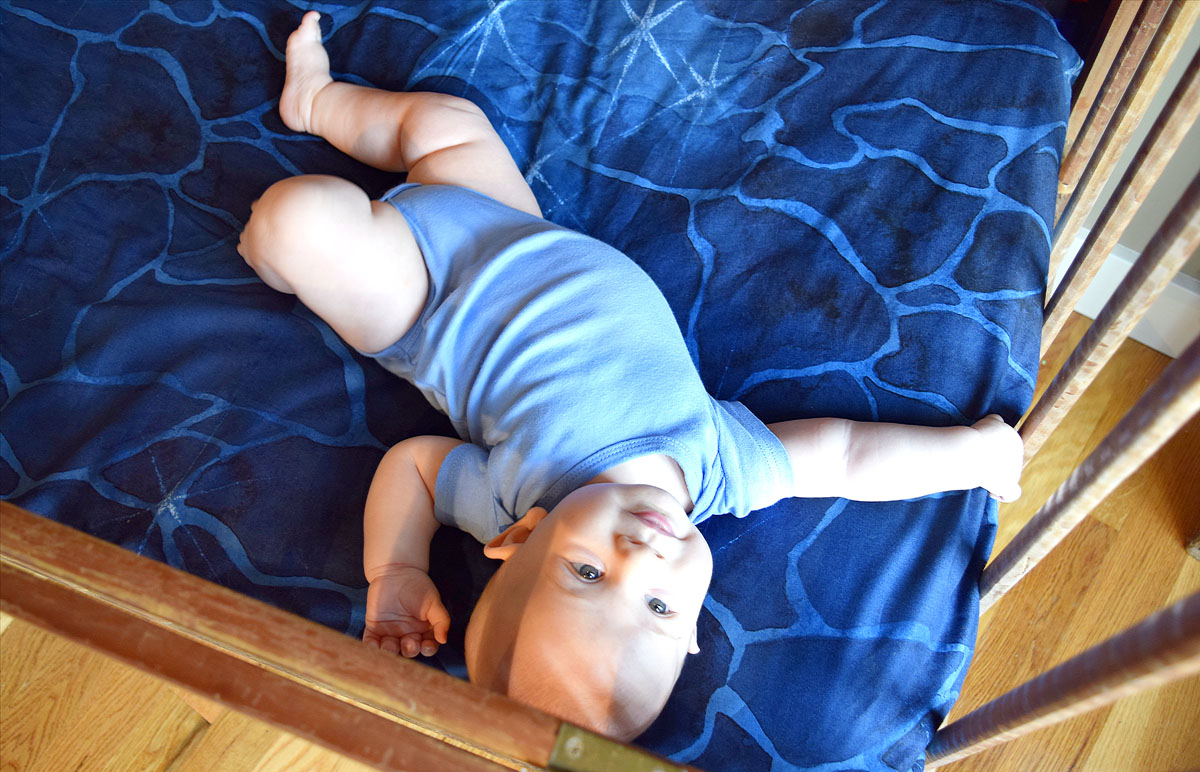
How to Make a Crib-Size Duvet Cover
This pattern lets you create a duvet cover for the comforter in your toddler’s crib or converted crib. Have you not marveled, when walking in a quilt shop, at the amazing prints and wished you could make bedding out of them? Well, even though the width of quilting fabric is limited to 45” and you couldn’t make sheets for yourself, it’s the perfect width for a crib comforter. So, here you go. Make a reversible cover out of soft, cozy flannel that matches your décor.

Supplies
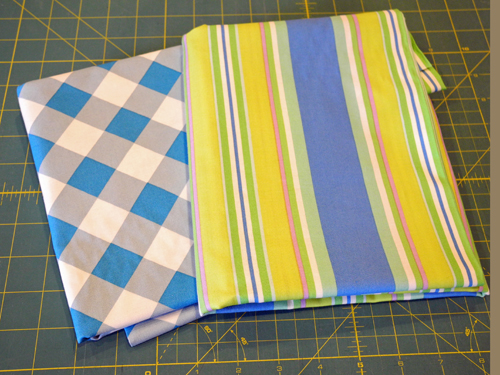
- 1½ yards of fabric for one side of the duvet cover
- 1½ yards of coordinating or contrasting fabric for the other side of the duvet cover
- Thread
- Pins
- Scissors
- Rotary cutter and mat
- Long straight edge, such as a clear quilters’ ruler
- Optional but helpful: A presser foot for stitching along an edge, such as BERNINA Edgestitch Foot #10 or Blindstitch Foot #5.
Step 1) Prepare the fabric.
Wash, dry and press the material before starting the project.
Step 2) Hem the cut edges.
Do not remove the selvedges; they will act as finished edges and you will only have one raw edge to contend with at the end.
Finish the cut edges on each piece of fabric. If your fabric is directional— for instance, if it has puppies with heads that should point in one direction and feet in the other—you will have to decide which edge is the bottom and which one is the top.
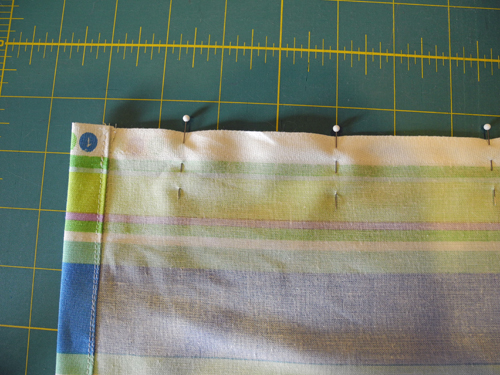
Fold the bottom edge of each fabric rectangle under 1/2″ and press. Turn under 1/2″ again; press and pin.
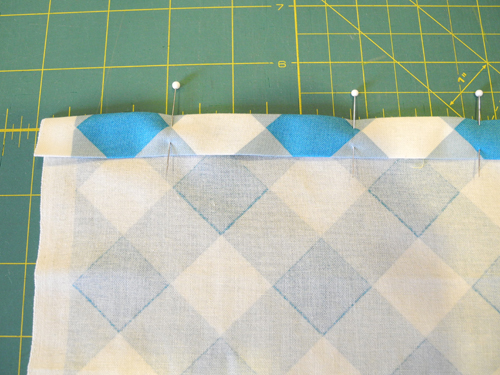
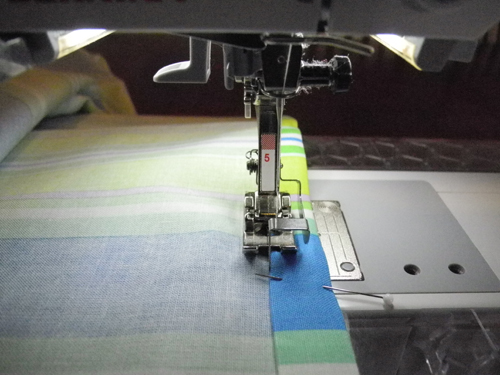
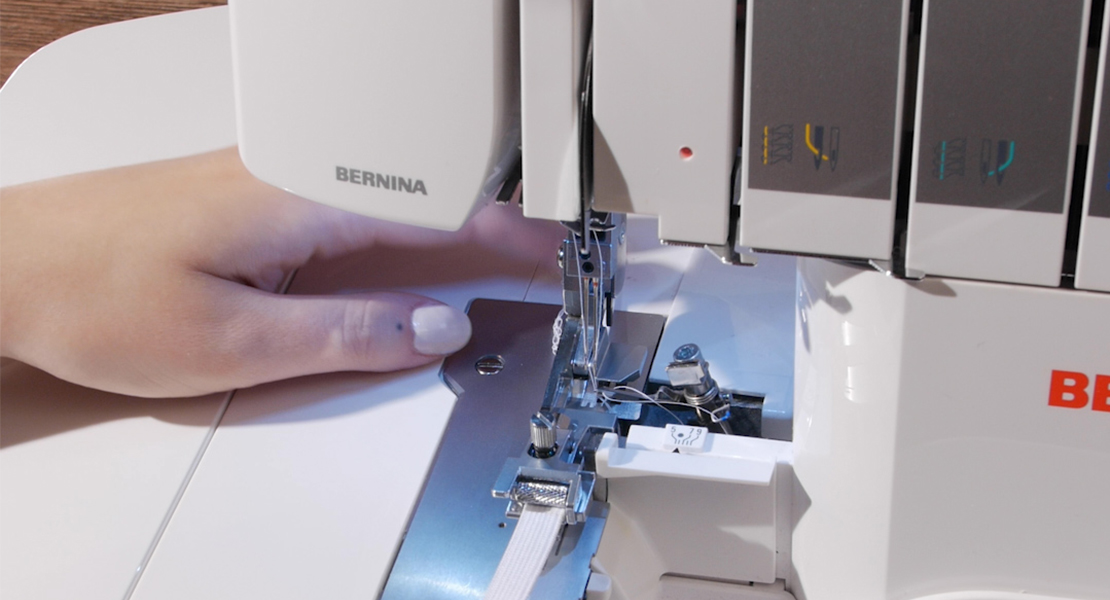
Using an edgestitch or blindstitch foot and moving your needle to the side, stitch along the inner fold of the bottom hem of both fabric rectangles.
Step 3) Join the panels.
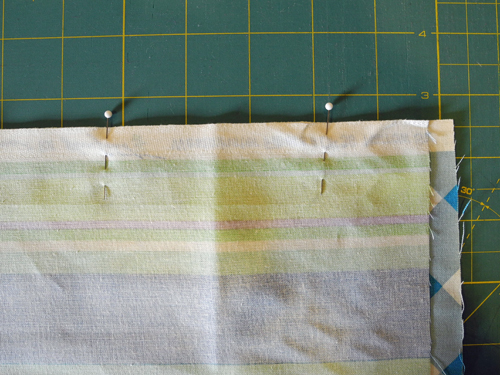
Pin the bottom edges of the two fabric rectangles right sides together, matching the edges. Pin, leaving 20” unpinned in the middle. An easy way to make sure the opening is centered is to fold the piece in half and measure 10” from the fold.
Sew the areas on each side of the opening (where you placed the pins) just shy of your hem. This is easily done with BERNINA’s Edgestitching Foot #10 because it lets you stitch in the ditch.
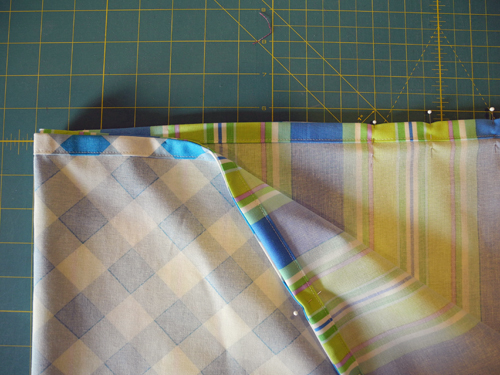
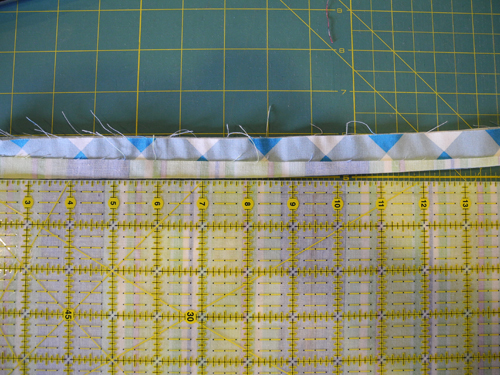
Pin the long sides of the rectangles together.
If the sides are not exactly the same size, do not worry; you can trim them later. Just make sure the sides are pinned smoothly with no wrinkles.
Sew both sides with a 5/8″-wide seam allowance; if the fabric ends are uneven and will need trimming, back-tack a long way at the ends of the seams. Note: If your fabric shrank to less than 44” wide when you laundered it, use a smaller seam allowance; just make sure that the selvedges won’t show when the cover is turned right side-out.

Trim the top edge if you need to even out the two layers. Your duvet cover should measure about 50” long. You can make adjustments with a rotary cutter if the cover is too long.
Pin and sew the top of the cover closed with a 1/2″ seam allowance.

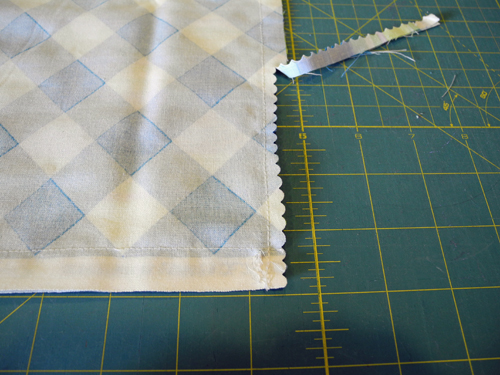
You can use pinking shears to finish the edges if you’d like, but it is not necessary. Clip the top corners and turn the cover right-side out. Press.


What you might also like


One comment on “How to Make a Crib-Size Duvet Cover”
Leave a Reply
You must be logged in to post a comment.

I am so excited about this pattern!!! I have a new grand baby coming in May and this is a good excuse to use this pattern.