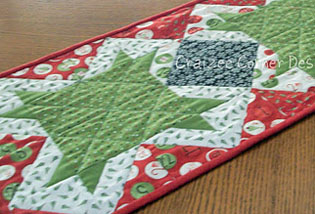
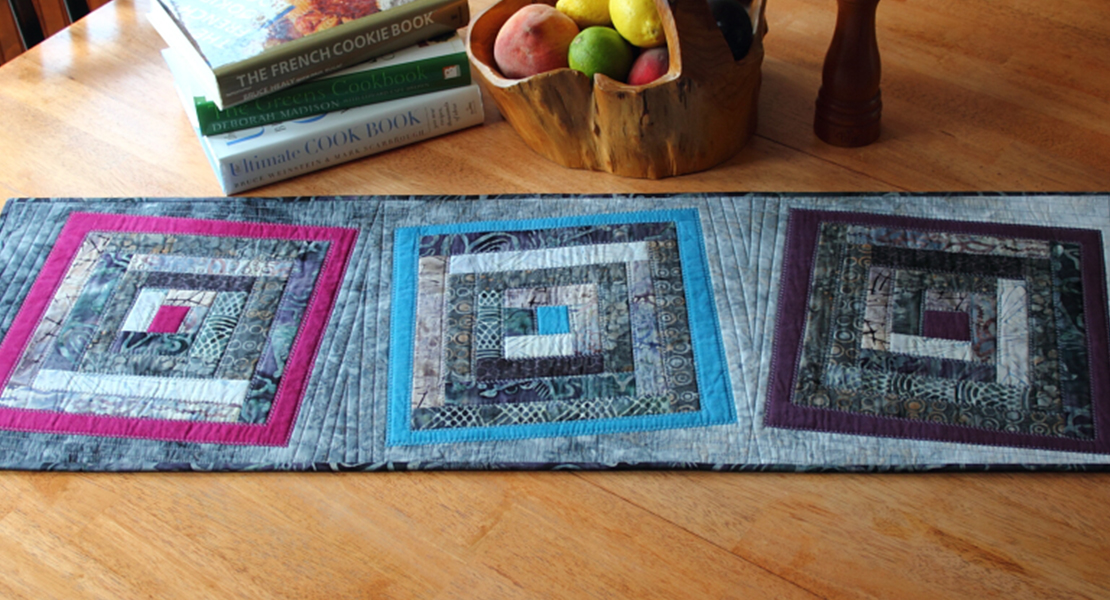
Sandi’s Holiday Table Runner
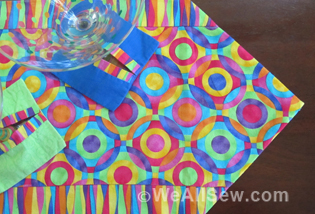
How did it get to be July already? December is only six months away – it’s time to start sewing for the holidays! Here’s a simple-to-sew table runner from Sandi Gass at Sandi’s Sewing Connection in West Burlington, Iowa. Pick two contrasting theme fabrics, cut them into squares, and create perfect appliqued circles using a circular embroidery attachment. Finished size approximately 25″ x 65″. Want an even quicker project? Make just one block and make a pillow. Looking to make something larger? Make more blocks and stitch them together to make a table topper or quilt.


Supplies
♦ 1½ yard of dark fabric
♦ 1½ yards of light fabric
♦ ¾ yard of border fabric
♦ 28″ x 68″ rectangle of backing fabric
♦ 28″ x 68″ rectangle of batting
♦ ¾ yard of tear-away stabilizer
♦ Best Press starch alternative
♦ Erasable fabric marker
♦ All-purpose presser foot (BERNINA Clear Foot #34 or Reverse Pattern Foot #1)
♦ Circular Embroidery Attachment #83
Cutting Instructions
Before cutting, spray fabric generously with Best Press starch alternative; press.
Dark fabric
♦ Cut two 10” squares for each block (for a 3-block runner, cut 6 squares)
♦ Cut two 6½” squares for each block (for a 3-block runner, cut 6 squares)
Light fabric
♦ Cut two 10” squares for each block (for a 3-block runner, cut 6 squares)
♦ Cut two 6½” squares for each block (for a 3-block runner, cut 6 squares)
Tear-away stabilizer
♦ Cut four 7” squares (for a 3-block runner, cut 12 squares)
Block Assembly
Attach Circular Embroidery Attachment to machine.
Find and mark the centers of each 6½”, 7”, and 10” square.
Place a 7” square of stabilizer on the pin of the Circular Embroidery Attachment, with the pin through the marked center. On top of the stabilizer place a 10” square of dark fabric and a 6” square of light fabric, both centered on the pin.
Set the attachment for a 6” diameter circle by moving the pin 3” away from the center needle position.
Using a straight stitch, begin sewing; the fabric will automatically pivot to create a circle. Stitch all the way around the circle, keeping your hands on the fabric to keep everything moving smoothly. DO NOT REMOVE THE FABRIC; leave the sewn fabric on the circular embroidery attachment on the machine. Trim the thread tails.

With the fabric still on the attachment, carefully trim the top fabric close to the stitched circle, pivoting the fabric around the pin as needed.
Select a zigzag stitch and adjust the settings for a satin stitch (4 to 5 mm wide, with stitch length set so stitches are close together).
Set the needle position two steps to the right of center. Stitch a satin stitch circle beginning at the 12, 3, 6, or 9 o’clock position.
 Repeat for the remaining squares; when finished you will have four completed circle-on-a-square blocks.
♦ Leave one finished block whole.
♦ Cut two finished blocks in half.
♦ Cut one finished block through the center both vertically and horizontally so that you have four pieces.
Remove the tear-away stabilizer and trim away the extra fabric.
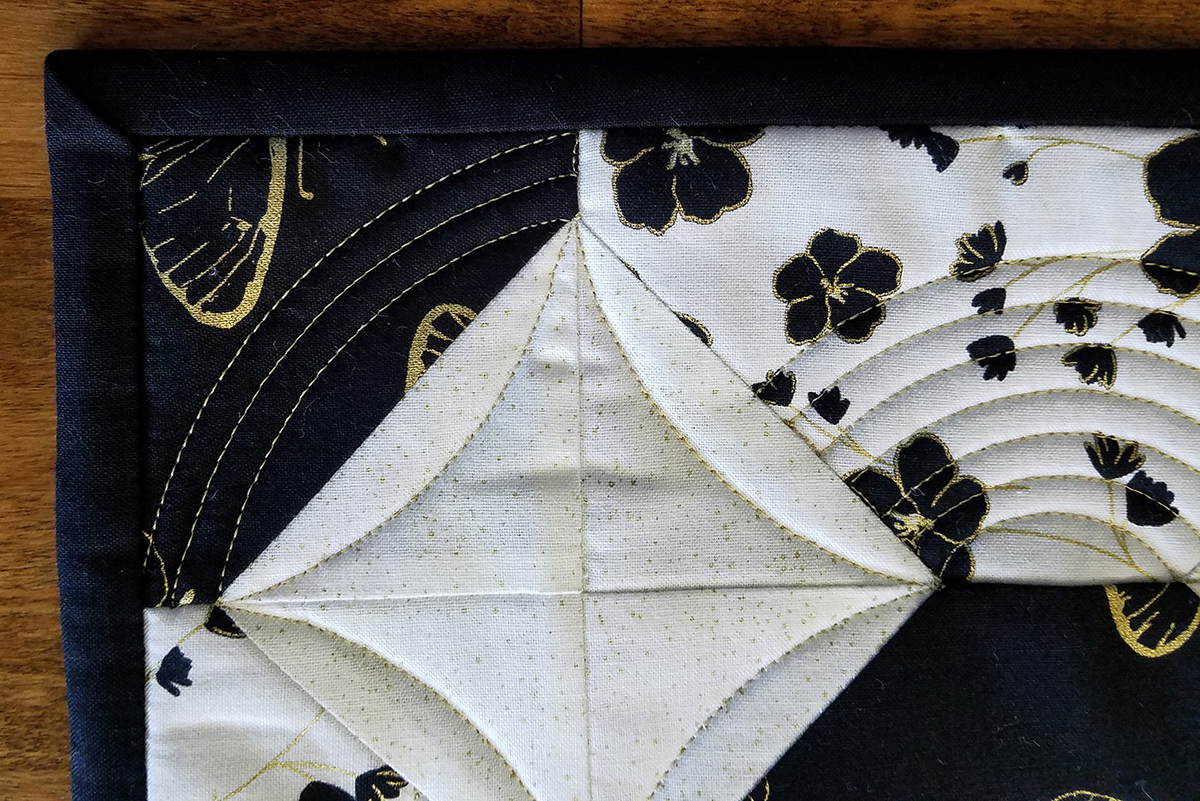
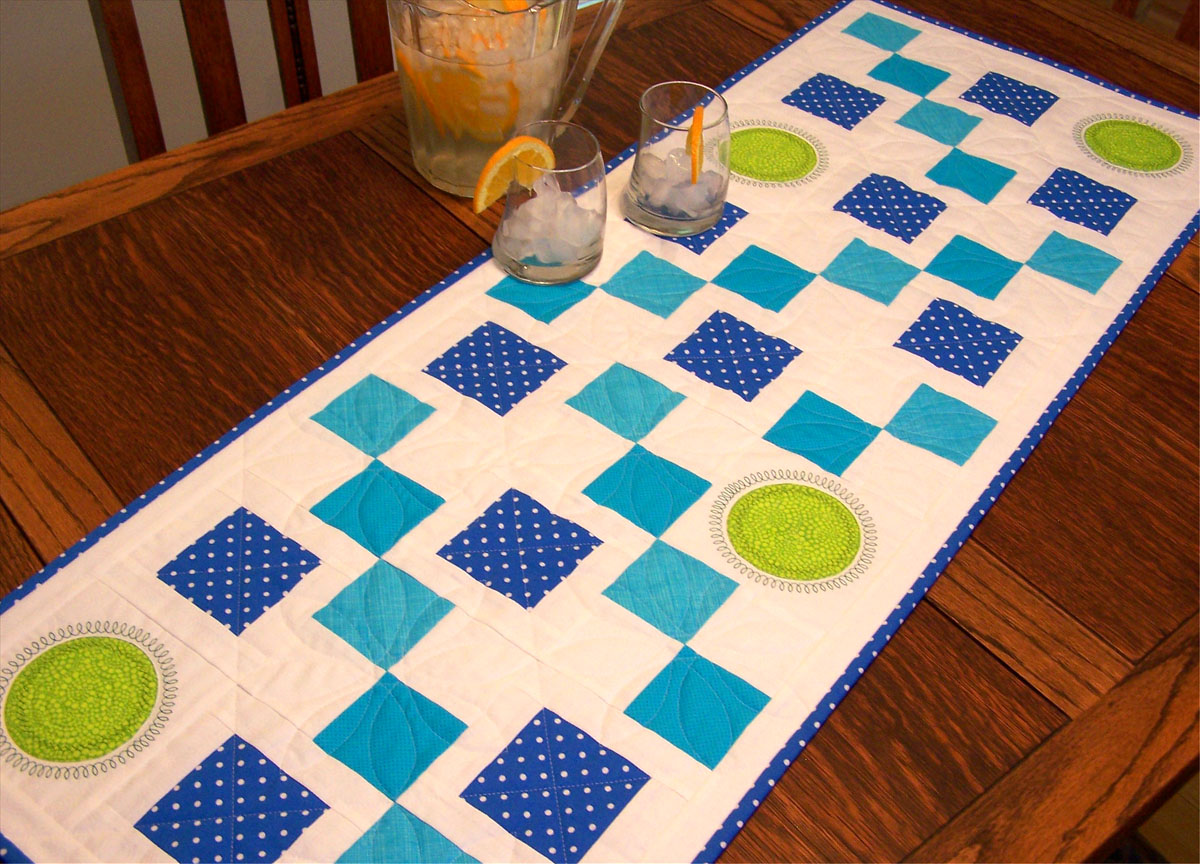
Join the pieces with one finished whole block in the center, a half block on each edge of the center block, and a quarter block filling each corner.

Repeat, creating two full-pattern blocks with a light background and dark center and one block with a dark background and light center.
Join blocks as shown.
Cut border fabric into 3″-wide strips. Add borders to the short ends, then to the long edges.
Place backing right sides together with the pieced top. Place the batting on the wrong side of the batting. Stitch around the edges with a ¼”-wide seam allowance, leaving an opening in one short edge for turning.
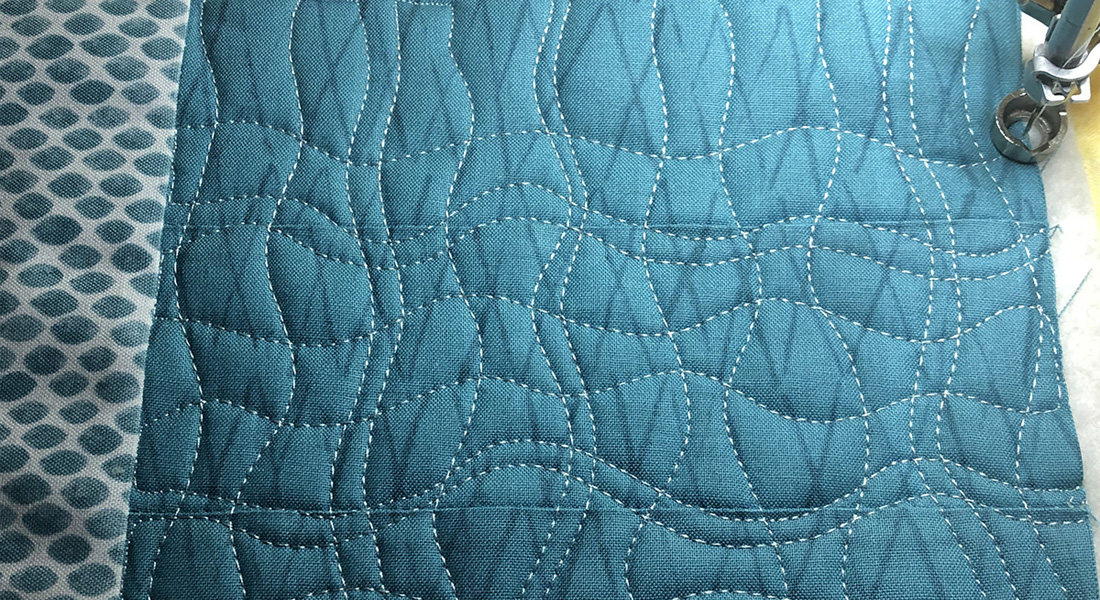
Trim corners. Turn right side out, press. If desired, topstitch ¼” from the outer edges. Quilt as desired.
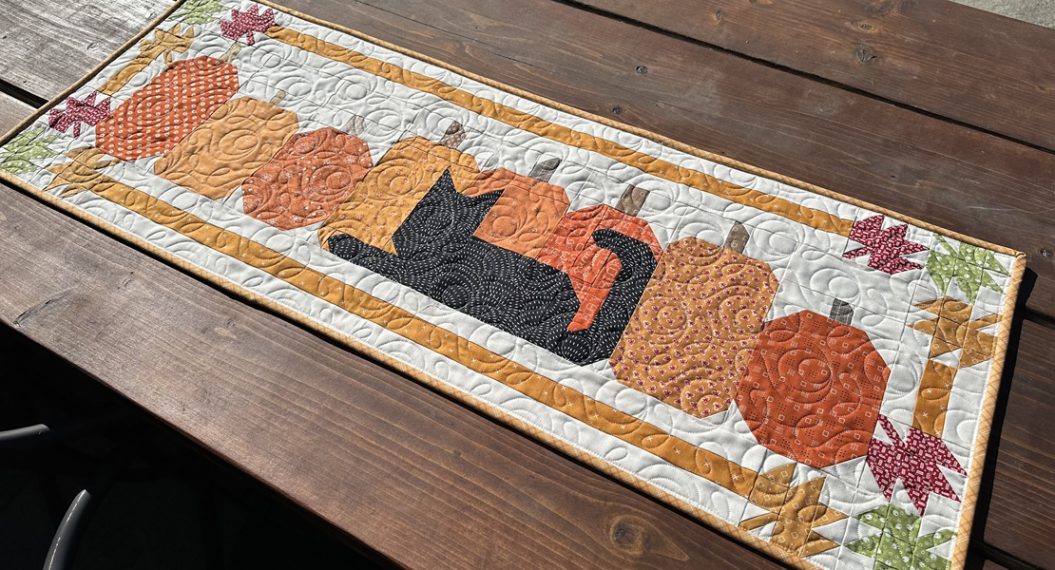
Just think of all the possible fabric combinations: snowflakes and snowmen, holly sprigs and poinsettias, pumpkins and autumn leaves… this is a fabulous project for novelty prints. (Check out these tasty gingerbread people!) We’d love to see your interpretation! Send photos of your finished projects and I’ll create a gallery in this post to showcase them. Jo


One comment on “Sandi’s Holiday Table Runner”