How to Make a Quilted Passport Clutch
Make a first class reservation for your passport. With plenty of room this clutch makes it easy to keep your travel documents at hand. A perfect canvas for stitch play, this clutch is simple to make for a quick departure.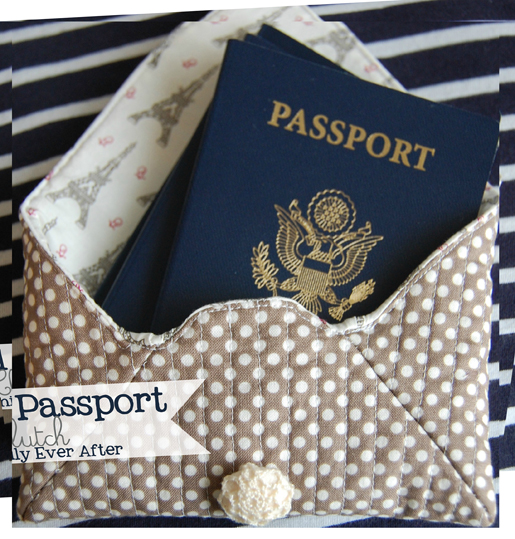
Supplies
- 1 fat quarter (18ʺ x 20ʺ) for the outside of your bag
- 1 fat quarter (18ʺ x 20ʺ) for the lining of your bag
- 18” x 20” rectangle of fusible fleece
- 1 button
- 1 hair elastic or a short piece of round or narrow elastic
- Walking foot (such as BERNINA Walking Foot #50)
- Water-soluble marker
- Pinking shears or rotary cutter with wavy blade
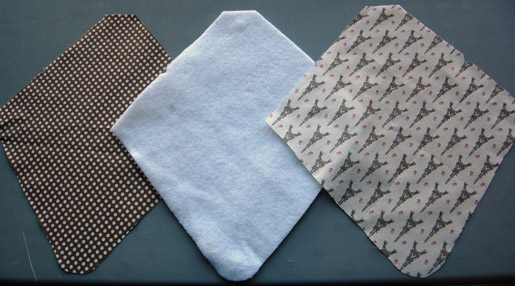
Step one: Prepare the fabric pieces.
Download and print the pattern: quilted_password_clutch_-_pattern_122914.pdf
Tape together Parts A and B to create the Passport Clutch Pattern.
Using the Passport Clutch Pattern
- Cut one piece from your main fabric
- Cut one piece from your lining fabric
- Cut one piece from the fusible fleece
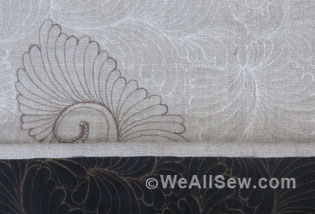
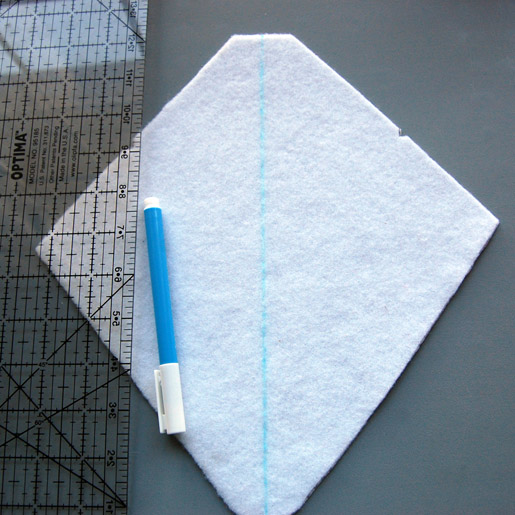
Fuse the fleece to the back of the main fabric following the manufacturer’s directions.

Draw a straight line diagonally through the center of the fleece.
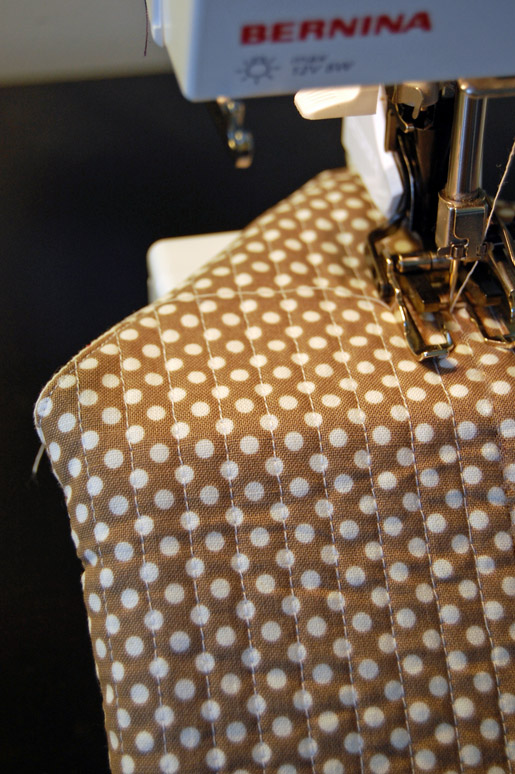
Stitch along the marked line.
With the fabric side up, stitch 1/4ʺ from the stitched line.
Repeat, sewing from the center out to the corners, until the entire piece is quilted.
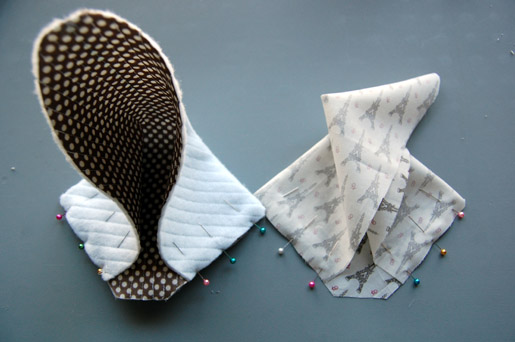
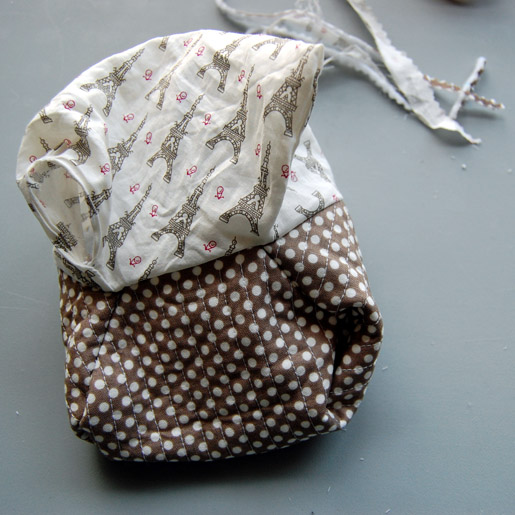
Step two: Construct the interior and exterior sections.
Fold both edges of the quilted piece up, right sides together, folding at the notches. Pin in place.
Repeat for the lining.
TIP: Kate explains this in detail in her Envelope Clutch Tutorial at seekatesew.com/envelopeclutch- pattern/
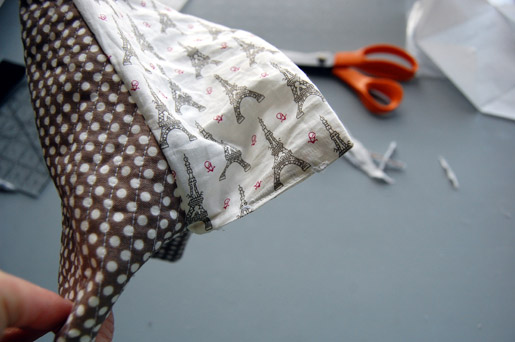
Stitch each side of the quilted piece, back-stitching at the beginning and end, removing pins as you get to them.
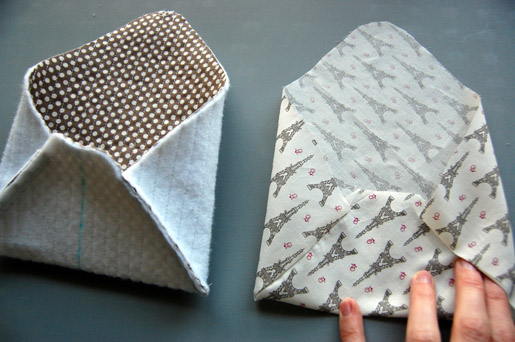
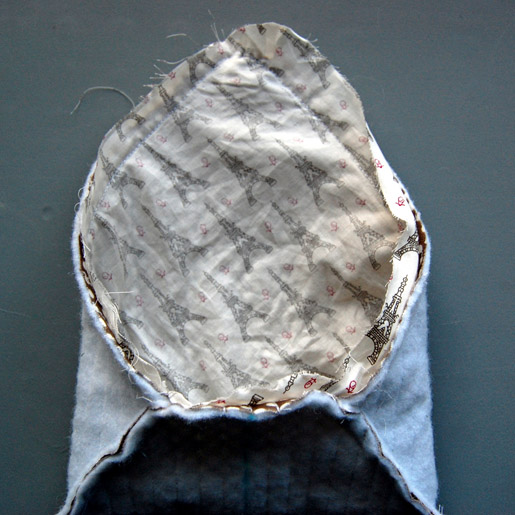
Adjust the shape of your seamed clutch until it looks like the one shown here.
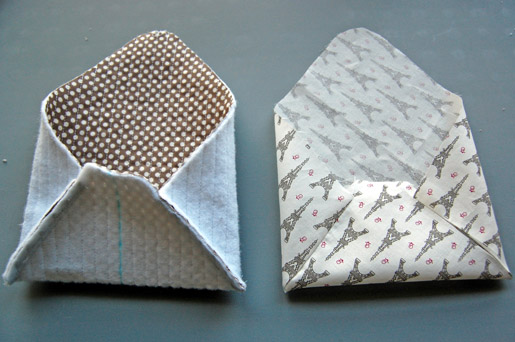
Repeat for the lining piece, but this time leave a 2ʺ-long opening in the middle of one side.
Turn the lining right side out.
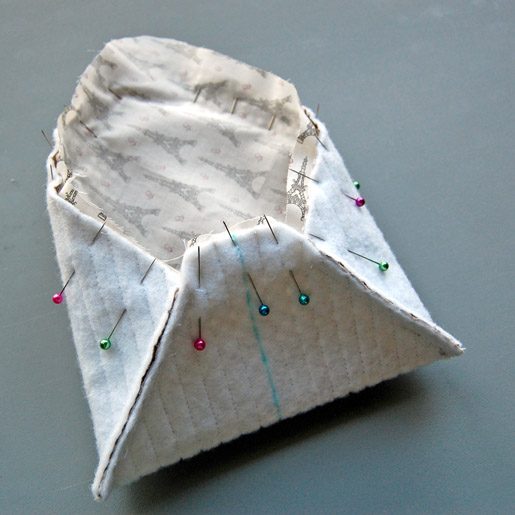
Step three) Assemble the clutch.
Slip the lining into the quilted outer clutch piece, with the right sides facing each other.
Pin around the entire top edge.
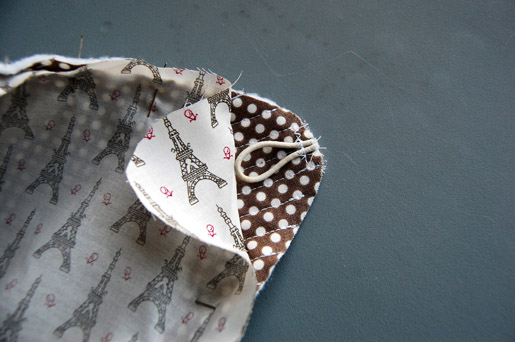
For the elastic closure, cut off the metal part of the hair elastic and fold the elastic in half to make a loop. (Or cut a short piece of round or narrow elastic to use for the button loop.)

Pin the loop to the point of the upper flap as shown in the photo.
Sew around the entire pinned edge, back stitching at the beginning and end and removing pins as you go along.
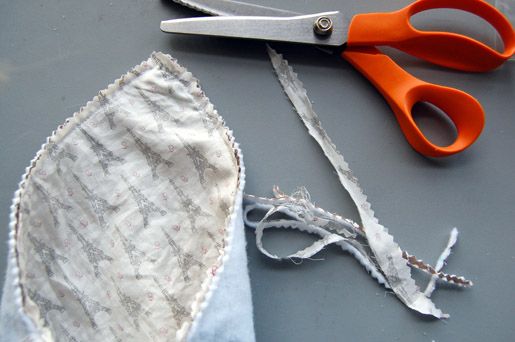
Trim away excess fabric from the seam allowances using pinking shears.
Find the opening in the lining and carefully turn the clutch right side out.
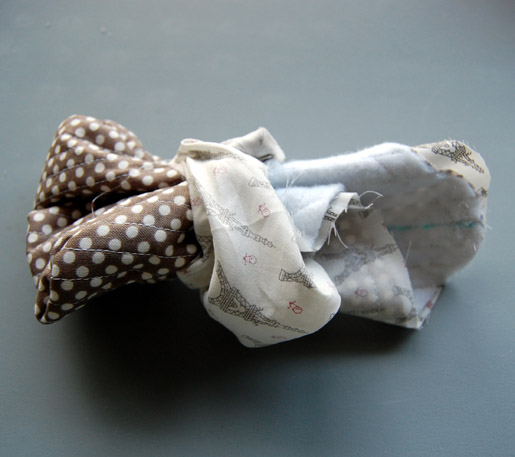
Press so everything is nice and smooth.
At the opening, fold the seam allowances to the inside. Pin, aligning the folded edges.
Stitch close to the edge to close the seam.
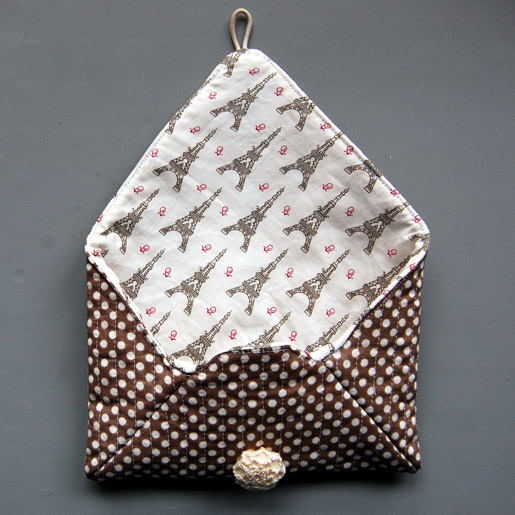
Edgestitch close to the outside edges, all the way around the top of the clutch.
Hand-stitch your button in place, being sure to place it where the elastic loop can easily stretch over it.
Visit Rachel at her blog, Family Ever After, at familyeverafterblog.com
For the full-size Envelope Clutch Pattern from See Kate Sew that inspired this project, visit seekatesew.com/envelope-clutch-pattern/
Visit Rachel at her blog, Family Ever After.