Give In-the-Hoop Projects a Try – Your Embroidery Machine Does All the Work!
If you own an embroidery machine, then you need to try In-the-Hoop embroidery! Embroidery machines are great for embellishing your projects and garments with pretty motifs and personalizing your items with monograms, but they can do so much more. In-the-Hoop embroidery designs allow you to take full advantage of the amazing capabilities of your machine You may have heard the buzz words “In-the-Hoop” and wondered what it’s all about. Well, get ready to learn about a fabulous new way to use your embroidery machine – and quite possibly have yourself a new addiction!
 In a nutshell, In-the-Hoop embroidery designs are digital sewing patterns that stitch themselves on your embroidery machine – literally! You simply follow the written instructions included with the design and watch in amazement as your embroidery machine does the hard work. The instructions include steps for you to follow in between each color stop of the design – like placing fabric, zippers, and other materials over your hoop – so that the embroidery machine can stitch them together. Your project is magically stitched right before your eyes!
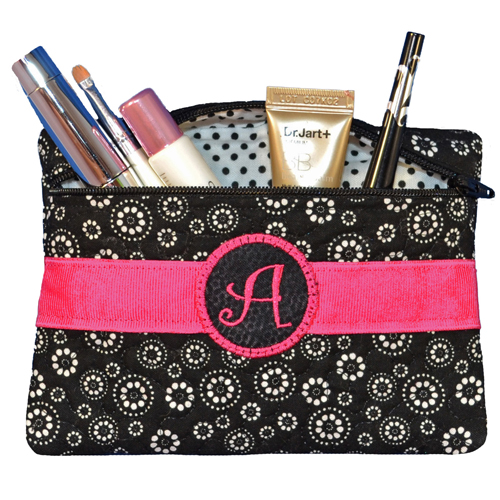
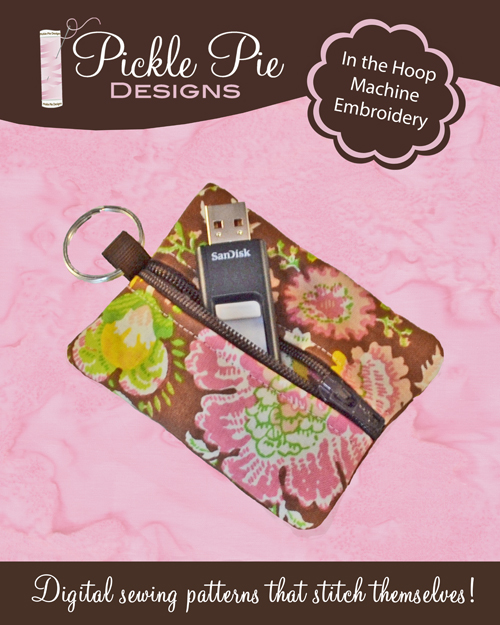
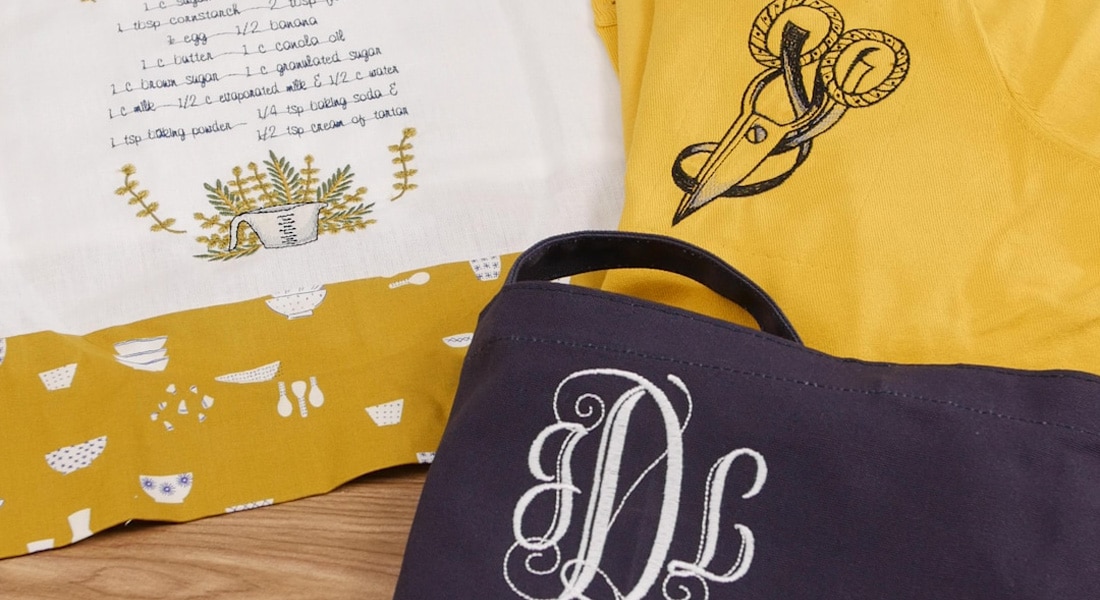
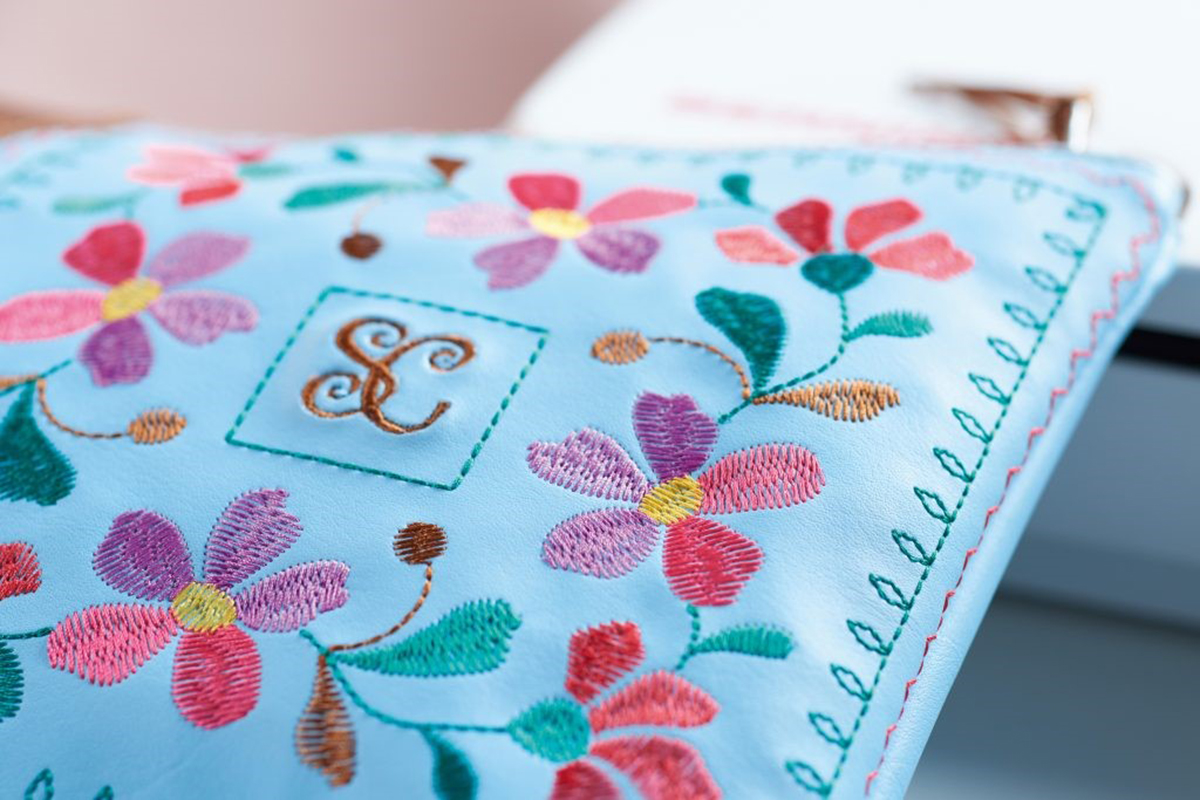
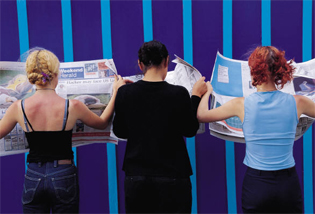
You’ll be amazed at the variety of items that can be made with In the Hoop designs – monogrammed eyeglass cases, luggage tags, pot holders, quilt blocks, even zipper bags and fanny packs! The gorgeous zipper bag shown at the top of this post is made with the In-the-Hoop “Sew Pretty Zipper Bag” design from Pickle Pie Designs. The entire bag is stitched by the embroidery machine – the ribbon, the applique, the monogram, the bag construction and YES – even the zipper! Talk about easy. And fast!
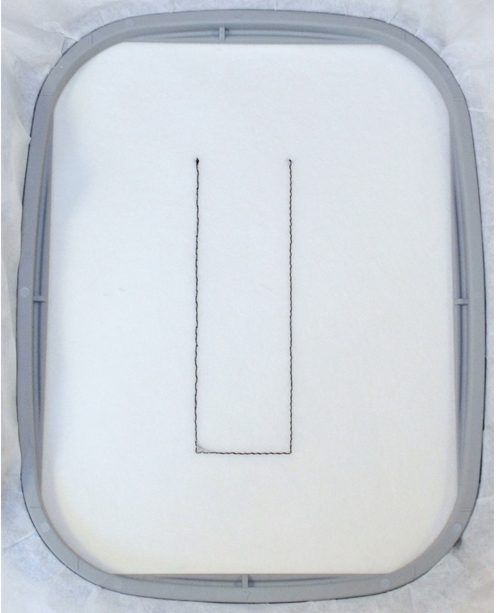
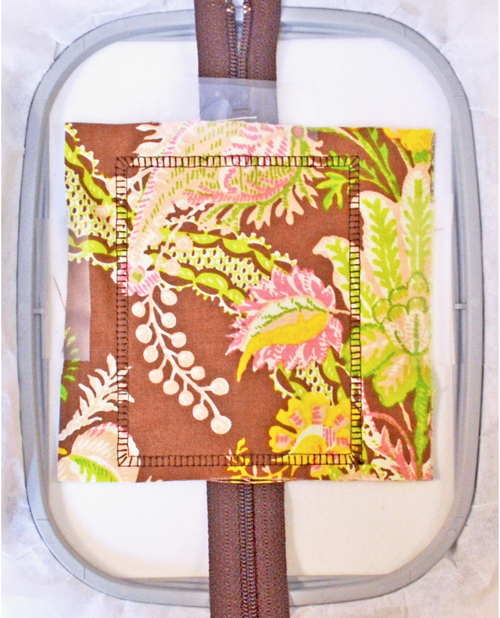
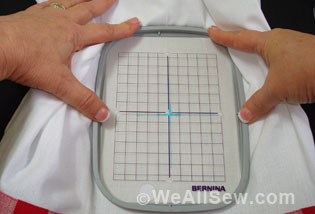
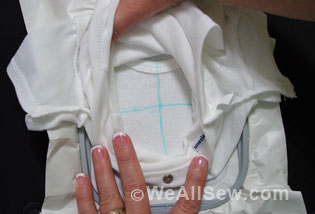
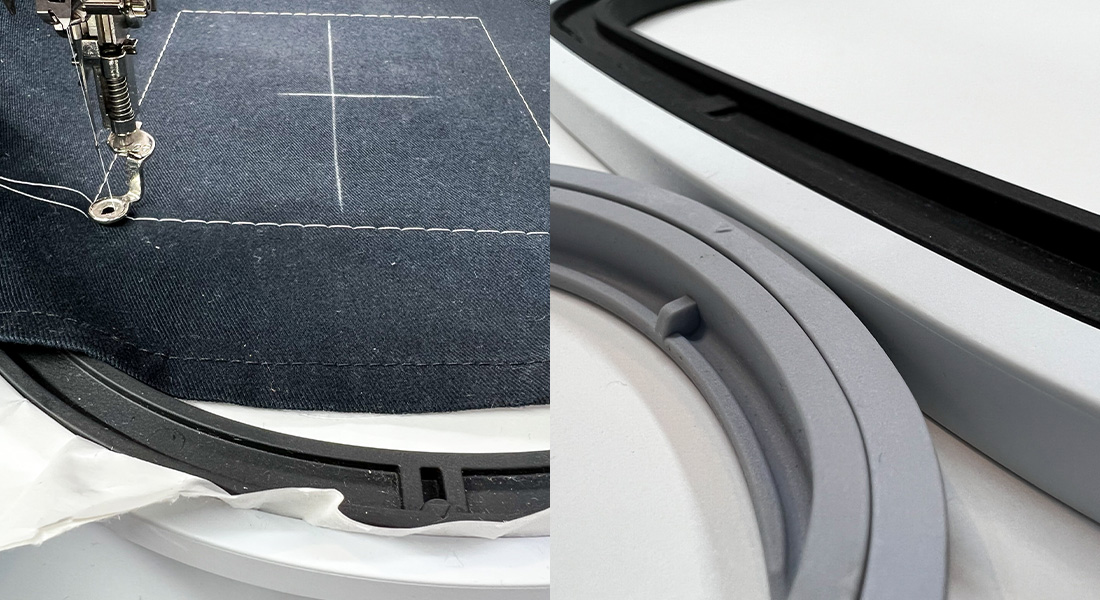
To show you just how easy In-the-Hoop projects can be, here are a few photos showing steps to construct the USB Stick Case In-the-Hoop design from Pickle Pie Designs. This design takes just a few short minutes to stitch and when you’re done, you get a nifty little zipper bag to put on a keyring. It holds your USB stick, BERNINA Embroidery Software dongle, lip balm, or any other little necessity.
First, hoop the stabilizer and stitch the guidelines.
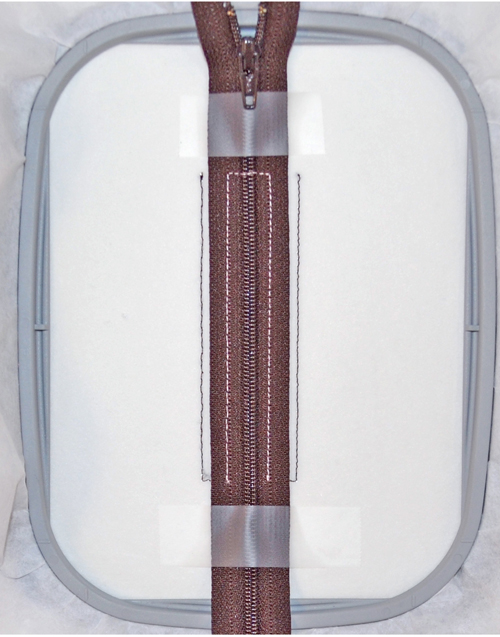
Place the zipper between the lines, tape it in place, and stitch.
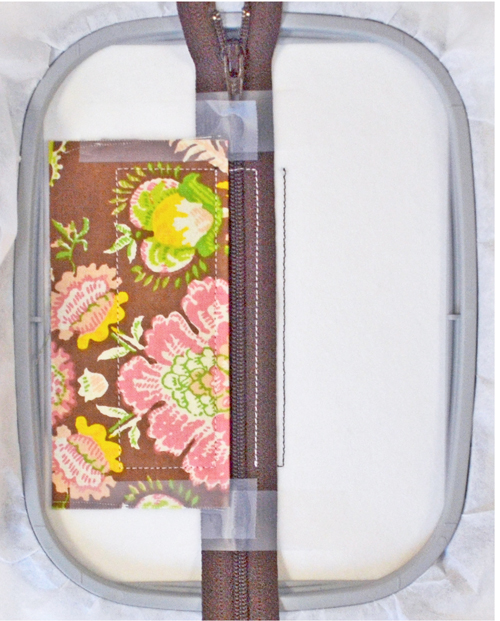
Place the folded fabric square next to the zipper, tape in place, and stitch. Repeat for second side.
Fold ribbon in half and tape in place. Open zipper partway; stitch.

Add two pieces of fabric; stitch.
Done! The USB Zipper Case is complete.
I hope you give In-the-Hoop designs a try soon – I know you’ll be thrilled to see just how amazing they really are!
Lisa Archer
Owner & Creative Director, Pickle Pie Designs
What you might also like


One comment on “Give In-the-Hoop Projects a Try – Your Embroidery Machine Does All the Work!”
Leave a Reply
You must be logged in to post a comment.

Where can I purchase or download purchase this ITH project (USBcase)?