The 80/20 Rule Applied to Quilting: Perfect Bindings
Have you ever thought what makes an award-winning quilt different from the rest? Here’s some advice from quilter, teacher, and author Gyleen Fitzgerald about creating your best quilts.
The 80/20 Rule or Pareto Principle is a management concept that seems to hold true no matter what the topic. Simply, it says that 80% of anything is controlled by the 20% of effort. Or, to translate this to quilting, 80% of the success of a quilt is based on focusing on 20% of the process. The challenge is . . . what is the 20% that should be given priority or your absolute attention? Or . . . what is the 20% that can make or break your quilt?
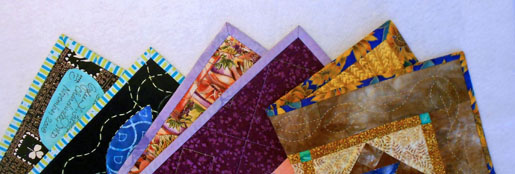
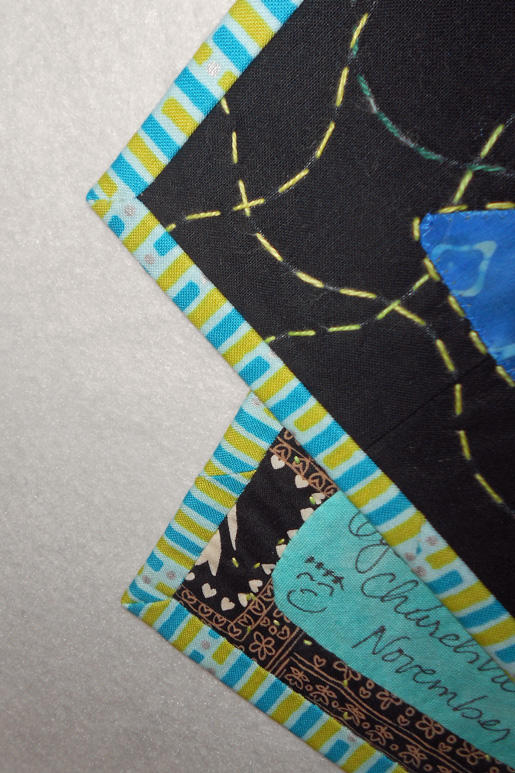
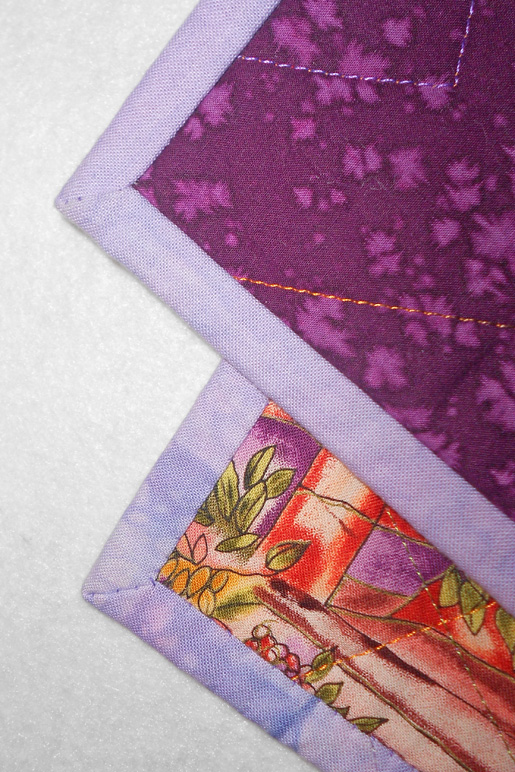
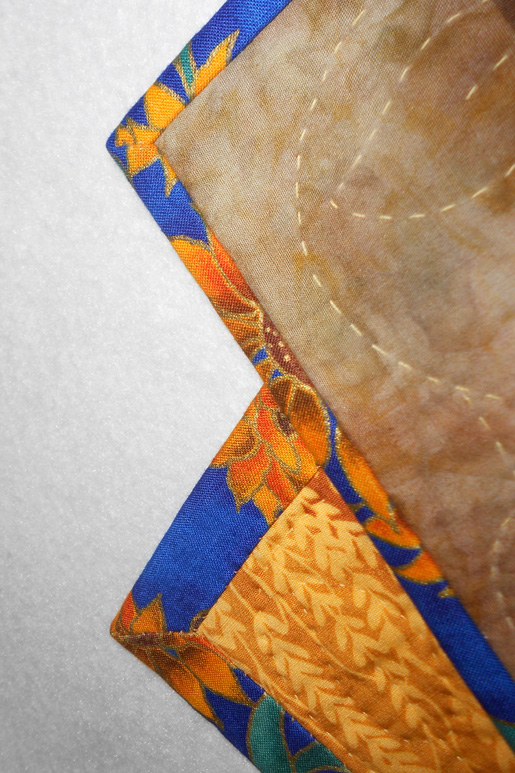
Hmm. Just recently I was privileged to judge a local county fair. The quilts entered were impressive, yet for the most part one area just took the edge off the beauty of the finished quilts. That area was the binding. Wow, at the bitter end quilts went from grand prize winners to barely qualifying for a ribbon. As an instructor, this was bothersome. Bindings are so simple to do, yet we really don’t teach applying them as a technique. We have the additional challenge that quilters for the most part take project classes and technique workshops but rarely attend basic skills workshops.
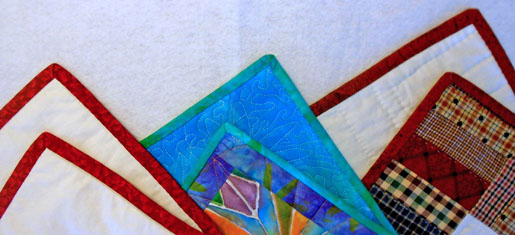
I used to joke in my competition days that if we were tied for the blue ribbon at the end of the judging, I would beat my competition in the tie breaker simply because I can execute a drop dead binding. I practiced doing that one task over and over again because I knew it was part of the 20% that controlled the outcome of the 80%, and yet very few took the time to do it well. I’m not the only one who can put on a killer binding. I took a class from Susan Cleveland and just let me say, I would not want to be in competition with her and her piped binding. Or with Sharon Schamber for that matter. Sharon has a detailed YouTube video outlining her binding method and Susan’s is in her piping book, so they’re not trade secrets. I have a simple, “Gyleen’s Almost Perfect Binding” method that is quick and stress-free for when a binding doesn’t need to be perfect – just well done. (Instructions at the end of this post.)
Now that my rant is over, what is this blog really about? Where does your time go when making a quilt? For quite a few it’s in selecting the fabric. That task seems to paralyze some quilters because of the infinite number of choices and combinations. I’ll talk about that next time; in the meantime, try to focus on the 20% that matters for your quilts. Remember, it’s that 20 percent that produces 80 percent of your results. So spend 80 percent of your time and energy on the 20 percent that is really important. It’s not about working fast or doing more, for me it’s about doing what matters most.
In Colourful Stitches…Gyleen
Visit Gyleen at www.ColourfulStitches.com, home of FPI Publishing and Tools by Gyleen. Be sure to check out her quilting, poetry, and children’s books, including Quilts: Unfinished Stories with New Endings, as well as her quilting tools (Pineapple Tool, Polygon Tools 1 and 2) and patterns.
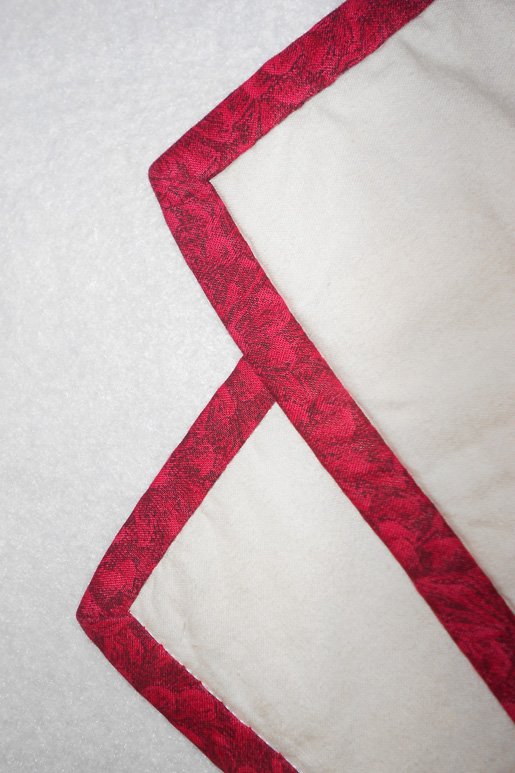
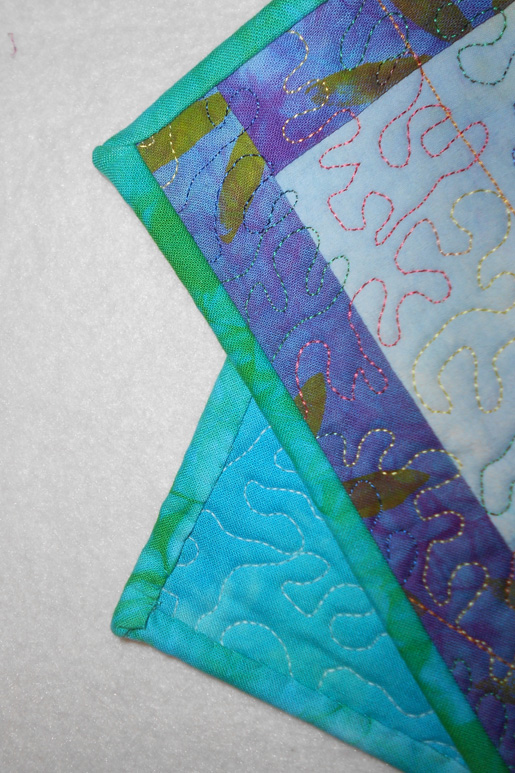
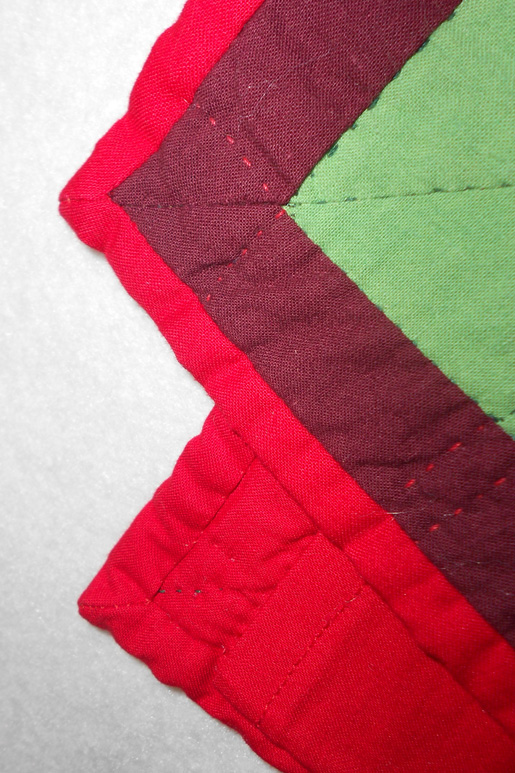
Gyleen’s On the Edge Binding
2012 © Gyleen X. Fitxgerald
- Hand baste around the perimeter of the quilt within ¼″ from the edge.
- Measure left side against right side; adjust stitches (gather) to make sides equal.
- Measure top against bottom; adjust stitches (gather) to make equal.
- Cut straight-grain binding strips 2-1/2″ wide; join end to end with mitered seams; press seam allowances open. Fold in half lengthwise and press. Make binding equal to the perimeter plus about 12”.
- Put on walking foot; move needle 3/8″ from right outside edge of walking foot. If you need to save “points” move needle to 1/4″.
- Place binding at the upper right side of the quilt and pin.
- Start stitching Side 1 about 12” down the upper right side following the outside edge of the walking foot; pin every 7″ being careful not to stretch the binding. Stitch the entire side and stop.
- Turn quilt for Side 2. YANK the binding back and up until the raw edge of binding is in a straight line with the edge of the quilt Side 2. The binding will make a 45° fold. Now bring down the binding, making sure the outside edges are even with the quilt’s Side 2 edge and the new fold at the top is 90° to the side and even with Side 1.
- Stitch Side 2. Make sure you pin, pin, pin.
- Repeat for Side 3.
- Repeat for Side 4, however stop stitching about 1″ down Side 4.
- Overlap the two ends of the binding so that they are smooth; clip a notch in the binding on raw edge less than 1/4″ through all four layers.
- Open binding ends and lay in a crisscross, matching notches. Pin. Draw a line from corner to corner across the ends. (Think of the letter “A” – the line is the middle of the A and the ends are the bottom of the A.)
- Stitch on the line. Remove pins and verify correctness and perfect fit.
- Trim excess to 1/4″ and press seam open.
- Continue stitching binding to quilt.
- Zig-zag around the perimeter of the quilt within the seam allowance using a wide and long stitch. Stay within the seam allowance and do not lap the edge.
- Hand trim with 8″ scissors to cut batting and backing or trim to 3/8″ using a rotary cutter and ruler.
- Turn binding to back of quilt and finesse to a tight filled binding; pin in position. Feather trim if necessary so not lumps are rolled inside the binding.
- Using a sturdy needle and hand quilting thread to match the binding, blind stitch closed.
Used Products


What you might also like


One comment on “The 80/20 Rule Applied to Quilting: Perfect Bindings”
Leave a Reply
You must be logged in to post a comment.

Great article for binding. Galloway41