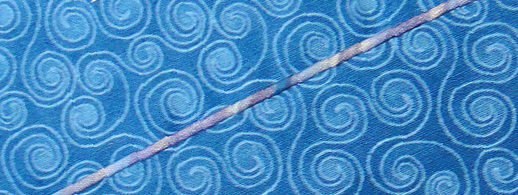
How to Make Mini Piping
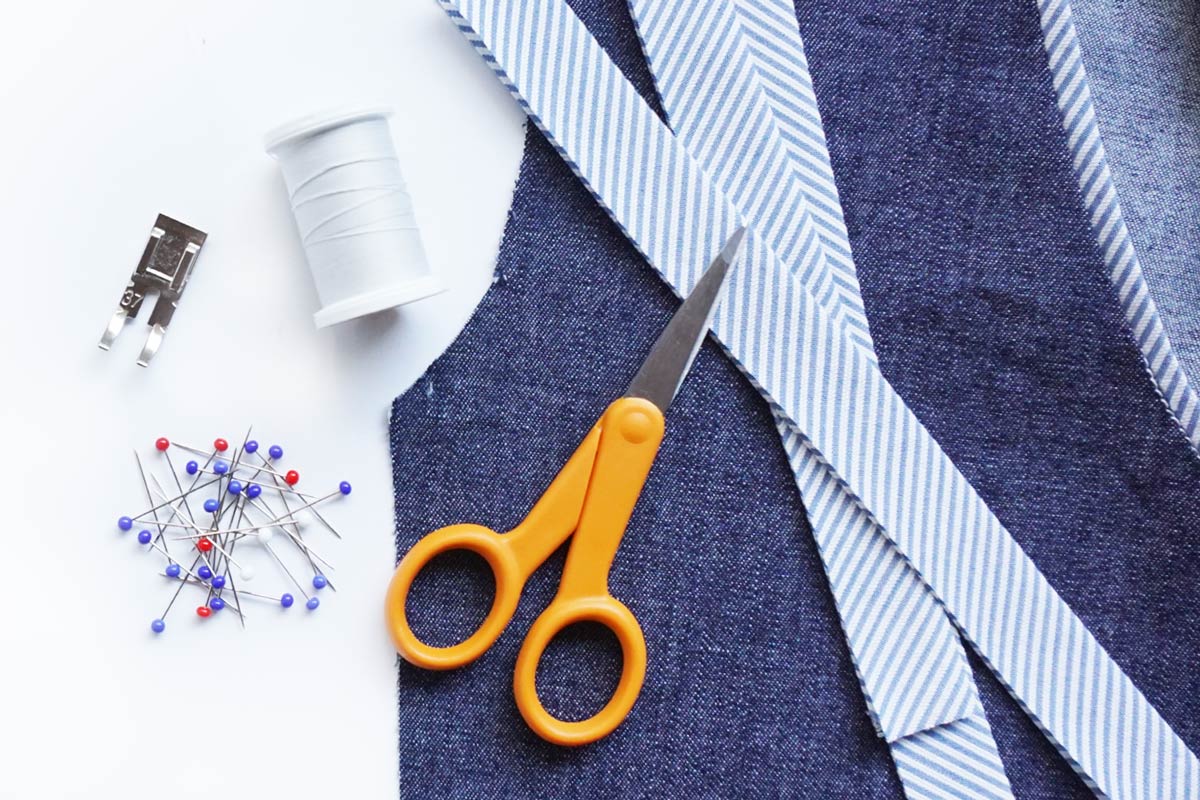
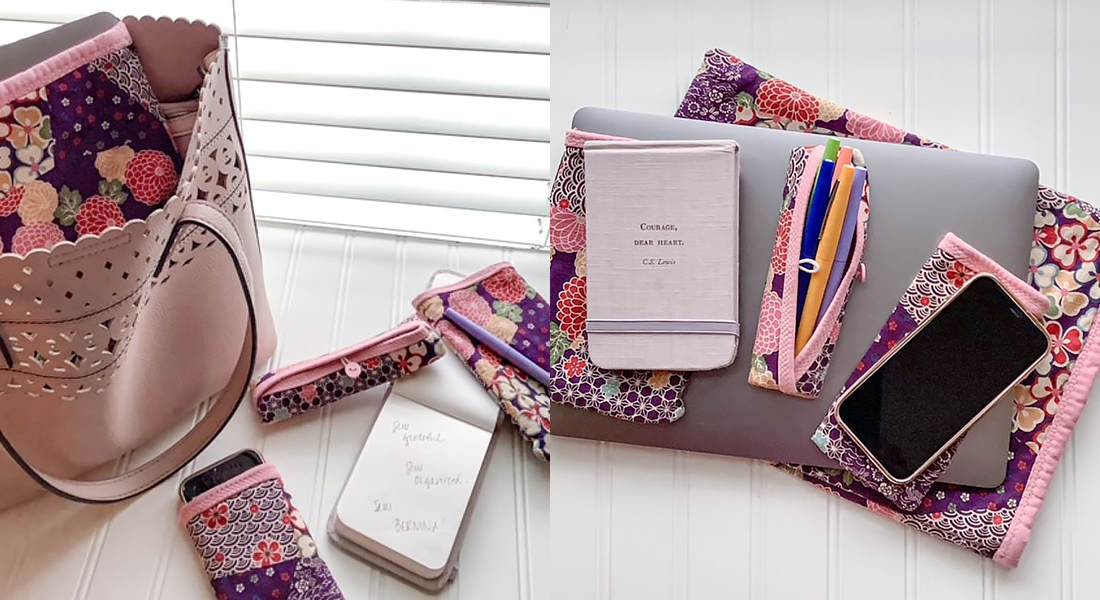
Clear Appliqué Foot #23 is a great foot for satin stitch appliqué but my one of my favorite uses for this presser foot is making mini-piping. Great for kid’s clothing or use as a quilting binding accent, mini-piping is also good for defining seams and edges of clothing, pillows, and other sewn items when a subtle touch is needed.
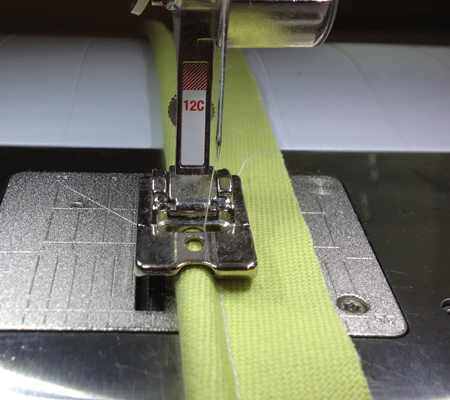
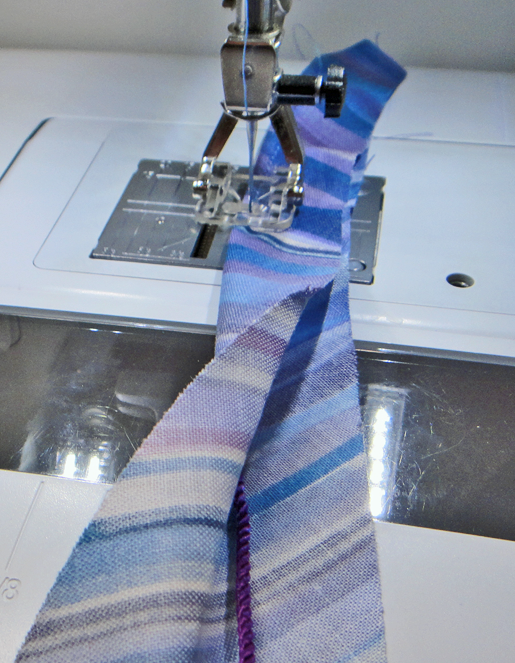
Step 1) Wrap a 1-1/2” wide bias strip around the cord and place it under the channel on the sole of the foot. Adjust the needle position to sew next to the cord. Stitch the length of the cord.
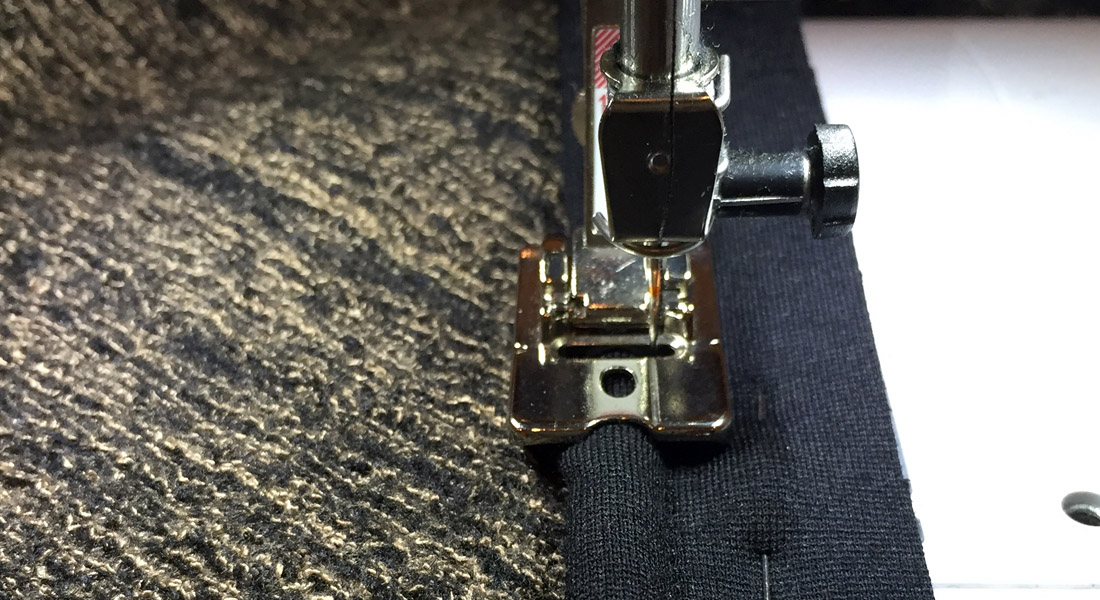
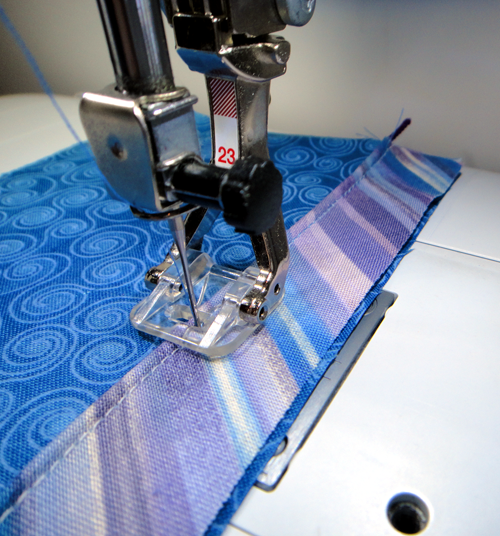
Step 2) Matching the raw edges, place piping along the edge of one fabric piece. Using the same machine settings as above, sew along the side of the cord on top of the previous stitching.
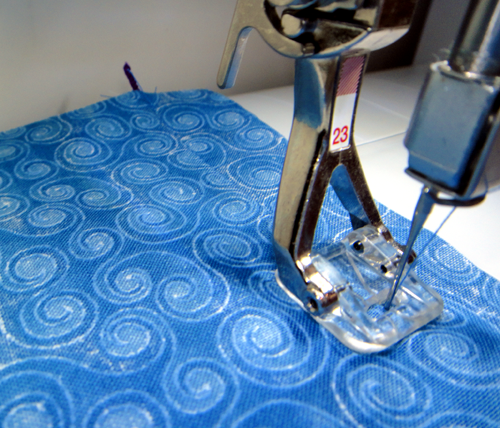
Step 3) Matching the raw edges, place the second fabric piece right side down on the piping/fabric piece.
Position the layers under the presser foot and stitch the seam.
For other techniques using Clear Appliqué Foot #23, download the Just Sew It! Machine Appliqué e-book and watch the archived Applique Basics webinar (available for a limited time).