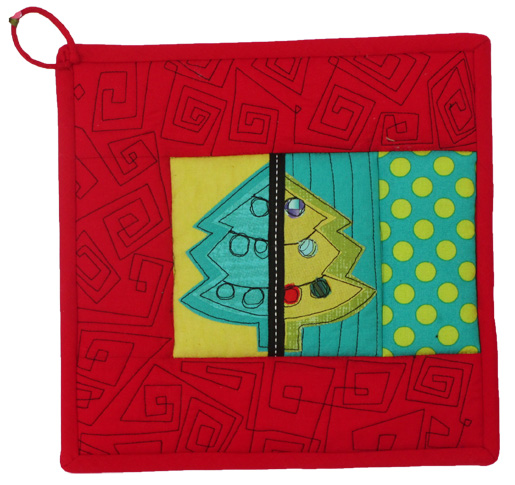
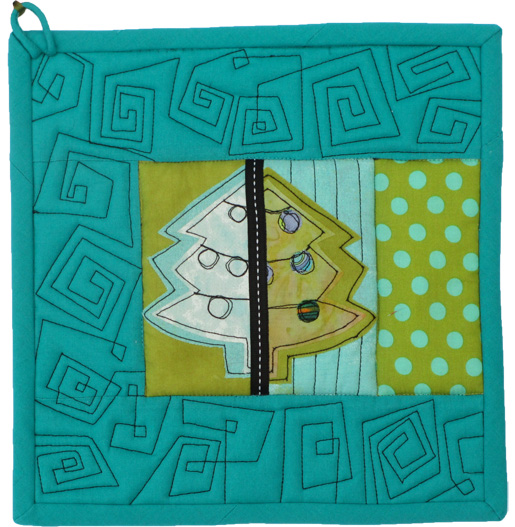
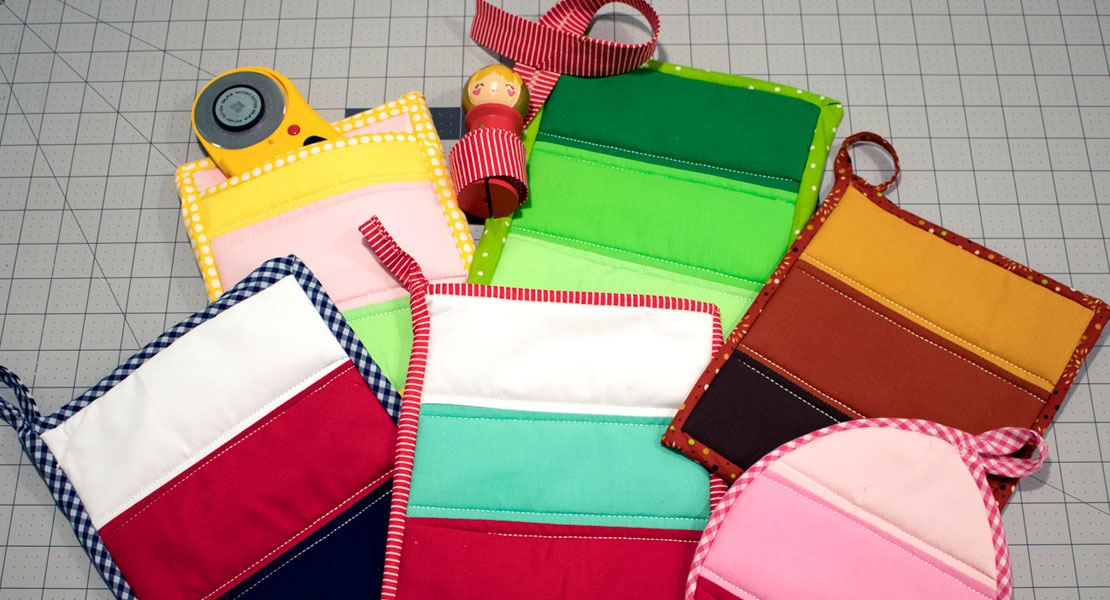
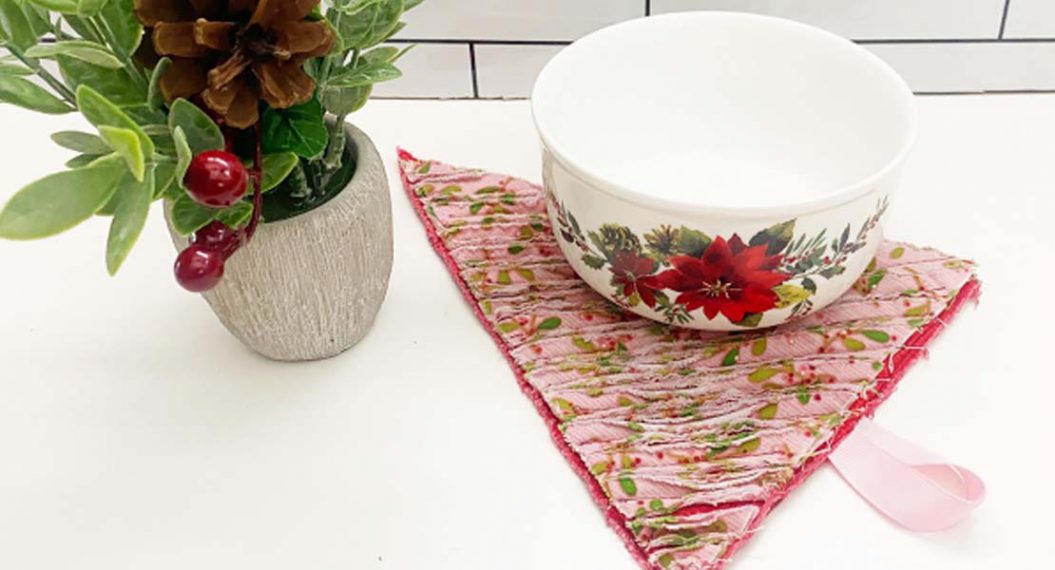
DIY Split Christmas Tree Potholders (or Hot Pads)
These fun, festive potholders from Diane Gloystein – BERNINA Ambassador and National Educator representing Sulky of America – will liven up your kitchen for the holidays. They also make great gifts! If you prefer, adjust the size and turn this whimsical project into a wall-hanging or pillow. Visit Diane at her Design On A Whim website.
Supplies (for each pot holder)
- One square of solid cotton for the background (5” x 5”)
- Two different cotton fabrics for the Christmas tree (approximately 5” x 5” each)
- Assorted solid and/or very small print scraps for the ornaments
- One rectangle of polka dot fabric (3” x 5”)
- One square of the same polka dot fabric for the backing (10” x 10”
- Three solid color strips for the front border (one 3” x 5”, two 3” x 10”)
- One 3” x 45” solid cotton bias binding
- One 5” length of 1/4”-wide trim
- Two pieces of Insul-Bright insulating batting (one 5” x 7-1/2” rectangle, one 10” x 10” square)
- One square of Warm & Natural batting (10” x 10”)
- One 20” square of Steam-A-Seam 2 (double-sided, paper-backed fusible web)
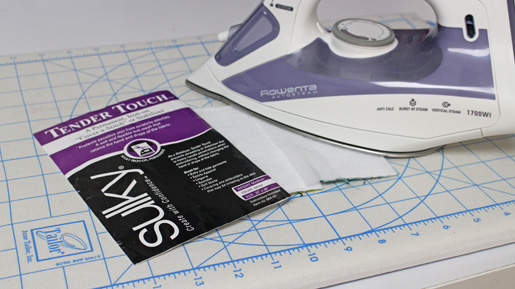
- One 1” x 5” strip of Tender Touch Iron-On Backing
- One 3” strip of 1/4”-wide ribbon or self-fabric covered cording for the pot holder hanging loop
- Sulky Totally Stable Iron-On Tear-Away stabilizer
- Non-stick pressing sheet
- Tree Template
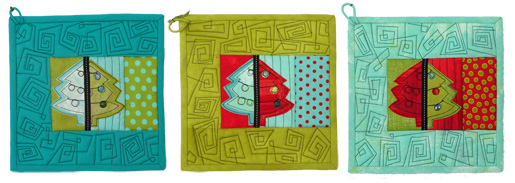
*For your second tree, cut out all of the above components, but in the reverse color scheme. For instance, if you made your first tree with a red background and green tree, make your second tree with a green background and red tree. I repeated the polka dot fabric and the solid cotton strips in my second block.
Step 1) Create the perfect tree.
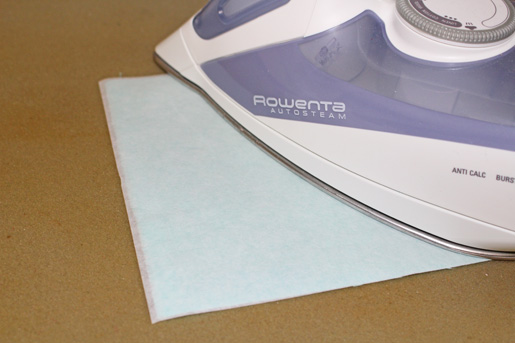
Fuse Totally Stable to the wrong side of the 5” x 5” square of background fabric.
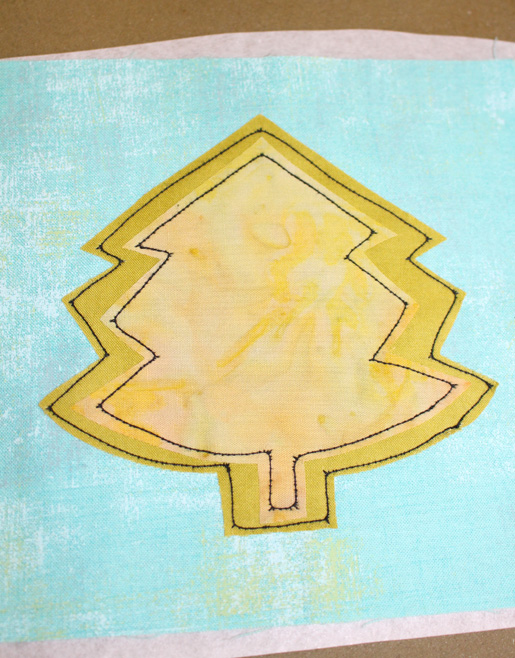
Trace the larger (empty) tree pattern on the paper side of the double-sided adhesive. Remove one side of the paper backing (the one without the tracing). Press to the wrong side of one Christmas tree fabric.
Trace the smaller (decorated) tree pattern on the paper side of the double-sided adhesive. Remove the paper backing and press to the wrong side of the second Christmas tree fabric.
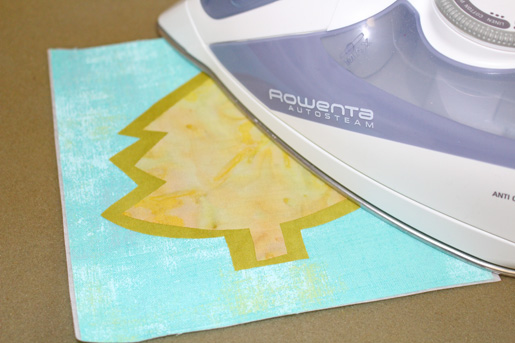
Place the individual tree pieces on a non-stick press sheet and assemble the tree. Press. Carefully peel the tree off of the non-stick sheet.
Press the assembled tree to the 5” x 5” square of background fabric. Fuse in place.
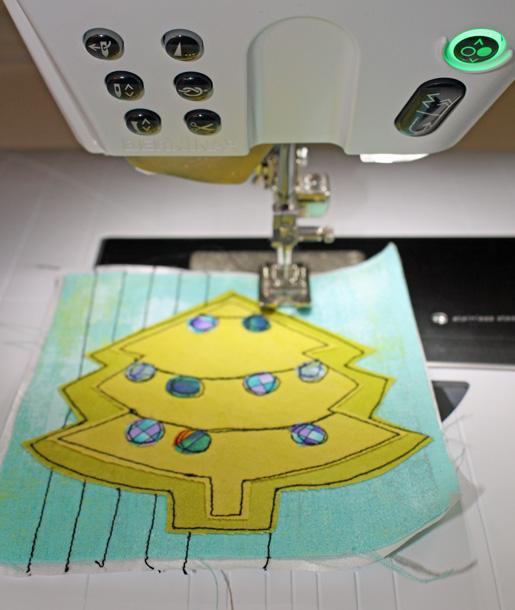
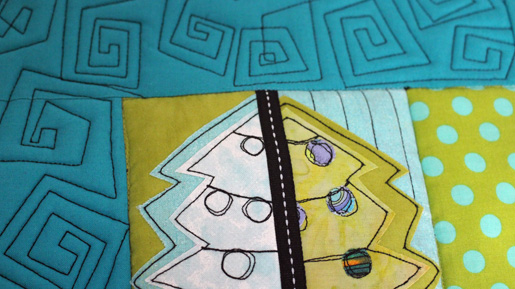
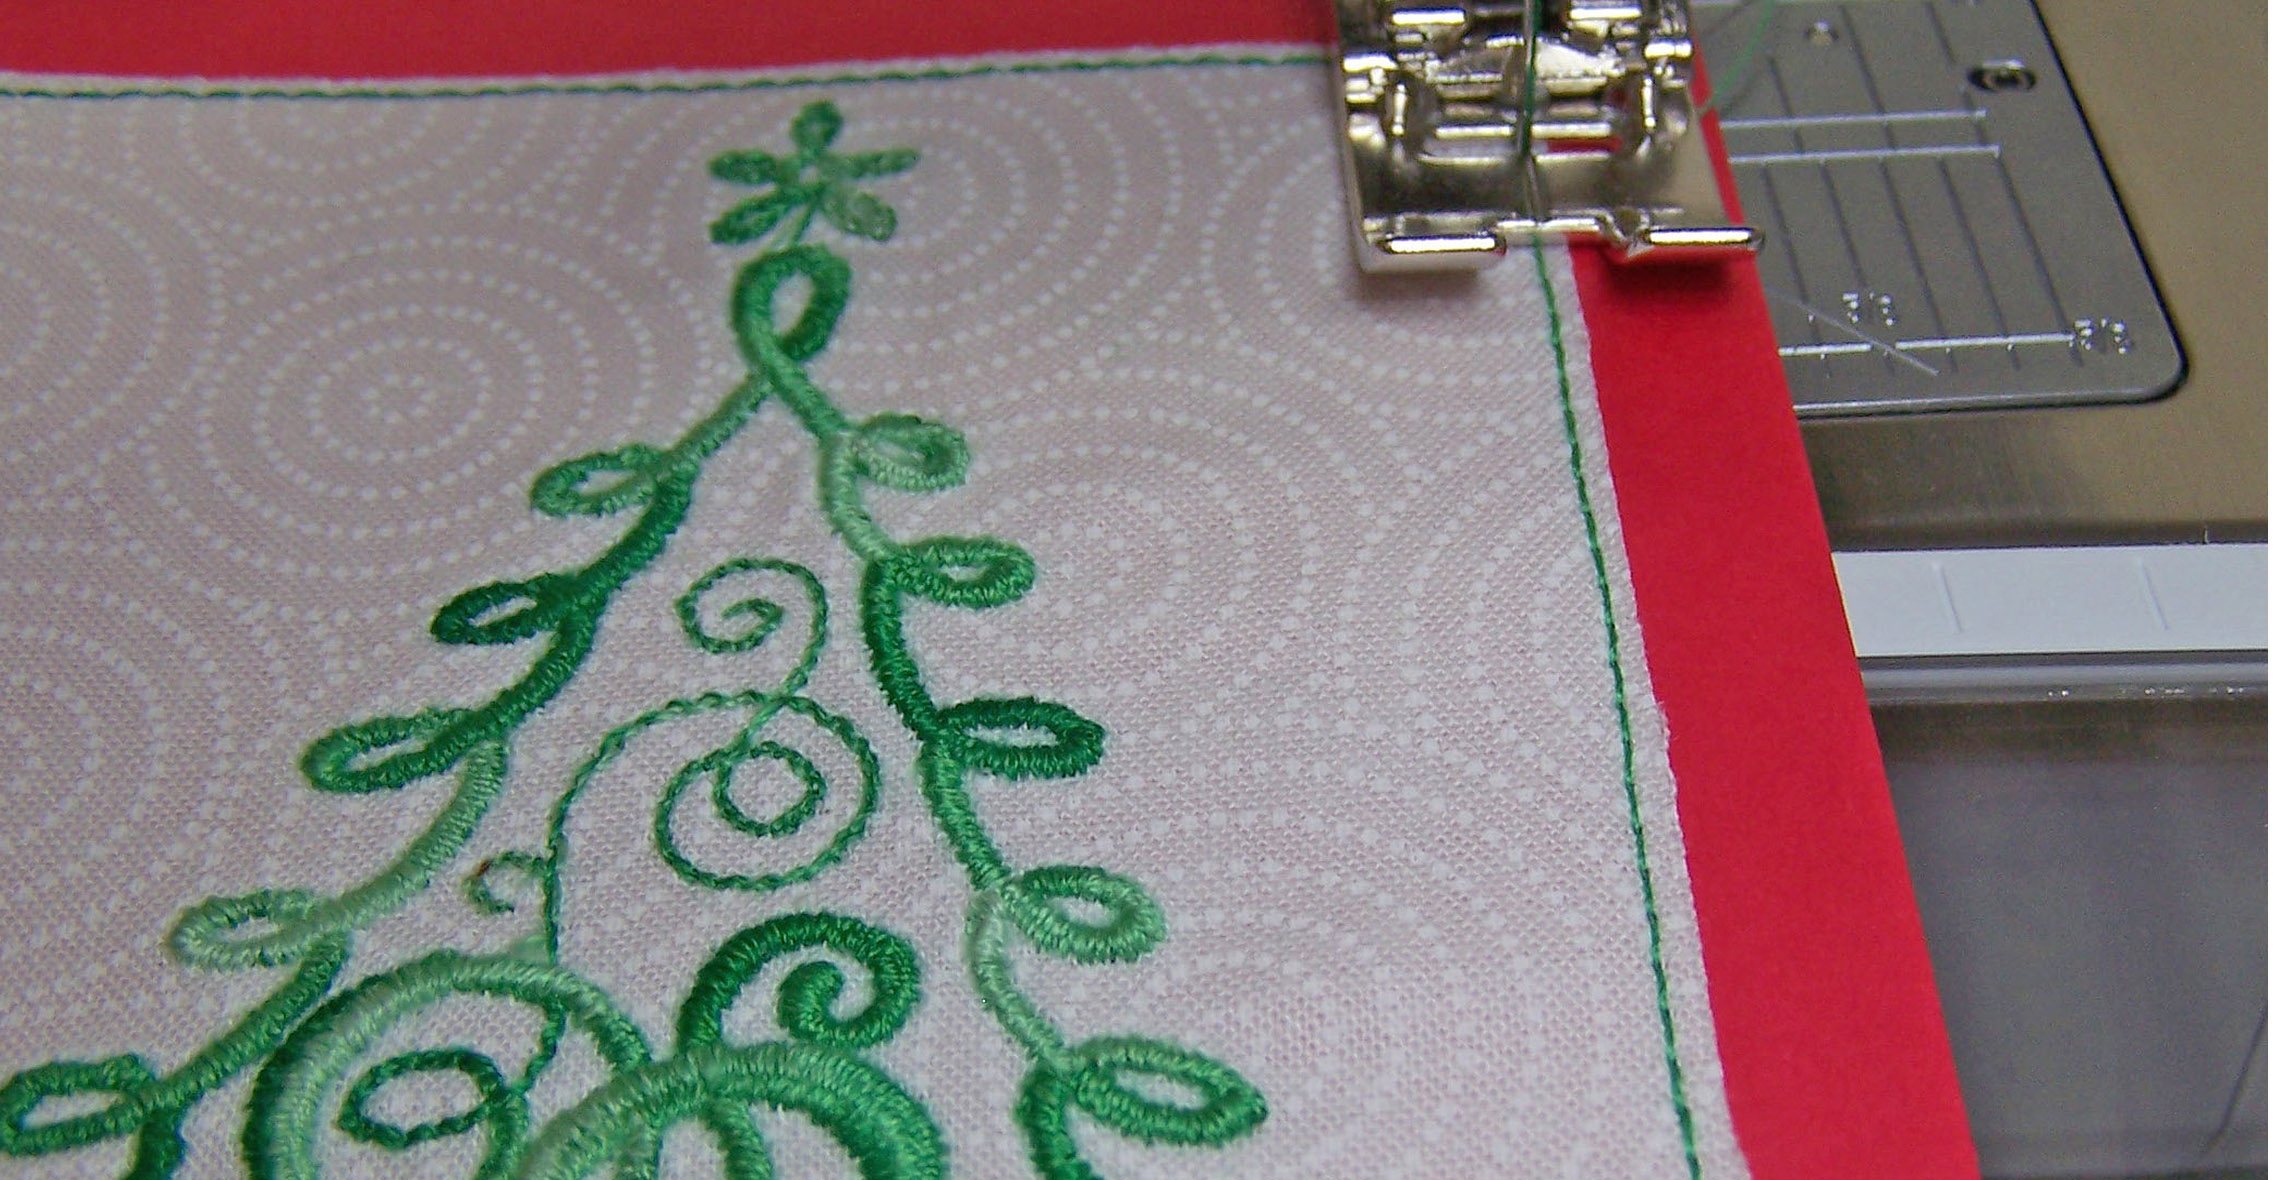
With feed dogs down, free-motion stitch the Christmas tree to the background fabric.
- Needle and bobbin: Sulky 30 weight black cotton thread
- Needle: Size 90/14 Topstitch
- Feed Dogs: Down
- Stitch: Straight
The black thread creates a “sketched” look!

Step 2) Create a second perfect tree.
Follow the instructions for the first tree, but reverse the colors.
Step 3) Decorate the first tree.
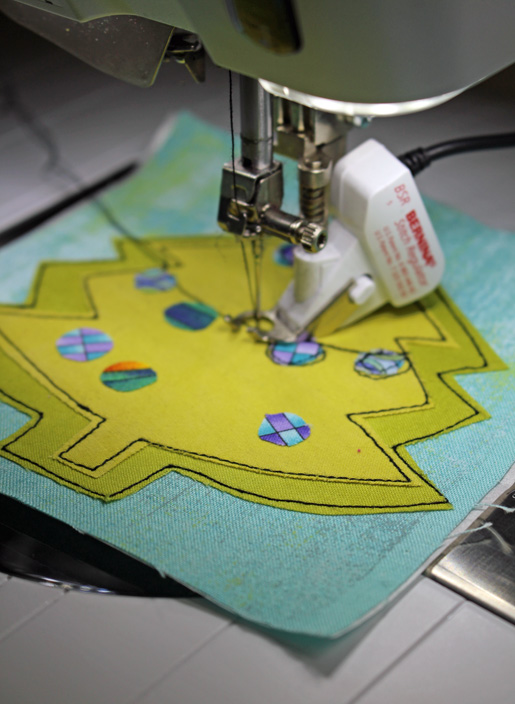
Draw 1/2” circles on the paper side of the double-sided adhesive. Press to the wrong side of the small print or solid “ornament” fabrics.
Cut out the ornaments. Remove the paper backing and iron the ornaments on the tree.
Free-motion stitch around each of the ornaments.
Remove the Totally Stable from the wrong side of the fabric.
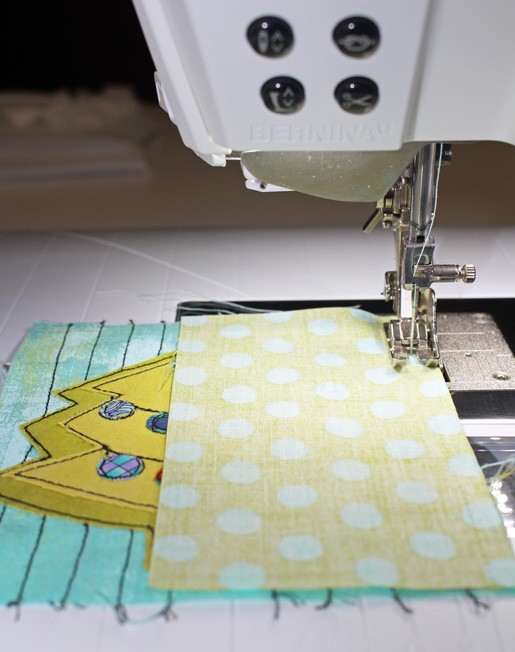
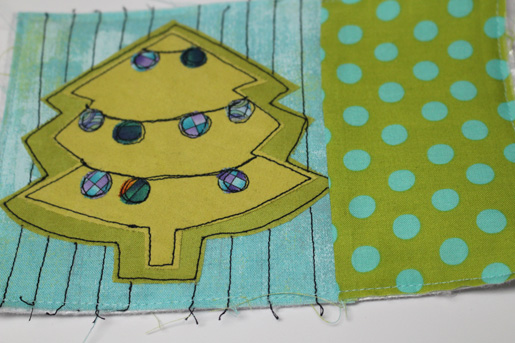
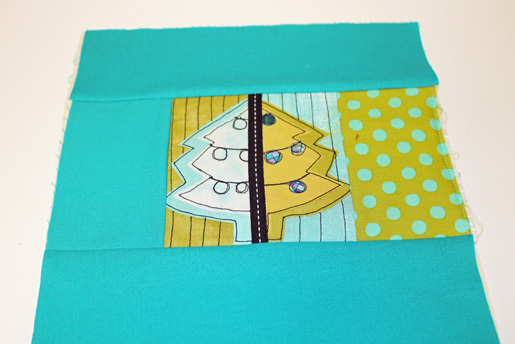
With right sides together, sew one 5” x 3” polka dot strip to the Christmas tree square. Press the seam allowances open.
Step 4) Decorate the second tree.
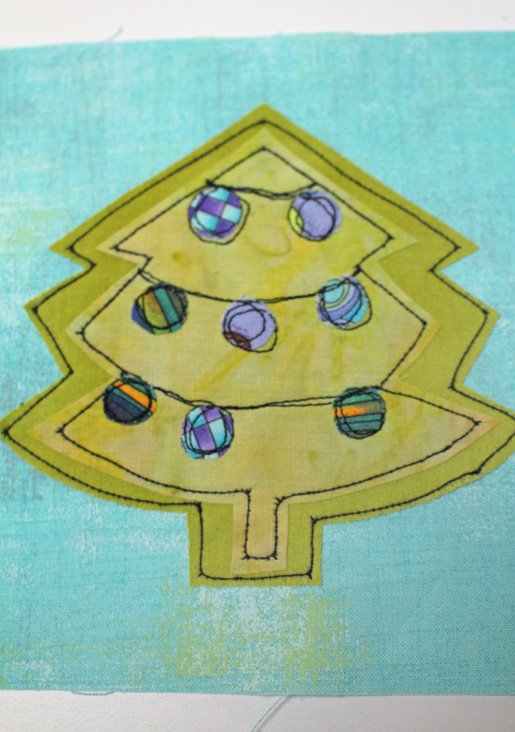
The ornaments on the second tree are outlined only. Free-motion stitch the ornaments in 30 weight black thread.

Remove the Totally Stable from the back of the square.
Add background stitching as desired.
Sew one 3” x 5” polka dot strip to the right side of the Christmas tree square. Press seam allowances open.
Step 5) The fun begins! Let’s split logs!
Baste each Christmas tree rectangle (with the polka dot strip attached) to a 7-1/2” x 5” rectangle of Insul-Bright.
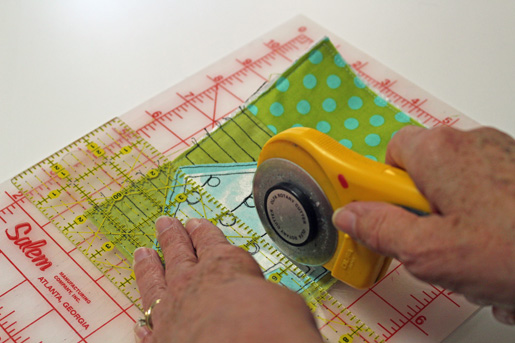
Cut each of the completed Christmas trees in half vertically with a sharp rotary cutter and ruler, directly down the “trunk.”
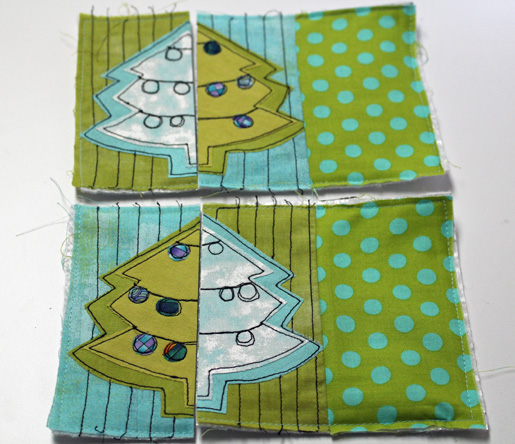
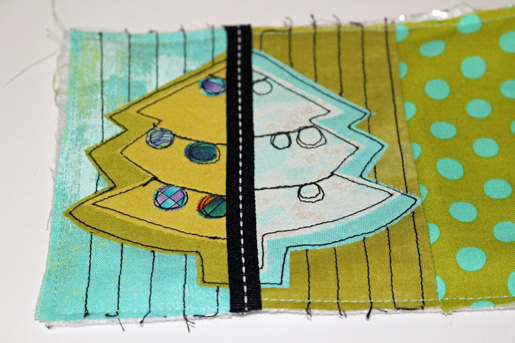
Take the right side of one half of a tree and butt the left opposing color scheme to it.
Iron a 1”-wide strip of Tender Touch over the back side of each of the “butted” squares.

Place a trim directly over the “butted seam” on the right side of the tree. Edgestitch each side of the trim through all layers.
Step 6) Add the borders.
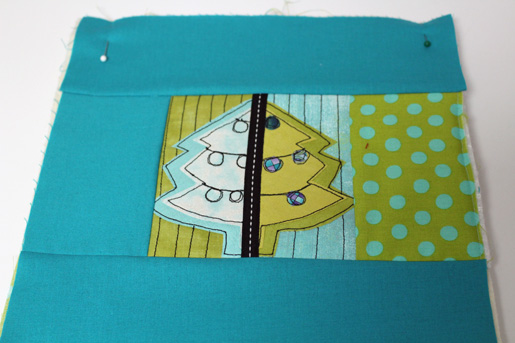
Position the edge of the Christmas tree rectangle 2-1/2” below the top edge of the 10” piece of Warm & Natural batting. The right edge of the polka dot strip will be positioned on the right edge of the batting.
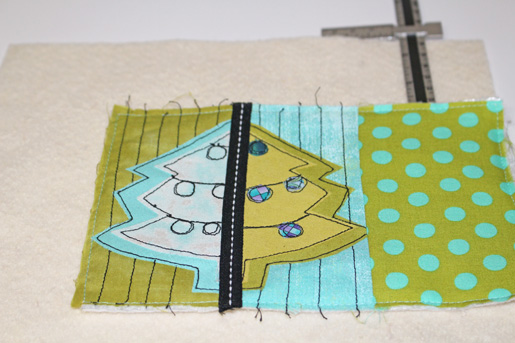
Sew a 3” x 5” solid strip to the left side of the Christmas tree square.
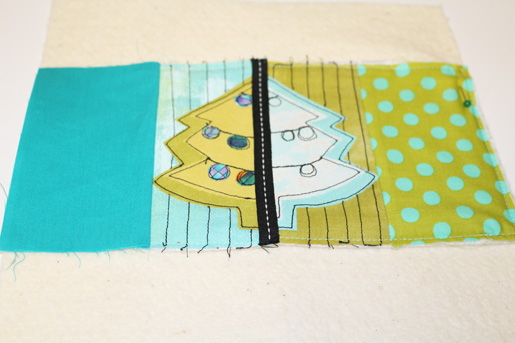
Sew a 3” x 10” solid colored strip to the top of the Christmas tree square.
Sew a 3” x 10” solid colored strip to the bottom of the Christmas tree square.
Step 7) Add the backing.
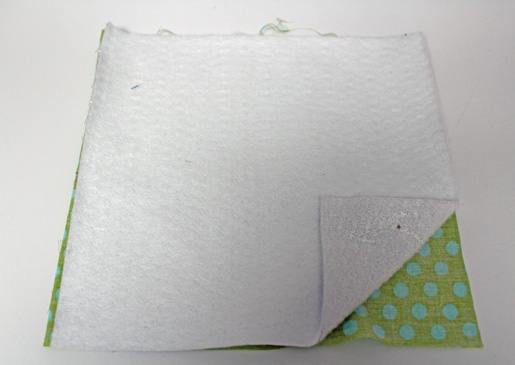
Place one layer of Insul-Bright on the wrong side of a 10” x 10” backing fabric square.
Place the Christmas tree block on top of the backing, with the backing fabric on the bottom.
Baste the edges together.
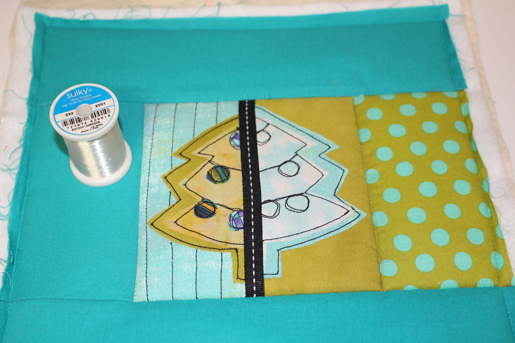
Stitch-in-the-ditch with invisible thread around the center Christmas tree center block and around the edges of the polka dot fabric strip.
- Needle and bobbin: Sulky clear invisible thread
- Needle: Size 70/10 Microtex Sharp
- Feed Dogs: Up
- Stitch: Straight, 2.0 length
Machine quilt the border.
Step 8) Finish the pot holder.
Stitch a 3” length of ribbon or self-fabric-covered cording to one corner of the potholder. Baste.
Cut a 3” x 45” strip of bias binding. Fold in half, wrong sides together. Press.
Bind the potholder with the double bias binding.
Now enjoy the season with your festive potholders to enhance your holiday décor!
If you enjoyed this project, be sure to check out the Split Personalities project in the new book, Embellish Your Life with Sulky by Joyce Drexler and Diane Gloystein.

What you might also like


3 comments on “DIY Split Christmas Tree Potholders (or Hot Pads)”
-
-
The Christmas tree template is at the end of the supplies list. Just click it and you have it.
-
-
I could not find the tree pattern at Design on a Whim either, so having those would be great! Thank you.
Leave a Reply
You must be logged in to post a comment.

These are adorable!! My question is, where do I find the large and small Christmas tree patterns? Am I missing something? Thanks!