DIY Coordinating Luggage Tags
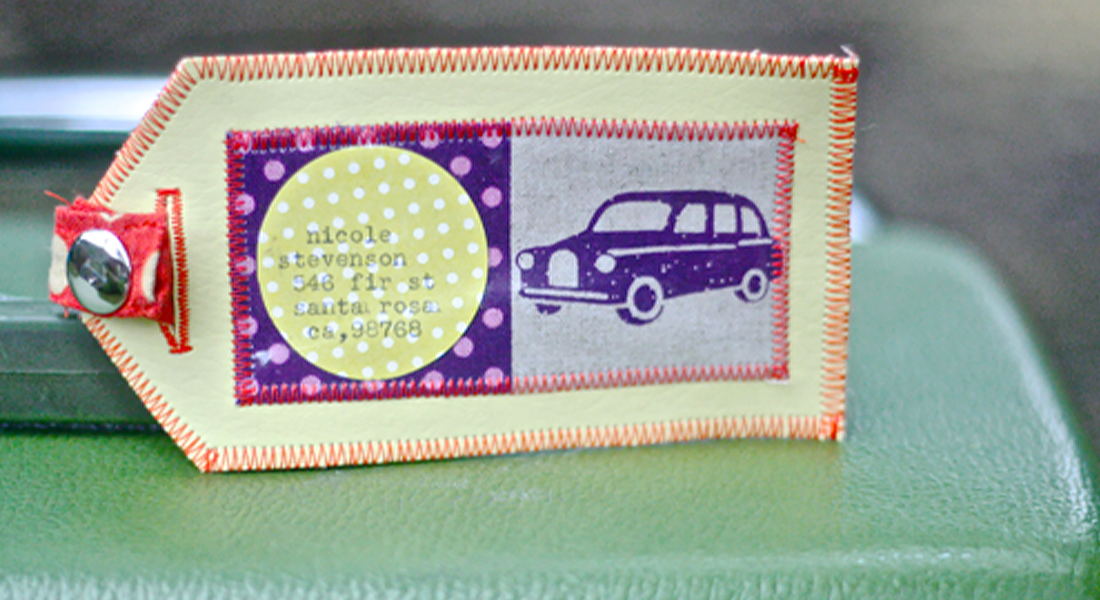
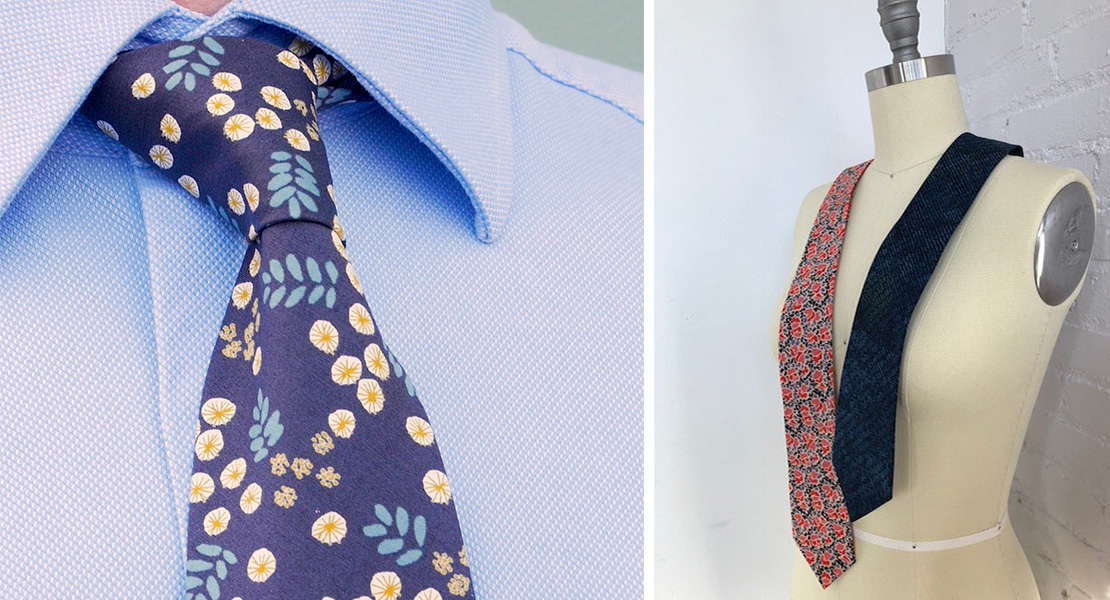
A quick gift idea from award-winning quilt artist Frieda Anderson. Perfect for travelers, these luggage tags feature the built-in lettering found on many sewing machines.
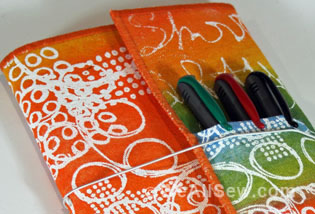
I travel a lot, and I love to have coordinating tags for my travel. So, I made some new coordinating luggage tags using the fun Alphabet feature on my Q750BE BERNINA sewing machine. These tags took me less than two hours to make.

Supplies
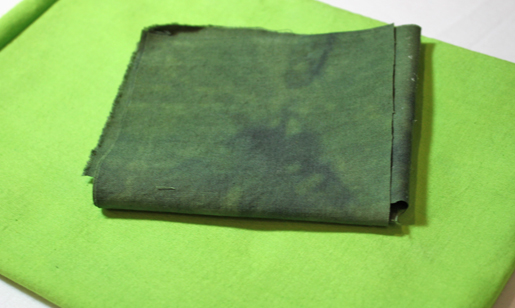
- 2 fat quarters or quarter yard pieces of solid or very light print fabrics
- 4-1/2″ x 9″ piece of scrap fabric
- 1/2 yard of Pellon Wonder Under® #805 fusible web
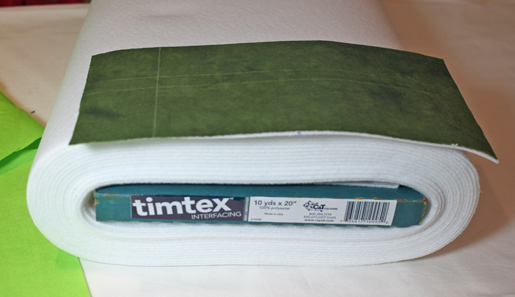
- 1/2 yard of Peltex or Timtex stiff interfacing
- Marking pencils ( I used the Clover white marker and a pencil)
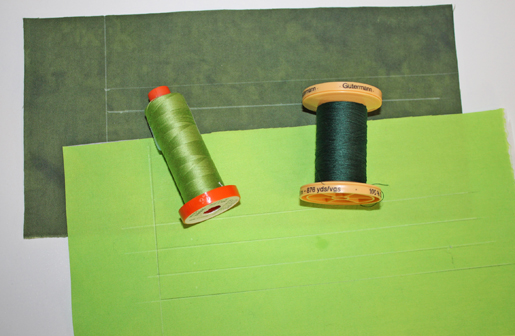
- Coordinating threads
- 2″ x 14″ piece of quilt batting
- Spray basting product ( I used 505®spray basting)
- Hot iron
Step 1) Make the tag.
Cut one piece from each of your two coordinating fabrics, each 4 -1/2″ x 9″.
Cut two pieces of fusible web that are 4-1/2″ x 9″.
Cut one piece from your scrap fabric that is 4-1/2″ by 9″.
Cut one piece of Timtex or Peltex that is 4-1/2″ by 9″.
Apply the fusible web to the back of the two pieces of 4-1/2″ x 9″ cut coordinating fabric.
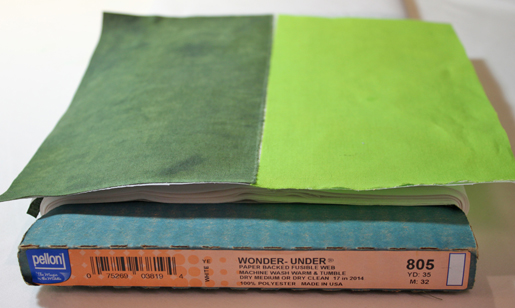
Remove the release paper from the fusible web.
To act as stabilizers to your project when you begin to embroider the alphabet:
Fuse the piece of scrap fabric to the back of one the cut pieces of coordinating fabric (this will act as your stabilizer, and it’s great to use up scrap fabric!). Fuse the piece of Timtex or Peltex to the other piece of coordinating fabric (this will act as the stabilizer for this piece of fabric).
Using your marking pencil, measure over 1-3/4 inches on the front side of each left edge of the 4-1/2″ x 9″ fabric, then mark a straight line down from the top to the bottom.
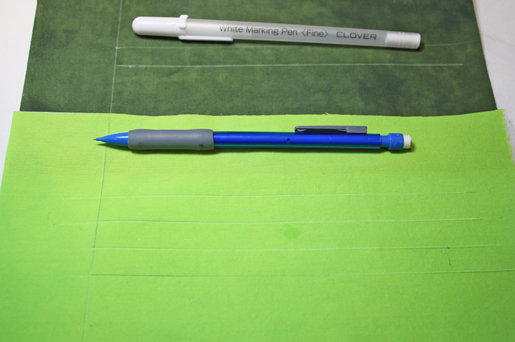
Measure down 1-3/4 inches from the top on each front side of the 4-1/2″ x 9″ fabric and draw a straight line across horizontally across the piece.
Measure below the horizontal straight line ½ inch and draw another line. Repeat for two more lines. There will be a total of four lines. These will be your guide mark lines for sewing.
On your sewing machine, pick one of the alphabet lettering systems. On my BERNINA 750 QE I choose the Quilting Text. You can find the directions for combining your letters in your owner’s manual. You can also find the directions for saving your combinations in your manual. I used the underline choice in the letters to add space between each word.
I saved my name, address, and phone numbers and will use them again for quilt labels.
Be sure and check that all the letters are correct before you start stitching!
Step 2) Embroider the text.
With your thread color of choice in your needle and matching thread in the bobbin, use Clear Embroidery Foot #39/39D to sew your chosen lettering. I positioned my needle on the first crossed horizontal and vertical section of the top line and stitched my name.
Next I deleted my name and entered my address. Once I entered my address on the sewing machine, I positioned my needle on the second line of the marked crossed lines and stitched my address.
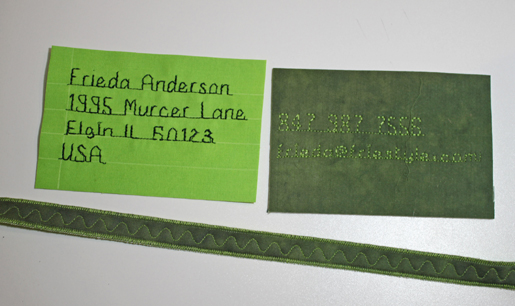
I repeated this procedure on the front of one of my coordinaing fabric pieces with my city, state, and zip code. On the fourth line, I stitched my country – USA.
On the other piece of coordinated fabric, I entered my telephone number on the first line and my email address on the second line.
Starting with the fabric piece that had the longest lines, I cut it 1/2″ larger all the way around, and then I cut the second piece of stitched fabric the same size. Both pieces should be the same size after cutting so that you can join them together to make your tag.
Step 3) Add the strap.
Cut two pieces of your fabric that are 2″ x 14″, one for each of the fabric colors you are using.
Cut a piece of scrap batting that is 2″ x 14″.
Apply fusible web to each piece of fabric.
Remove the release paper from the fabrics. Place the batting between the two pieces of fabric and fuse this unit together. There will be three pieces: the top fabric, batting and backing fabric.
Cut from this a piece of fabric that is 1/2″ wide by 14″ long.
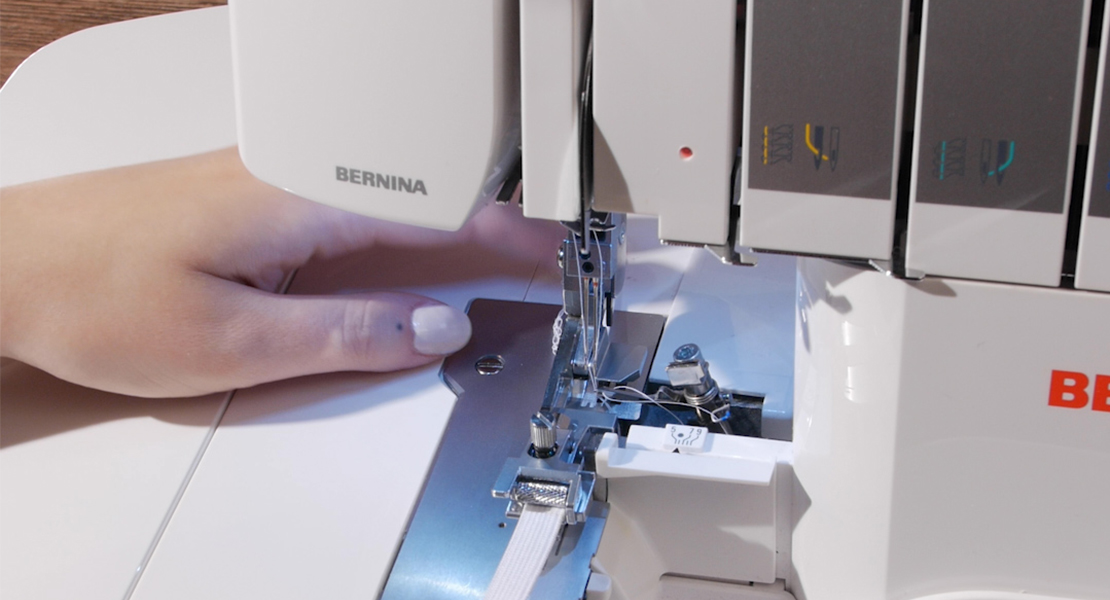
Using a zigzag stitch on your sewing machine, stitch along both long edges of the 1/2″ wide strap sandwich.
When you are done with the edge stitching, zigzag down the middle of the strap.
Step 4) Assemble the pieces.
On the short end of one of the fabric tag pieces, find the center and mark it with a pin.
Position your zigzagged strap on either side of the center mark with about a 1/2 inch of the strap on the inside edge of the tag.
Position the second side of the tag over the straps and centered on the first tag fabric. Secure this together with the basting spray.
Using a wide zigzag stitch, stich around all four sides of your luggage tag. This will secure the strap to the tag and the two sides.
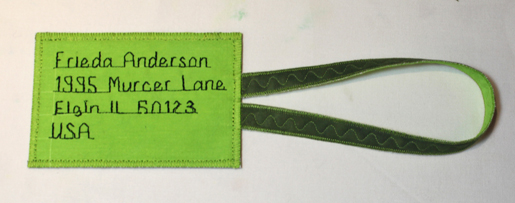
Using a straight stitch, stitch again around the tag just inside the zigzag edge.
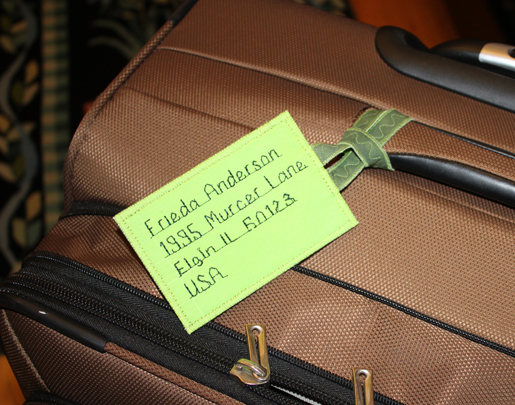
Apply to your luggage and take a trip. You will be able to easily identify your luggage from far away.
Used Products


What you might also like


One comment on “DIY Coordinating Luggage Tags”
Leave a Reply
You must be logged in to post a comment.

Would love, appreciate detailed instructions on lettering. Could you help?