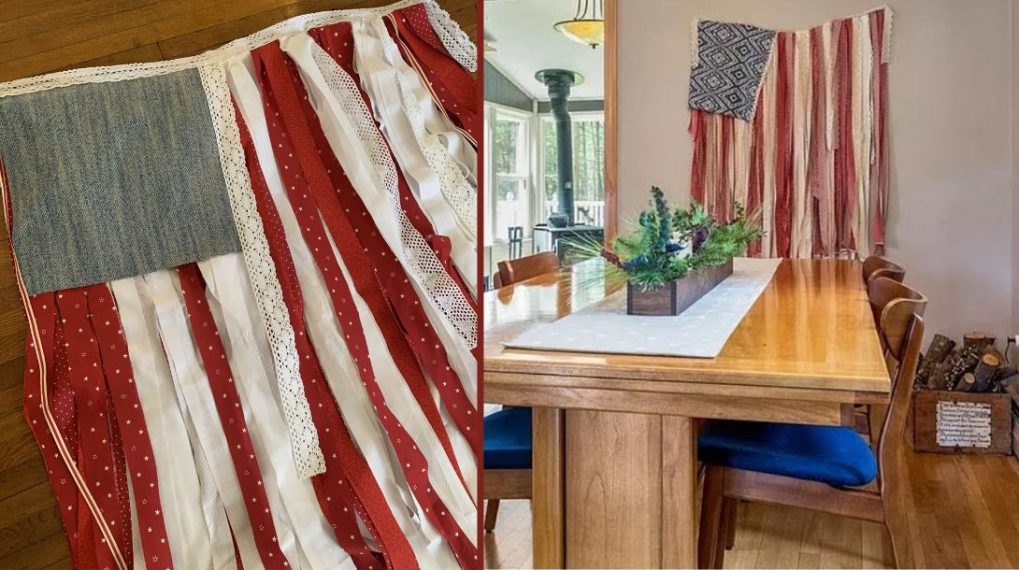
Chalk Cloth Flags
These chalk cloth flags are great for any kind of party decorations and are easy and quick to stitch up.

Materials needed for one flag:
- Outer fabric: one piece 21″ x 12″
- Lining fabric: one piece 21″ x 12″
- Chalk cloth: one piece 9″ x 9″
- Mistyfuse fusible web www.mistyfuse.com
- Ribbon to hang your flags with
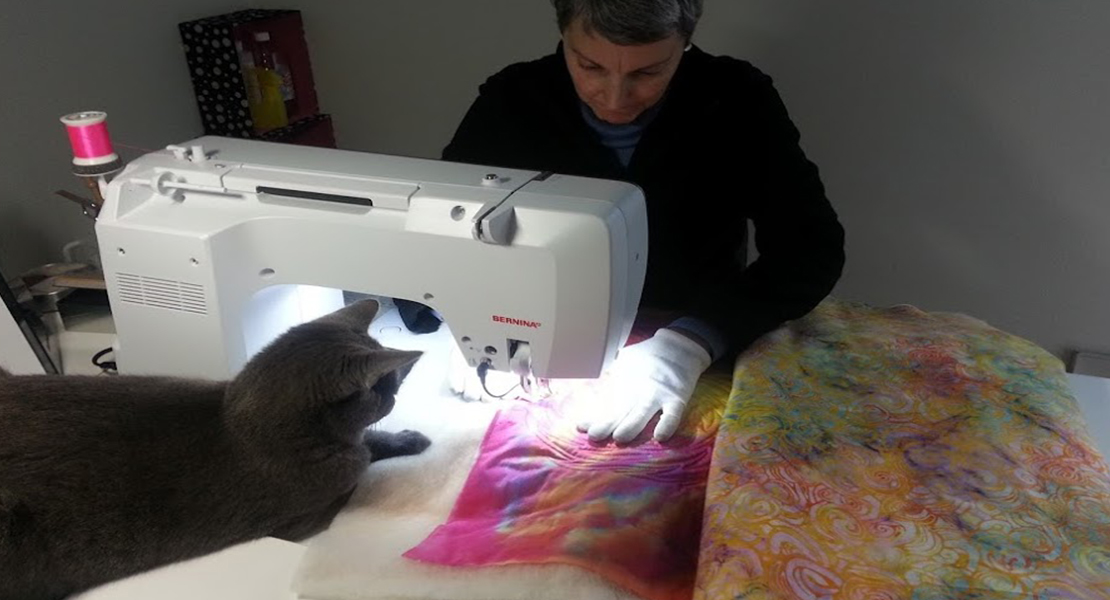
- Sewing machine, I sew on a BERNINA 750 QE
- I used my favorite foot for this project, the BERNINA Reverse pattern foot # 34D
- Flag Pattern
- Chalk Cloth Triangle Pattern
Step 1:
Print out two copies of the flag pattern, cut them out and then tape them together along the edge indicated on the pattern piece.
Set aside while you prepare the fabric.
Step 2:
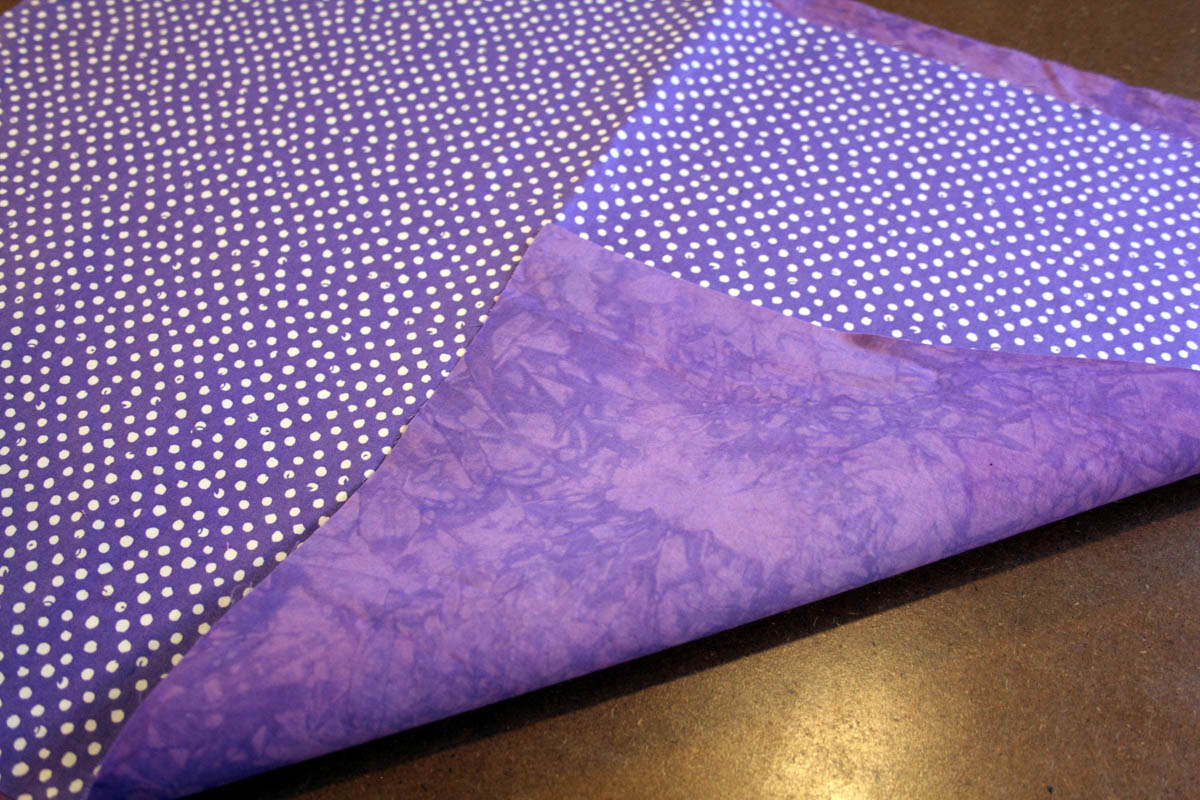
Put a layer of Mistyfuse fusible web on the wrong side of your outside fabric. With wrong sides together fuse the outside and the lining fabric together. For my flag I am using a purple/white polka dot for the outside and a solid purple for the lining.
Step 3:
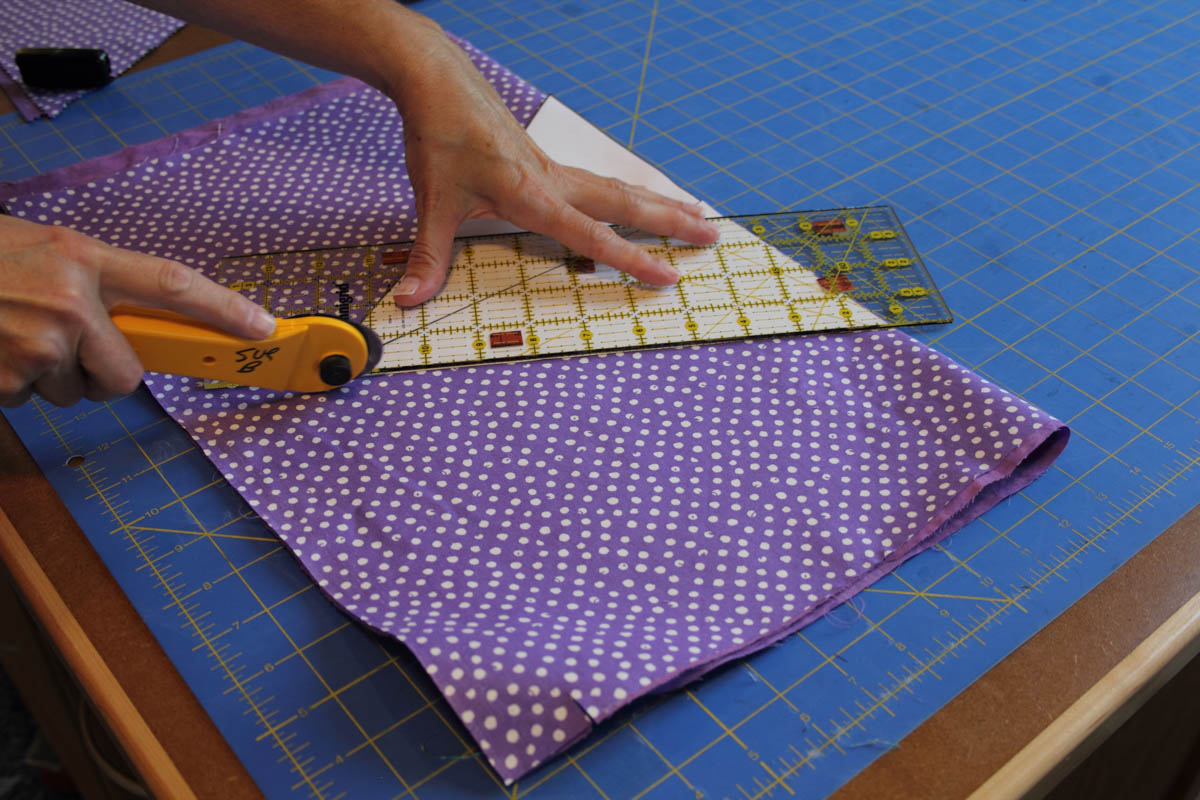
Fold the fused fabric with the outside fabric out and place the flag pattern piece along the folded edge. Cut the flag out of the fabric using a rotary cutter and ruler or your scissors.
Step 4:
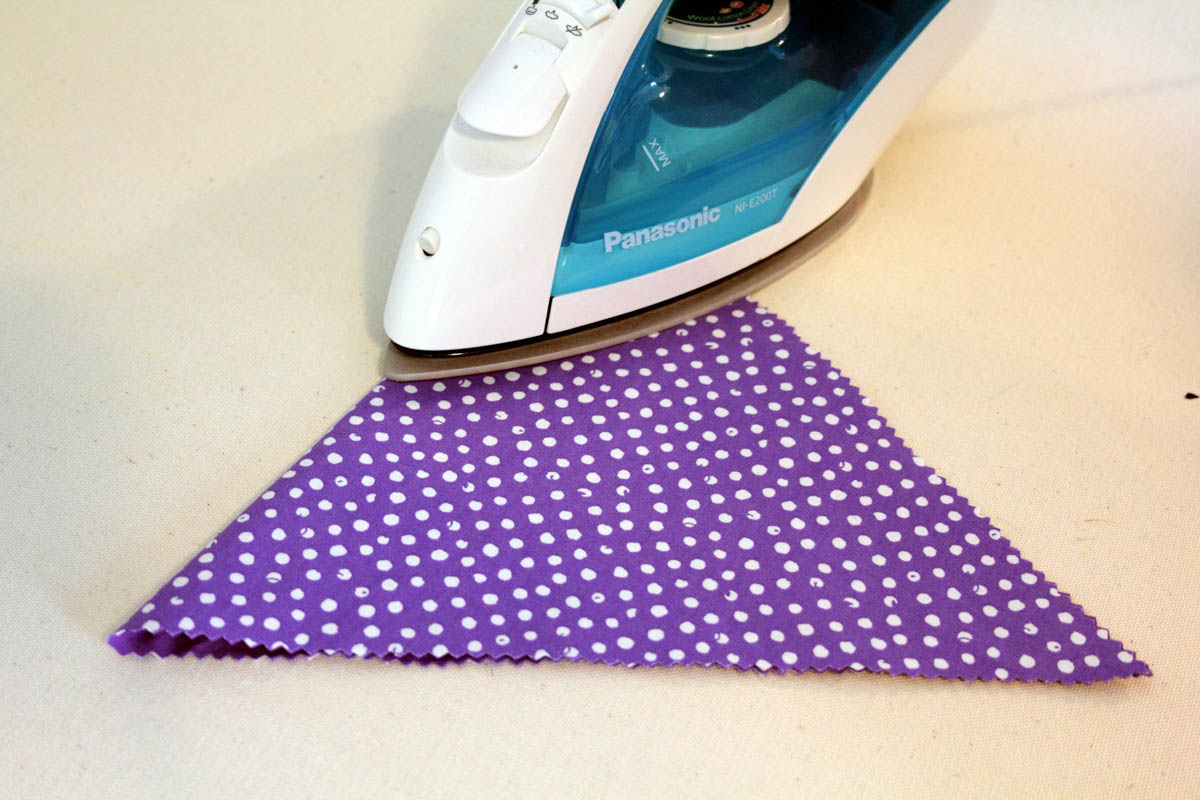
I wanted to give the edges of my flags a pinked edge so I used my pinking sheers all the way around the edge of the flag. This step is optional however, so you can skip it if you prefer your flags to have straight edge.

Step 5:
Use the chalk cloth pattern to cut the triangle shape from the chalk cloth.
TIP: If your chalk cloth has been stored rolled and proves a bit unwieldy to work with unroll it and leave it under a stack of books overnight. This will help flatten it and make it easier to work with. DO NOT try to flatten it by ironing it!
Step 6:
Fold the flag in half lining sides together and press along the folded edge to set the crease.
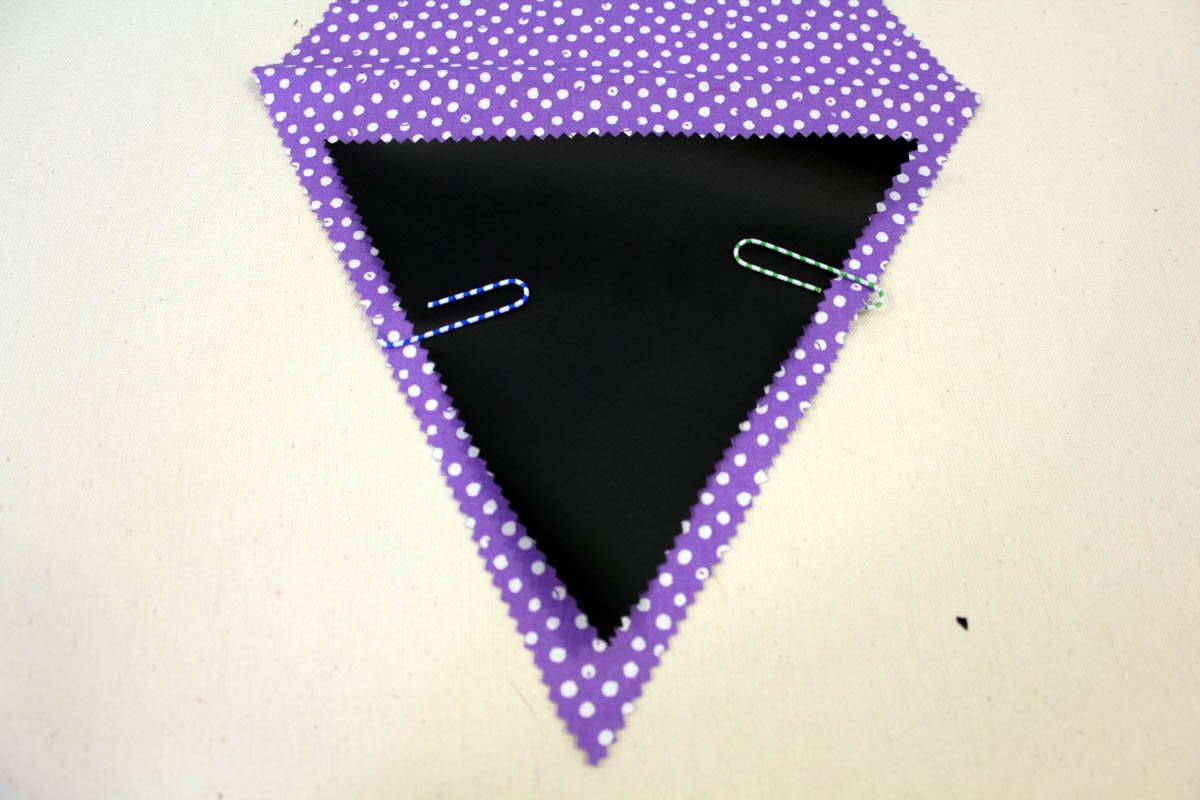
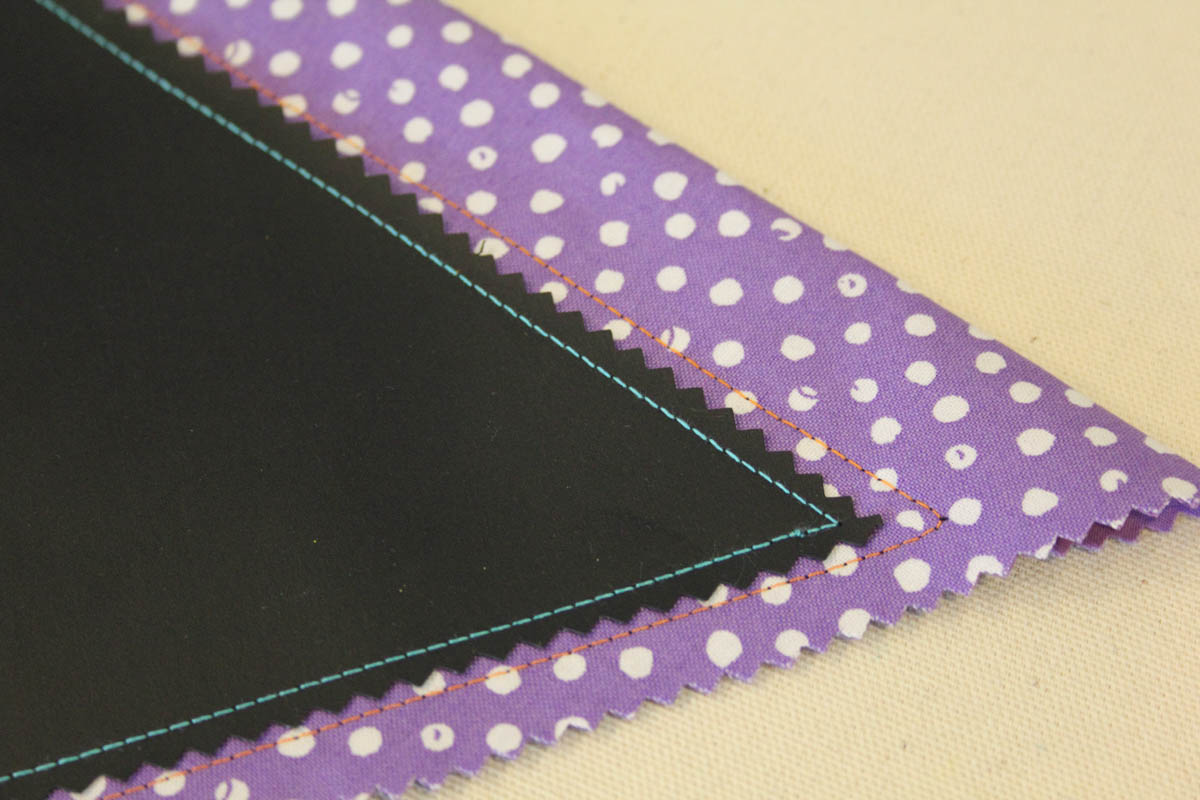
Open the flag out and place the chalk cloth triangle on one side. Place it so that the top edge of the chalk cloth is 1″ from the crease that you just made.
TIP: You can’t use pins to secure the chalk cloth in place because they will leave holes in the cloth. Use paperclips to keep the chalk cloth in place if you find that it is shifting when you sew.
Sew the chalk cloth triangle to one side of the flag using a straight stitch. Note that in the photos I used a turquoise thread so you can see where I stitched. If you have a teflon foot for your BERNINA this is great time to use it, however, I found that I had no trouble at all sewing over the chalk cloth using the BERNINA 34D foot with the Dual Feed engaged.
Fold the flag in half again with the chalk cloth on the outside and sew all along the outside edge of the chalk cloth triangle to secure the flag closed. Keep your stitches 3/4″ from the top folded edge of the flag.
Step 8:
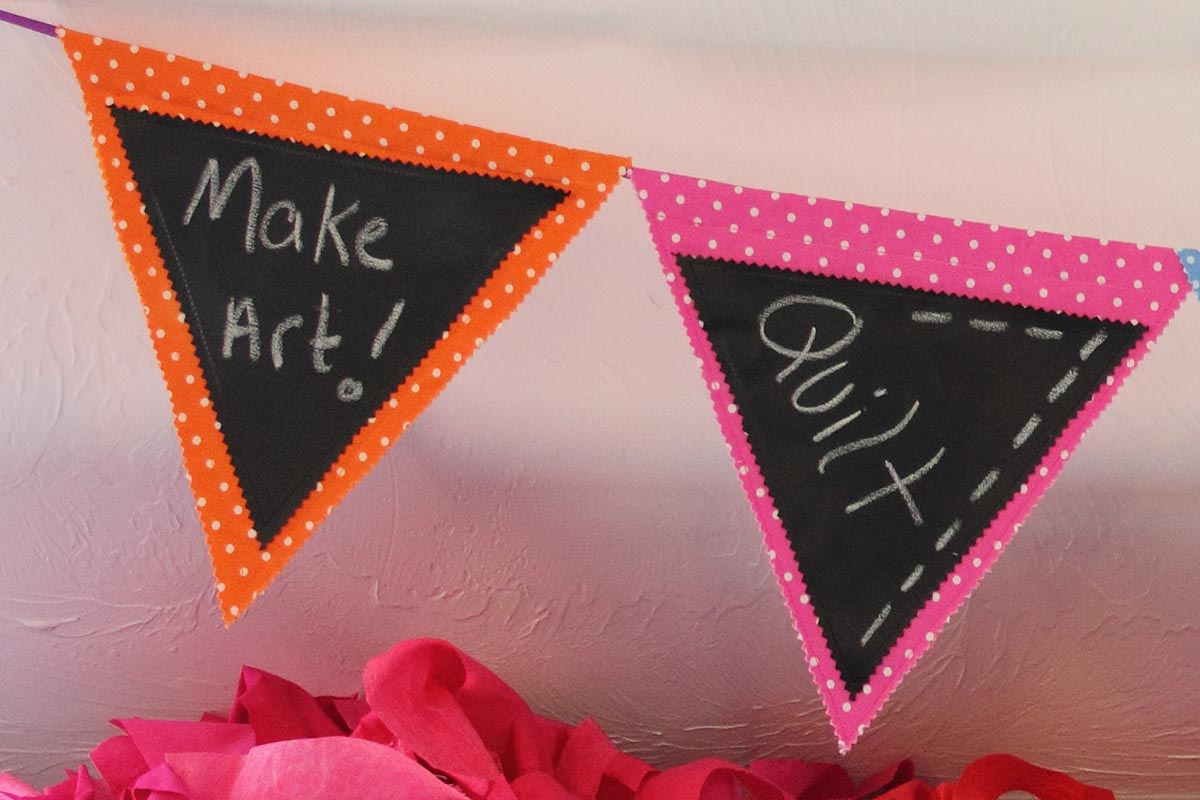
Use a piece of chalk to write on your flags, string them together with ribbon, hang them up and enjoy!
What you might also like


3 comments on “Chalk Cloth Flags”
-
-
this is a really cool idea.
-
I made this for my daughter-in-laws baby shower! Too cute!
Leave a Reply
You must be logged in to post a comment.

Cute idea – I might use some vinyl fabric and make garden flags without the chalk cloth