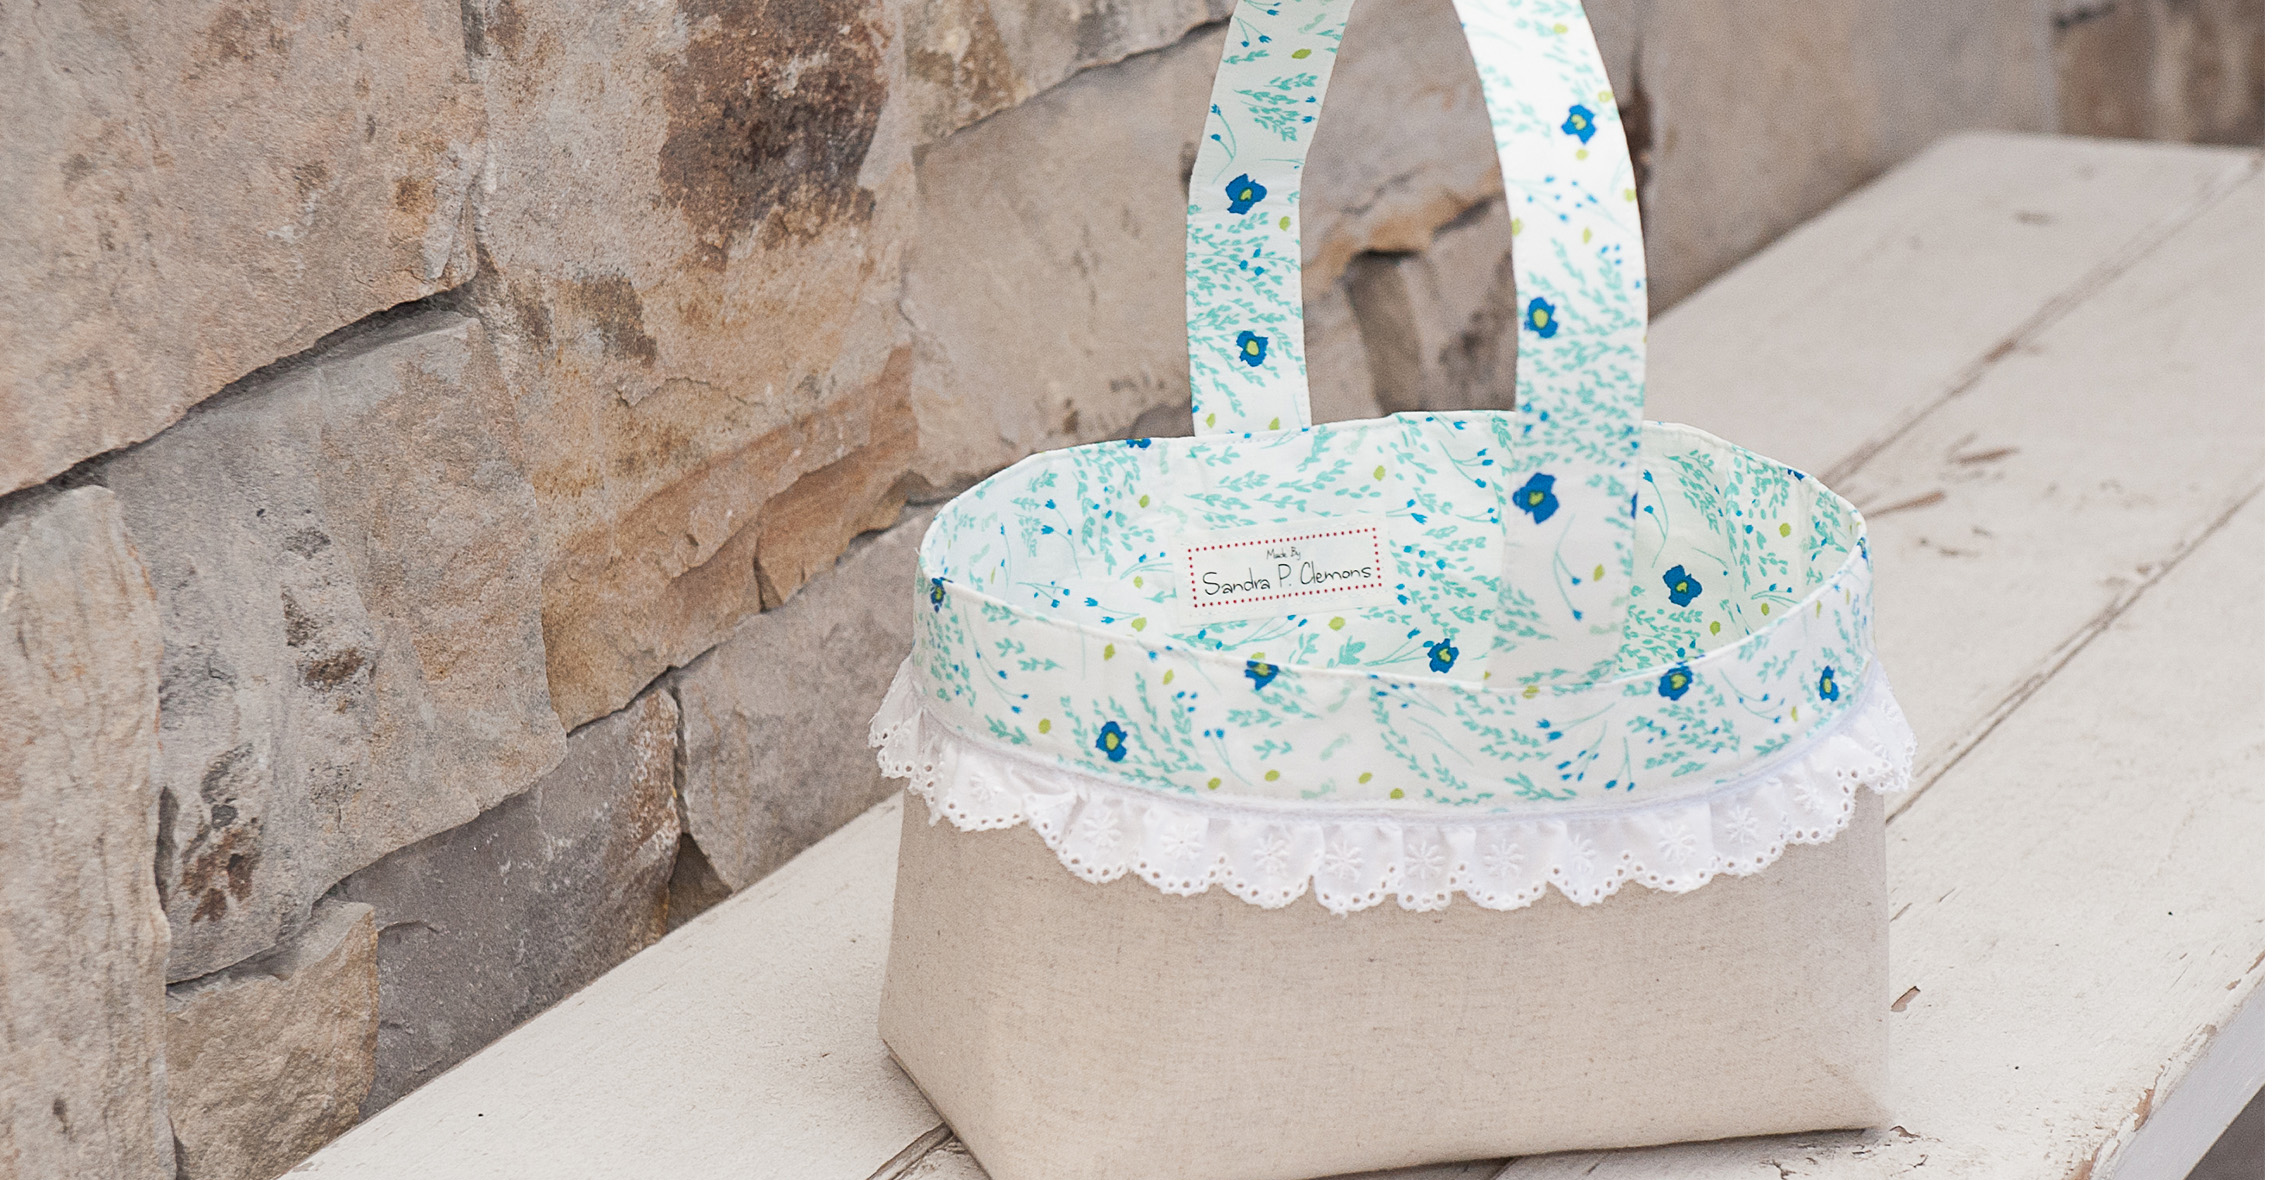
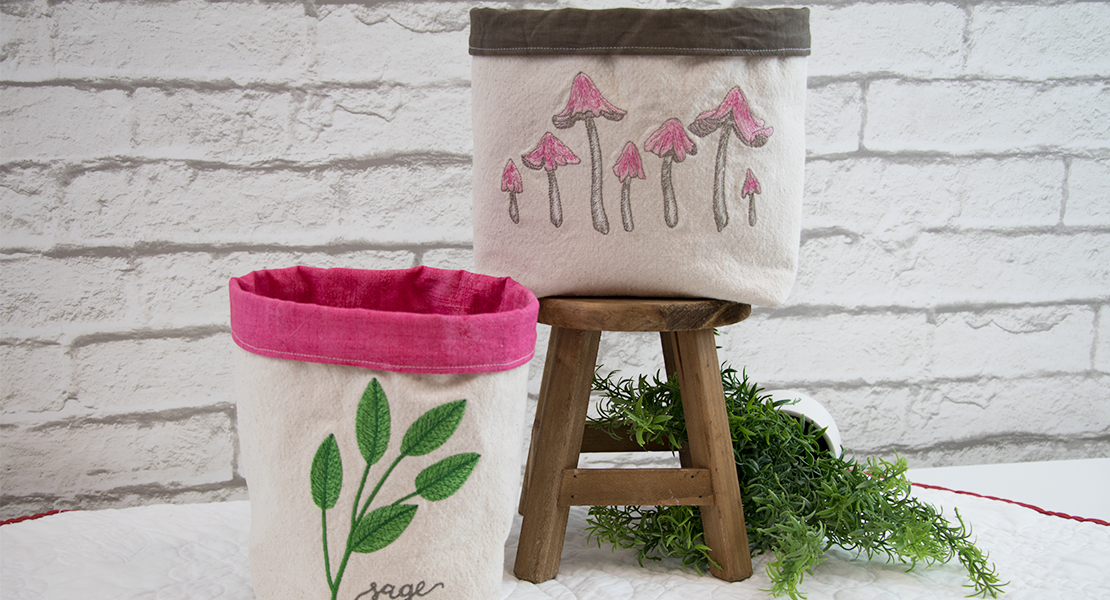
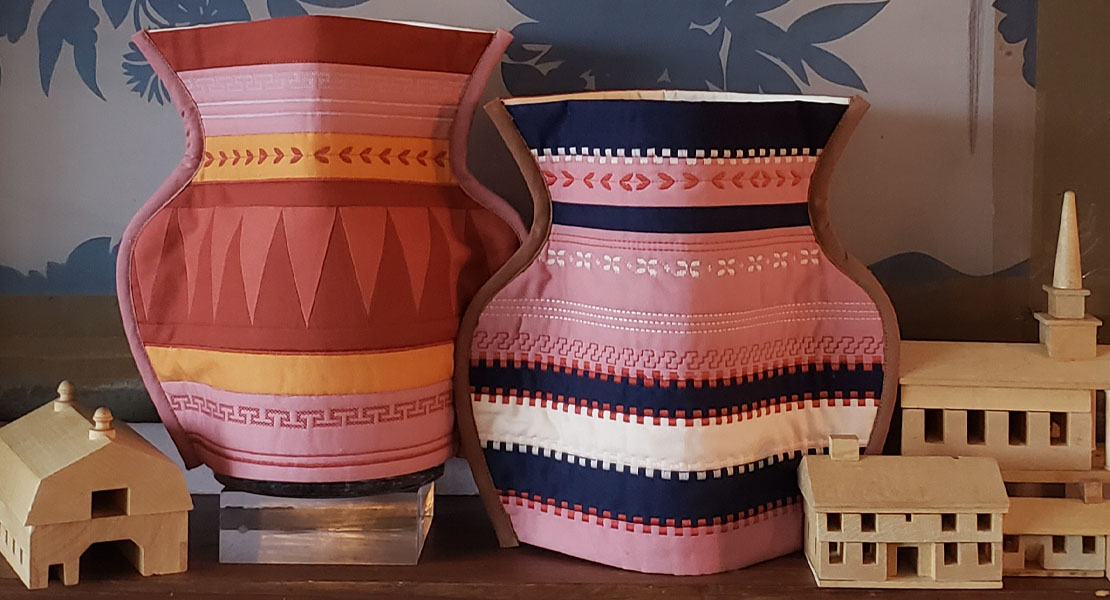
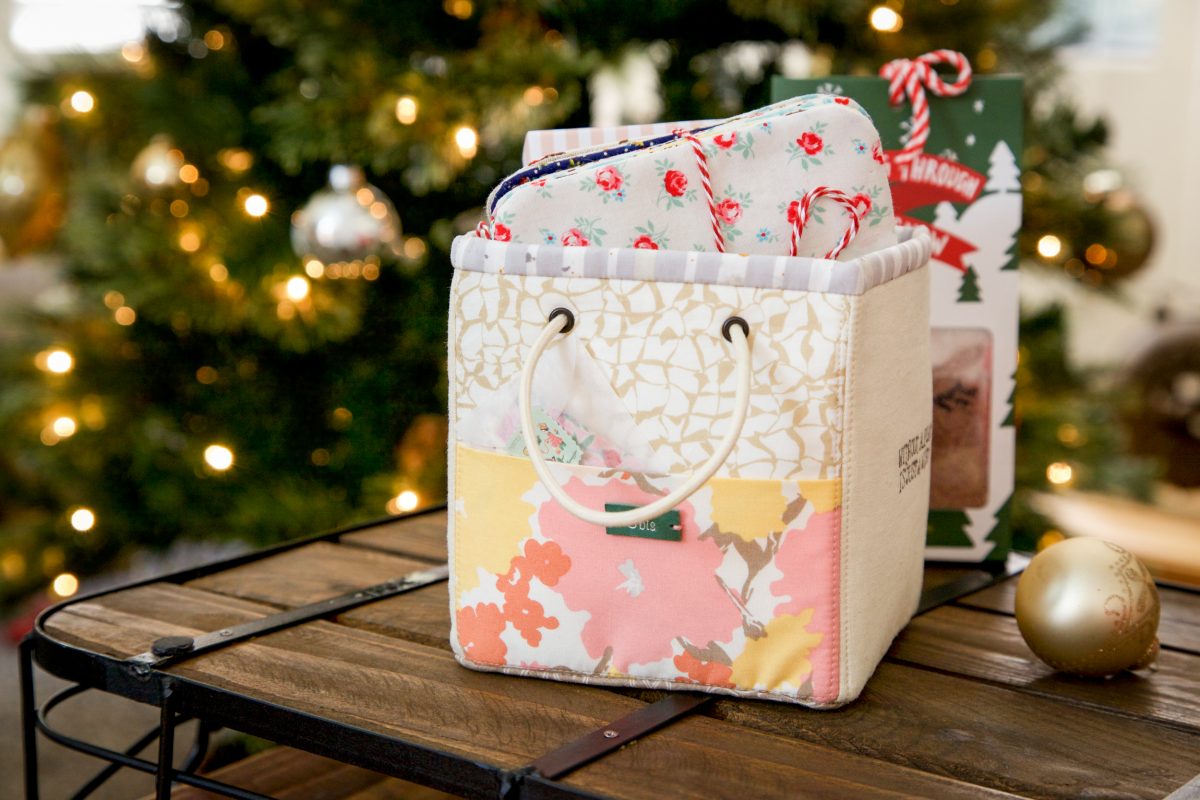
Fabric Organizer Baskets
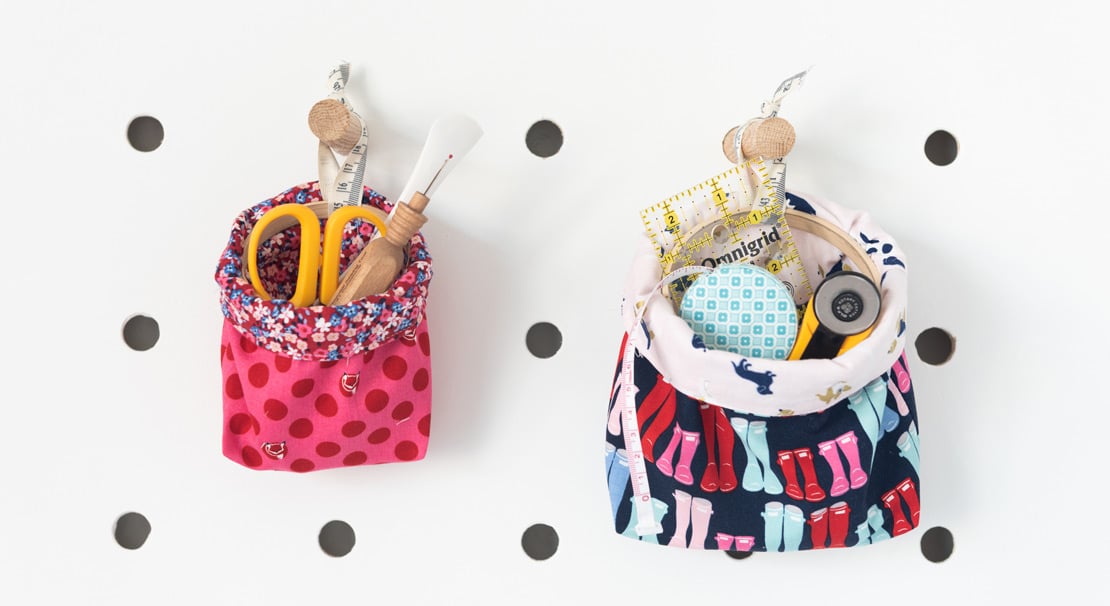
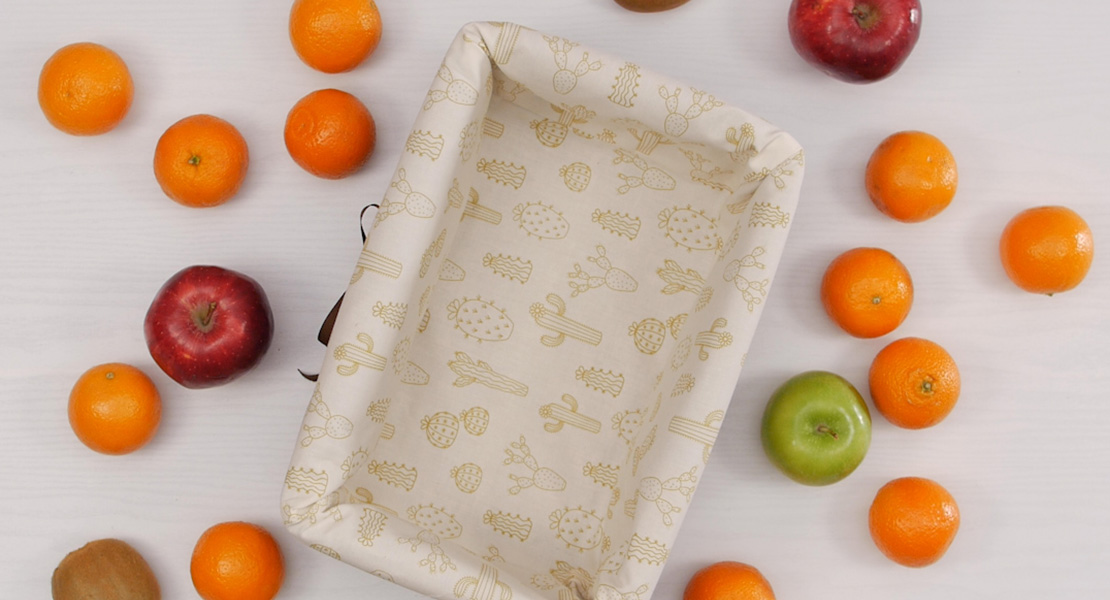
With the weather turning warmer, I find myself getting the urge to spring clean. I can’t think of a better way to organize my belongings and show my love of sewing by making pretty baskets! These fabric containers measure 8-1/2″ W x 5-1/2″ W x 6″ D, have optional handles, and are just the right size for storing fat quarters, rolled fabrics, notions, and more. They also make great boxes for gift giving—just fill with goodies, wrap in cellophane, and tie off with a pretty bow. Best of all? It’s a fat quarter friendly project!

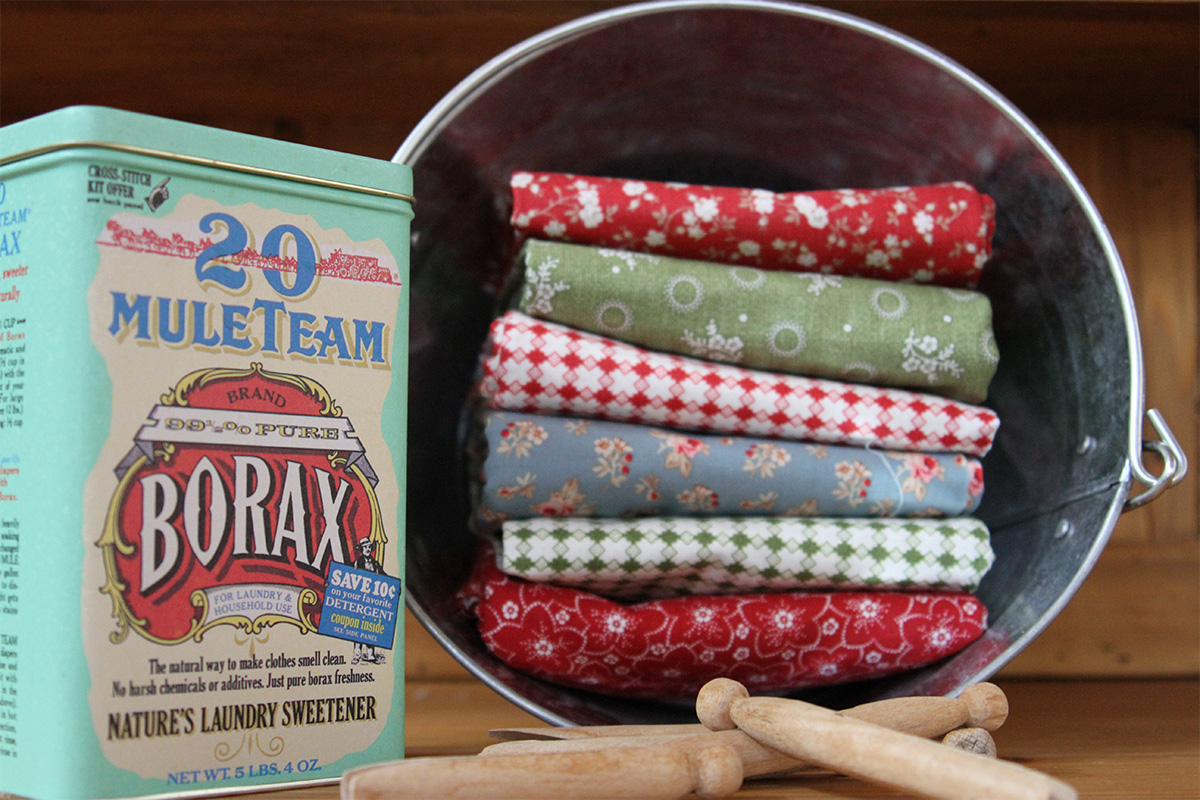
Materials to make a Fabric Organizer Basket
- 2 Fat Quarters
- 1/2 yard Timtex\Peltex interfacing
- 1/4 yard midweight fusible interfacing
- Water soluble marker
- Ruler
- Scissors
- Thread to match
- Organizer Basket Template
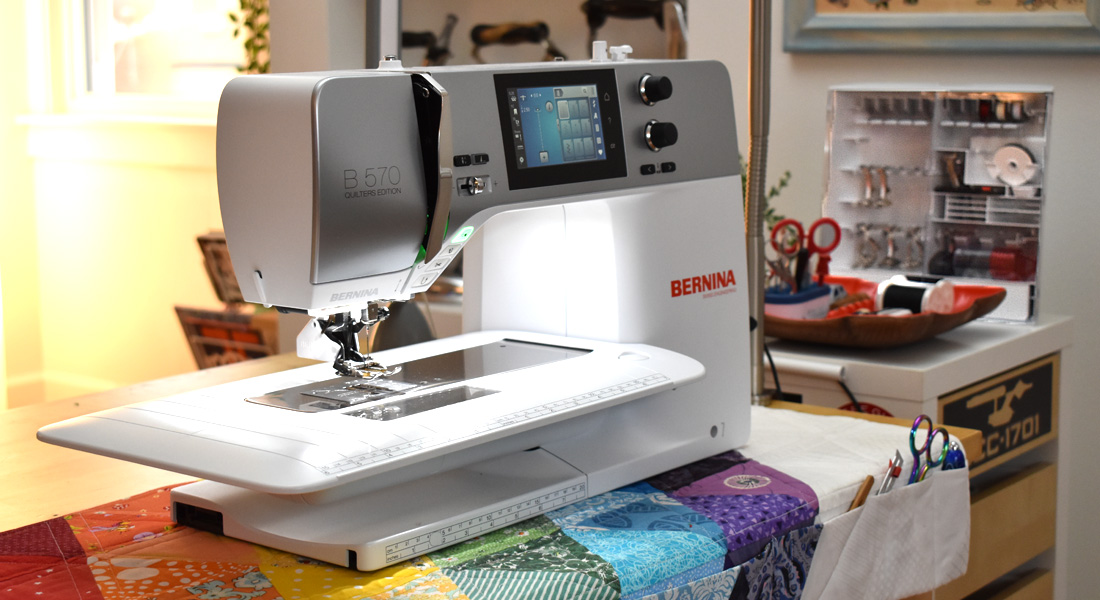
- Sewing Machine, I sew on a BERNINA 580
- Patchwork Foot #37 (optional)
Making a Fabric Organizer Basket
Cutting your Fabric Organizer Basket
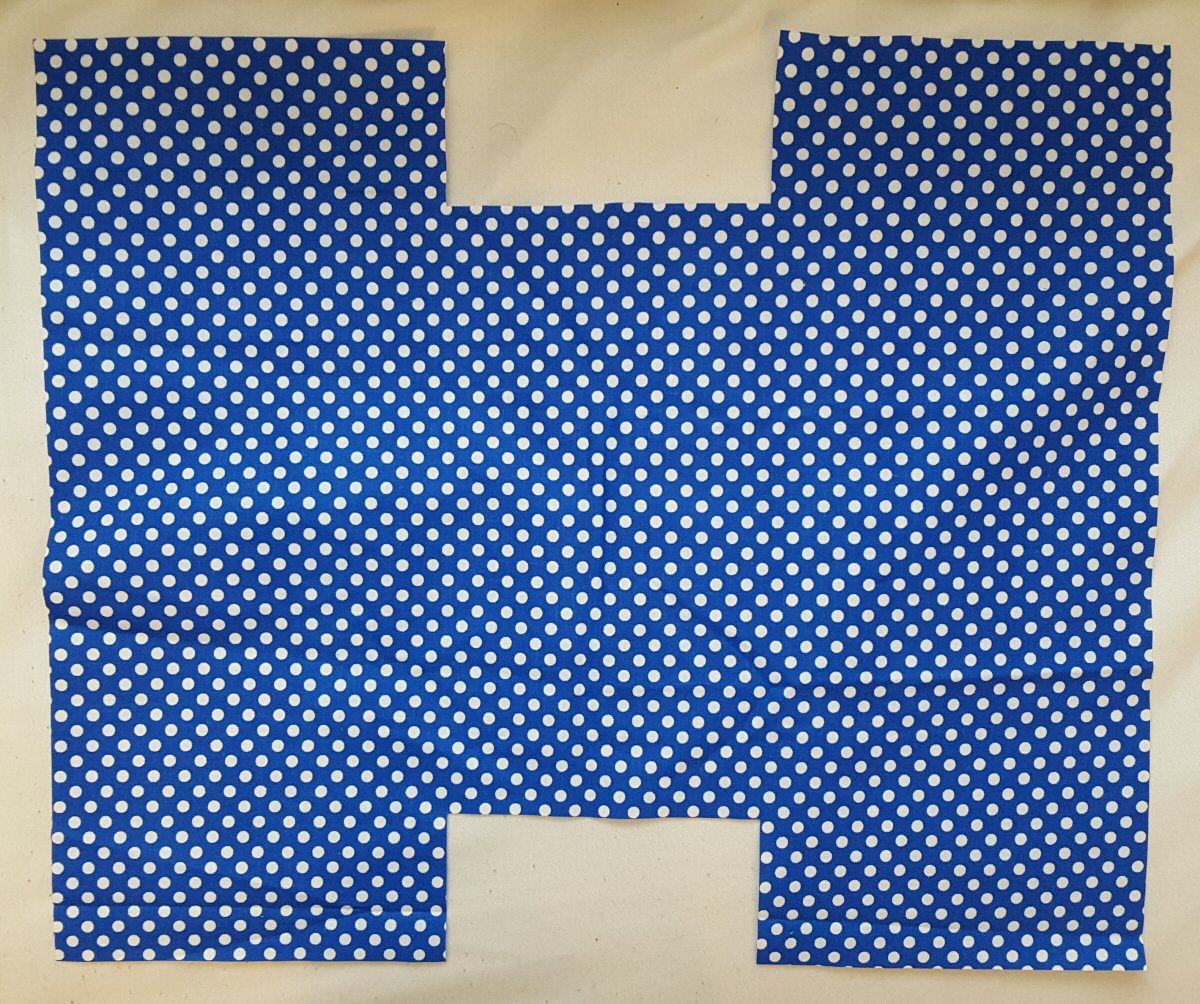
From fat quarter, cut a 15″ x 18″ rectangle. Fold rectangle in half (so that it measures 9″ x 15″) and place the Fabric Template on each corner on the fold. Using your water soluble marker, trace and remove the squares from the material. Repeat for second fat quarter.

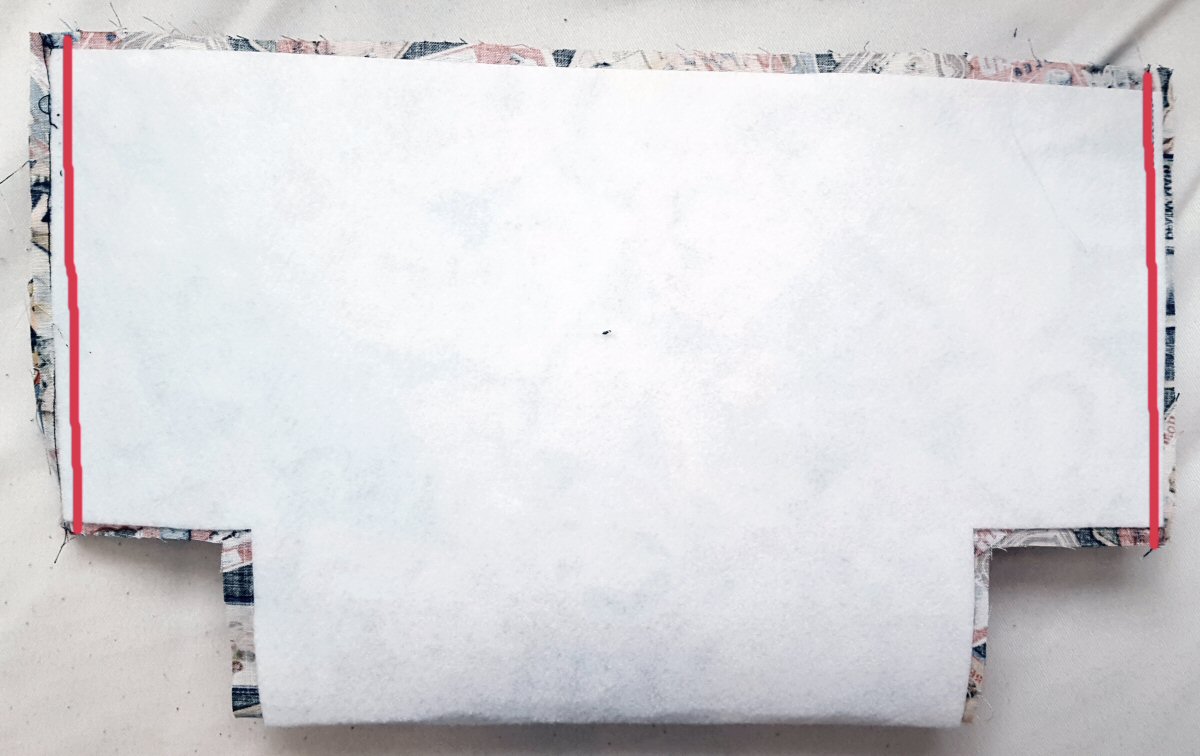
You will find that when you open up your fabrics, it is now in the shape of an “H”.
If you would like for your basket to have handles, cut 2, 5″ x 9″ rectangles from the exterior fabric as well as from the mid-weight fusible interfacing. After cutting, fuse the interfacing to the wrong side of the material, following manufacturer’s directions.
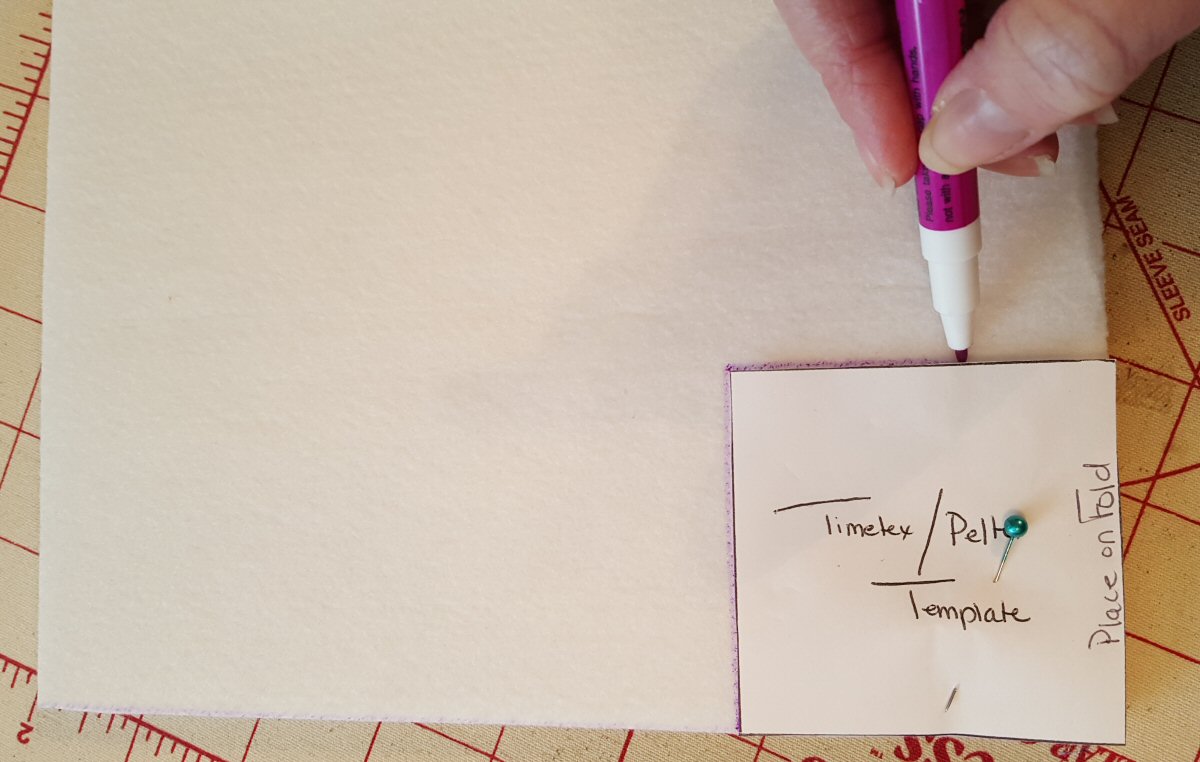
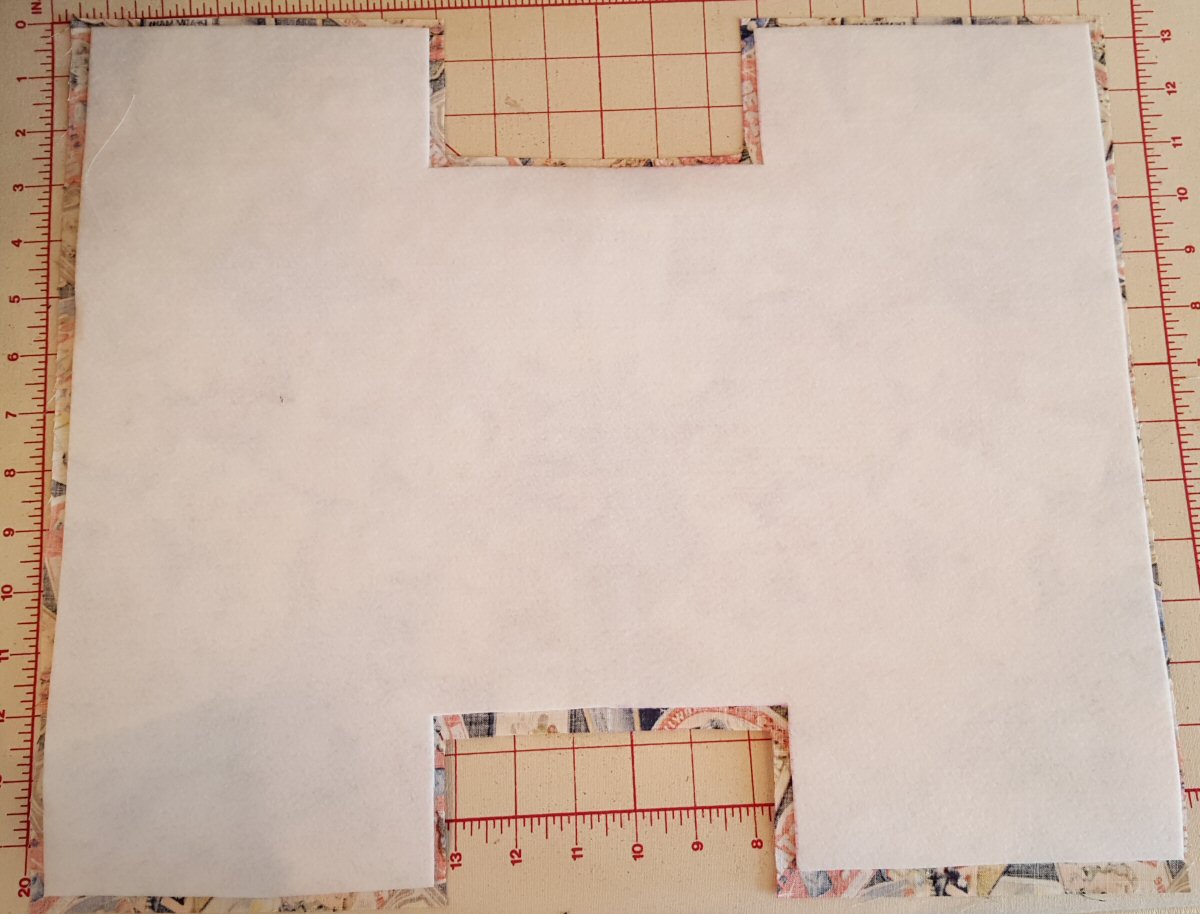
From the Timtex\Peltex cut a 14 1/2″ x 17 1/2″ rectangle. Fold in half (so that the interfacing measures 8 3/4″ x 14 1/2″) and place the Timtex\Peltex Template on each corner on the fold. Using your water soluble marker, trace and remove the squares from the material.
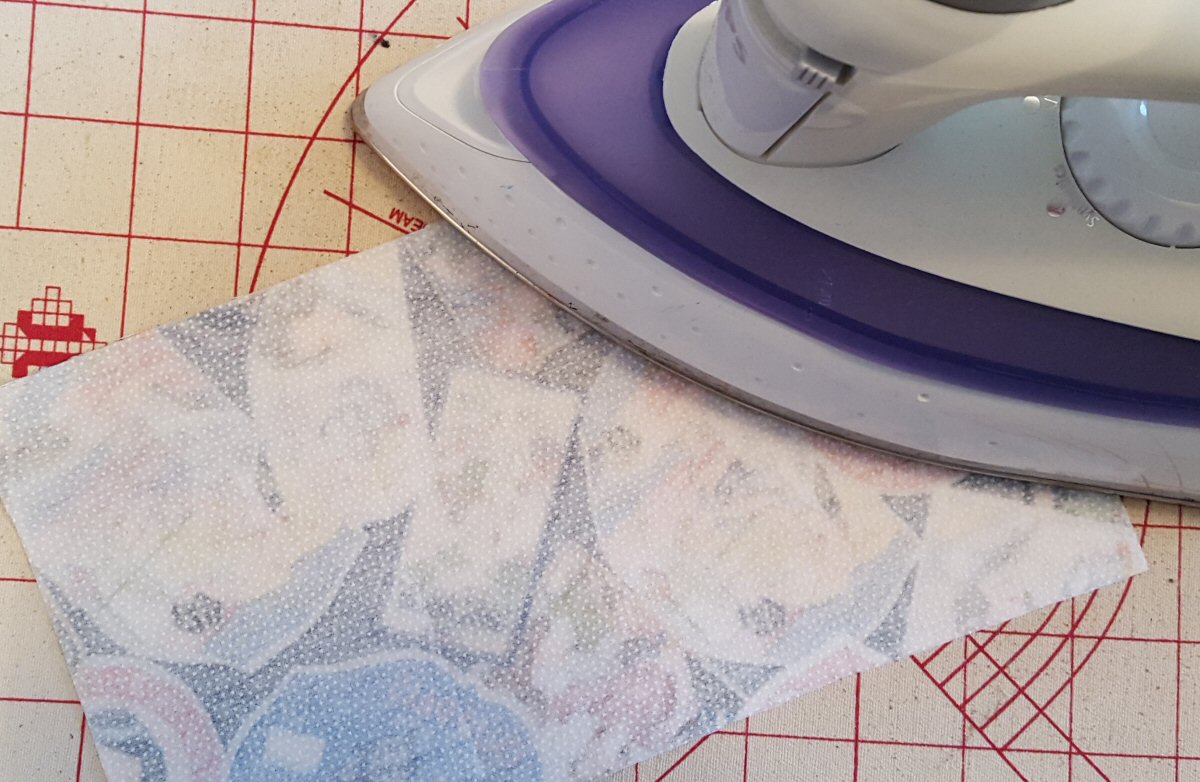
Center the Timtex\Peltex on the wrong side of the exterior fabric and fuse. You will find that the interfacing is smaller than the fabric—this is intentional. The excess bulk of the interfacing is already removed (so your edges will look crisp and your basket will have a professional looking finish), but should still be long enough that it will be caught into the stitching while sewing.
Sewing a Fabric Organizer Basket
All seams are 1/4″ unless otherwise specified
With right sides together, fold the exterior fabric in half so that it looks like a “T”. Sew the sides of the basket only (the area to sew has been highlighted).
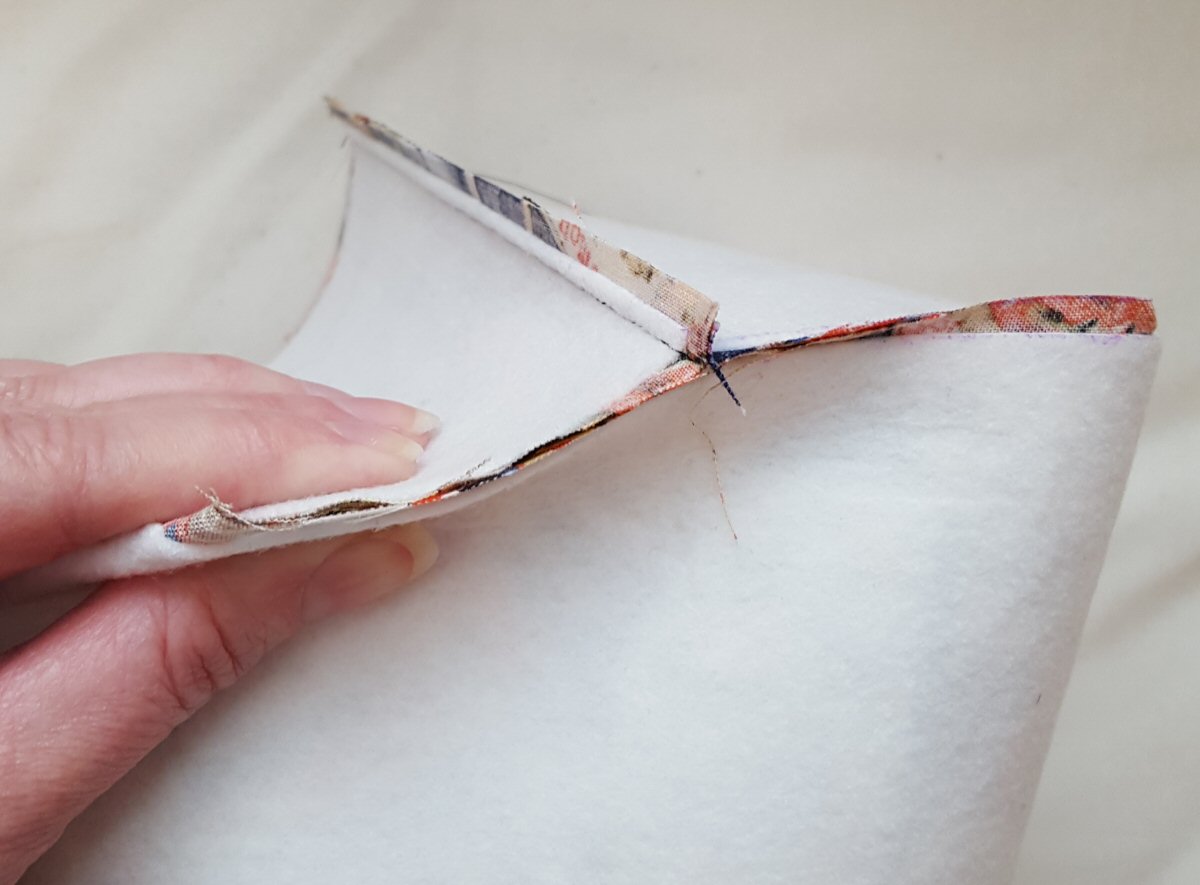
“Box out” your corners, by bringing the center, bottom edge of the basket to meet the side crease. Sew across this area. Repeat for second side.
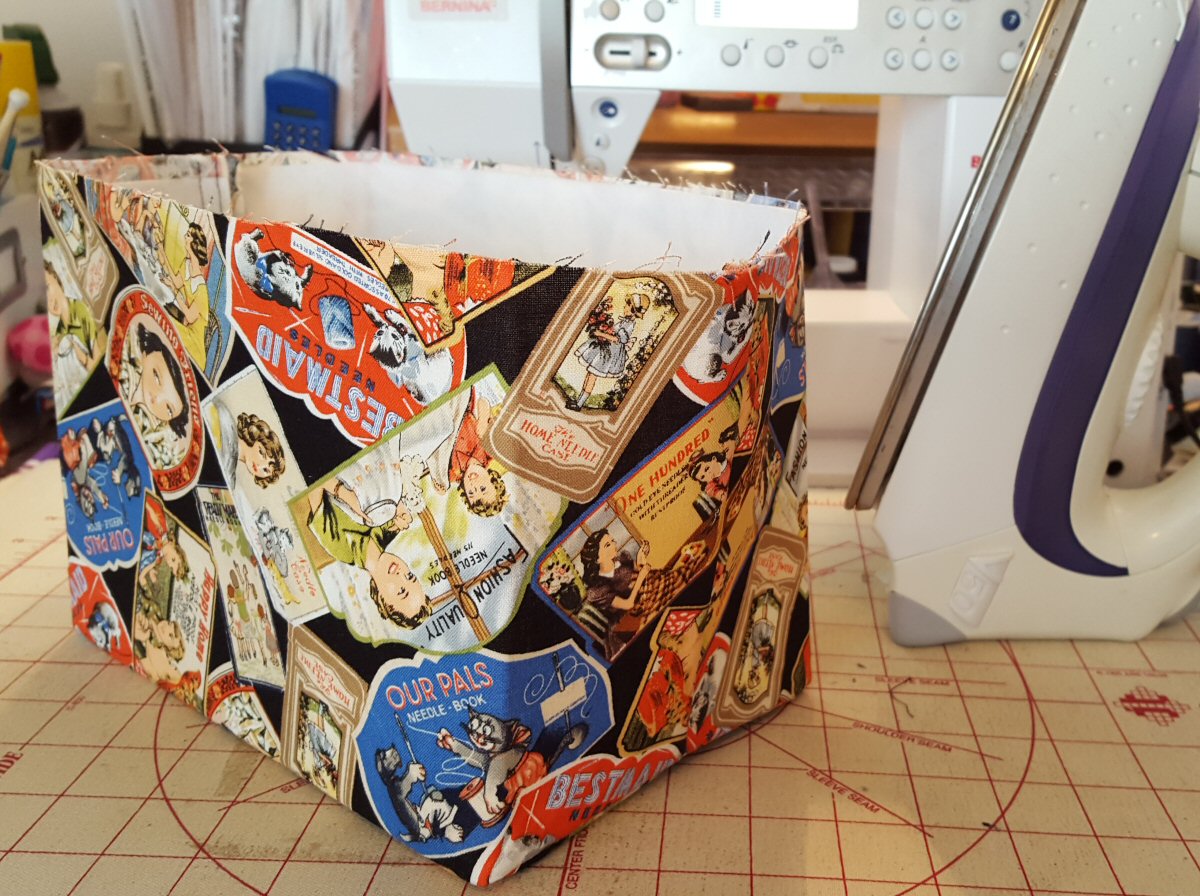
Turn the basket right-side out and press creases in place (bottom & side edges).
Repeat the steps above to create the lining.

Sewing Handles (Optional)
Fold in 1/2″ on each short edge of handle and press.
Fold handle in half, lengthwise. Open up fold and bring raw edges to meet crease.
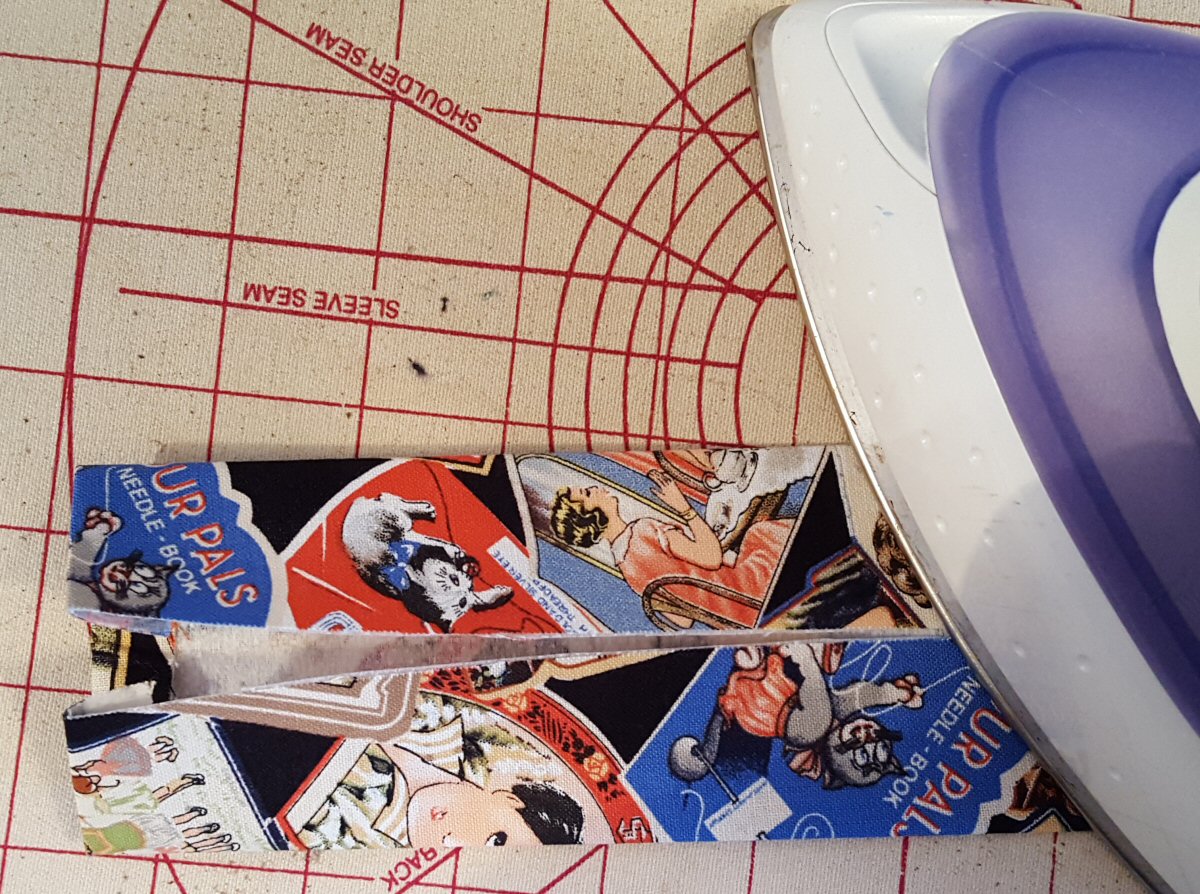
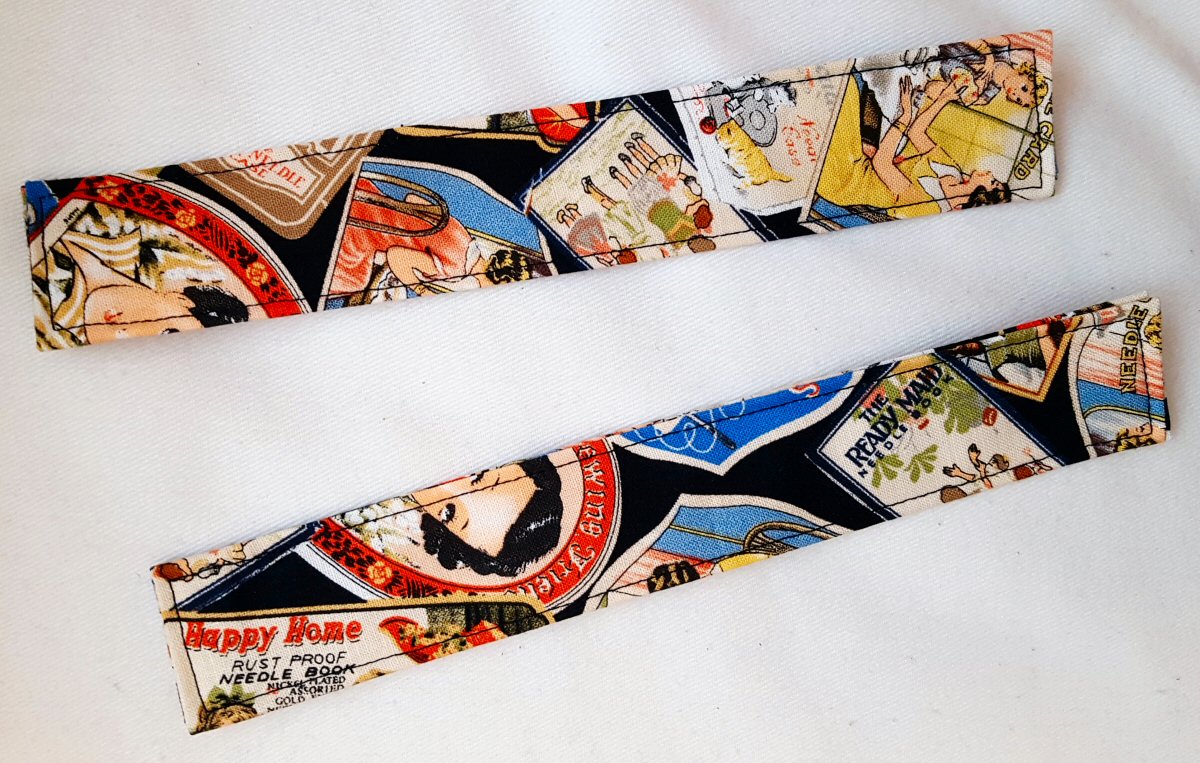
Refold the handle and sew around all the edges of the strap. Repeat for second handle piece.
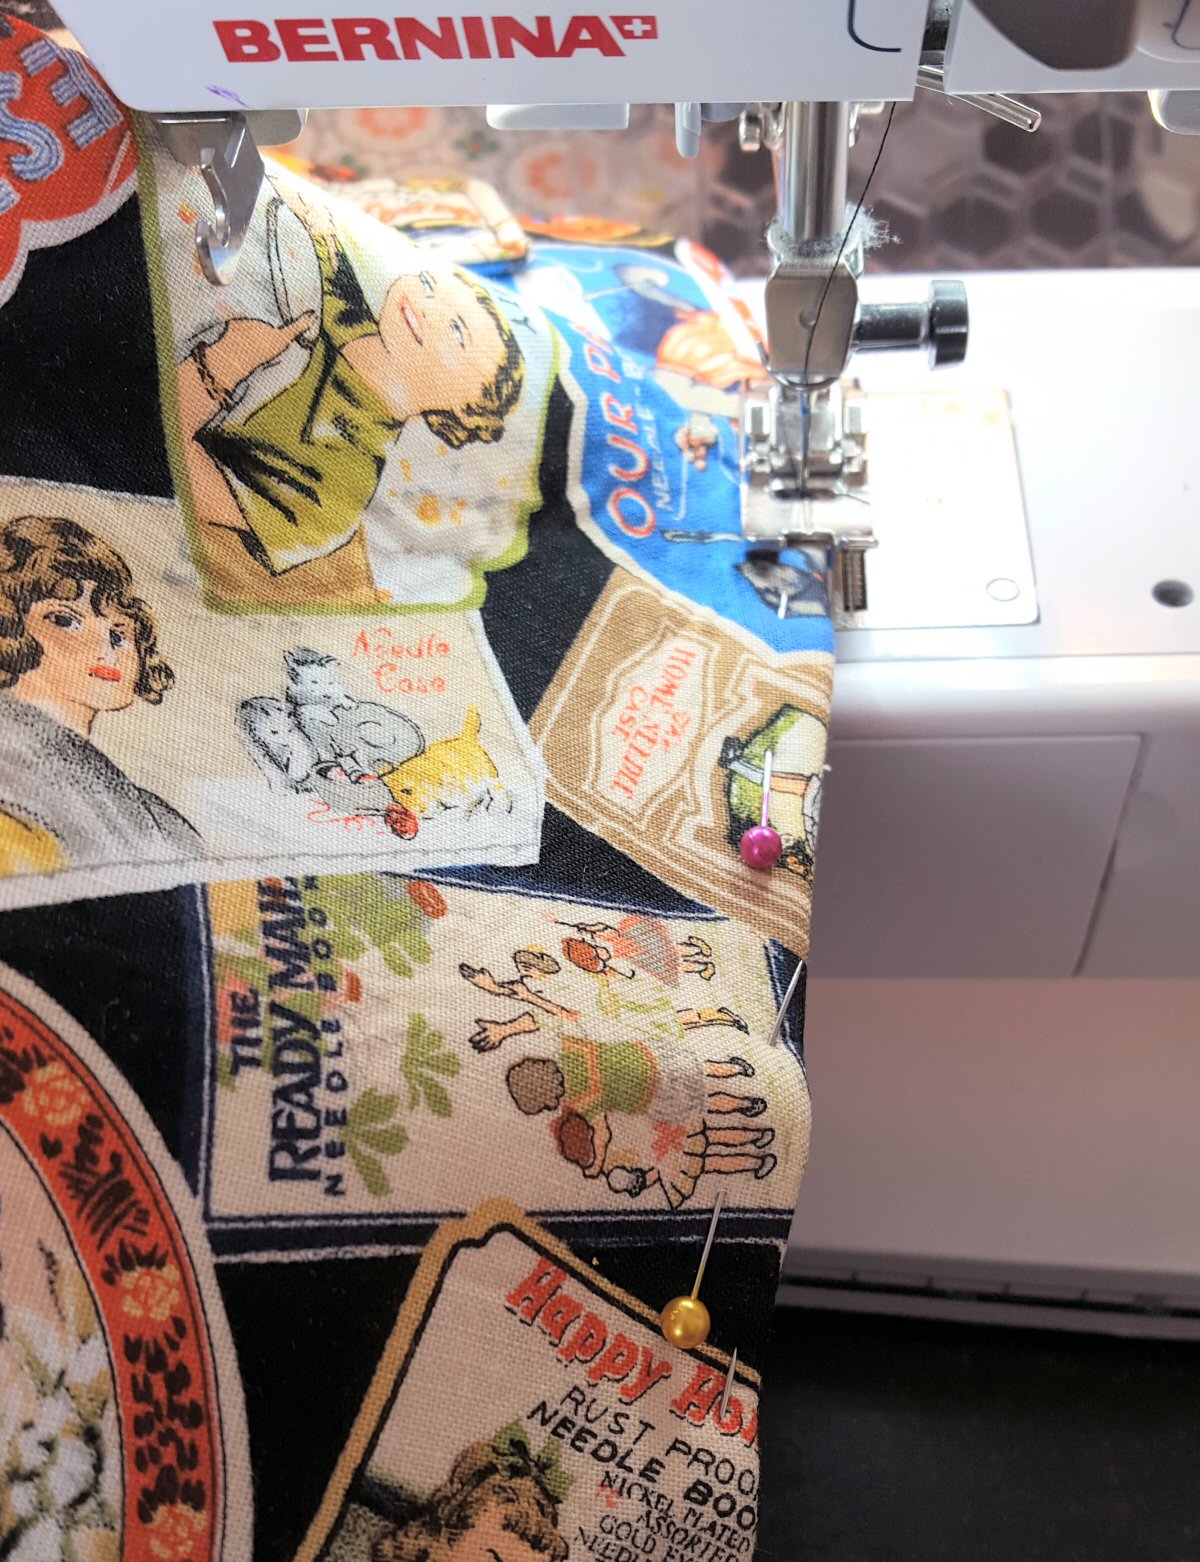
Place handle on side edge of basket exterior so that the top of the strap is 1 1/2″ down from the basket’s top edge and outermost handle edge is 1/2″ from the center seam.

Using the existing topstitching as your guide, sew around the handle, creating a 1″ square. Repeat for second set of handles. (To add extra handle support, you can add an ‘X’ to the center of your square.)

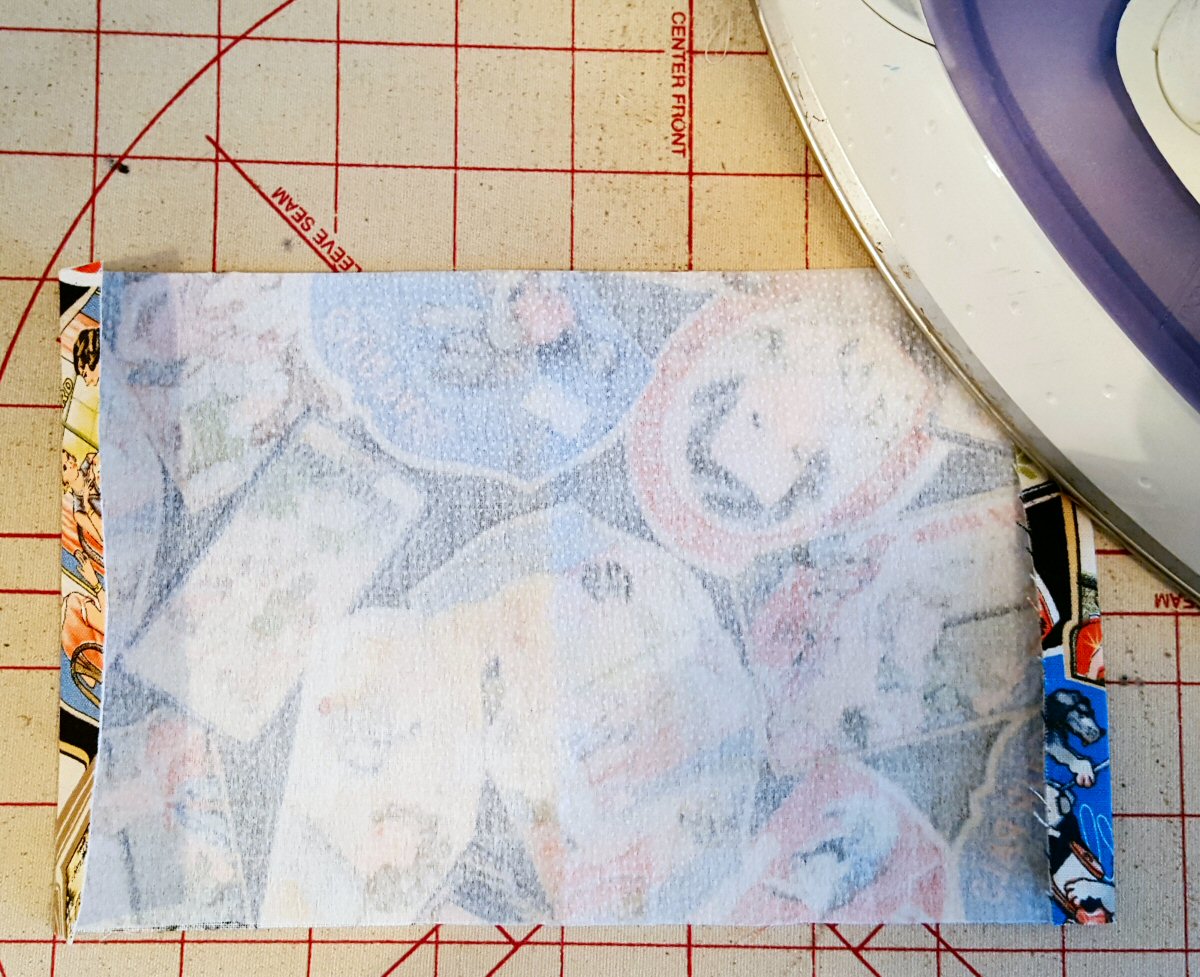
With right sides together, place exterior basket inside lining, matching seams and raw edges. Sew around top edge of basket, leaving a 5 -6 ” opening for turning.

Turn basket right side out through the opening on the top edge. Press and topstitch along upper edge.
Used Products


What you might also like


![Have a habit of misplacing your keys. Losing your iPod? Forgetting your coupons? Now, with this handy organizer, all your little necessities are in one convenient spot when you're ready to head out the door - right on the door knob! How to Make a Door Organizer Supplies 1/3 yard or heavyweight fabric such as twill, canvas, or denim 1/3 yard of fusible interfacing Coordinating thread Scissors Water-soluble marking pen or tailor's chalk Ruler 1/4" presser foot (BERNINA Patchwork Foot #37 or Patchwork Foot with Guide #57) Download and print the keyhole template: [download id="88"] Step 1) Prepare the fabric pieces. Cut from the heavyweight fabric: Two 5" x 11" rectangles for the organizer body One 5" x 12" rectangle for the large pocket One 5" x 7" rectangle for the small pocket One 6" x 7" rectangle for the hanging pocket Fuse interfacing to the wrong side of both 5" x 11" fabric rectangles following the manufacturer's directions. How to Make a Door Organizer Cut the keyhole: Measure down 1" from the top edge of one 5" x 11" rectangle. Center the top of the keyhole template on this mark. Trace the template. Cut along the traced line. Repeat for the second 5" x 11" rectangle. How to Make a Door Organizer Step 2) Make the large and small pockets. With wrong sides together, fold the large pocket in half to create a 6" x 5" rectangle. Topstitch close to the folded edge. How to Make a Door Organizer Place the large pocket on top of the right side of one 5" x 11" rectangle, matching the raw edges along the sides and bottom edges. Baste in place. How to Make a Door Organizer With wrong sides together, fold the small pocket in half to create a 3 1/2" x 5" rectangle. Topstitch close to the folded edge. Place the small pocket on top of the large pocket, matching the raw edges along the sides and bottom edges. Baste in place. How to Make a Door Organizer Step 3) Make the hanging pocket. With wrong sides together, fold the 6" x 7" rectangle in half lengthwise. Press. How to Make a Door Organizer Unfold the strip and then fold the long raw edges to the center fold line. Press. Refold the strip along the center crease. Topstitch close to both long edges. How to Make a Door Organizer Fold under 1" on both edge of the finished 7" strip. Measure up 1-1/4" from the lower edge on the right side of the second 5" x 11" piece. Center the bottom of the strip on this mark. How to Make a Door Organizer Sew close to the folded ends of the strip, then again 1/2" away from the first stitching. How to Make a Door Organizer Step 4) Construct the door organizer. With right sides together, place the two 5" x 11" rectangles together, matching the raw edges and the keyhole opening. How to Make a Door Organizer Stitch around the entire rectangle, leaving the keyhole open. Do not stitch around the keyhole area! Clip the corners. How to Make a Door Organizer Turn the organizer right side out through the keyhole opening. Press. How to Make a Door Organizer Topstitch close to the finished edges. How to Make a Door Organizer Baste the raw edges of the keyhole opening together. How to Make a Door Organizer Satin stitch close to the keyhole edges. Position the fabric so the needle goes just barely to the right of the raw edges and encloses them in stitches. Tip: A satin stitch is a zigzag stitch with a very short stitch length, so the stitches are very close to each other. How to Make a Door Organizer How to Make a Door Organizer Fill your organizer with keys, pens, letters, etc. so you never leave home without your essentials! How to Make a Door Organizer](https://weallsew.com/wp-content/uploads/sites/4/2011/10/How-to-Make-a-Door-Organizer-WeAllSew.jpg)
2 comments on “Fabric Organizer Baskets”
-
-
Yes, those are correct. The templates are not used to cut the material (the dimensions for cutting your fabric is listed in the first step), but instead are used to make the “cut out” sections on your fabric (and Peltex) so you can easily and accurately make your corners.
-
Leave a Reply
You must be logged in to post a comment.

Can you tell me what size the templates for the fabric organizer basket are suppose to be? One printed out
2 1/2 X 2 1/2 the other printed out 2 1/2 X 2 3/4. Is that correct? Thanks Joyce