Anatomy of an Art Quilt from Inspiration to Completion – Hanging the Quilt
This is the last of the three posts that take you with me from inspiration through construction to hanging of my final artwork. If you remember, first I had an idea, then I made a plan, sewed together the essential “elements” of the piece, made the final decisions about finishing and hanging and now I am ready to put everything together.
PREPPING THE BACK
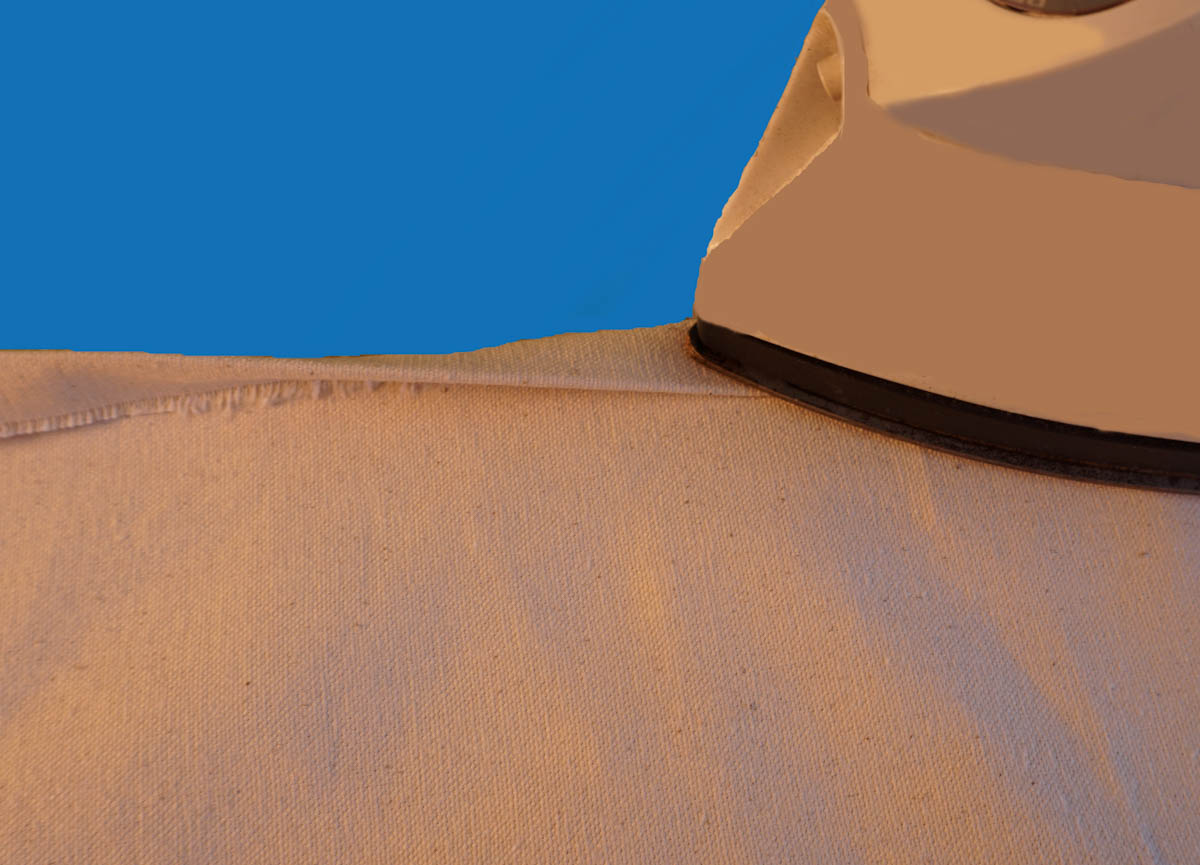
Cotton canvas (also called cotton duck) has enough body to stabilize a piece without batting. It comes in different colors and since I use so much of it, I purchase a neutral color by the bolt. It does shrink, so even though I never intend to wash a finished piece, environmental factors can still cause some shrinkage. I always preshrink the canvas using a steam iron and pressing the entire surface so any shrinkage will occur before I do my final measured cutting.
I did a rough cut of canvas (which was 60” wide) by about 82” and steam pressed the whole thing. I removed the selvage from one long edge (as tempting as it is to leave it in as a nice even edge, it can distort over time).
Then I turned over one inch, pressed, and then turned over again and pressed, and sewed this edge down.

Now I had the top of the canvas prepared but I had to figure out how to make sure the bottom was exactly 48”and straight.
Using a 24” ruler, I folded the finished edge over so that the 24” ruler came from the fold to the finished edge.
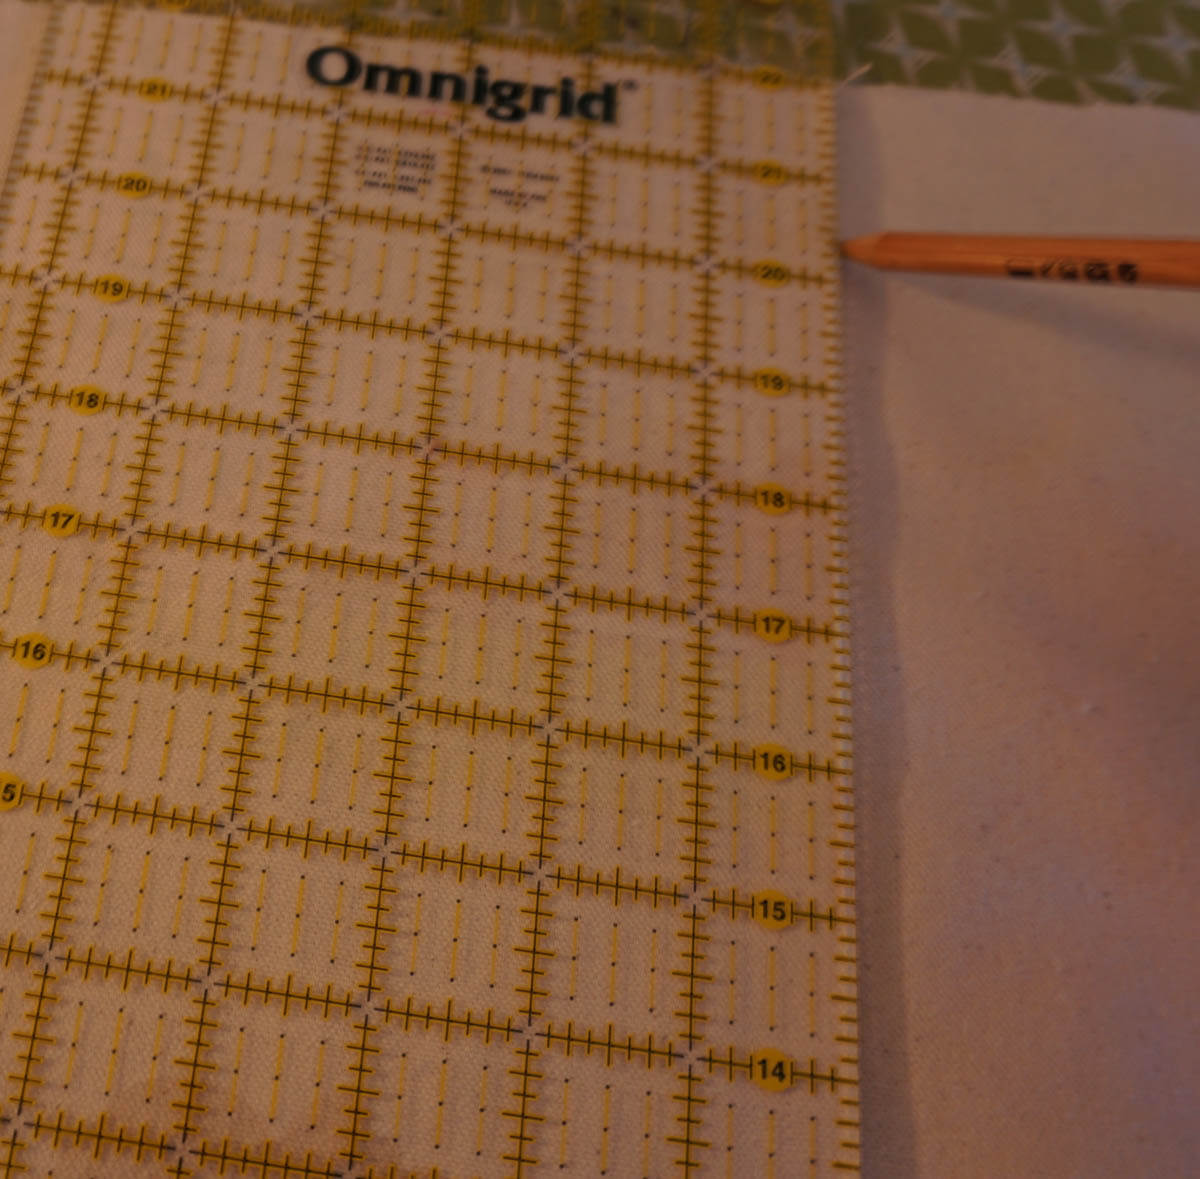
I then drew a thin pencil line where the edge met the other side which represented exactly 48” from the finished top line. Using my rotary ruler and cutter, I trimmed two inches farther than the pencil line. I folded the raw edge in 1”, pressed, then folded again and pressed. Once this was sewn down my finished edge was 48” high and straight.
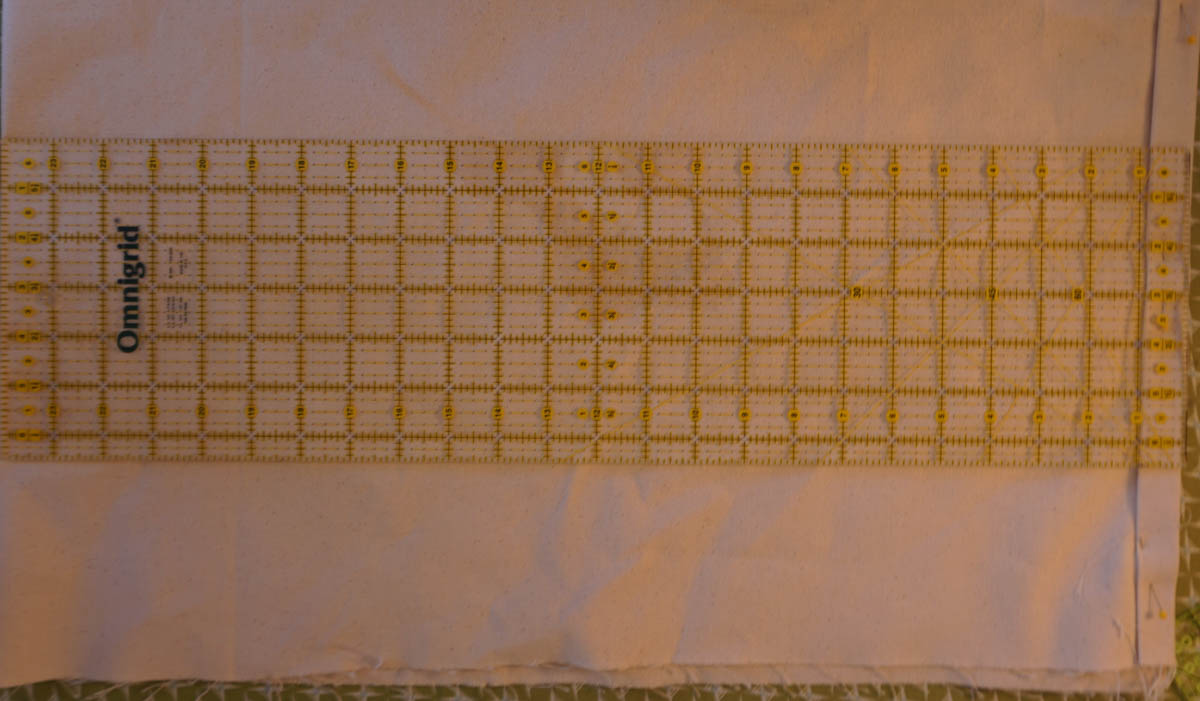
I squared off one of the short sides so it was straight and perpendicular to the top and bottom edges and sewed it the same way. Then, using the ruler to move across the top edge to measure out 75”, I added the two inches and cut and finished that edge. (One of the nice things about a BERNINA is that it doesn’t get upset when the bulk of the corner comes along.) Now the canvas is exactly the right size for my finished piece—75” wide and 48” high.
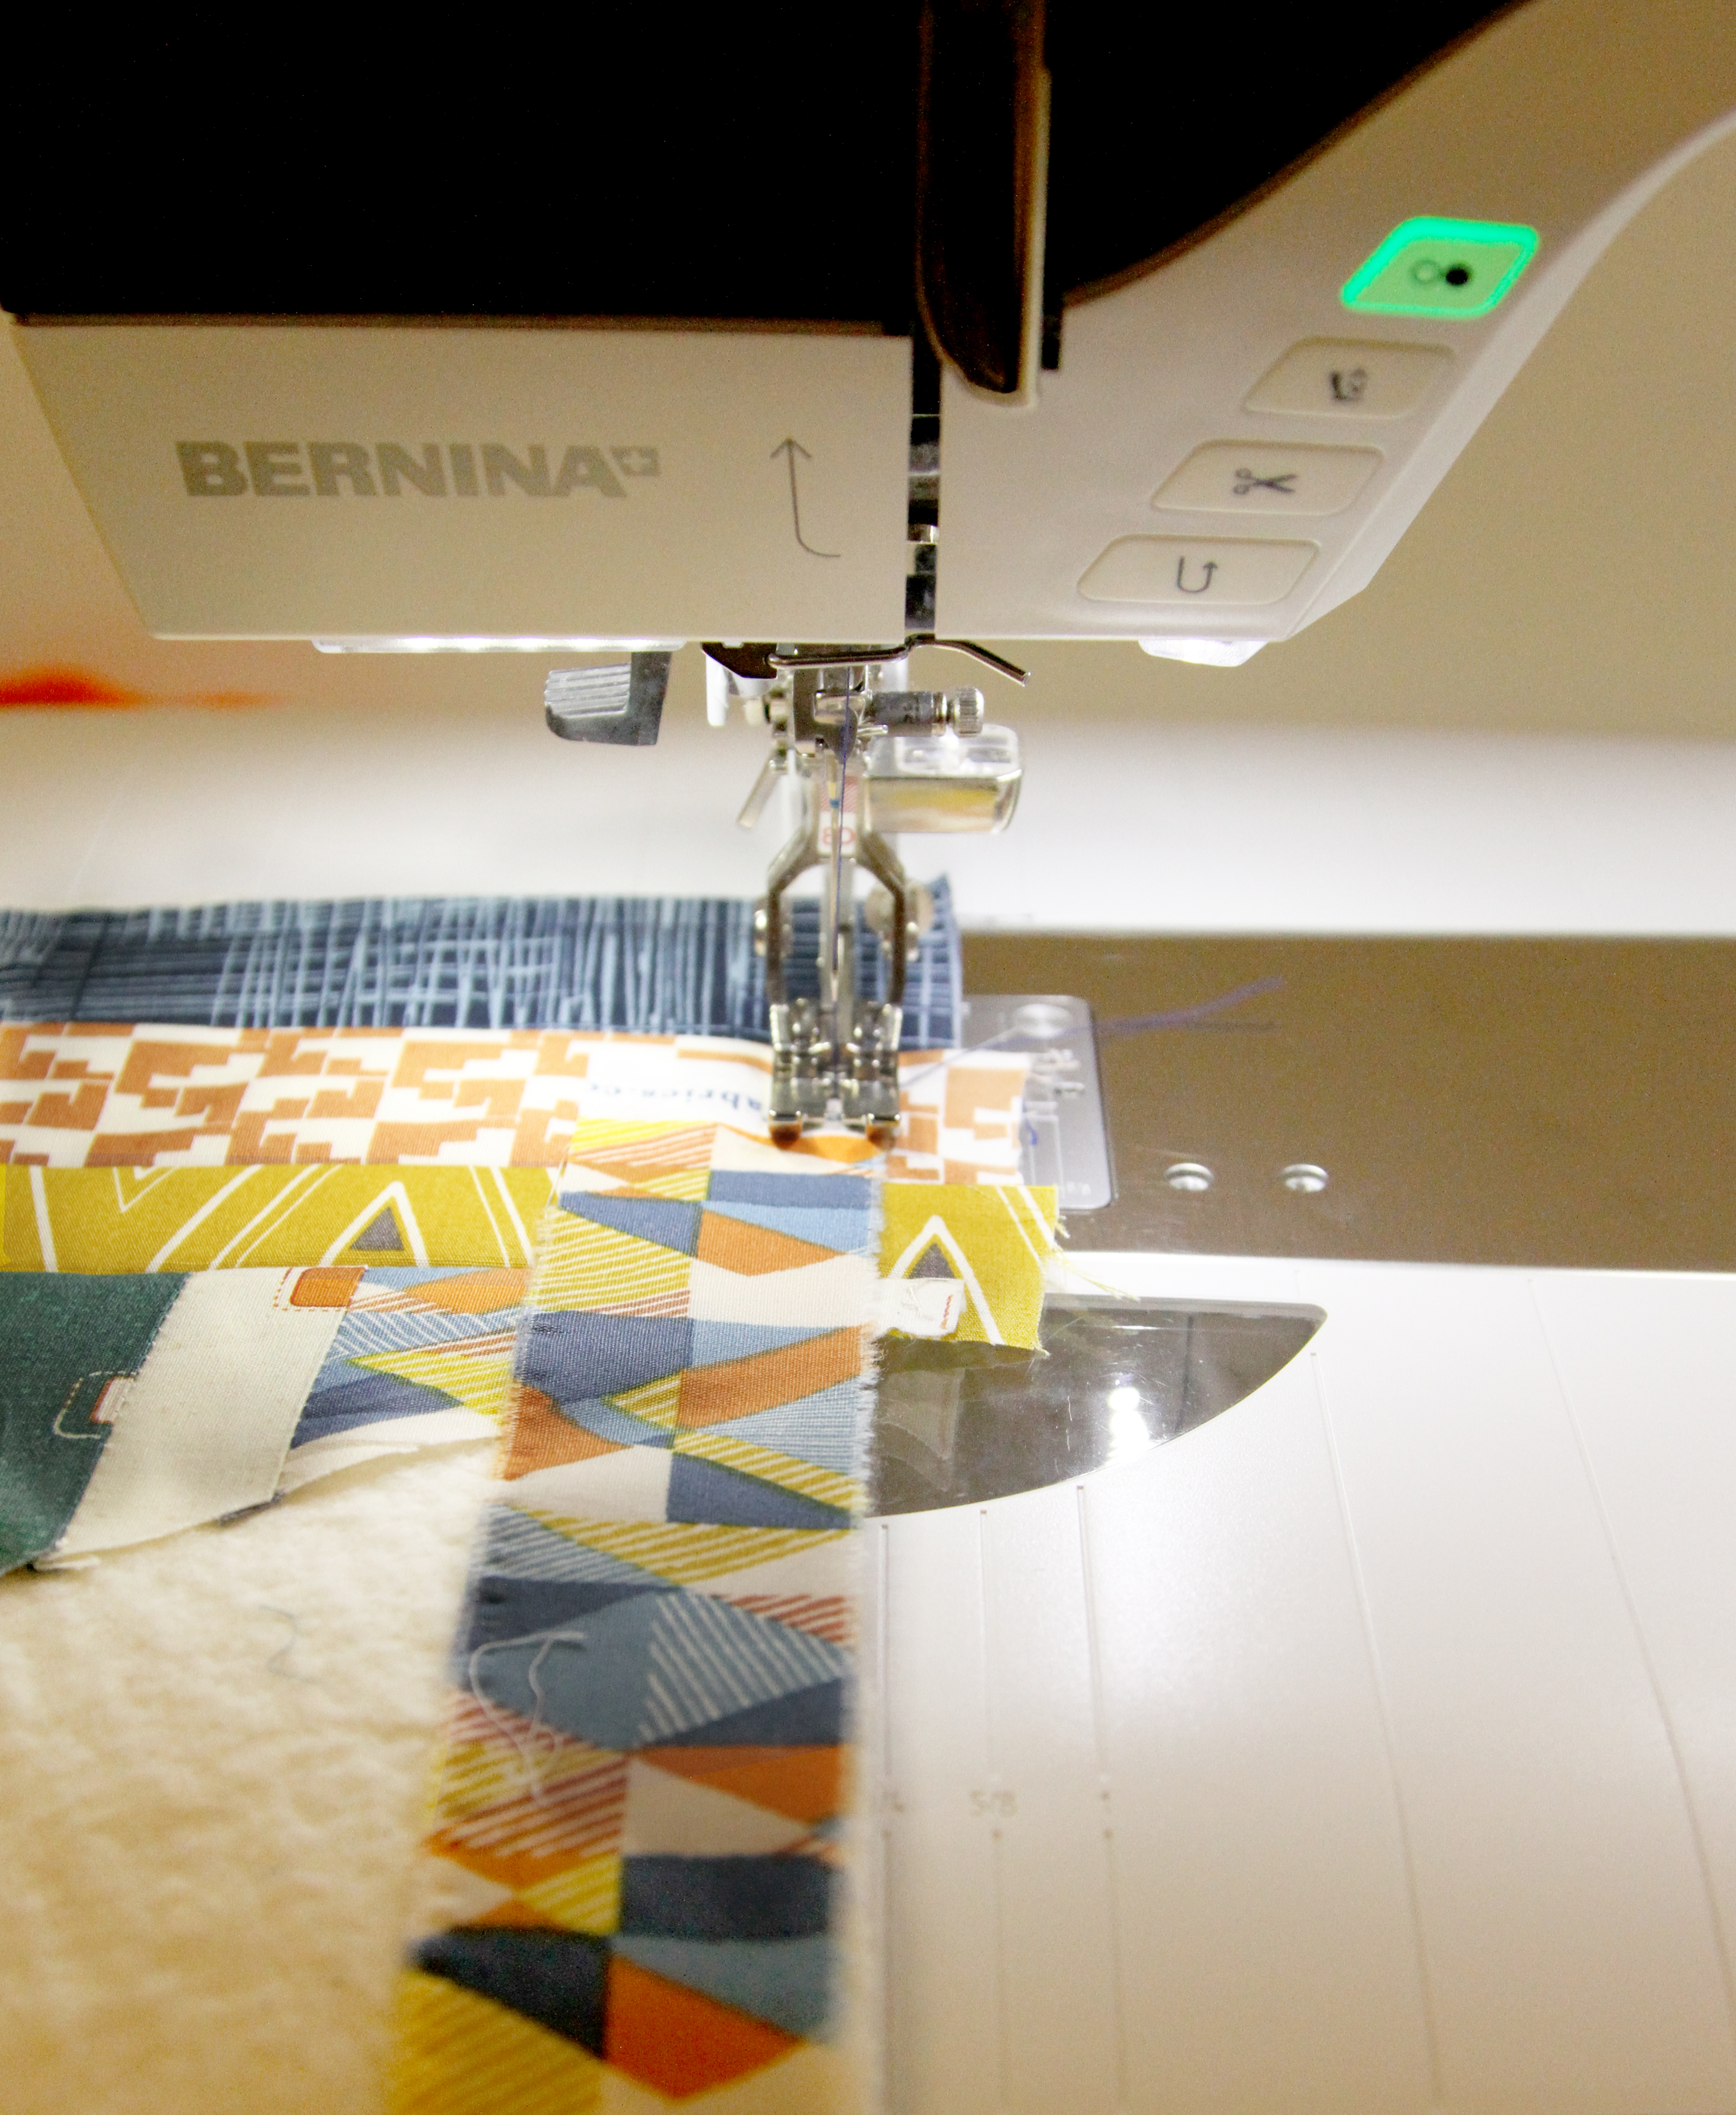
Next the orange fabric was added to the canvas foundation. Here again, I removed the selvage and left 2” at the top and sides so I could turn it under onto the back as I had with the canvas. I pressed it and pinned it but didn’t sew it yet—my decorative quilt stitching on the orange will accomplish that task.
I decided to use gently meandering lines of stitching in the orange area, horizontal but with movement to them. I chose to use a standard foot rather than a BERNINA Stitch Regulator (BSR) or darning foot for better control and fluidity.
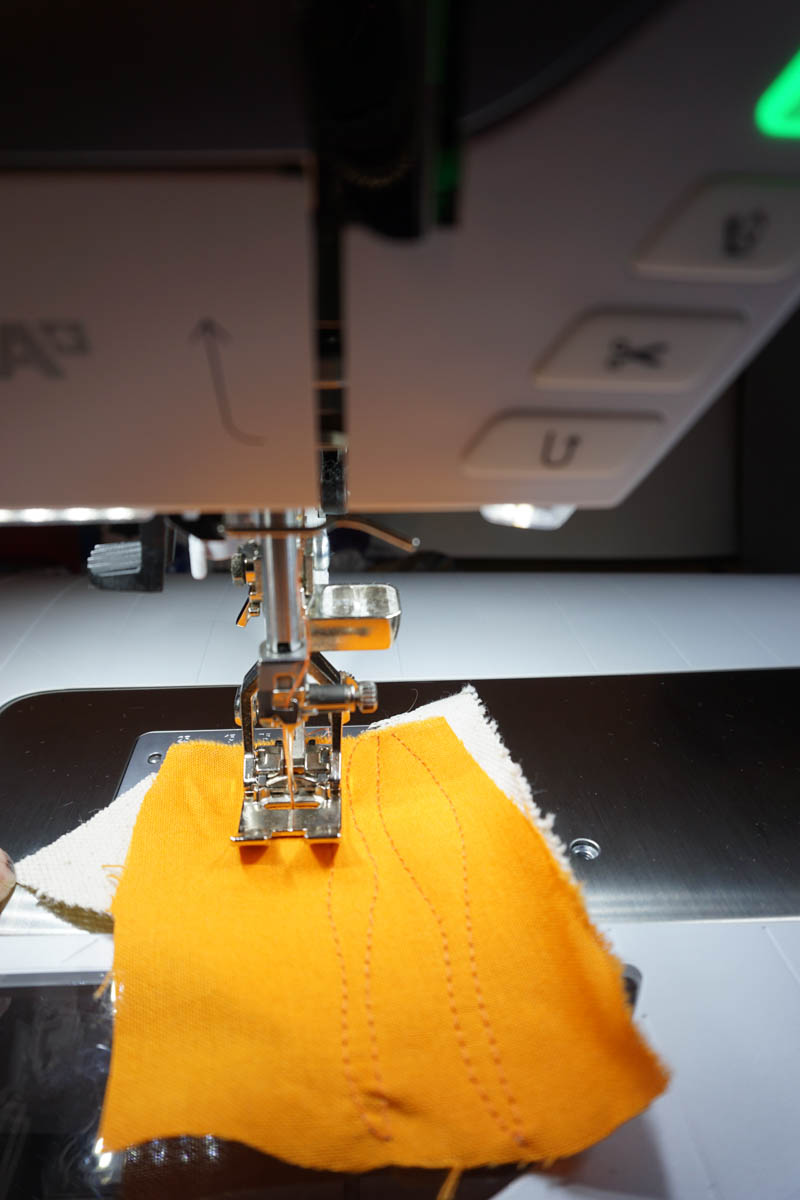
A test on scrap materials tells me where to set my stitch length and I am ready to go.

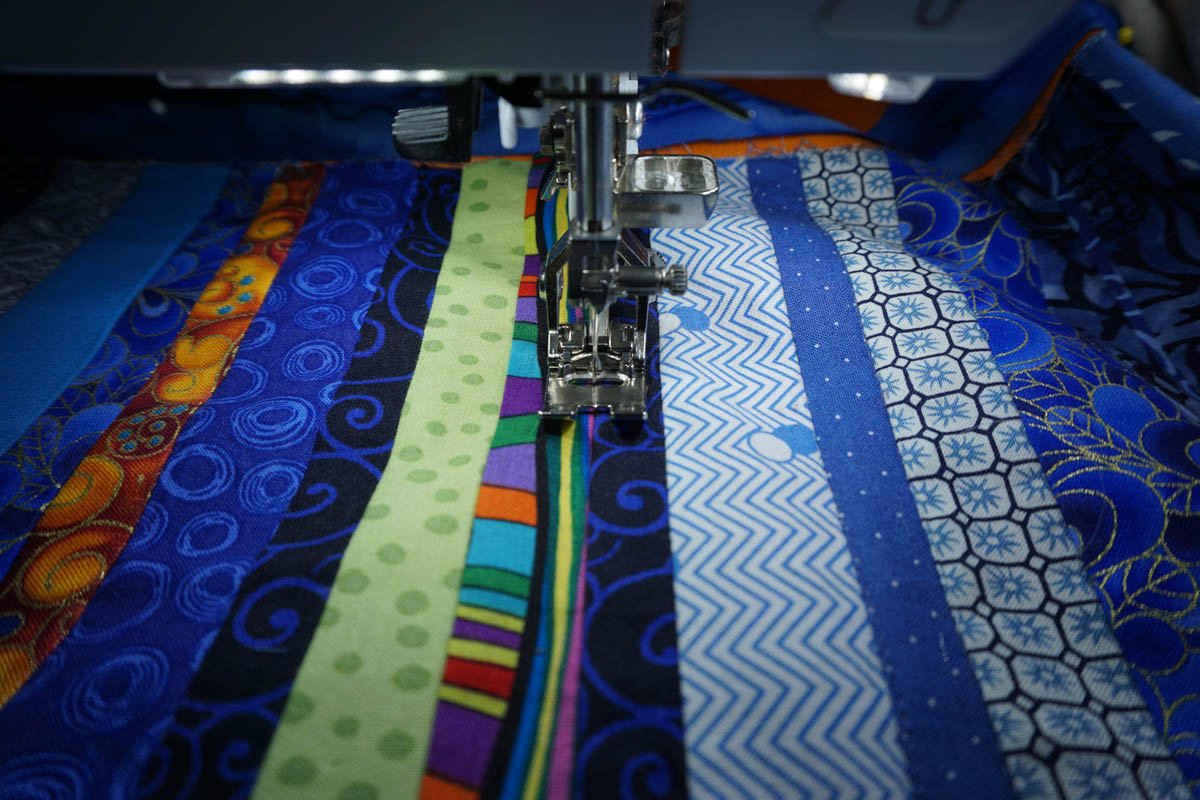
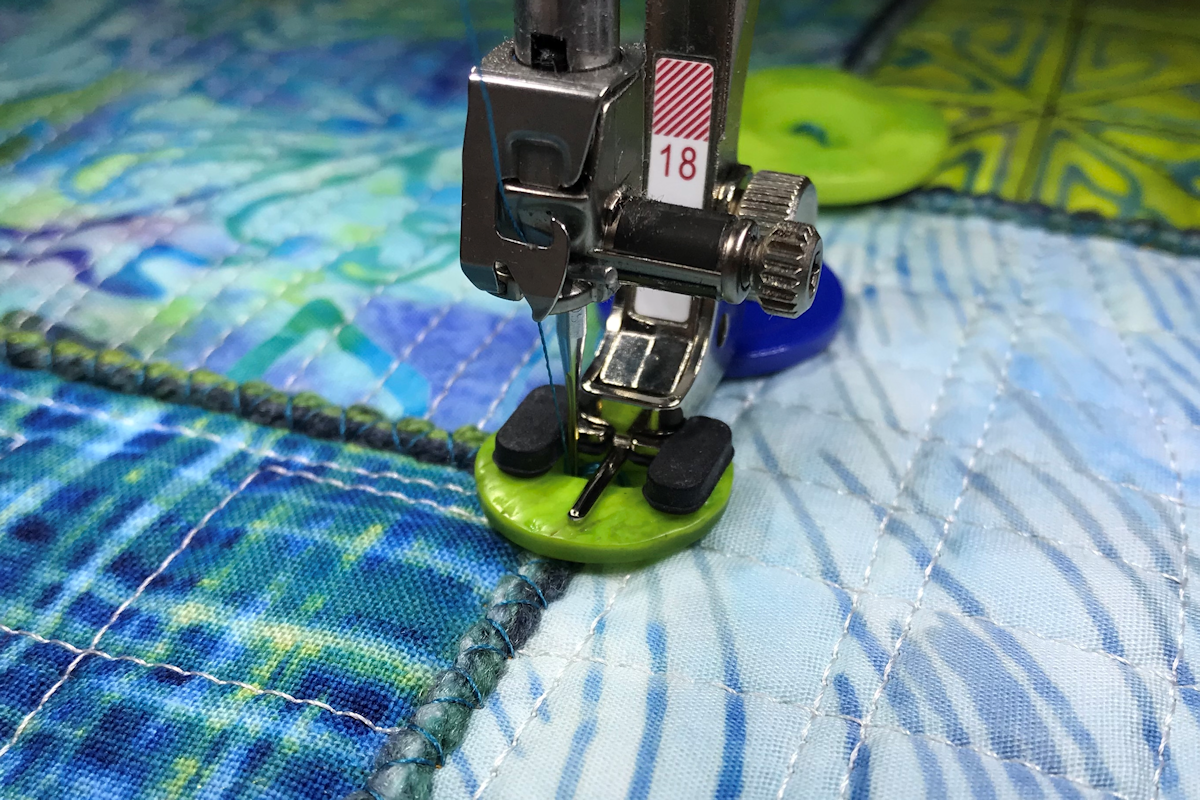
Now the blue element is added to the bottom. The blue area is sewn down using stitch in the ditch every three or four rows which will secure it invisibly.
(TIP) Stitch in the ditch is actually a term from garment sewing where the seam allowances are pressed opened and it is possible to gently pull the edges apart, stitch across the thread and release, allowing the line of stitching to sink into the seam and disappear. With quilt stitching we can only “cheat” at stitch in the ditch because our seam allowances go to one side. When you look at any seam in a quilt (or in my case the foundation pieced strips) you can see (or feel) that there is an “uphill” side of the seam (which has the bulk of the seam allowance underneath) and a “downhill side”. The trick to stitch in the ditch is actually to sew on the downhill side right up against the uphill side so the stitching appears to sink into the seam. Here, the mark on the front center of your foot is your best friend, if your needle is in the center position, where the line goes, so goes the needle. Keeping that line just up against the uphill side of the seam will insure that you sew as close to the seam as possible, and if the thread is clear or matching, the stitching will seem to disappear.
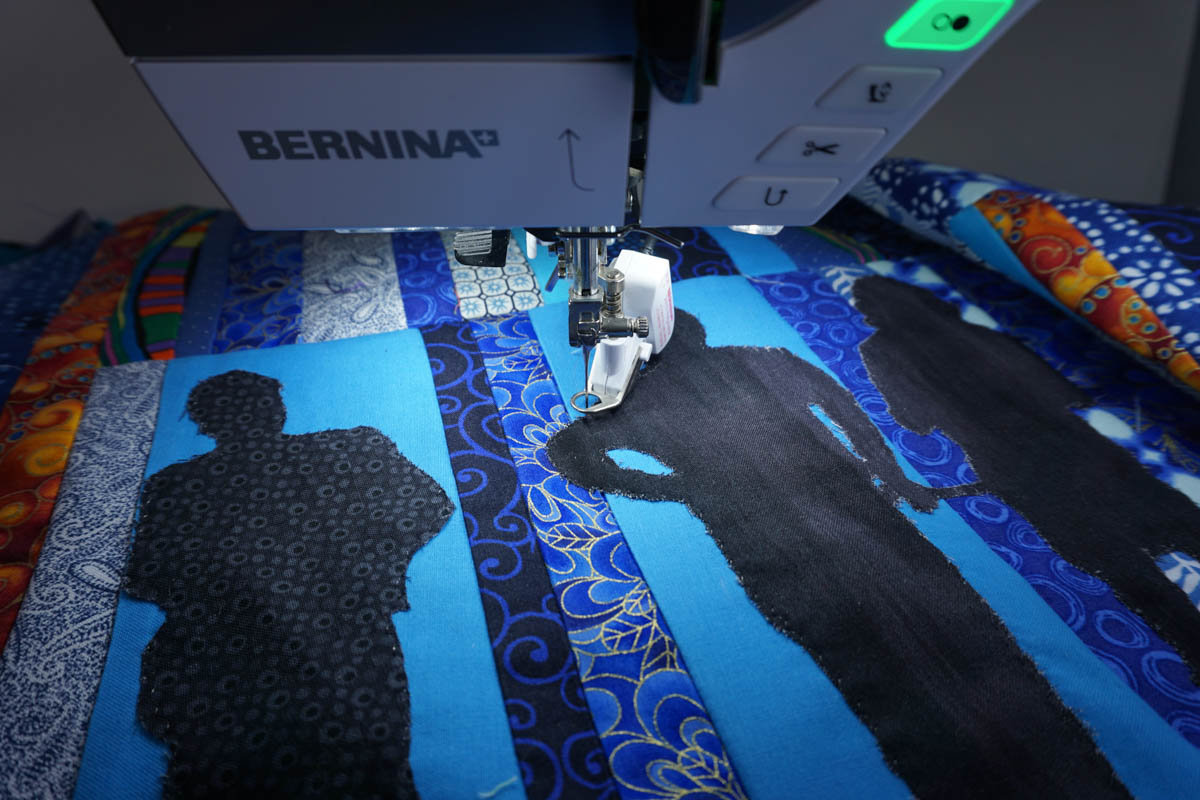
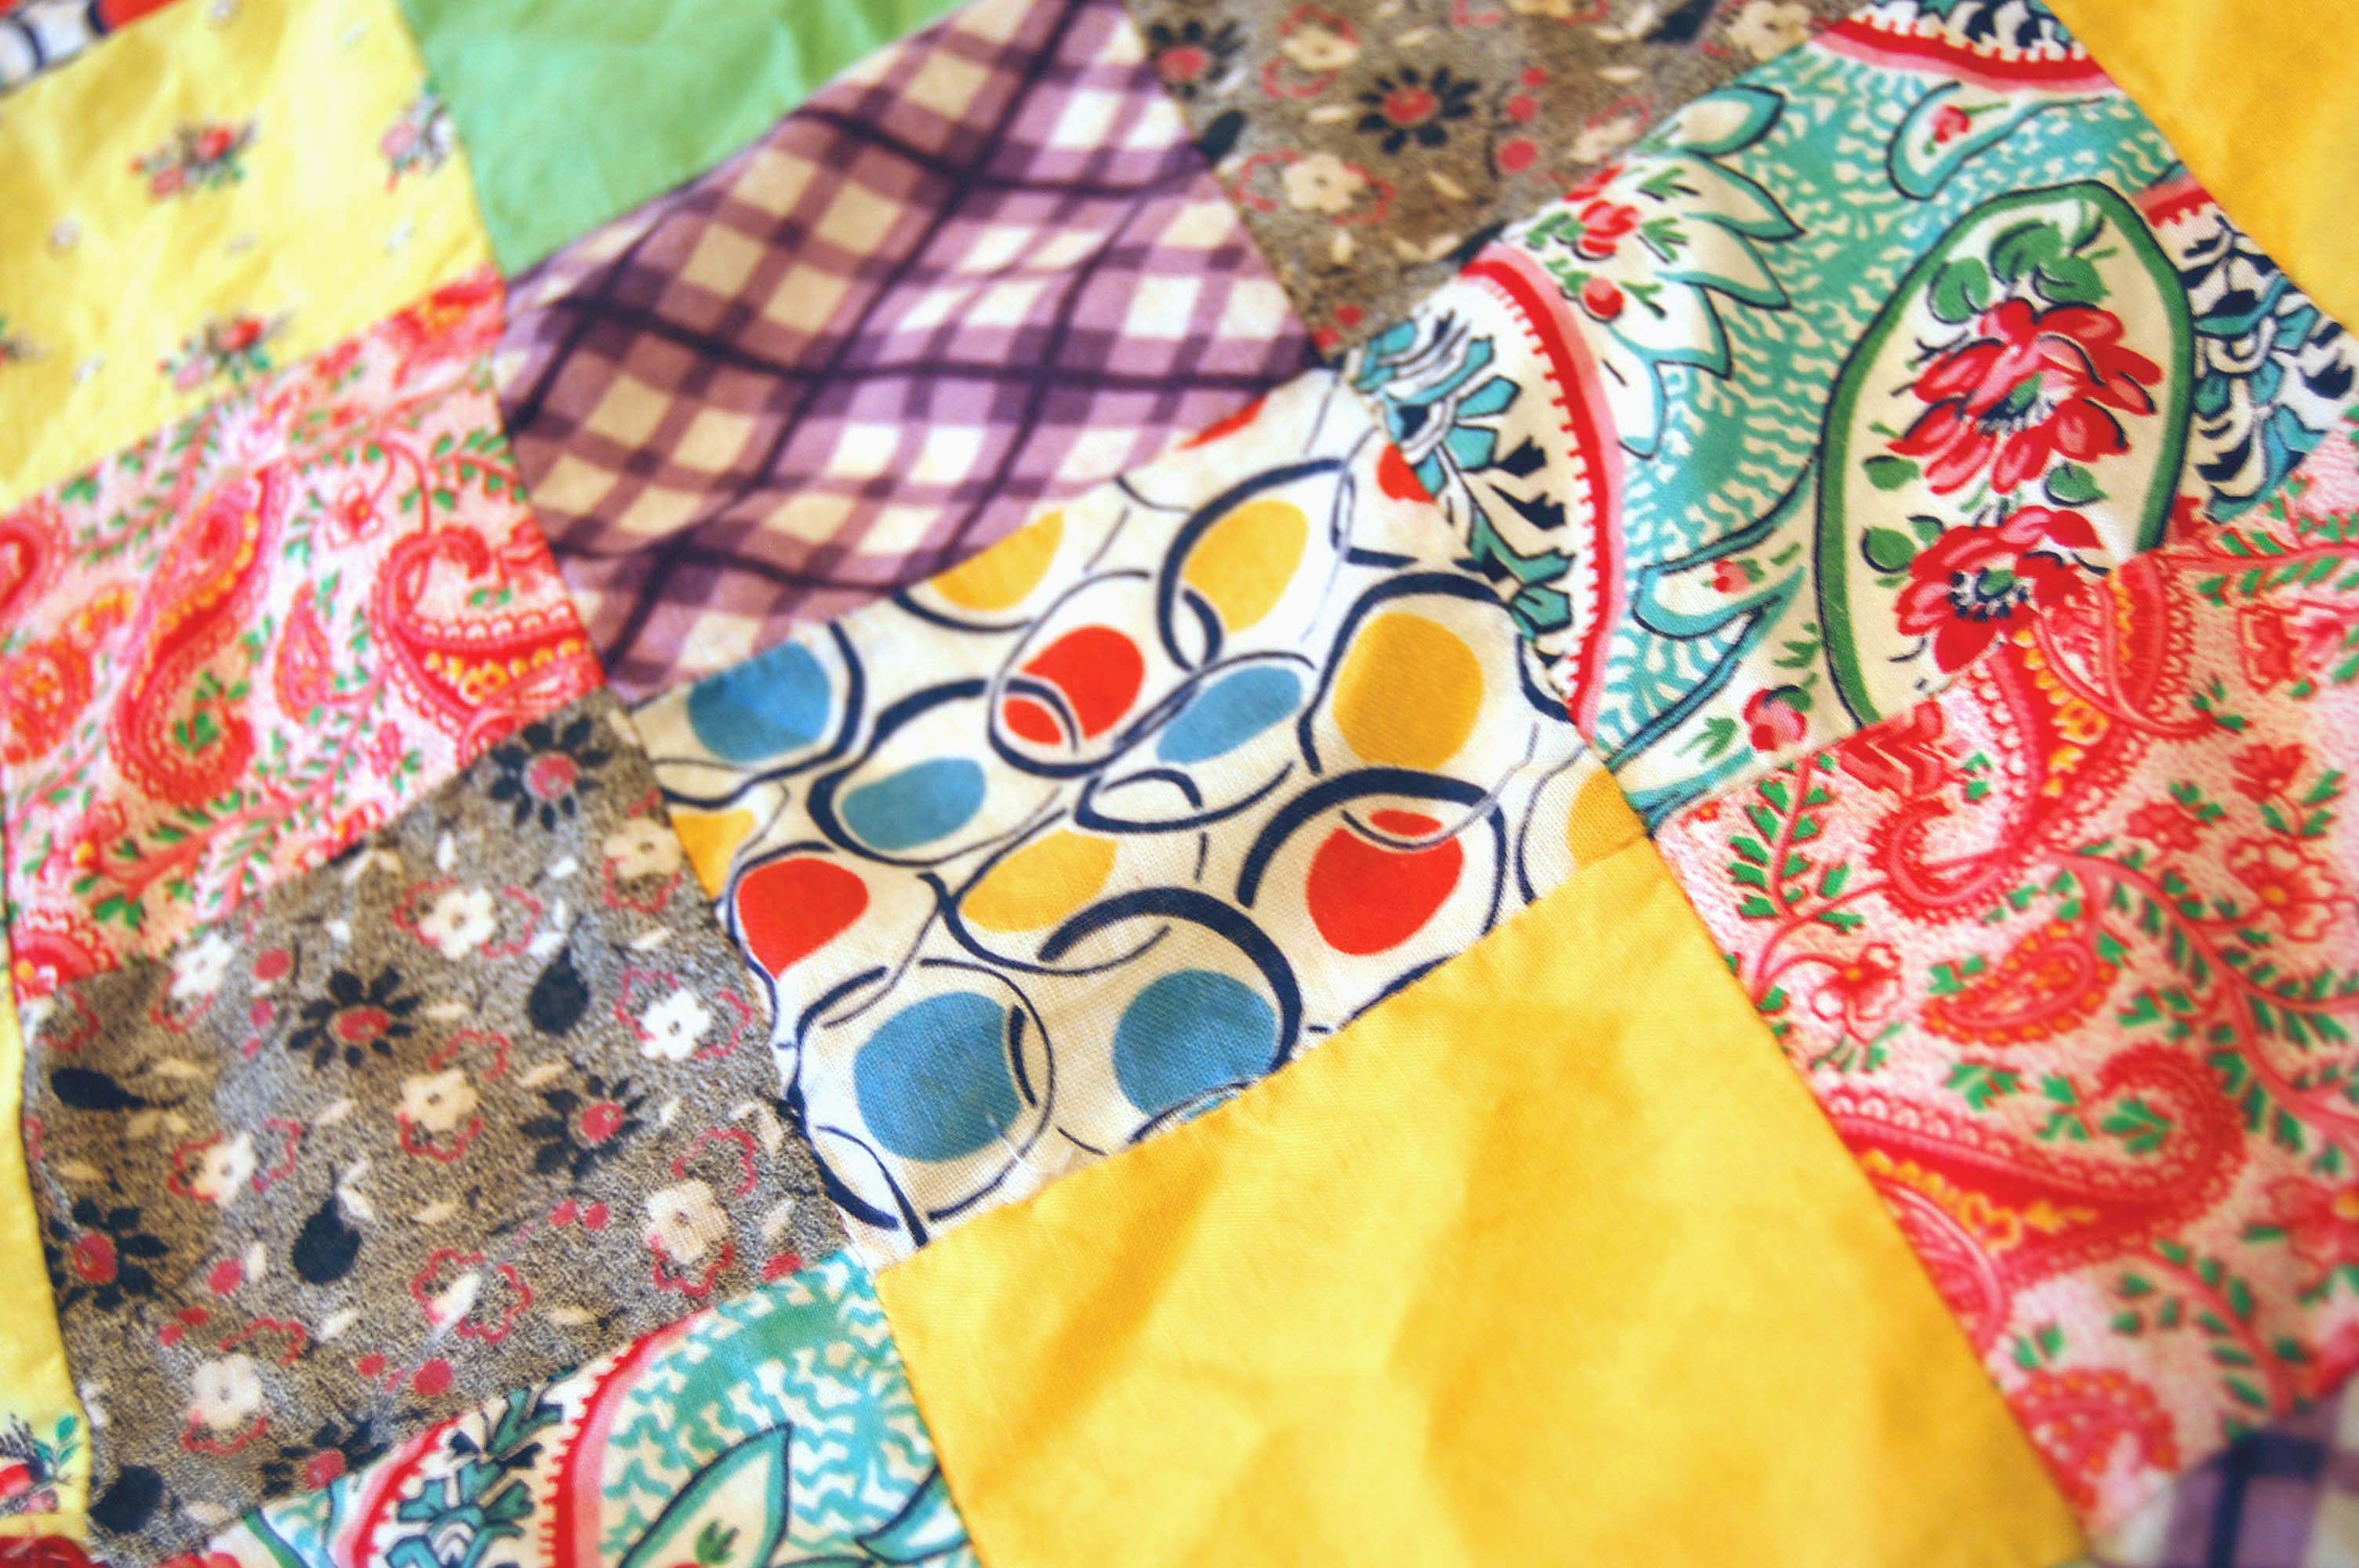
I auditioned different fabrics for the additional horizontal lines at the top and bottom. I made some size adjustments from the original plan, based on how it looked to me, and then these fabric strips were added and secured using a zigzag stitch. Finally, the remaining edges and bottom are folded, pressed and sewn. Now the piece is complete.
HANGING THE PIECE
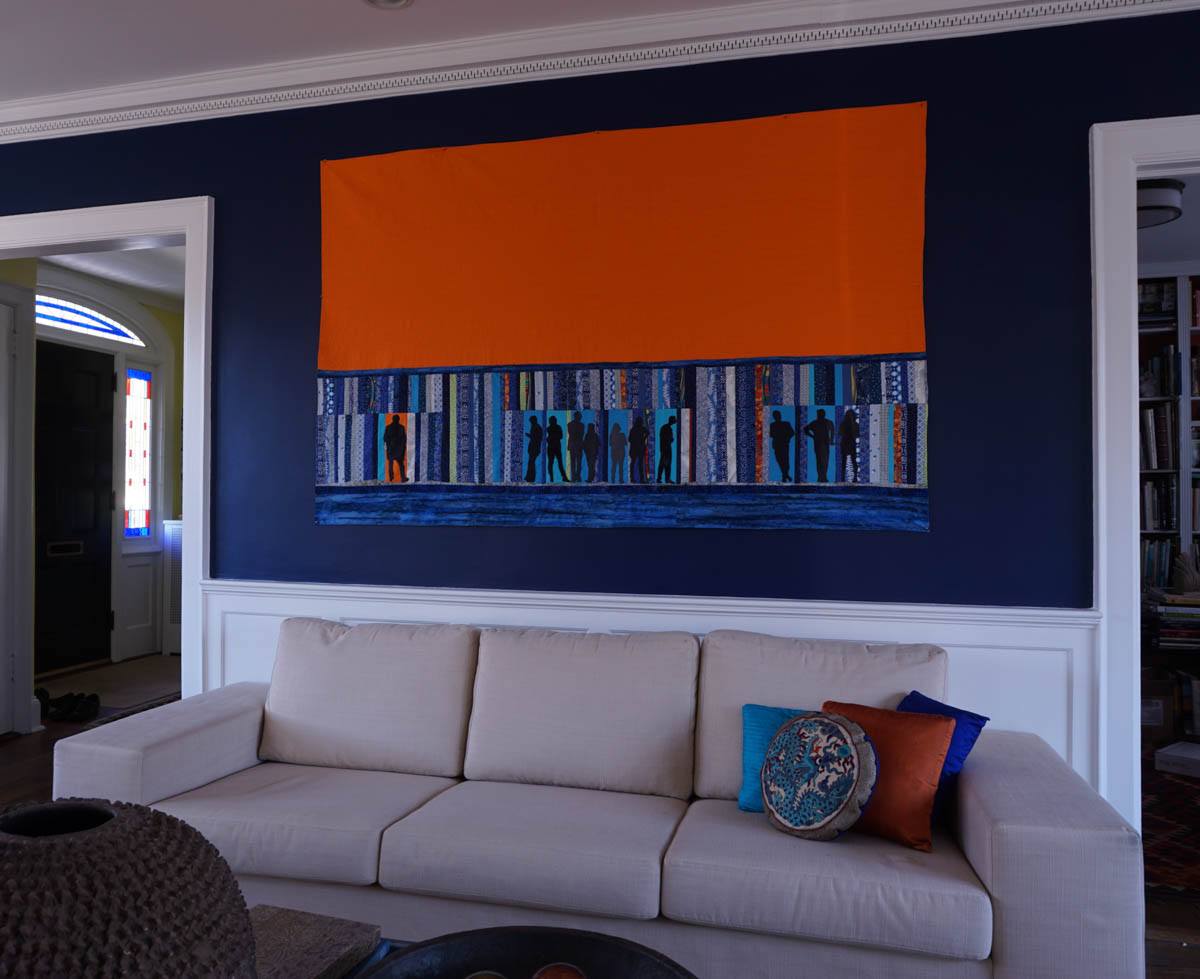
I have a secret weapon for hanging artwork—chalk—plain old schoolhouse chalk. Especially on dark walls like the ones in my living room, chalk makes a nice clear mark which is easily removed with a damp cloth.
I start by marking the outside lines of the piece on the wall, using a yardstick and level to make sure it is straight. Finding a balance between what is actually level and what looks right in a house that is 100 years old can be a challenge, but luckily chalk is easily erased and after a little fiddling, I got it to look right.

Then I find the center of the top line and make a small mark on the wall. You guessed it, I fold the piece in half and put a pin in the center and all I need to do is line up the pin and the mark and tap in a picture nail. I move from side to side, working back and forth, lining up the edges with the chalk lines and making sure everything is taut but not distorted; a nail in each bottom corner and I am done. The remaining chalk lines are washed away, and I can move onto another project!
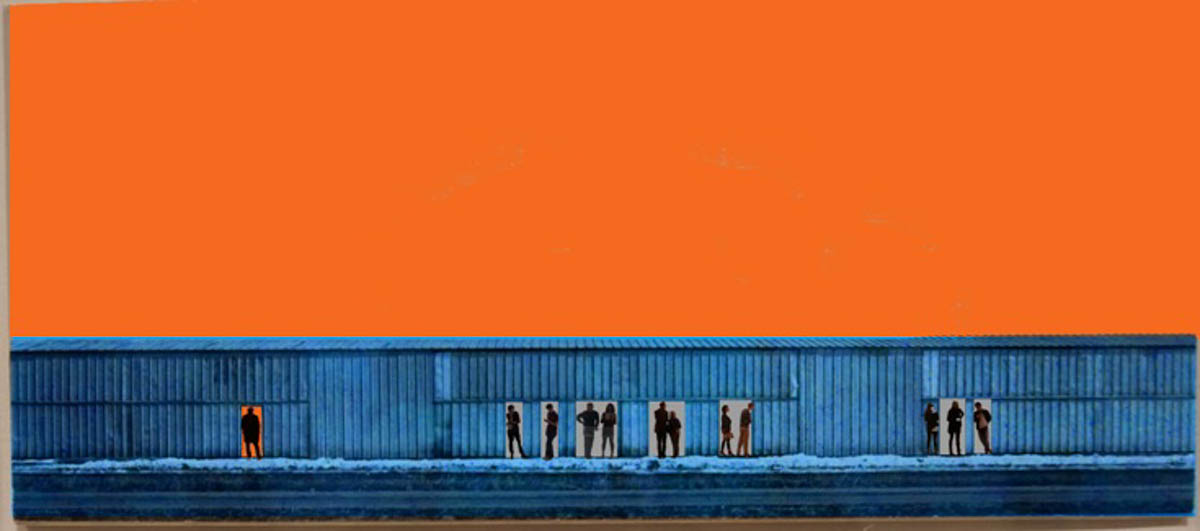
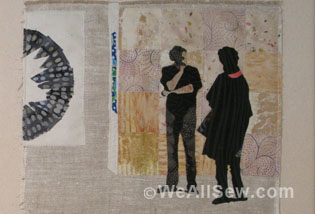
The final piece is entitled “Chicago” which is where the inspiration occurred and is a play on the title of the photo that inspired me, “Wisconsin”.
I hope seeing how simple it is to design and execute an original artwork will inspire you to create something wonderful of your own.
What you might also like

5 comments on “Anatomy of an Art Quilt from Inspiration to Completion – Hanging the Quilt”
-
-
If you read through the last installment, you can see why I made the decision to put nails directly through the piece and into the wall. As I said in the article, if this were going to an exhibition I would have put a rod pocket on the back, but since it was my own home (and it is unlikely I will move it) I nailed it directly using small picture hanging nails.
-
-
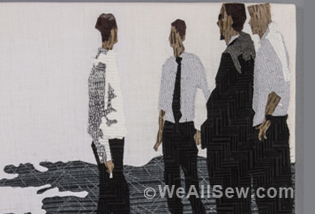
Beautiful Quilt! I was immediately drawn to it. And the silhouettes are fabulous. I didn’t quite see how you
did the blue element on the bottom of the quilt. The horizontal lines. Did you cut random strips and sew them together like you did for the vertical lines? The picture wasn’t clear to me.-
Those few horizontal lines were simply cut and placed onto the otherwise finished piece, sewn on using a zig zag stitch and a clear thread–raw edge machine applique. No piecing as I had done for the vertical strips.
-
-
I enjoy “process” articles such as this one. Your quilt is very eye catching and suits your space perfectly.
Leave a Reply
You must be logged in to post a comment.

Thanks for the tips on the art quilt. I have missed how you prep the quilt for hanging though. Do you use a rod? Sounds as if you are nailing through the piece. I need a
visual,I guess.