Anatomy of an Art Quilt from Inspiration to Completion
As an artist, I am often asked where I get my ideas for my art quilts and how I realize them. In this series of three posts, I will take you along with me as I create a new art piece—from the inspiration to some tips for hanging the finished artwork.
This first of the three posts starts with my initial inspiration and will show you how I use it as a jumping off point to create something that is uniquely mine and speaks in my own artistic voice. The second will be the construction of the piece, and the final post will deal with the finishing and hanging of it in my home.
THE INSPIRATION
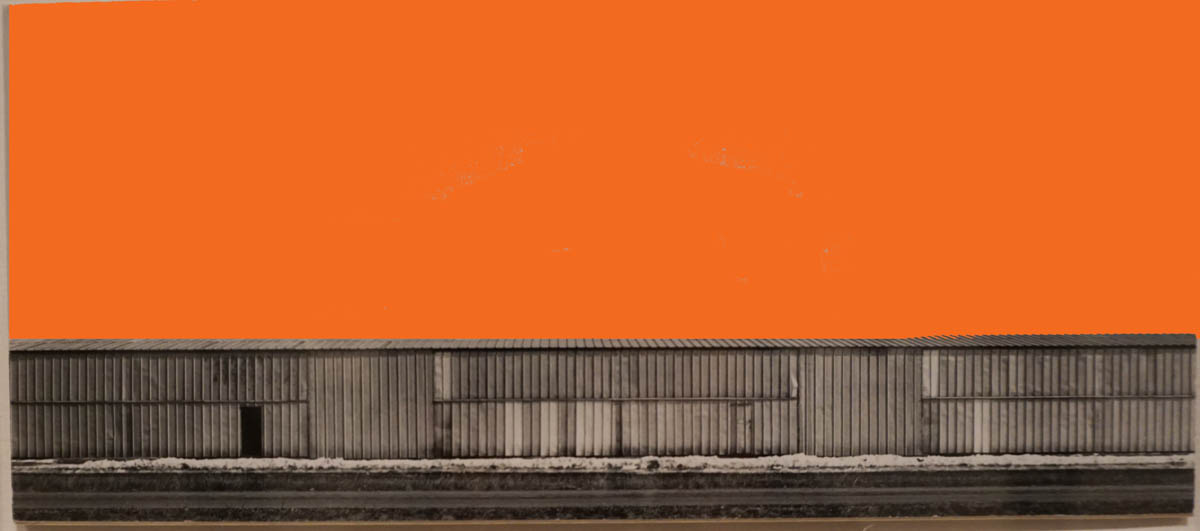
On a recent trip to the Art Institute in Chicago (following a trip to the BERNINA Creative Center in Aurora) I came across a photo that really spoke to me. The photo of an airplane hanger, Wisconsin was taken around 1949 by Harry Callahan.

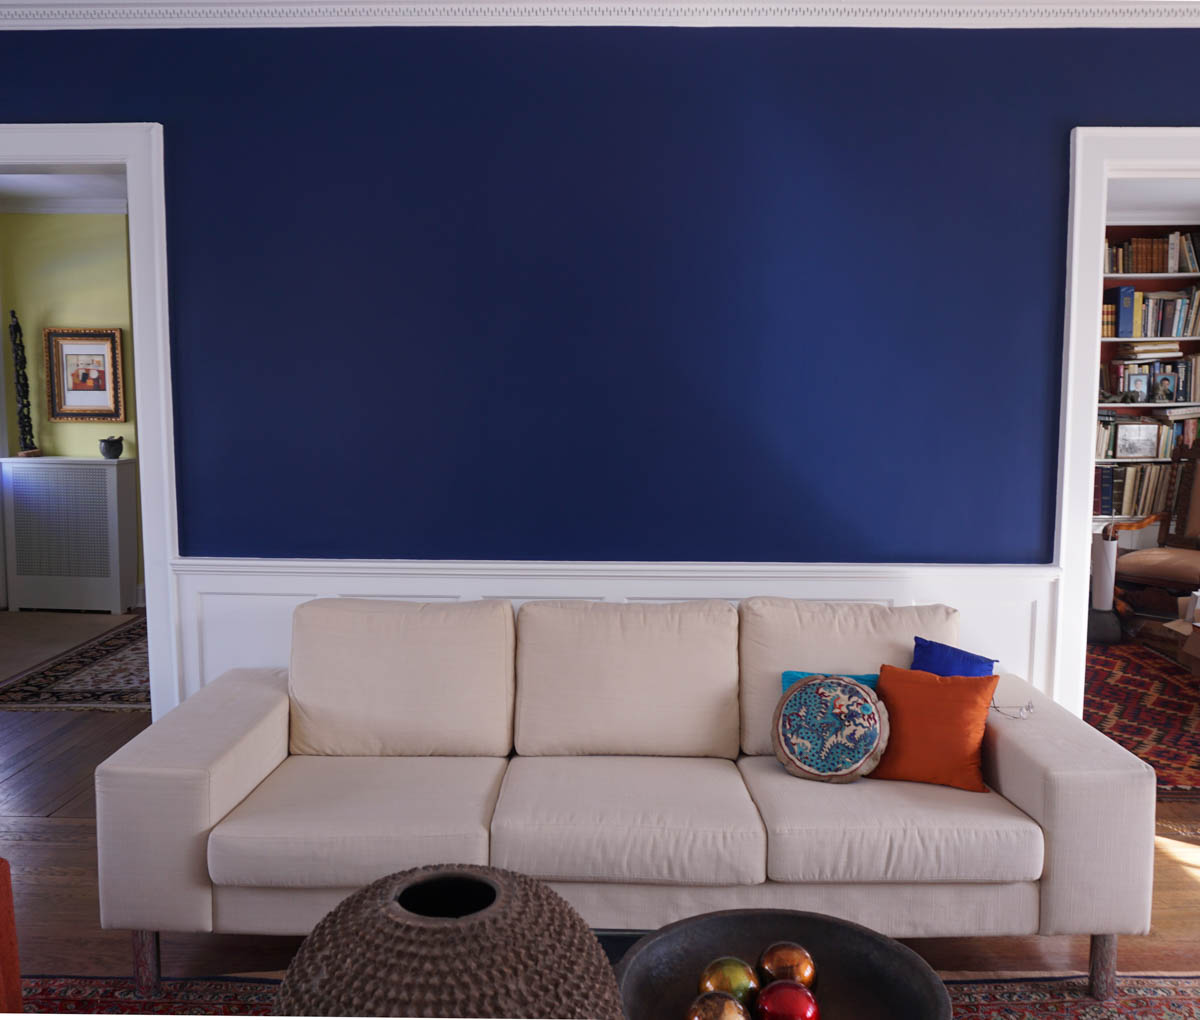
I loved this photo for several reasons—first, the simplicity and the strong horizontal format. The composition shows more “empty space” than focal point and the resulting unexpected composition appealed to me. The corrugated metal of the building reminded me of pieced strips of fabric. I decided to use this as the starting point for the blank wall in my newly painted dark blue living room.
But inspiration does not mean I plan to simply copy the piece in fabric, it means it sparked an idea in my head that I will use to make an artwork that is truly my own.
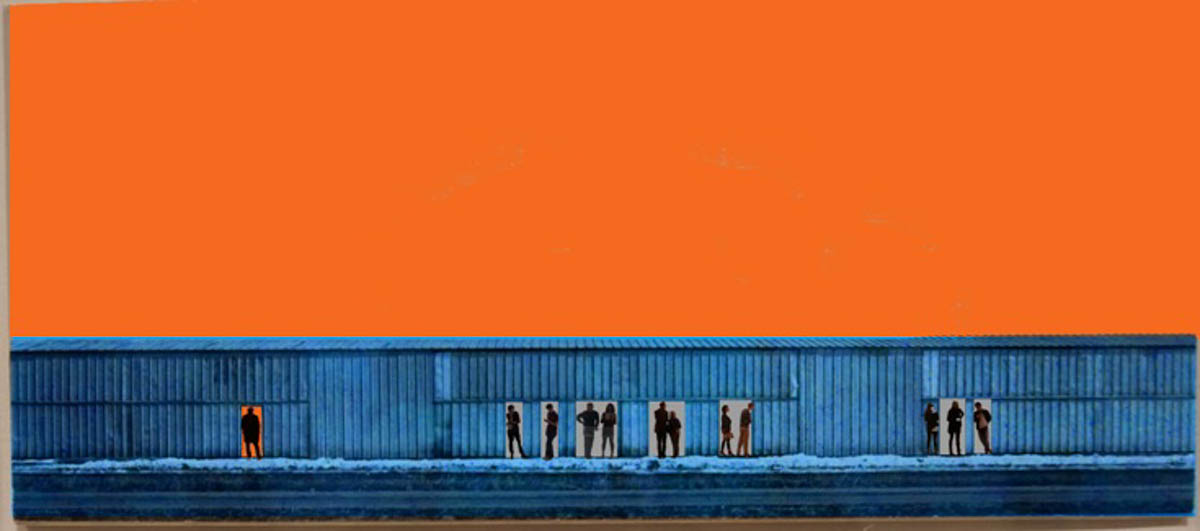
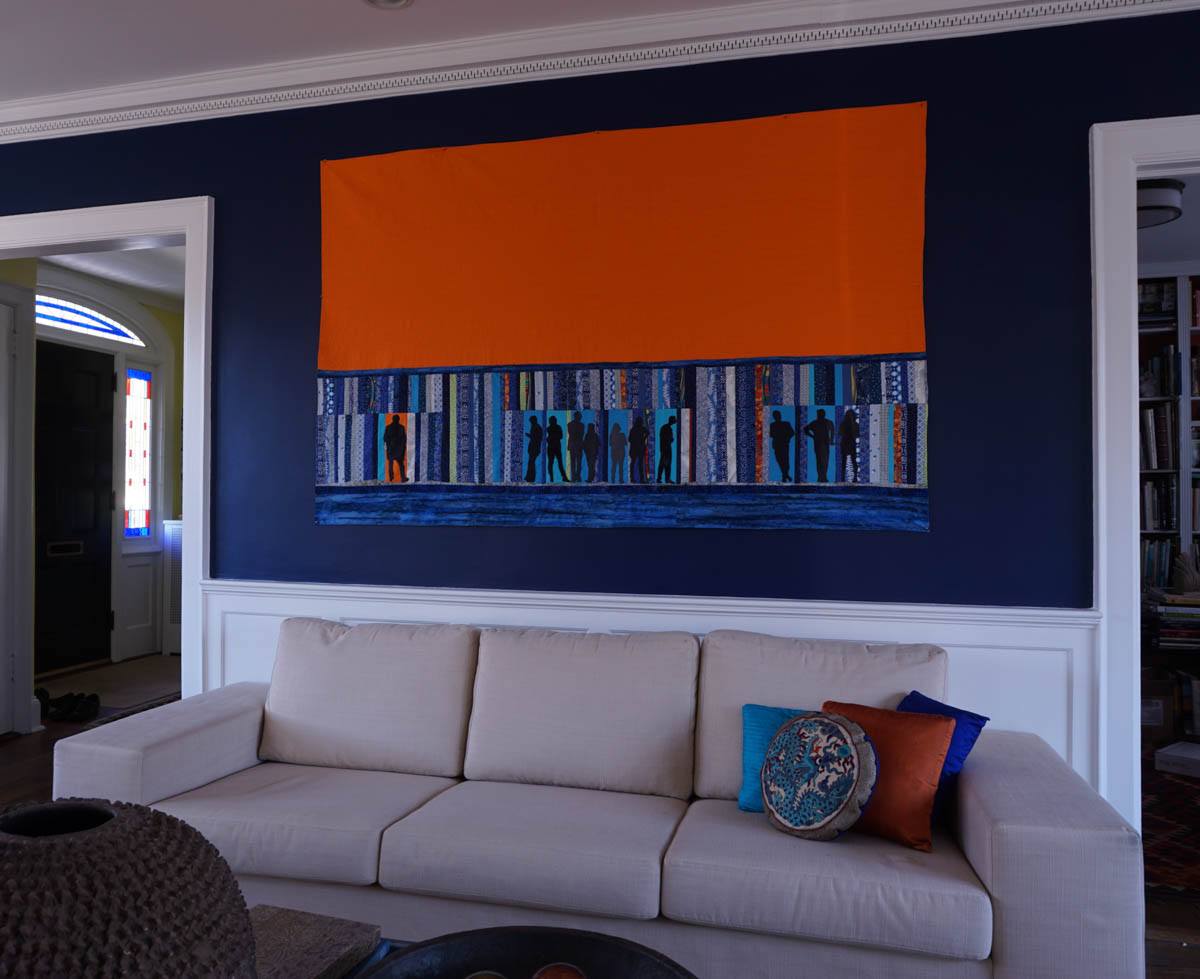
Knowing where it would ultimately hang made many of my decisions easier—I knew exactly what size I wanted it to be (75” wide by 48” high) and what color wall would be behind it. That made fabric choices pretty straightforward. The vertical lines of the metal building would be done in random strips of different width blue print fabrics in a variety of values and the background area would be orange. The dynamic combination of orange and blue (complimentary colors that vibrate against each other for visual excitement) juxtaposed against the serenity of the horizontal format will make the finished piece more compelling, especially against the dark blue wall.
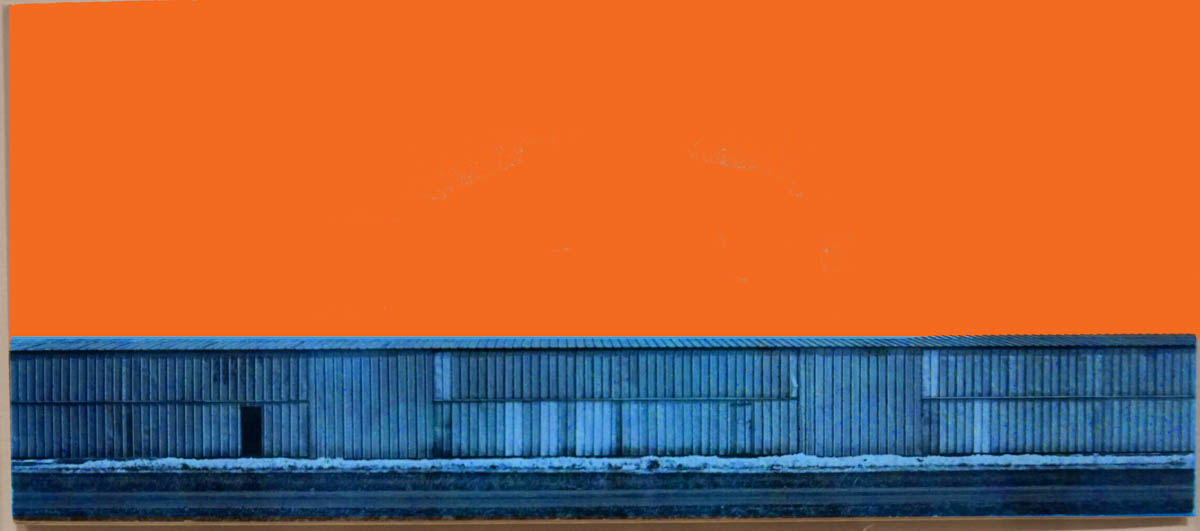
Using Adobe Photoshop, I added color to the black and white photo so I had a sense of what it would look like when I was done. First, I selected and isolated the area of the sky with the rectangle tool and used the paint bucket tool to fill that in with orange.
Then I selected the bottom area of the hanger with the rectangle tool and using the “adjust color” to “hue/saturation” buttons to add a blue hue to that area.
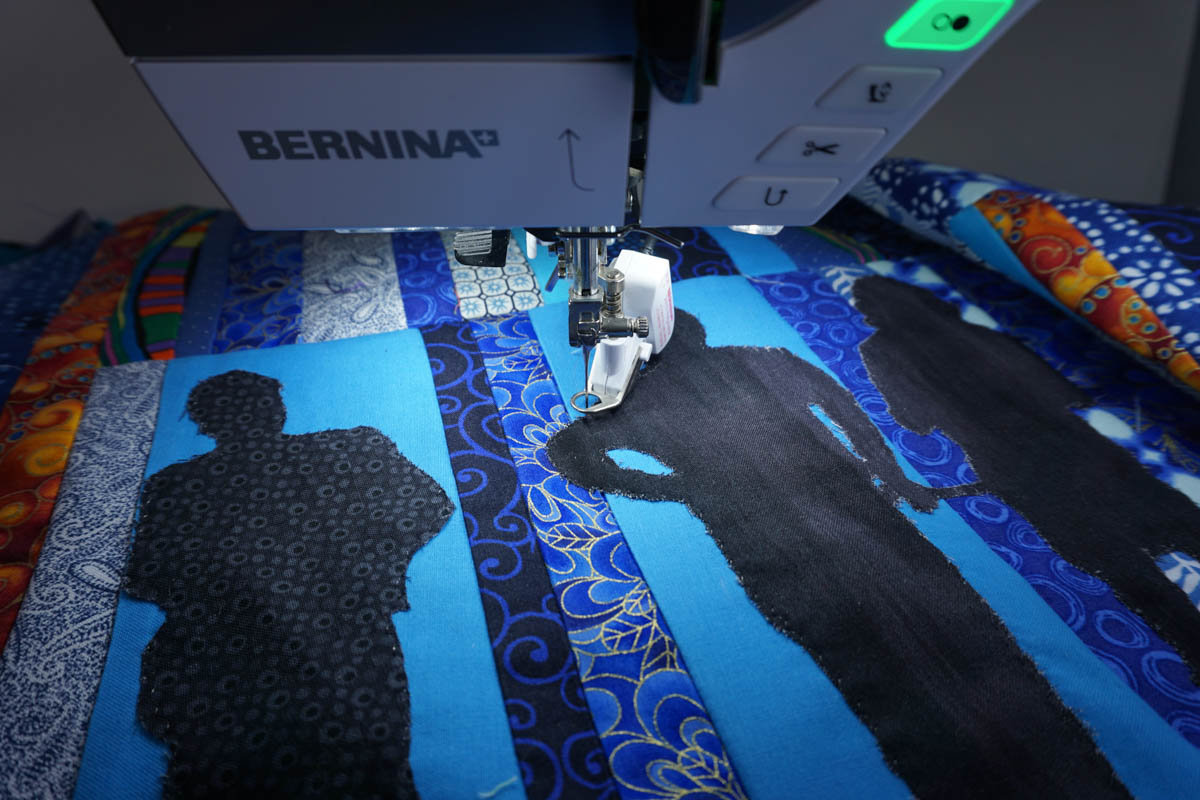
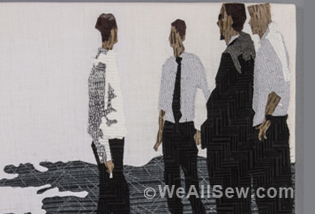
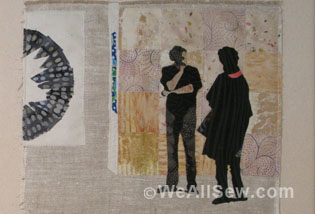
As I am primarily a figurative artist, I decided to make some of the vertical strips wider and use solid blue fabrics onto which I would place figures in silhouette. That would speak clearly to who I am as an artist and make this piece uniquely my own.

One figure, actually my husband, will be placed on an orange background just to make the composition more interesting and draw attention to that figure. An inside family joke is that he will be holding a newspaper. Often artists add little secrets into a work which personalizes it.
TRANSLATING MY DESIGN STEP BY STEP
GETTING STARTED
Let me start by saying however you get from point A to point B in your artistic journey is fine, there are no hard and fast rules. I like to plan things out on paper, so I printed the mockup I made in Photoshop and started making notes about how many inches each area should be, along with a grid plan on graph paper, both of which will serve as a guide while I work.
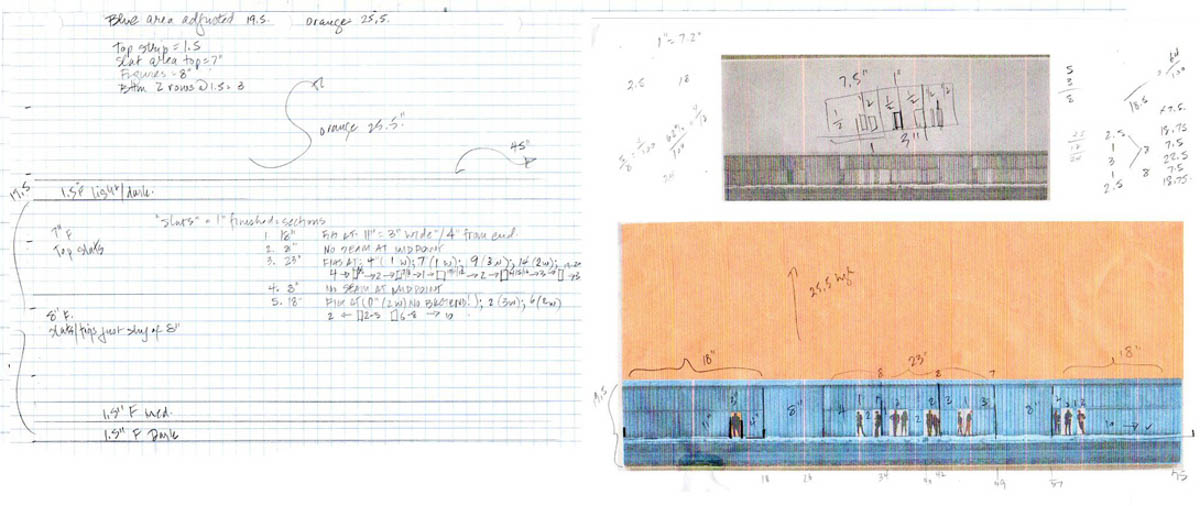 This makes things easier for me—but don’t even try to figure out all my scribbled notes to myself, they probably won’t make sense to anyone but me.
What is clear on the plan is how I measured out each section to get to the finished size I wanted, taking into account that the overall proportion of my chosen size was different from the original photo. I did want to maintain the ratio of sky to the area of the building, so I adjusted the other numbers accordingly. On the building, I liked that some areas resembled uninterrupted strips and others had what appeared to be horizontal “seams” in them. I decided the most effective way to accomplish this was to break everything down into manageable sections and work on each one separately.
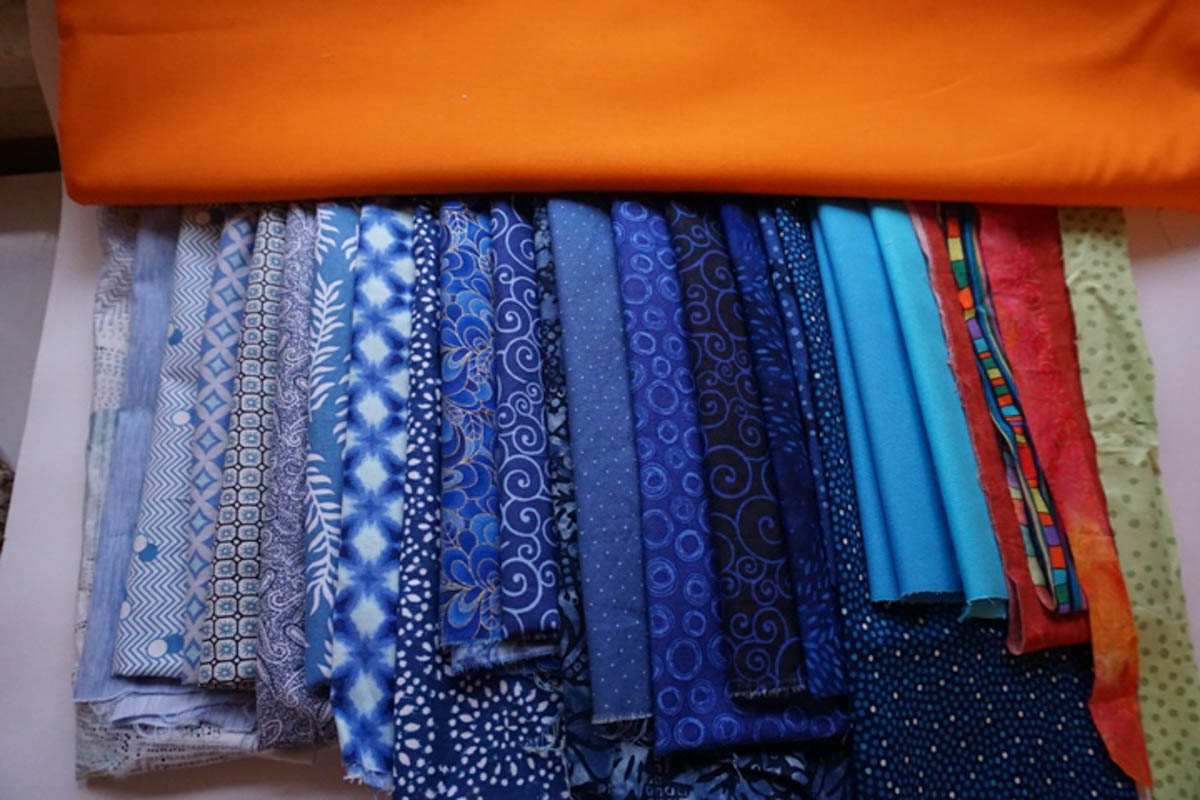
After deciding on a variety of light, medium and dark value blue fabrics, I cut them in random widths using a rotary cutter and put them in a pile by the sewing machine.
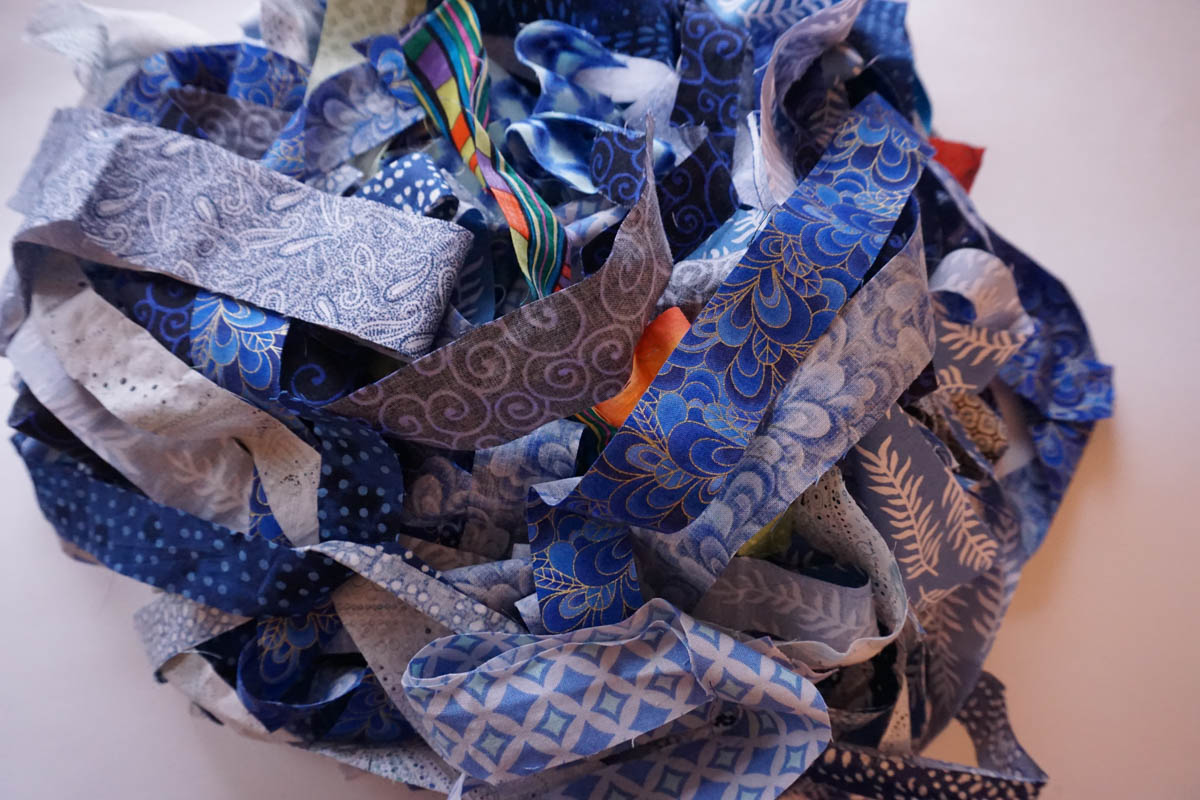
A few green and orange, along with a multicolored fabric with lots of movement in it were added for a bit of unexpected color (these were placed in a manner I call “controlled random” so that they were equally distributed around the surface). I did not want them to look arranged, so the rest were randomly pulled from the pile and sewn together. Very relaxing, by the way, as there is no real thinking involved—just sitting at the machine and sewing.
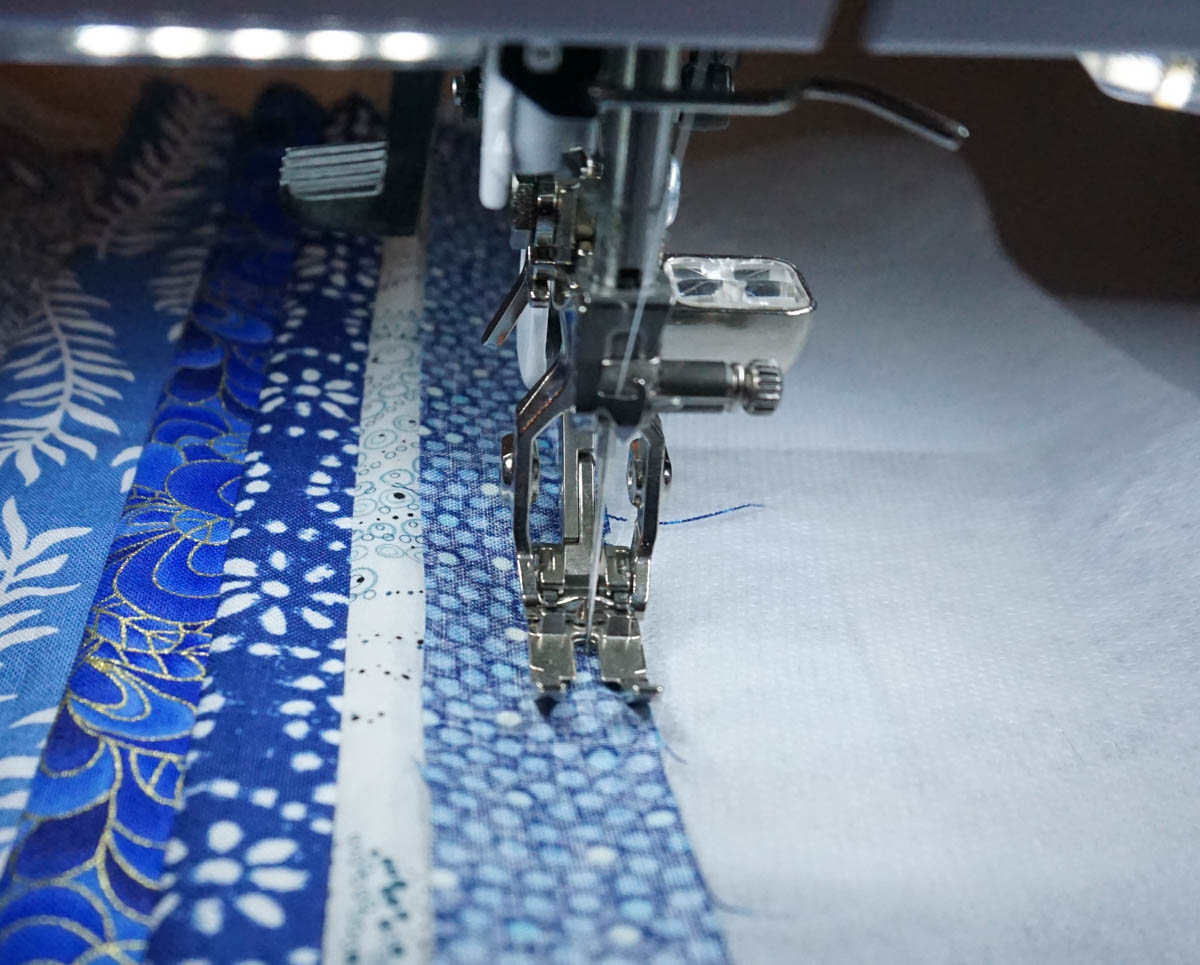
Sewing random strips together is not complicated, but since the strips are so narrow I was concerned they might draw up while sewing and then distort when pressed. For that reason, I decided to use a foundation piecing technique.
Foundation piecing is not difficult; it just means the strips are sewn together on some sort of base for stability—which could be paper, fabric or interfacing. I wanted something thin, so I used a non-woven, non-fusible interfacing. I started by cutting a piece of interfacing about the same size as the section I was working on and started with one strip face up at the left hand edge (and extended a bit above and below the foundation—you will see why in a bit). A second strip was placed right sides together with edges aligned, I then sewed at a ¼” and flipped that upside down strip to the front—finger pressing and then adding the next strip right sides together with the one I just flipped. This means everything stays nice and straight and I know when I have done enough. For those areas where the larger solid blue pieces would be behind silhouetted figures, I made a mark on the interfacing before I stated sewing the strips and when I got to the mark, I put the blue solid as the next piece.
In the next post I will take you from here through the construction and then in the final post, to finishing and hanging.
What you might also like


4 comments on “Anatomy of an Art Quilt from Inspiration to Completion”
-
-
thanks so much, stay tuned for the last installment where you see it finished and hanging on that blank blue wall in my living room!
-
-
What a fabulous idea. Thank you for explaining foundation piecing technique, I am new to quilting. I can hardly wait to see your next two posts in this series.
-
Thanks so much, I hope it sparks some inspiration!
-
Leave a Reply
You must be logged in to post a comment.

Very interesting article (and quilt). Thanks.