Anchors Aweigh Embroidered Denim Jacket
Hello, fellow machine embroidery lovers! I’m Lisa Archer, BERNINA Professional & Home Embroidery Spokesperson, and Owner/Designer of Pickle Pie Designs. Embroidery on clothing is trending at the moment and it’s so easy to embellish ready-to-wear clothing with your BERNINA embroidery machine to create your own custom look.
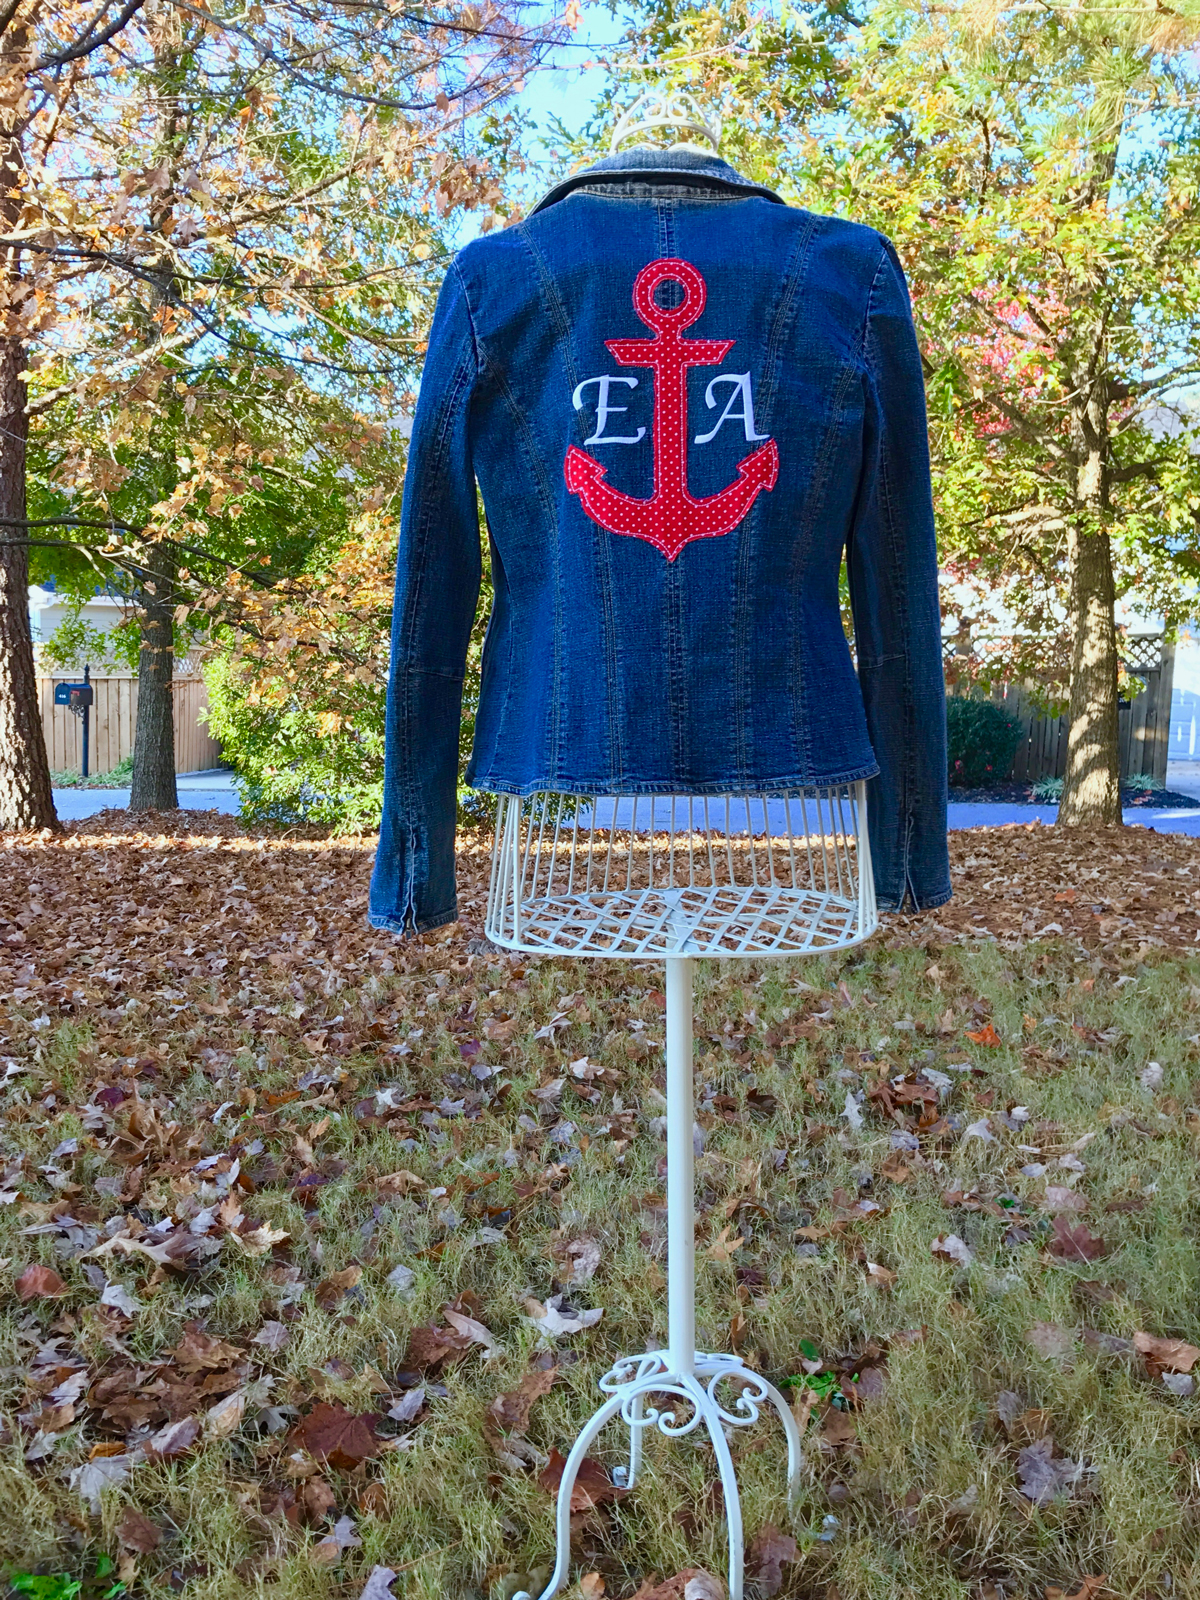
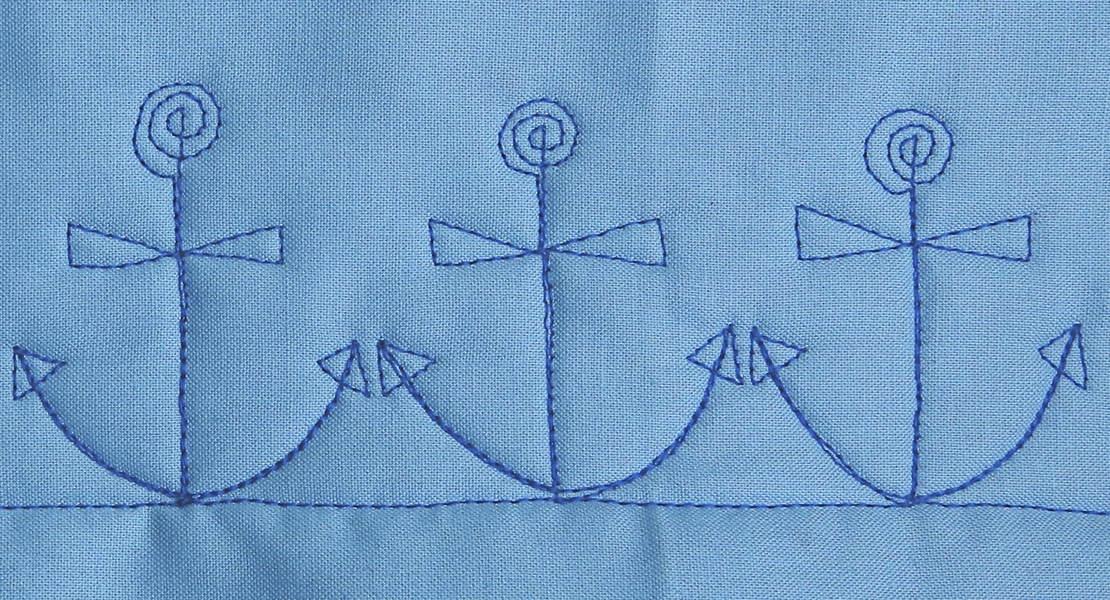
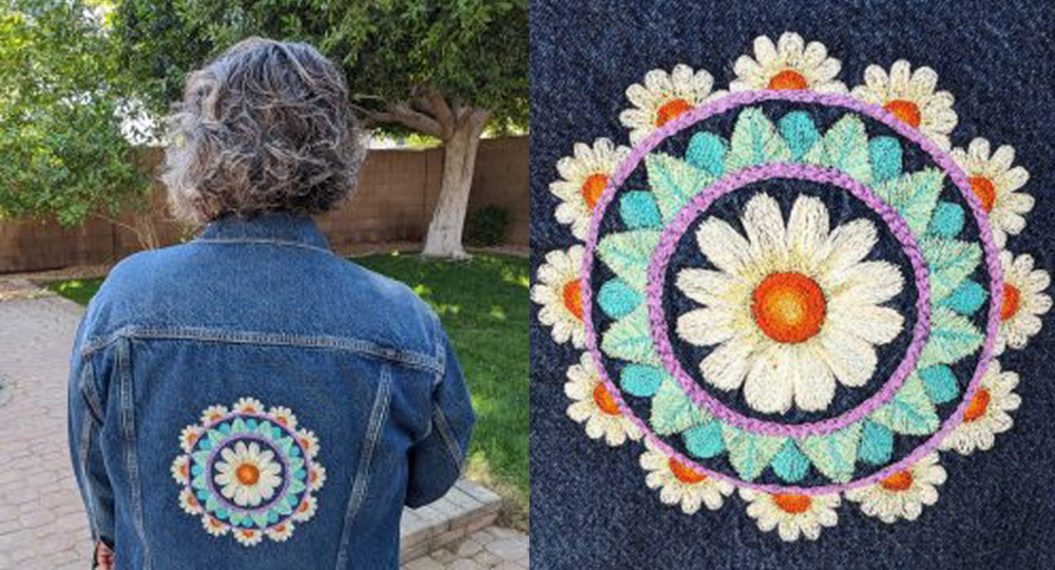
I love to embroider big designs on jacket backs and created this anchor machine embroidery appliqué design specifically to fit on a jacket (but feel free to try it on a T-shirt, or other items!). Jacket backs are a lot of fun to embellish—I look at them as a great blank slate, just waiting for the perfect embroidery design to give them a touch of personality.
Of course, the bigger the hoop you have, the bigger the appliqué you can stitch, which is why I love my BERNINA 880. For this project, I’ll be using the large Anchor Appliqué Design in my BERNINA Maxi Hoop. If you’d rather stitch a smaller anchor, I also included a medium design size that fits the BERNINA Large Oval Hoop.
This project features raw edge appliqué, which is a fast and easy technique, combined with a monogram. For the monogram, I used the “Zurich” font built into BERNINA Embroidery Software 8. Using the software’s alignment tools, I was able to easily place the initials exactly where I wanted them in the design. Follow along below and I’ll show you how it’s done! One more thing—don’t be intimidated by all the steps, as this really is an easy project. I just want to be thorough and guide you through the process each step of the way so I included a lot of information and photos in this tutorial.
Materials to Embellish an Anchor Appliqué:
- Download the Anchor Applique Design Design by Pickle Pie Designs
- Denim Jacket
- Cotton Fabric for Appliqué
- Fusible Webbing
- Thread
- Water or heat soluble marking pen
- Fusible Mesh Cutaway Stabilizer
- Sticky Tearaway Stabilizer
- Appliqué Scissors
- Embroidery Hoop (BERNINA Maxi Hoop for Large Anchor Design, or BERNINA Large Oval Hoop for Medium Anchor Design)
- BERNINA Embroidery Software 8 or other embroidery software
- Embroidery Machine. I’m using my BERNINA 880 for this project.
Instructions to Embellish a Denim Jacket with Machine Embroidery:
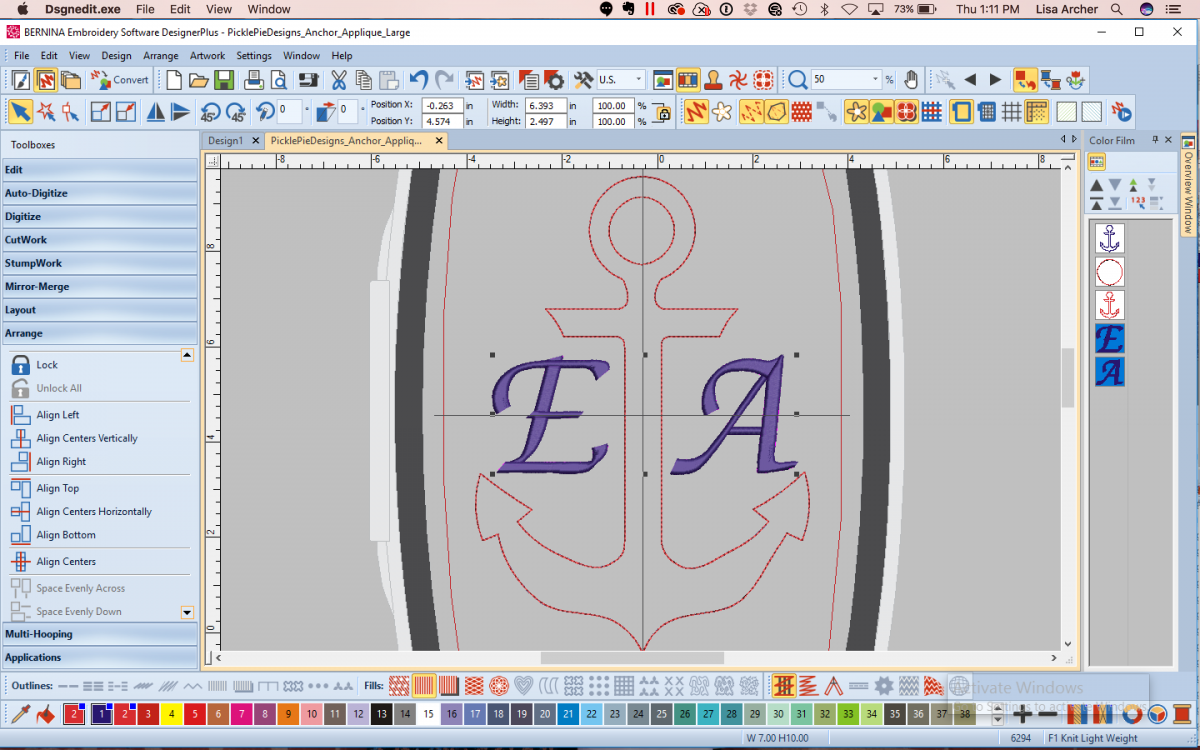
Step 1: Adding your monogram in BERNINA Embroidery Software 8
Download the Anchor Raw Edge Appliqué design, then open it in your BERNINA embroidery software.
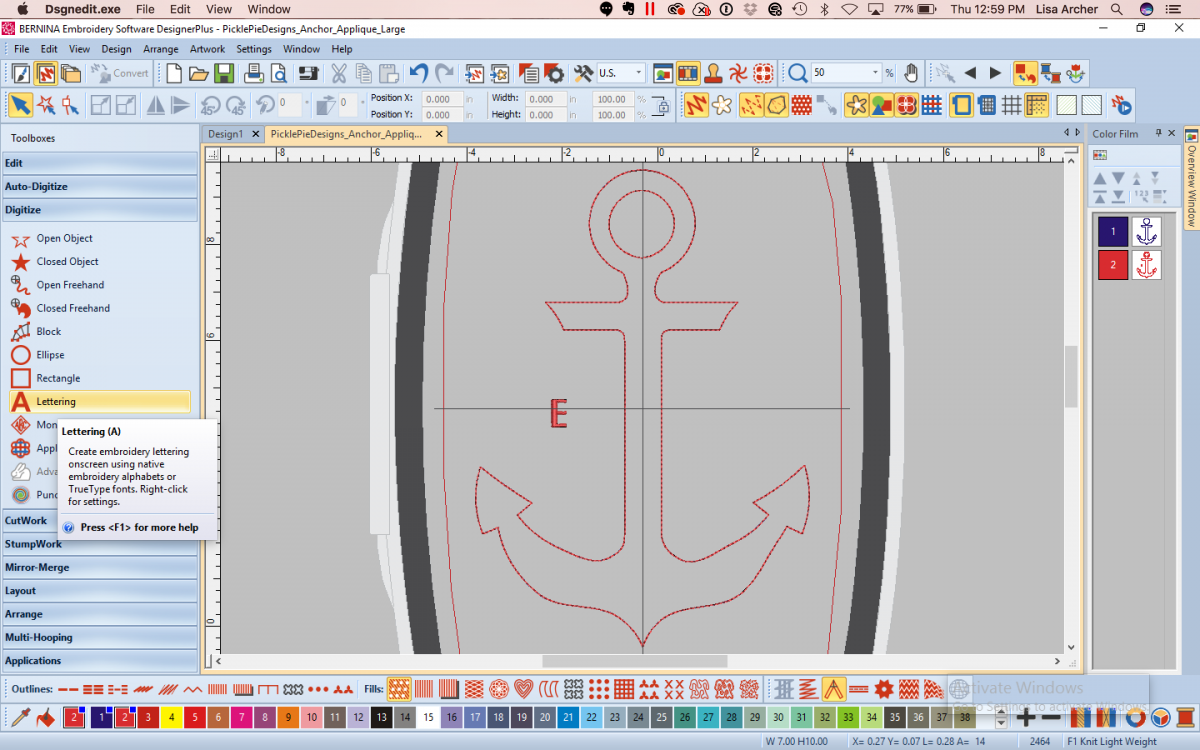
Select “Lettering” from the Digitize Toolbox. Left click next to the anchor and type your first initial.
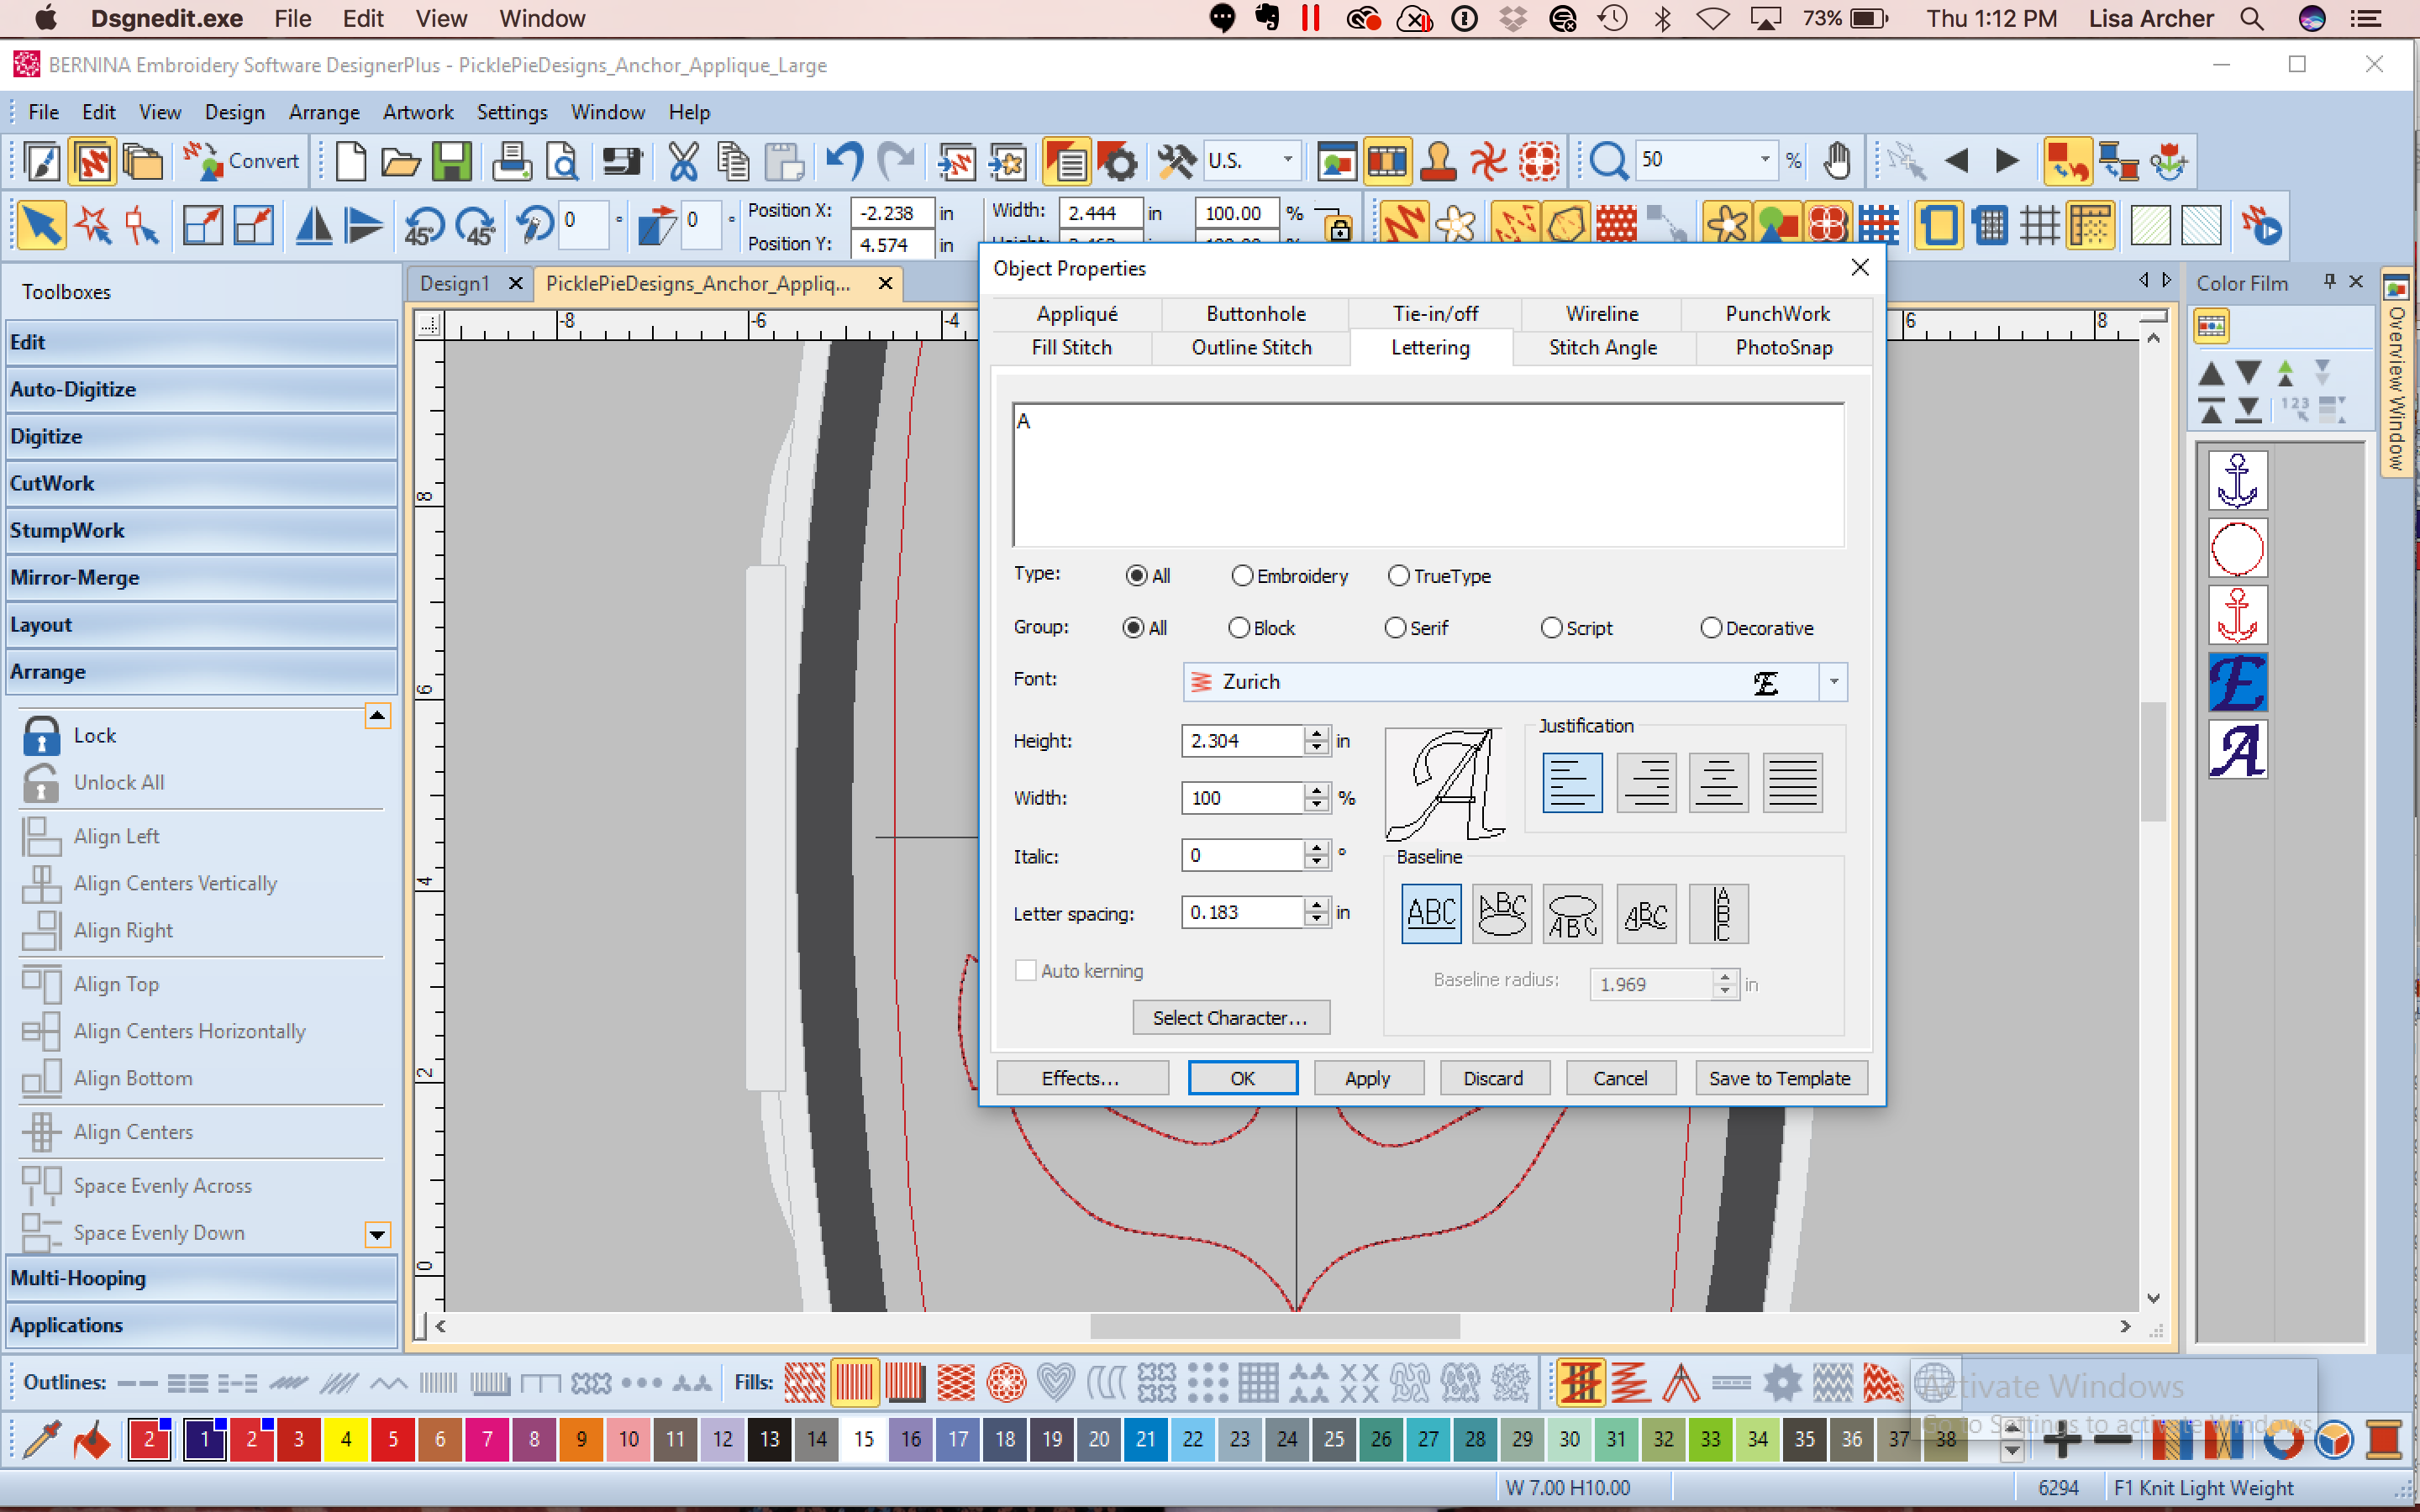
Double click on the letter to bring up the Lettering tab in the Object Properties window.

Select a font (I used Zurich).
Click OK to save your setting and close the Object Properties window.
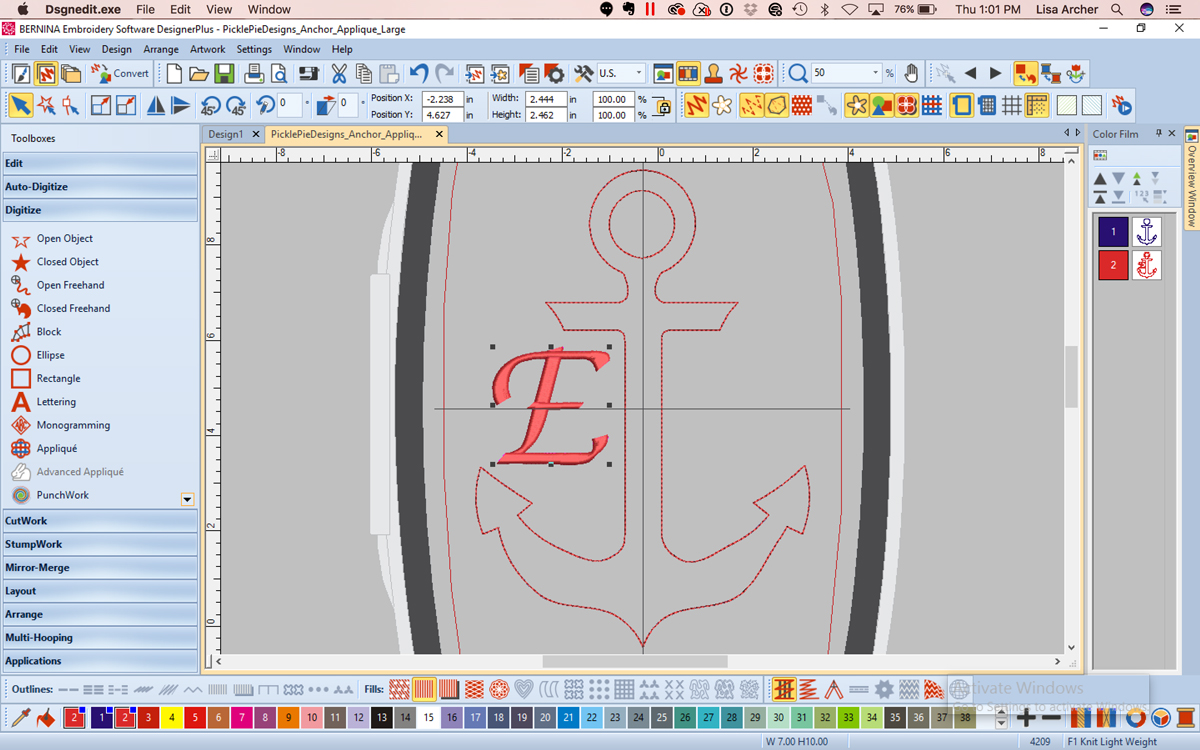
Click on the letter to select it, then drag a corner handle to enlarge the letter to your desired height. My letter is 2.5″ tall.

When you’re happy with the size, drag the letter in place where it looks best on the left side of the anchor (you can always readjust the placement later.)
Select the letter and copy it using either the edit menu, or the keyboard shortcut Ctrl C (on a PC) or Command C (on a Mac).
Paste the letter, either using the edit menu, or the keyboard shortcut Ctrl V (on a PC), or Command V (on a Mac).
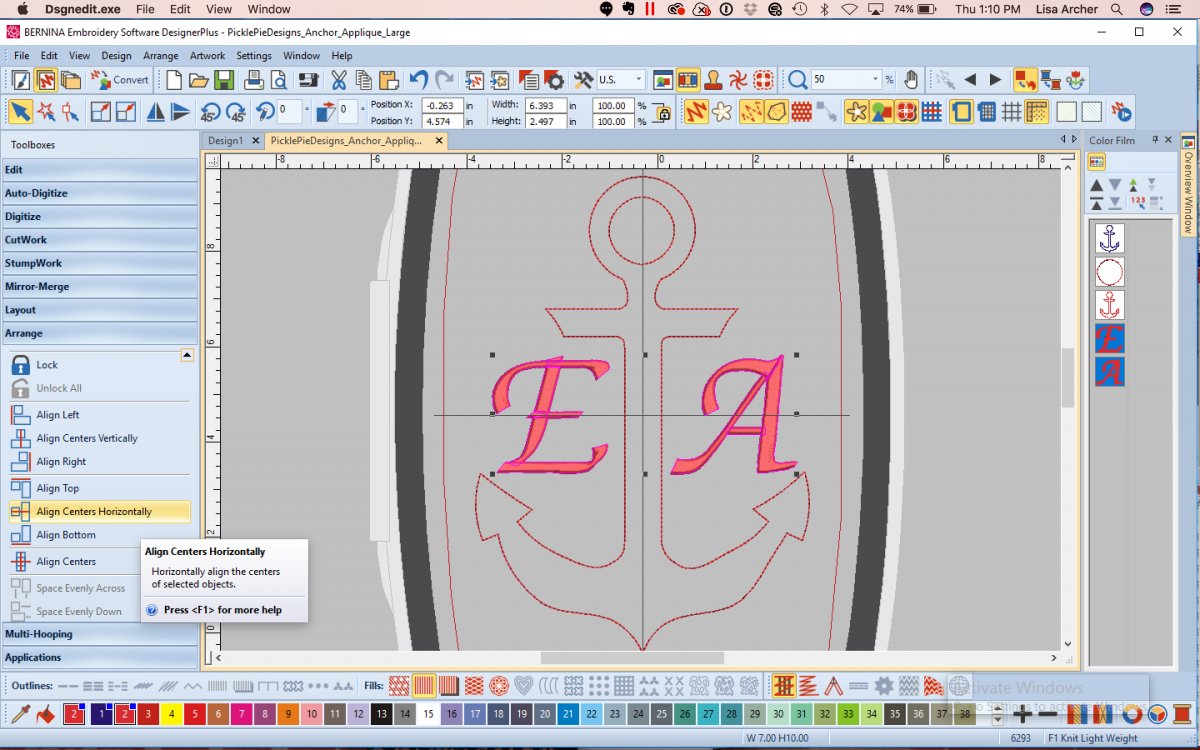
Double click the copied letter to open the Object Properties window. Change the letter to the initial of the last name, then click OK to apply the changes.
Use the right arrow key to move the last initial to the right of the anchor. To center the letters with the anchor, select both letters, right click and group. Then select all and in the Arrange Toolbox, select Align Center Vertically.
Select both letters, then choose a different thread color from the color menu. Whether or not you are stitching the anchor and letters with a different thread color, you need to change the letter colors in your software to insert a thread stop in the design. This will stop the machine after it stitches the anchor cutting line, allowing you to trim away the excess appliqué fabric before the letters stitch.
Save your design with a new name.
TIP: You can preview your design on virtual clothing in BERNINA Embroidery Software 8, which is a really great feature! To preview the anchor design on a virtual jacket in V8, select Design, then select Background. On the Background & Display Colors window, select the button for Factory Article. From the Name drop down menu, select Ladies Jacket then “Zip Micro Back” which is close to a denim jacket. Hit Ok, then you’ll see the jacket on the design screen with the design. To see all of the jacket, go to the zoom menu and select “To Article”. Pretty amazing, right?

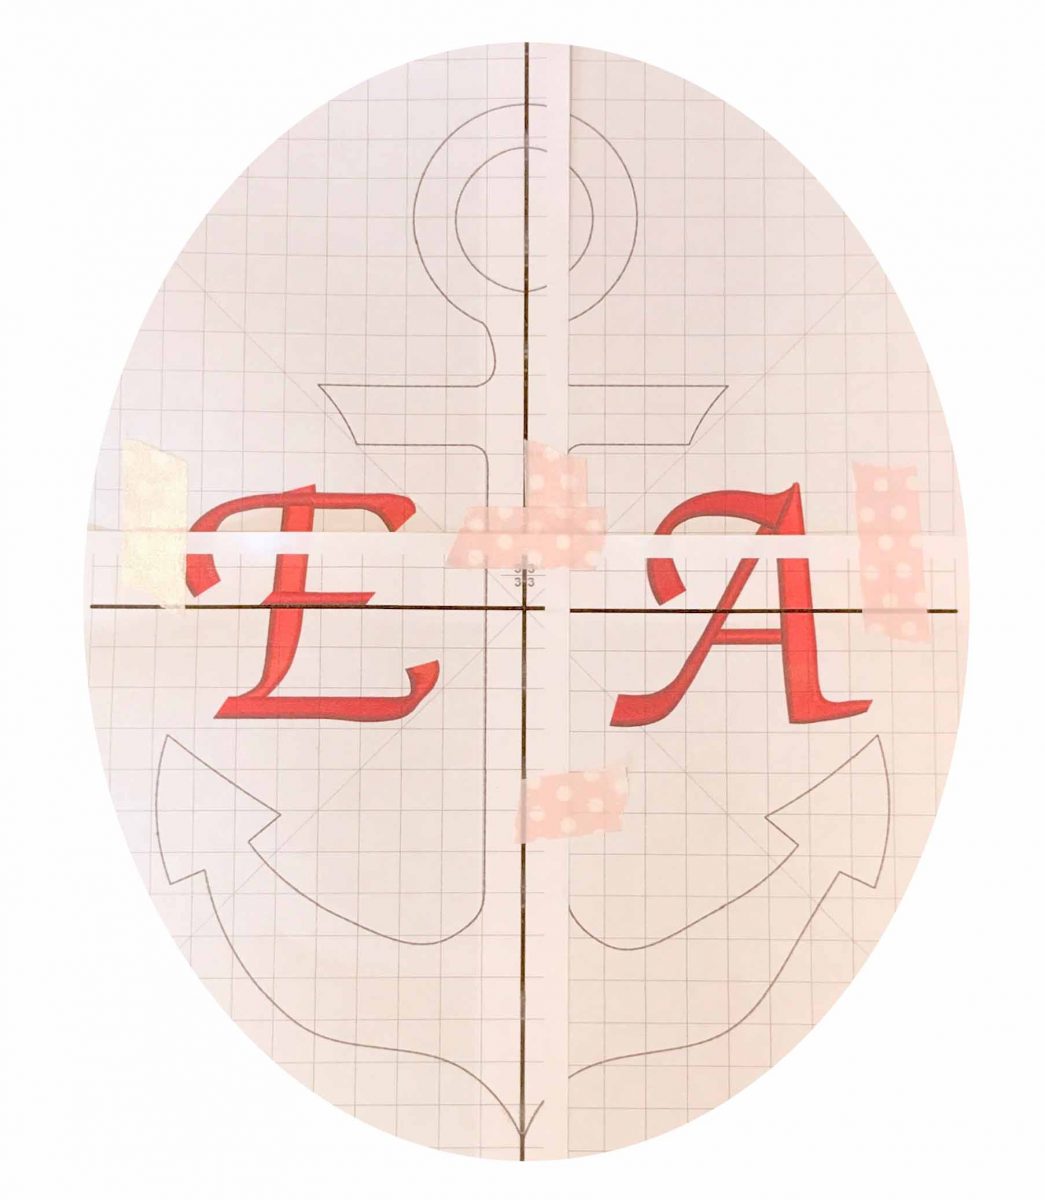
Step 2: Create a design template to help with placement of the design on your jacket
From the File menu, select Print Preview
Select the Options button.
In the Print Options dialogue box, under the Zoom”section, select “100% of actual size” so the design template will print at the actual size of the design.

Select “OK” to print.
Piece the sheets together with tape, matching up the alignment marks. Trim off the excess paper around the design. Set aside.
Now that we’re finished customizing your design and creating the template, let’s move on to the materials…
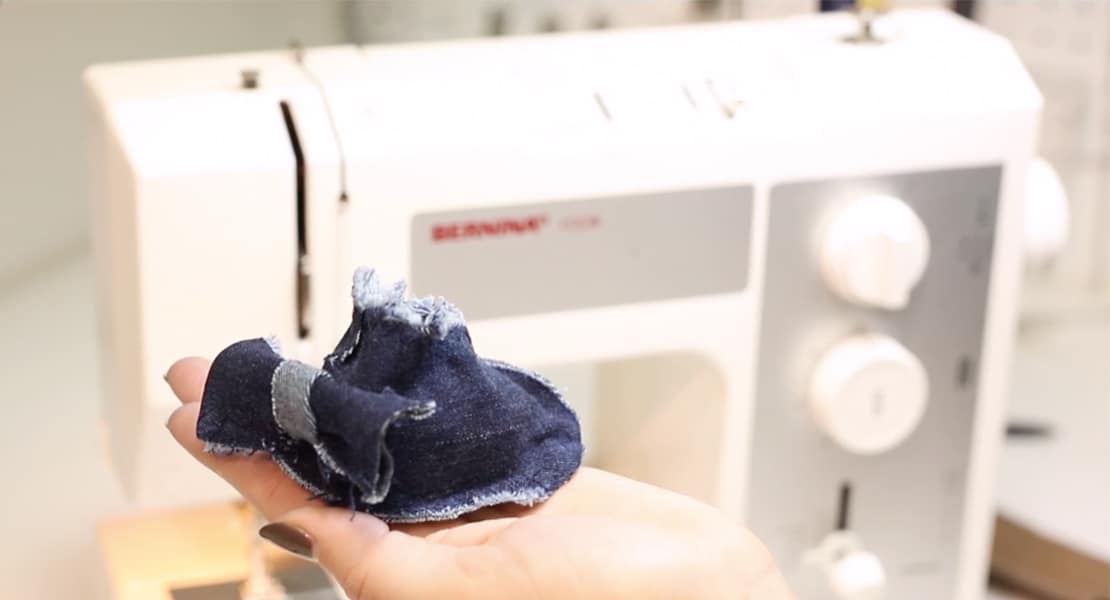
Step 3: Prep Your Materials
Press a piece of fusible webbing to the back of your appliqué fabric. Set aside.
Iron a piece of fusible mesh cutaway stabilizer to the inside back of your jacket. Denim has some stretch so I always recommend using a fusible cutaway as it reduces the amount of stretch for better embroidery results.

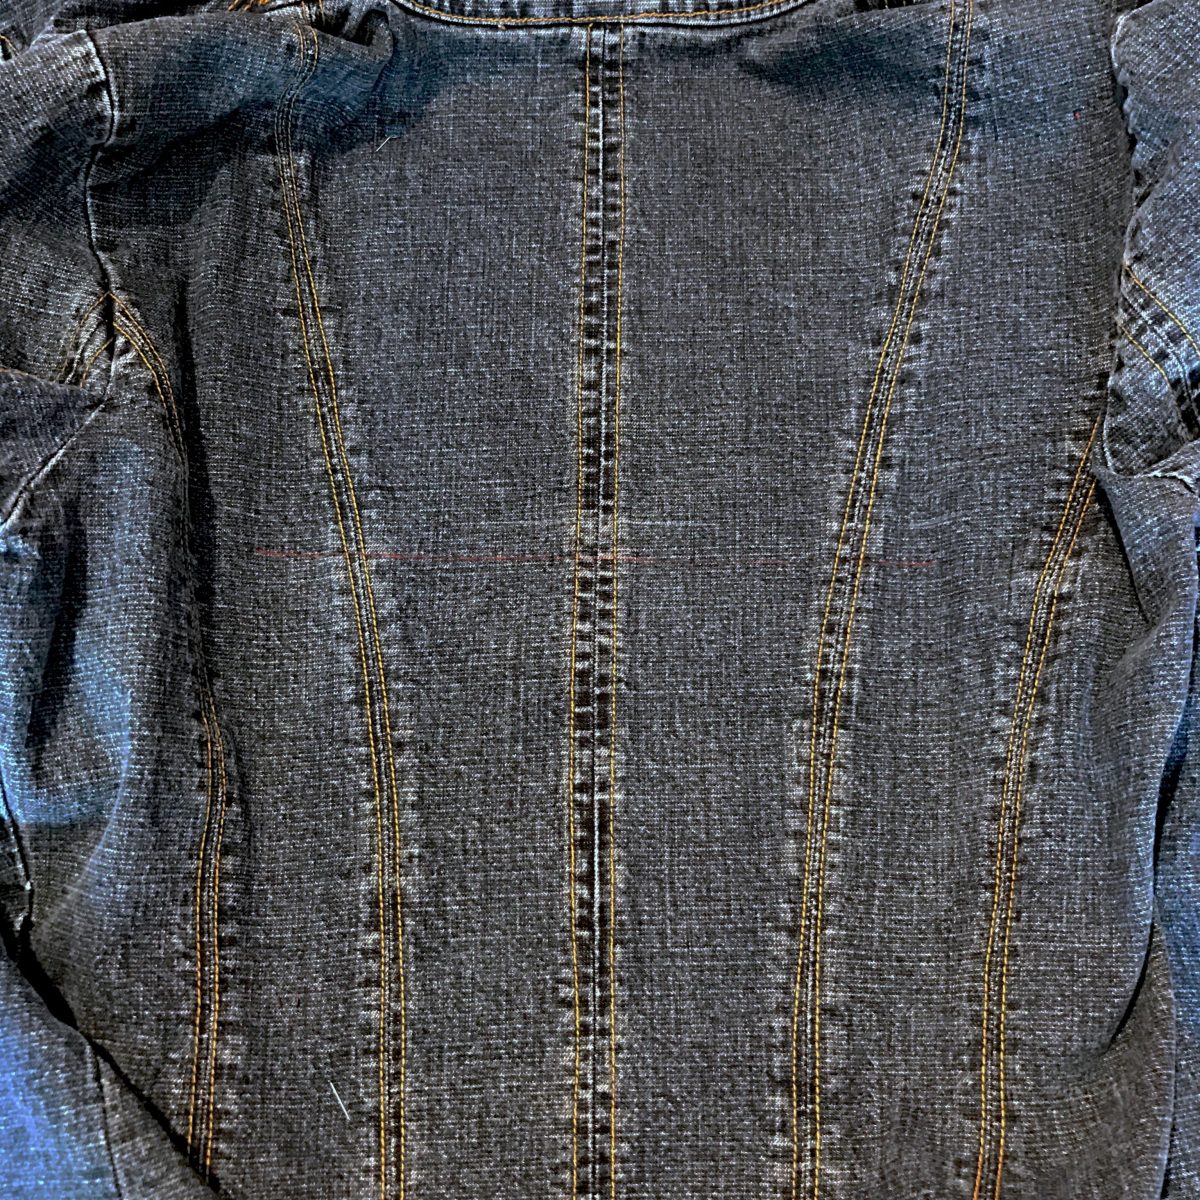
Turn the jacket right side out. Working on the back of the jacket, find the center of the jacket by folding it in half vertically. Finger crease the vertical center. (My jacket has a seam down the center back, which made this step easy!) Place your printed template over the jacket, aligning the vertical centers of the template with the vertical center mark of the jacket.
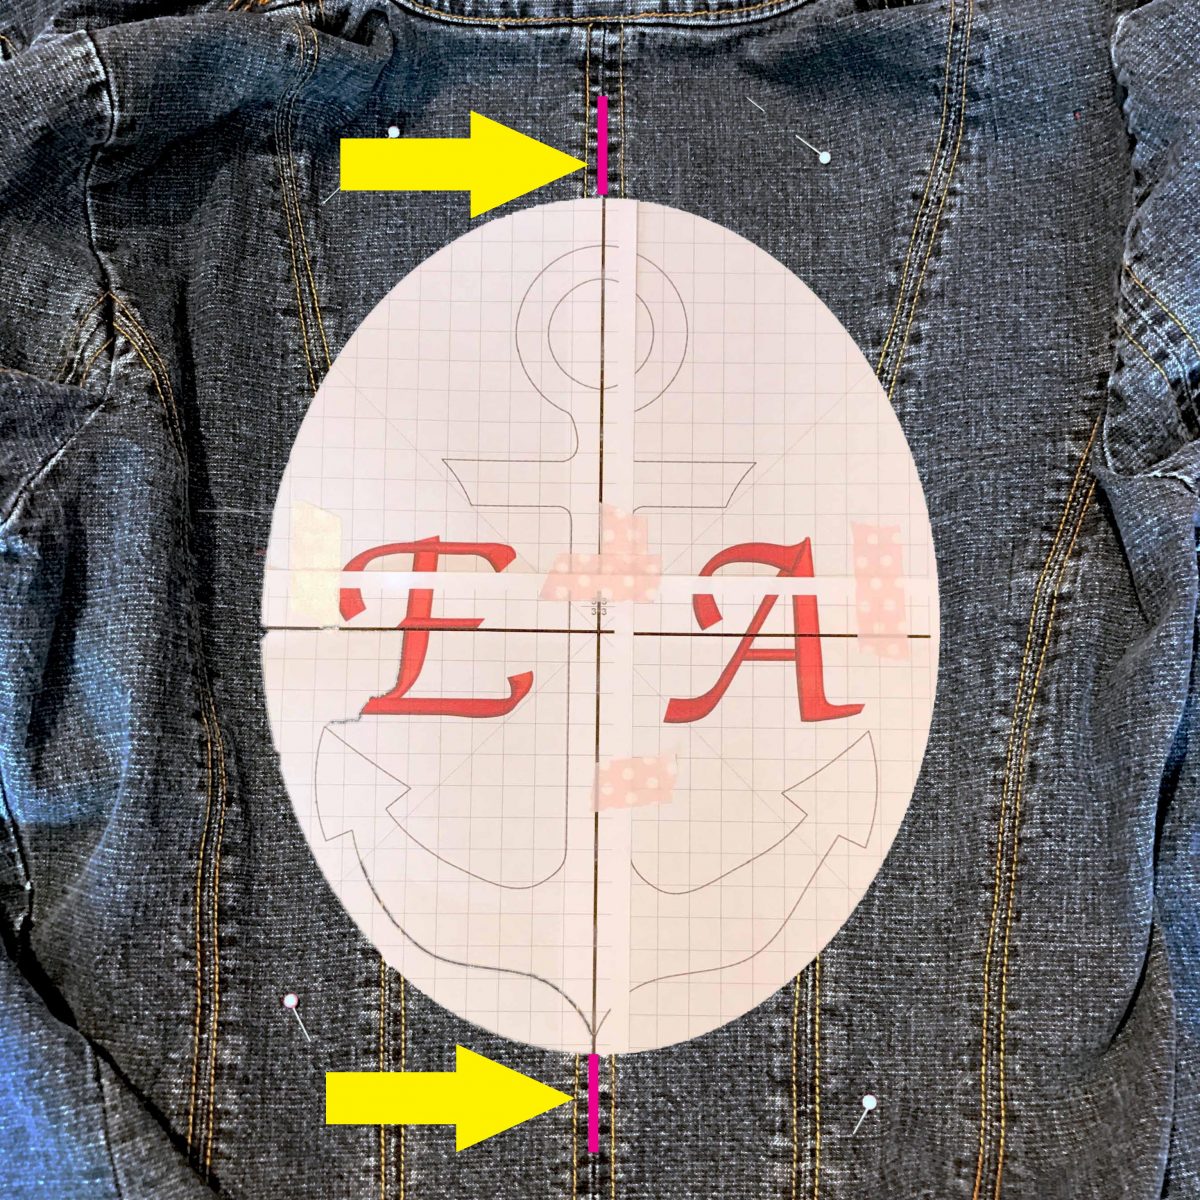
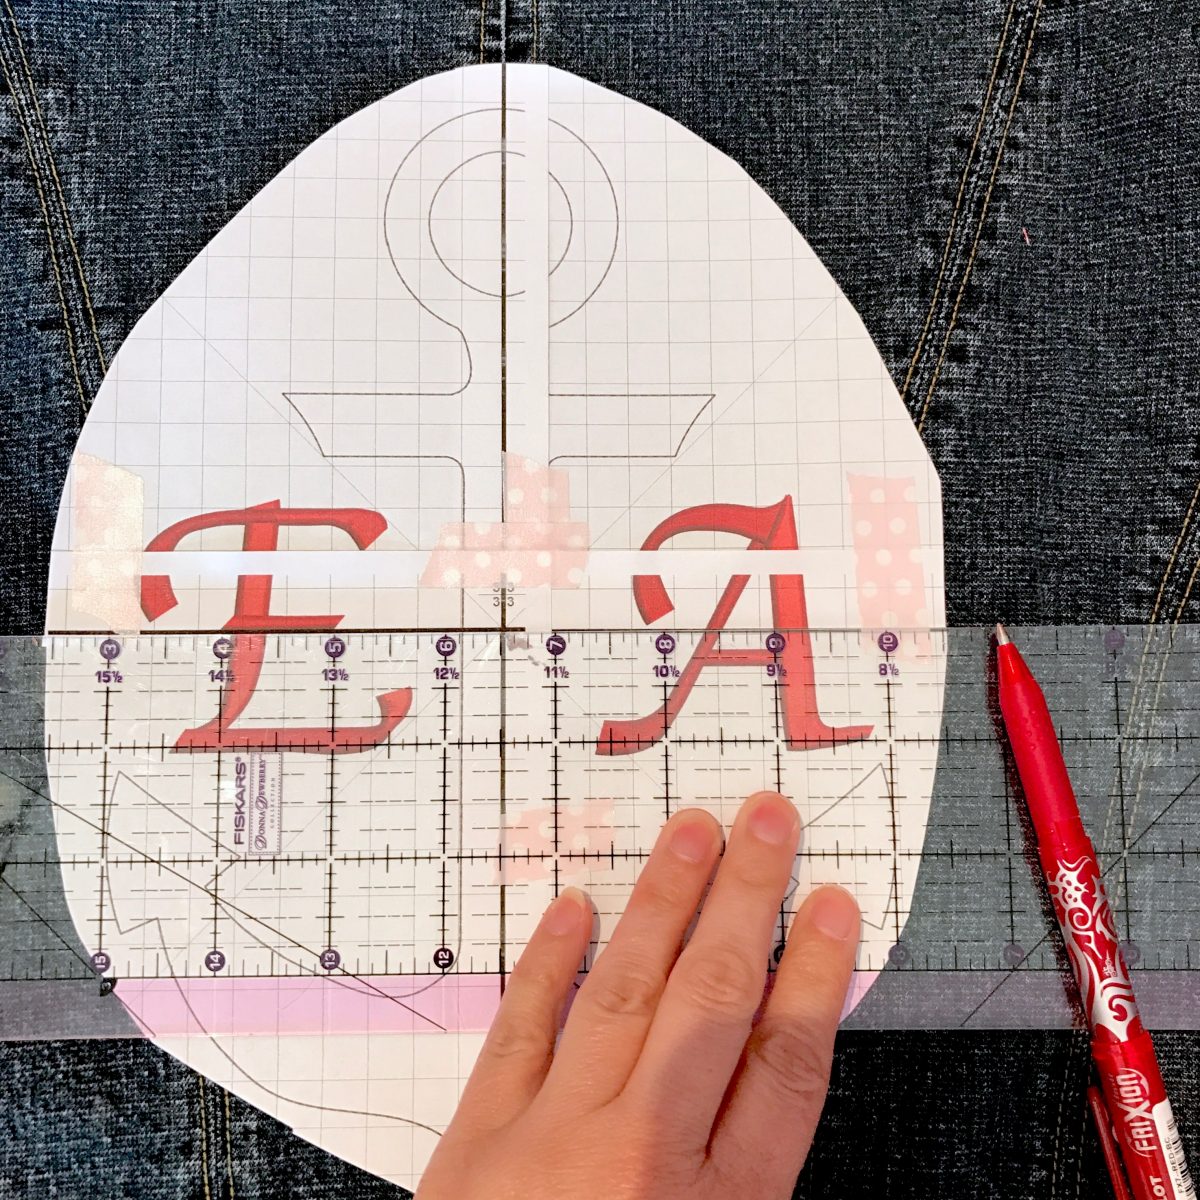
Decide where you would like the design to fall horizontally on your jacket, and slide the template up, or down, in place. Layer a ruler across the horizontal center line on the template, and mark the horizontal line onto the jacket, on both the right and left sides of the template. Remove the template and connect the two horizontal marks.
Fold the jacket, right sides together, on the horizontal marked line, clipping in place to hold. Set aside while we prepare the stabilizer.

Hoop a piece of Sticky Tearaway Stabilizer in the appropriate size hoop for your project, waxy paper side up. Use a pin to score the wax paper topping, all the way around the inner edge of the hoop.
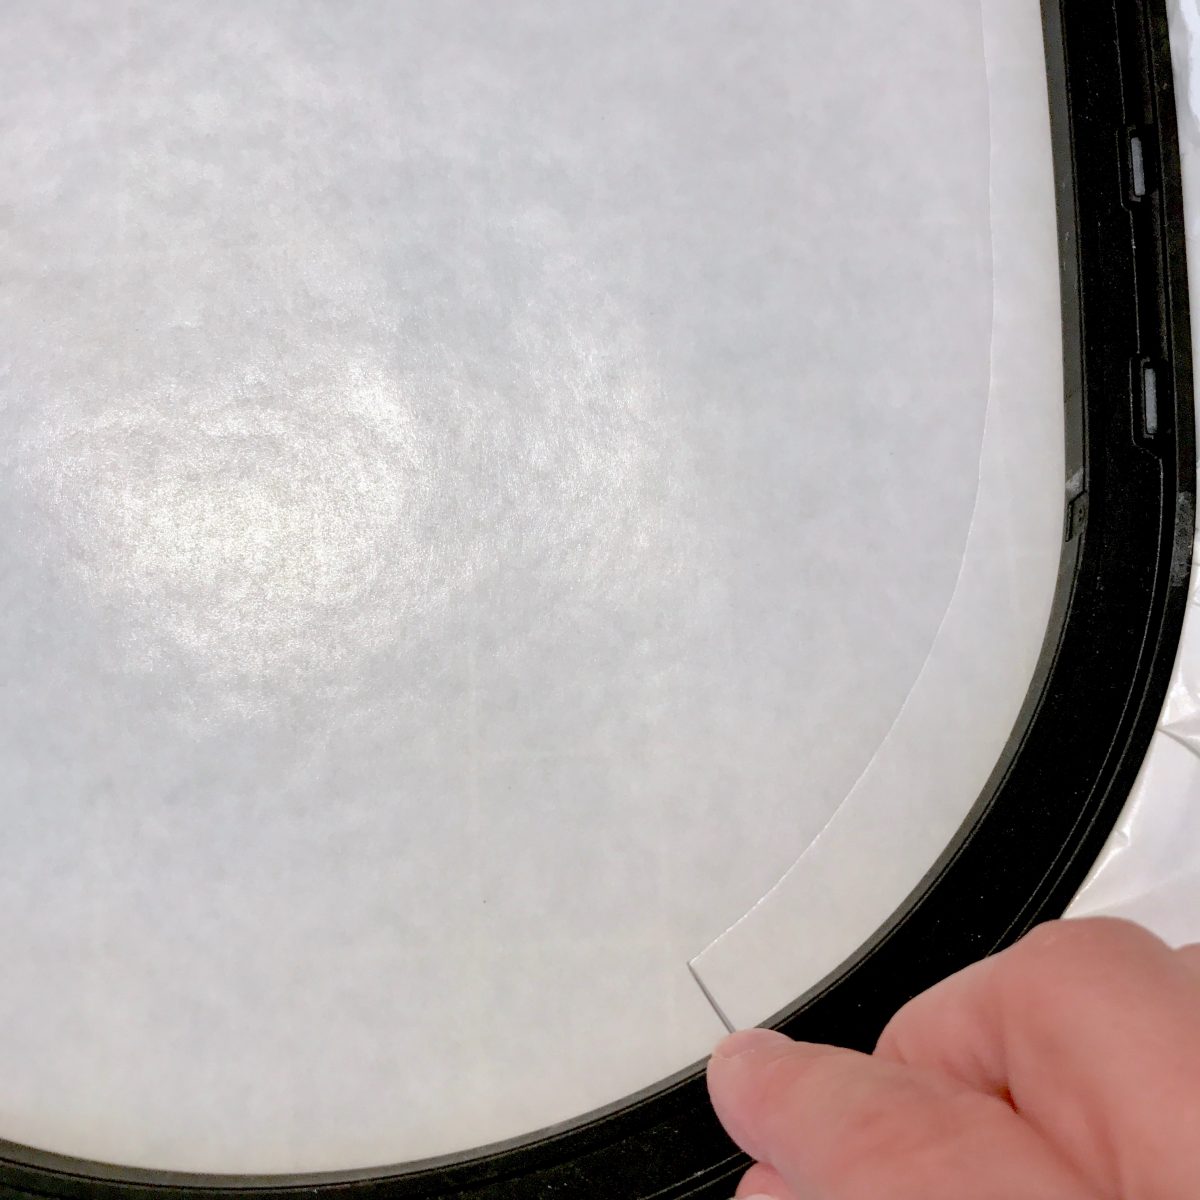
Remove the wax paper from within the score line to expose the sticky stabilizer.
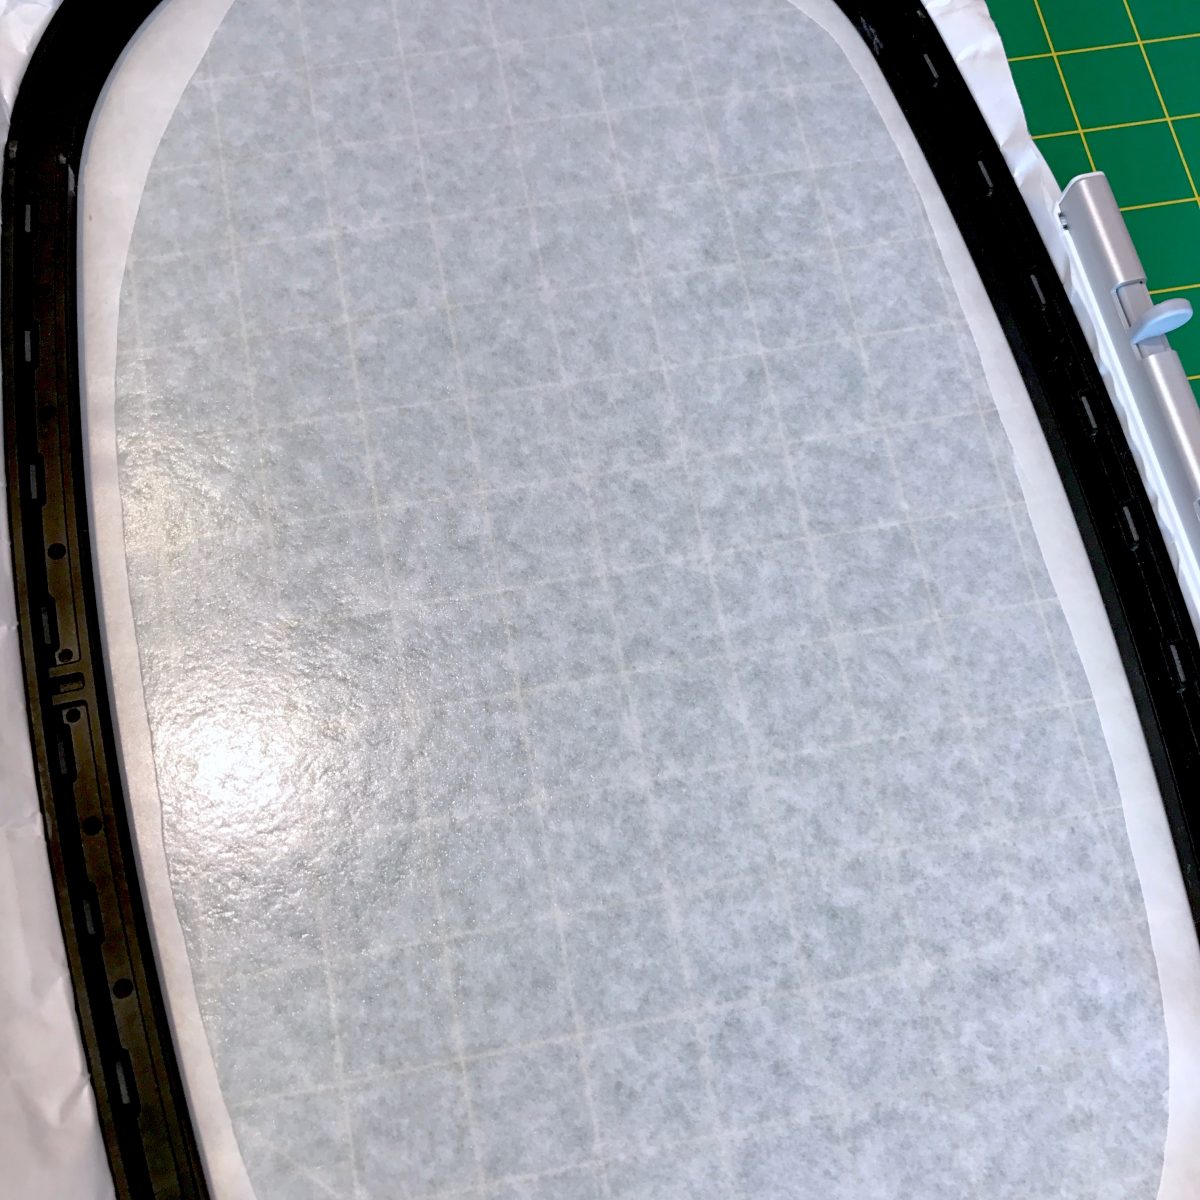
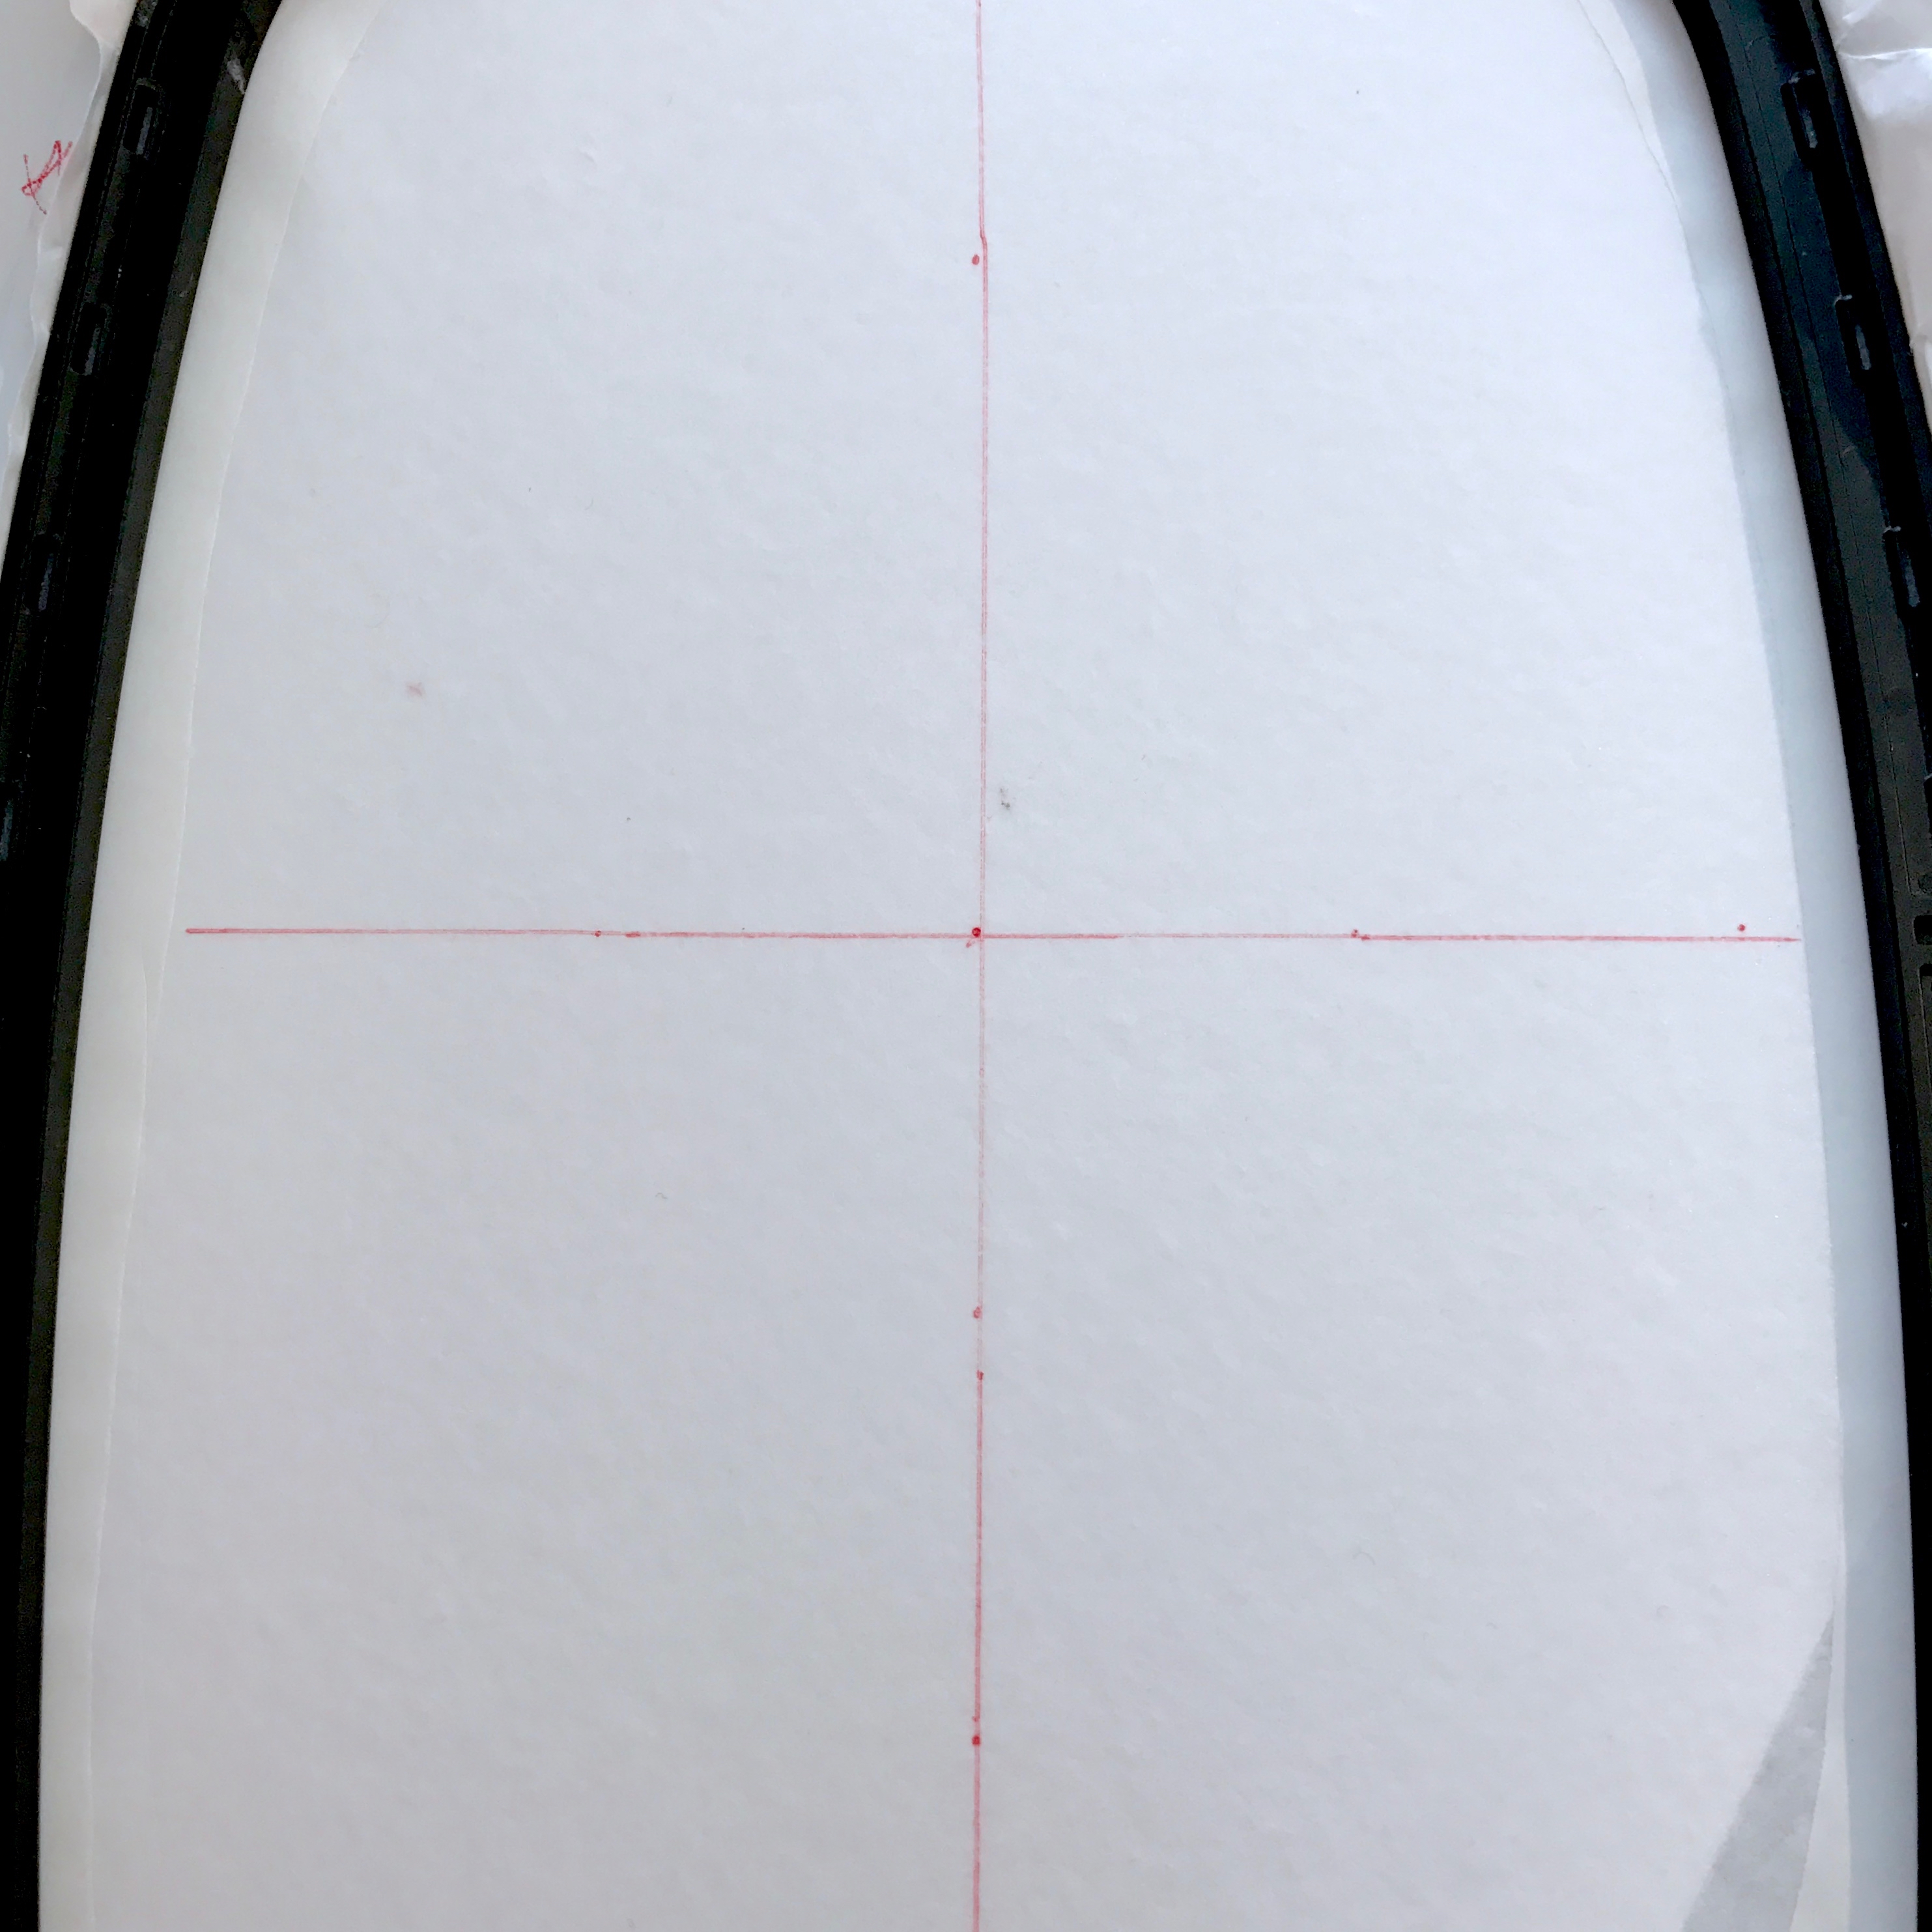
Using your hoop template, mark the horizontal centers of your hoop onto the sticky stabilizer.
Take your jacket and place it over the hoop, aligning the fold with the horizontally mark on the stabilizer.
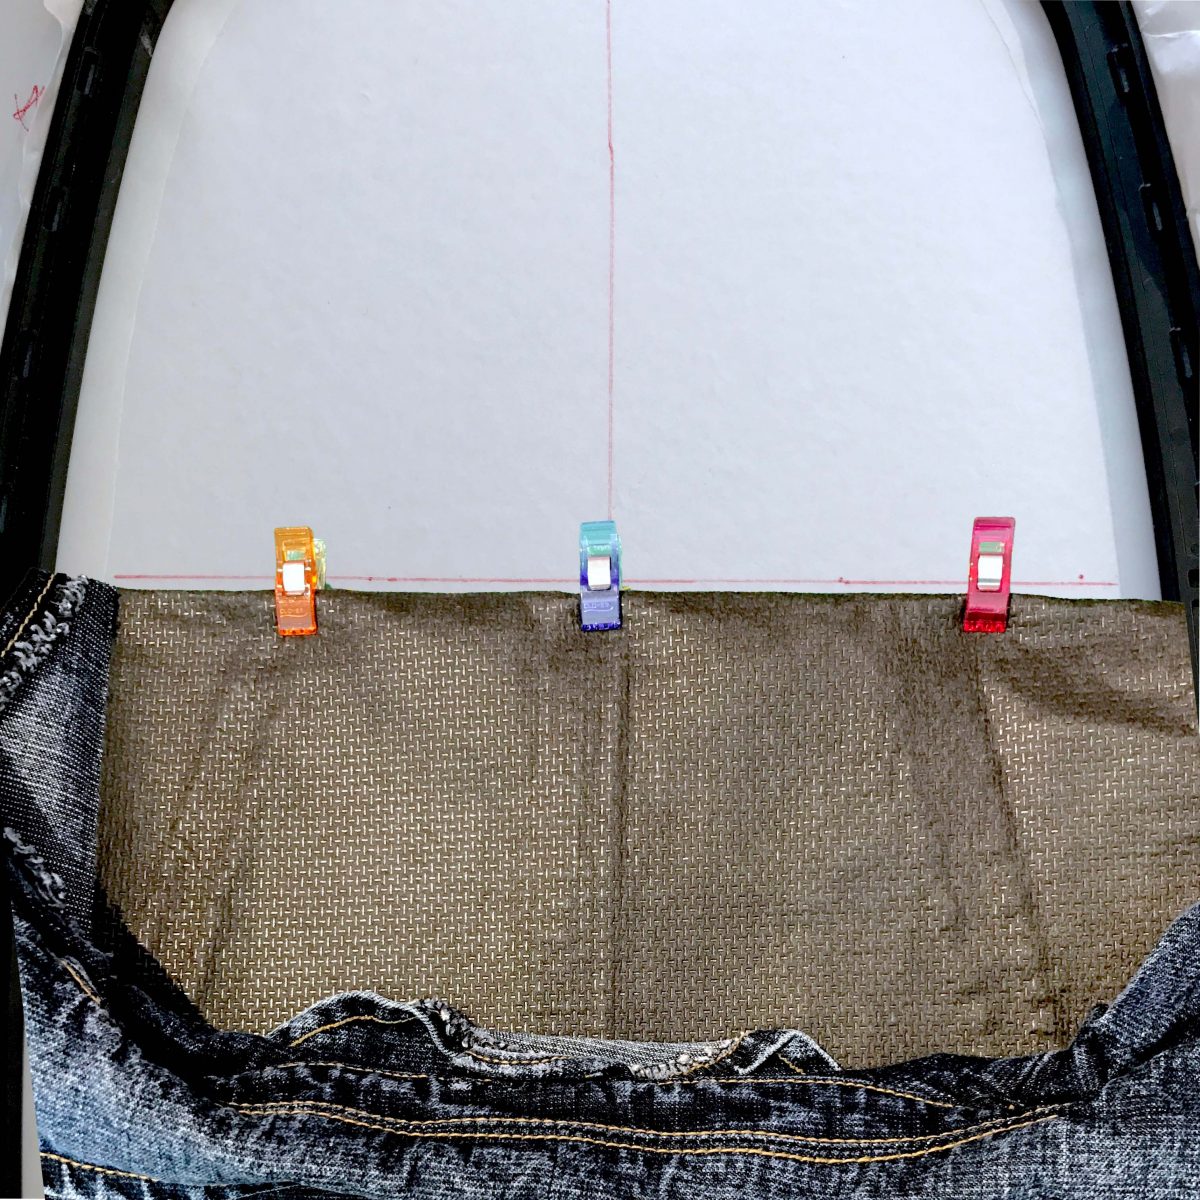
Remove the clips and press the jacket down to the sticky stabilizer. Placed correctly, when you unfold the jacket, the collar should be facing the top of the hoop. For a little more stability, you can pin the jacket to the stabilizer, but be careful to place your pins well away from the stitch areas (lay your printed design template over the marks on the jacket to clearly see the stitch area.)
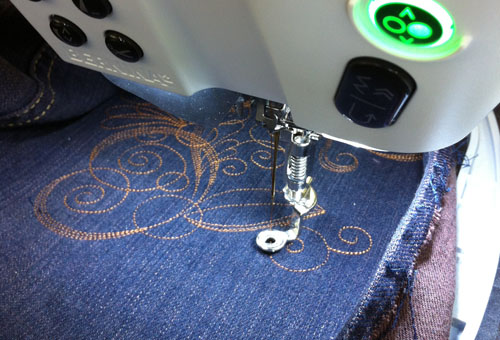
Step 4: Let’s stitch!
Load your monogrammed Anchor Appliqué design to your embroidery machine.
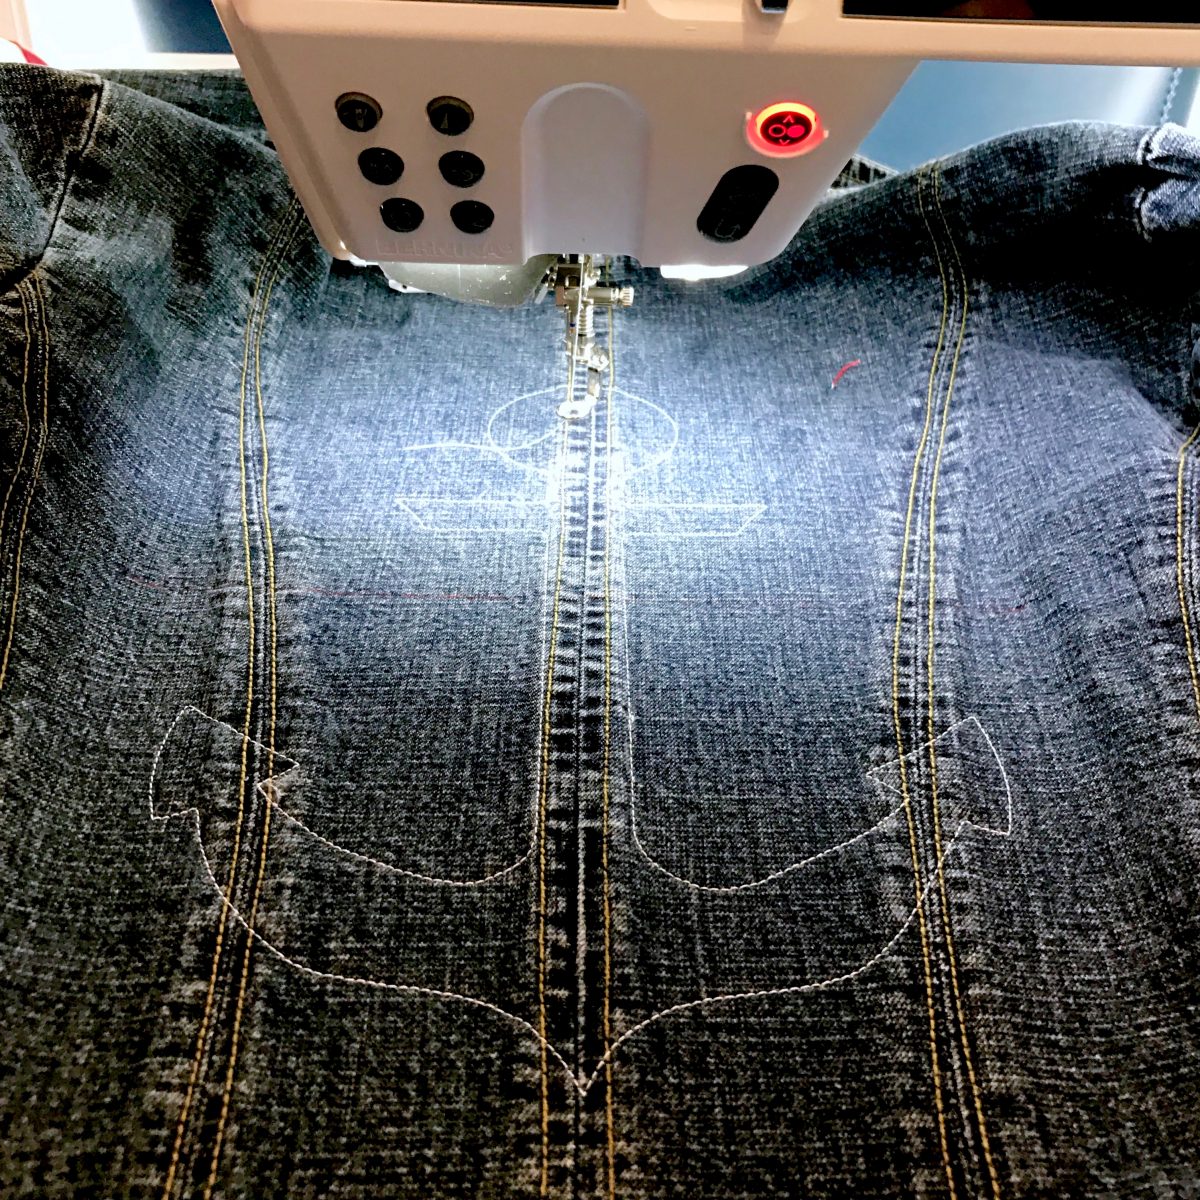
Place the hoop on your machine. Using thread to coordinate or contrast with your appliqué fabric, sew Stitch Sequence 1 to create a placement line for your appliqué fabric.
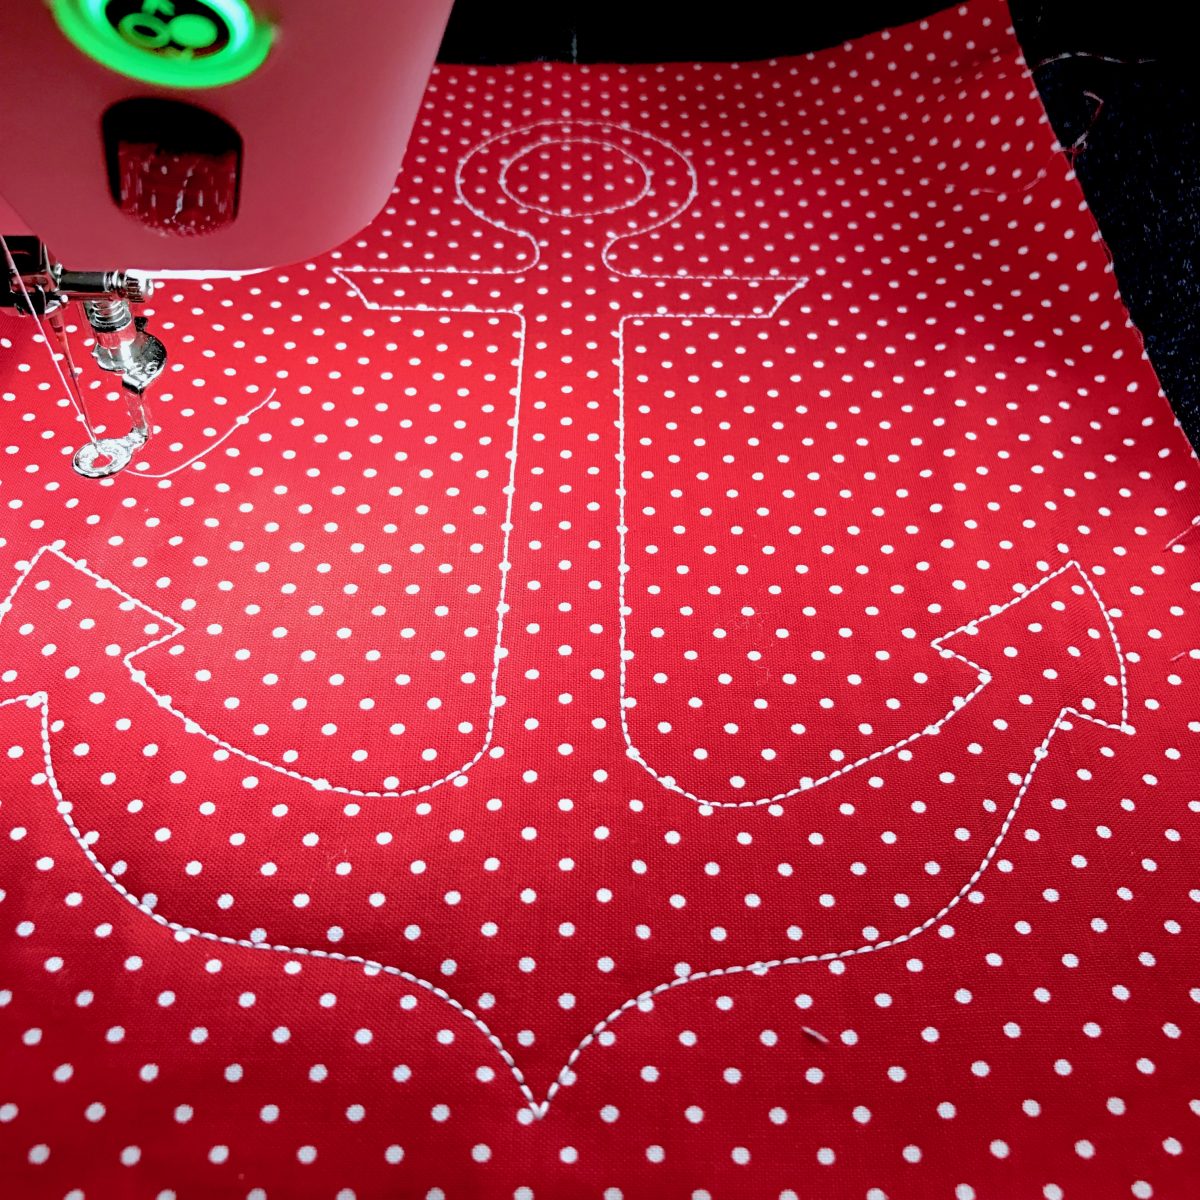
Remove the paper backing from the back of the appliqué fabric. Place the fabric, right side up, over the placement line. Sew Stitch Sequence 2 to create the cutting line.
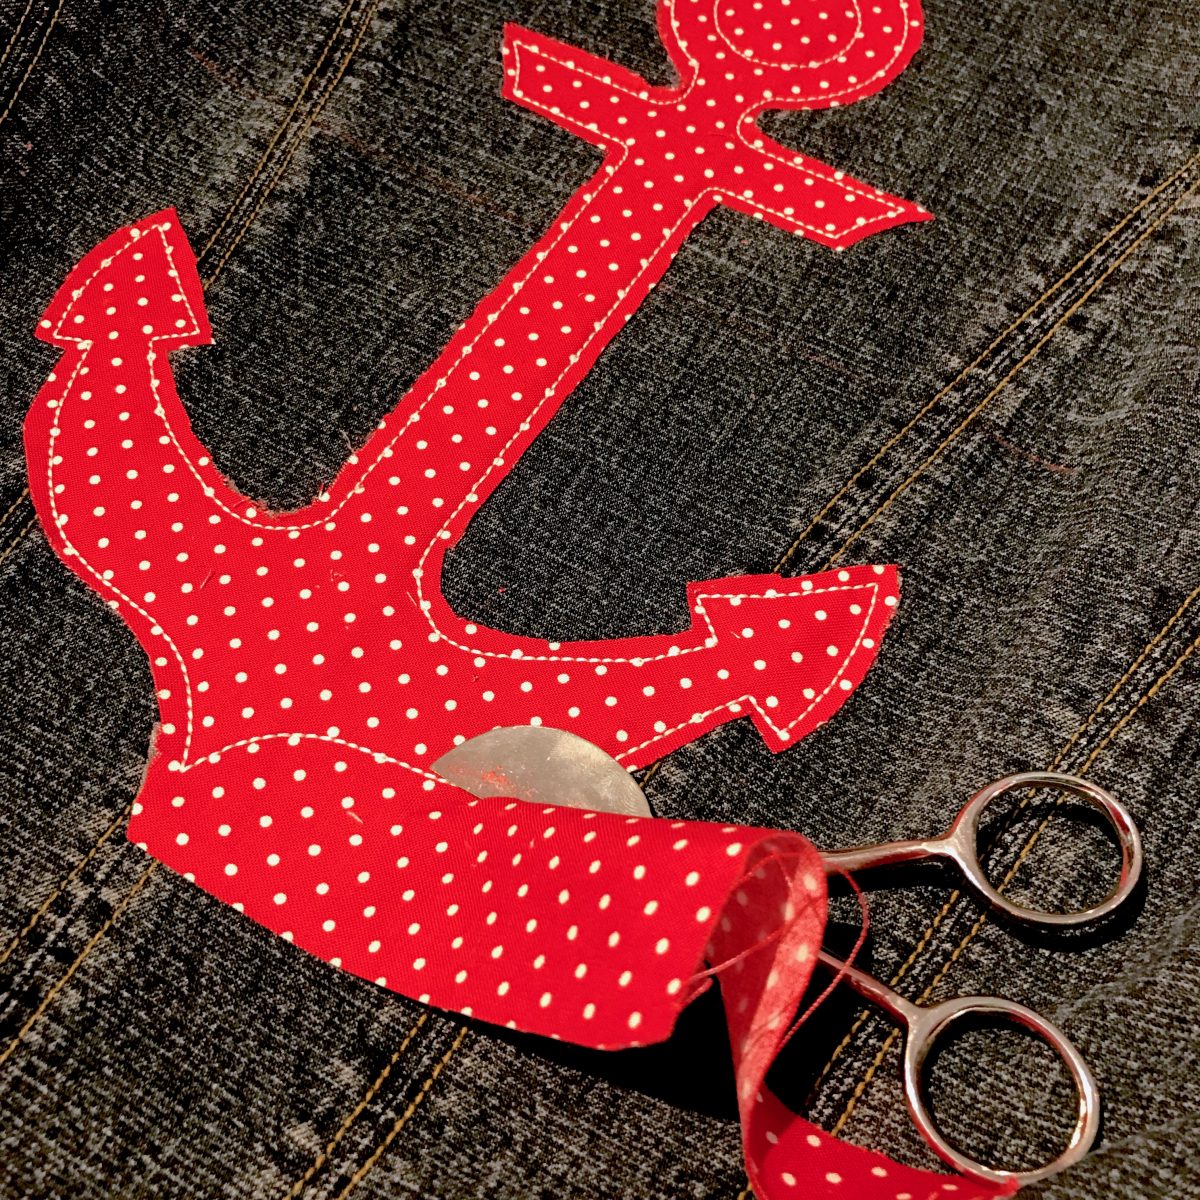
Remove the hoop from your machine, but leave the projected hooped. Trim around the cutting line, leaving a 1/8″ seam allowance. Leave the inner circle at the top of the anchor intact for now. We’ll trim this out after the project is complete and unhooped to make it easier.
Change to the thread color you’d like for your monogram. Sew Stitch Sequence 3 to complete the design.

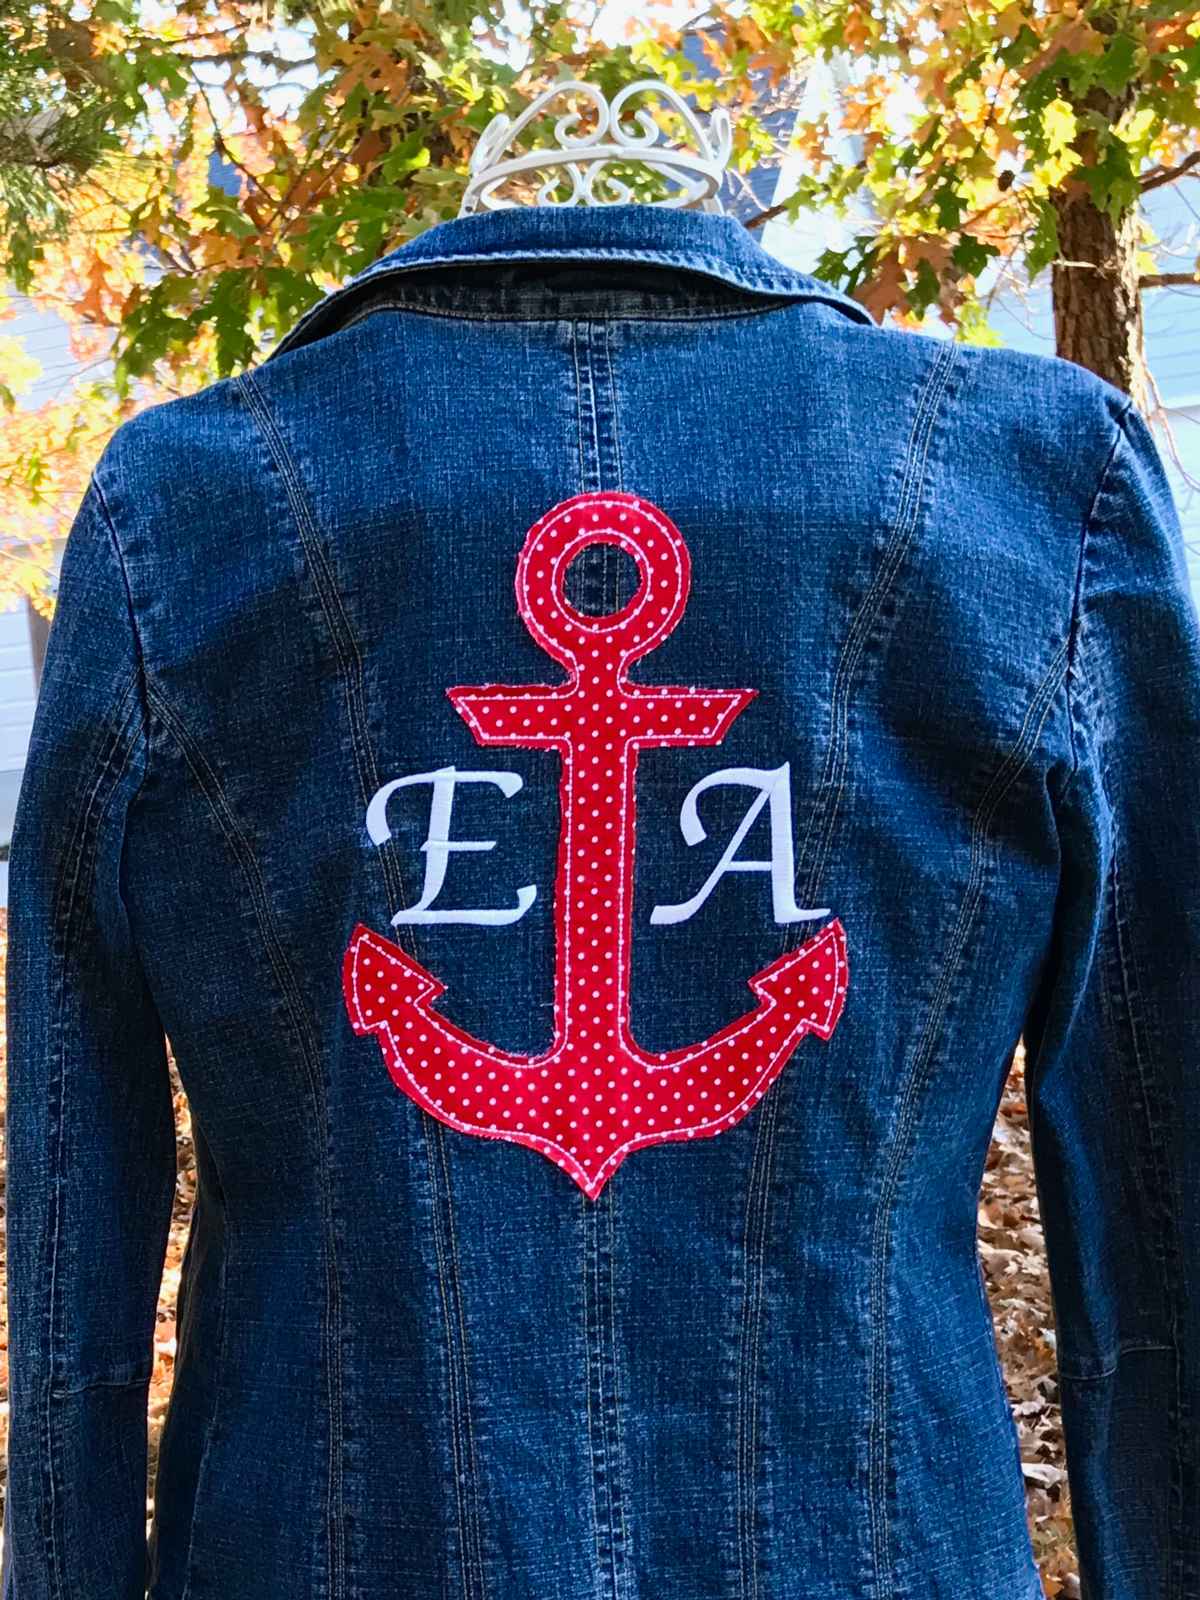
My daughter loves her new embellished denim jacket! I hope you like it, too, and give this fun and easy project a try. Let me know how you did!