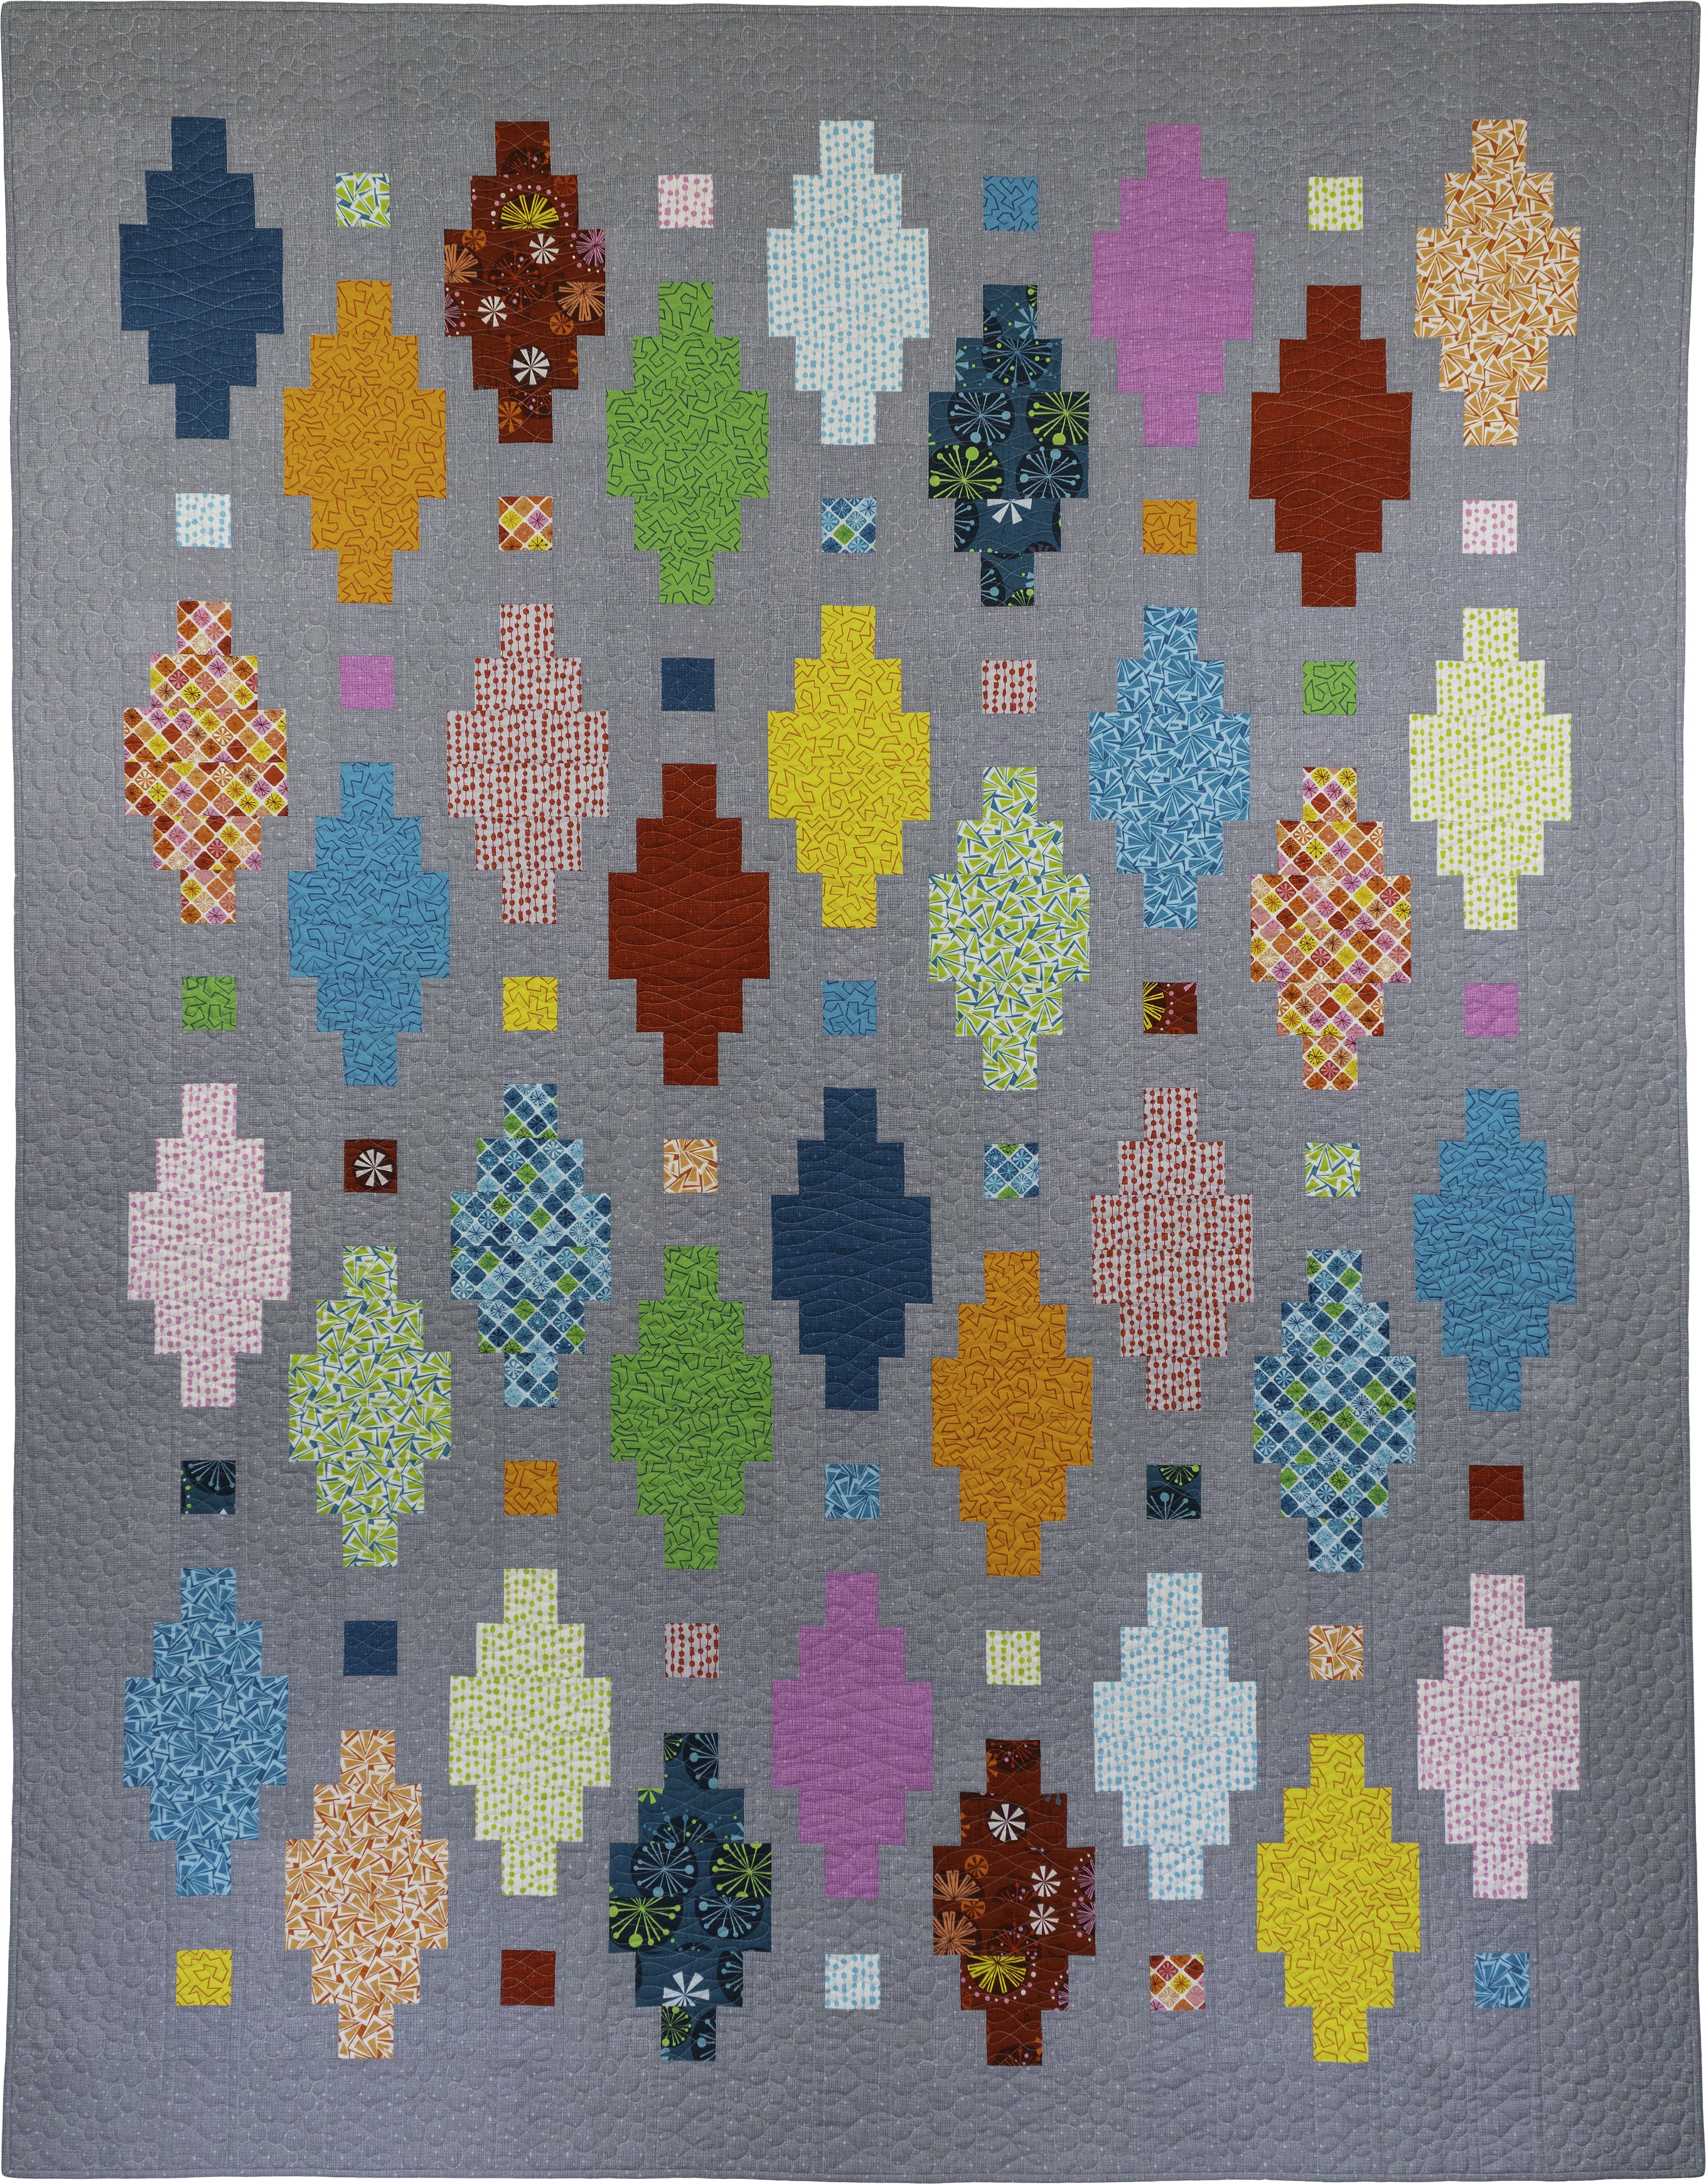
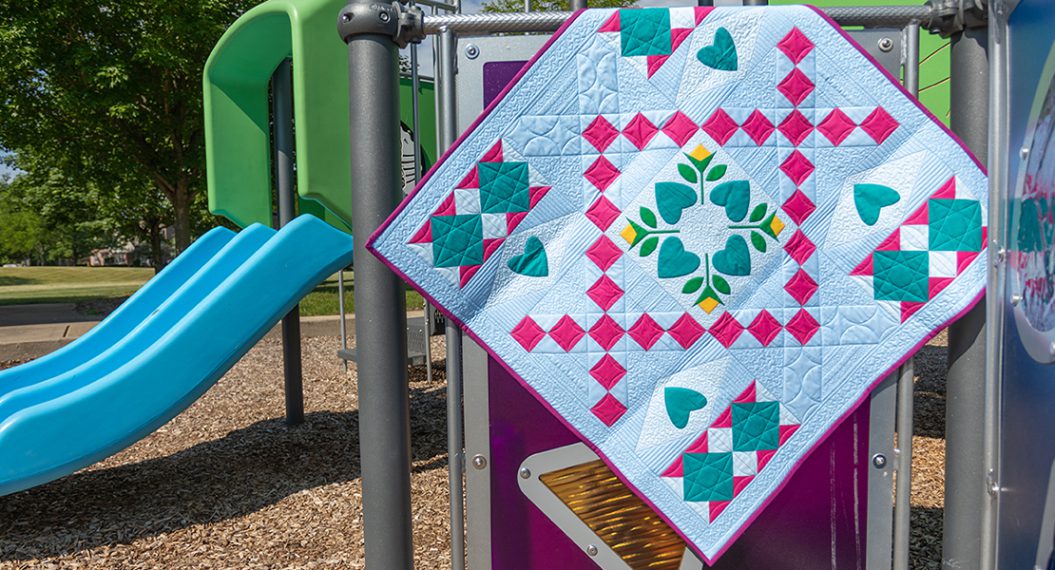
Beaded Lanterns Quilt Along Week 6 – Free Motion Quilting
If you’ve been following along, we are are nearly finished with the Beaded Lanterns quilt along! But not to worry if you are just joining us; scroll to the end of this post for links to all of the previous quilt along posts including the supply list and link to the free pattern. The quilt along posts will stay up indefinitely so you can make this quilt any time you like, at your own pace, and on your own schedule.
This week we will finish quilting beaded lanterns with two fun free-motion designs, “Cursive L’s” and Pebbles. Be sure to check out last week’s post for the quilting plan for this quilt.
Free-Motion Quilting Tips
Before I get into the quilting specifics, here are my top three tips when it comes to free-motion quilting (FMQ):
- Practice, practice, practice! This is probably the most important thing when it comes to successful FMQ. You are learning a new motor skill, so just like learning to drive, it will take awhile before you have the muscle control to quilt smoothly and evenly. Make several practice sandwiches from fabric scraps and leftover batting and practice quilting EVERY DAY. Think of it as your daily (quilting) exercise!
- Choose busy fabrics and blending threads. This will help hide your quilting mistakes. I also recommend using the same thread in the top and bobbin just in case your tension is less than perfect. Otherwise you may end up with “pokies” – little dots of thread on the front or back of the quilt.
- When in doubt, add more quilting. Want to know the best way to hide imperfect quilting? Surround it with MORE imperfect quilting! When you’ve quilted the entire surface of your quilt, all you will see is texture rather than the individual stitches. Nothing stands out like a sore thumb more than a small amount of quilting in one area. And contrary to popular belief, dense quilting will not make your quilt stiff as long as you use natural fiber materials (like cotton fabrics, thread, and batting.) Also, the more you wash your quilt, the softer and cuddlier it will be!
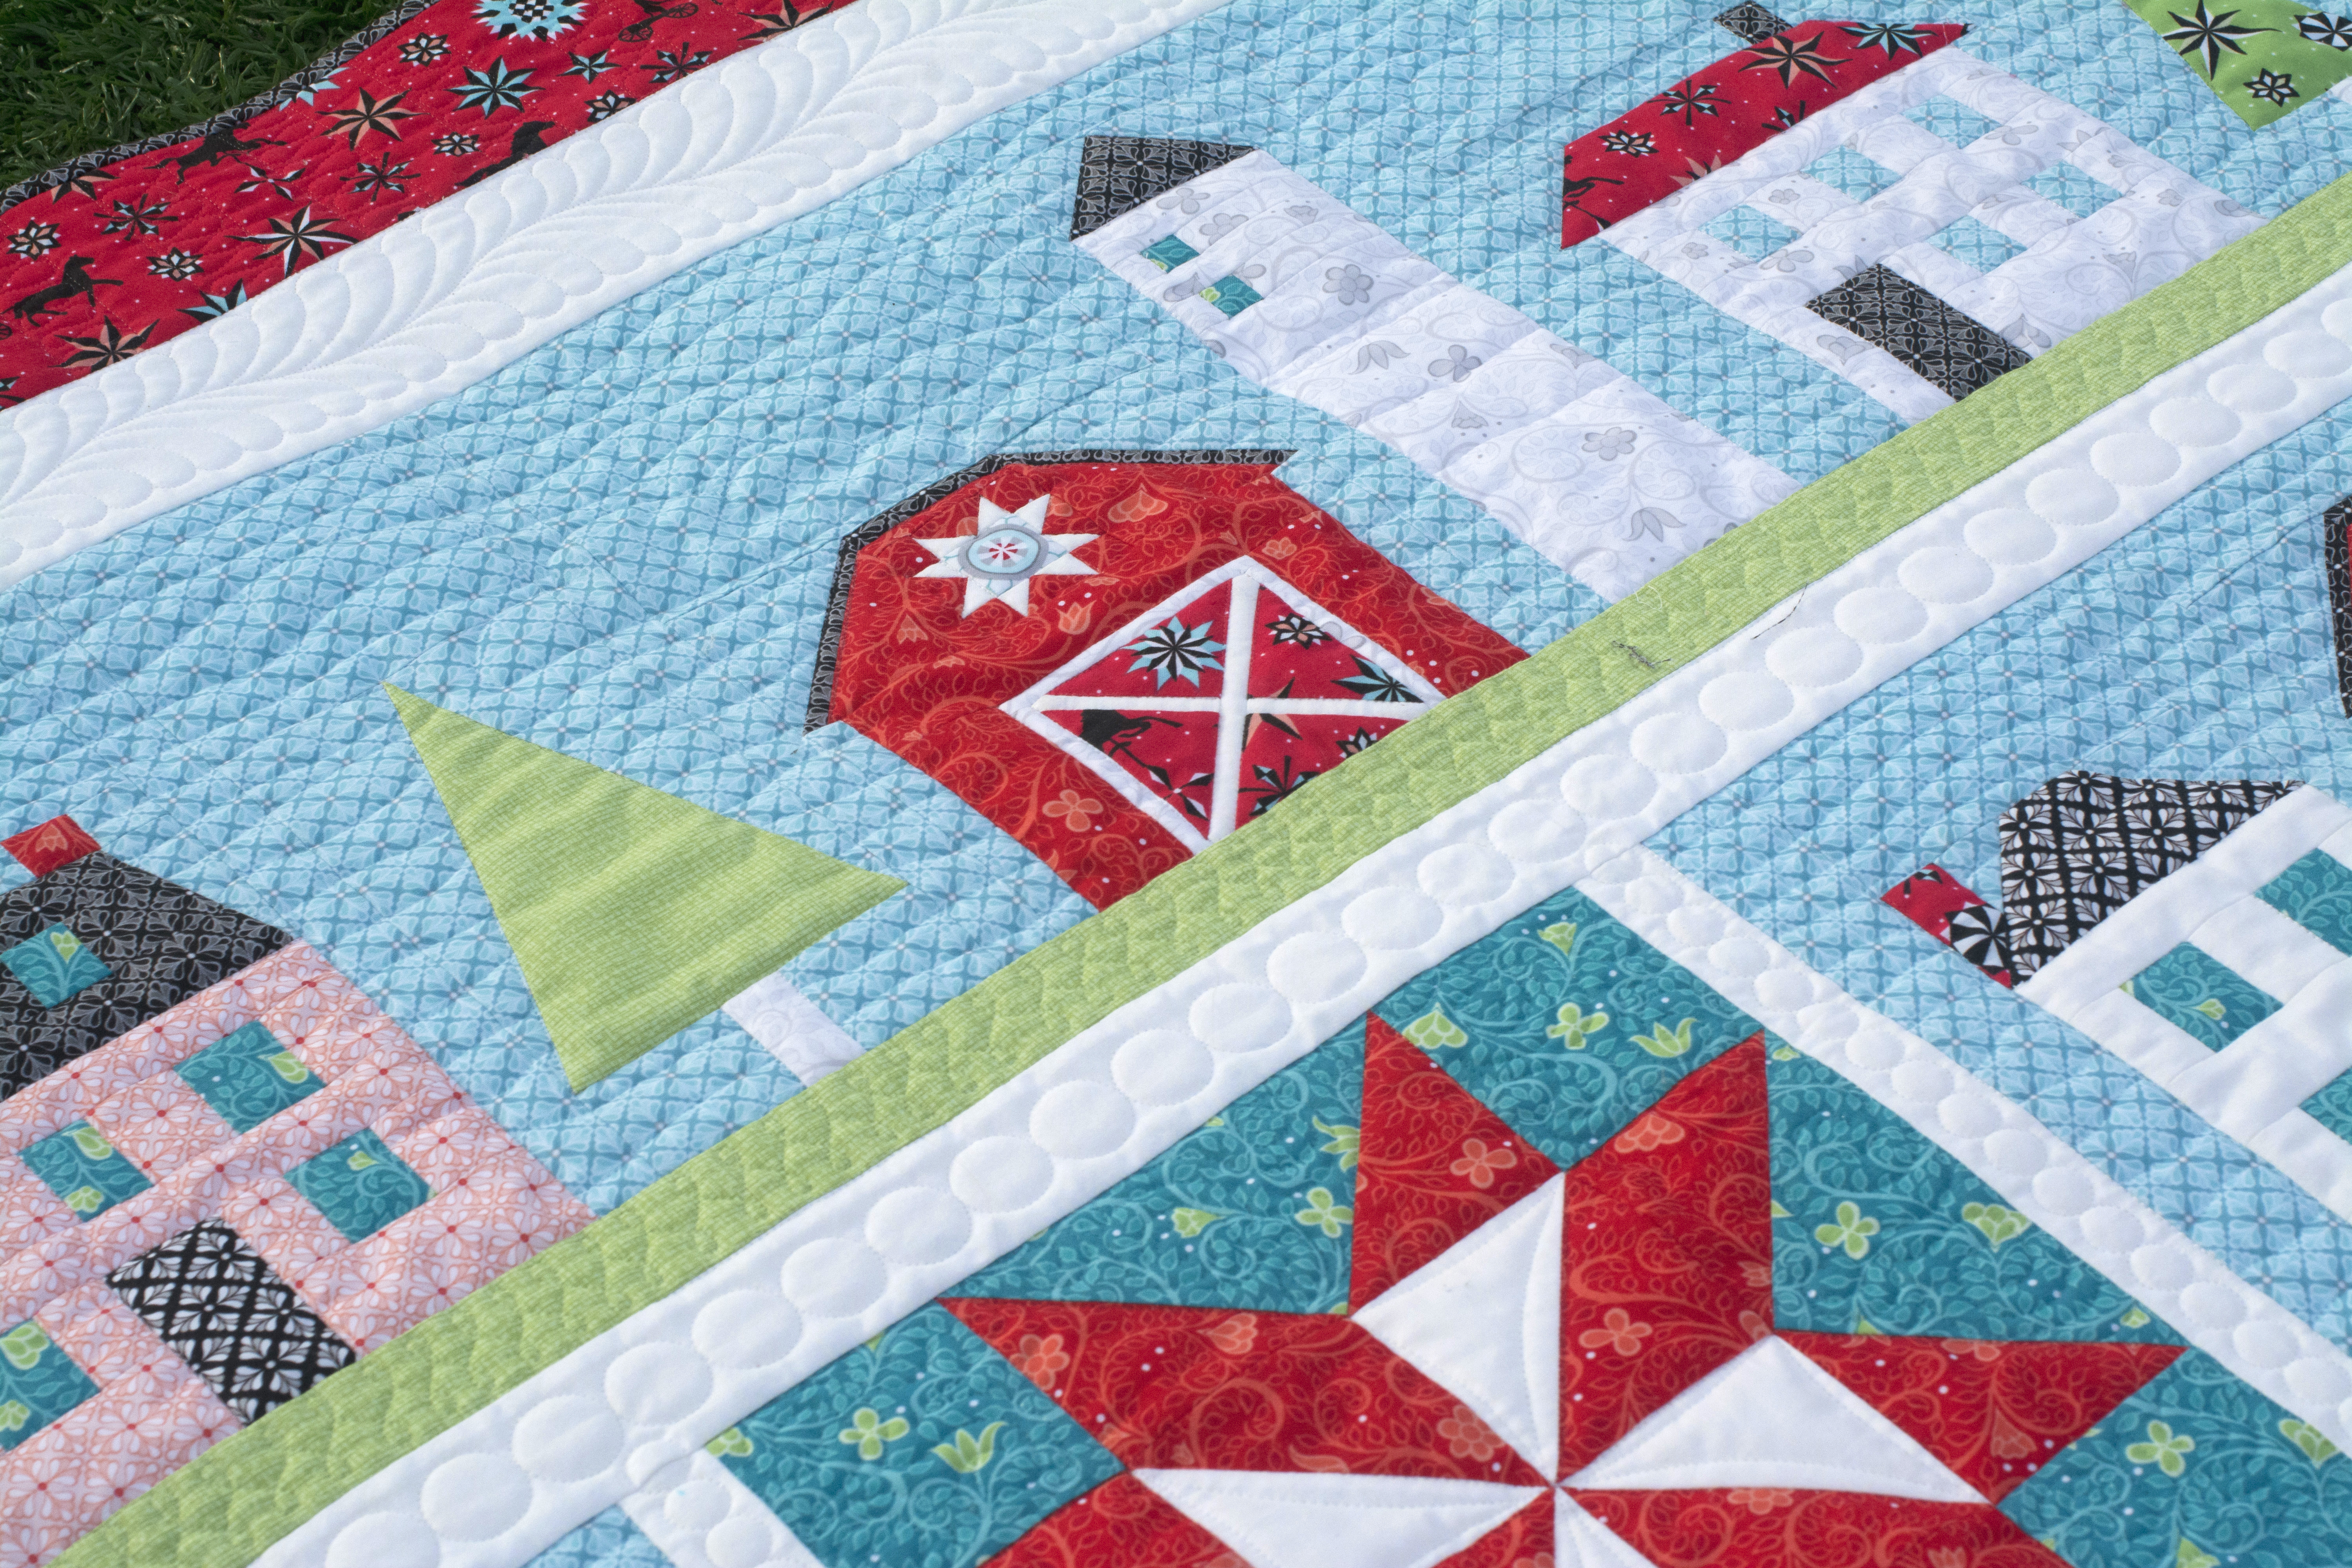
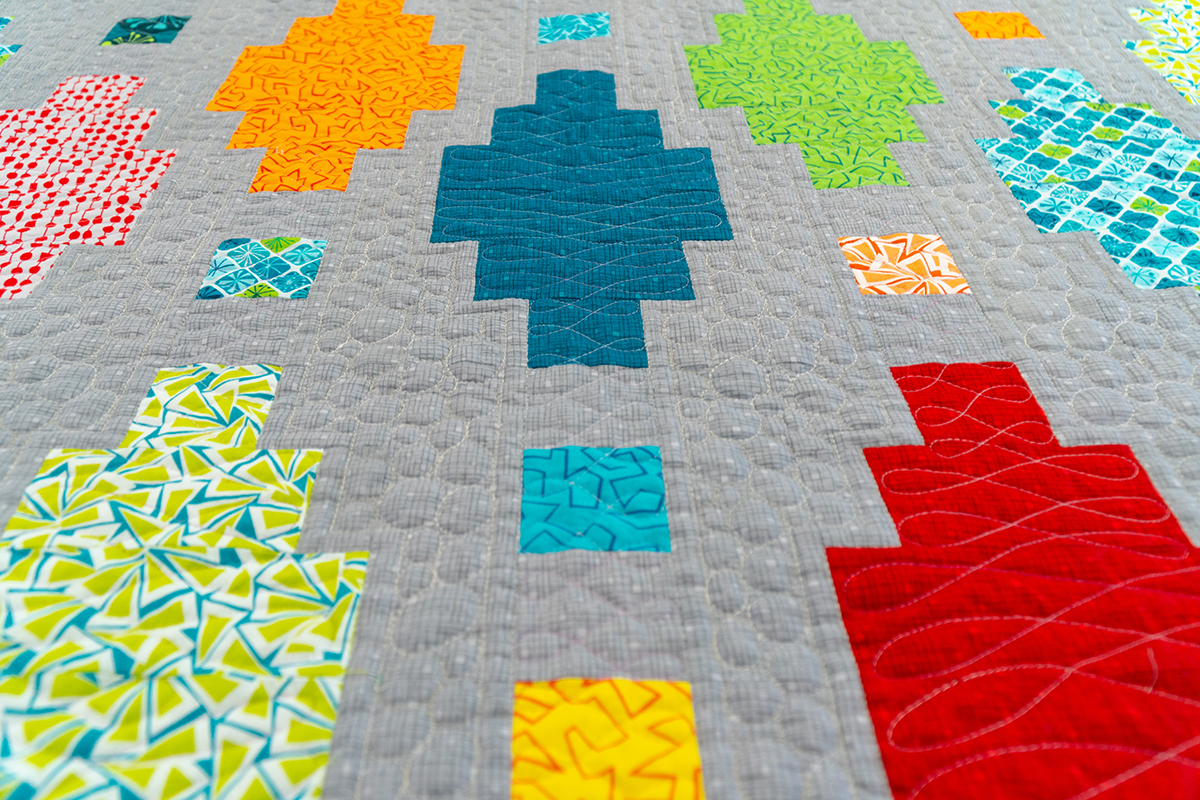
Quilting The Background
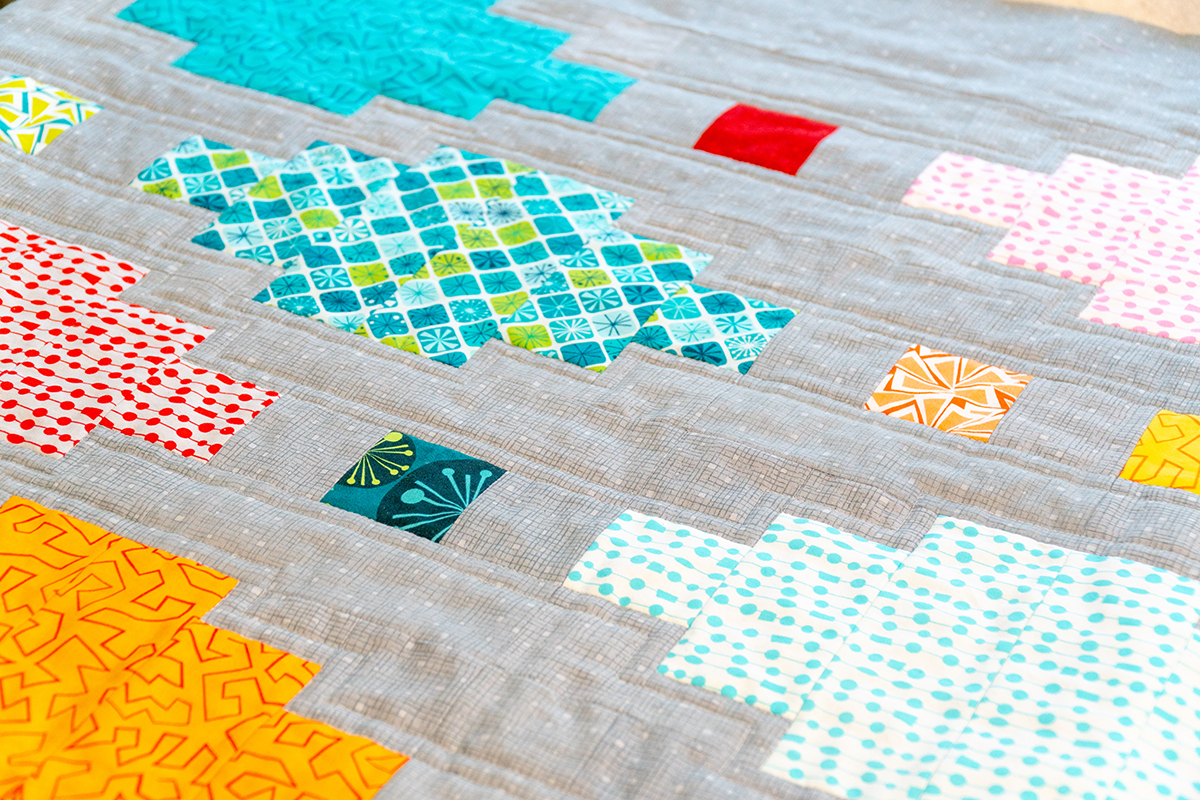
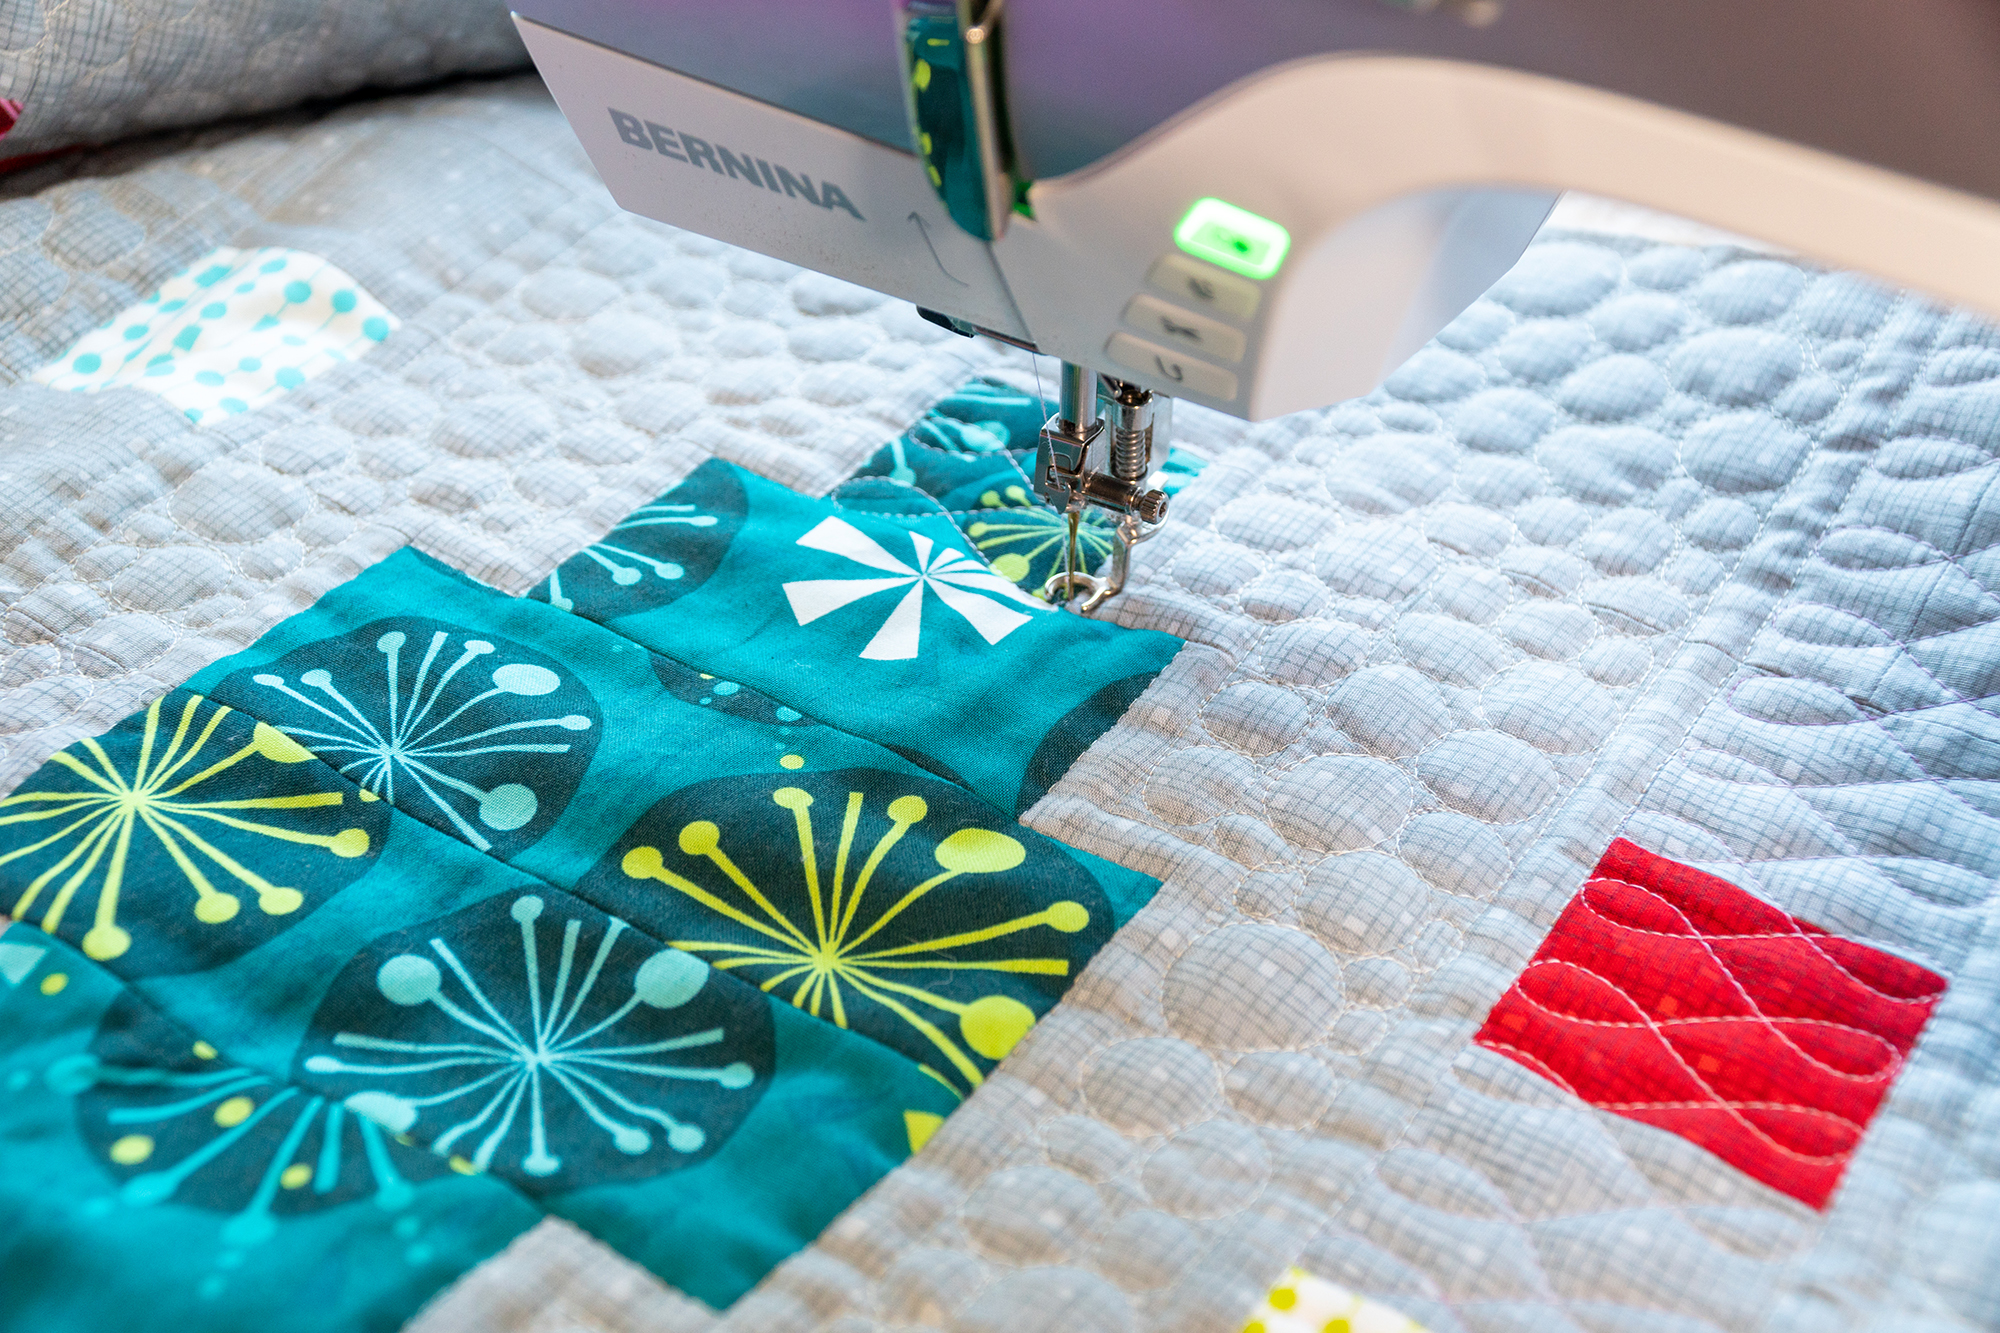
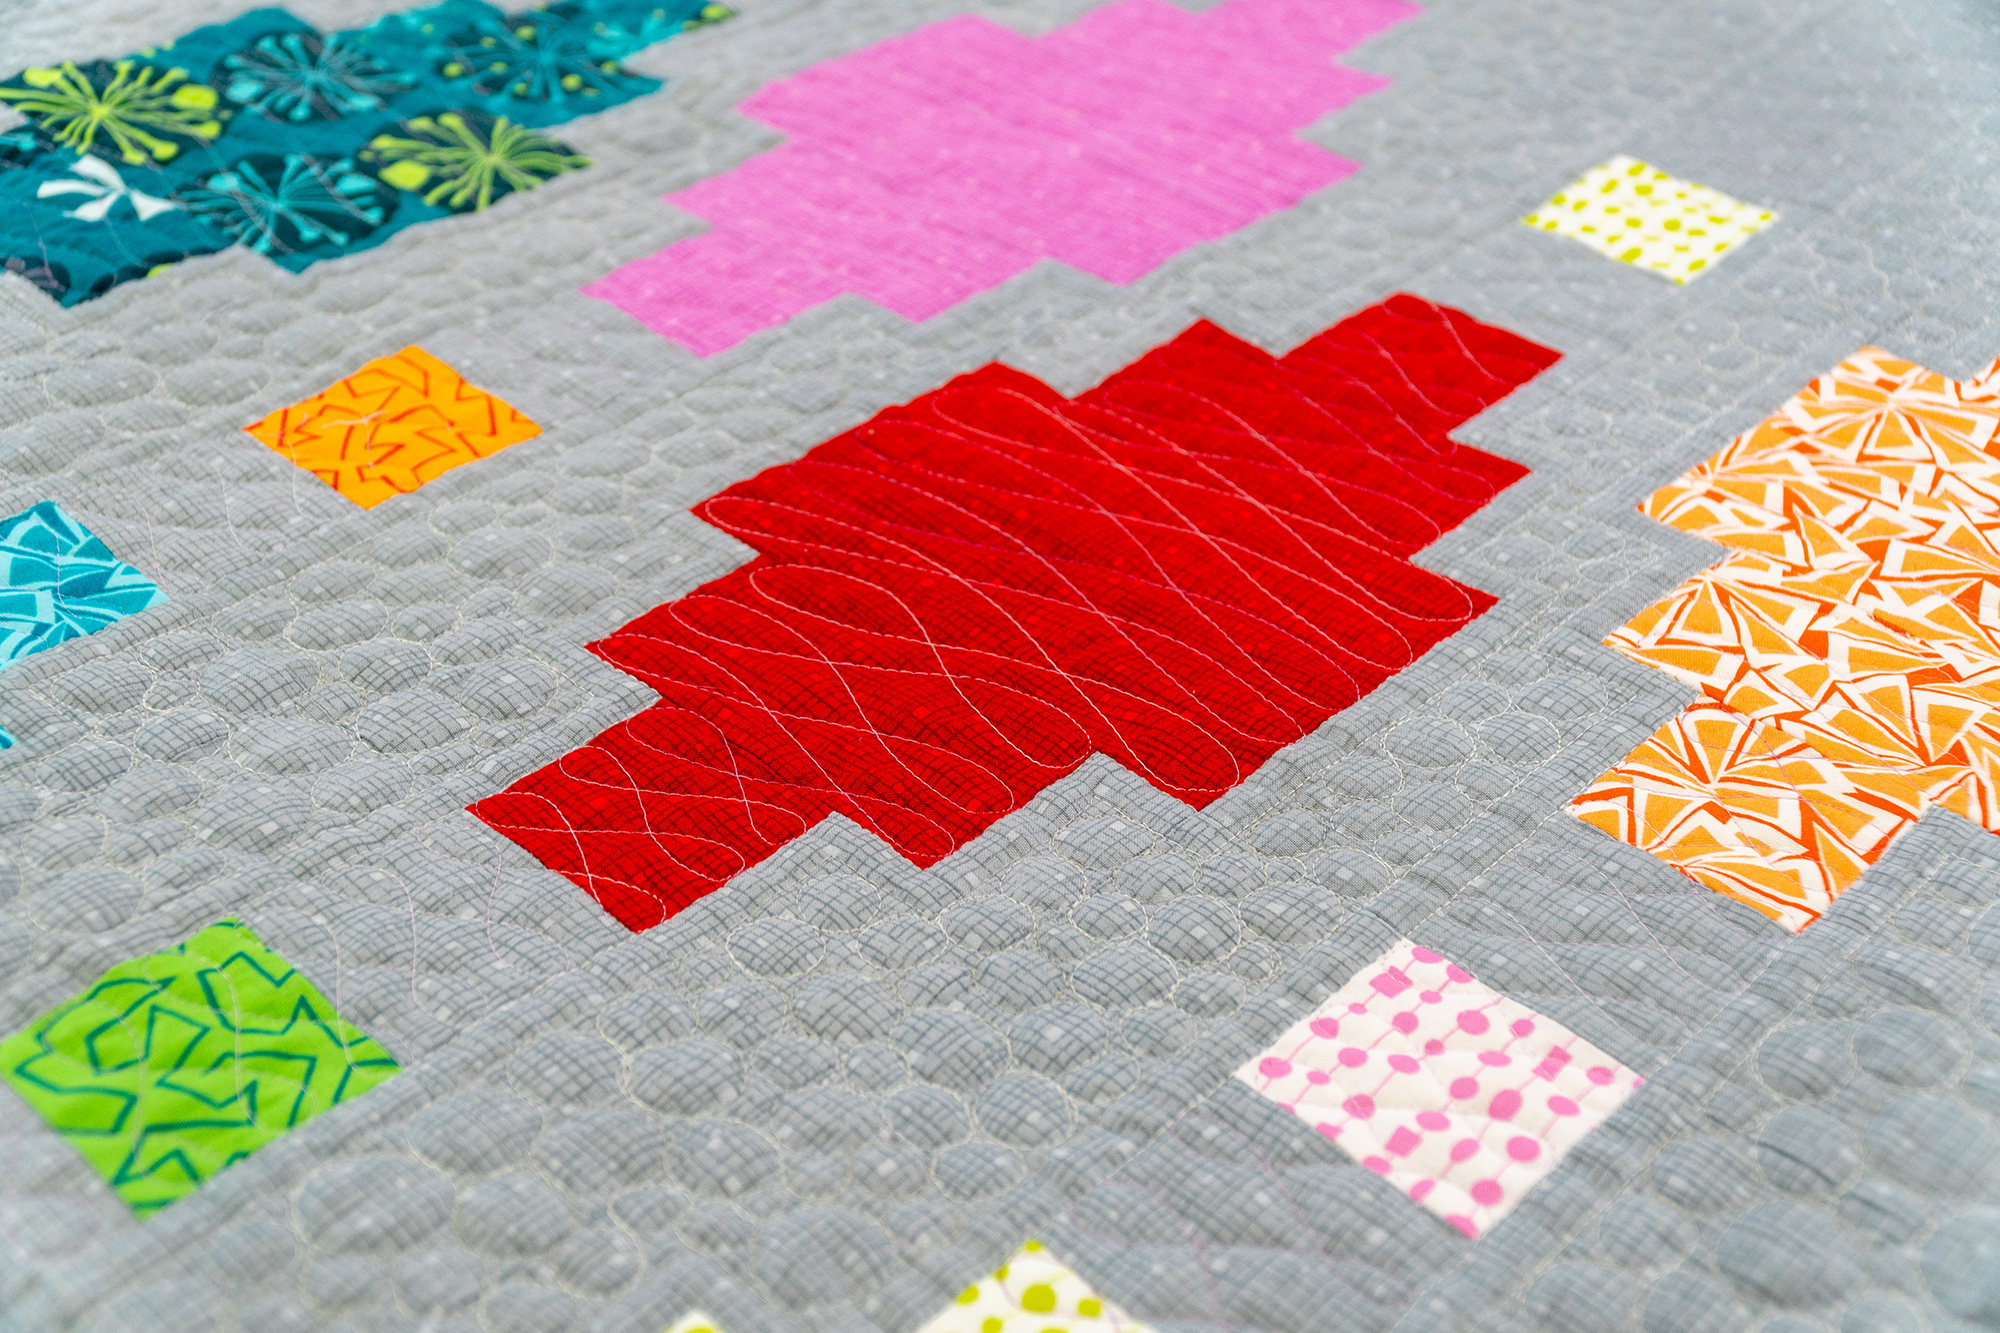
As I stated in last week’s post, the easiest way to add custom quilting to a quilt is to visually divide up the areas of your quilt into the background areas and the blocks. You can reference the illustration given in the free pattern on page 7. Quilt a different design in each of the two areas, and you’ll maintain cohesiveness while adding interest to the quilt. I quilted the background first because it was the same thread color I used to stitch & echo the ditch.
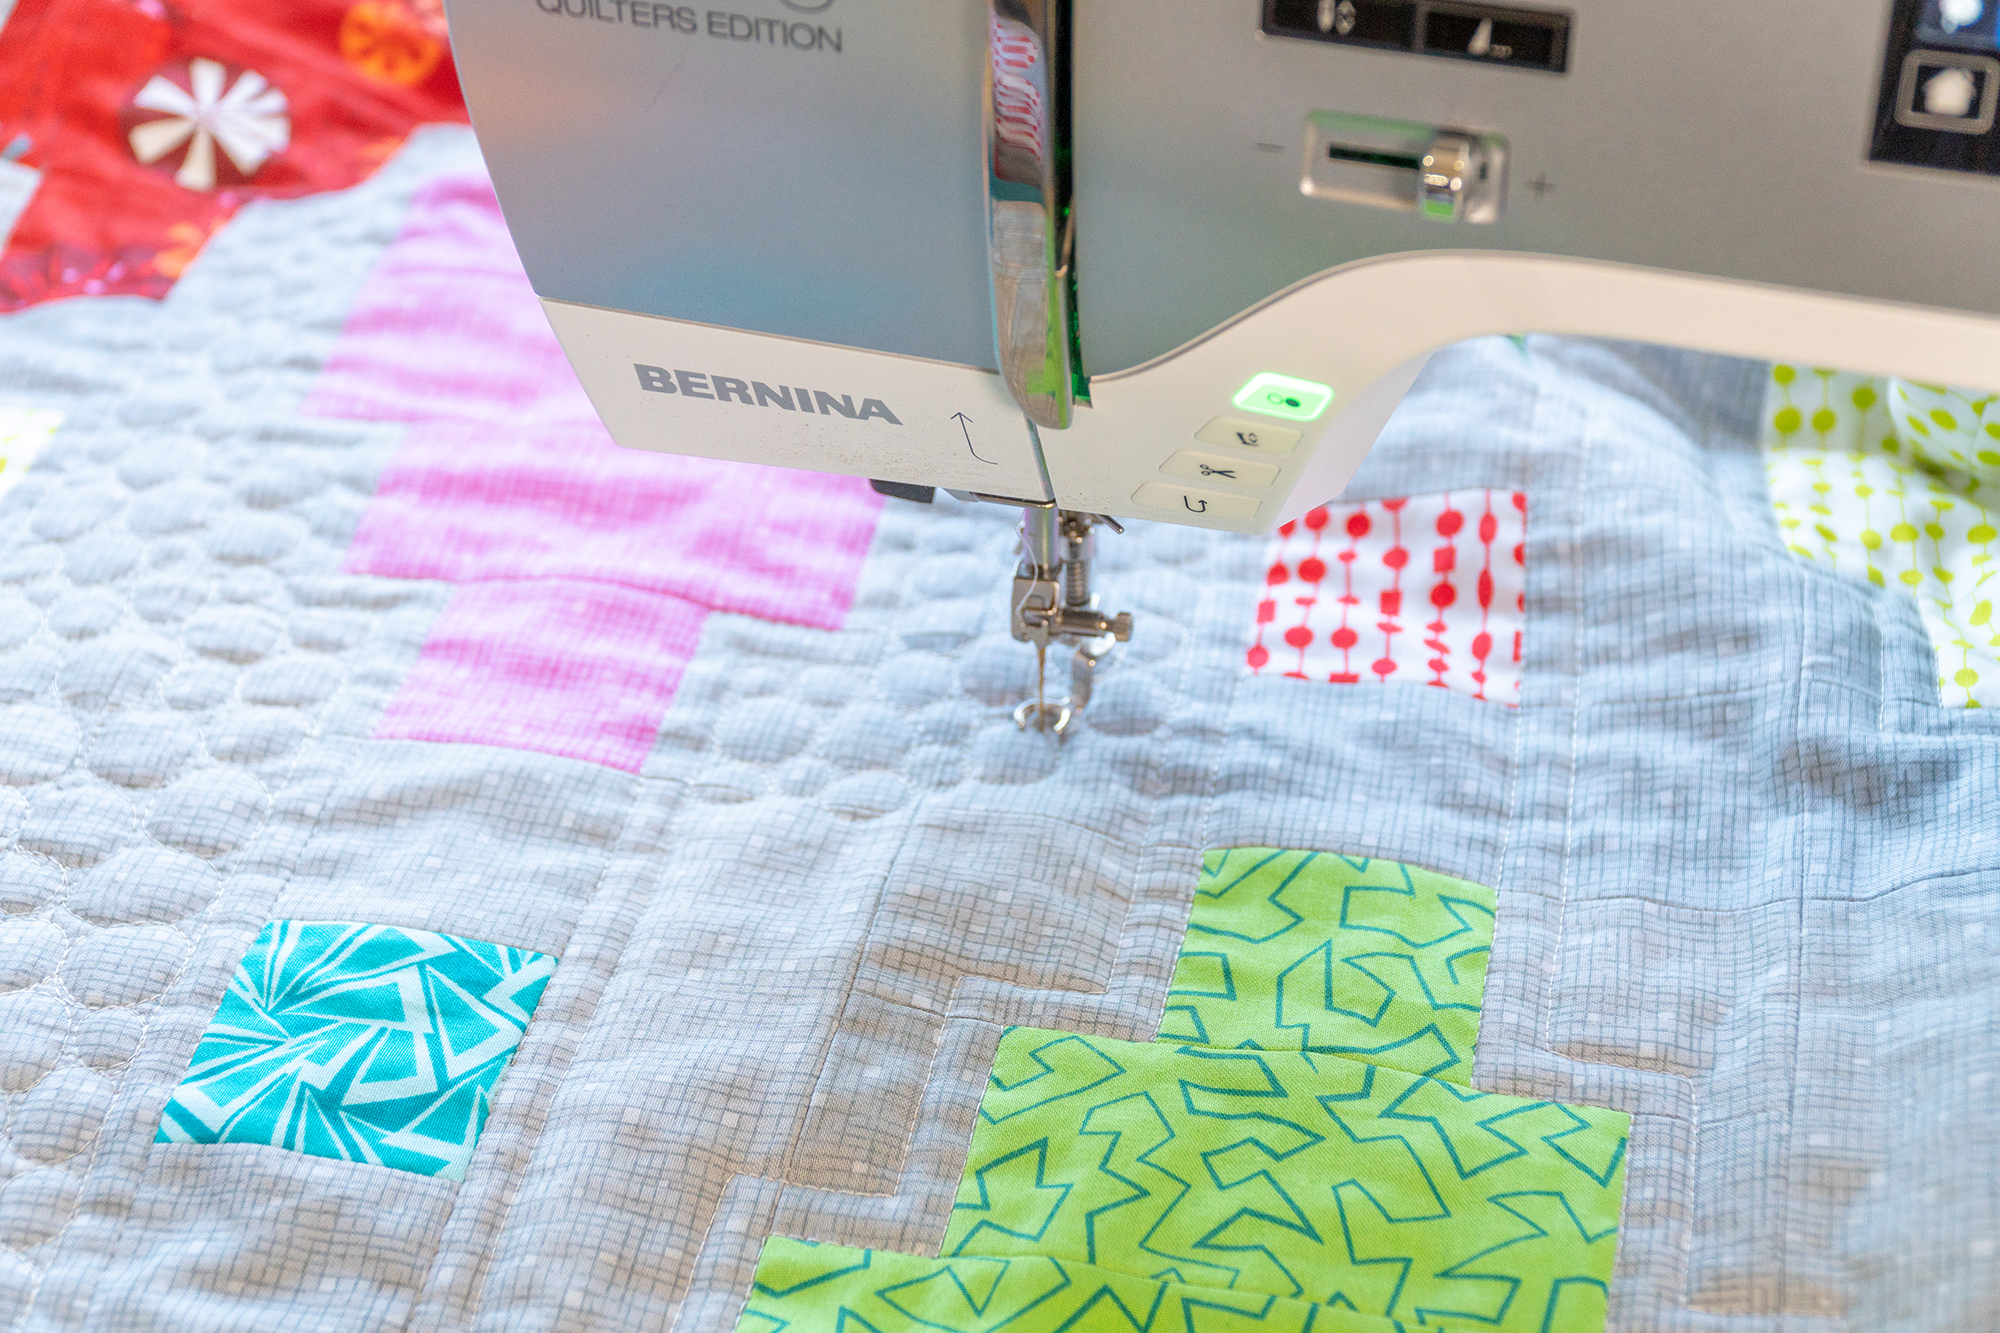
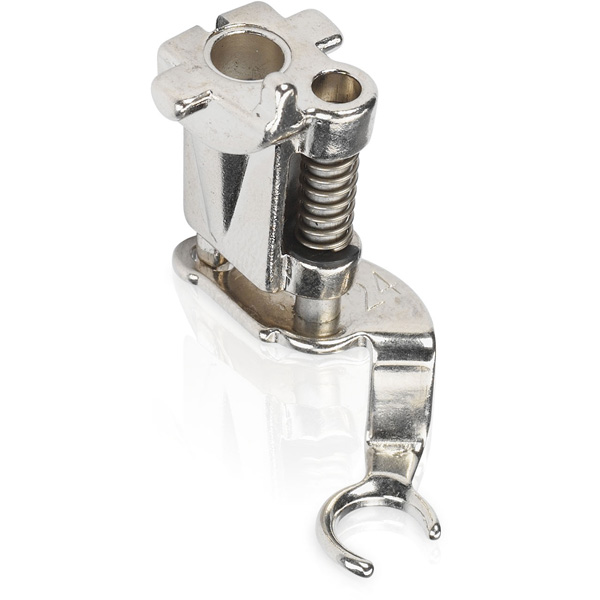
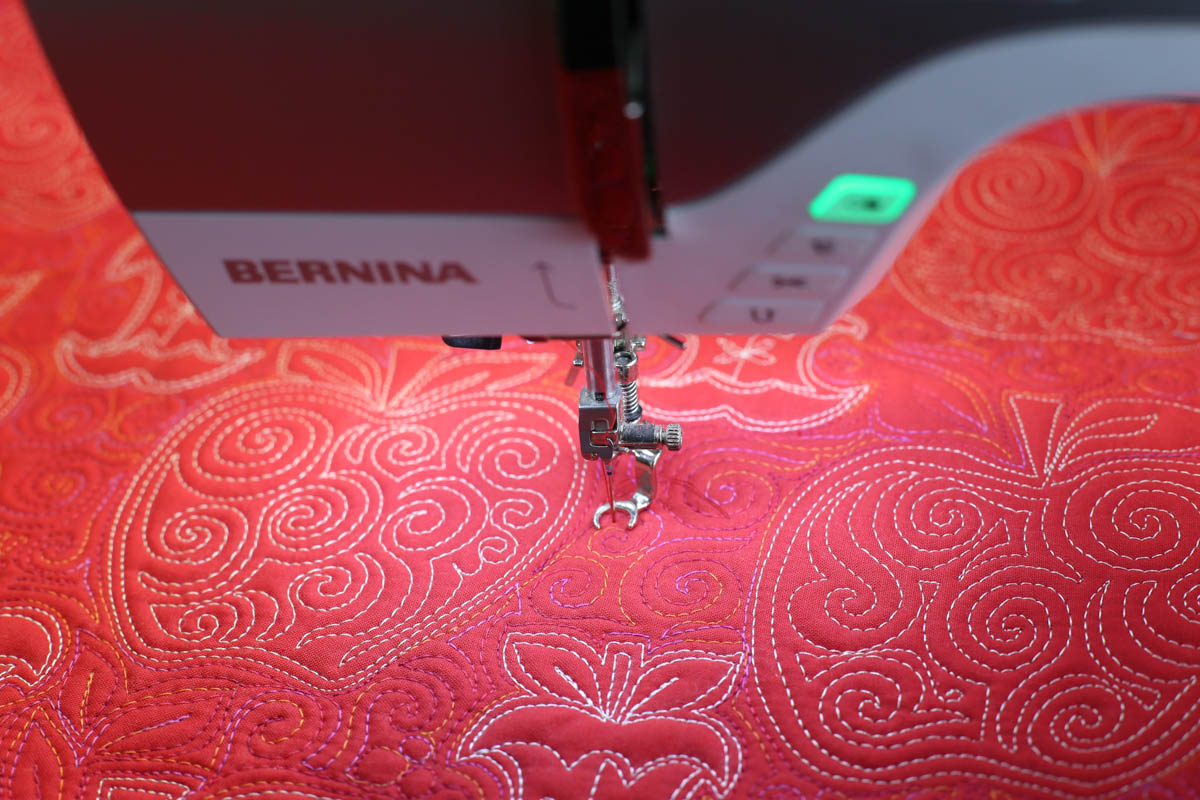
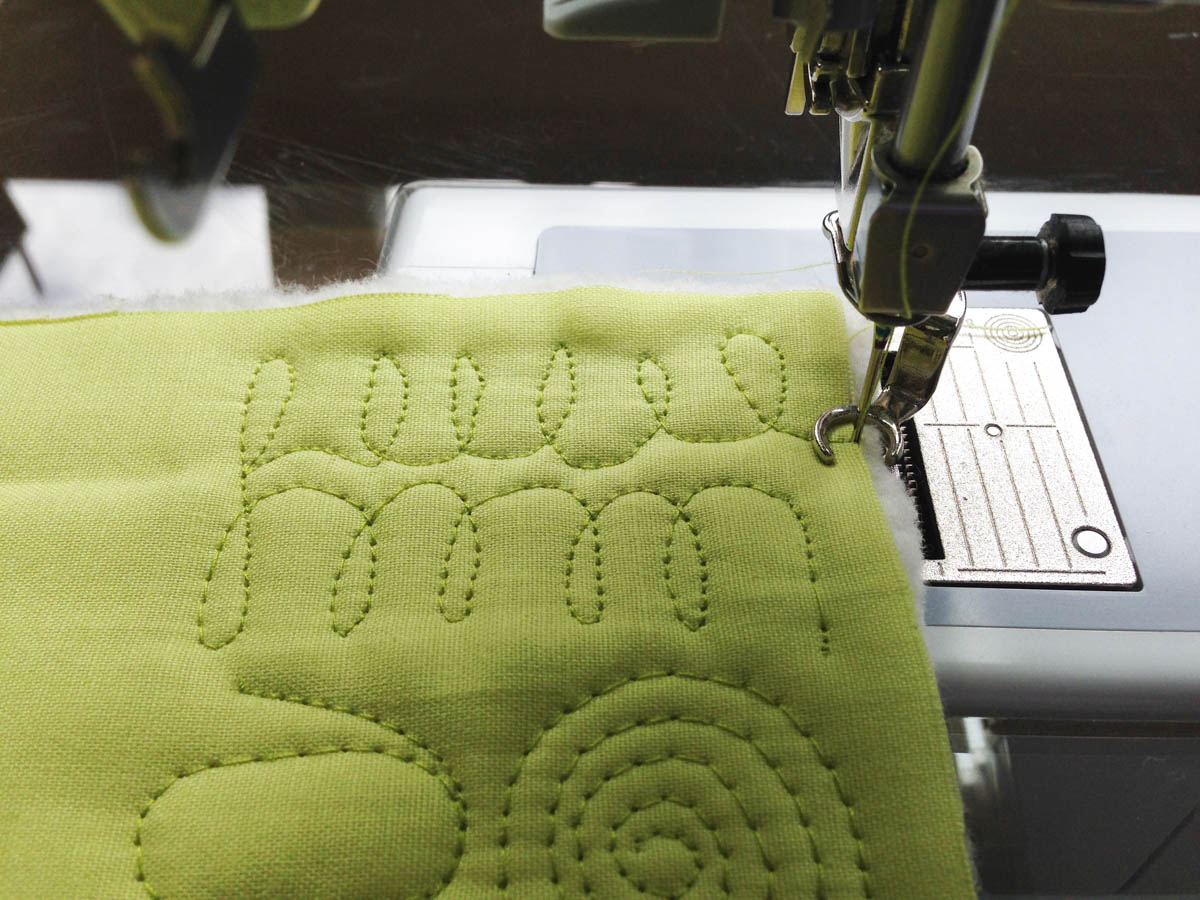
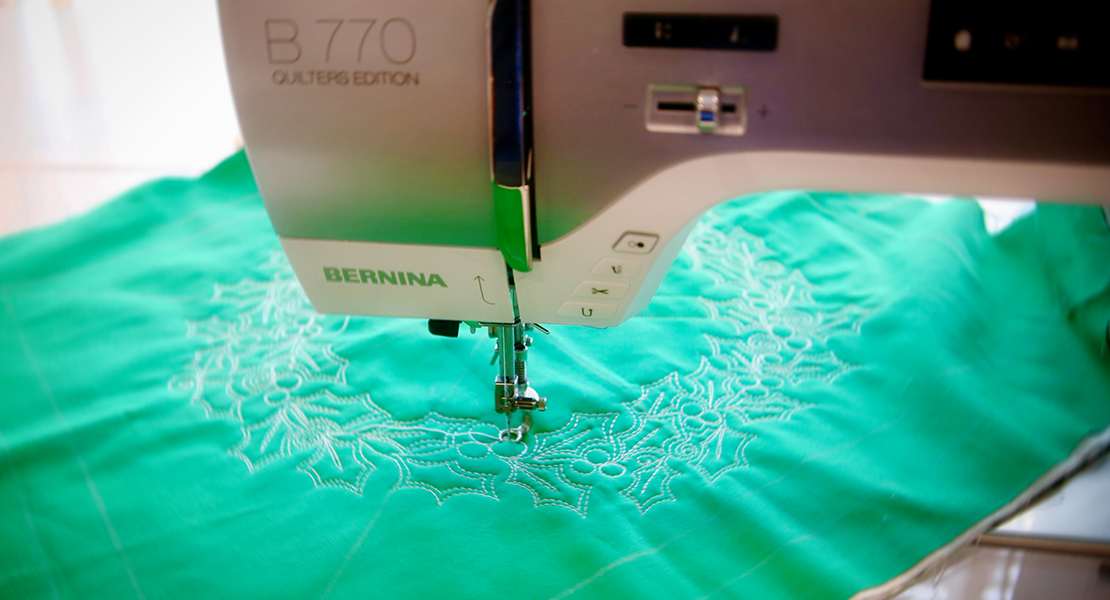
For free-motion quilting, I’ve dropped my feed dogs and am using the Free-motion embroidery foot #24 with the open toe for visibility. For beginners, I also recommend the BERNINA Stitch Regulator (BSR) because it will help regulate your stitches as you aim for a nice fluid movement with your quilting.
Quilt one background section at a time filling it in with your chosen design. Pebbles look great but are very dense and time consuming to quilt, so I only do them in defined areas (rather than across the entire quilt.) Because I echoed the ditch, this shrunk the area that I needed to fill in with pebbles.

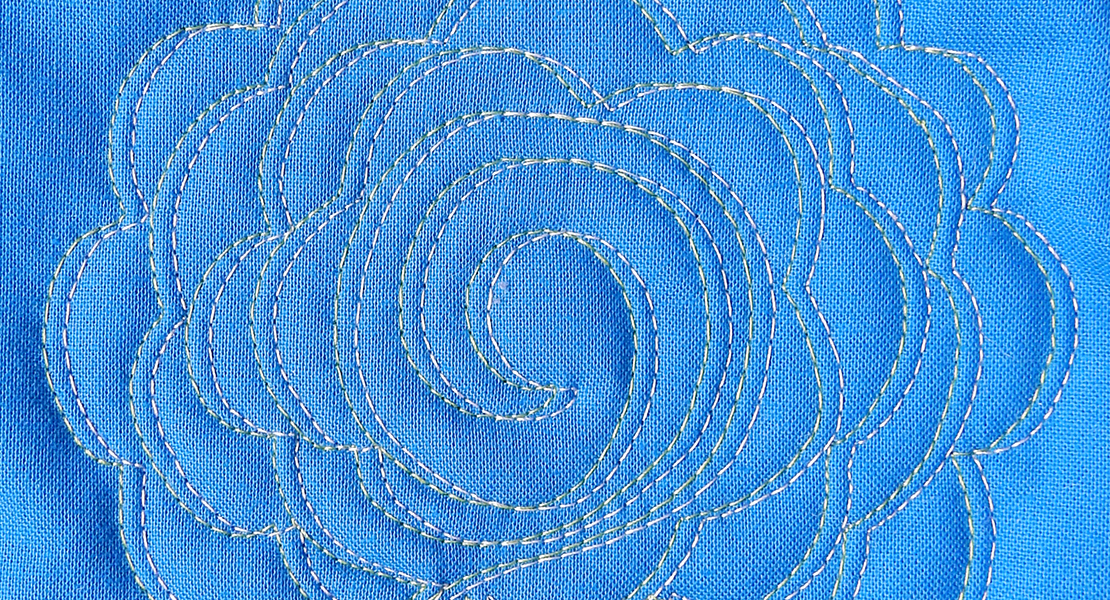
Before you start quilting, sketch your design out on paper with a pen to practice the movement and how you’ll fill up the area. My best tip is to switch directions of each circle you make, drawing/quilting clockwise and counter clockwise each time. You can backtrack (stitch over a previous line of quilting) to get to the next pebble.

You don’t need to restitch the entire circle – only backtrack as far as you need to get to the next one. And don’t worry if your pebbles look more like stones or jagged rocks. Aim for texture over perfection and it will look fabulous! Once the entire background area has been quilted, it’s time to quilt the blocks.
Quilting the Blocks
I also used free-motion techniques to quilt “Cursive L’s” – a loopy type design that’s perfect for filling in different shapes in your quilt. This design can stretch and expand to fill any space without the need for marking. Just make your cursive L’s wider or narrower as needed and don’t try to make them look exactly the same. In fact I love the “hand-crafted” look of domestic machine quilting with tiny wobbles and imperfections!
I call this design cursive L’s because it looks like an uppercase or lowercase cursive L, depending on how you quilt it. I’m using the same color thread throughout the blocks. In some blocks it will stand out more; in others it will blend in.
Here’s a short video of me quilting a variation of this design on another quilt (Dot ‘n Dash). In this video (shared recently on Instagram), I’m quilting two passes of L’s for a slightly different look. In both cases, I start at the top of each row and work my way down the quilt, pausing with the needle in the down position and shifting the quilt when needed. Can you see the L’s as I stitch? Click the play button below to view.
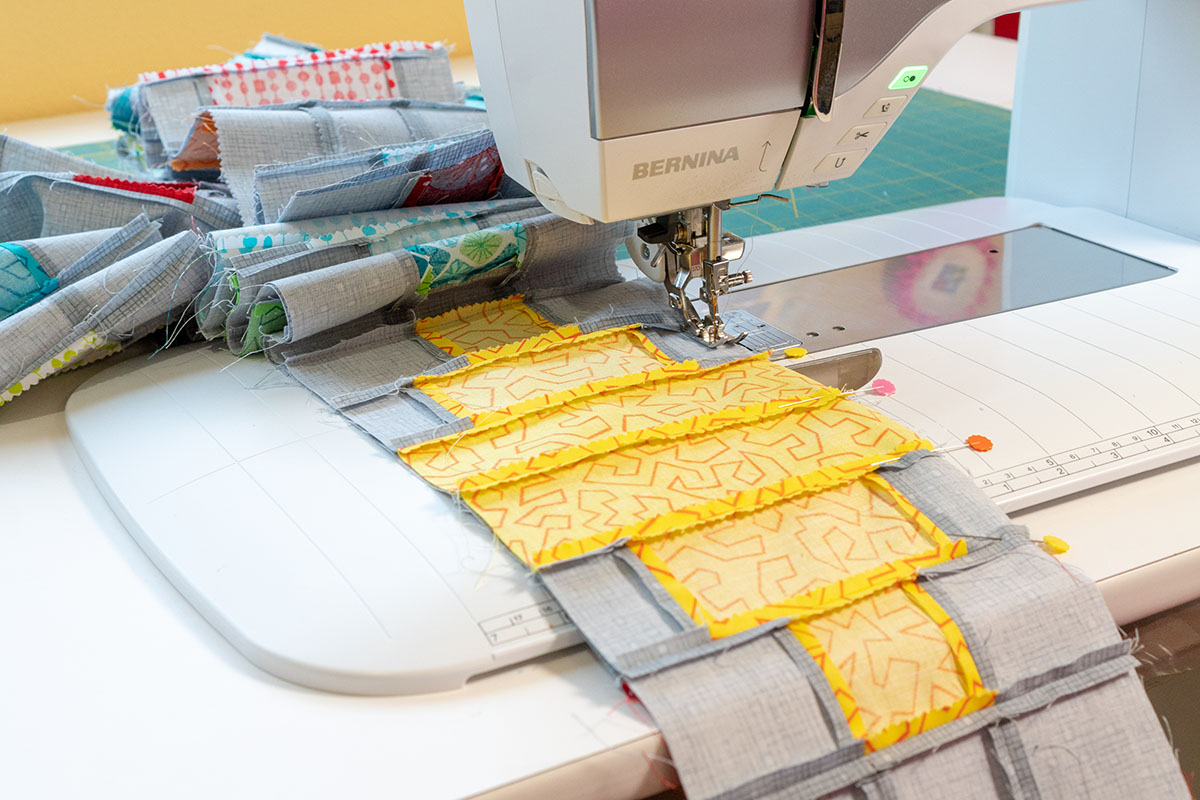
Continue to quilt each row of blocks until they are complete. I will usually check the bobbin at the end of each row or two and replace it with a fresh bobbin when it looks like it’s getting low. Nothing is worse than running out of bobbin in the middle of the quilt which is why I love the extra large bobbin for my B770 QE!
Next week, we will finish up with the binding. I can’t wait!
Quick Links to Beaded Lanterns Posts & Info
Week 1: Supply List
Week 2: Making the Blocks
Week 3: Sewing the Quilt Top
Week 4: Backing and Basting
Week 5: Walking Foot Quilting
Beaded Lanterns Quilt Pattern (free)
List of US shops that carry Fandangle fabric
More free patterns from Christa Quilts