Best Sewing Foot for Fused Collages
Welcome to my studio! I make fused art quilts with free-motion machine quilting. Every inch of the colorful fabrics used in my designs is covered with fusible web. And, as a precaution, I fuse more fabric than necessary to construct a new design.
This means I have lots of cut-aways or left over fused fabrics. I save these fabrics. Once fusible web is on a fabric, you can use it today or years from now. These oddly shaped fabrics also give me a palette of pre-fused colors to improvise with and often trigger new quilt ideas.
When I’m in a tidy-up mood, I like to build collages from my fused fabric scraps. Later I’ll add hand embroidery and machine quilt the piece. But there is a trick to the free-motion stitching on this type of collage quilt. You need a BERNINA Quilting foot #29C for your machine. But first, let’s build a fused collage.

Collage Building
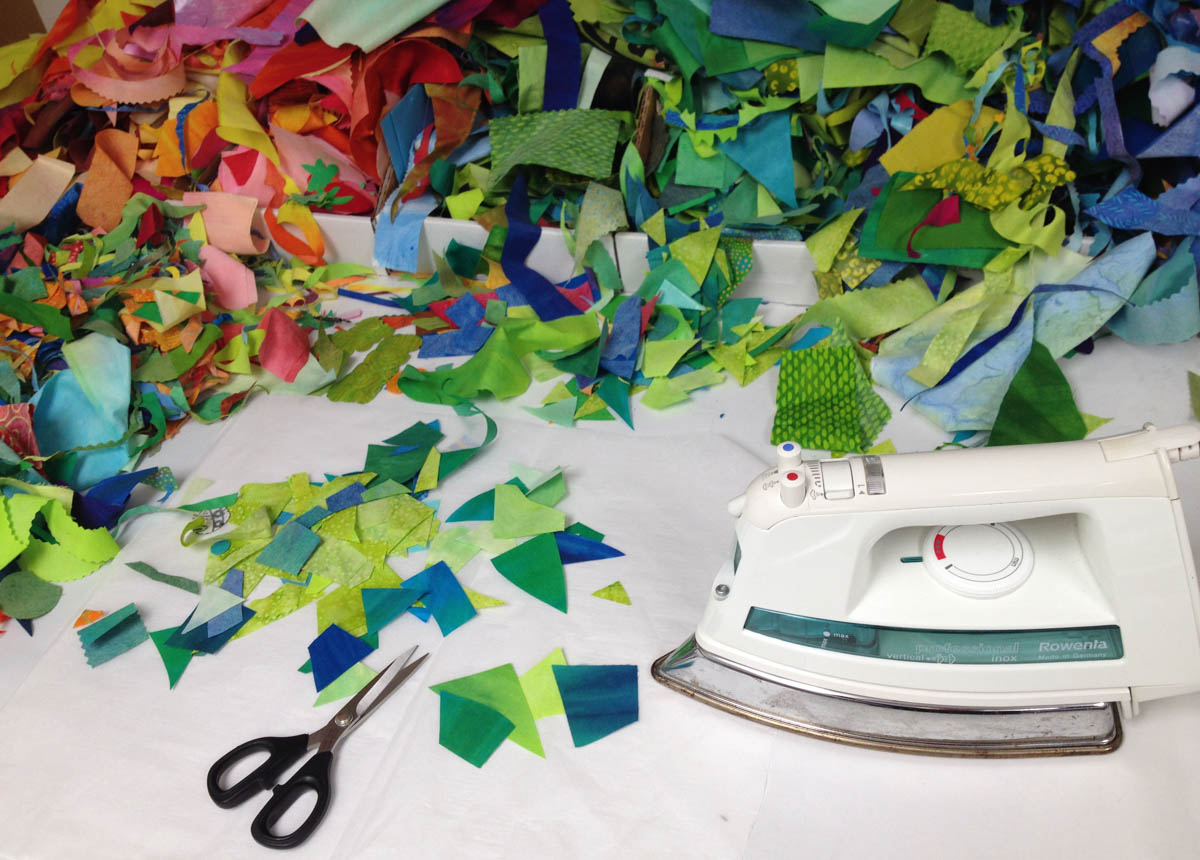
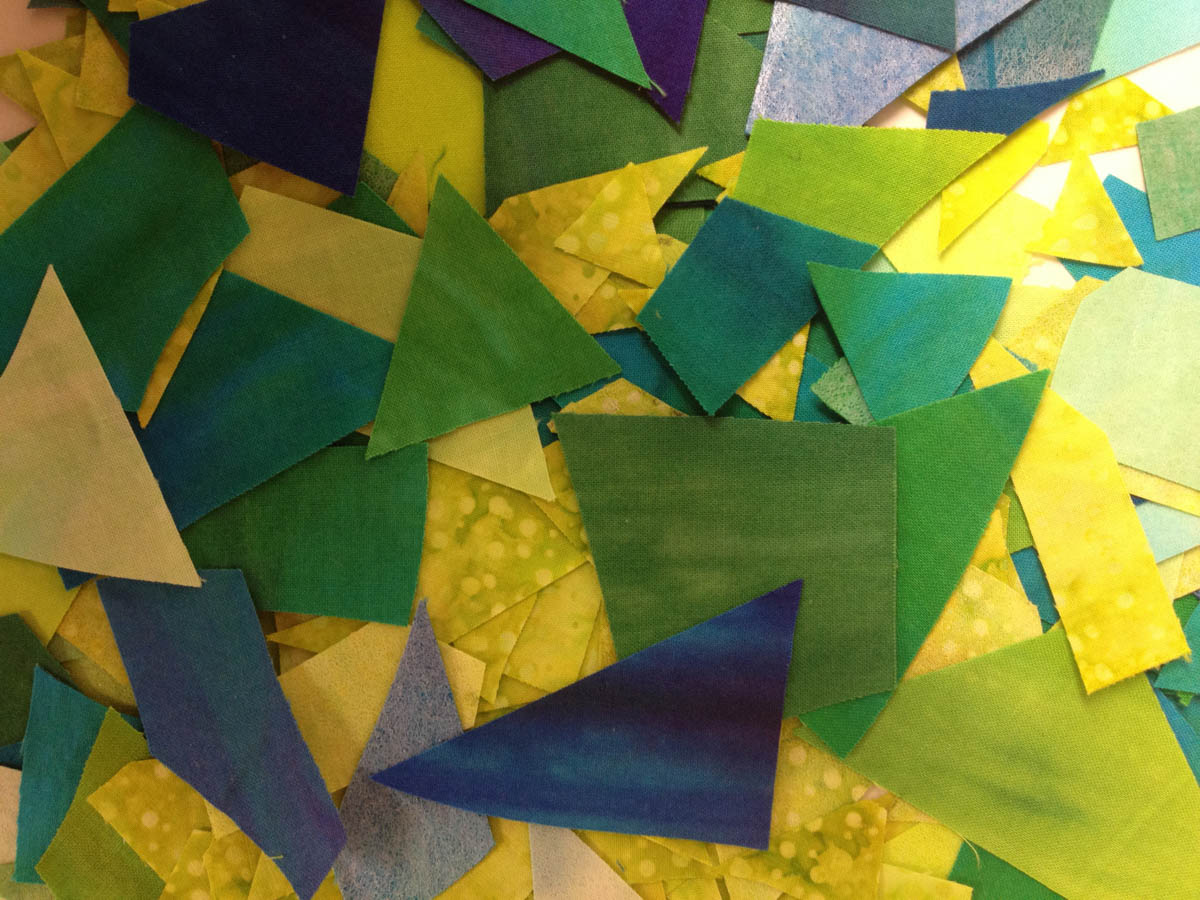
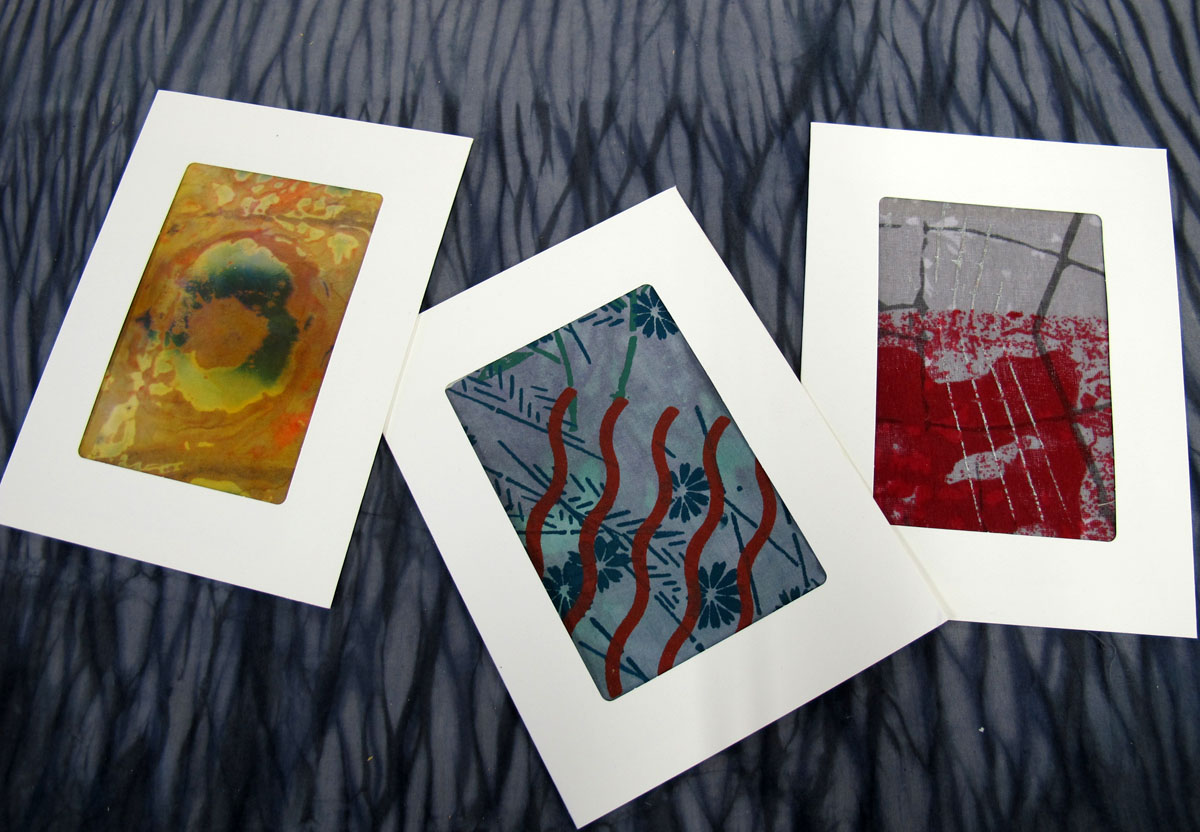
Gather your leftover fused fabric scraps and sort them into colorways. Don’t have a mountain of small fused scraps in your stash like I do? Then randomly chop up larger fused fabrics with your rotary cutter to make scraps. Fused fabric scraps that measure 2″ or less give you a more fractured look.
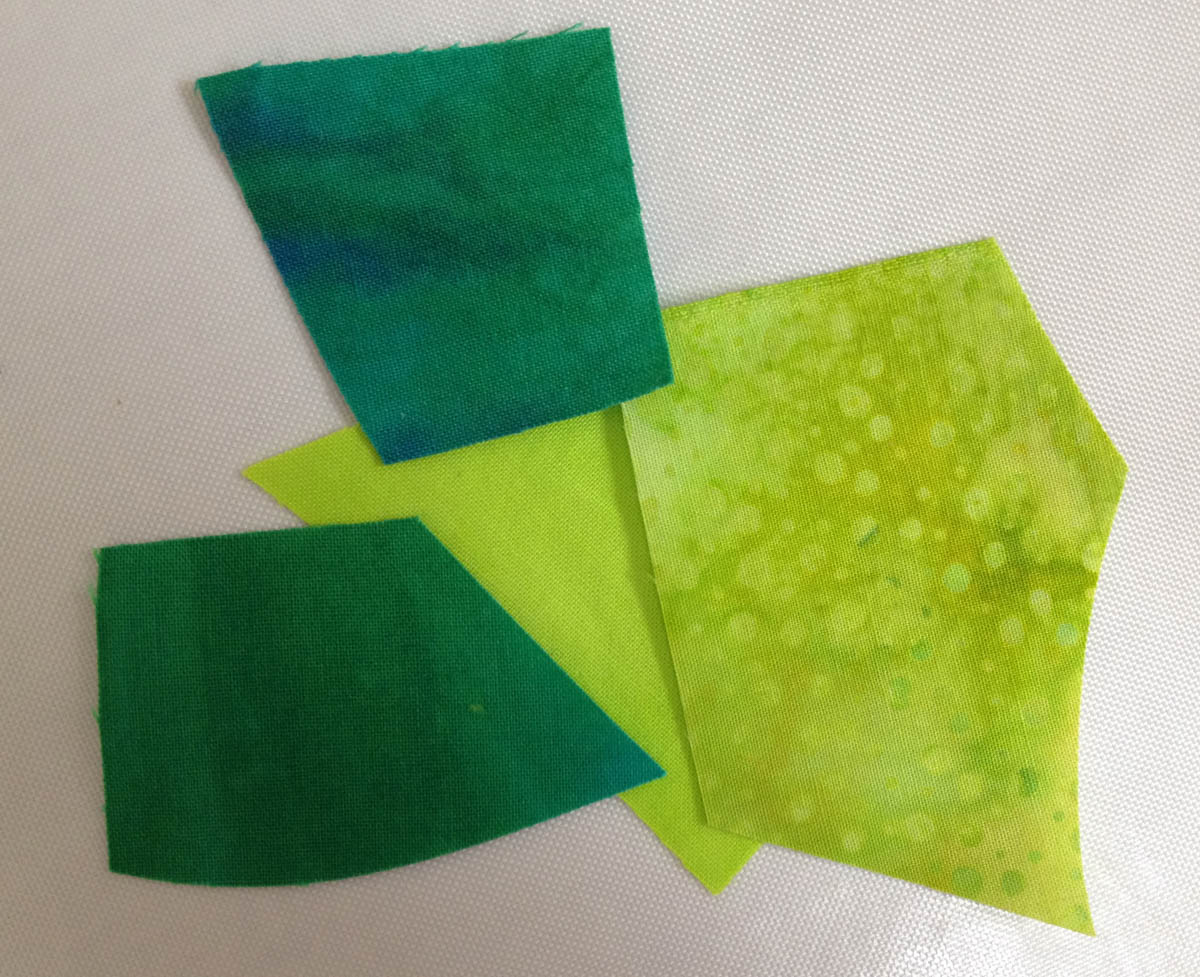
Build your collage on a Teflon sheet or parchment paper (fused fabrics will release from them after ironing). Overlap the edge of each fabric scrap onto an adjoining scrap by about 1/4″. Apply a hot iron (cotton setting) to the collage fabrics and glue or fuse them together.
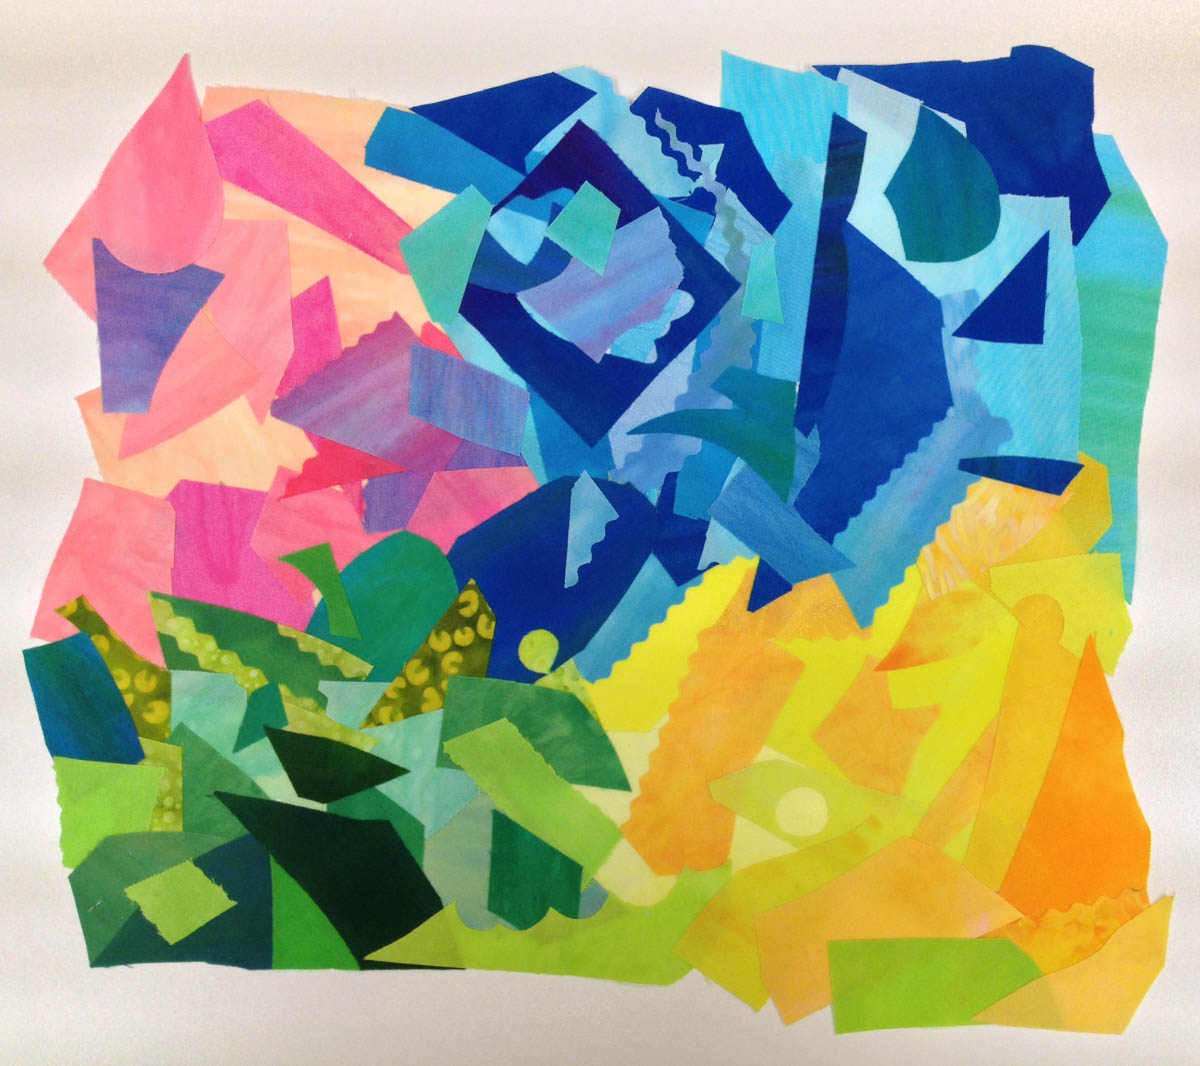
Build your fused collage to the size desired. This collage measures about 12″ x 11″ and the outside edges are irregular. Once your fused collage is complete, peel it off the parchment paper.
Hand and Machine Stitching
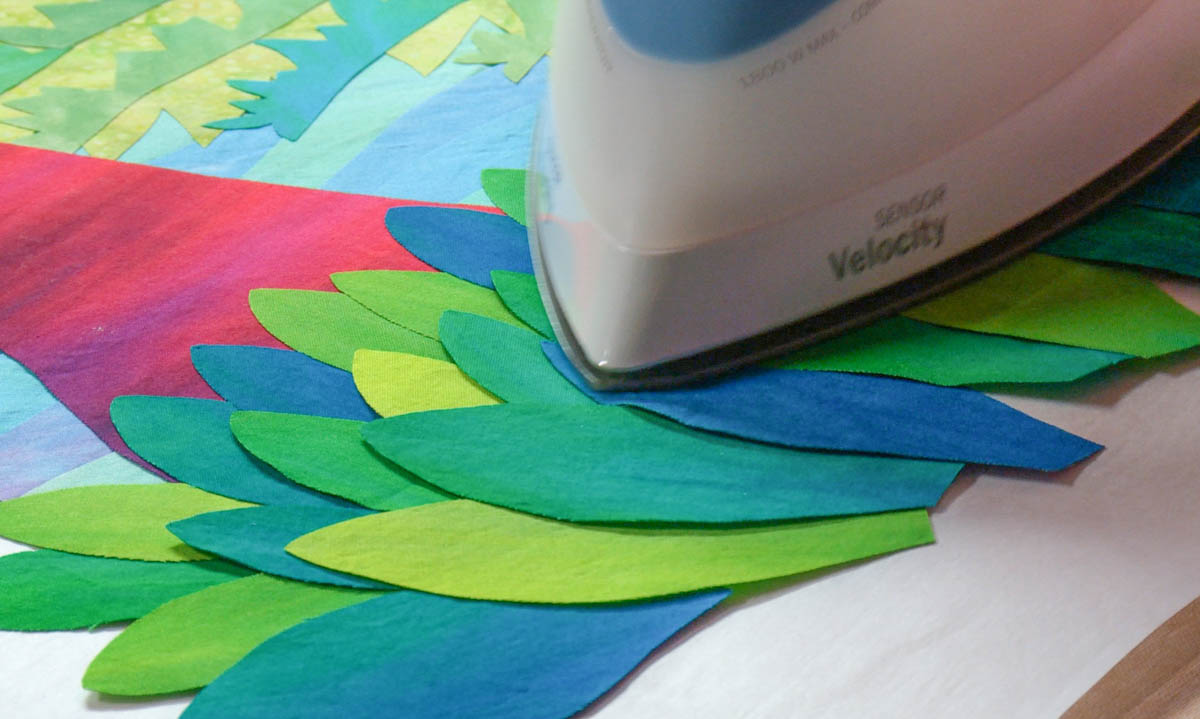
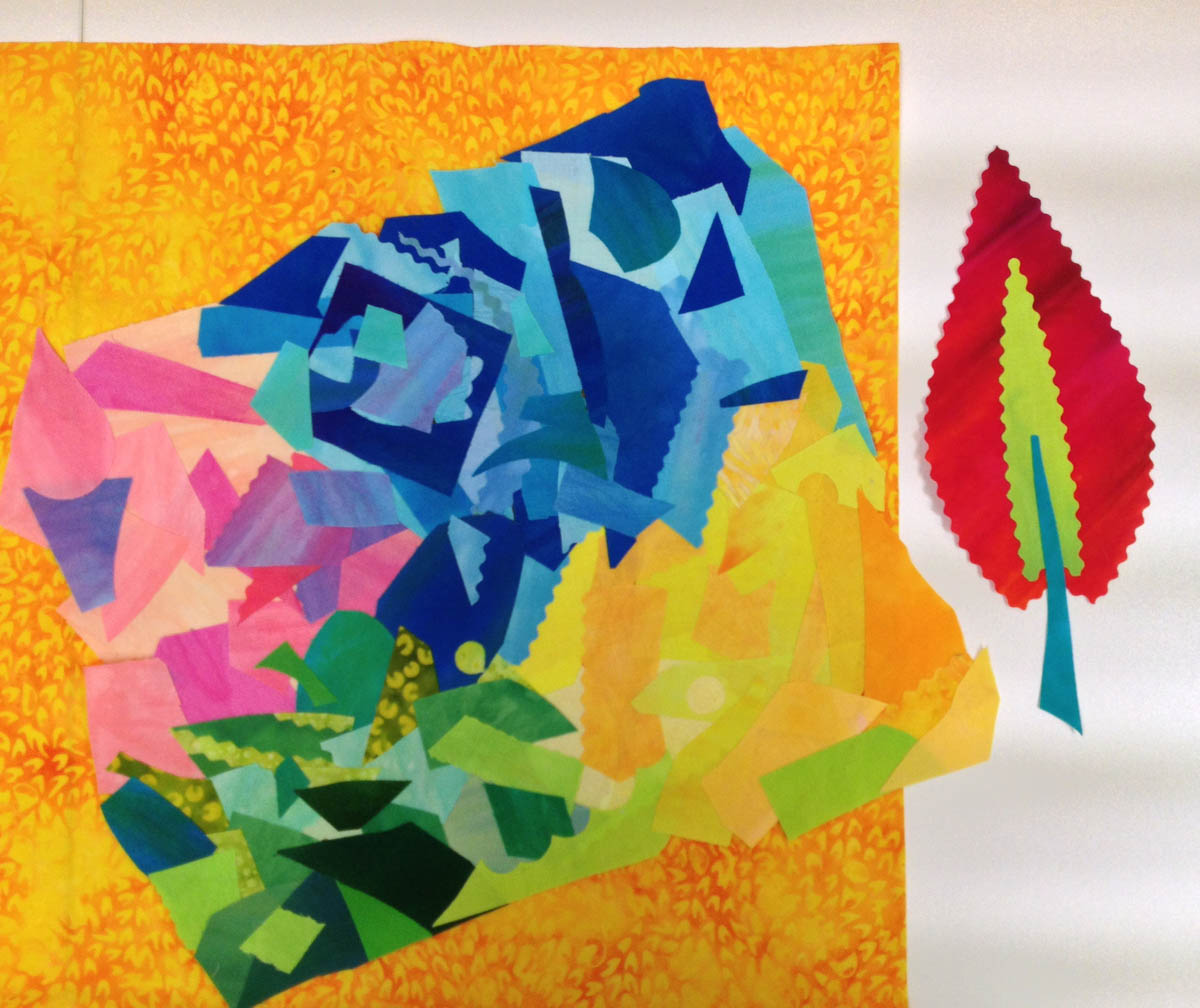
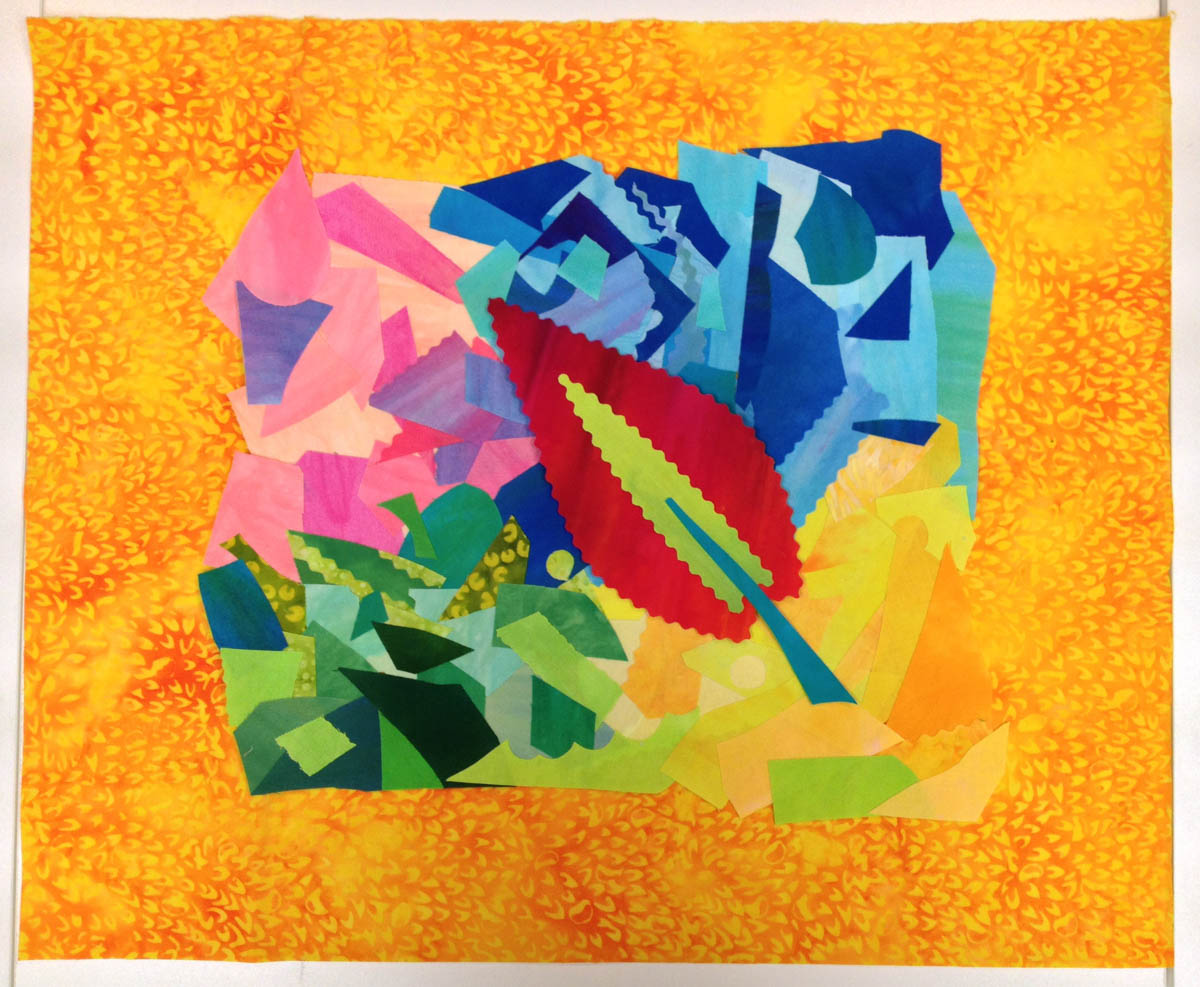
Fusing is a system of layering or stacking of fused fabrics. This design is made up of three layers: a yellow batik background fabric, the multi-colored collage, and a simple leaf shape cut from fused fabrics for the top layer.
Assemble the layers of your quilt design in order onto the non-scrim side of the batting. Steam set the quilt top with a hot iron to hold the layers in place.
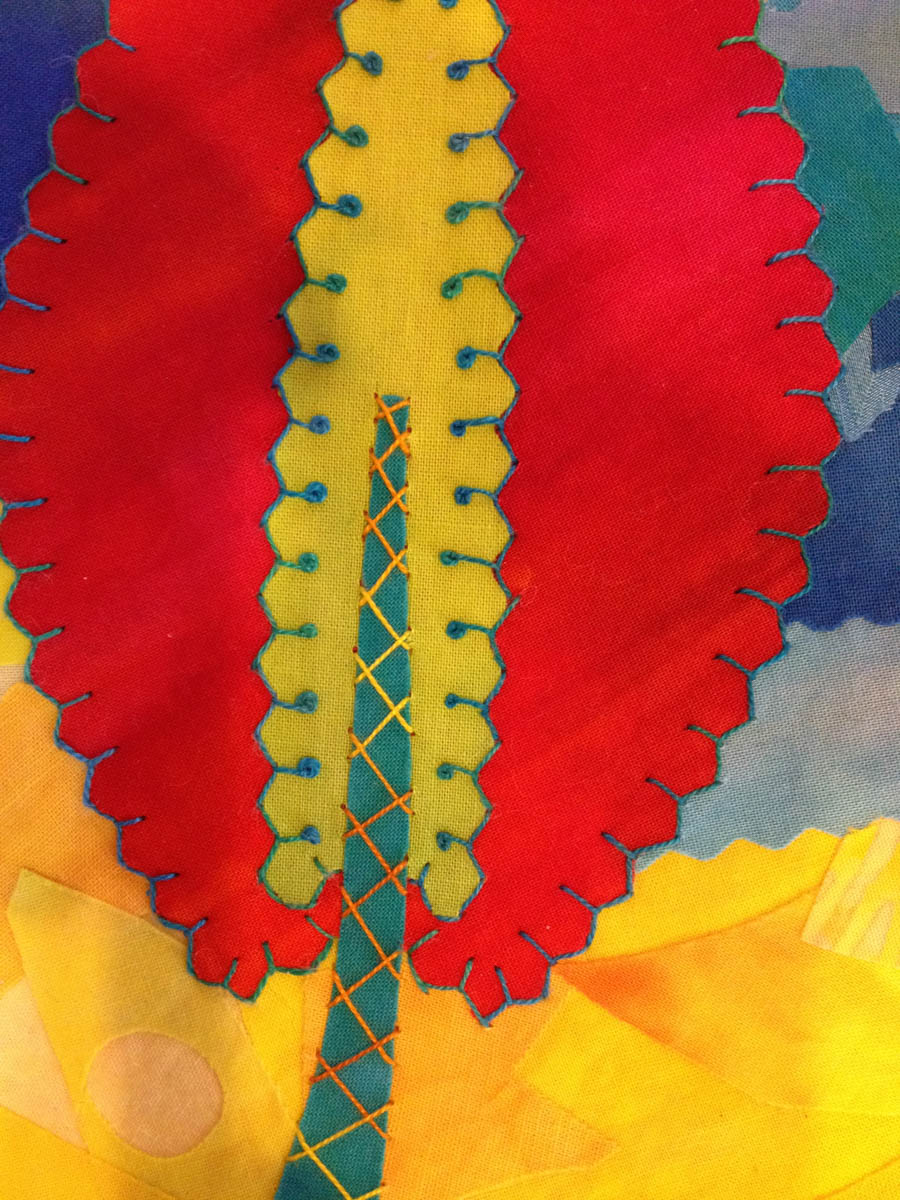
Before placing the backing fabric on the quilt, you may want to add hand embroidery. Hand stitch just through the top and batting layers. Easy embroidery stitches add detail to a quilt top and bring the quilt to life. On this quilt only the center leaf is hand embroidered. A Size 12 pearl cotton thread and Size 5 hand embroidery needle are used for stitchery. After the hand embroidery is complete, add the quilt backing fabric for machine quilting.
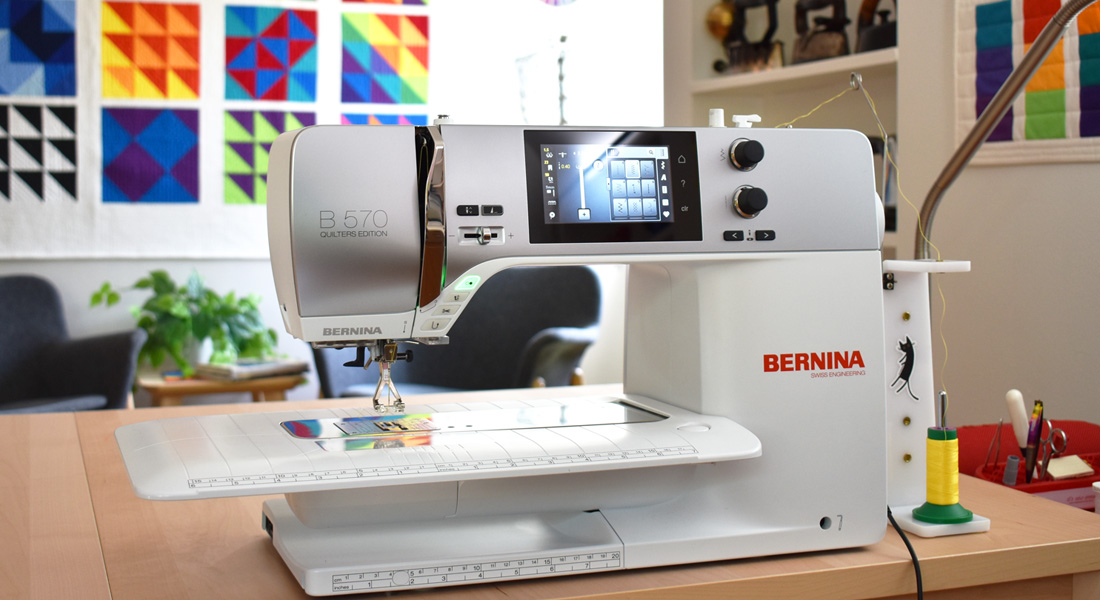
Prepare your sewing machine for free-motion quilting. Here’s the machine set up for my lovely BERNINA 750 QE. (Adapt the instructions to your machine.)
- Drop the feed dogs on your machine.
- Insert a straight stitch needle plate.
- Use a size 40 thread in the bobbin and top in your choice of color.
- Use a titanium coated embroidery needle (best for fused fabrics). Size 14/90 recommended.
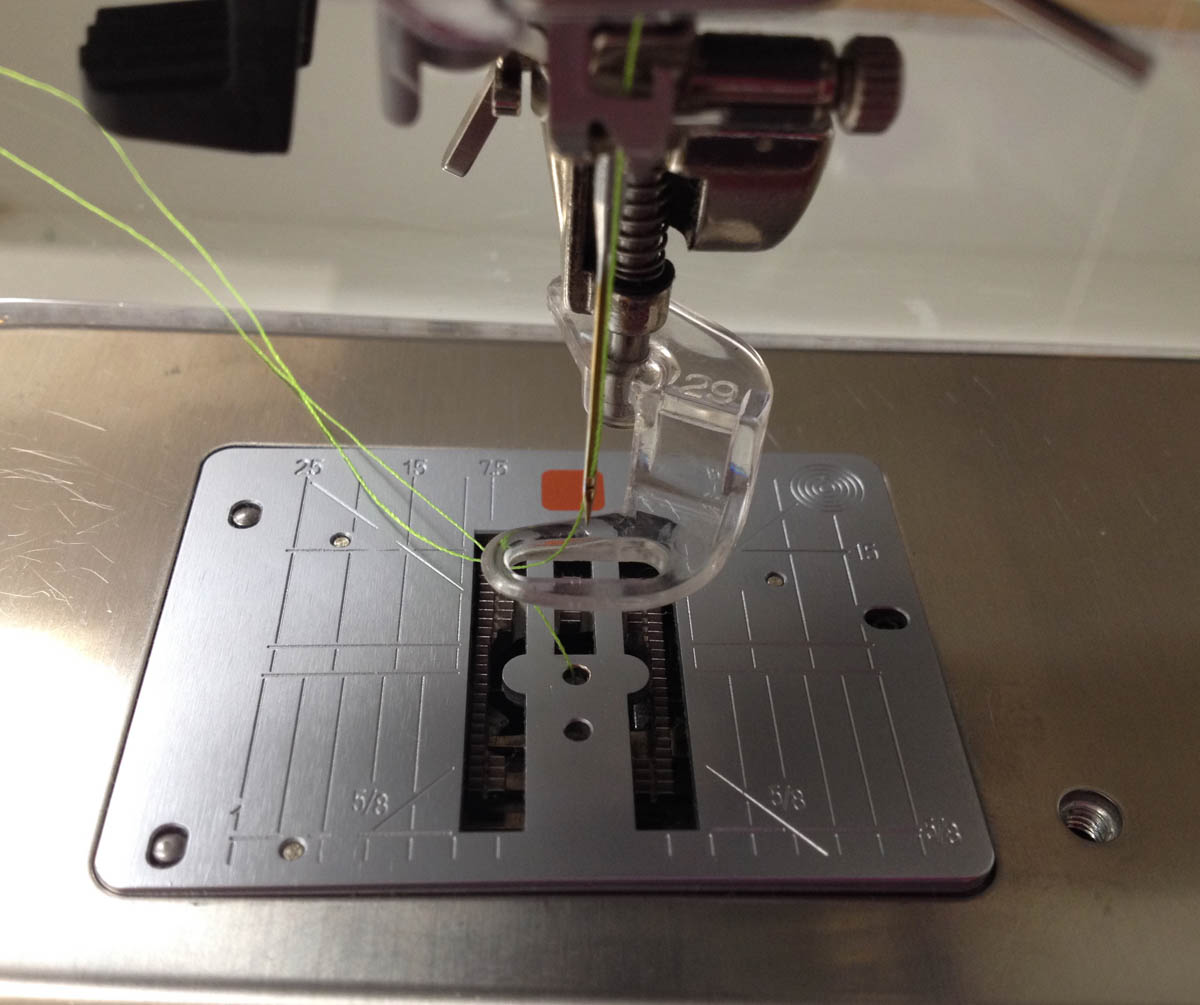
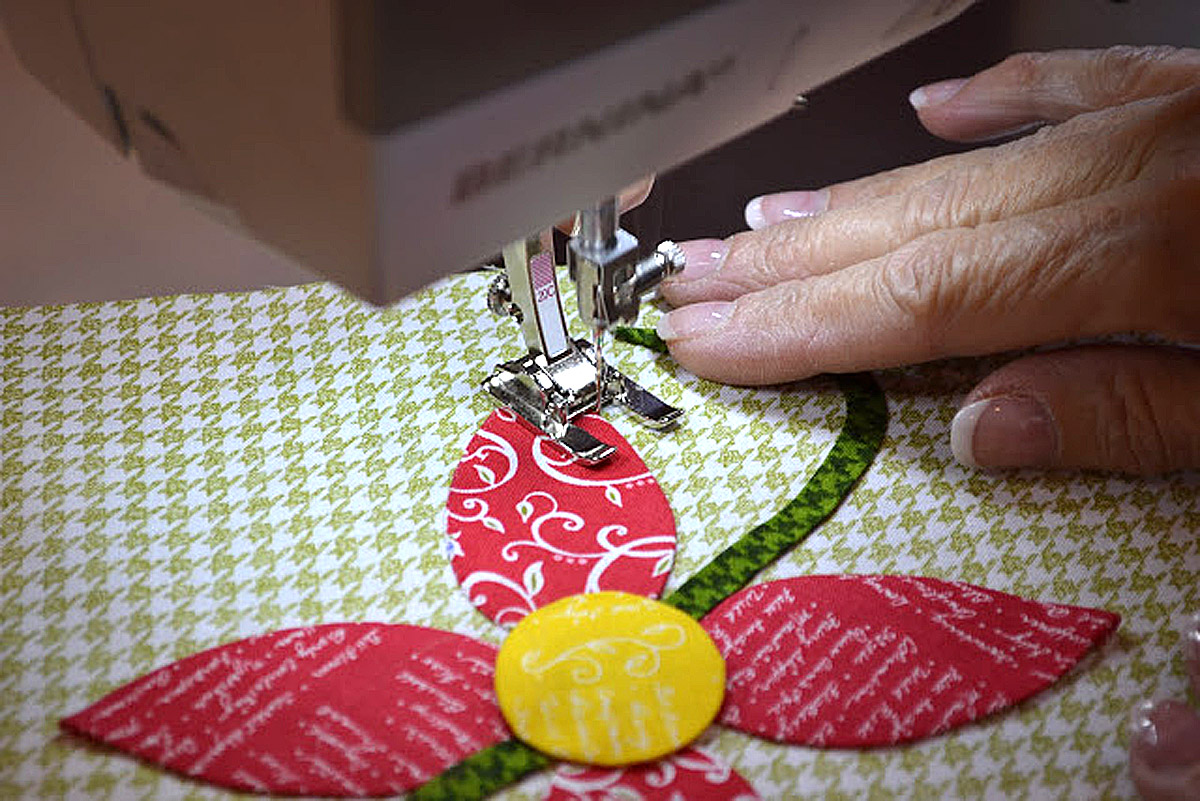
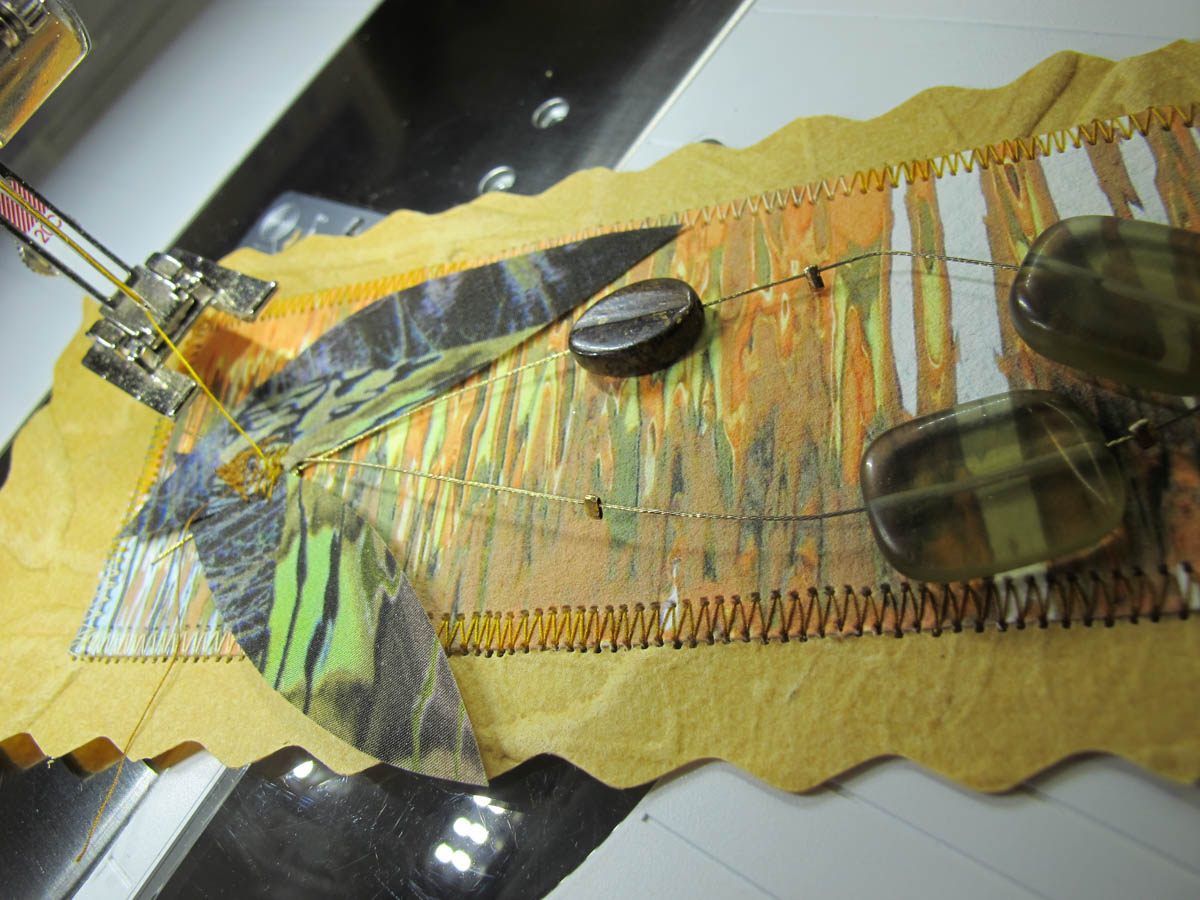
- Use a Quilting foot # 29C.

Why use a Quilting foot #29C? This quilting foot has a wide, clear sole so you can see where you’re stitching. But most importantly, it is a closed foot. There are lots of raw edges on the fused collage you are stitching. These fabric edges can catch on the prongs of an open presser foot. But with the closed #29C quilting foot, the foot glides across the fabric surface and keeps those fabric edges flat as you stitch. Free-motion stitching with the Quilting foot #29C is slick and easy.
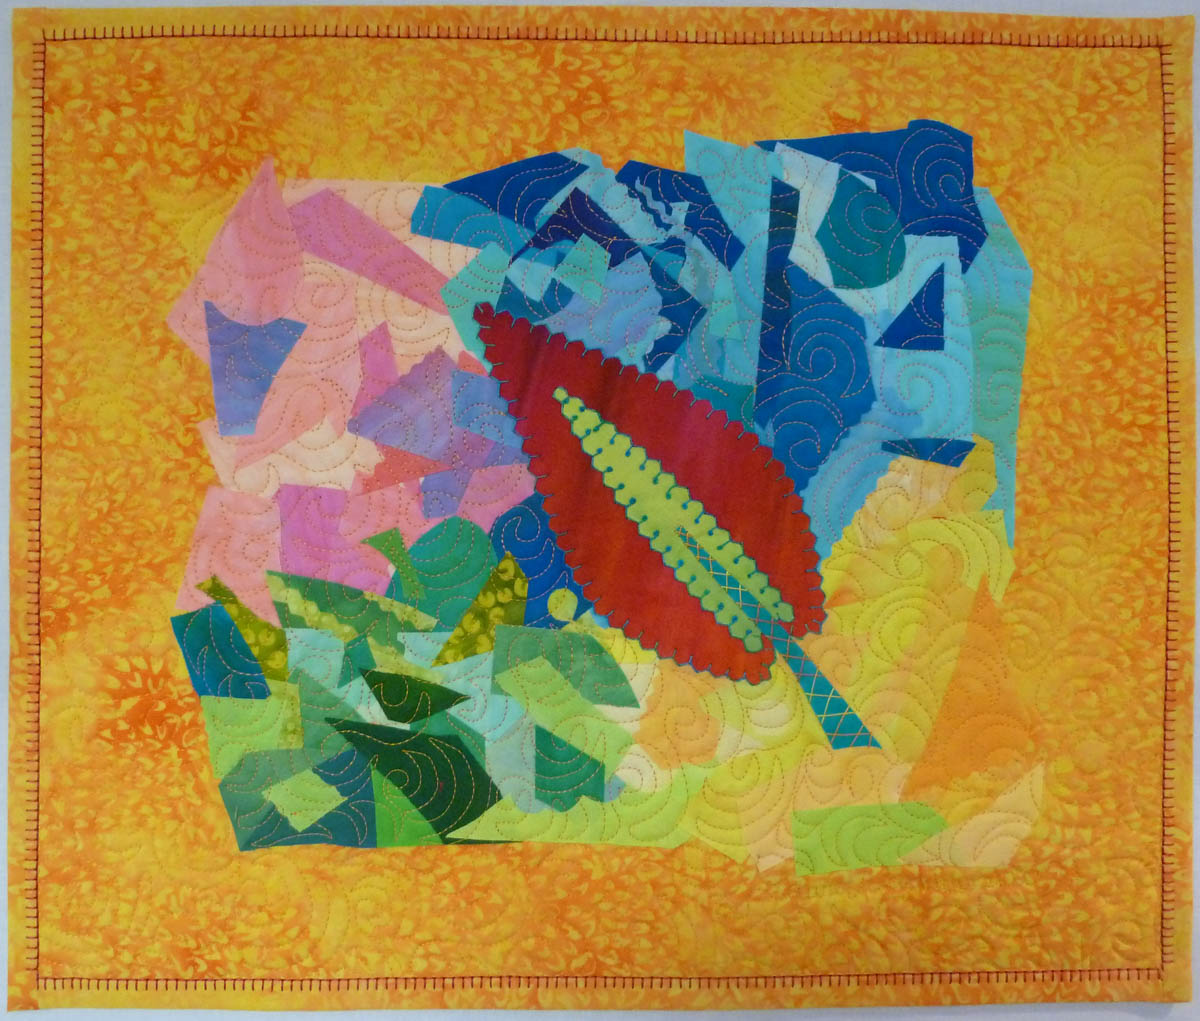
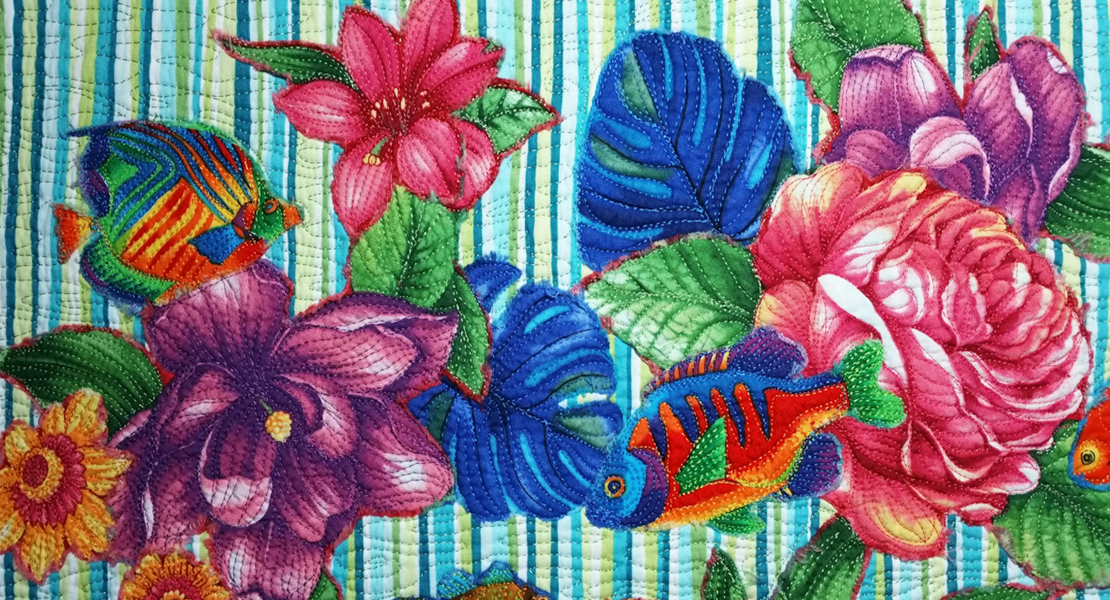
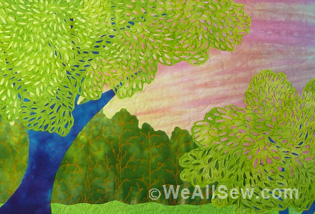
Leaf of Faith #8 (16″ x 14″) by Laura Wasilowski
Once your quilt top is machine quilted, trim the edges, add a hanging sleeve, and bind it with a Blanket Stitch Binding. Display your collage art proudly and be thankful for the BERNINA Quilting foot #29C. And, that you’ve used up all those fused fabric scraps!
Used Products


What you might also like


8 comments on “Best Sewing Foot for Fused Collages”
-
-
You’re welcome. Thanks for visiting!
-
-
Love your technique, Laura! Pretty handstitches too. Thank you for sharing!
-
Thank you. I really enjoy hand embroidery and love combining it with machine work.
-
-
Beautiful use of left over fabric!
-
Thank you. This is an enjoyable solution for all those tiny bits of fused fabric that I just can’t throw away.
-
-
I’ve just started exploring the creativity of making collages. Thanks for this tip about using a closed foot for FMQing my collage. Always wondered why I have a foot like this! Linda from ND
-
So glad you found the information useful, Linda. Enjoy your stitching!
-
Leave a Reply
You must be logged in to post a comment.

Thank you so much for your detail instructions.