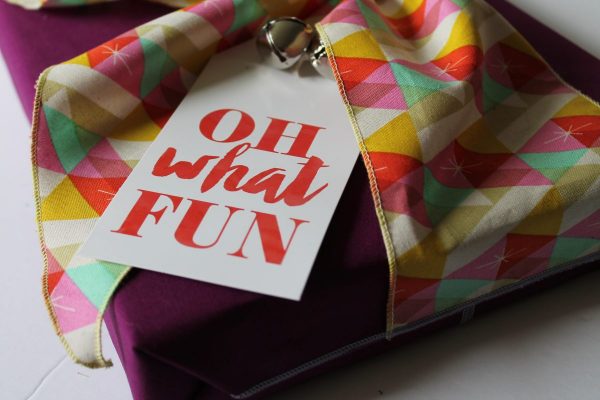
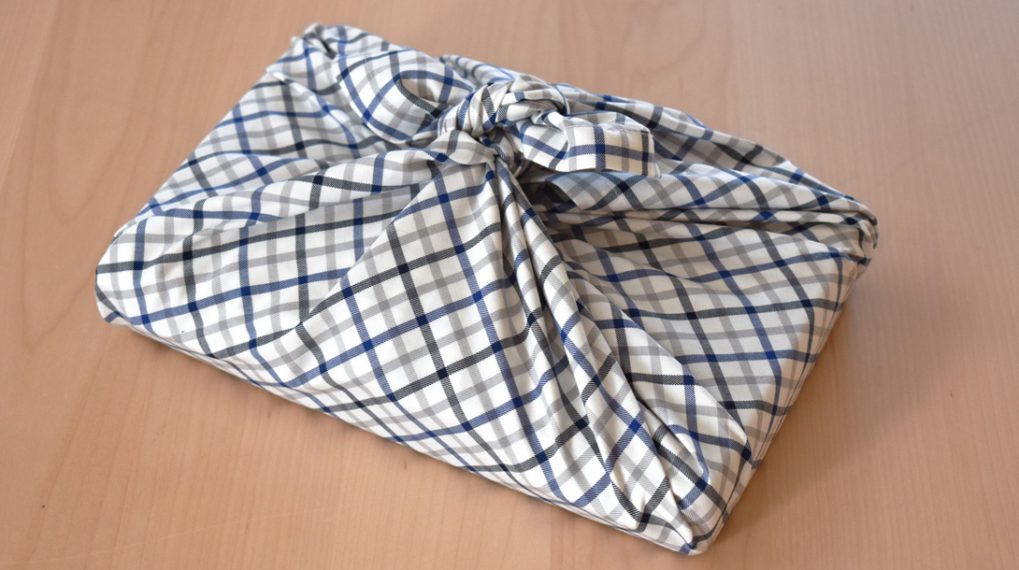
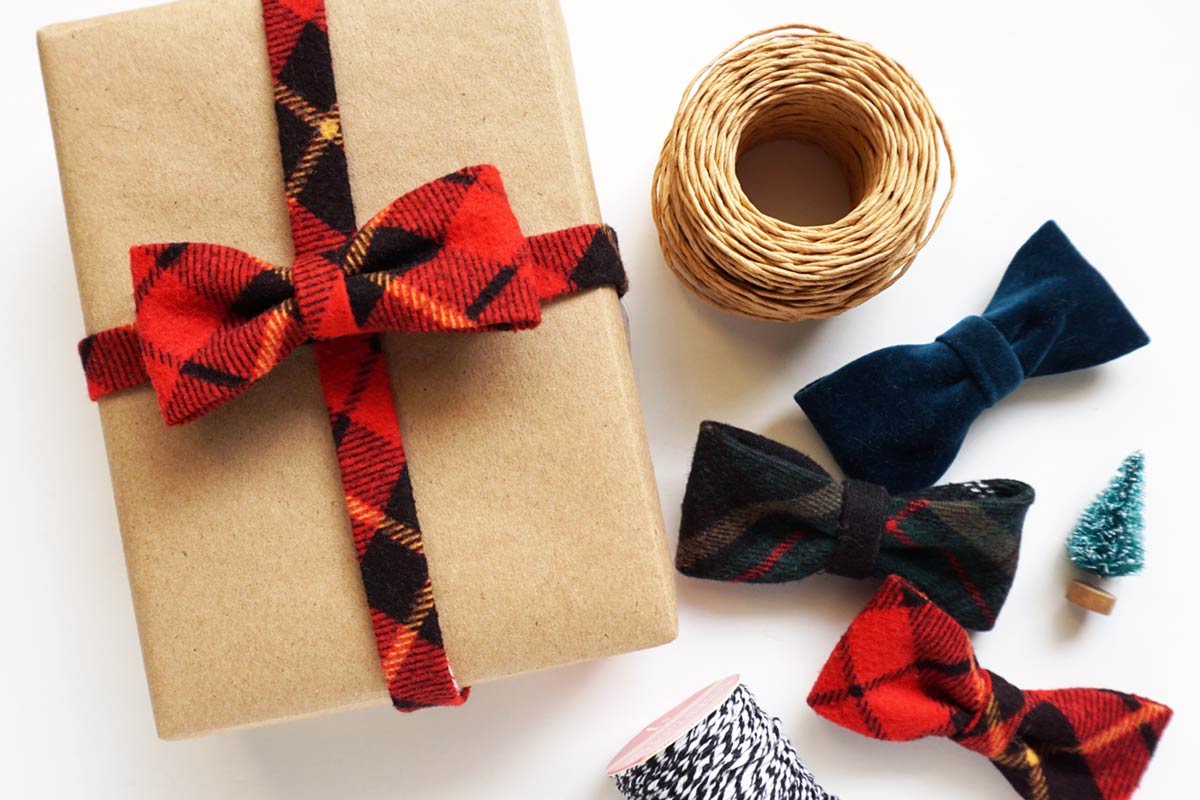
Big Bow Reusable Gift Wrap: Serger Project
Create beautiful, unique, and stylish reusable wraps for gifts this holiday season in minutes using a serger. Read on to find out which stitches work best for finishing the edges, tricks for turning tubes without a bodkin, and how to serge crisp square corners without touching the presser foot.
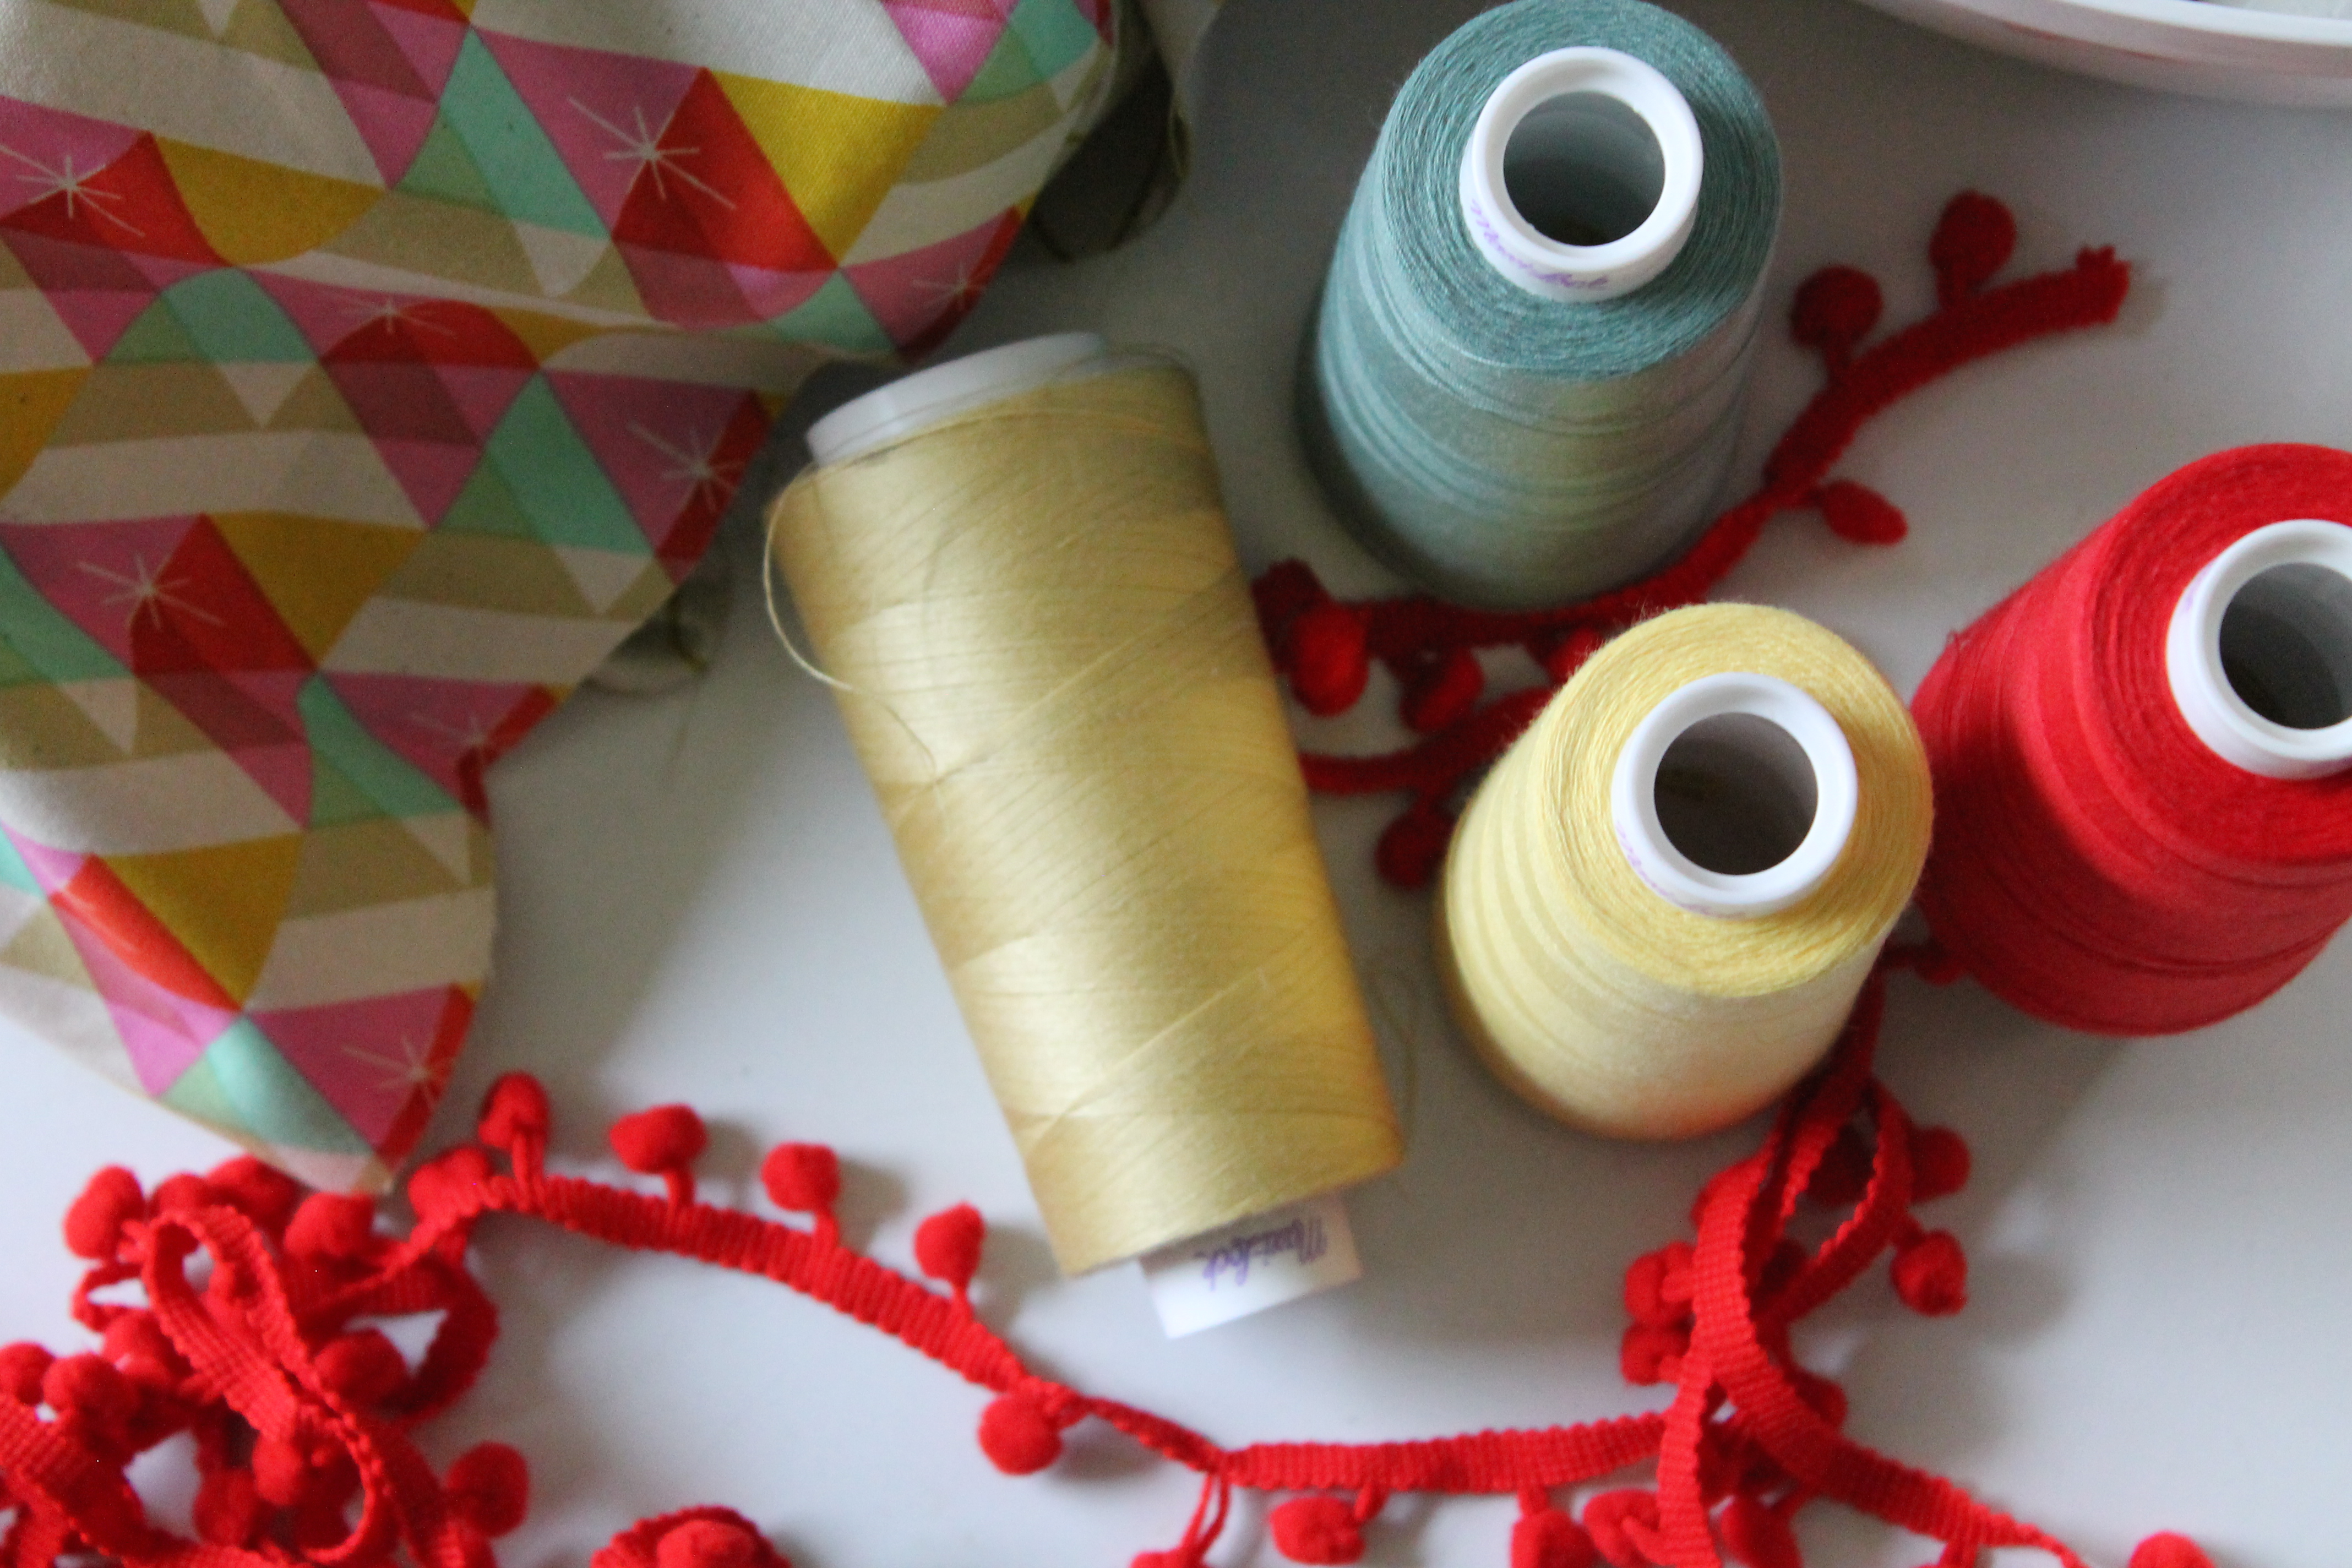
Materials to make a Big Bow Reusable Gift Bag:
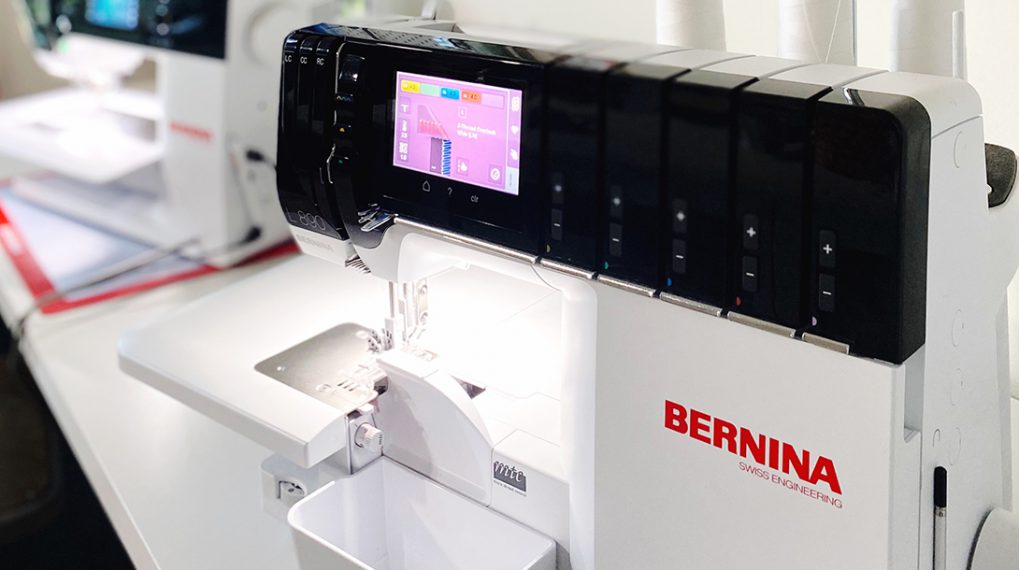
- Serger, I used a BERNINA L 450
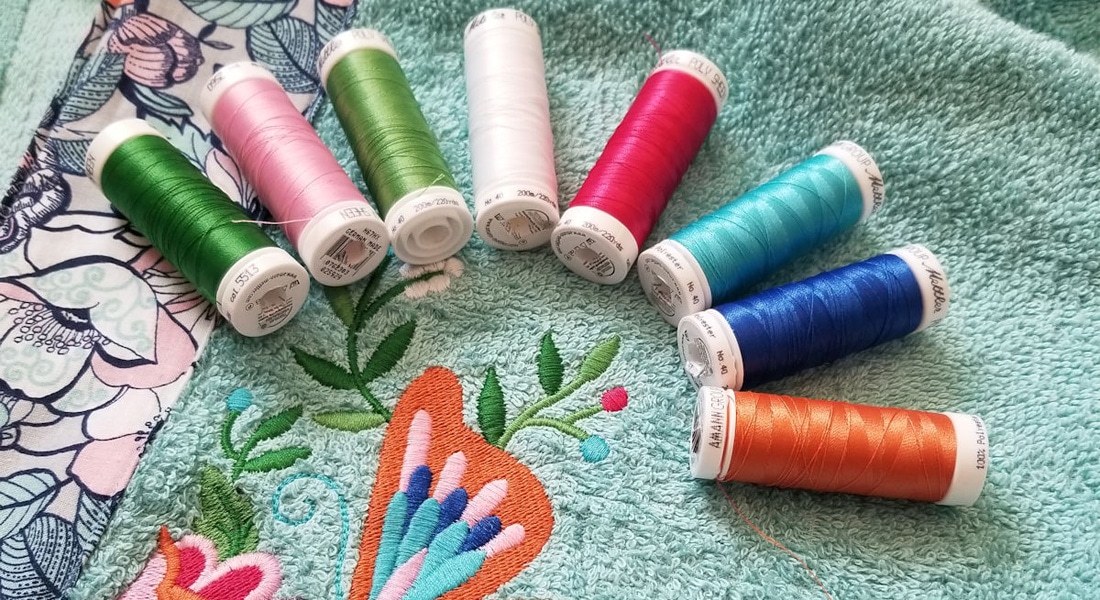
- 3 Cones of Thread
- 2 Fat Quarters of coordinating fabrics (or scraps)
- Ruler
- Cutting Mat
- Rotary Cutter
- Small Thread Snips
- Standard Shirt Size Gift Box (14.25” x 9.50” x 1.88”)
- Fabric Tape: Pellon EZ Steam II Pressure Sensitive Tape, Scrap of either fabric
1. Fabric one will be your main fabric for the package. Fabric two is used for the bow. Cut (1) large rectangle 24” x 17” from fabric one. Cut (2) rectangle strips and (1) smaller rectangle 4” x 5” from fabric two. Place the two rectangles you cut for the bow right sides together on cutting mat. Measure 4″ from left short side bottom up—mark lightly on fabric. Use a straight edge to create a line from 4″ mark on fabric to right bottom corner. Use rotary cutter to remove small triangle of fabric.
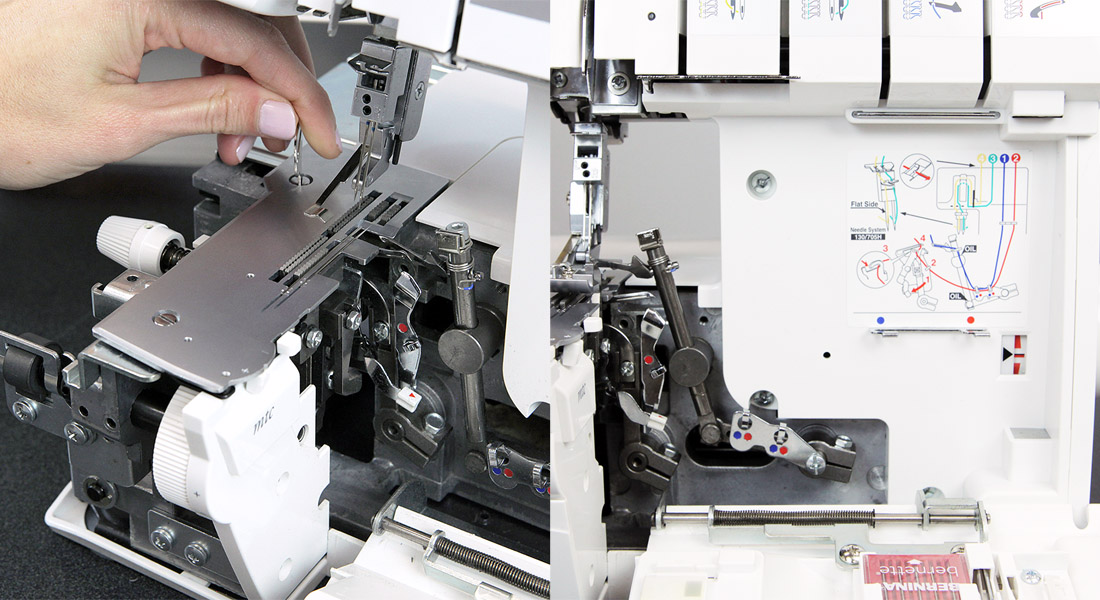
2. We are going to start by setting up our serger for a 3 thread overlock using the RIGHT needle. Refer to your manual for proper settings. This stitch only requires 1 needle, so please ensure that you have removed the left needle and have cleared any thread from its pathway. I am using the BERNINA L 450 today and I have my tensions set as follows: x/3.5/4/4
Tip: Rolled Hem, Picot Stitch, and Narrow 3 thread stitches are used to finish edges and will most often be used on single layered, light weight fabrics.

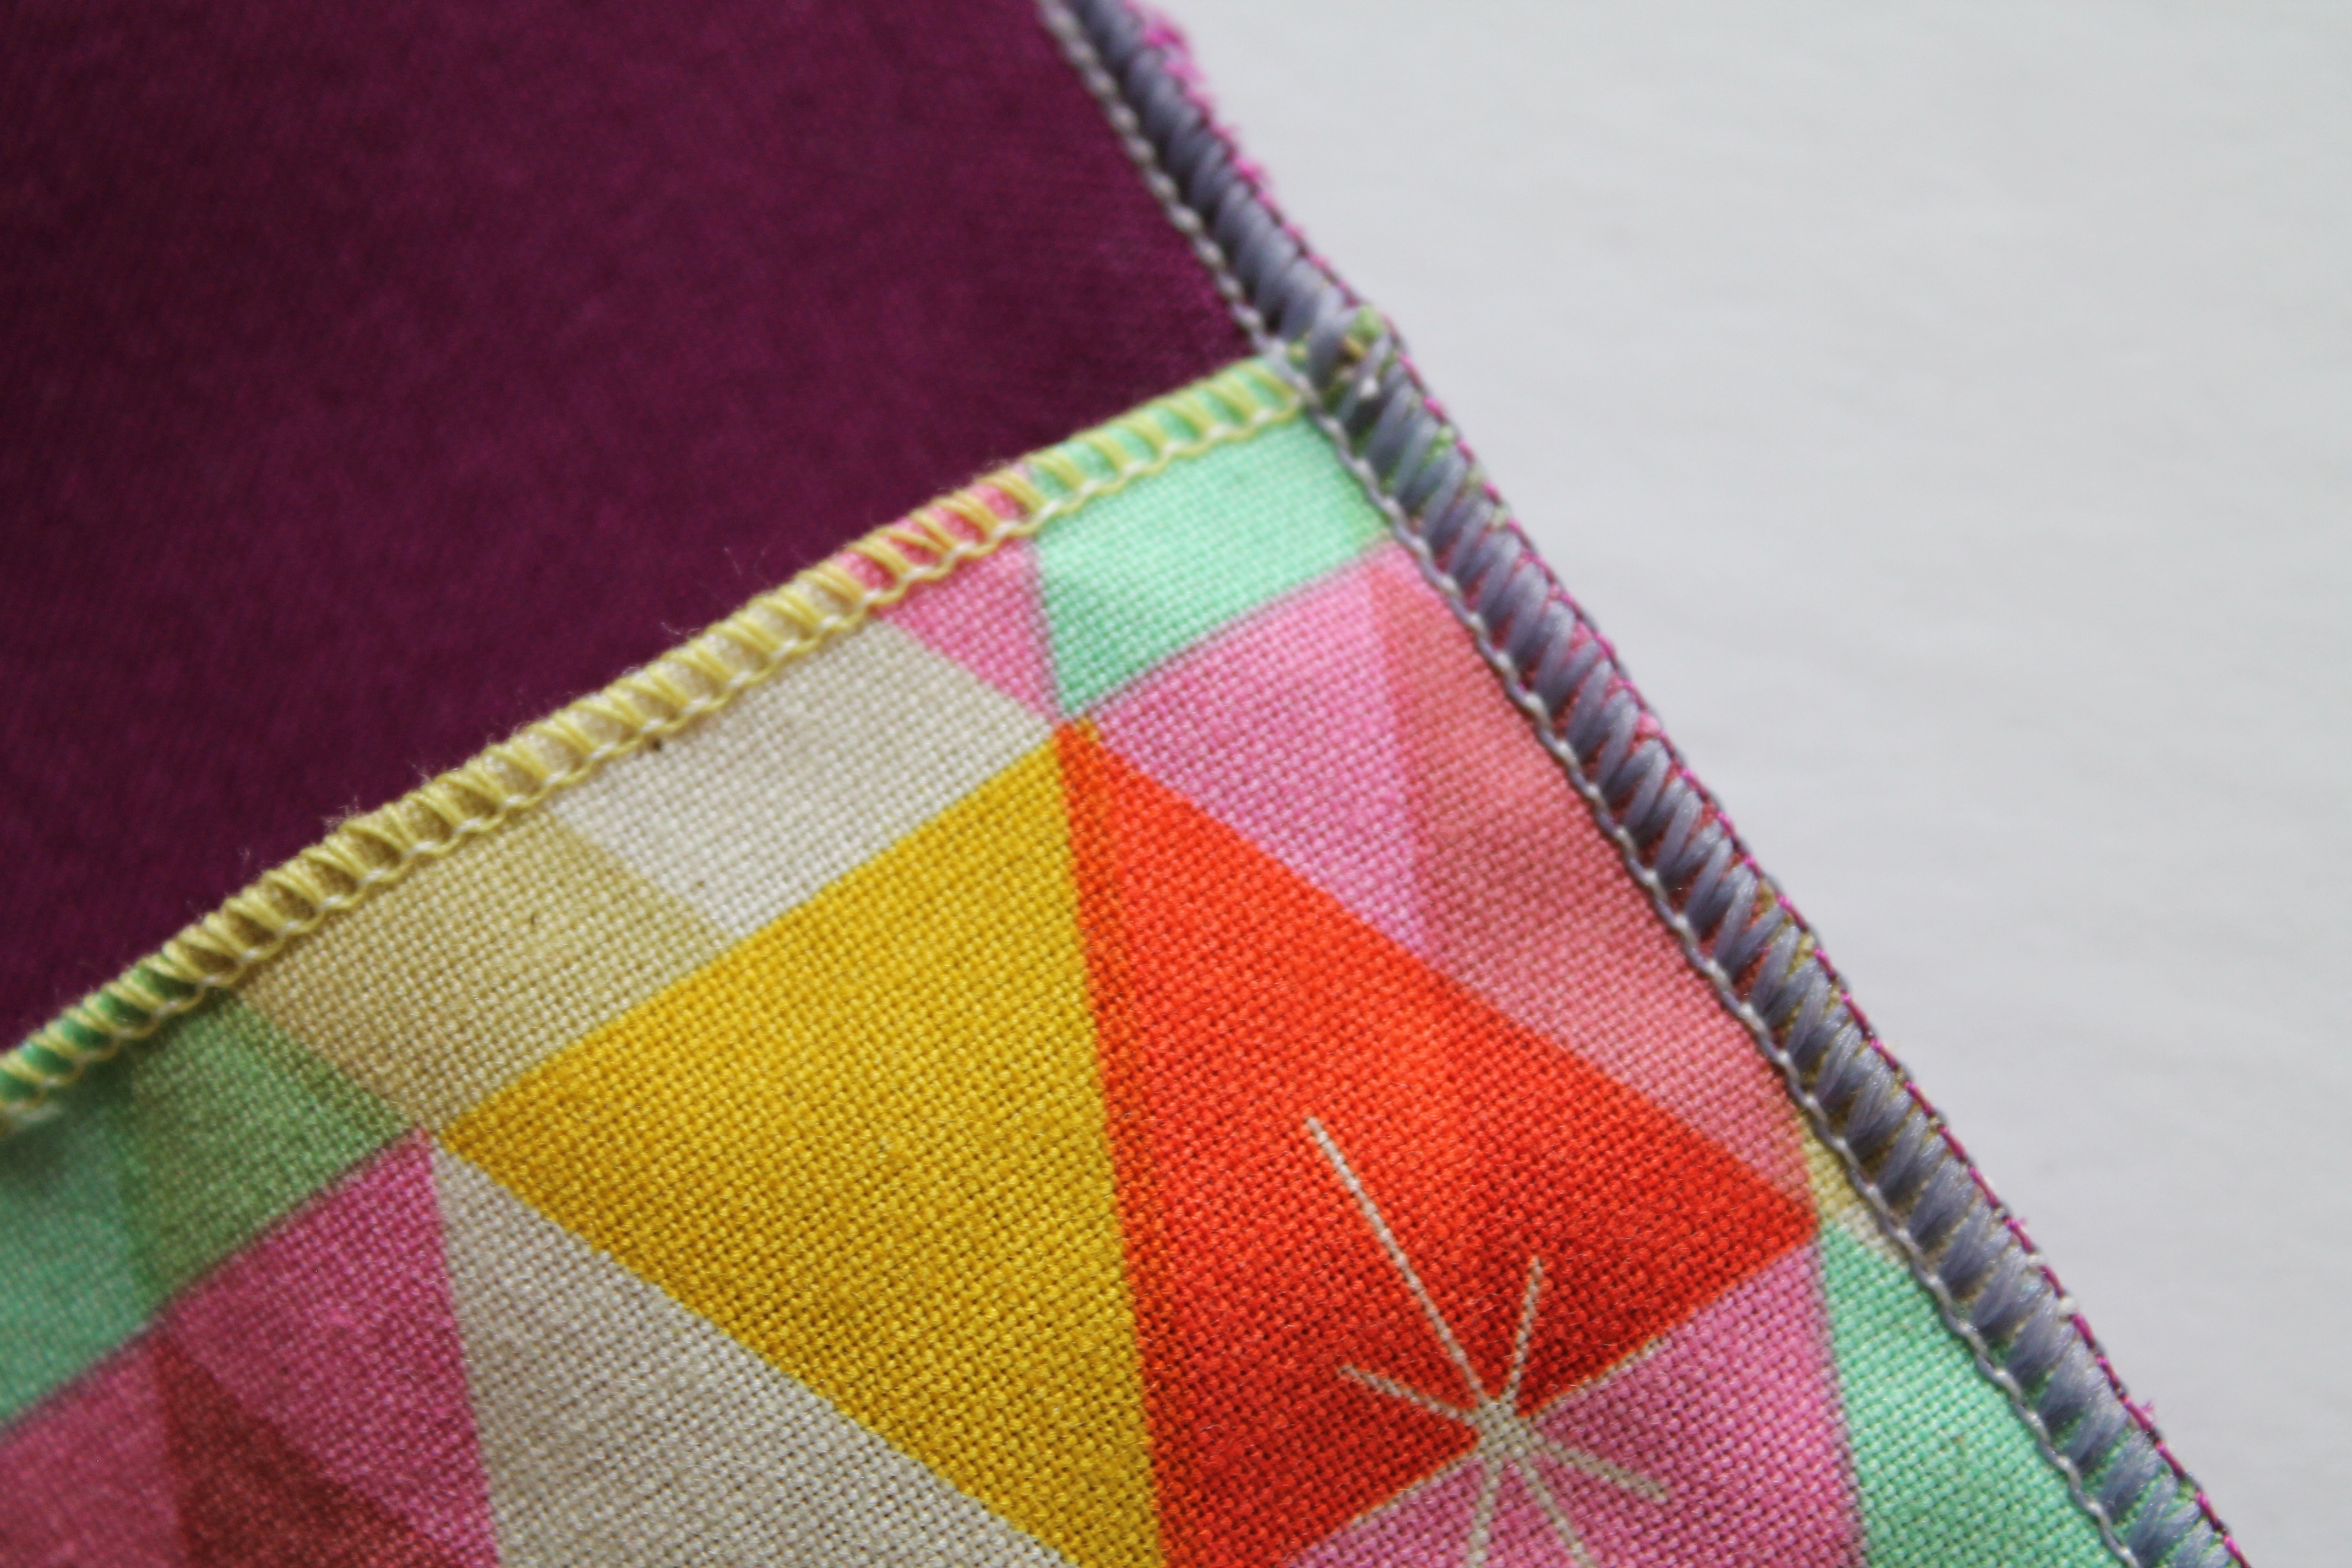
3. Now that our fabrics are cut and machines are set up, we will finish the edges of our bow on the serger. Separate the cut fabrics, we are only finishing the edges at this time and you will be serging on 1 layer of fabric. Begin stitching on the long side down to the point. When you approach the point, slow down and carefully stitch right to the very end of fabric. When you get to the edge use hand crank to bring the needle position to its highest placement. Lift your presser foot up. Gently and ever so slightly pull the fabric to the back of the serger to lift off of the stitch fingers below. This will allow you to pivot the project and get crisp corners. Begin stitching just atop of those beautiful stitches you finished securing them into place. Repeat when you come to the next corner. Finish the last long side of bow piece. (Repeat for 2nd bow piece and set aside.)
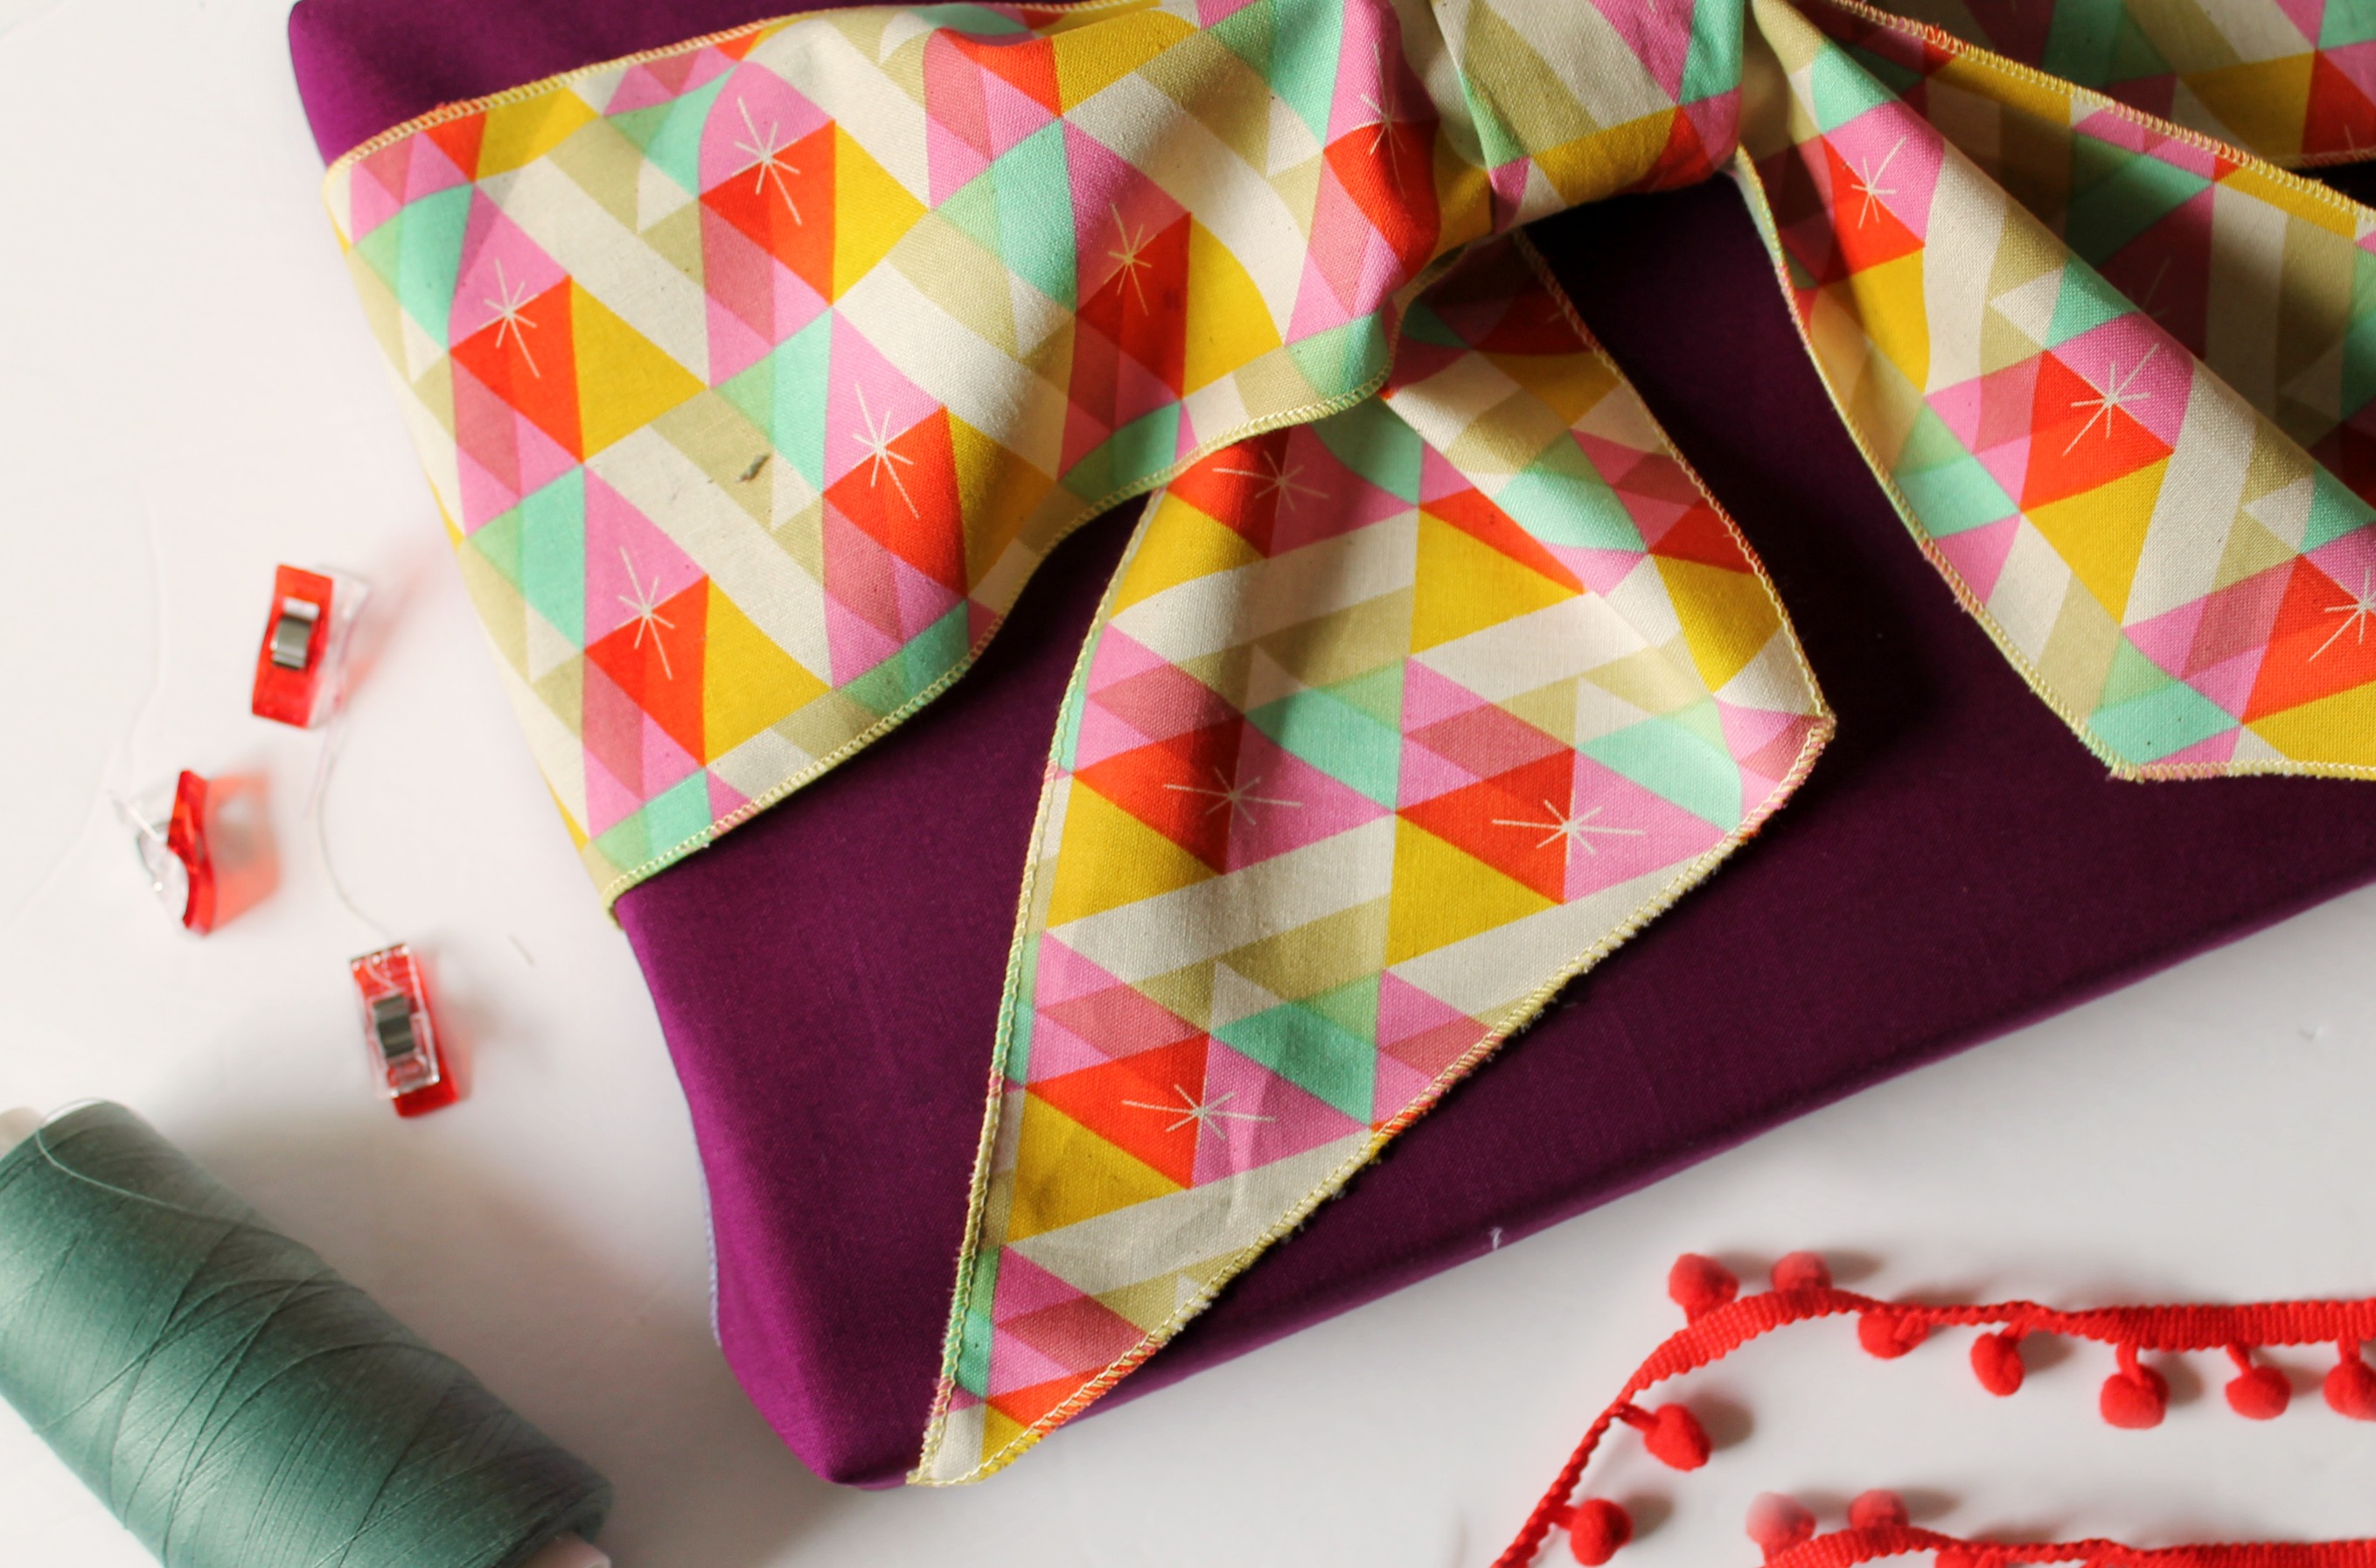
4. Working with the main fabric, lay it flat so that your short ends are horizontal. From the top edge measure 9” down, use chalk or marking tool to note measurement on the long side edge.
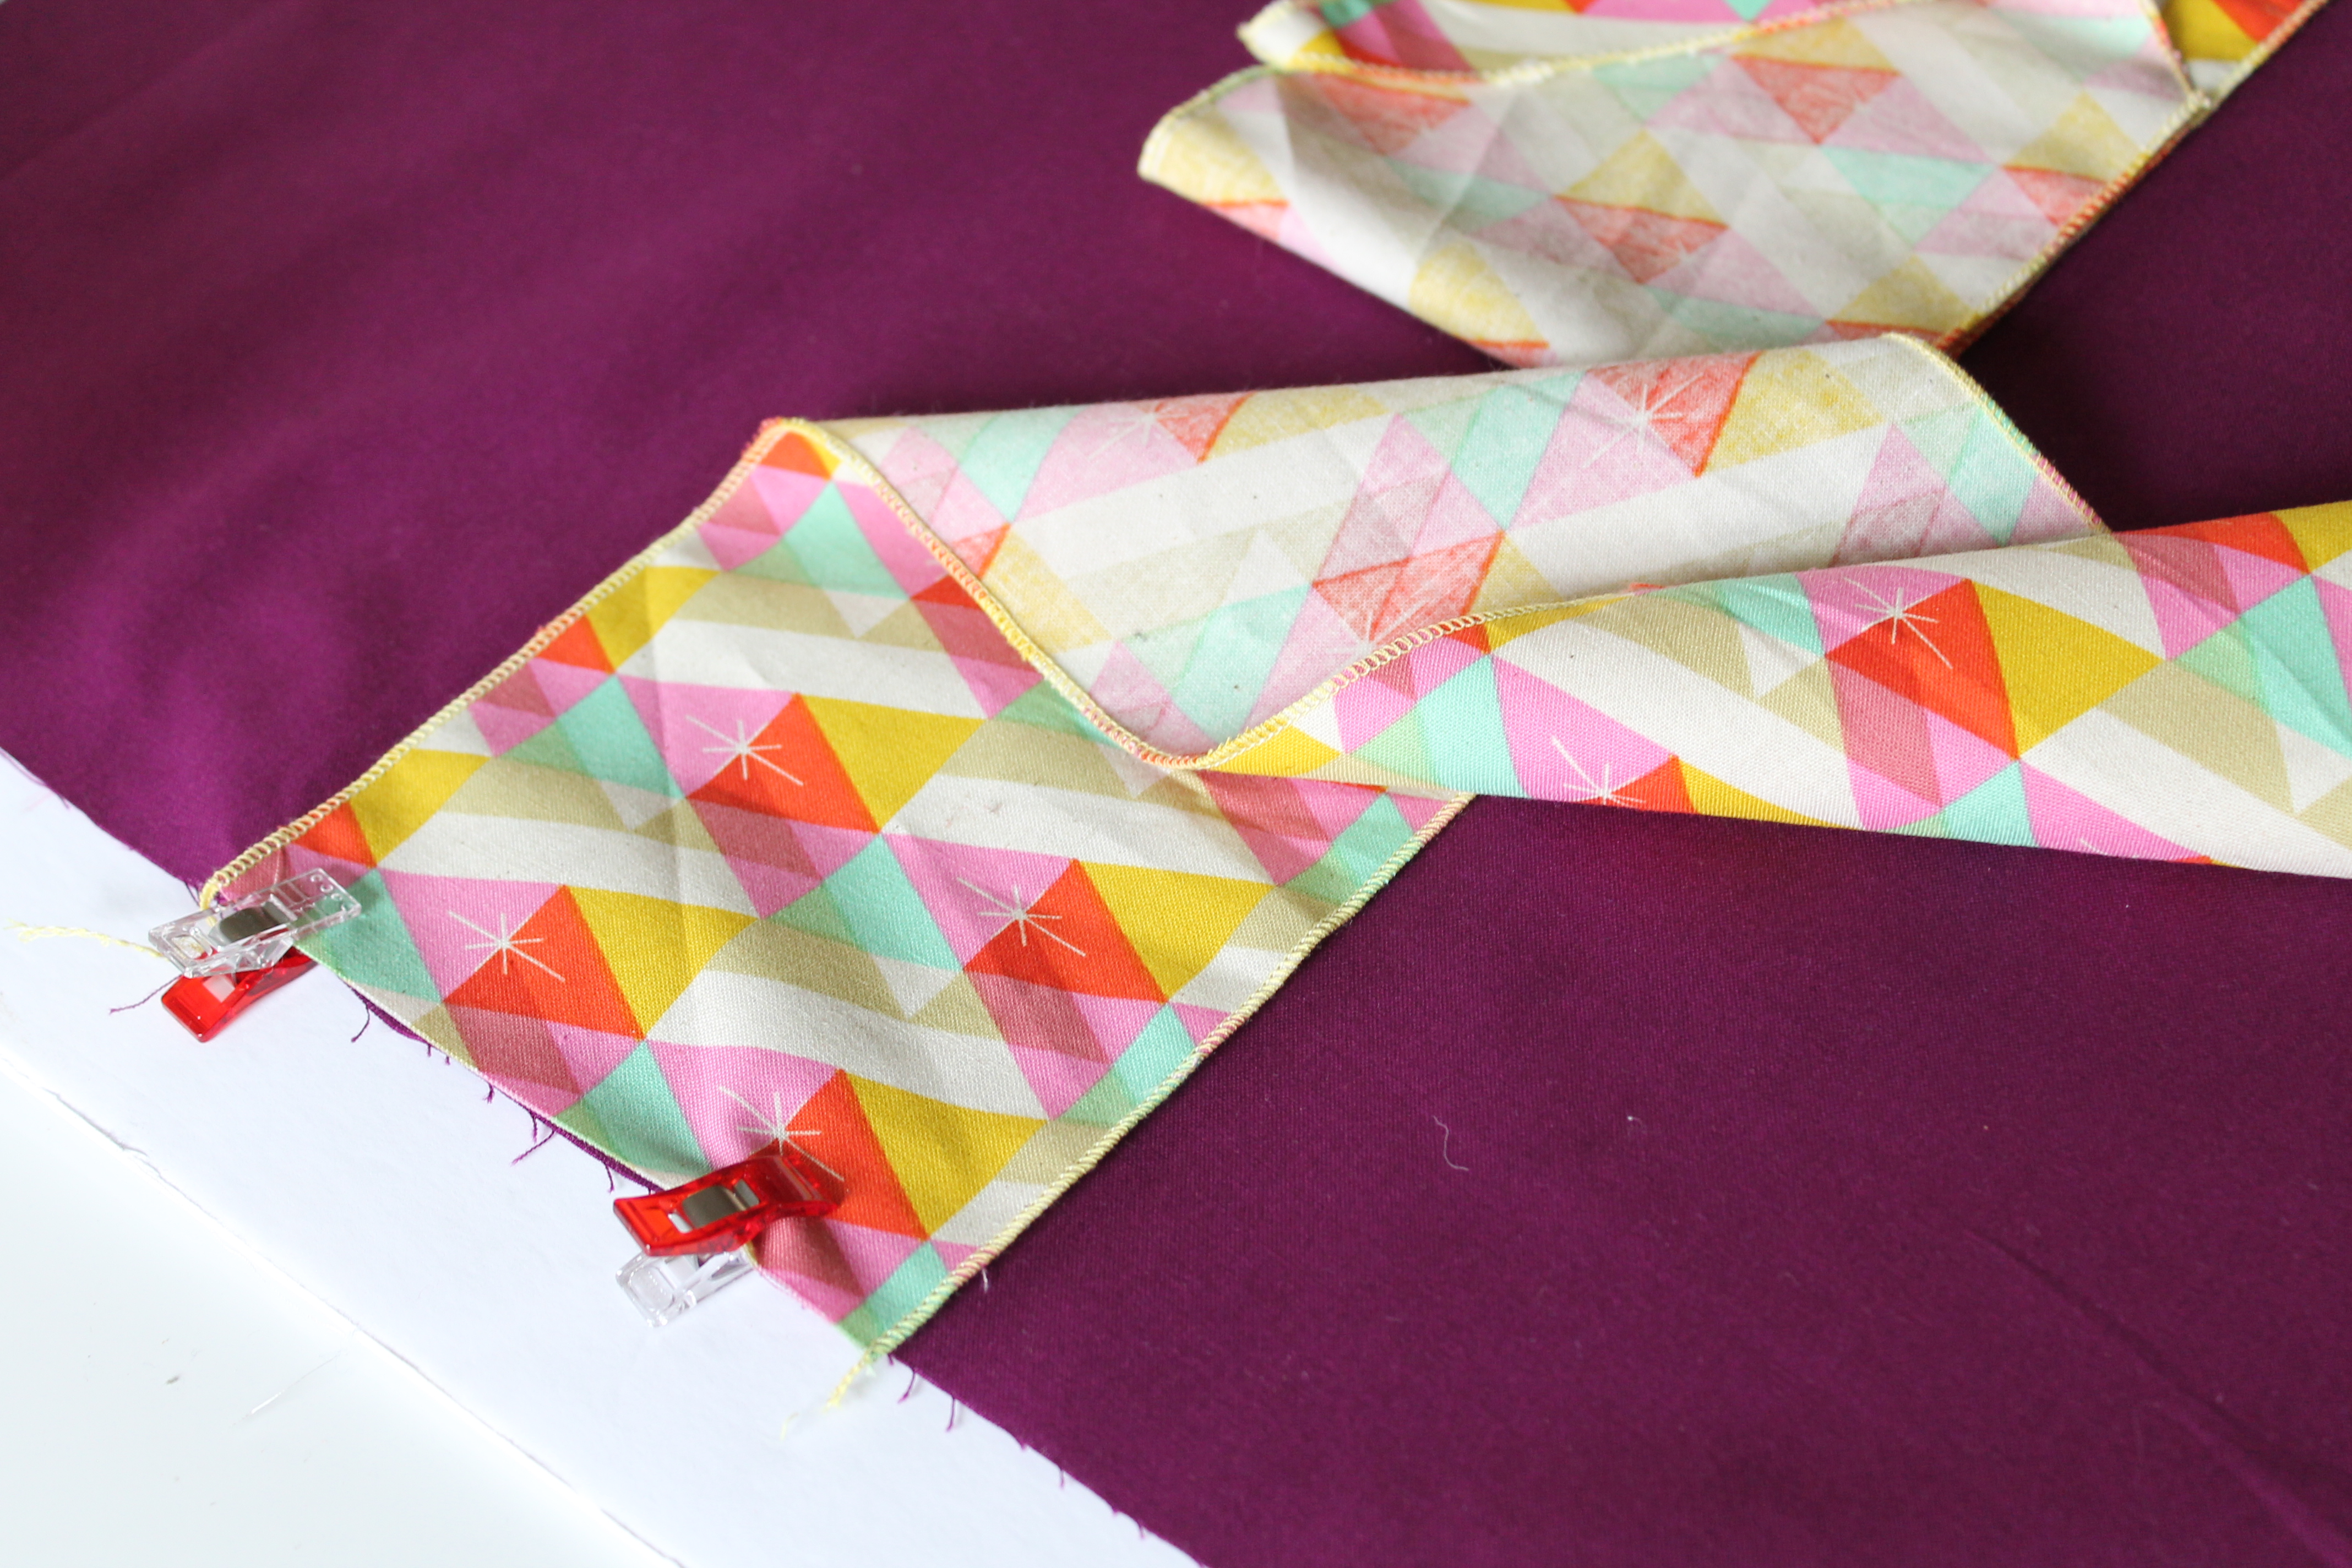
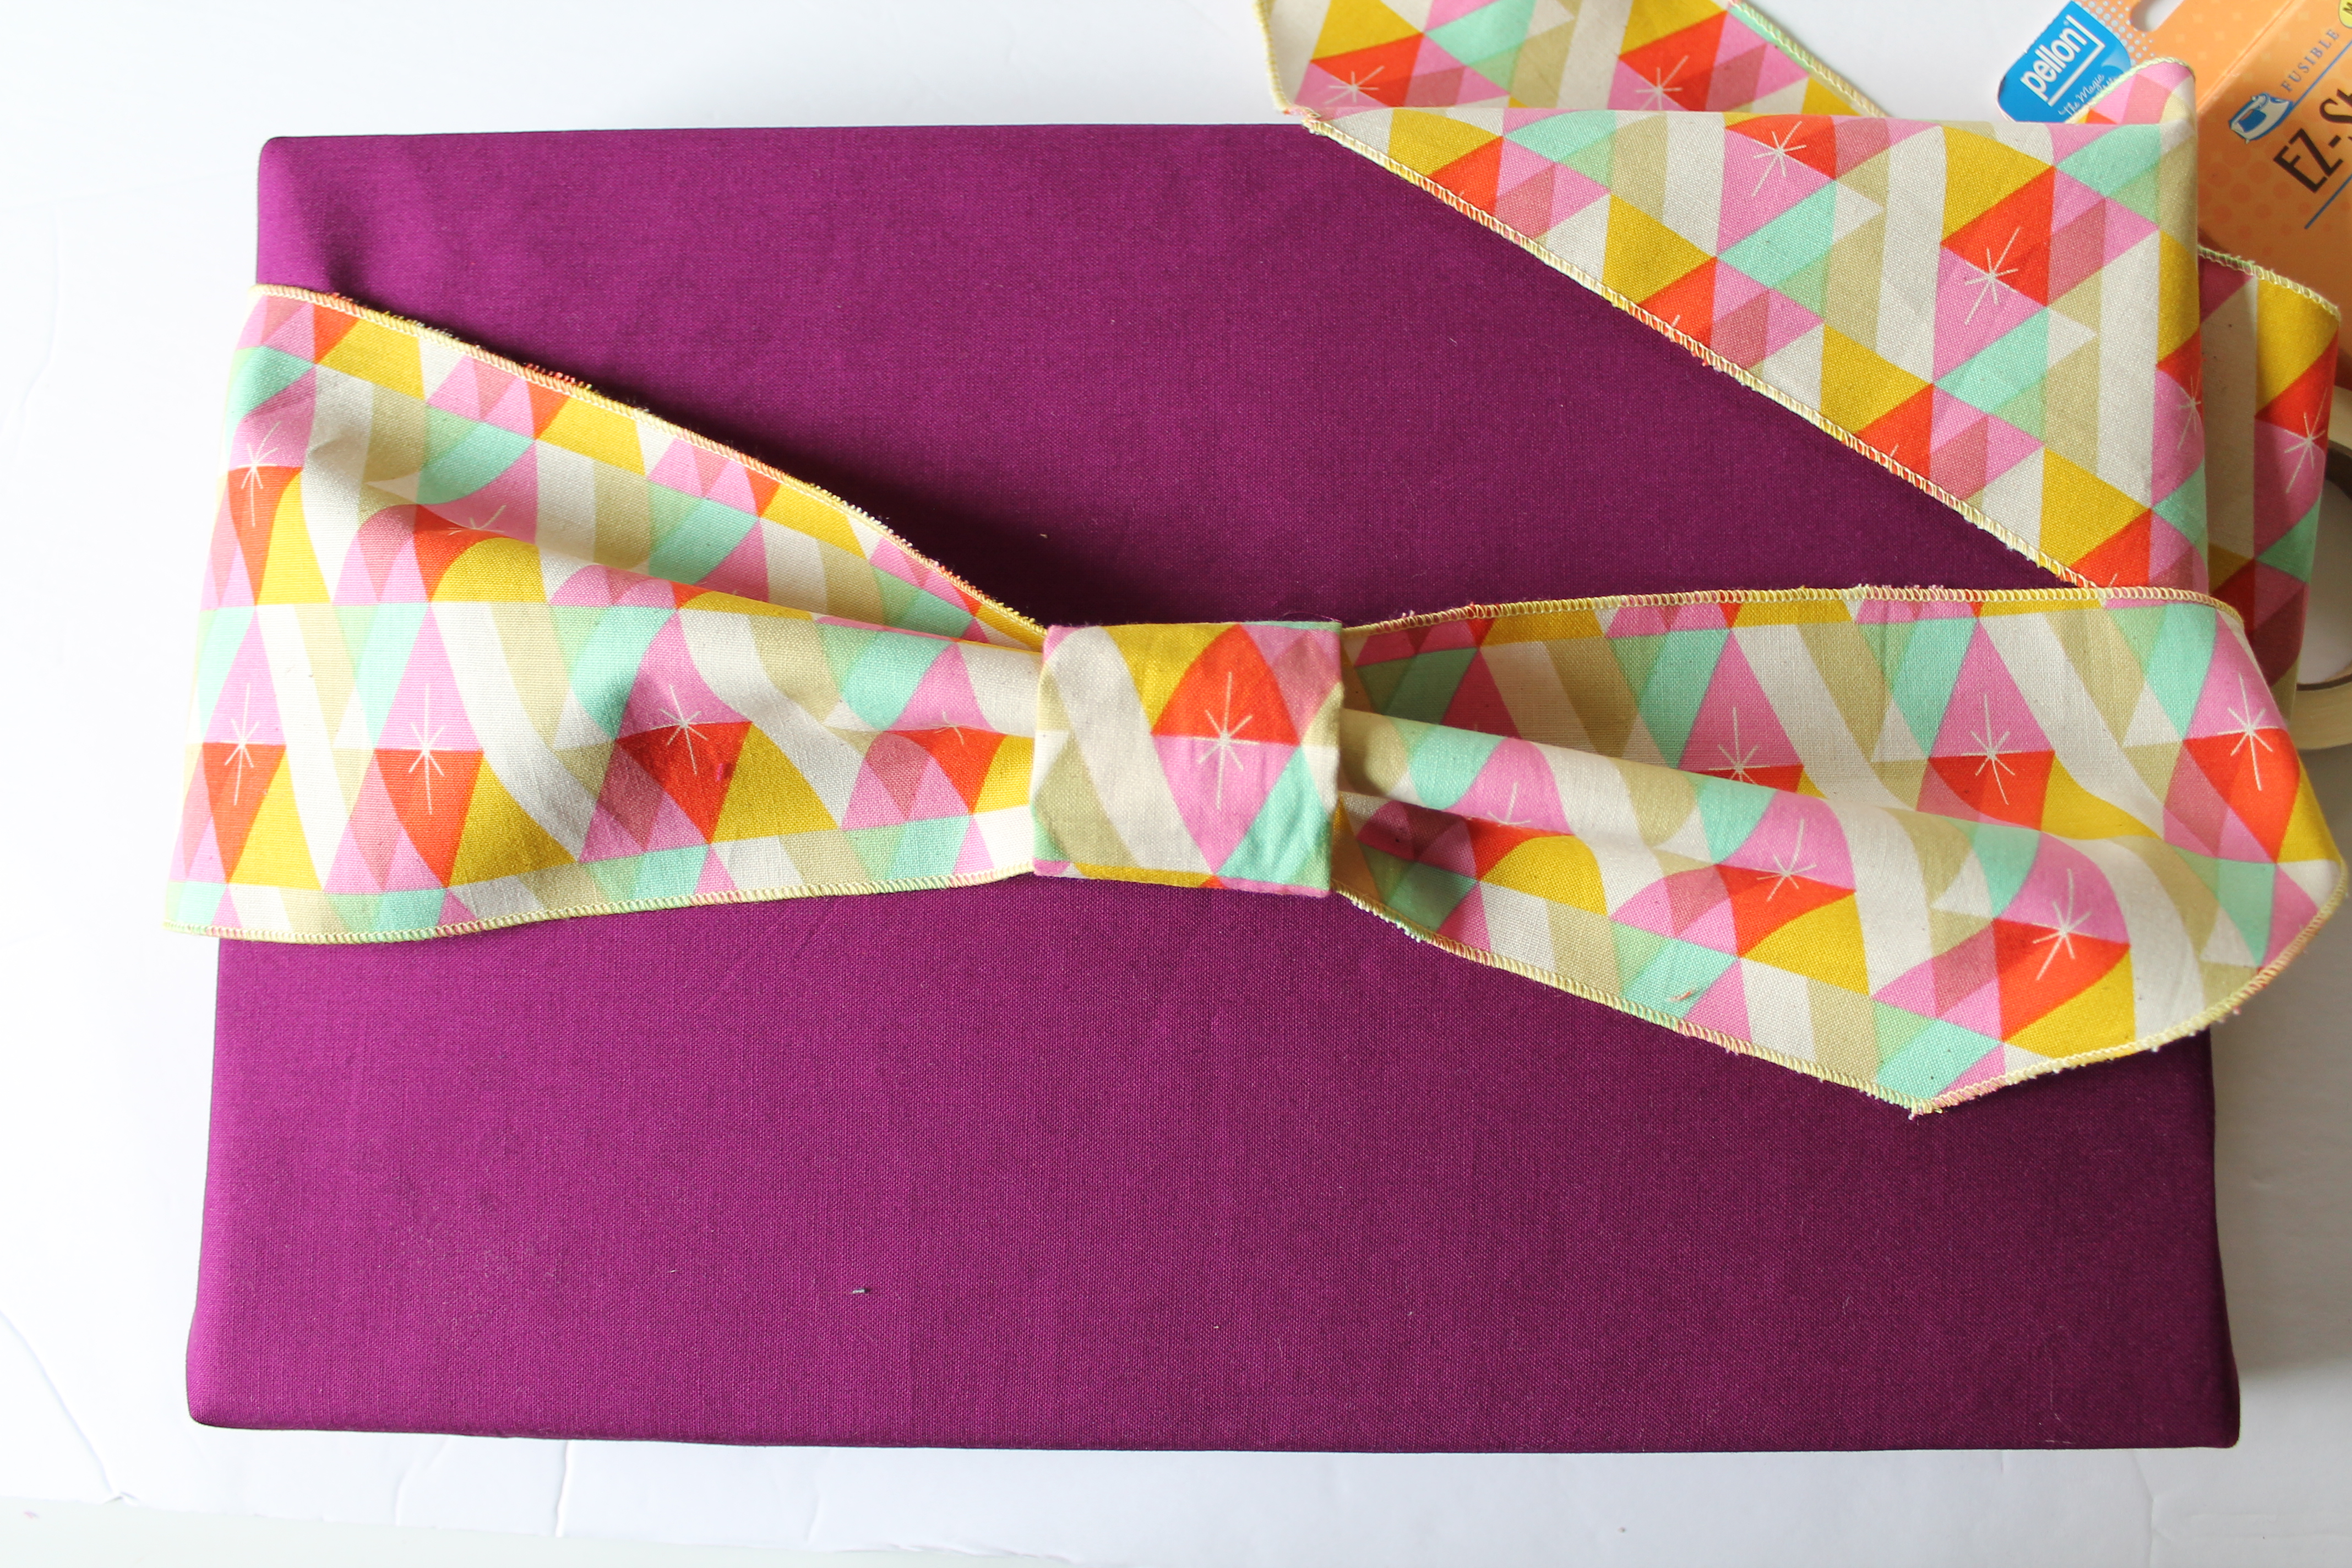
5. Use the marking we just made—you will now align top of bow strip with the pretty fabric up. Clover clips come in handy to keep short flat edge of bow even with the side of main fabric. As you look down at your project the long tapered point should be on the top edge. Repeat this on both left and right sides.
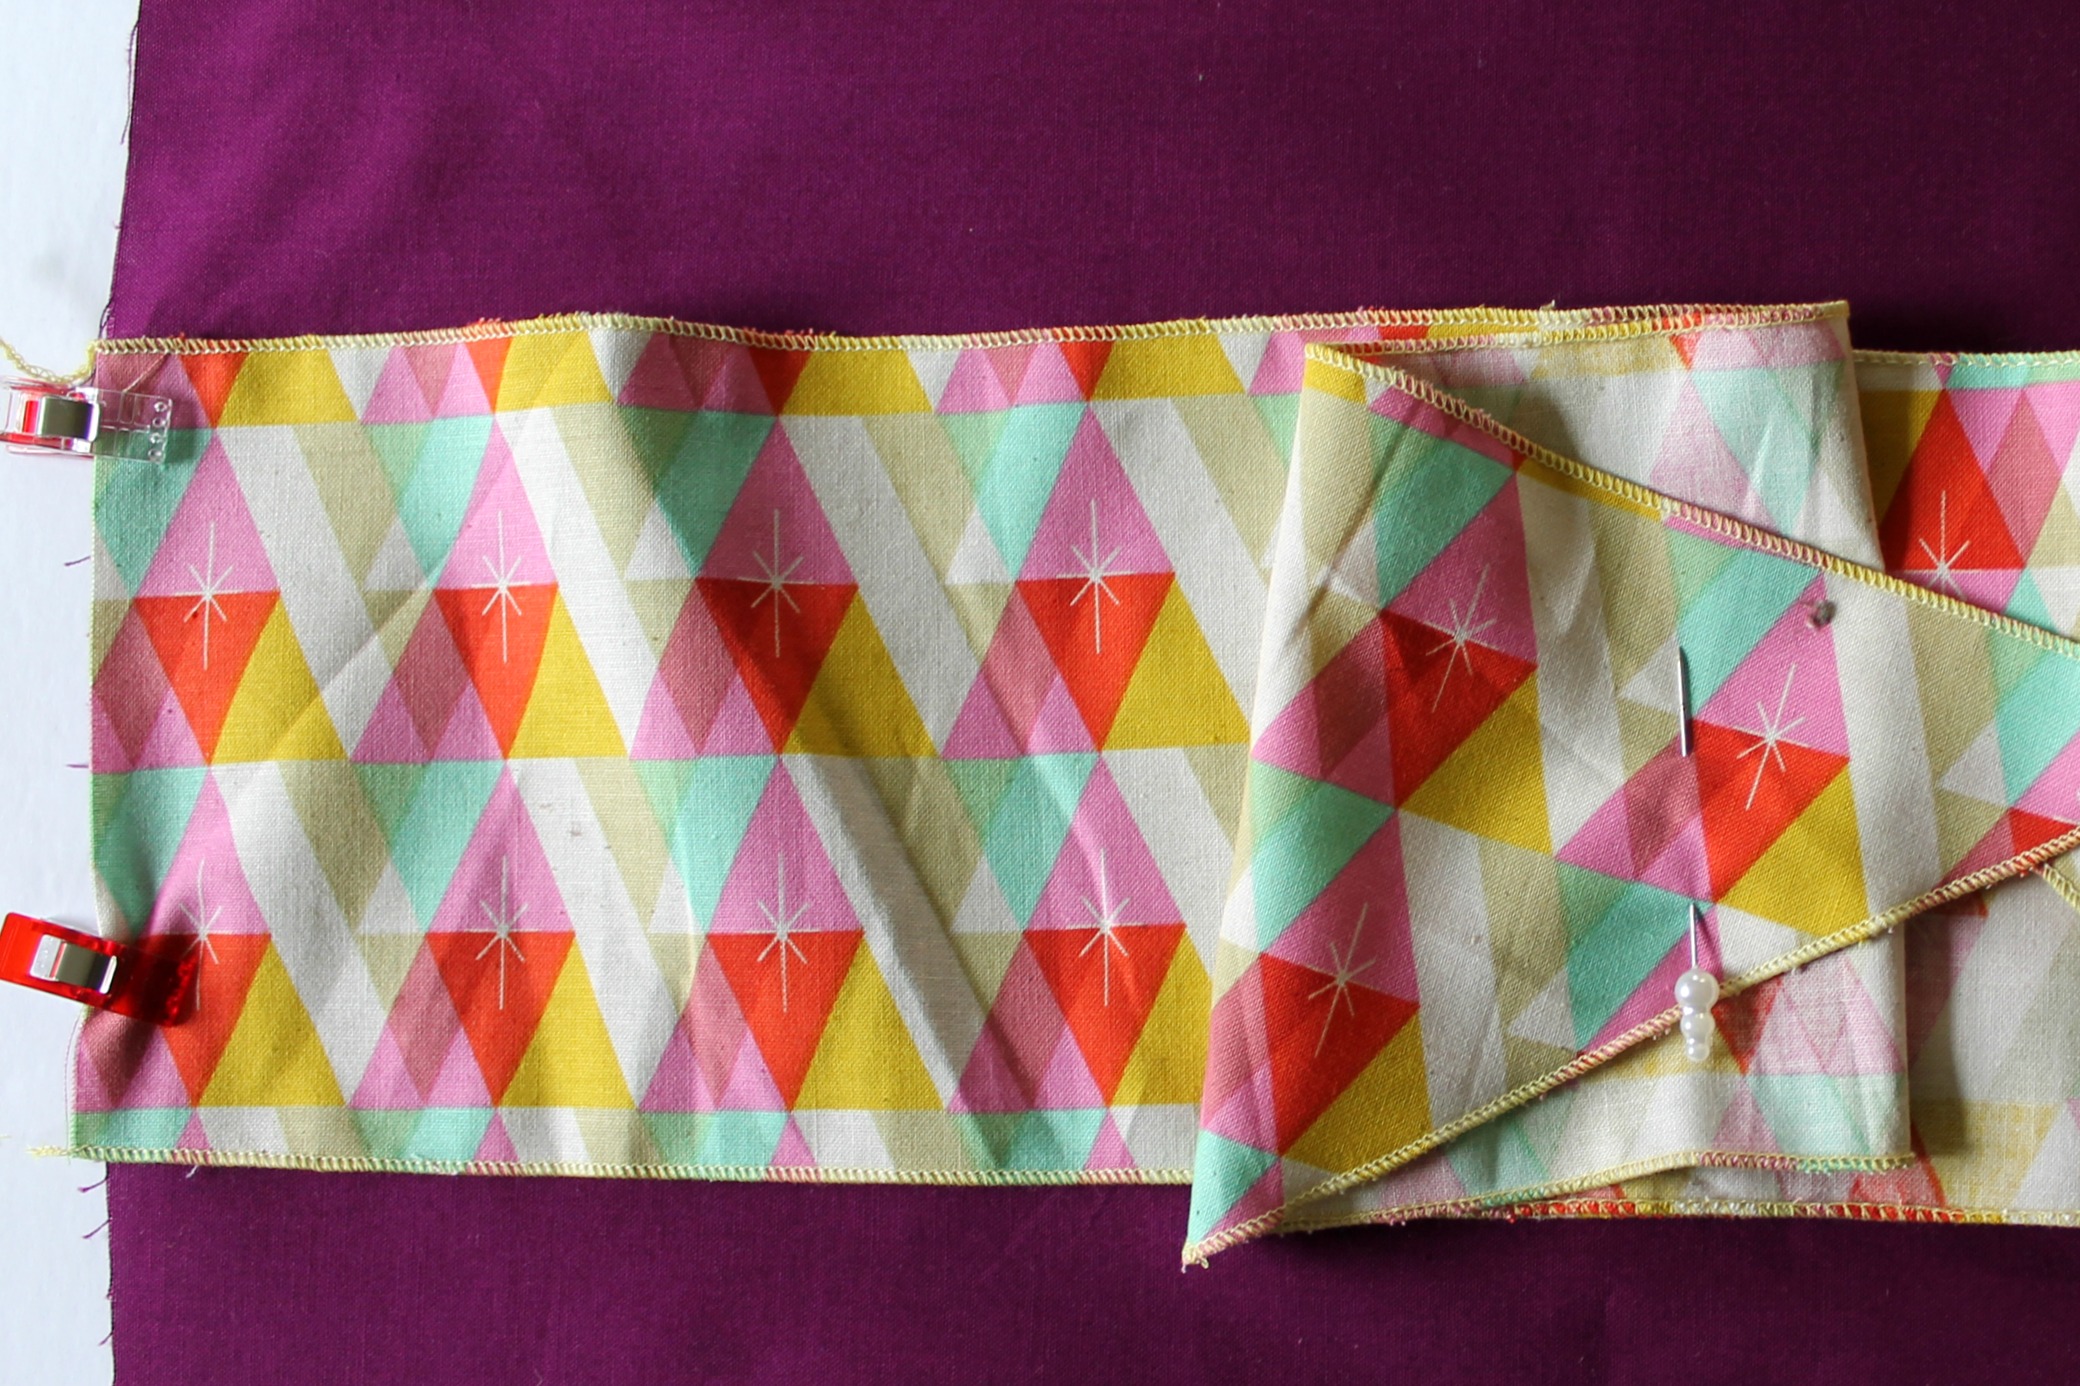
6. Fold the longer edges of your bow strips to center and pin in place. We are doing this to keep the fabric from getting trimmed or stitched as we finish the outside edge of our gift wrap.
7. Starting on the long side edge, begin serging around all 4 sides to finish the edges. You will be finishing the edge of 1 layer of fabric. As you come to the bow sections, slow down, and be sure to remove any clips as they come nearer to your knife blade. Be sure that you are feeding both layers of fabric through to attach raw short end of bow to main fabric.
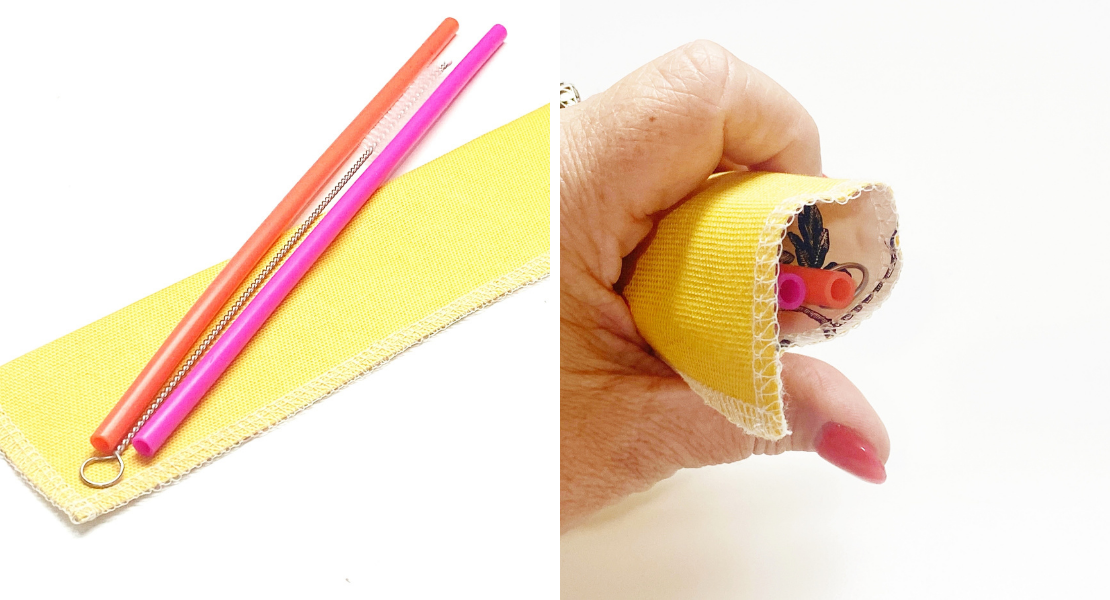
8. Optional: Use spray starch and iron for a nice crisp wrap.We’re almost finished but first we need to make a small loop using that last rectangle piece of bow fabric. The technique I’m using here can be easily used to create lengths for straps or edging without the need of a tedious bodkin or tuner.
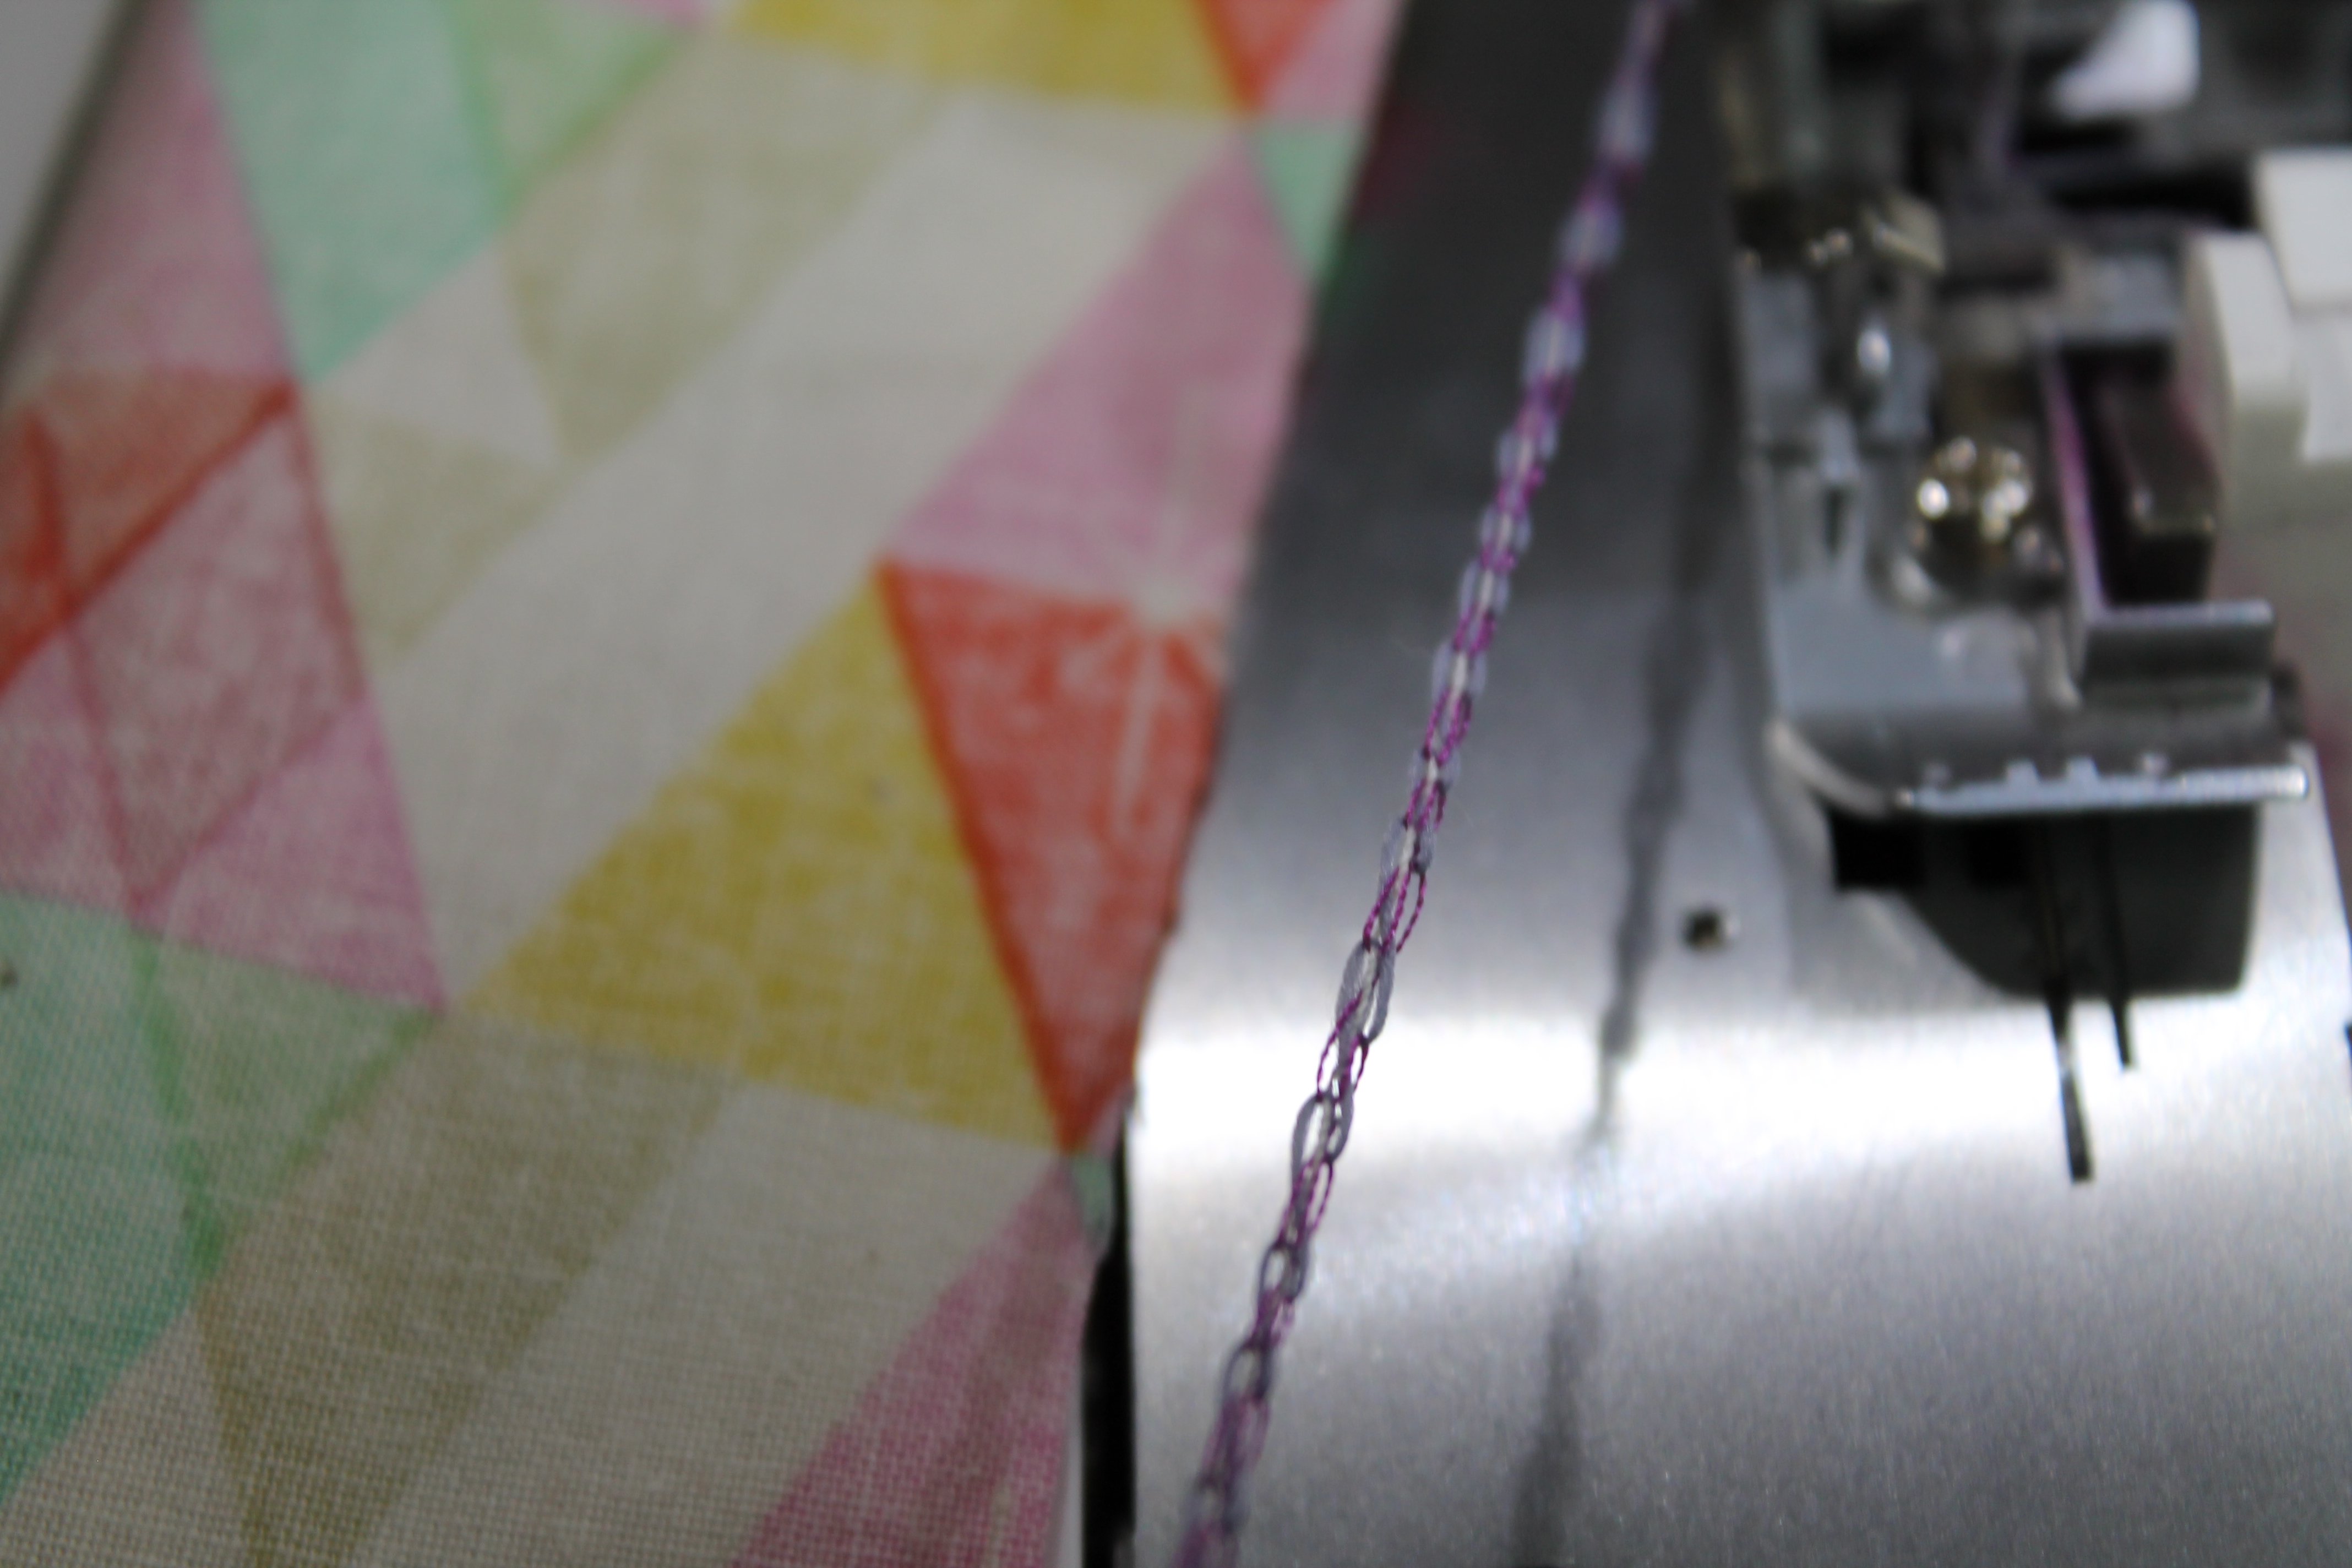
9. Without any fabric on your serger—create a long length of serger chain at least 14 inches long. Bring the long chain around behind your presser foot to the left and forward. Do not cut the chain from the machine.
Take your small rectangle of fabric and finger press it lengthwise in half pretty prints on the inside. Open the fabric and place your serger thread chain down the center along the crease.
Prepare to serger the raw long edge together—making sure that your serger chain does not get stitched (it should be tucked closely in the fold). When you are finished you will have a tube.
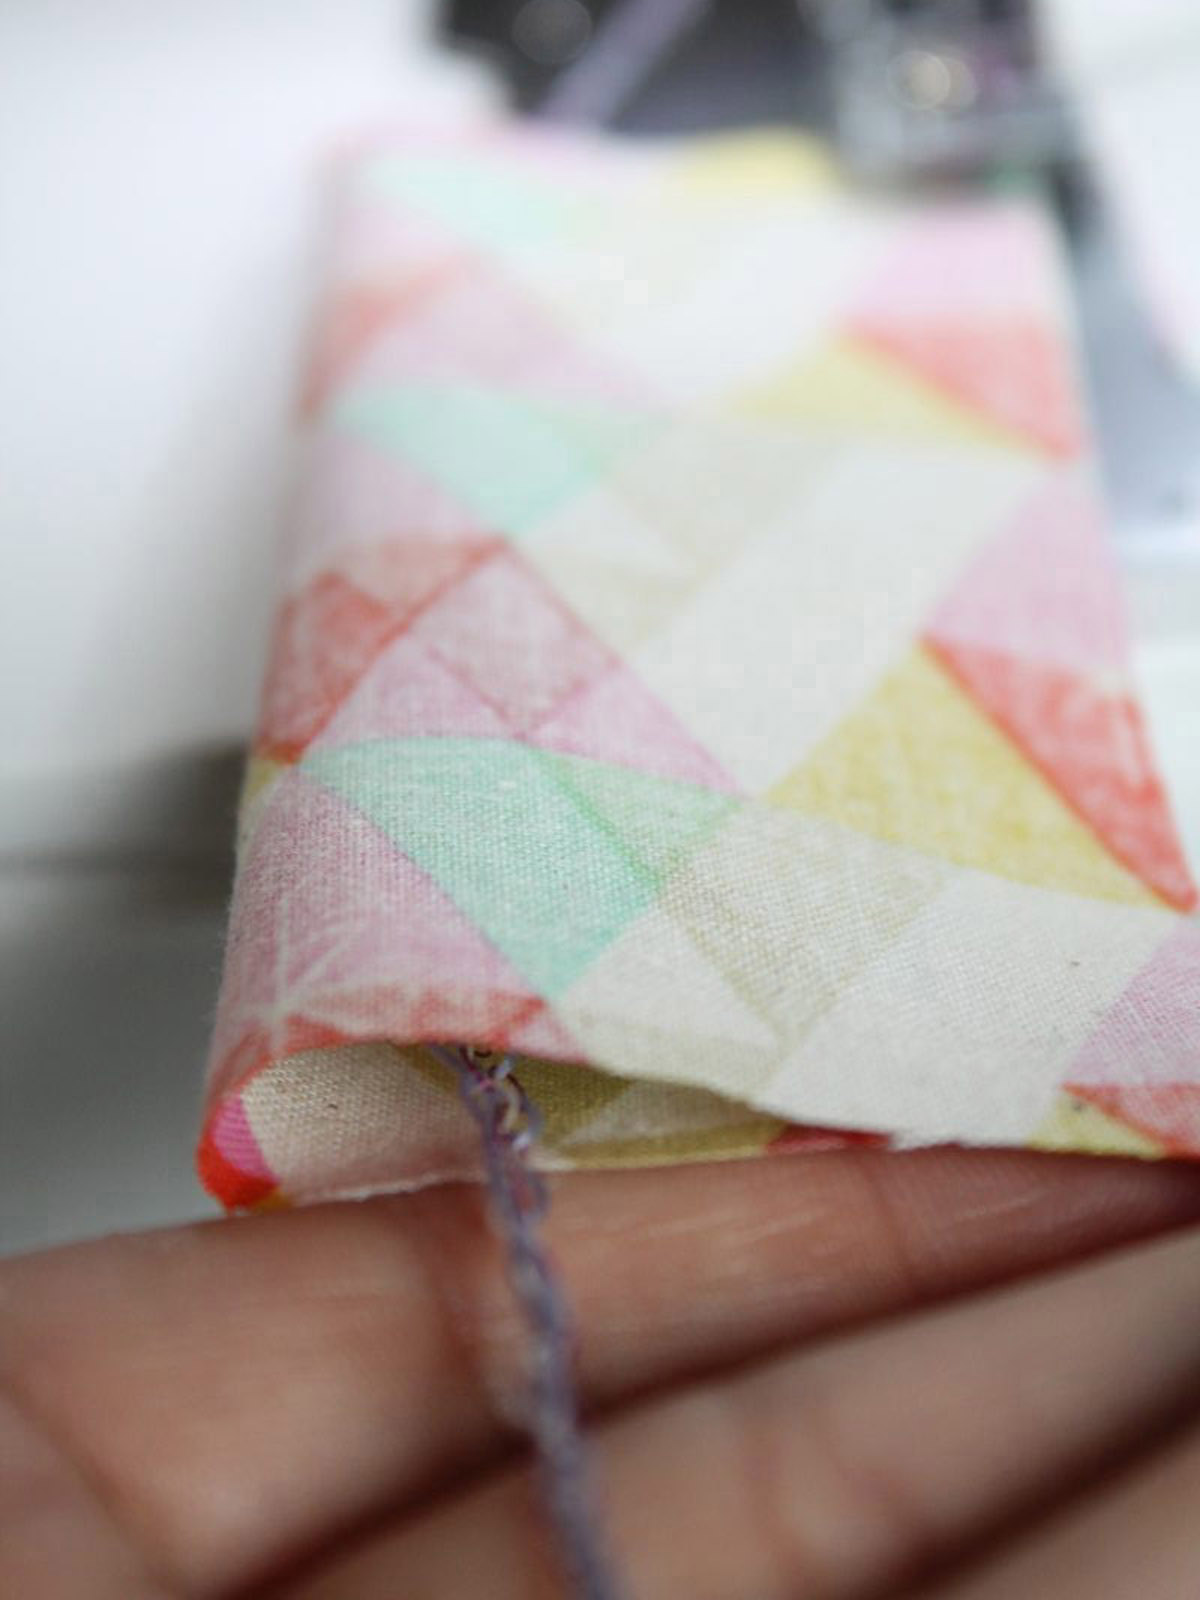
After serging the long side you will see that our long chain has now become a handy pull allowing us to turn the tube right side out. Get it started but folding the edge over 1/2”. This technique can be used to make thin straps, trim, and much more.
Press so that the serged stitches are in the center of strip.
Fold right sides together. Serge the short sides together. Turn so that all visible stitches are on the inside of loop.
Feed one bow strip at a time though the finished loop.
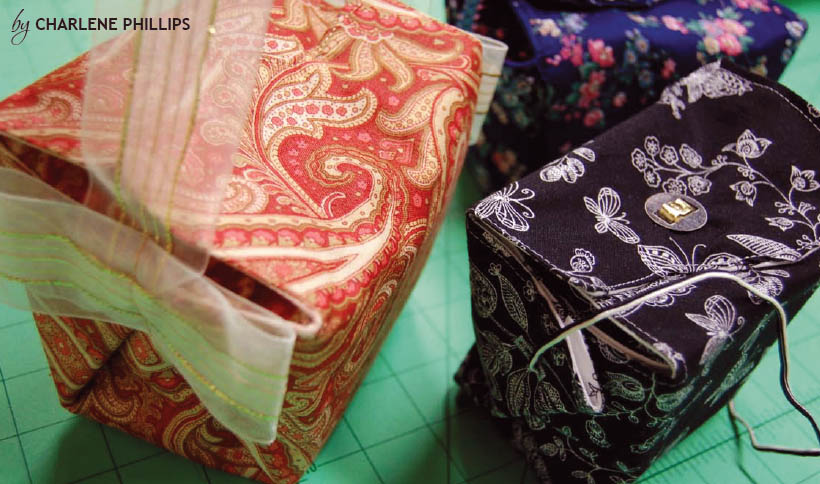
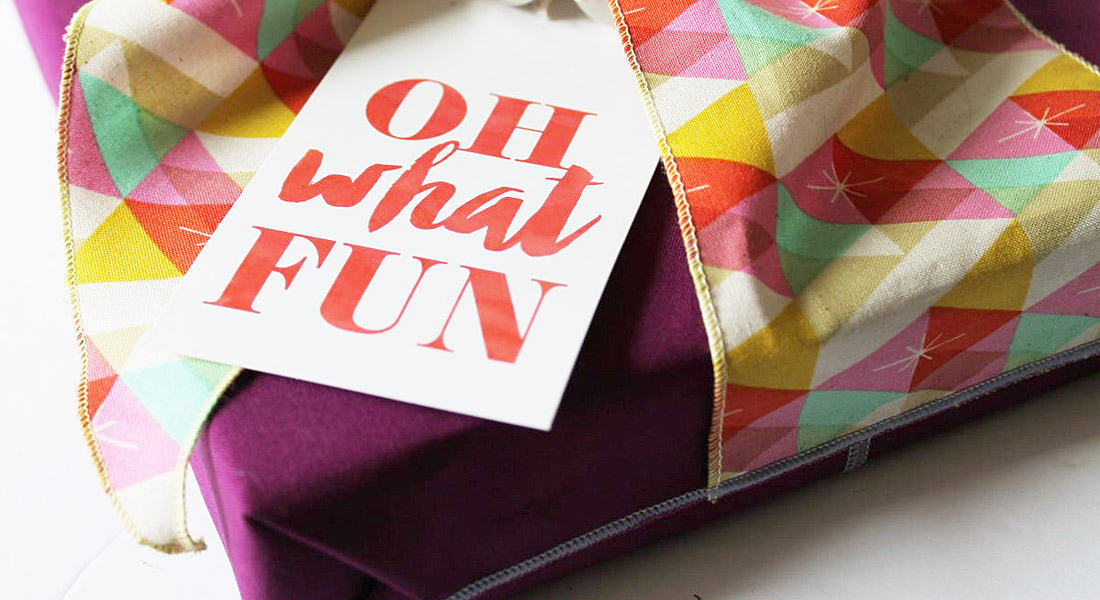
Wrap gifts and reuse!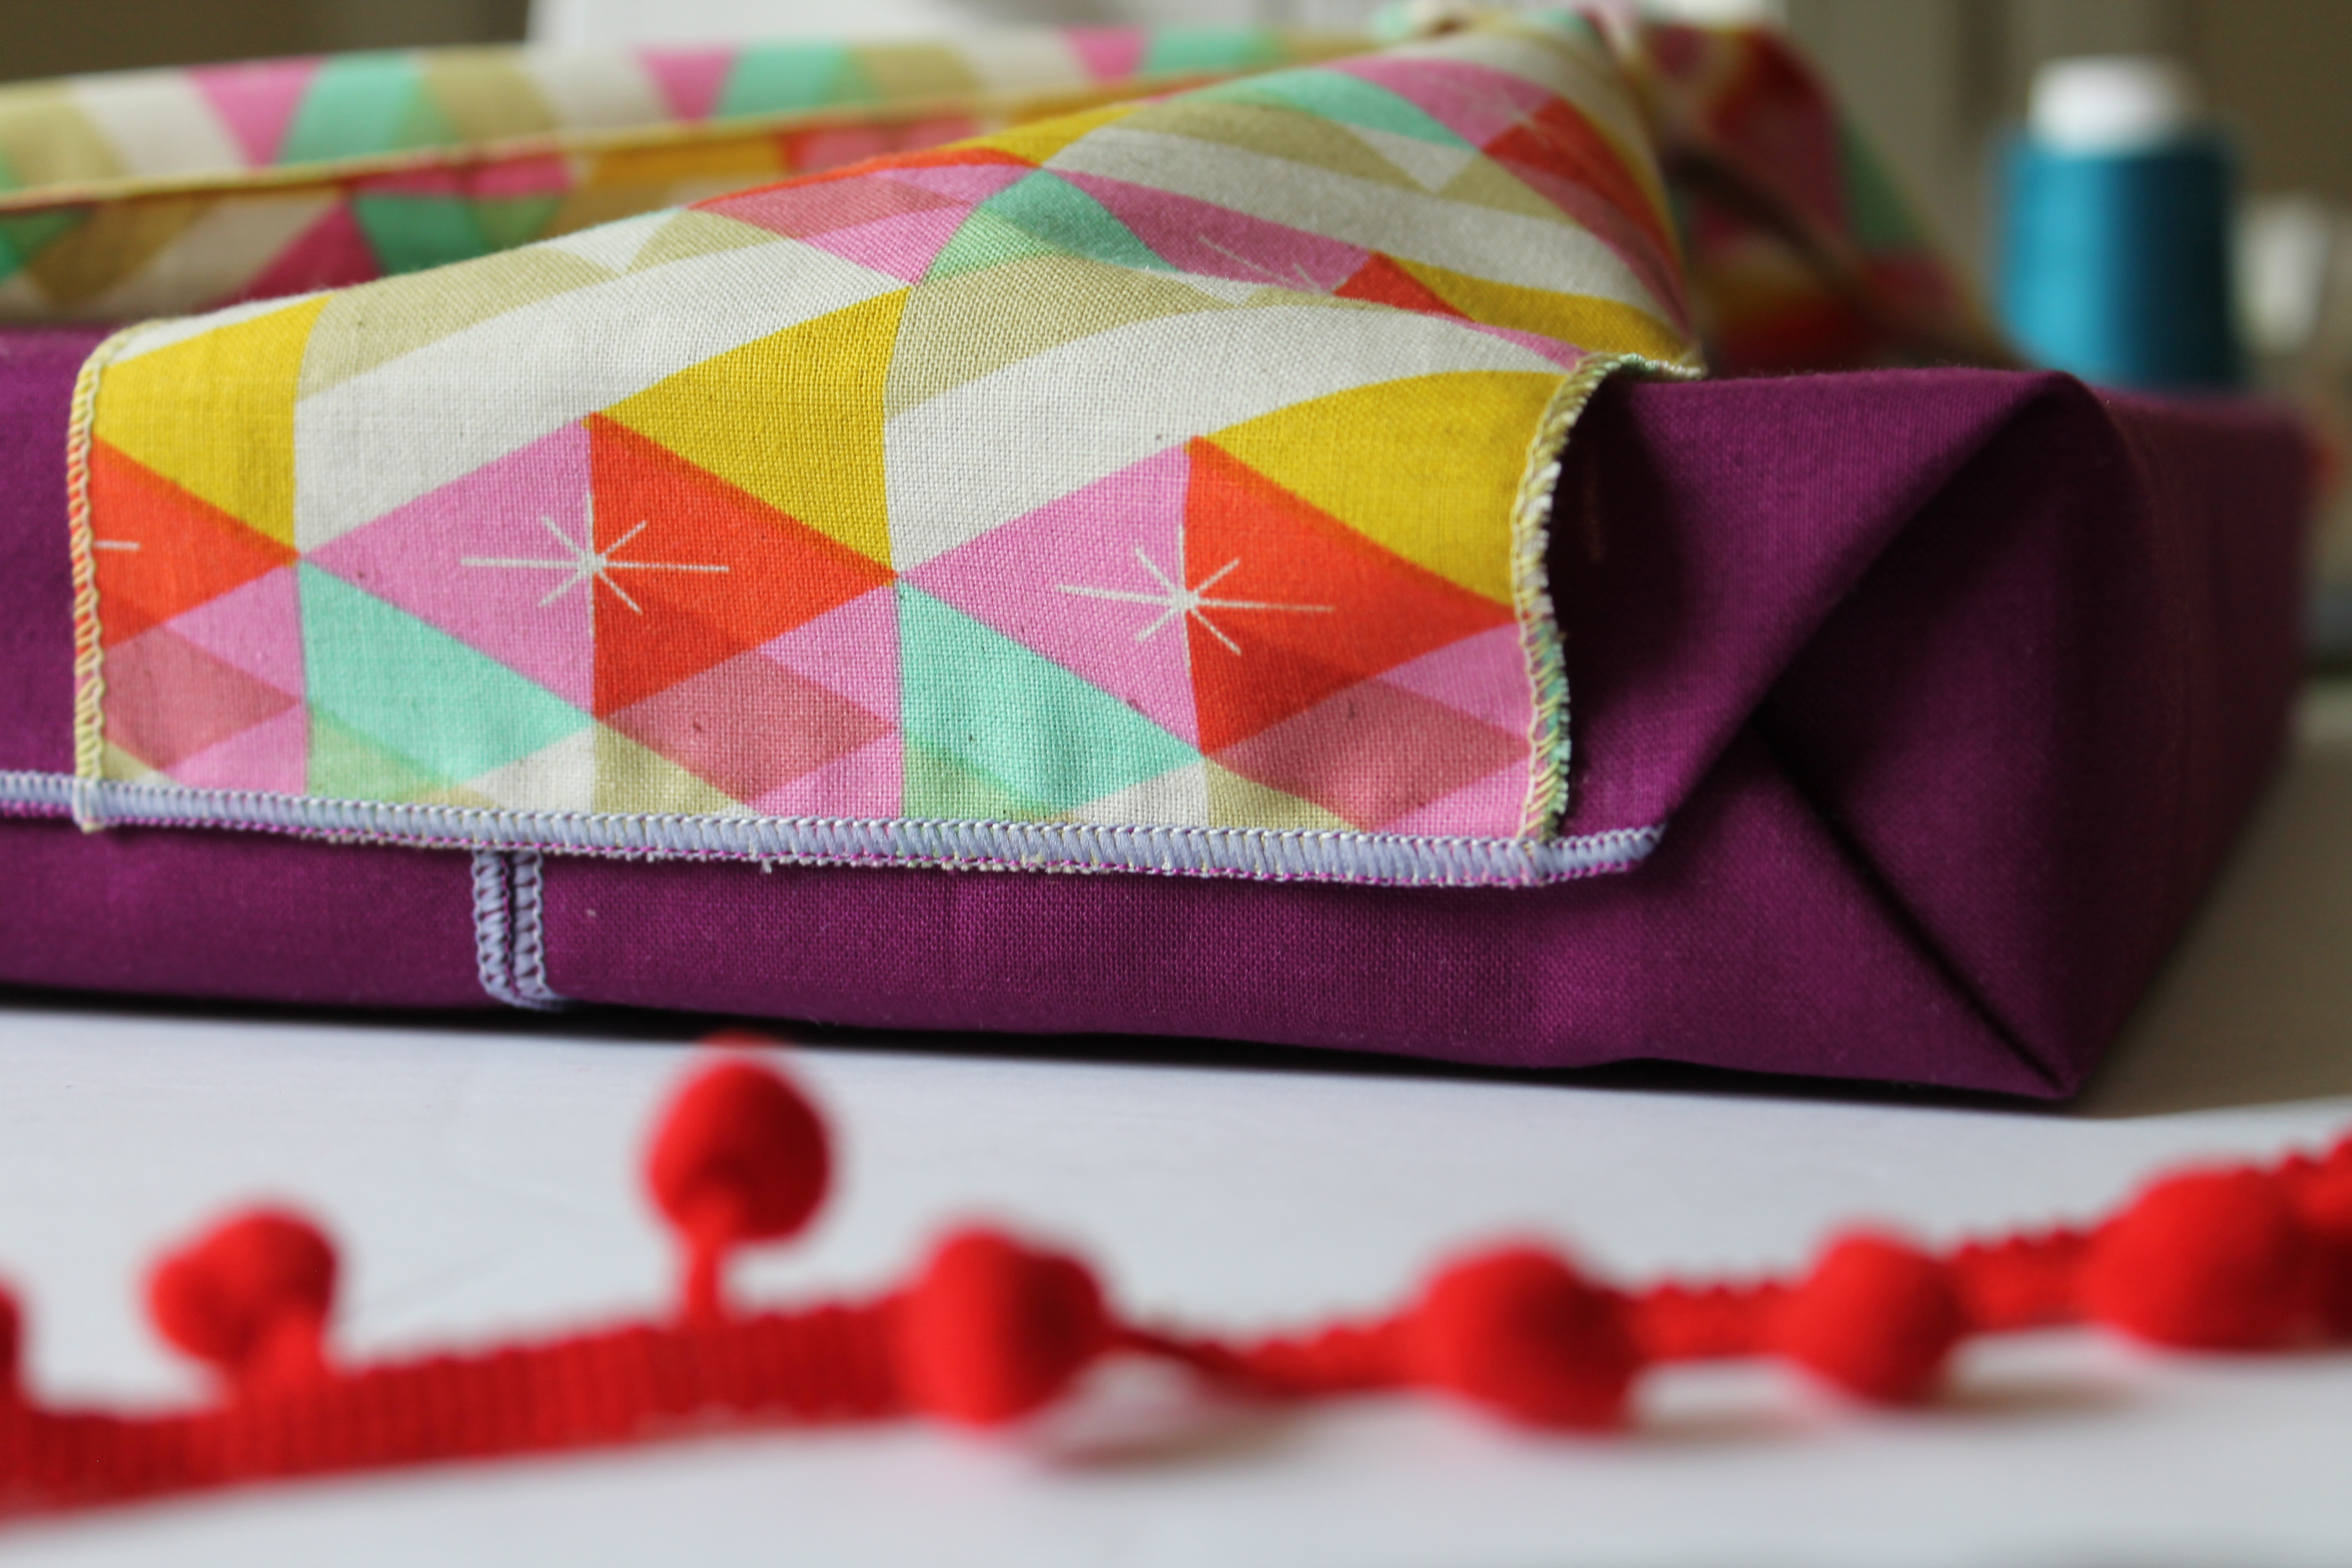
Bonus! Create fun fabric tape to match your wrapping using Pellon EZ Steam Tape. I also found double sided tape works great too!
Impress your friends and family this holiday season with unique gift wrap that they can use for years to come. I would love to see your handmade gifts and gift wraps this season as we all are consciously making efforts to change the way we consume and create. Please share them with us here on WeAllSew by uploading your projects in the Community section or always online tagging #BERNINAUSA or tag me personally @TrashN2Tees
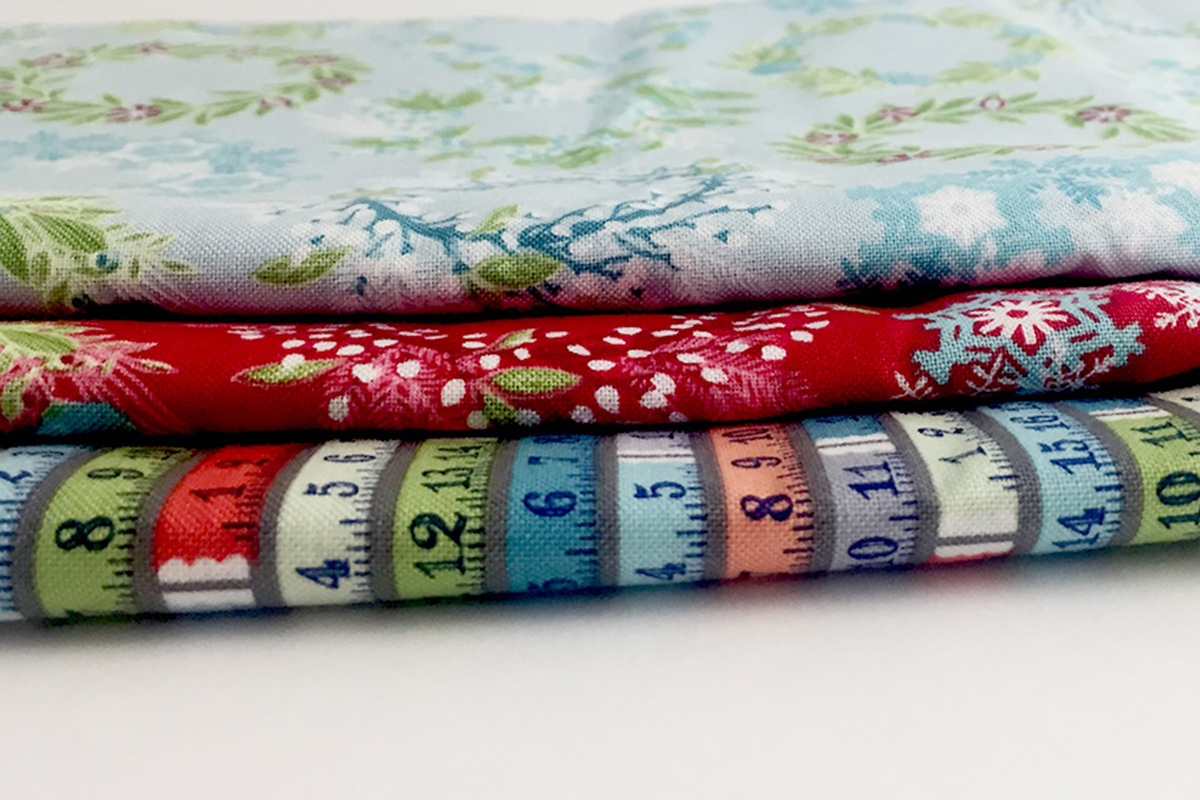
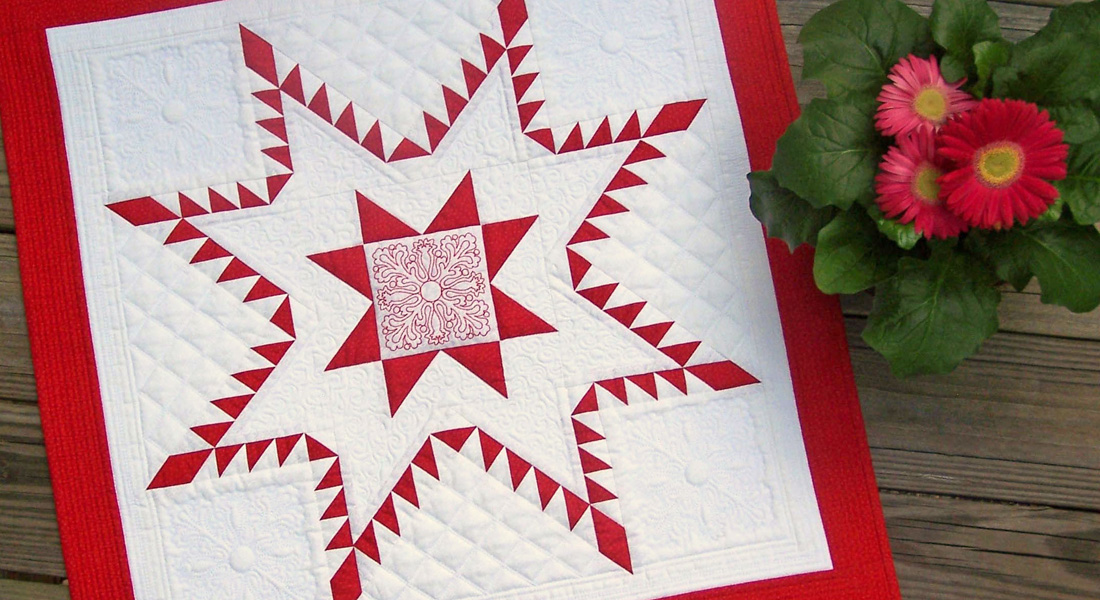
The December 7 Gift for You from the Benartex team
Three 1 yard cuts of fabric from Amanda Murphy’s Sparkle collection: Wreaths Light Turquoise, Wreaths Red and Tape Measure Grey.
All you have to do is post a comment below answering the following question:
Do you use reusable packaging to wrap your gifts?
A winner will be chosen at random on December 8, 2016 and announced the following week!
Good luck!
The contest is open for comments until December 7 at 12:00 midnight Central Time. Click here for contest rules.
Congratulations to our WeAllSew reader “flygirl”, the winner of the December 7 gift. Enjoy!
What you might also like


103 comments on “Big Bow Reusable Gift Wrap: Serger Project”
-
-
I have been threatening for years to make holiday gift bags and give as gifts to my kids to use and reuse for years to come. Gotta say, glad I haven’t because this idea is the BEST.
-
Wait…how did I manage to post that under your reply? Silly, inept me
-
-
-
Yes, in the past I have used material to wrap presents or made fabric gift bags.
-
I have gone all the way to wrapping a box so that all you have to do is take the lid off and take your present out. Put the lid back on and you have a fully wrapped box ready to go. Some people still have my boxes and use them for gifts every year.
-
I think that’s a fantastic idea! Depending on the fabrics chosen your gift boxes could be used throughout the year for décor or a variety of celebrations. Thank you so much for sharing with us I hope it inspires others!
-
-
-
As much as I can. But, sometimes I run out of time and use regular wrapping paper.
-
Oh, yes. My children make fun of me but I am from ‘The Waste Not, Want Not’ generation. I also wash plastic bags and save my fabric scraps! Ha
-
What a fun idea – love the tube turning trick! Unfortunately I either use gift wrap or gift bags. thanks for the chance to play : )
-
I have used and reused decorated paper bags. I love this idea. I have a Bernina serger that I do not use. It is a little intimidating to me. My local Bernina shop is having a basic class next week that I plan on going to. They will then have some classes using the serger. Yeah!!!
-
Oh please let me help you fall in love with your serger! (Of course I encourage you to attend the class and would love to know how it turns out!) There’s a wonderful intimate community full of BERNINA loving serger owners who support and inspire one another on facebook and we would love to have you: https://www.facebook.com/groups/623460614478258/ If you’re not active on facebook you can always email me or comment on the post here with questions and I’ll do my very best to help out!
-
Thanks,I did not know there was a serger group, I need motivation to use this machine more,
-
-
-
Yes I do 🙂 Lovr it!
-
I sometimes use reusable packaging to wrap gifts, but mainly in the form of gift bags. I generally use gift bags when I have an unusually-sized gift to wrap.
-
Do you use reusable packaging to wrap your gifts?
After seeing today’s tutorial…I will from now on!! -
I always reuse the gift bags — don’t even try to save wrapping paper. Fabric is the only thing I seem to not be able to throw away.
-
I reuse my gift bags. But this is so much nicer.
-
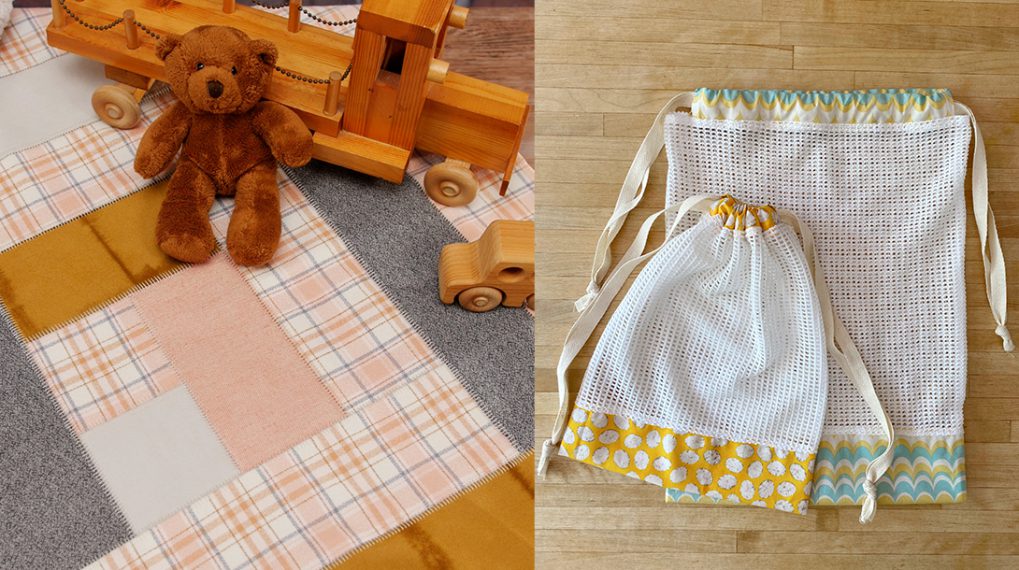
This tutorial can be adapted to create reusable tote bags as well featuring the big bow. I uploaded the variation into our Community section on the blog- take a look! https://weallsew.com/community/big-bow-gift-bag-variation-to-reusable-gift-wrap-tutorial/
Thank you so much for joining us and best of luck!
-
-
No, not wrapping but I do save the boxes and bags. I know it’s wasteful but it’s fun to see little ones opening gifts with paper wrappings.
-
Yes I reuse gift bags
-
Definitely! Gift bags, tissue paper, packing paper, string….
-
I reuse gift bags and bows. I may save the wrapping paper if it’s big enough (or nice enough) but that’s usually for the kids craft bin.
-
I have always used “reusable wrapping” everything from comic papers, paper bags, napkins and scarves. It sometimes becomes an extra present in itself !
-
I save all my tissue, bows, and ribbon from year to year. Have a couple drawstring bags, but nothing as pretty as the above project. Going to have to try that one 🙂 Thanks for the giveaway too.
-
Yes! I use either reusable shopping bags or hand made drawstring bags.
-
Our family always reuses gift bags. It’s almost a family tradition.
-
I need to. I like the look of wrapped presents under the tree so maybe one day I’ll get a serger and make these cute bags with bows!
-
I have used reusable wrap. But sometimes I like to make fabric gift bags from my scrap stash.
-
That is such a great way to reuse scraps! Thank you for sharing.
-
-
Love the bow! I made drawstring bags for odd shaped presents and I reuse bags and tissue paper.
-
Yes, we do use reusable packaging to wrap our gifts, as much as possible. In fact, we are still using
some shirt boxes from ten years ago. -
I mostly reuse boxes and gift bags until they fall apart, then recycle. But this fabric bag looks darling and a great way to use christmas fabric!
-
I reuse boxes and wraps that don’t get ripped to shreds. But, I have never made a cloth wrap or bag. It looks like a fun way to include an extra bonus with the gift. Now that my Christmas list is getting shorter, I may just plan ahead and do this next year!
-
Around our house, we recycle gift bags and larger gift boxes for irregular shaped items. We always get a chuckle when the one particular recycled decorated box is given to another family member each Christmas.
-
Yes I have used many reusable items over the years. Leftover gorgeous paper & ribbons as some in the family buy the expensive stuff, decorated plastic & paper bags of course My grown kids think I am weirdo!! 🙂 I miss having the time now to do my own package deco. Love the prints shown, too, which would make excellent gift bags.
-
I reuse boxes and ribbons/bows all the time, but I never thought to make wrapping using fabric. This is a great idea!
-
Cute bow! Yes, as often as possible.
-
I save and sometimes reuse gift bags in good condition and boxes and bows. I also save packing materials, but wrapping paper always gets shredded or has creases in it, so out it goes. This is a cute idea.
-
Sometimes. I still love wrapping gifts, but I’ve also embroidered lots of felt gift bags, and we use purchased gift-bags a lot. I had to stop using bags for several years because one of the cats kept “adding” extra gifts when I wasn’t looking…….
-
This is such a lovely idea! I would love to see what your embroidered gift tags look like- maybe you can upload a project or two in the community section? https://weallsew.com/community/create/ or tag me on social media @TrashN2Tees
Thank you so much for joining us here and best of luck in the giveaway!
-
-
I use reusable bags for gifts but this is a more personnel touch.
-
Love the big bow. We use some reusable and recycle purchased bag. Some have become almost heirlooms. Lol
Pillow cases make great gift bags for little ones. -
I do some, especially when I make a quilt. I make a matching pillowcase to hold the quilt.
-
I use gift bags and recycle boxes- except for the Santa gifts.
I’ve been meaning to make fabric bags for ages – maybe between Christmas and New Years -
Yes of course. I have made fabric gift boxes that I keep after the gift is opened although they also are great as part of the gift. They fold flat when stored which another plus for the reusable fabric box.
-
Aren’t quilters the original re-purposers??? Always re-using gift wrap & bows…lol
-
I believe they are! No scrap left behind. (As I raise my fist in the air!)
-
-
I save and reuse gift bags, boxes & bows, When I have to purchase bags and cards, I go to the “Dollar” store or half price sales after. Also try to buy a few plain colored generic bags so can be used for all occasions.
-
Yes I like reusable. Towels are great wrappers and so are blankets.
-
My mom was the ultimate recycler..she taught us to wrap family gifts in newspaper funnies. I use bags a lot and they are often reused. The bow makes a very beautiful package too!
-
I have gone all the way to wrapping a box so that all you have to do is take the lid off and take your present out. Put the lid back on and you have a fully wrapped box ready to go. Some people still have my boxes and use them for gifts every year.
-
I reuse gift bags, but not wrapping paper.
-
We enjoy using bags and seeing them move around the family. This looks like
-
A great idea.
-
Most of the time we don’t wrap gifts. Rather we like to use gift bags we’ve accumulated through the years to then put the gift with some tissue paper
-
I love this, but have never tried making reusable fabric gift bags because the holiday gifts vary so much in size and shape I’m not sure it would be able to be reused again I do like the big bow and may make it for another project.
-
My husband doesn’t wrap so he’s been using the same 5 gift bags for the last 6 or so years. That’s resuable in my opinion!!
-
Mine doesn’t wrap either, however, I’m impressed with your hubby’s method. Every little bit counts. Mine just hands me the gift in a store bought bag- if I’m really lucky he will use duck tape to prevent peeking!
-
-
Yes I have but only for wine.
-
I reuse boxes bows and anything else that is in good shape. Never thought of sewing a reusable wrap. I will have to look for after Christmas holiday fabric sales. : )
-
Do I use reusable packaging to wrap my gifts? Absolutely – this is a way of life for me. I grew up very poor so everything was recycled right down to the wrapping paper and tape. Even after I got my education and a good paying job, recycling reusable packaging became the norm.
-
I’ve been saving the pre-printed shirt boxes and gift bags for my family for over 10 years. Names are on them and everyone knows whose gifts are whose 🙂 The only time new paper was involved was for “Santa” gifts.
-
THANK YOU for sharing a sweet giveaway! Yes, Ms Hoarder, here, saves all bubble wrap and boxes and buys new tissue paper for my gift sending! MERRY CHRISTMAS!
[email protected]-
You are very welcome! On behalf of my friends at BERNINA, Brewer Sewing, and Benartex- I hope you know how much that simple thank you means to us. Wishing you and your family the warmest and happiest wishes this holiday season and best of luck in the giveaway! I love that Amanada Murphy- and her beautiful fabrics- so glad we could share them with a lucky reader.
-
-
Yes, I reuse all my
-
This comment was my mistake. Sorry.
-
-
I reuse bags and boxes that still look new but don’t use truly reusesble packaging yet.
-
Yes, I use reusable packaging from my boxes and bags.
Thanks for the new idea. I think it would be fun to use this project to make a table runner. -
This is such a cute tutorial!!! About ten years ago I made a pile of serged edge squares and rectangles and we used ribbons to tie them. We used them exclusively for about 4 years. Since then we use about half and half. Meaning that anything I wrap we usually use fabric for and anything my husband or kids wrap they use bags, sometimes with the fabric stuffed in there as tissue paper! I love not throwing away so much on Christmas morning! But I really love this tutorial, I never thought of using fabric to tie and attaching it straight to the fabric!!
-
There’s nothing quite as magical as the little (and big) kids tearing into paper wrapperings. Thank you for making a conscious effort to cut back on waste but keep the memories! I’m so glad you enjoyed the tutorial. Happy Holidays!
-
-
What a great idea. Now I have a reason to at least thread a new Bernina Serger that I purchased and have never taken a stitch with it….
-
Don’t wait any longer! I promise it’s not scary. If you’re looking for some inspiration and/or support navigating your new serger maybe you’ll like to join us in the BERNINA Overlocker/Serger group on facebook? You can always comment here or reach me directly if I can help in any way!
-
-
I do use reusable gift wrap, both paper products such as tissue and bags and also fabric bags I have made.
-
Some but not many are recycled. Reuse the tissue paper to wrap ornaments. We avoid boxes. Love the pillowcase idea, so fast on a serger. Thank you for the pictures of the tube turning technique. Much easier than looking around for the turning tubes.
-
Yes, I am so glad you found that trick especially helpful! Thank you for joining me here on WeAllSew and good luck with the giveaway!
-
-
Yes I use reusable packaging to wrap gifts and save all my bows to reuse. My sister also wraps presents in comic pages from the Sunday Funnies 🙂
-
I have not used reusable wrap. I’m starting to feel guilty about it too, after seeing this project!
-
I recycle paper gift bags. I do think small cosmetic bags would be nice.
-
Yes
-
I use gift bags that I received from previous gifts and also I have made a few fabric bags to use up my stash.
-
I reuse the tissue, ribbons and bows to wrap gifts, and I use the front cover of past year’s Christmas cards as tags.
-
I have used fat quarters or napkins. I also save gift bags to reuse. I also save the ribbon from packages I receive. I am kind of a pack rat because I also reuse the tissue paper and have used the comic section of the newspaper to wrap also.
-
Most of our gifts are in bags these days which I do reuse, but my favorite packages are beautifully and thoughtfully wrapped.
-
Yes, I reuse gift bags but not the re-useable kind. I simply reuse the paper gift bags.
-
Just today I gave a gift at my quilt group wrapped in a Christmas fat quarter.
-
I save boxes all year, just for Christmas presents! I like to use newspaper- especially the Sunday comics- for wrapping paper, as well as brown paper- with string for ribbon.
-
Yes I recycle gift bags, tissue, and bows. rozz01 at cox dot net
-
About half and half. Sometimes I just can’t locate that thing that I have somewhere, but I reuse whenever I can.
-
My entire family knows what a lazy gift wrapper I am so they are never surprised if their future gifts come in bags and boxes that look familiar, I do dislike wrapping presents so avoid saving gift wrap.
-
I have used store bought gift bags that I have reused for 20 years or more, does that count? I have made simple bags to put gifts in a few times but really need to get more in the habit of it!
Jenny in Florida
-
It totally counts Jenny! Thank you for making a conscious effort to cut back on holiday waste! Every little bit helps.
-
-
I reuse bows, tags, ribbons etc, and often use fabric, yarn or real ribbon. I would like to make some fabric gift bags as I don’t use boxes much anymore at all. There is something fun about the tearing of paper, though, as long as it goes into the recycle bin!
-
I stopped using wrapping paper and paper gift bags when I started to sew several years back and starting making fabric gift bags tied with ribbons and zip bags as well.
-
I reuse gift bags and gift boxes from one year to the next. I have fat yarn and other reusable ribbons for the packages.
-
Yes I do.
-
No, I don’t. I could start…thanks.
-
A few years ago I bought fleece throws and made reusable gift bags for my family. I used a different design for each person, so everyone has their own. I made 3 – 4 different size bags out of each one, and put draw cords on them. They are colorful, work great, and everyone loves having their own bags.
-
I have been reusing gift bags and utilizing scarves and bandana’s for wrapping gifts for years. This year I decided to use up some of the Christmas fabric I buy every year because I can’t resist all the sales and make gift bags. So far I have 1huge bag, 10 Large bags, 10+ medium bags and at least 20 small gift bags with matching ties. So much fun and these bags can be shared and used for years.
-
We use gift bags both fabric and paper and re use them for all occasions and I have made reusable bows for years.
-
I used the comics of the newspaper or interesting pictures from the paper
-
I have made fabric gift bags and wrapped with fabric, but I really like the attached bow that goes with this!
-
Absolutely! I use “re-useable” bags and fabric wraps for every occasion. Perfect “gift in a gift” my family and friends loves them and have “re-used” for plant potted plant covers , lunch bags, medicine totes, female hygiene and many other things.
-
What a fabulous idea! I wish I would have seen it sooner!. On the day after Christmas I go to the sales and purchase wrapping paper for 50-75% off. I buy the clearance gift wrap and tape and that’s what my neighbors get the next year for Christmas. I have been doing this for 15 years and they all know that it’s coming. They never have to worry about running out of paper and tape.
Leave a Reply
You must be logged in to post a comment.

I rarely have to buy boxes for wrapping gifts or for sending gifts. I save the boxes gifts came in, tissue paper to! I break them down and store them flat. The boxes spend most of the year on a shelf in the garage. The tissue is reused for wrapping and stuffing the boxes when I need to send a gift that needs extra packing. I would use the gift wrap but the grand kids usually shred it when opening gifts. By the way gift wrap is usually not able to be recycled.