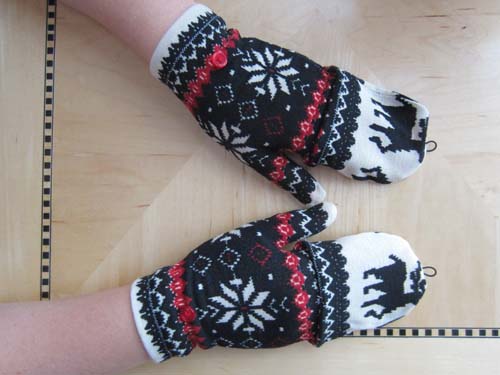
How to Make Convertible Mittens
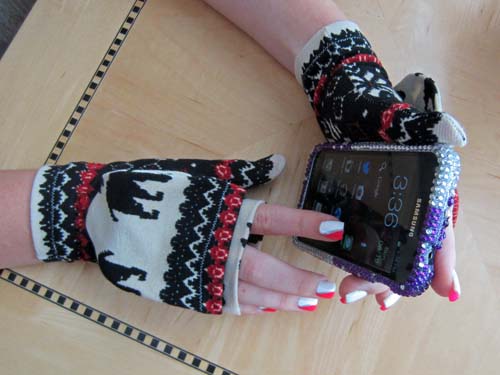
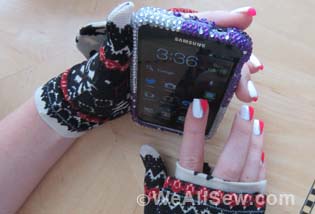
The best part about cold weather is fashionable accessories. These mittens will keep your hands cozy and stylish, and flip out of the way when you need your fingers to use your touch phone, keys, etc. It’s a perfect (and clever!) opportunity to reclaim an old sweater or knit garment. Keep your fingers happy this winter!
materials and tools
- 1/4 yard stretch fabric (see Tips)
- Two 3/8ʺ- to 1/2ʺ -diameter buttons
- Elastic cording
- Sewing shears
- All-purpose polyester thread
- Size 80/12 Ballpoint needle
- Hand-sewing needle
Tips
This pattern is designed for knit fabrics that have a great deal of stretch. Ideal materials include sweater knits, interlocks, most fleeces, and thermal knits.
Reclaimed sweaters are also a good choice, but avoid using felted sweater material as it will not have enough stretch.
This pattern is designed to create a pair of teen/adult mittens—one size fits most.
If your hands are smaller or larger, or if your fabric is less stretchy than those recommended, reduce or enlarge the pattern seam allowances as needed.
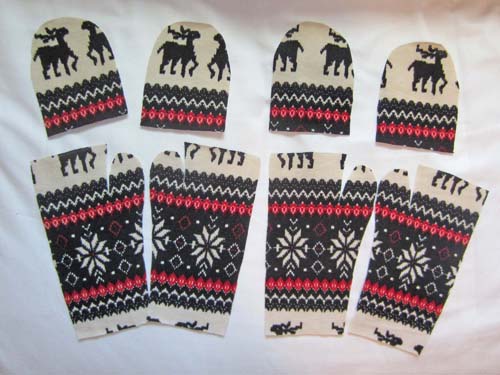
Step 1) Prepare the fabric pieces.
Download and print the pattern pieces. Convertible_Mittens_pattern_pieces_121814.pdf
Cut four Main Mitten pieces—two right, two left.
Cut four Mitten Cover pieces.
Tips for Sewing Knits
Use a small zigzag stitch for seams. This will allow them to stretch, preventing the stitches from popping.
To keep hems stretchy, sew them with a small zigzag stitch. Alternatively, use a straight stitch and a Twin (Double) needle; the bobbin threads form a zigzag, allowing the hem to stretch.
Interlocks, polar fleece, and many sweater knits do not ravel, so it is not necessary to finish the edges of the fabric. However, if you opt to use a loose sweater knit or fabric that unravels, a small zigzag stitch can be used around the edges to keep them neat.
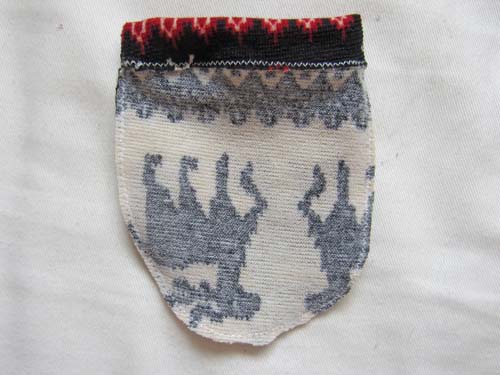
Step 2) Stitch the main mitten.
All seam allowances are 1/4ʺ.
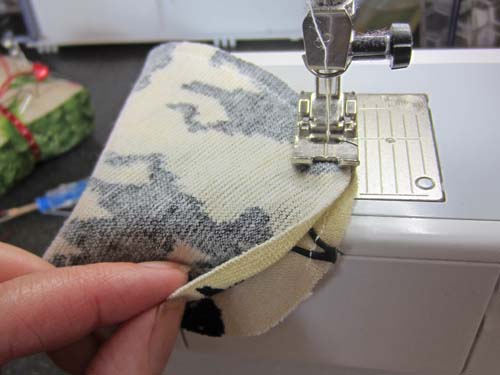
With right sides together, sew the “straight” sides of the of the main mitten pieces together, beginning at the cuff and stitching to the top edge (see Tips above).
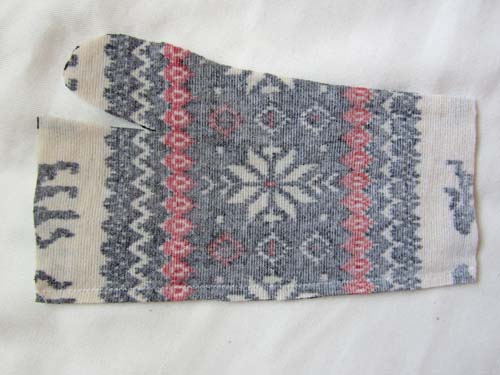
With right sides together, sew the other side edges of the main mitten pieces together, beginning at the cuff and stitching up the side and around the thumb, then pivoting and stitching the upper side edges together. Do not stitch the top and bottom edges!
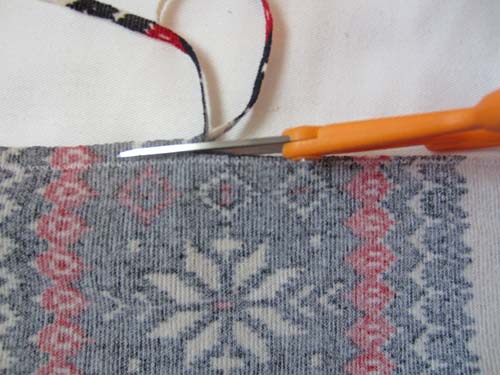
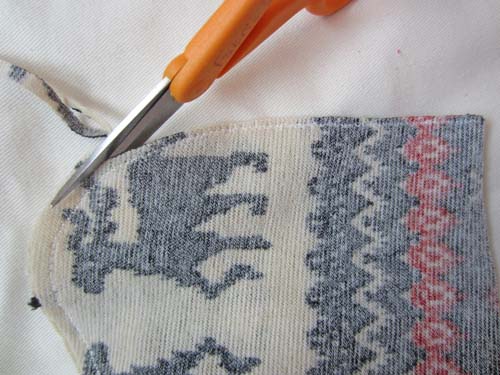
Trim the seam allowances close to the stitching (to a scant 1/8ʺ), being careful not to clip into the stitching. This will reduce bulk at the seams and make the mittens more comfortable to wear.
At the upper edge of each mitten, turn under 5/8ʺ. Stitch the hem in place (see Tips above).
Repeat for the second mitten.
At the lower edge of the mitten, turn under 5/8ʺ. Stitch the hem in place.
Repeat for the second mitten.
Turn mittens right side out.
Decide which is the right and which is the left mitten.
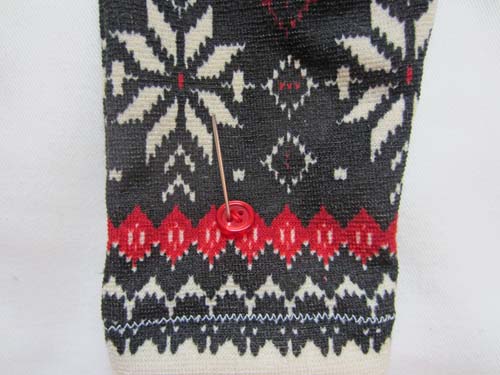
Referring to the template markings, sew one button onto the back of each mitten.
Set the mittens aside.
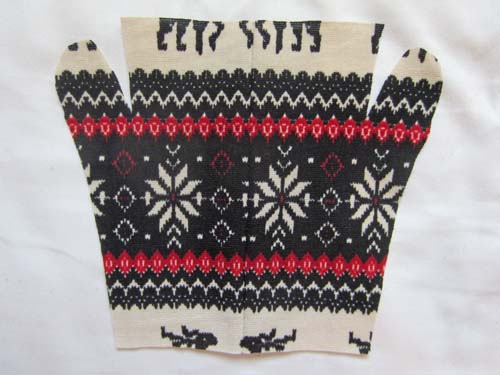
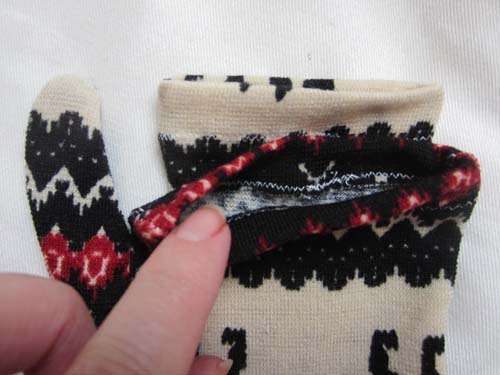
Step 3) Add the mitten cover.
Cut a 1-1/2ʺ piece of elastic cording.
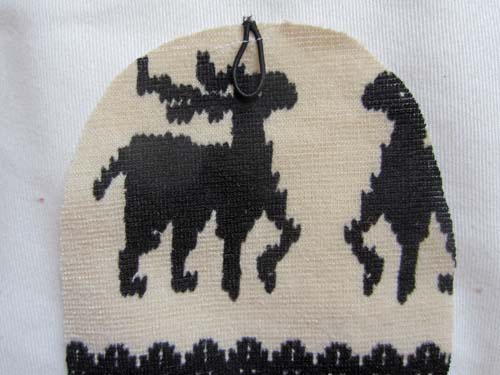
Fold the cording in half and center it on the rounded edge of one mitten cover, matching the raw edges. Baste in place.
Repeat for the second pair of mitten cover pieces.
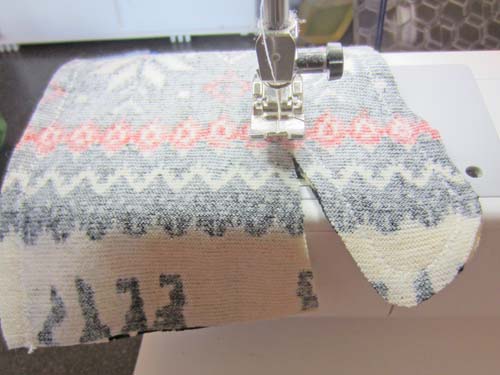
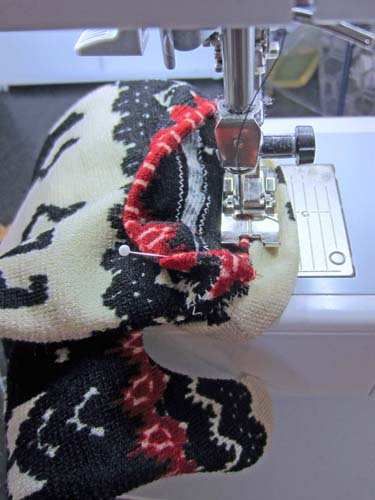
With right sides together, stitch each mitten cover with elastic to a mitten cover without elastic, leaving the lower edges free.
Trim the seam allowances close to the stitching (to a scant 1/8ʺ), being careful not to clip into the stitching. This will reduce bulk and make the mittens more comfortable to wear.
At the lower edge of each mitten cover, turn under 5/8ʺ.
Stitch the hems in place.
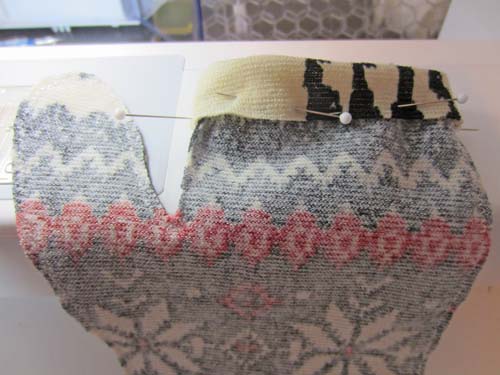
Turn the mitten covers right side out. Place the lower, hemmed edge of one mitten cover along the hemline on the back of one main mitten piece, matching the side seams.
Repeat for the remaining mitten and mitten cover, being sure to reverse the button/mitten cover placement so you have a left and a right mitten.
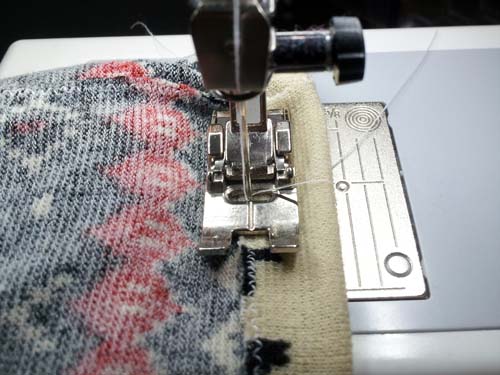
Sewing from side seam to side seam, stitch the hemmed edges of the mitten covers to the mitten bodies. Be sure to leave the front edges of the mitten covers and mitten bodies free.
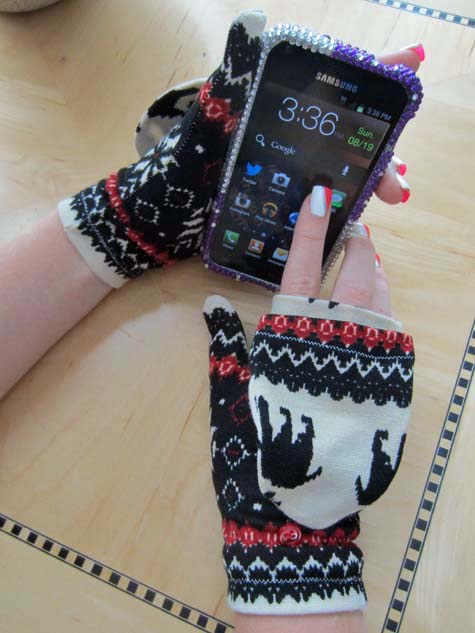
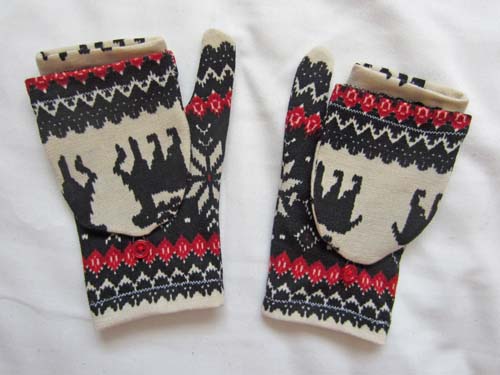
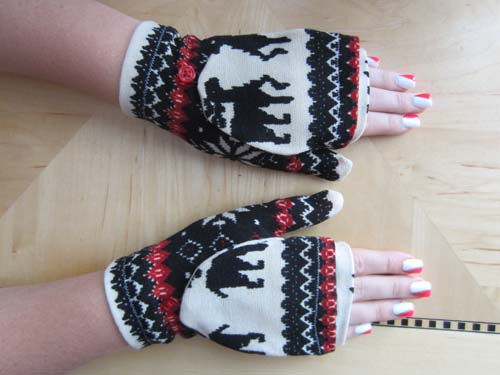
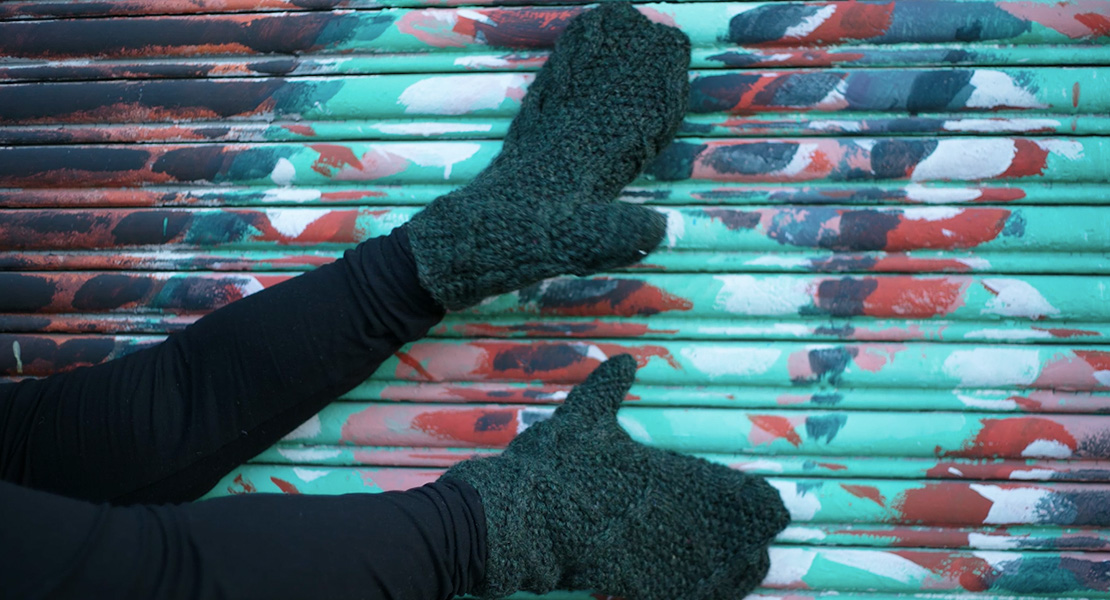
Step 4) Wear your fingerless mitts.
To Wear As Mittens: Place mitten covers over fingers and pull tightly over upper edges of mittens.
To Wear As Fingers-Free: Pull back mitten covers and slip elastic loops over buttons to hold flaps in place.


11 comments on “How to Make Convertible Mittens”
Sure looks like these would come in handy soon!
Great project, can’t wait to make for my 10 year old daughter!
What about using the stretch/overcast stitch on my Bernina 930 for the seams?
The stretch overlock stitch is a great choice for sewing knits, too. So is the overlock stitch on a serger; I sew lots of knit garments on mine. The thing all of these stitches have in common is that they allow the fabric to stretch without popping stitches. That wouldn’t be a disaster on mittens, but it’s not a sound you’d want to hear when putting on a t-shirt you’d just finished making! Jo
I adapted the pattern to make plain mittens from fleece. I posted the technique with pictures on my blog at http://bdieges.com/mittens-tutorial/.