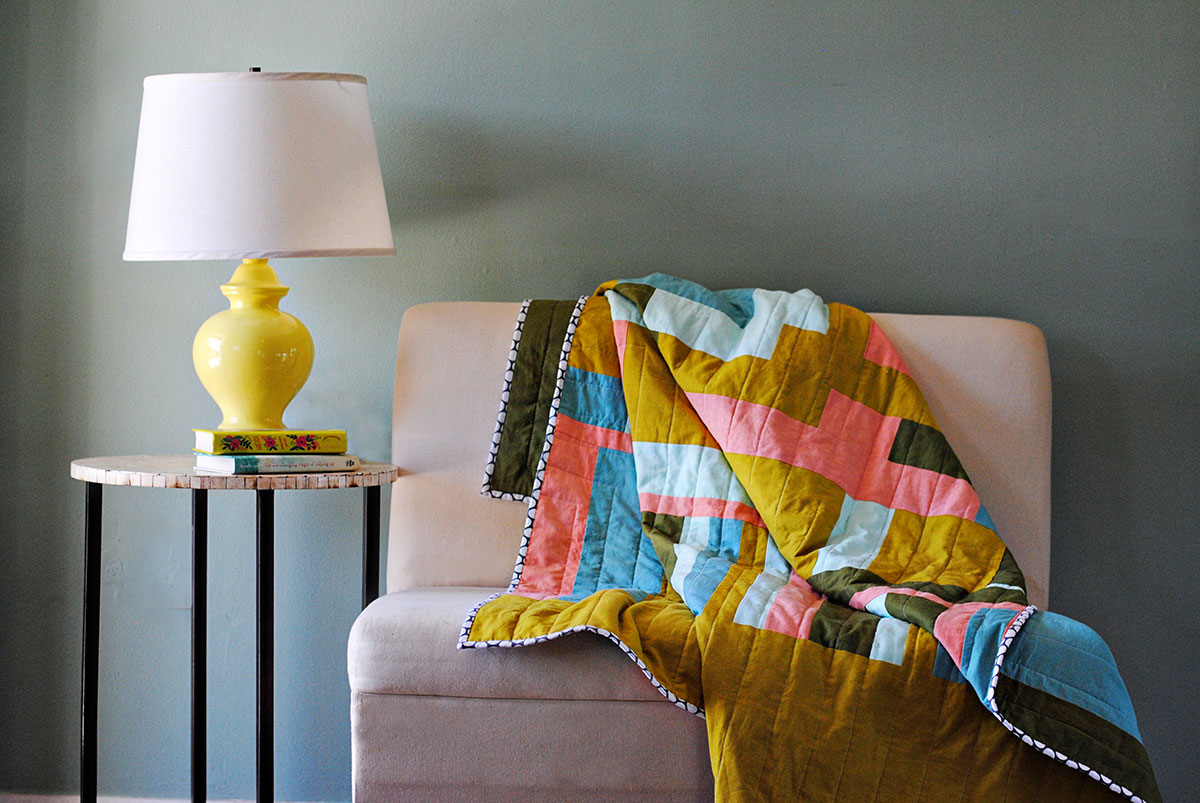
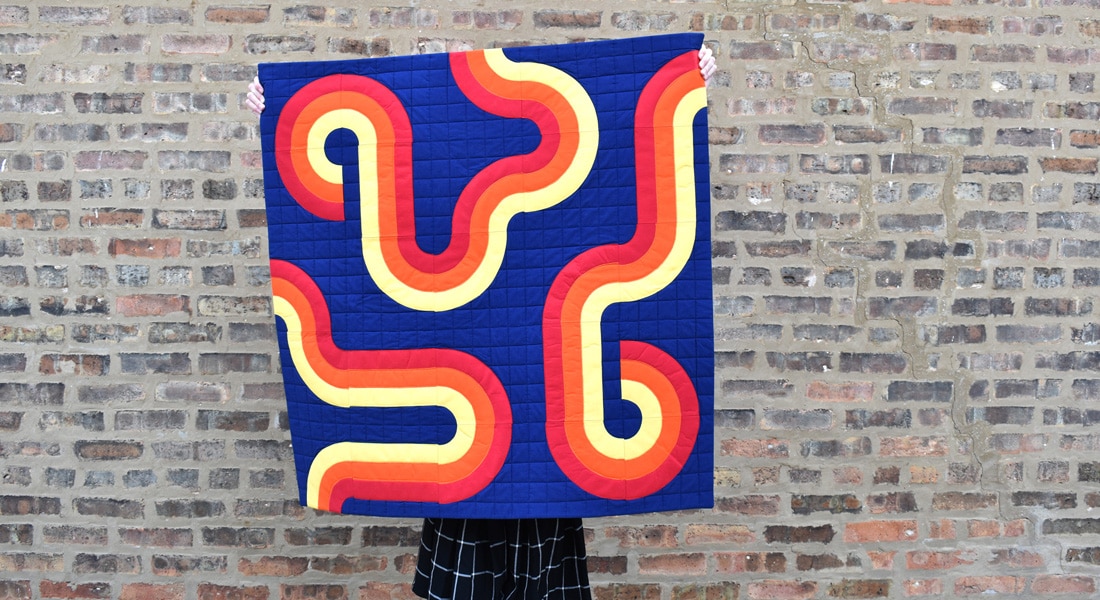
Corner Ripple Quilt Tutorial
Hey there and happy spring! It’s Teresa from Dandelion Drift and I’ve been doing a bit of spring cleaning around my house, which has led me to a little bit of spring decorating with the result of a bit of sewing for my house. We’ve been needing a new throw quilt for the living room and I was itching to design my own. And so here’s a great throw quilt tutorial for you, The Corner Ripple Quilt!
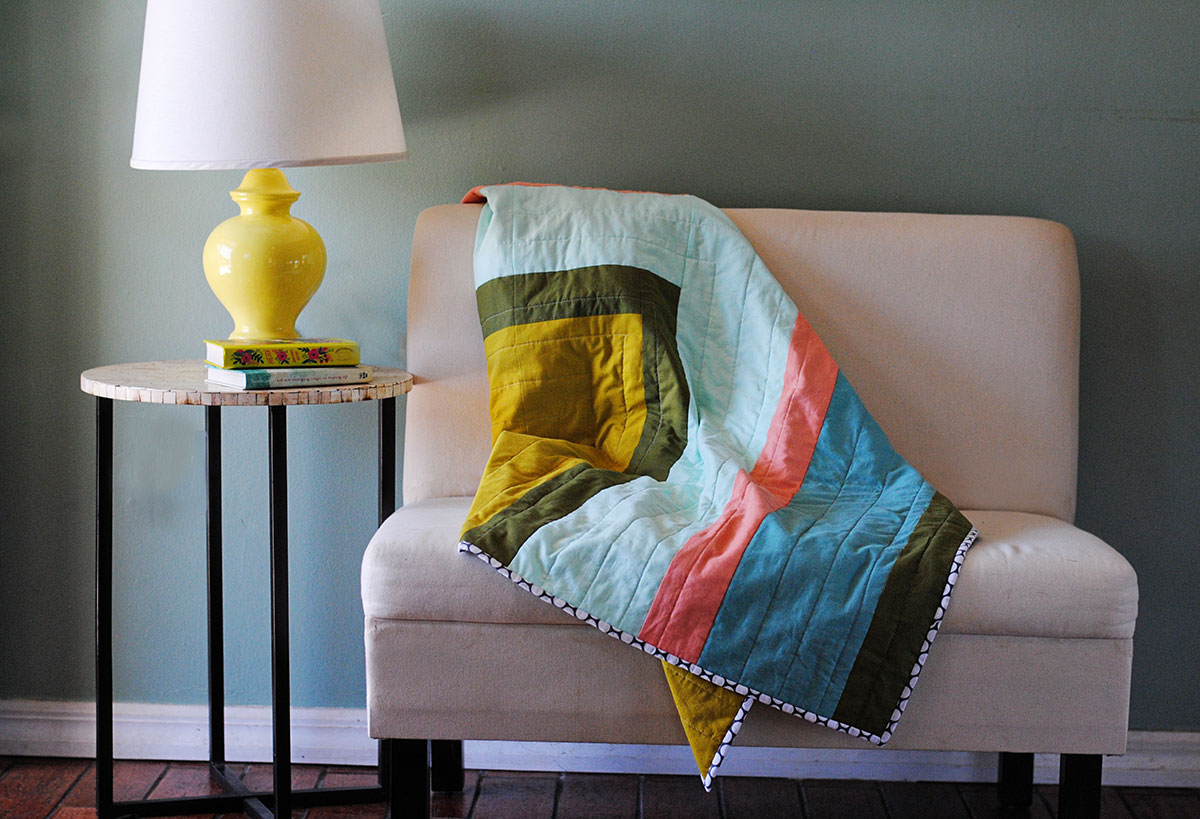
It’s funny where inspiration comes from. I fell in love with the colors in this carpet that I first saw on Pinterest. I ran to the fabric store and found fabric in very similar colors, started drawing a few design ideas, tried a few out, flopped a few times, and then landed on the Corner Ripple Quilt (which in the end I love more than all)!
Materials Needed to Create a The Corner Ripple Quilt
- (5) 1 yard cuts of fabric for quilt front
- (1) 1/2 yard cut of fabric for binding
- Backing fabric (optional how you finish the back)
- Twin size quilt batting (my favorite is warm & natural)
- Cutting mat
- Ruler
- Rotary cutter
- Safety pins
- Tape
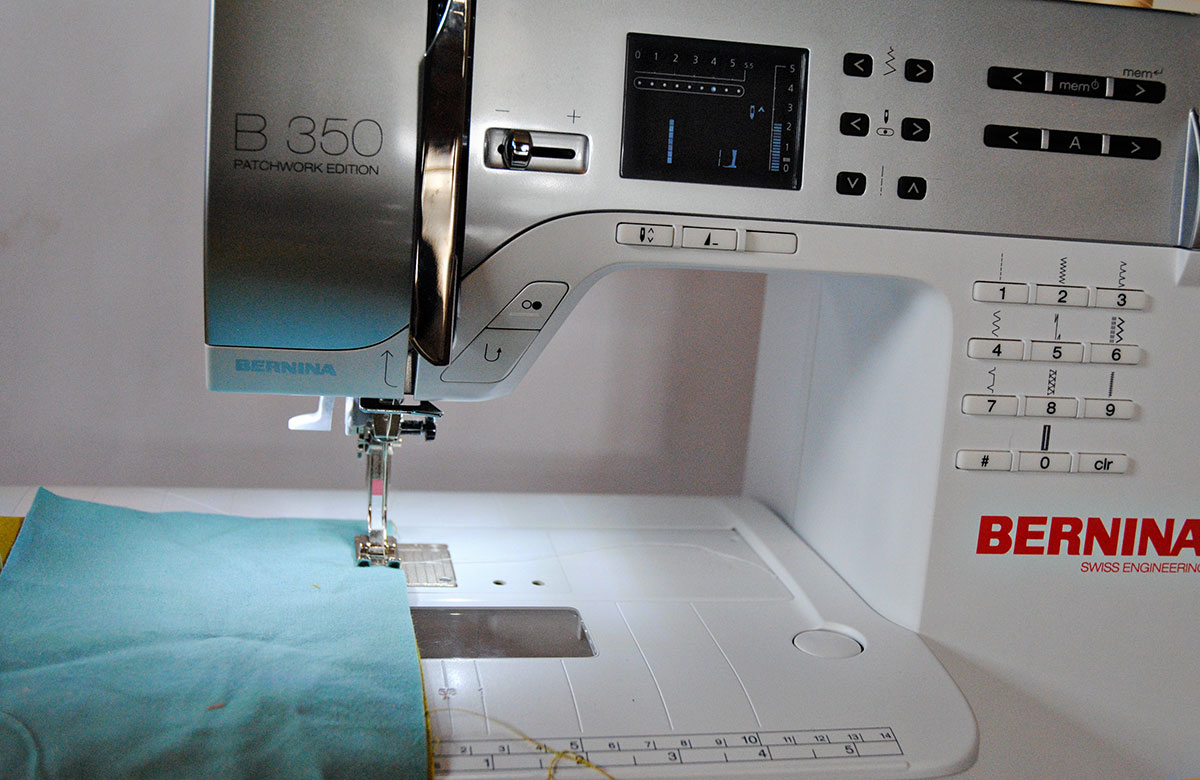
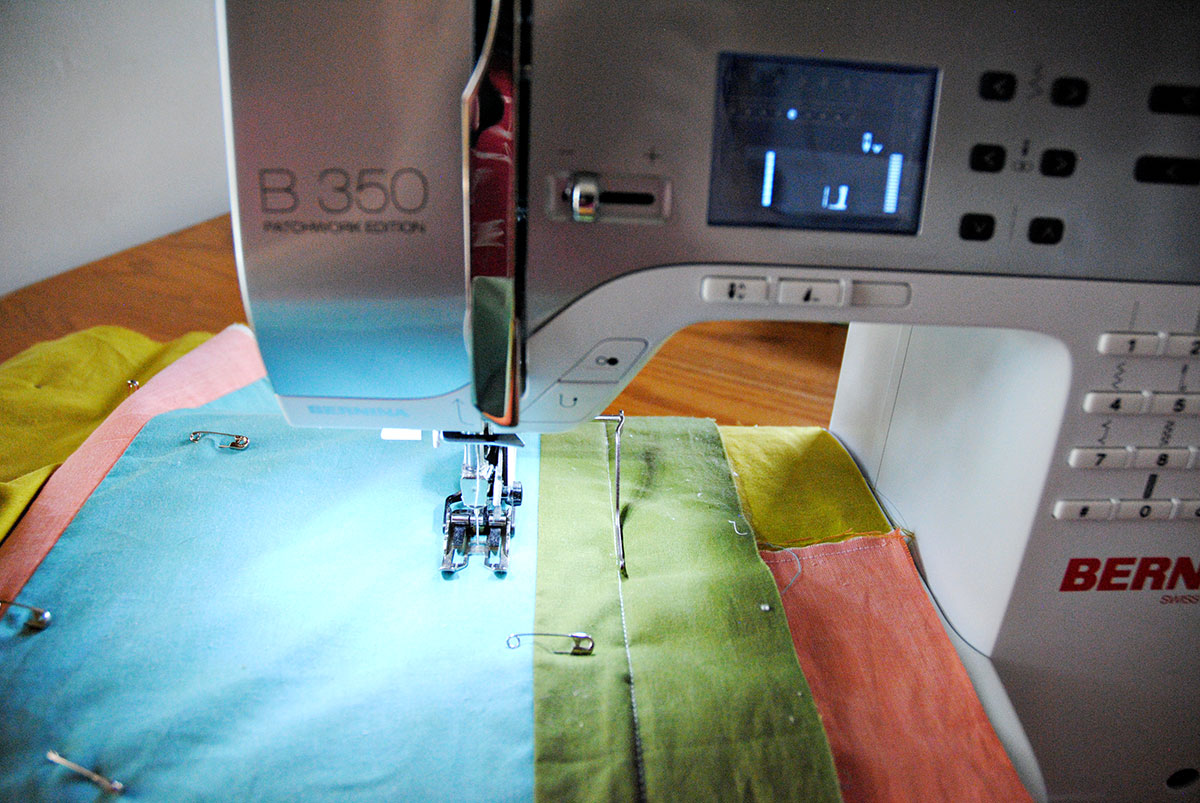
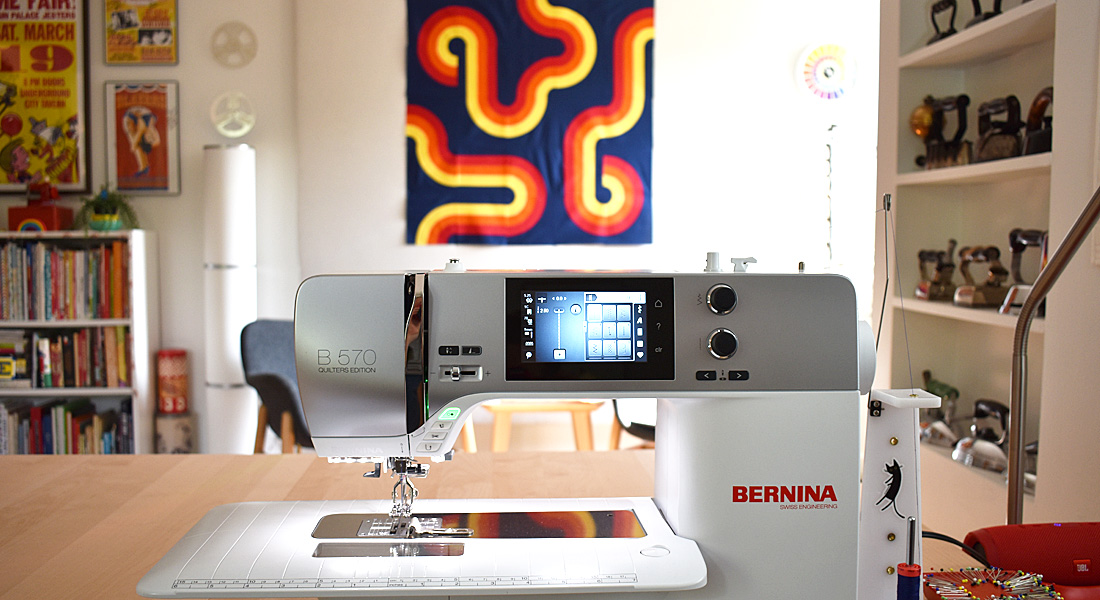
- Sewing machine (I sew on the BERNINA 350 PE)
- BERNINA Walking foot #50
- Quilt Coloring Page
You’ll notice I didn’t include a backing fabric yardage calculation. My favorite way to finish a quilt is to piece together all of the extra fabric, very randomly and use this pieced fabric for the back. For this quilt, I purchased 1.5 yards of the five different colors to make sure I’d have enough extra fabric to play with for my backing. If you would like to just use regular quilting fabric for the back of your quilt, you’ll need 4.5 yards of 44 inch wide fabric.
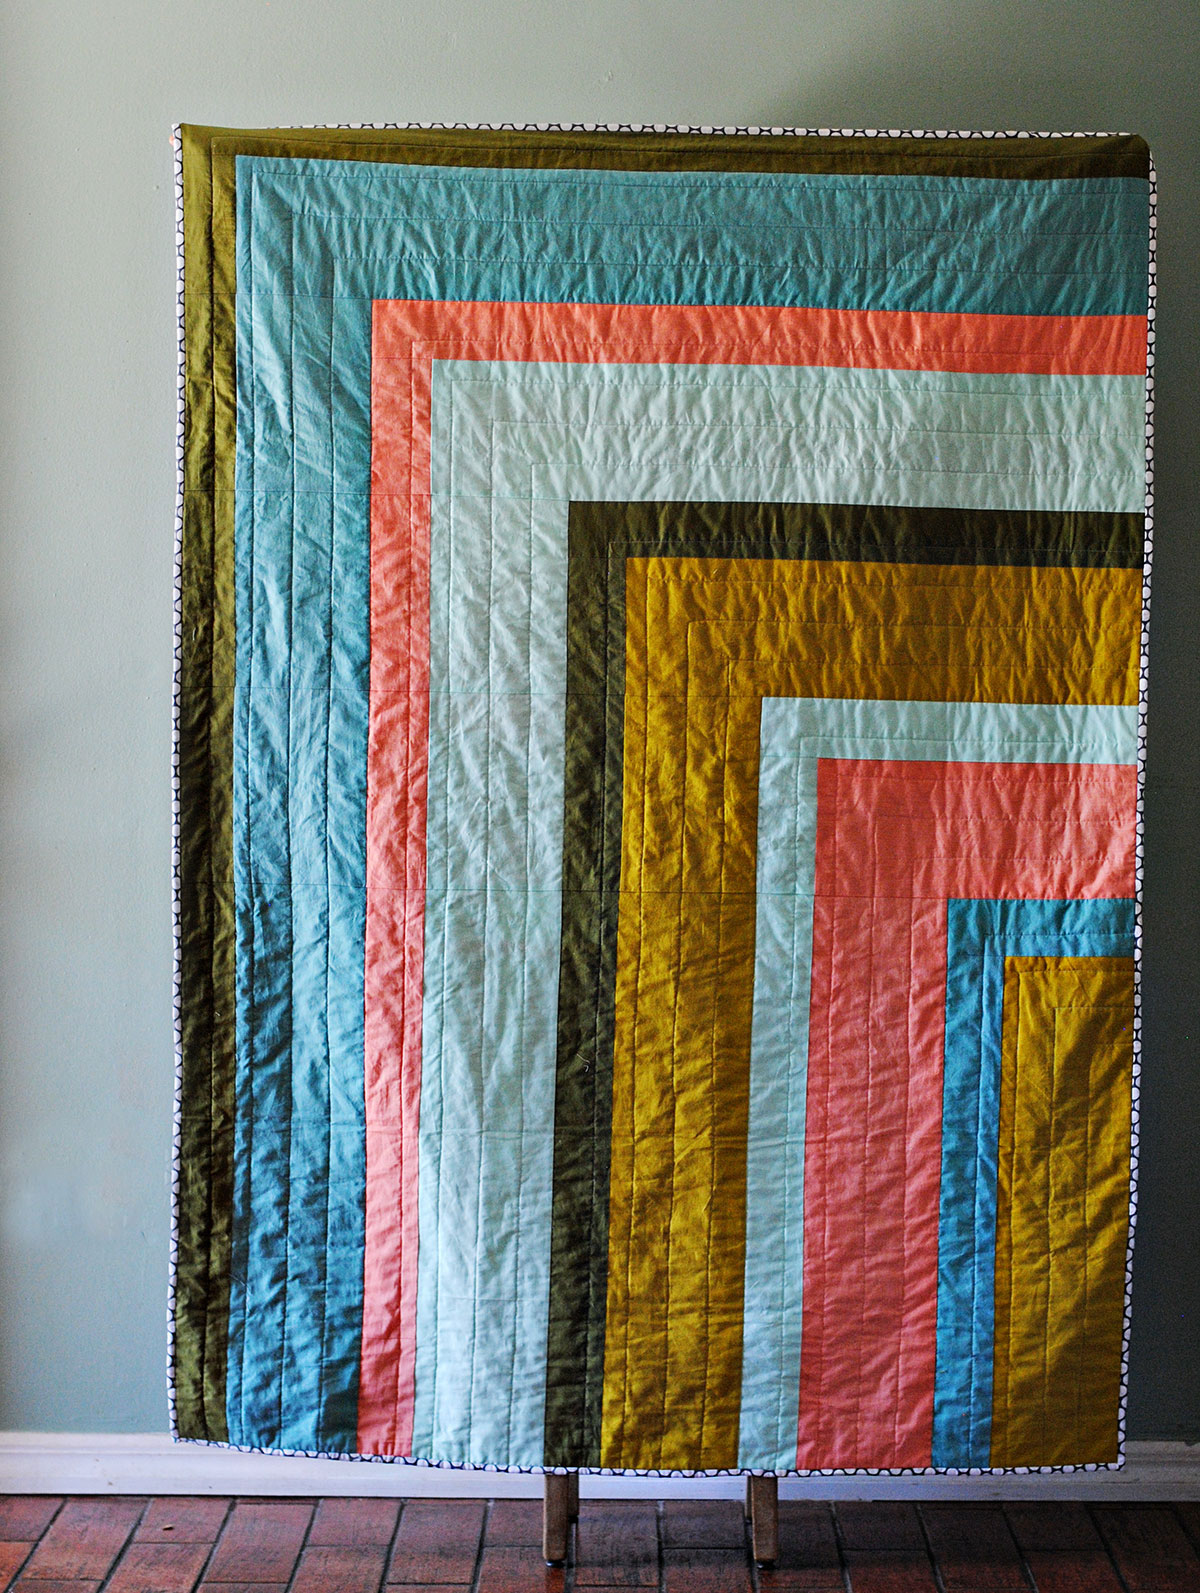
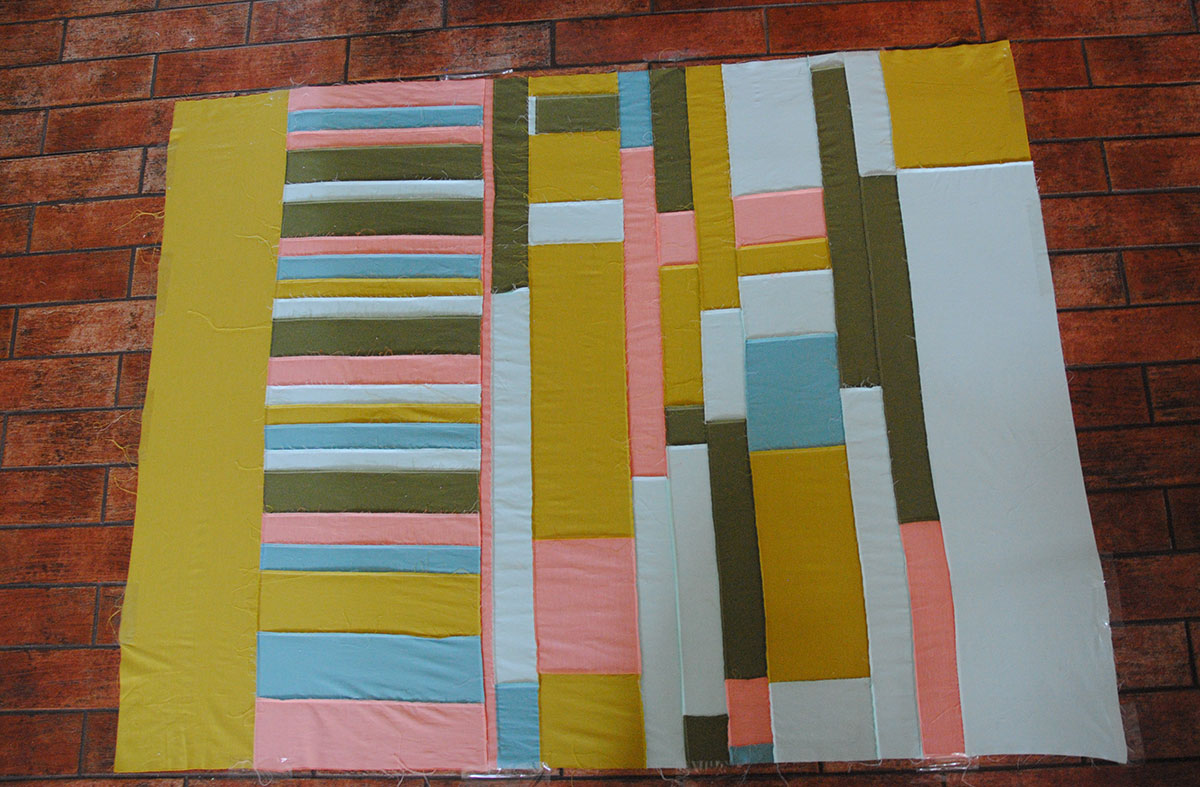
All seams are 1/4 inch seams. Final quilt size is 50″ x 70″
I have included a graphic to help you see the fabric needed and how to cut the fabric to prepare for piecing. Take note that these fabric requirements are based on 44 inch fabric. If your fabric is wider or narrower, the amount you’ll need may vary.

It’s always helpful for me to see how a quilt is going to be pieced together. This quilt is pieced row by row, in five separate rows. As you piece each row, make sure you piece the horizontal pieces together before piecing them to the vertical pieces. I started each row on the right and work my way to the left. You’ll see what I mean in the steps below.
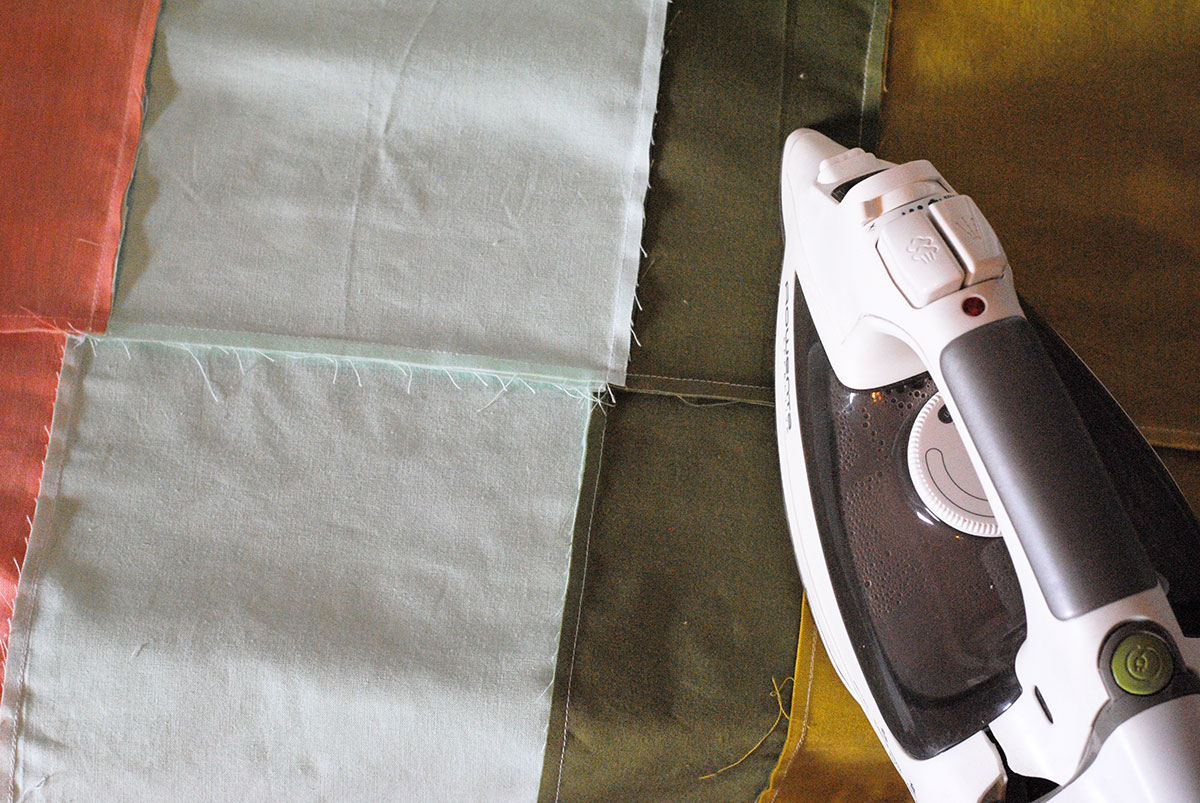
The way you iron each row helps the seams to lay together nicely. Row 1 pieces are ironed to the left, row 2 pieces to the right, row 3 left, row 4 right, and finally row 5 left. I’ll show you illustrations of this below.

Before you begin cutting out your quilt, print the quilt coloring page so you can see how the colors in your quilt are going to play together. Following the cutting diagram above, cut out your quilt and get ready to sew!
Row One
Let’s start with row one. Sew the long dark blue piece (47.5 x 7.5) to the short green piece (3.5 x 7.5) of fabric. Press seams to the left. Once these two are sewed together, sew them to the longest dark green strip of fabric. Press horizontal seams towards the top, the dark green.
Row Two
Now we are ready for row two. Starting with the light blue piece (37.5 x 7.5), sew it to the shortest coral piece (3.5 x 7.5) of fabric. Press the seam to the right. Attach these two pieces to the coral piece of fabric (40.5 x 3.5) and press the seam to the top, the coral fabric. Now attach these to the dark blue (10.5 x 7.5), and the dark green (10.5 x 3.5). Press all vertical seams to the right, and the horizontal seam to the top.
Row Three
Sew the light green (27.5 x 7.5) to the dark green (3.5 x 7.5) and press to the left. Sew these two to the dark green (30.5 x 3.5) and press to the top, the dark green. Now sew these to the light blue (10.5 x 7.5), coral (10.5 x 3.5), dark blue (10.5 x 7.5), dark green (10.5 x 3.5). Press all vertical seams to the left, and the horizontal seam to the top.
Row Four
Sew the coral (17.5 x 7.5) to the light blue (3.5 x 7.5) and press to the right. Sew these two to the light blue (20.5 x 3.5) and press to the top. Now sew these to the light green (10.5 x 7.5), dark green (10.5 x 3.5), light blue (10.5 x 7.5), coral (10.5 x 3.5), dark blue (10.5 x 7.5), dark green (10.5 x 3.5). Press all vertical seams to the right, and the horizontal seam to the top.
Row Five
Sew the light green (27.5 x 7.5) to the dark blue (27.5 x 3.5) and press to the left. Sew these two to the dark blue (10.5 x 3.5). Now sew these to the coral (30.5 x 7.5), light blue (30.5 x 3.5), light green (30.5 x 7.5), dark green (30.5 x 3.5), light blue (30.5 x 7.5), coral (30.5 x 3.5), dark blue (30.5 x 7.5), dark green (30.5 x 3.5). Press all vertical seams to the left, and the horizontal seam to the top.
Sew Rows Together
Now it’s time to sew the rows together. As you join the rows together, your seams will butt up against each other since you ironed each row in opposite directions, making it easy to have perfectly straight lines.

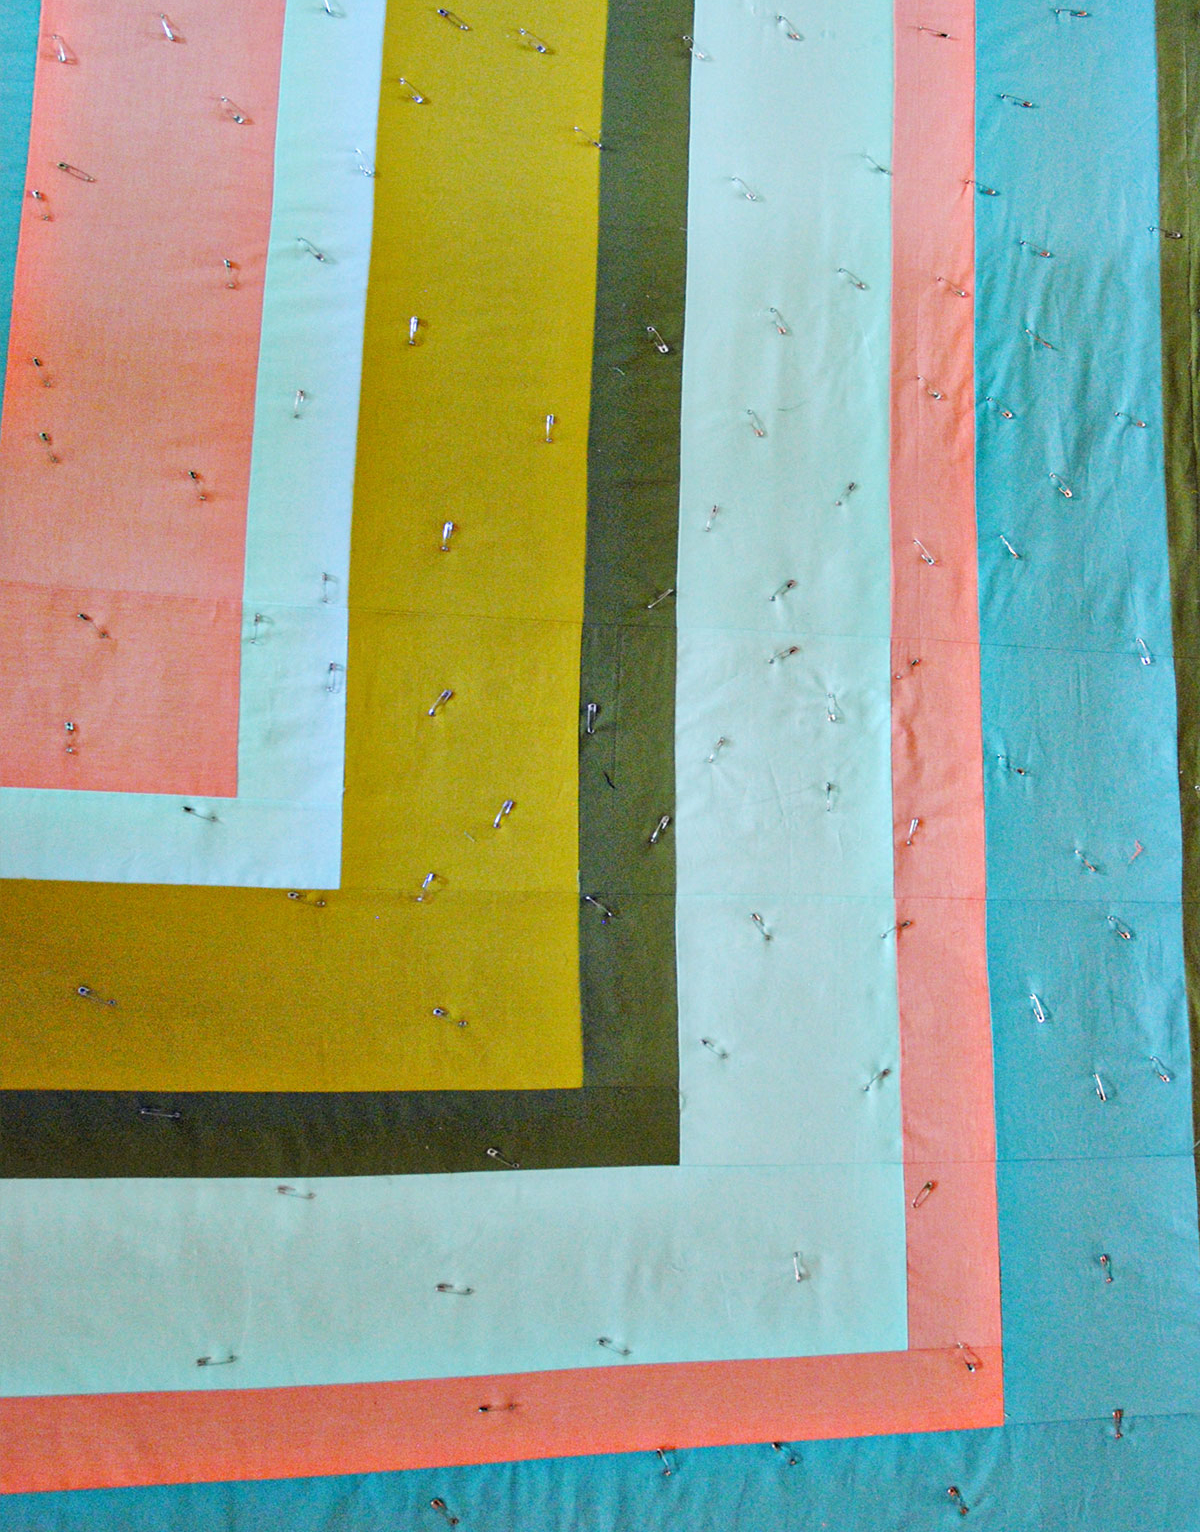
Pin Baste Quilt
Your quilt top is now done! Woo hoo! I used all of my leftover fabric to piece a back piece together. Alternatively you can use a few yards of fabric to create your quilt backing. The quilt back should be a few inches larger than your quilt front. Once your quilt back is done, it’s time to start basting your quilt together. Basting is just a fancy way of saying we’re going to hold all three layers of your quilt together while you sew it. I like to take my quilt back and tape it down to the floor, stretched as tight as possible, right side facing the floor, wrong side up. I’ve tried a few different types of tape for this and my favorite is packing tape.
Now lay your batting on top of the backing. It needs to be trimmed down to about an inch smaller than the backing fabric.
Now lay your quilt top, right side up, on top of the backing and quilt top. Make sure all wrinkles are out of the fabric and start pinning. I used about 100 pins all over my quilt sandwich.
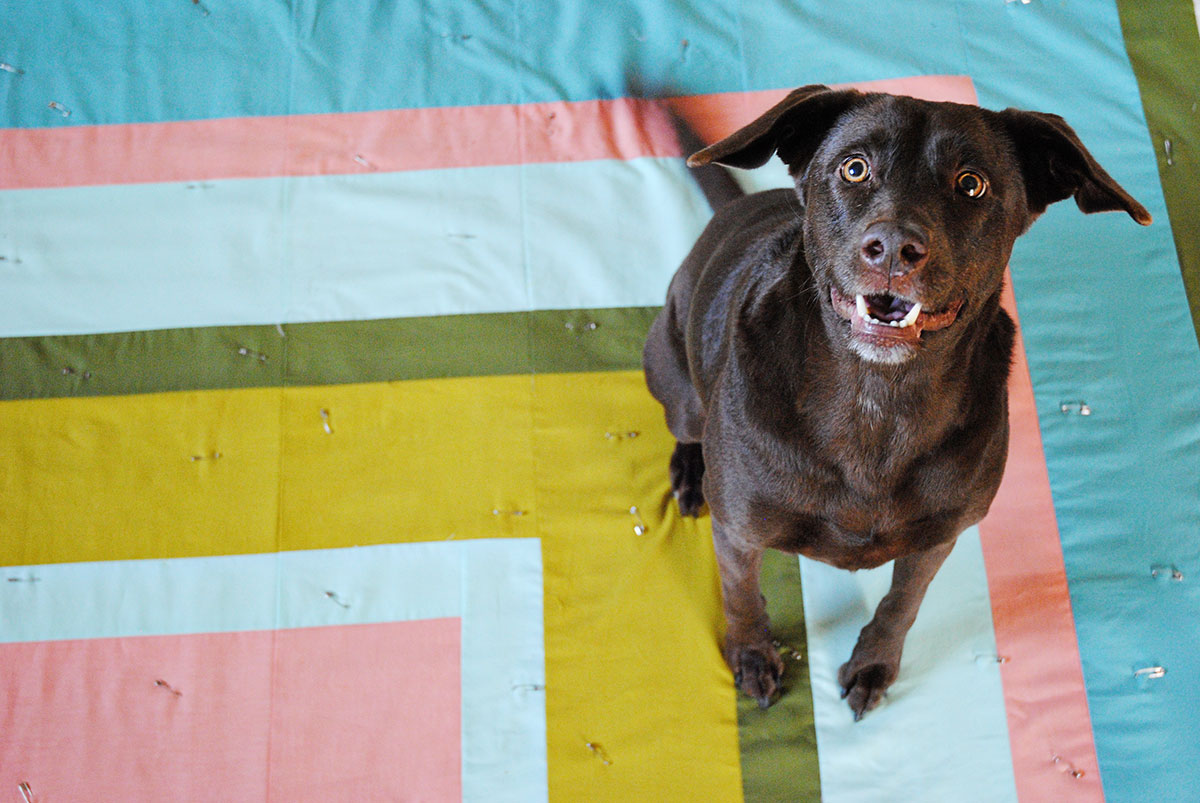
This is the point where my dog, Fern, likes to get involved in the quilting process and lie on the quilt!
Quilt the Quilt
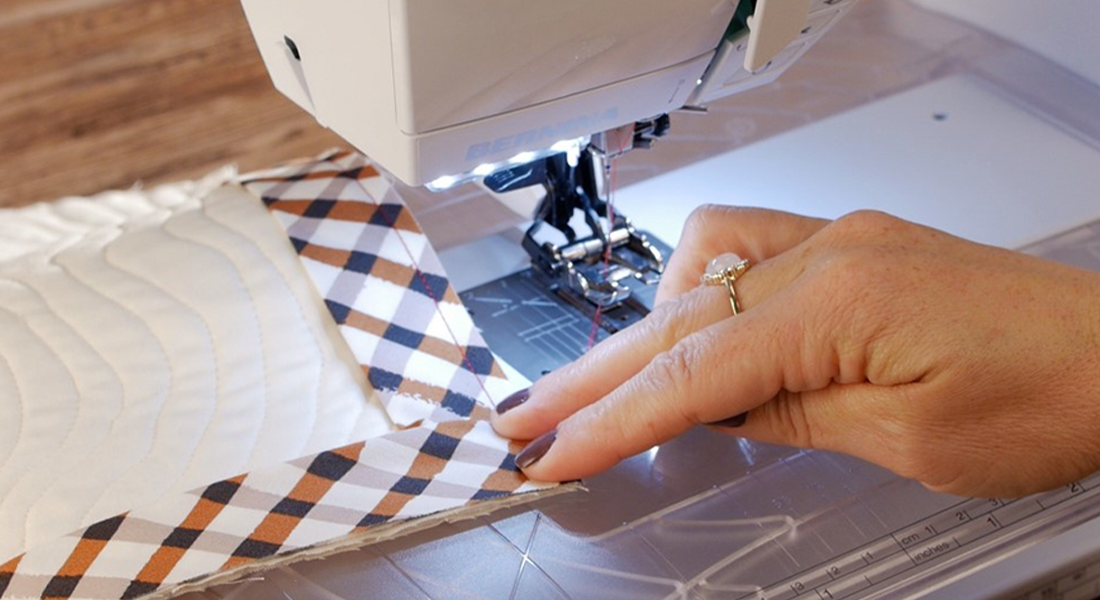
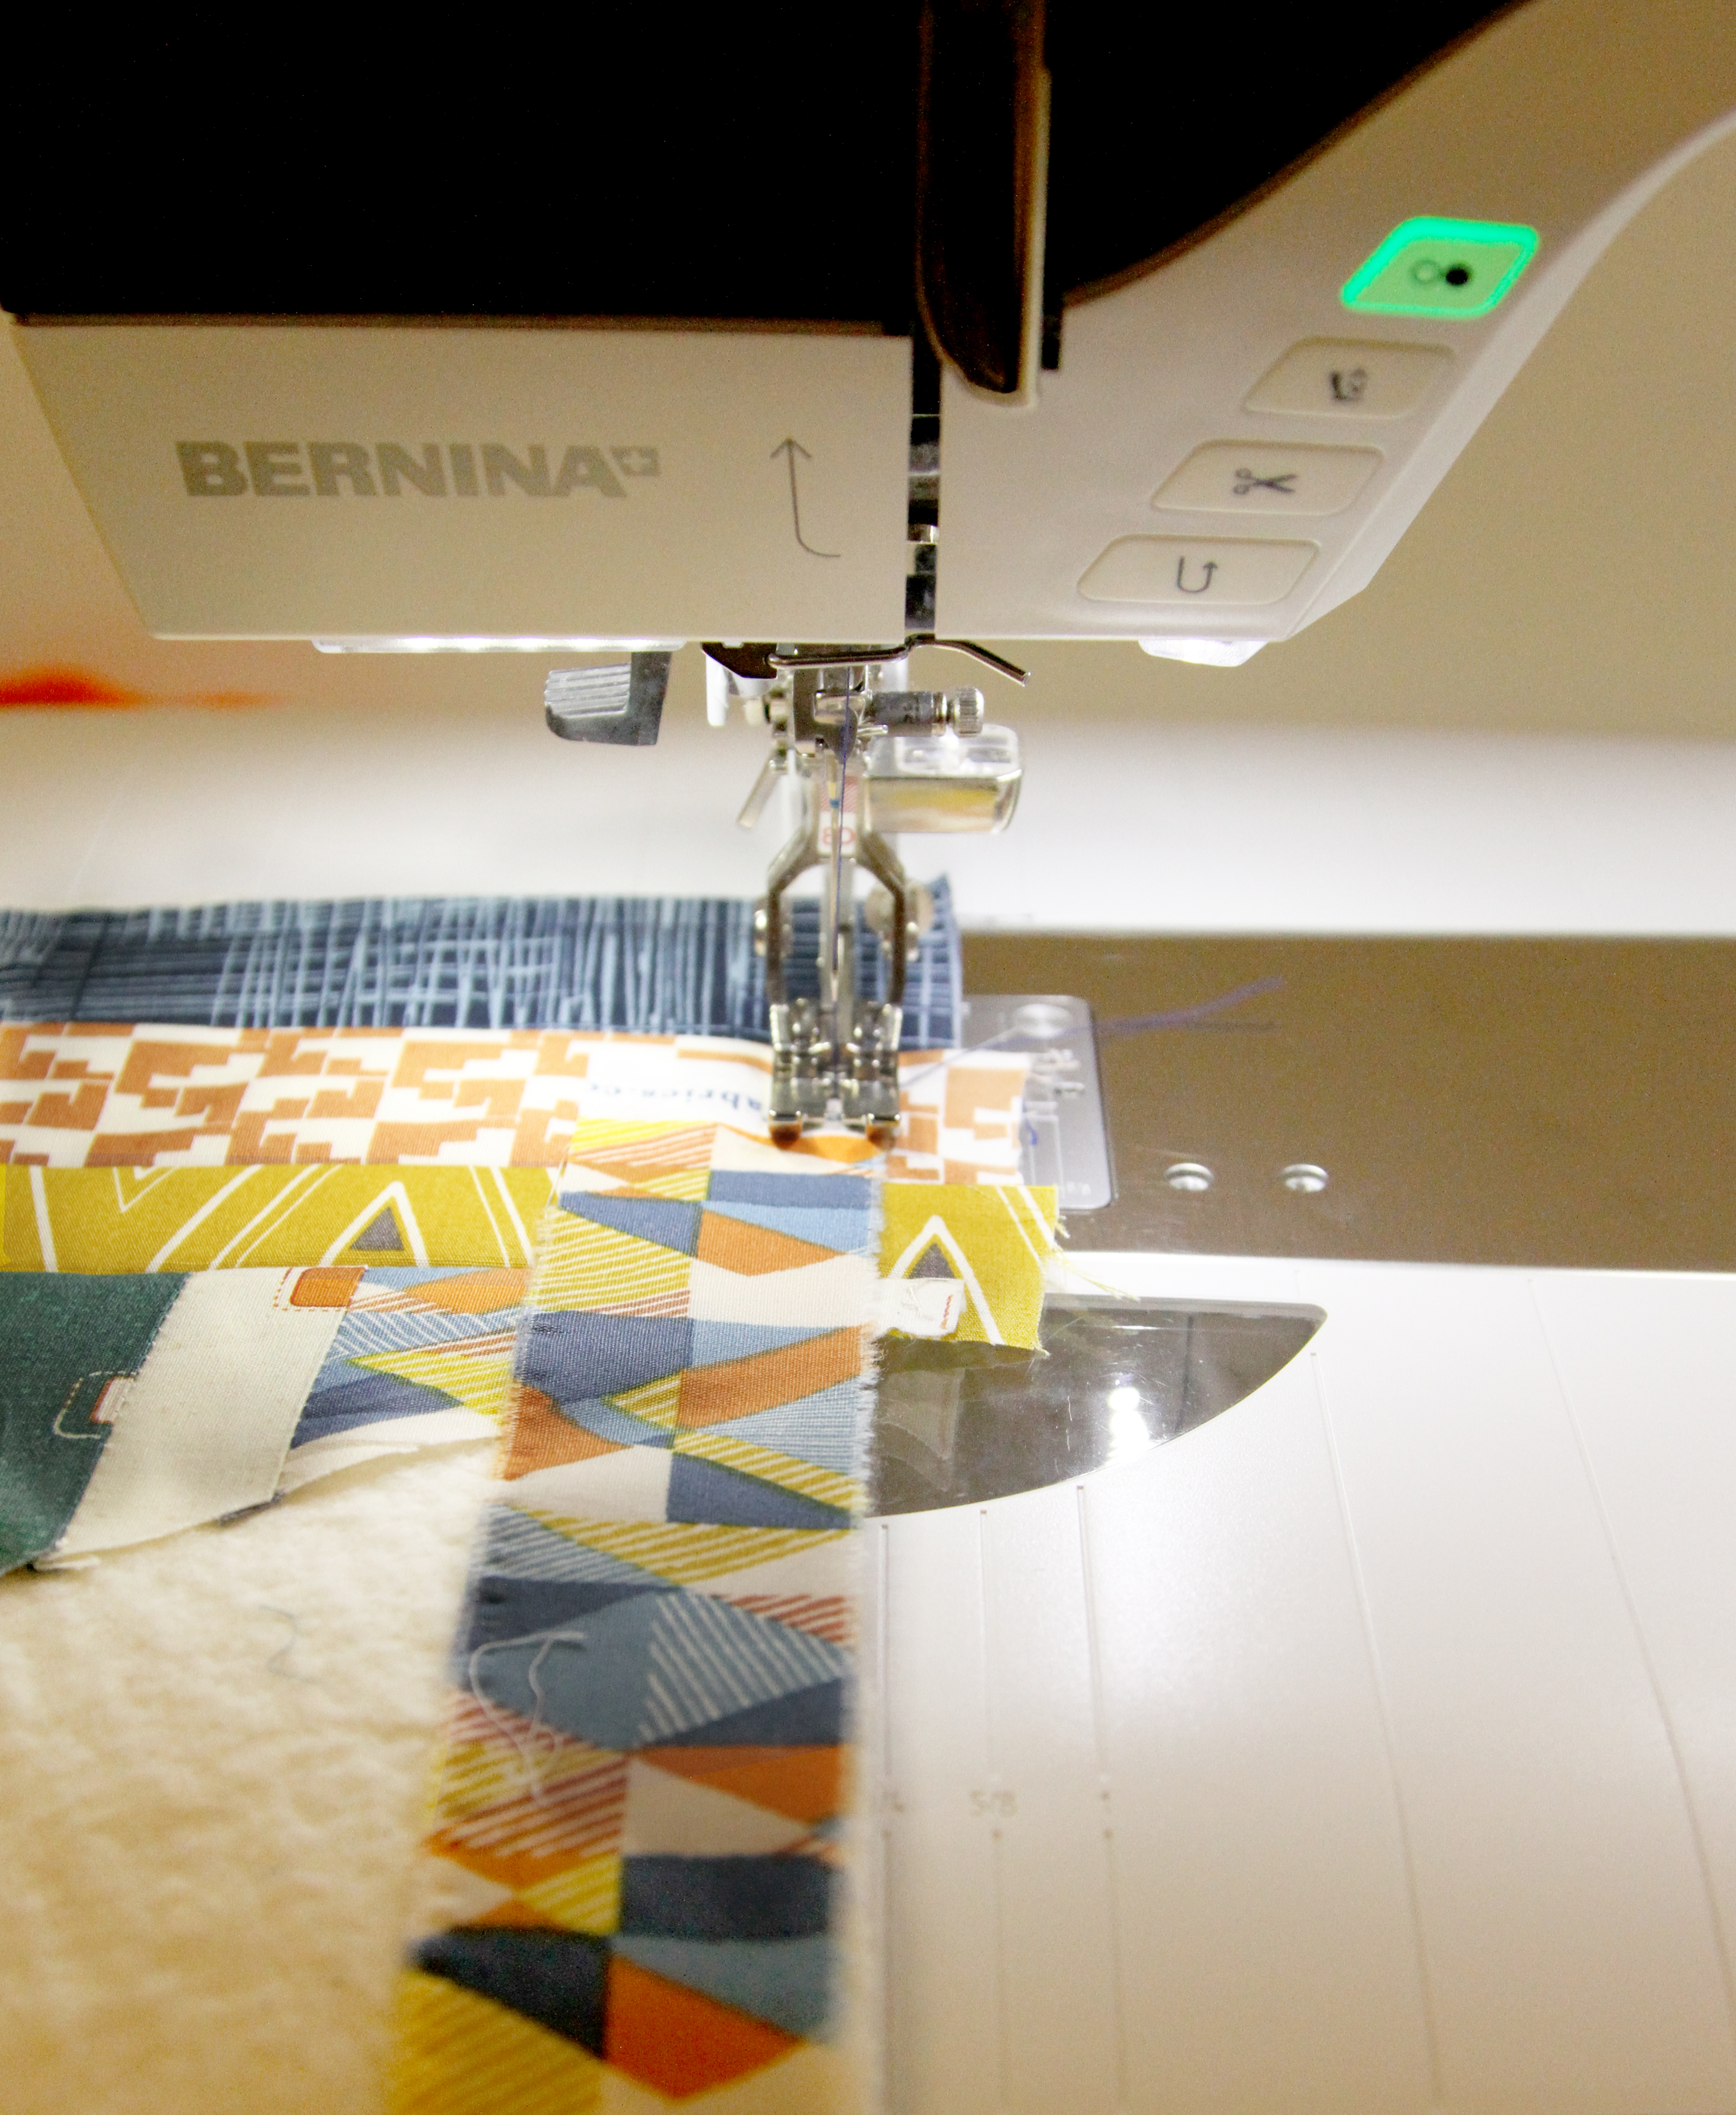
It’s time to quilt the quilt! Switch out your feet on your sewing machine to the walking foot. The walking foot comes with a seam guide, which is very helpful when you are wanting to stitch wider lines. I wanted my quilting lines to be 2 inches apart, so I set my seam guide to 2 inches from the stitch line. There’s a thorough tutorial here on how to use your walking foot.
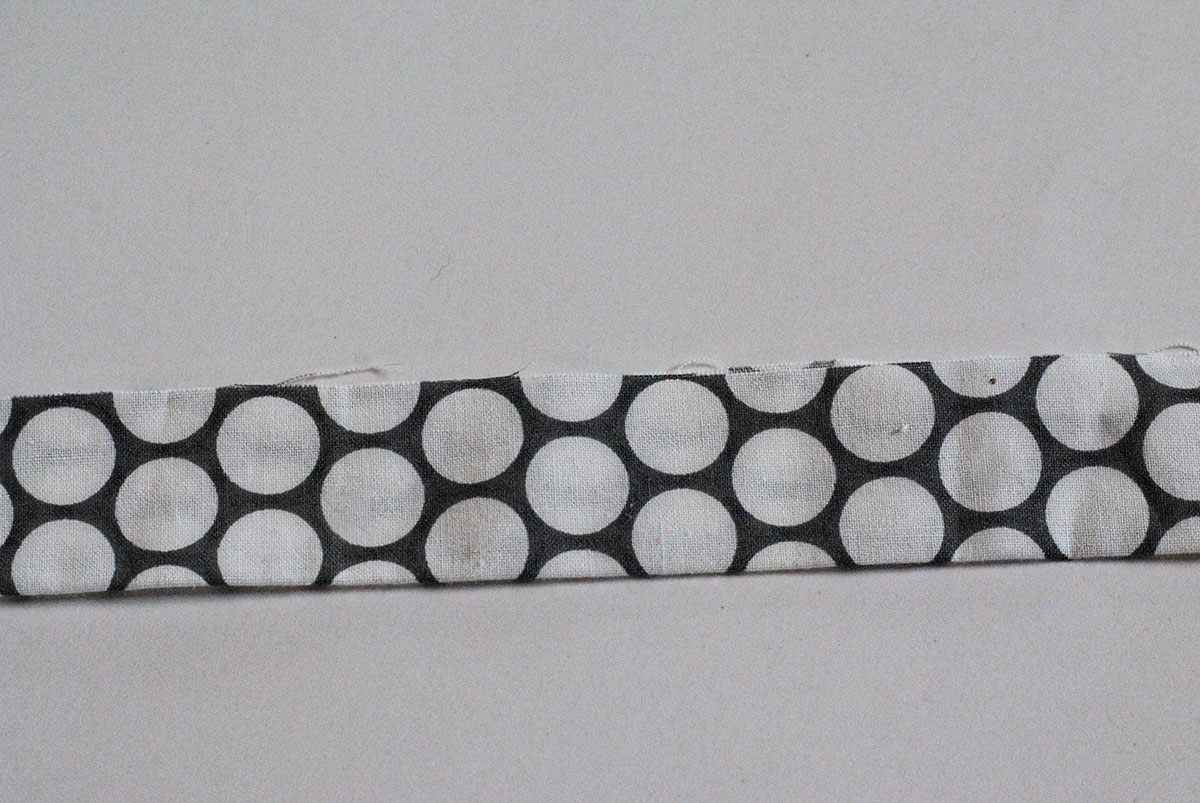
Attach the Binding
Take your binding pieces and sew them together. There’s a great tutorial here with a lot of pictures and great explanations on how to cut and sew your quilt binding. Once your binding pieces are sewn together, iron them in half.
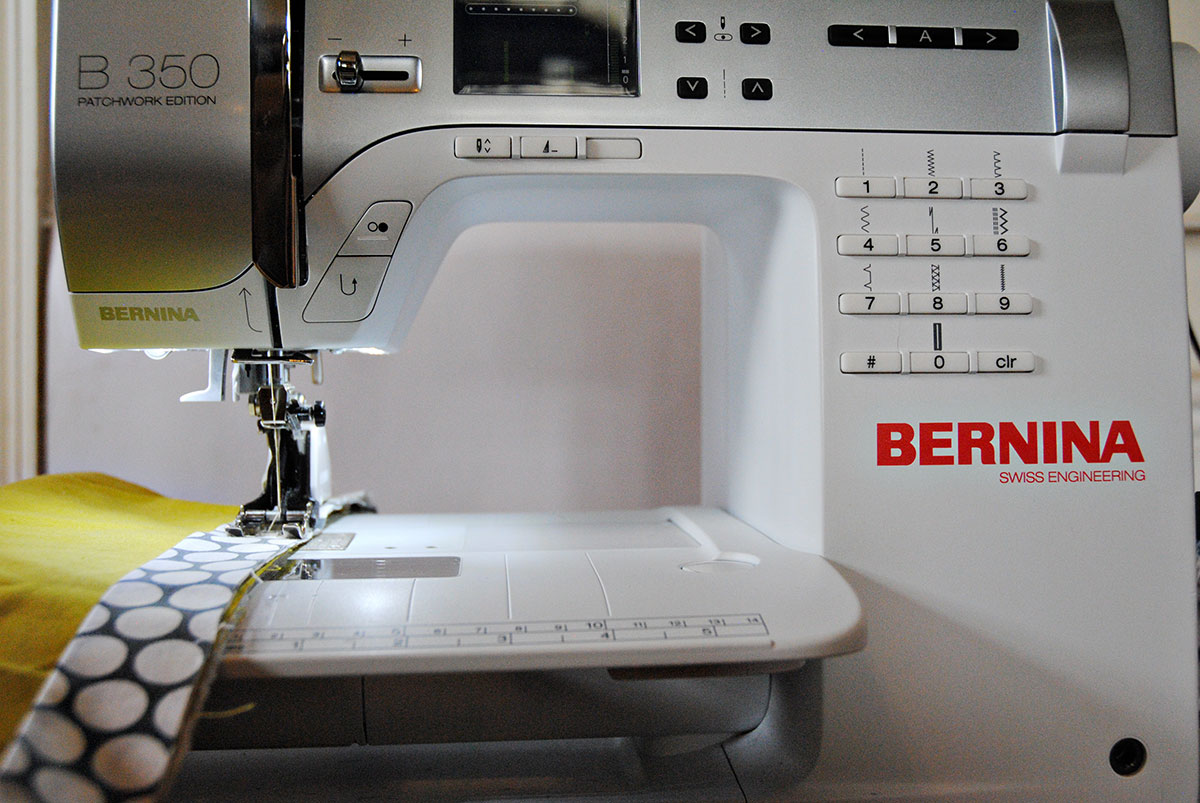
I like to use my walking foot to sew the binding to the quilt. I use the edge of the walking foot as my guide, and use the adjustable needle position moved all the way over to the right as I sew. Sew the binding, right sides together.
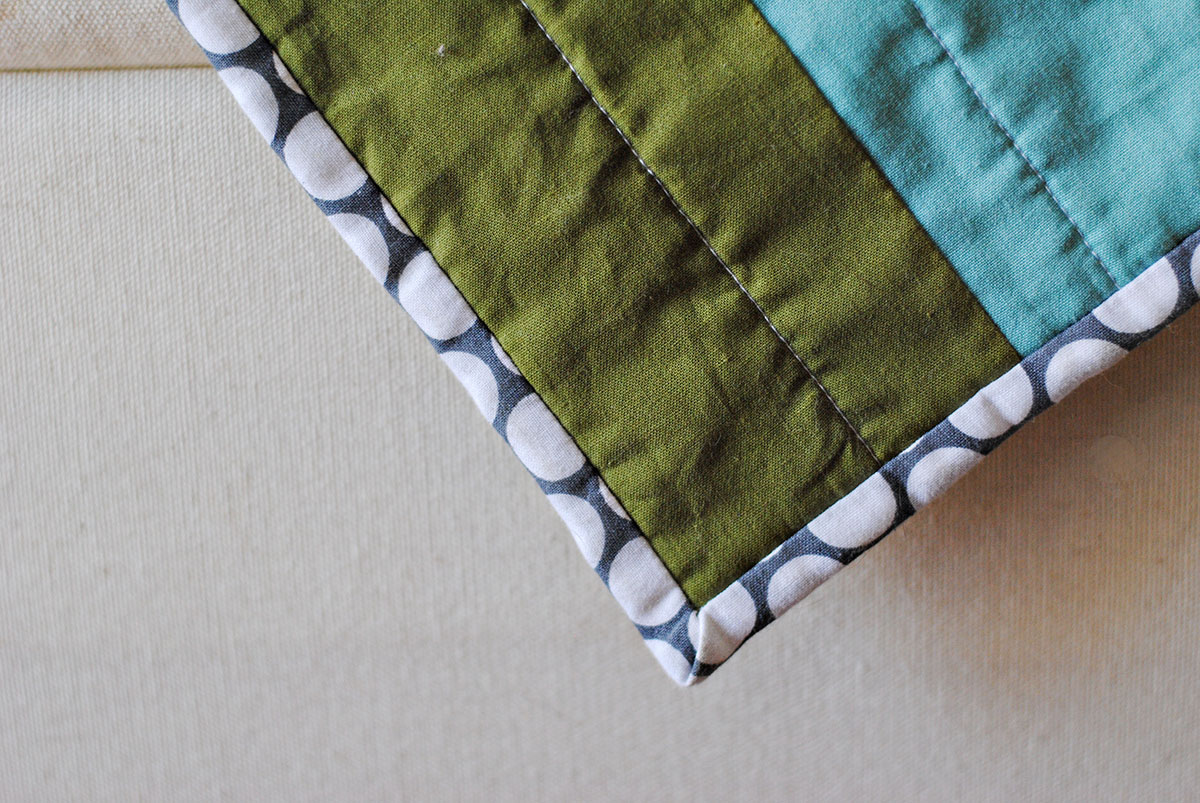
Once all of the binding is attached, fold the folded edge of the binding over to the back of the quilt. Hand stitch the binding in place.

The quilt is done!
I hope you enjoy making your own quilt following the Corner Ripple Quilt Tutorial and have fun sprucing up your living room this spring!
What you might also like


5 comments on “Corner Ripple Quilt Tutorial”
-
-
I was thinking the same thing.
-
I agree with you and the other persons comment. A log cabin style assembly would be more logical and simpler.
-
-
I understand the concept of using the log cabin piecing method for this quilt. I think the given method would make better use of fabric cuts and better assurance the quilt would be truly square in the end. I am excited to try it out.
-
I love this pattern. Simple and so pretty for a rectangular quilt.
Leave a Reply
You must be logged in to post a comment.

I was thinking this might be easier to cut and sew together if you approach it as a log cabin starting at the lower right hand corner and adding the strips 1 color at a time.