DIY Car Show Detailing Cloths
Summer weather means it’s time to dust-off the vintage vehicles, hot rods, and custom cars from winter storage and get motoring to car shows and cruise nights here in Chicago! My vintage Mercury, that’s mostly original, came out of the garage in June, and I spent one entire weekend cleaning and polishing my baby from stem to stern.
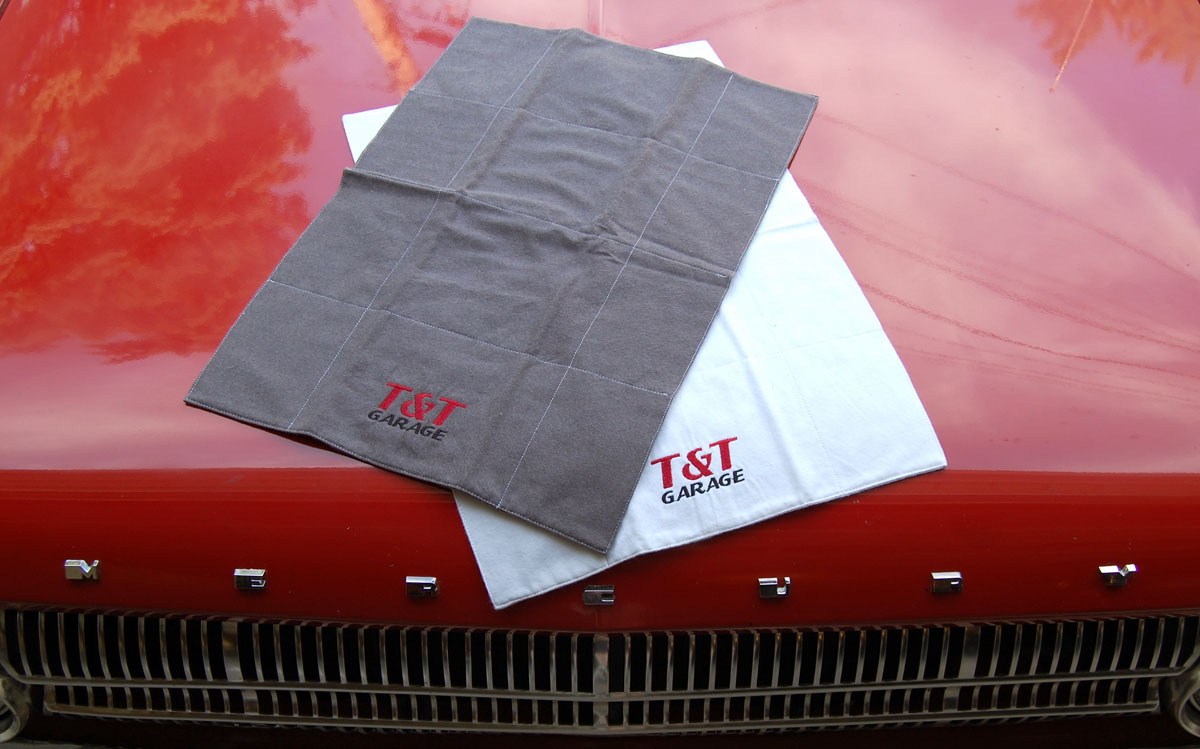
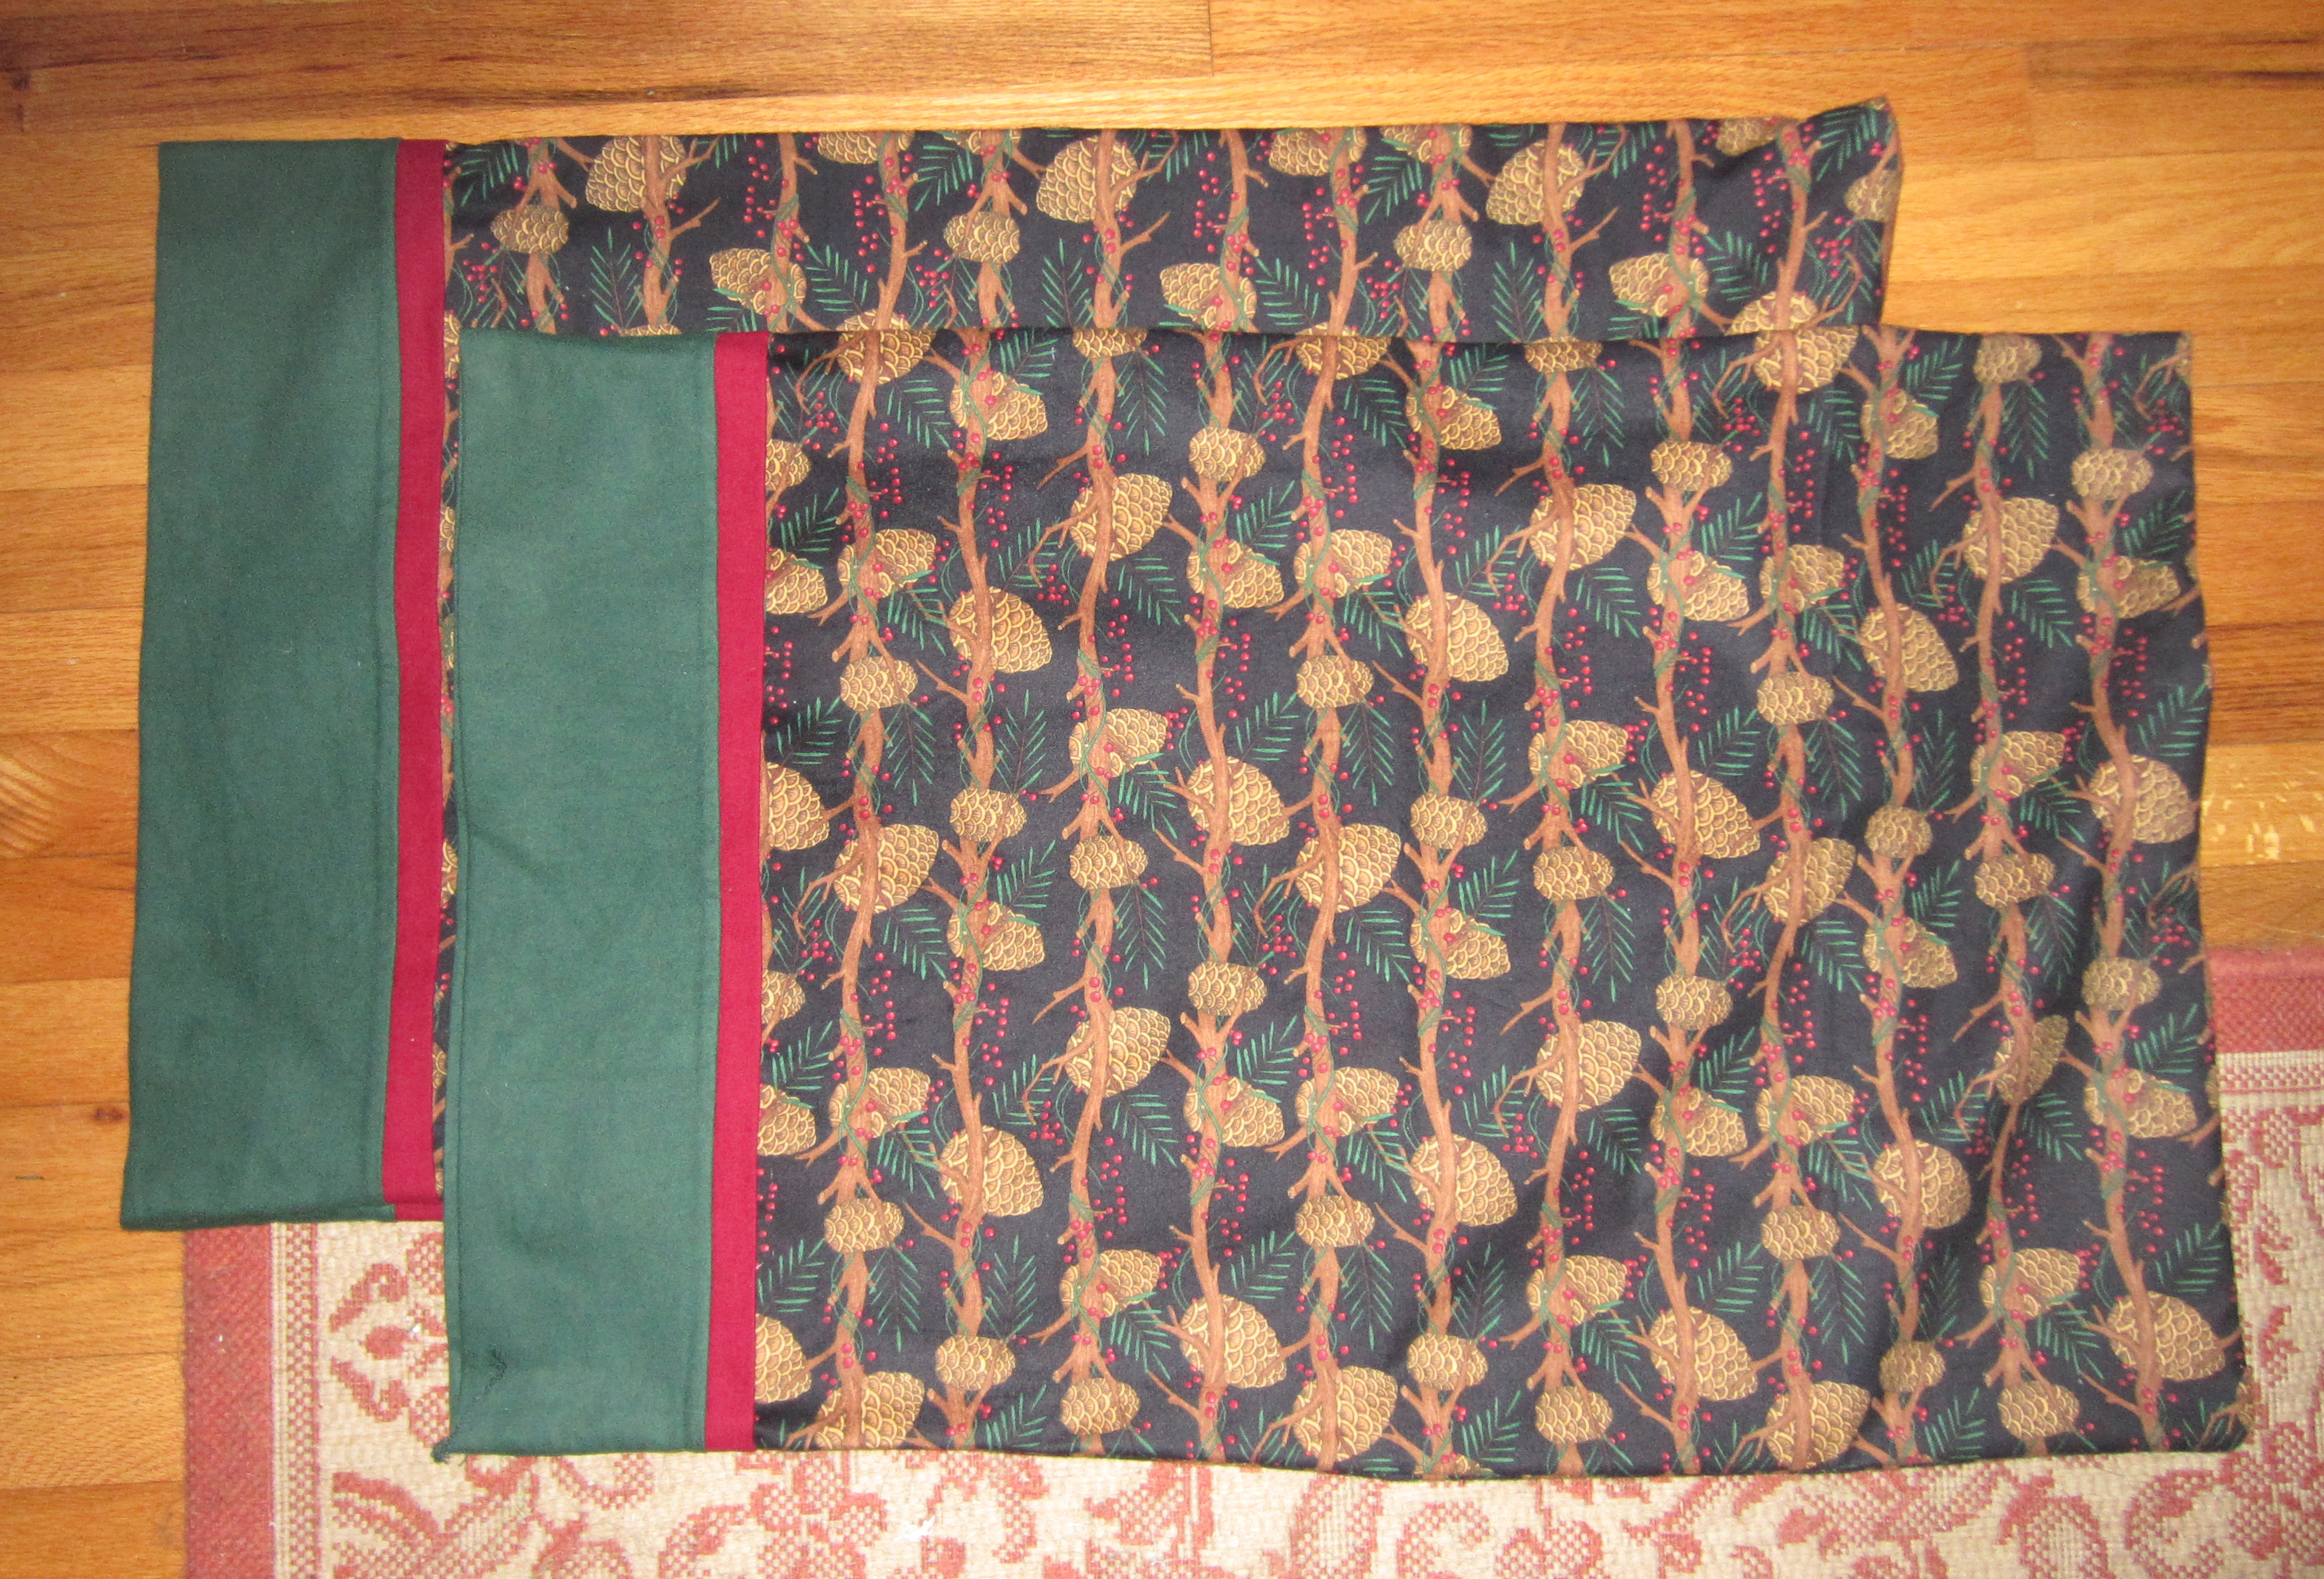
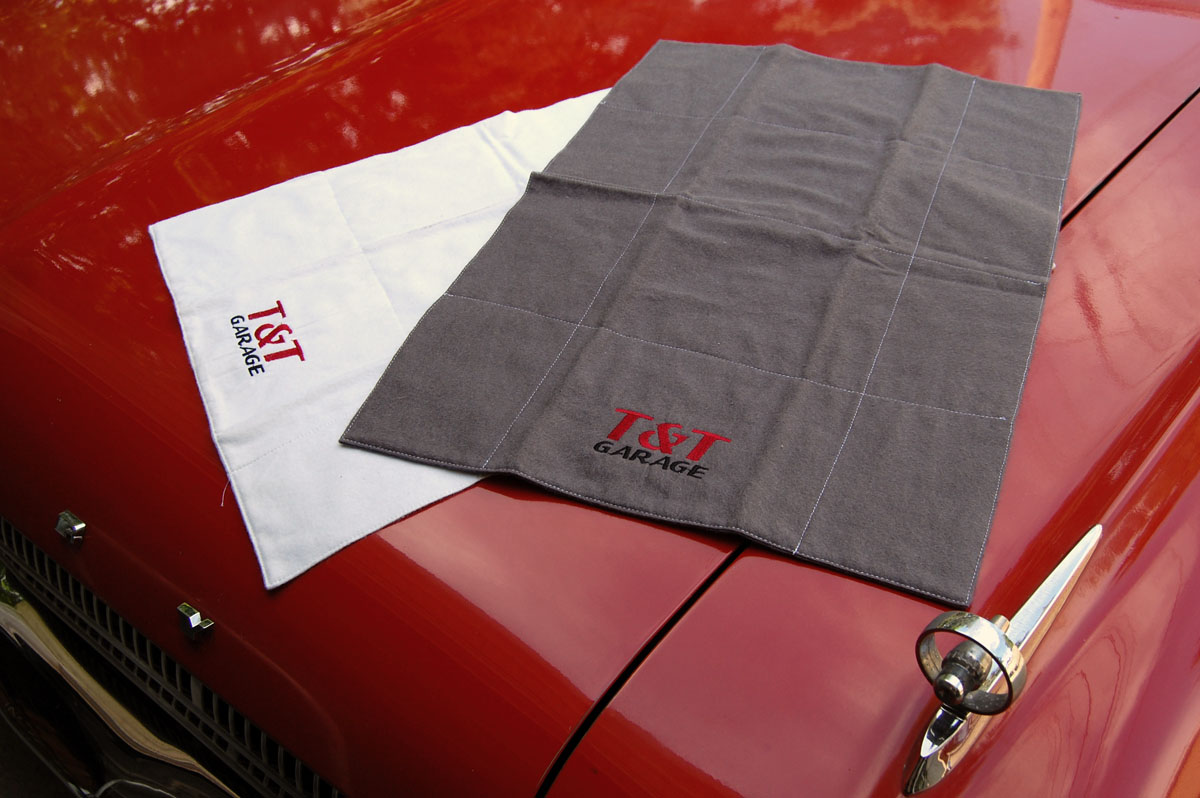
I made a set of these handy Car Show Detailing Cloths to fit right in the glove box, ready for a quick last minute dust or polish. Made from super-soft 100% cotton flannel fabrics, they’re gentle on custom or old paint, chrome, or metal, and best of all are completely washable/reusable. Add a bit of embroidery for fun!
Materials to make Car Show Detailing Cloths:
- 1 yard 100% cotton flannel = yields 2 cloths (use high-quality flannel, it will shed less lint and stand up to multiple washing/use)
- 100% cotton sewing thread (40 wt. or 50 wt. work best)
- Point turner or chopstick (to turn project inside-out)
- Reverse pattern foot #1/#1C/#1D
- Walking foot #50
Optional for embroidery:
- Medium weight cut-away stabilizer
- Medium weight tear-away stabilizer
- Embroidery thread of choice
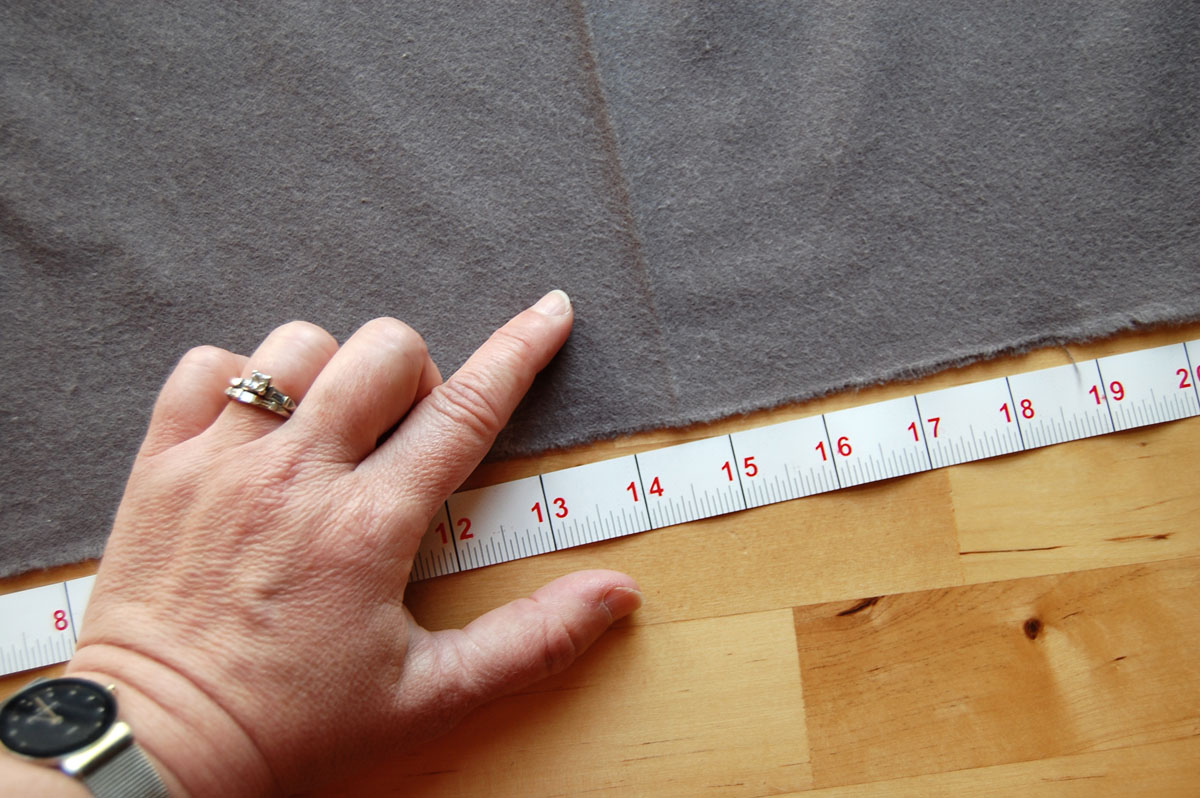
Cut your fabric to size. Make sure to mark the front side of the fabric with a safety pin or straight pin (they look so similar once you start cutting the fabric it’s easy to get mixed up, ask me how I know!). Cut or tear the fabric into a rectangle 29″ across the selvage (finished) edge by the width of the fabric. Next, fold the rectangle in half, selvage edges together, and cut (or tear) along the fold. You will have two rectangles of fabric measure about 29″ x 22″.
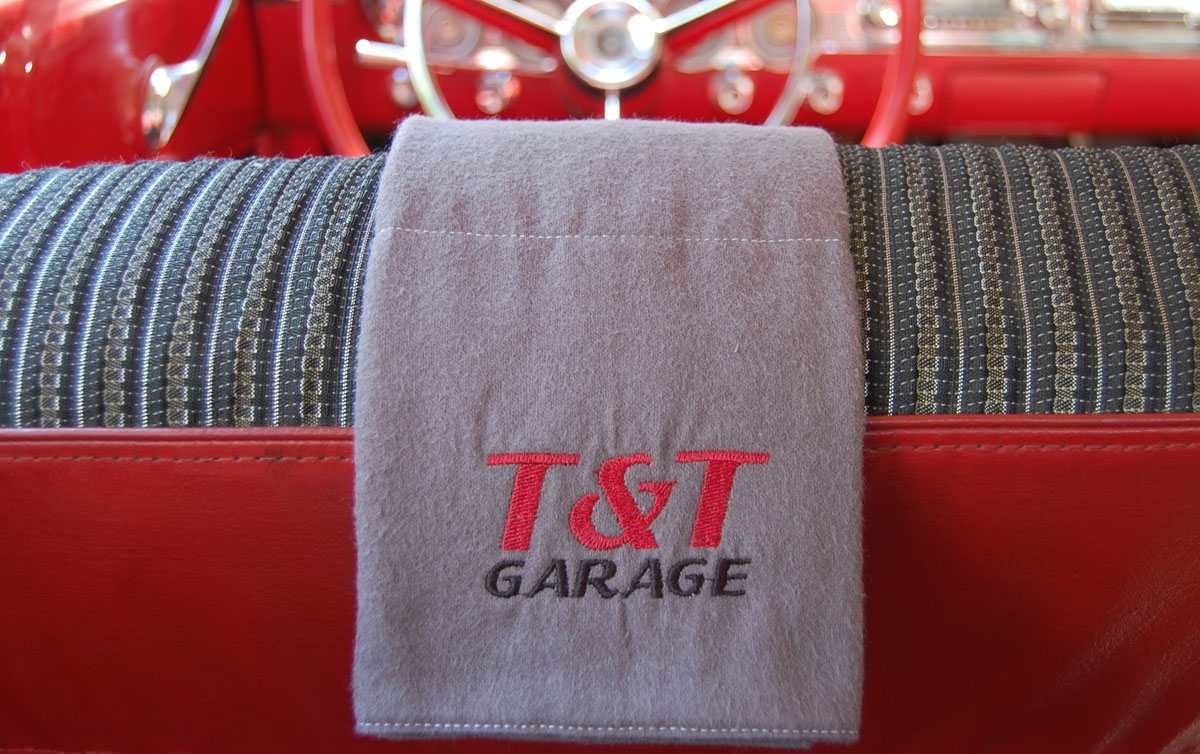
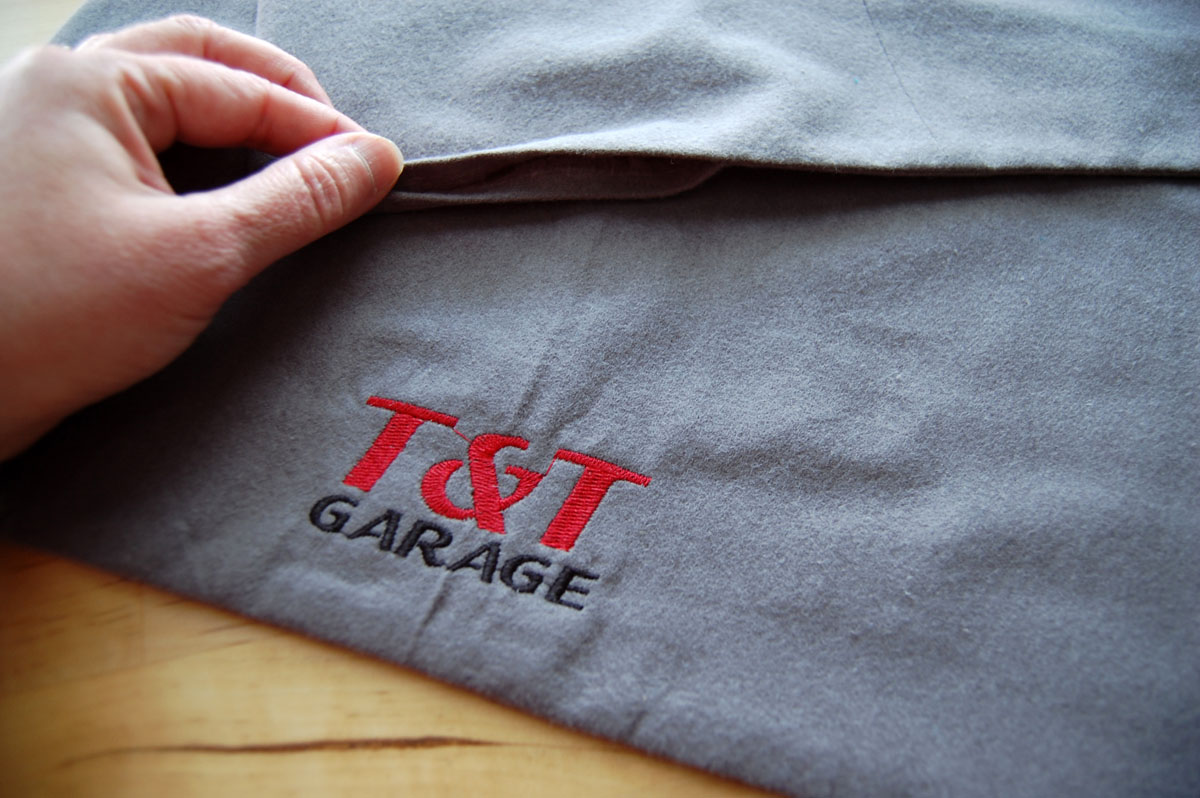
Optional step to add embroidery. My husband jokes that his garage is called the “T&T Garage” because he’s Tom (the first “T”) and is always wrenching around with one of his best friends, all of which also have names that start with the letter “T.” I used my BERNINA Designer Plus embroidery software to create a quick little logo to stitch on these cloths.
Place your rectangle of fabric down horizontally, longer than it is tall. Fold in half and finger-press the fold along the bottom several inches (the middle will measure approximately 14.5″). Once you have selected your embroidery design, get your embroidery machine all set with correct thread color. To hoop the fabric, use one layer of medium weight tear away stabilizer followed by one layer of medium weight cut-away stabilizer, and add the fabric on top. Use your finger-pressed line to centering in the hoop. Place the design so that the bottom edge is 1 1/2″ from the bottom edge. Stitch, and remove from the hoop.

Carefully tear away the medium weight tear away stabilizer from the stitches, and cut the medium weight cut away stabilizer close to the stitches. Cut any jump-threads or thread tails left over from the embroidery.
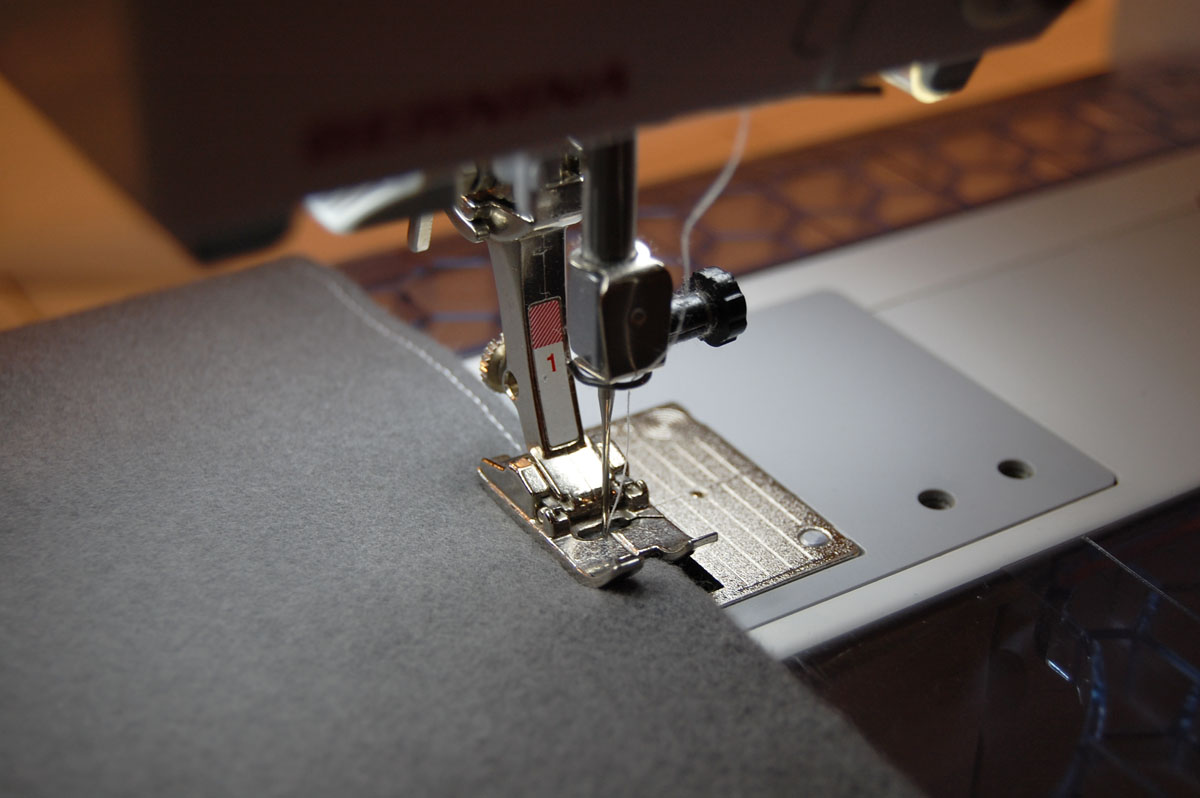
Next, fold the fabric in half, right sides together, to create the back seam. The embroidery design will be on one of the folded edges of the fabric during this step. Use the Reverse pattern foot #1 with a straight-stitch between 2.0 and 2.5mm, and stitch with a 1/2″ seam allowance.
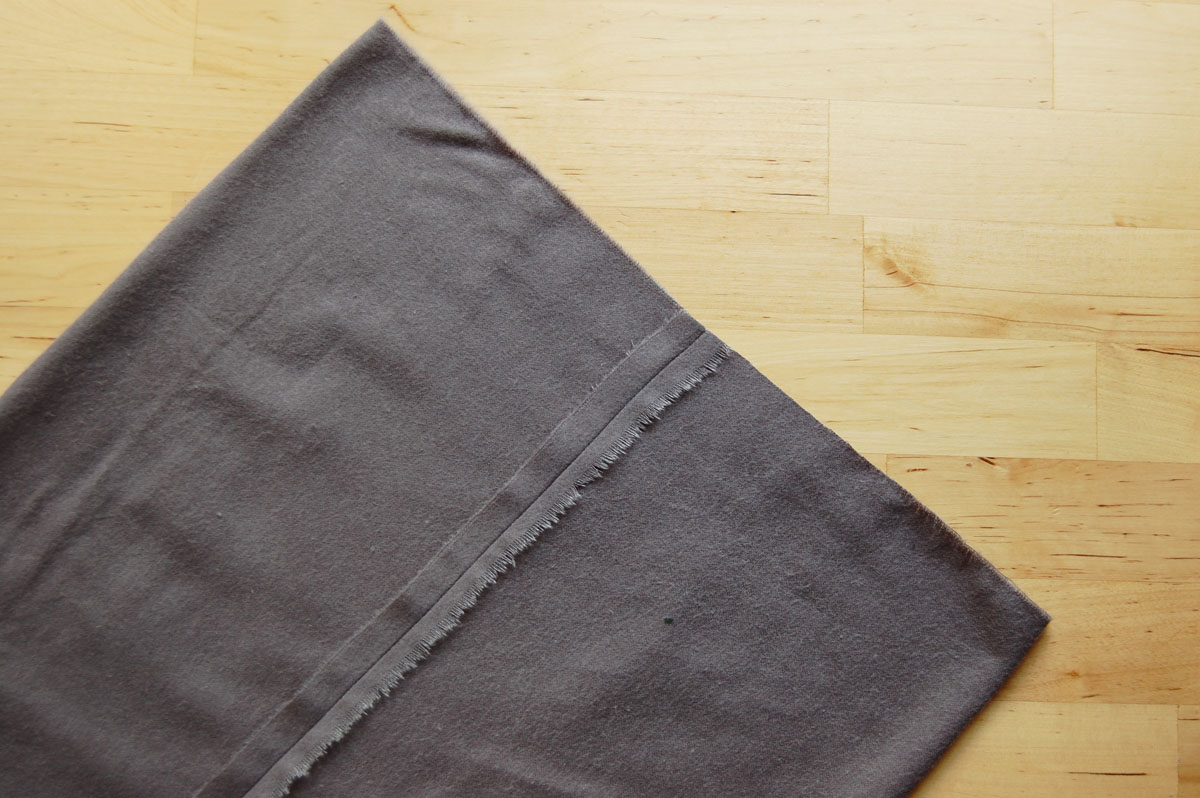
Press the back seam open, centering the seam approximately in the middle of the cloth while pressing.
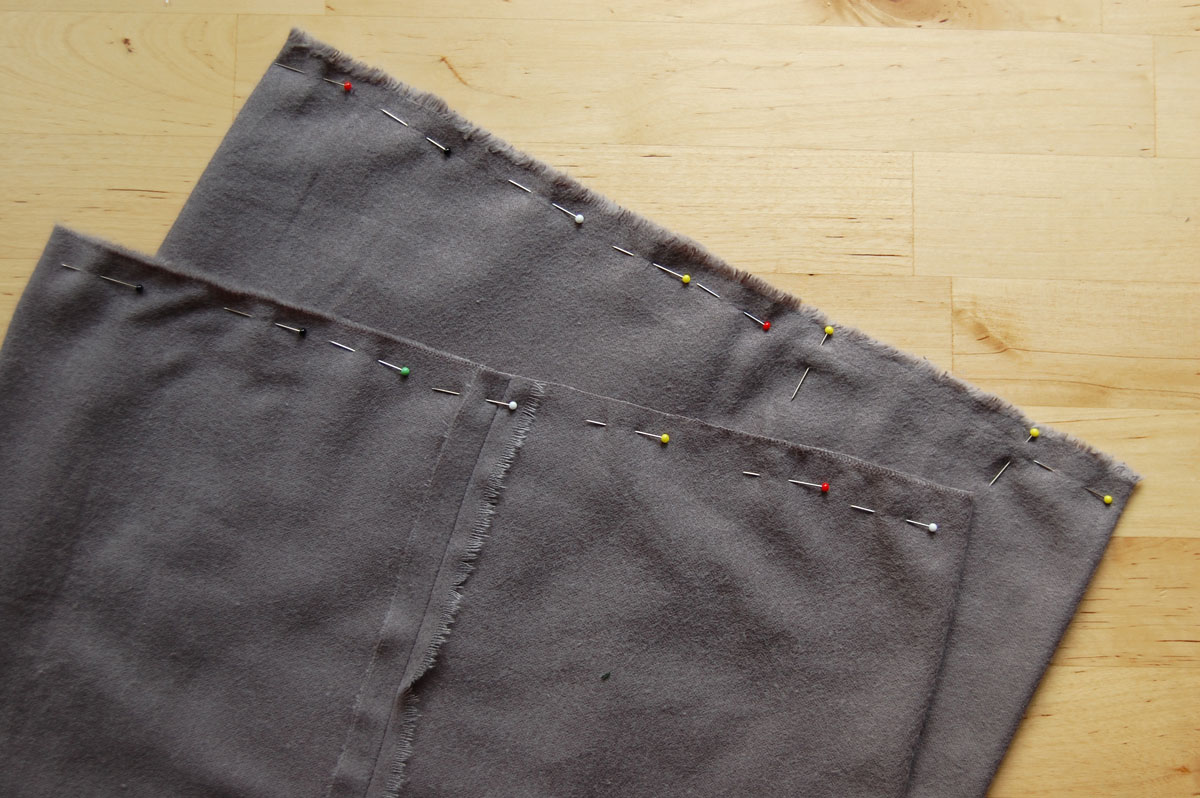
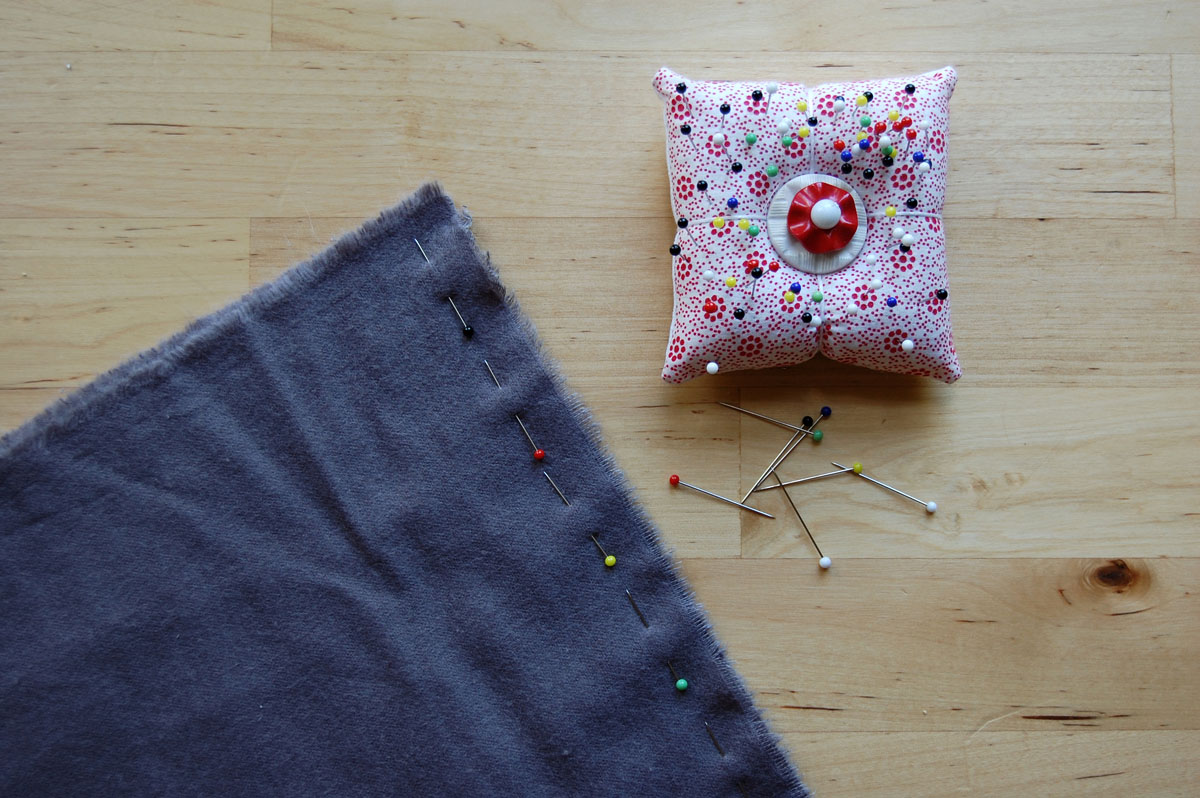
Pin the top and bottom edges of the cloth together, leaving an opening about 3″ long on one side for turning the cloth inside-out after sewing. Stitch with machine settings as above with a 1/2″ seam allowance.
After sewing, clip corners close to the stitching and turn the cloth inside-out through the opening. Use a point turner or chopstick to very carefully push out the corners.
Press well all around the cloth, turning under the opening as shown above.
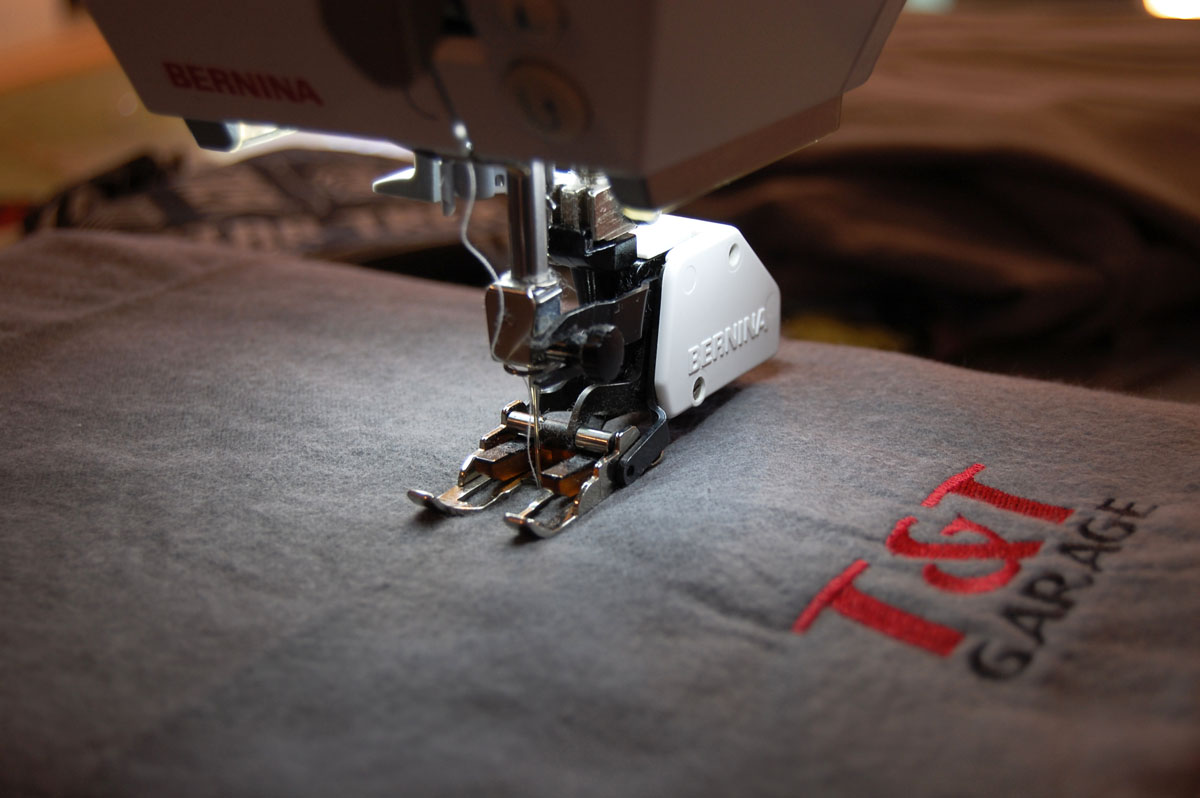
Using the same machine settings as above, top stitch all around the outside edge of the cloth, making sure to stitch the opening closed.
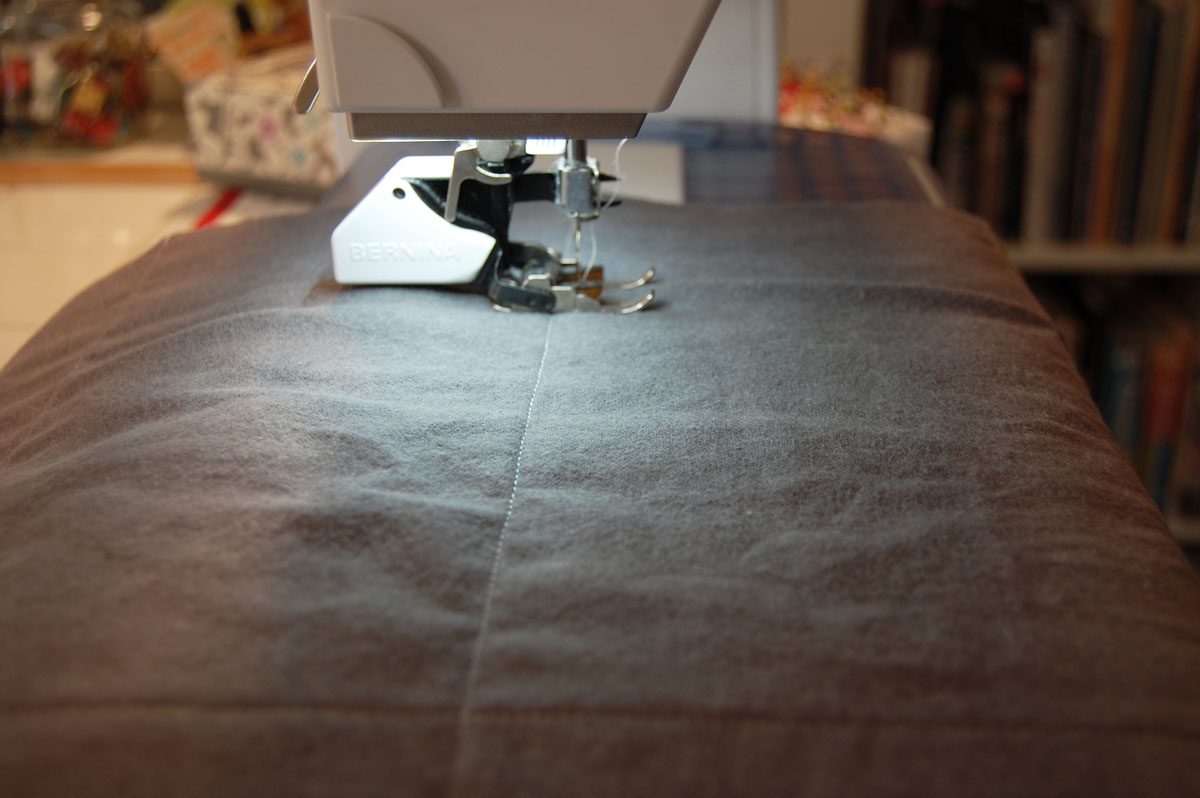
To keep the layers of the cloth together through multiple uses and washes, top stitch lines about 6″ – 8″ apart across the cloth. You can choose your own pattern, stitch at random, or follow along with me! Switch from the Reverse pattern foot #1 to the Walking foot #50. I folded the cloth in fourths the long way, gently pressed in each of the lines, then followed along these lines with stitches (back-stitching about 3 stitches at the beginning and end of each line of stitching).
Next, I stitched two lines vertically on each side of the embroidery. And that’s all there is to it!
Fold ’em up and stick ’em in your glove box or saddle bags to make sure you’ve always got one handy!
To care for these cloths, machine wash in cool water and tumble-dry on low or medium heat. They should last for more than a season! If they start getting so worn that you don’t want to use them on your ride, make them shop rags to wipe off hands or dirty tools.
I am already enjoying a set of these with my original 1962 Mercury Meteor, and my husband packed a set with his custom c.1960’s Honda Dream. Safe driving, and maybe I’ll see you on the road this summer!