DIY Hand Therapy Mitts
Do your hands hurt? Do you need a way to sooth them? Then a set of these Hand Therapy Mitts are just for you!
Create a Hand Therapy Mitt for use if your hands have problems like arthritis, joint pain, or just get tired (from lots and lots of sewing!). It can be used either to cool or warm tired, aching hands, and smells wonderfully of healing lavender.
I have made lots of eye pillow and neck warmers using rice, buckwheat hulls and lavender as the filler. The mixture holds heat well so when it is microwaved it feels good for a long time. I decided that a mitt could work really well on sore hands, so I adapted my technique to make one.
Materials to make a Hand Therapy Mitt
- 1/3 yard cotton fabric for mitt front and back
- 1/4 yard of contrasting fabric for cuff
- Thread
- BERNINA sewing machine (I use a 7 Series machine)
- Open embroidery foot #20/#20C/#20D
- Reverse pattern foot #1/#1C/#1D
- Buckwheat hulls (I find the best place to get these is through Amazon.com. Put buckwheat replacement hulls in the search line and several options come up.)
- Lavender flowers (I order mine from Starwest Botanicals)
- Rice (uncooked, any kind)
- Plastic or cardboard box
- Measuring cup
- Cutting board, scissors, pins
- Marking pencil
- Pins
- Iron
- Download the Hand Therapy Mitt Pattern
1. Prepare the pattern. Print out the first two pages of the pattern, cut out along the solid lines, and tape the two separate pieces together where indicated.
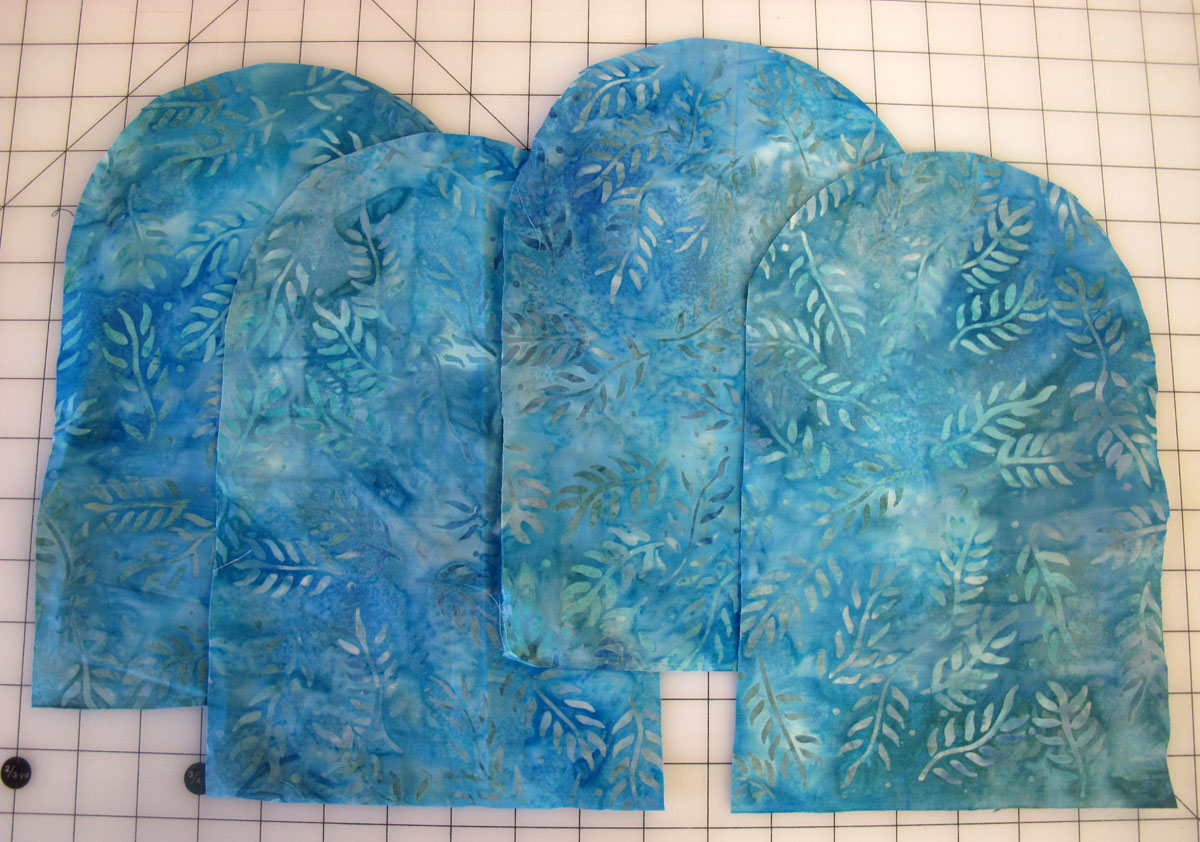
Use the pattern to cut four pieces of fabric to make one mitt. Cut eight pieces to make a matched set of mitts.
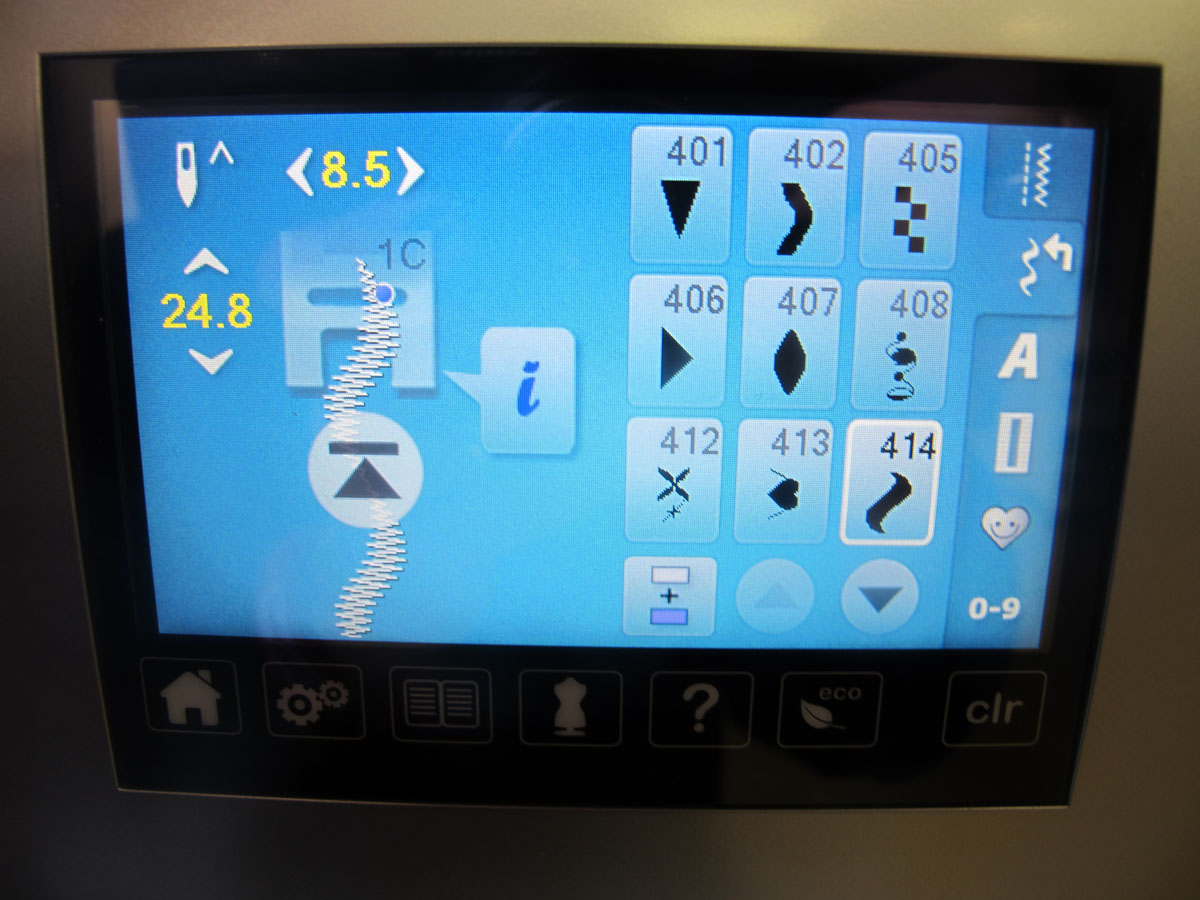
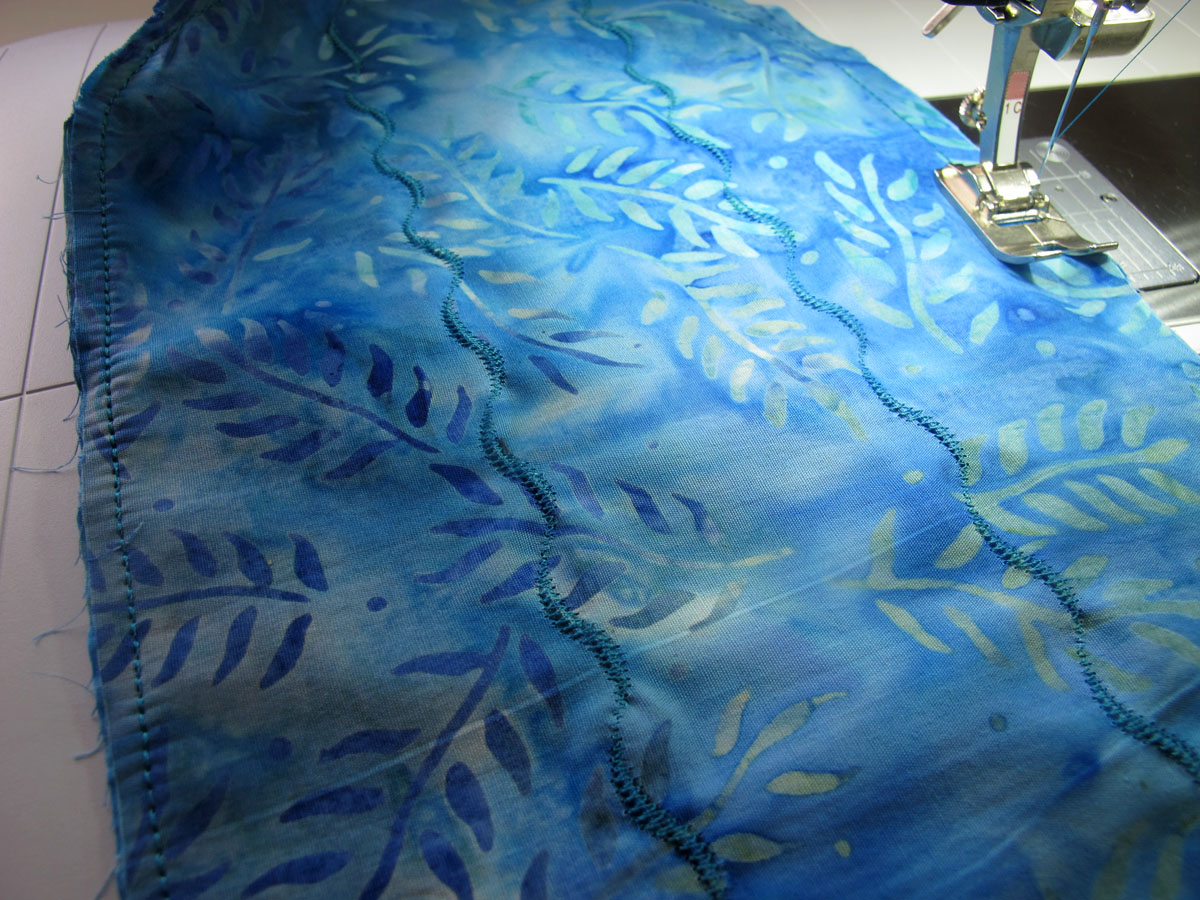
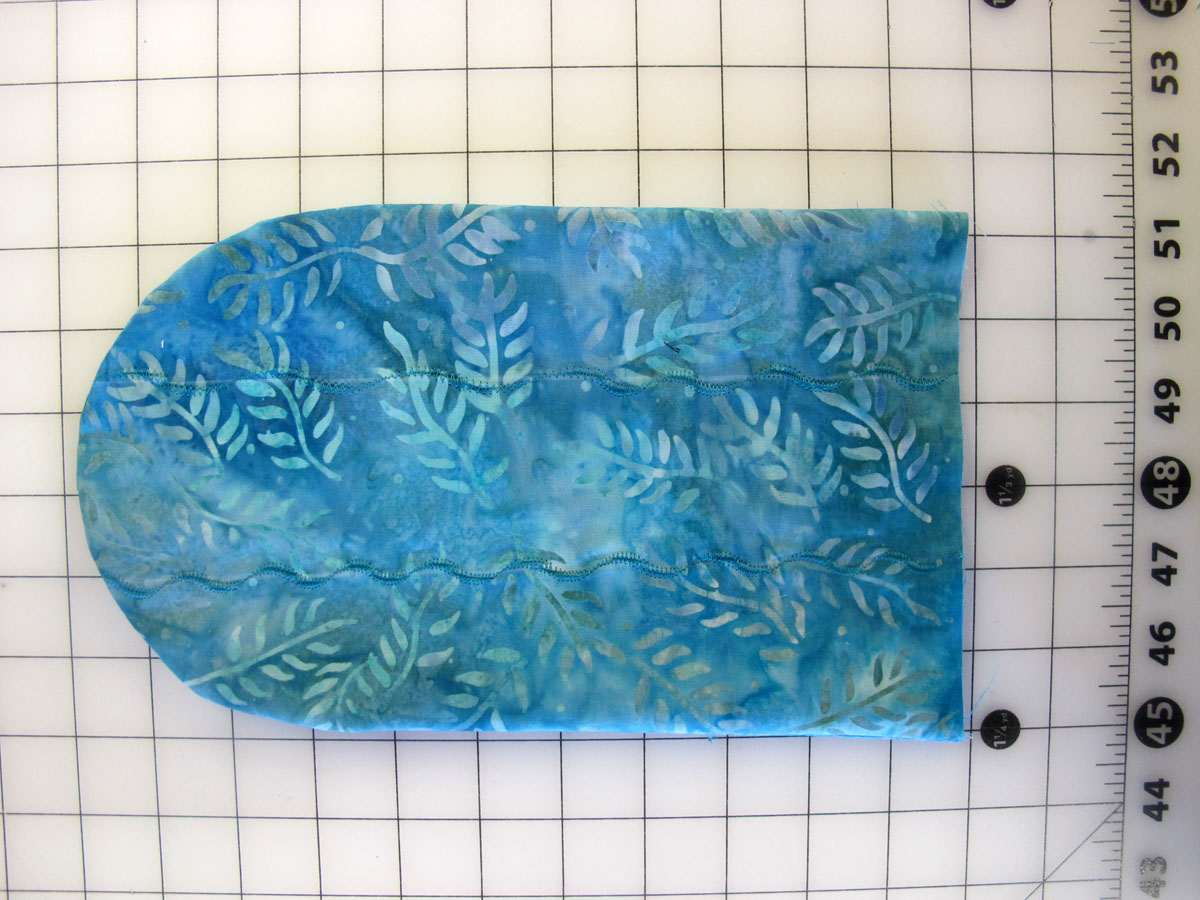
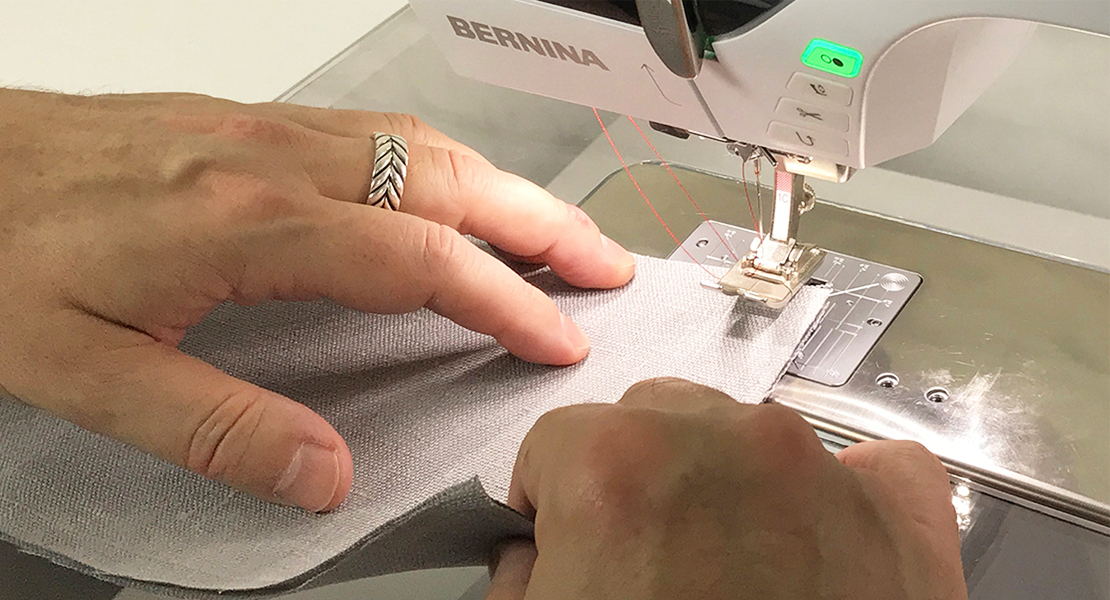
2. Put two cut mitt forms together, wrong sides together, and choose a decorative pattern on your BERNINA to stitch the lines that create the channels that will be filled with the rice mixture.
Stitch the 2 lines with a contrasting or decorative thread.
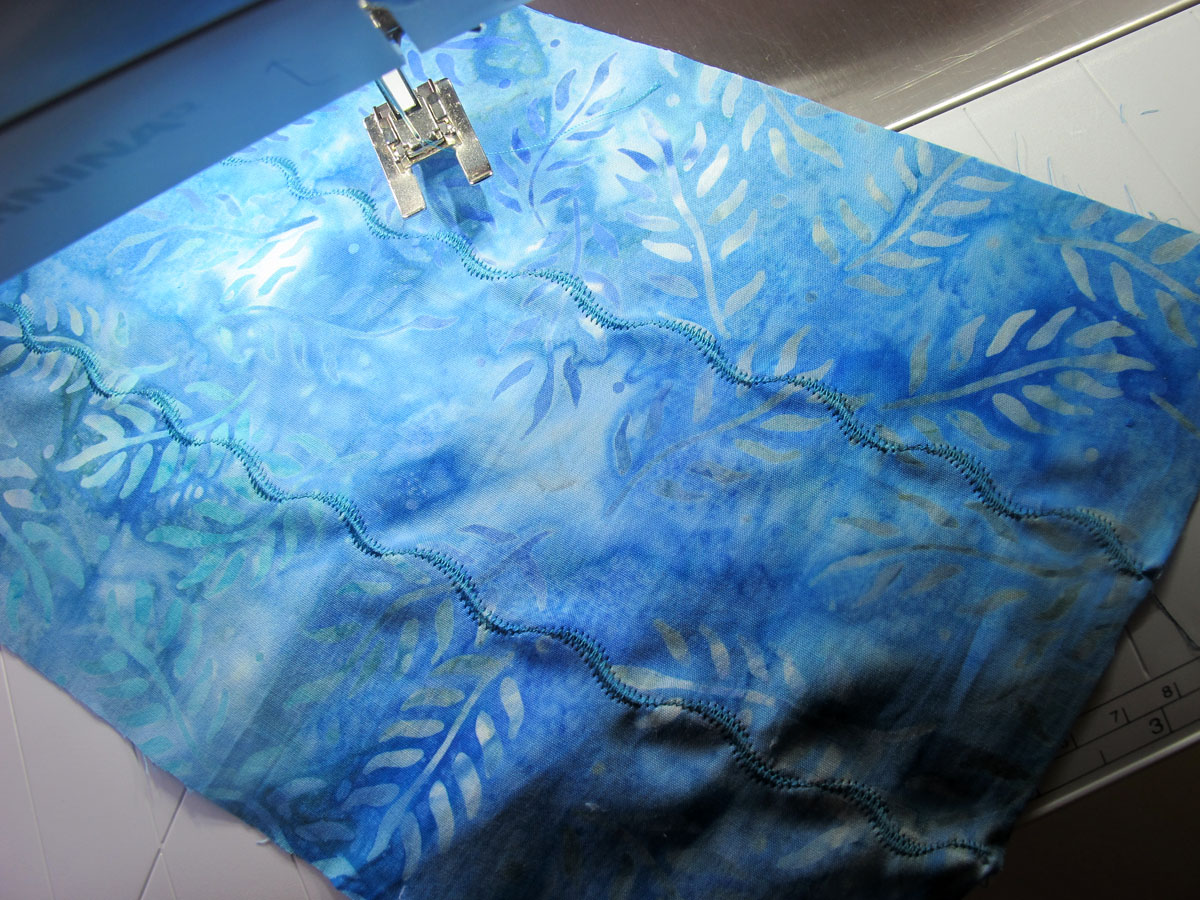
It could also be a multicolor thread depending on your fabric choice. If needed, you can pin your fabric together to keep it from shifting while stitching.
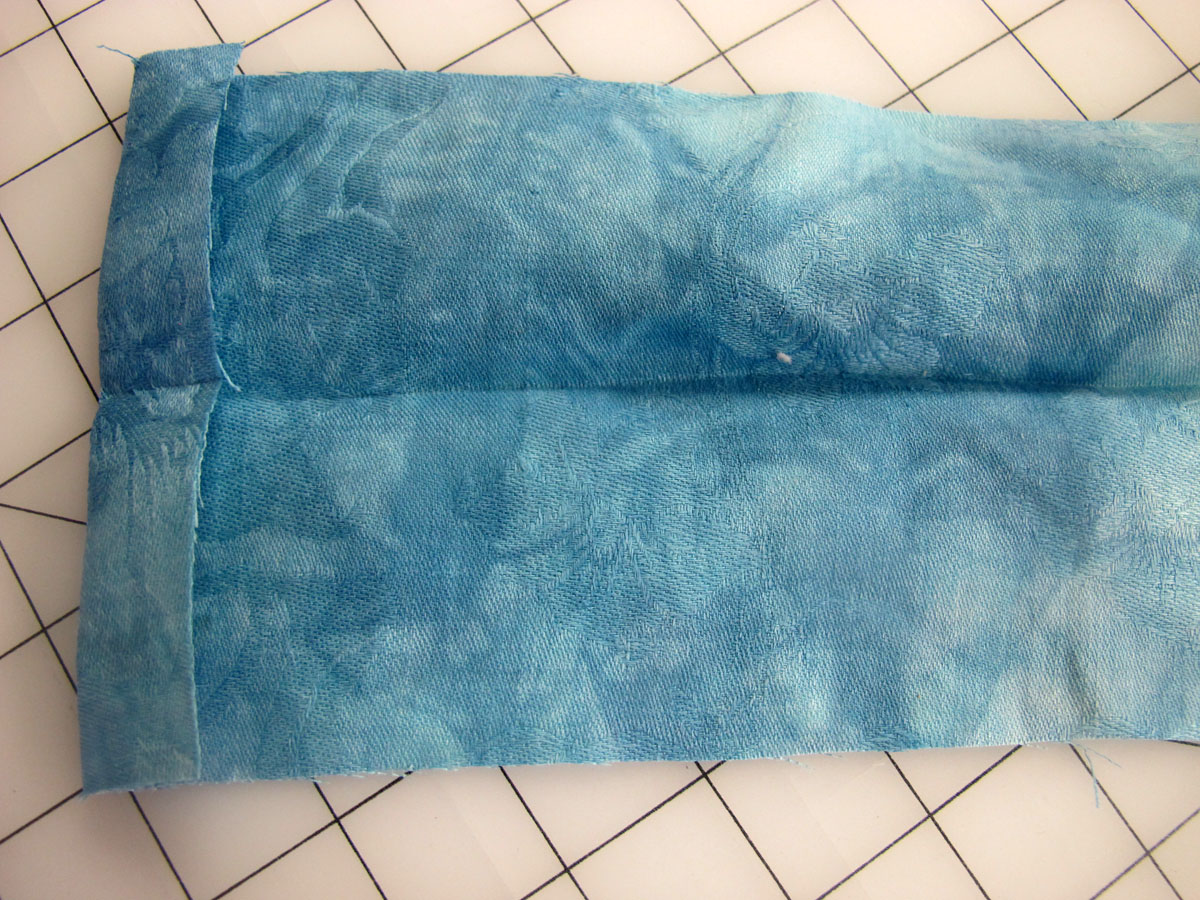
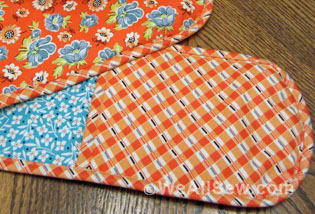
3. Put the two stitched mitt pieces together (front and back of mitt) and stitch around the outside edge with a 1/2″ seam allowance. I stitch twice around to make it extra strong. Trim seam allowance close to the stitching.
4. Turn the mitt to the right side and press.
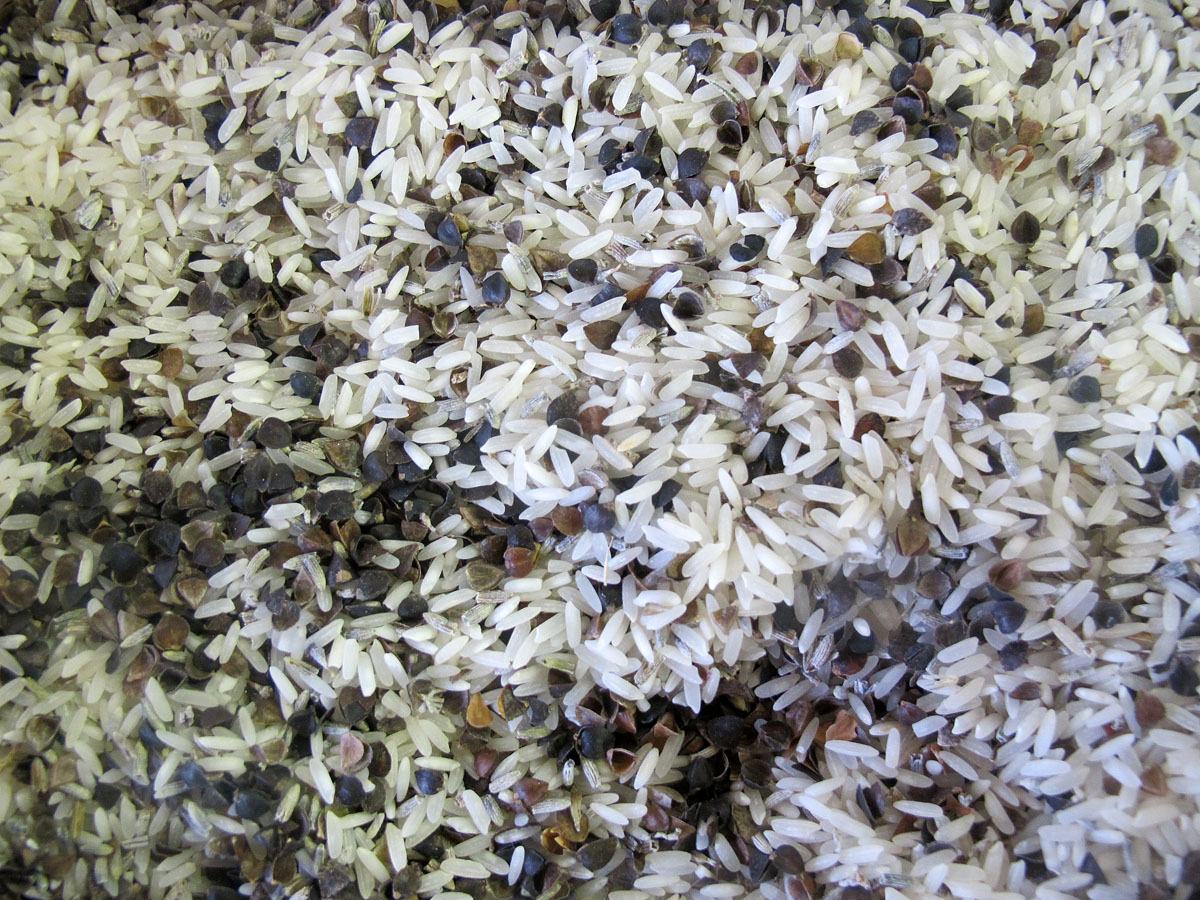
5. In a large measuring cup, mix together the rice, buckwheat hull and lavender.
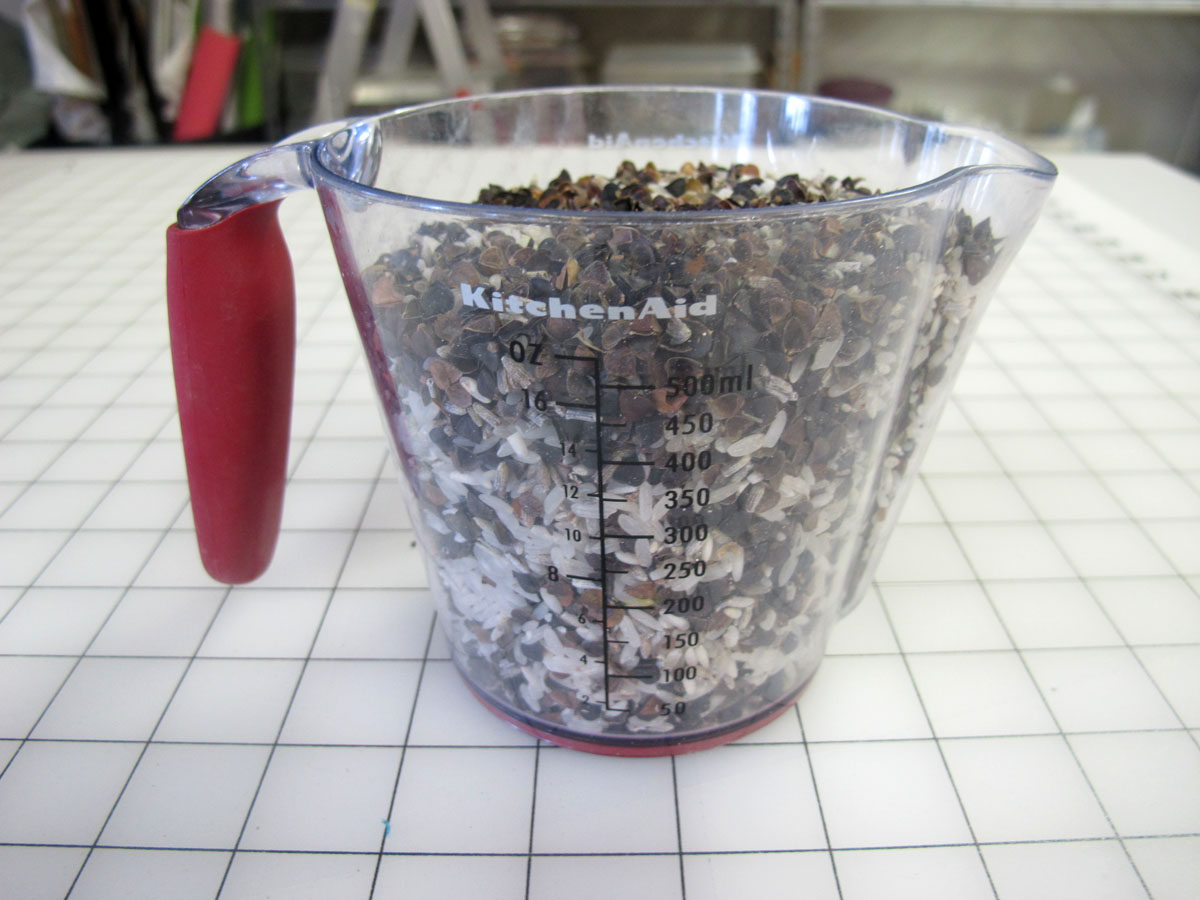
I use rice for holding warmth, the buckwheat hulls for lighter weight and the lavender for its wonderful aroma.
How much of each ingredient is up to you, see above for the approximate mix I like to use.
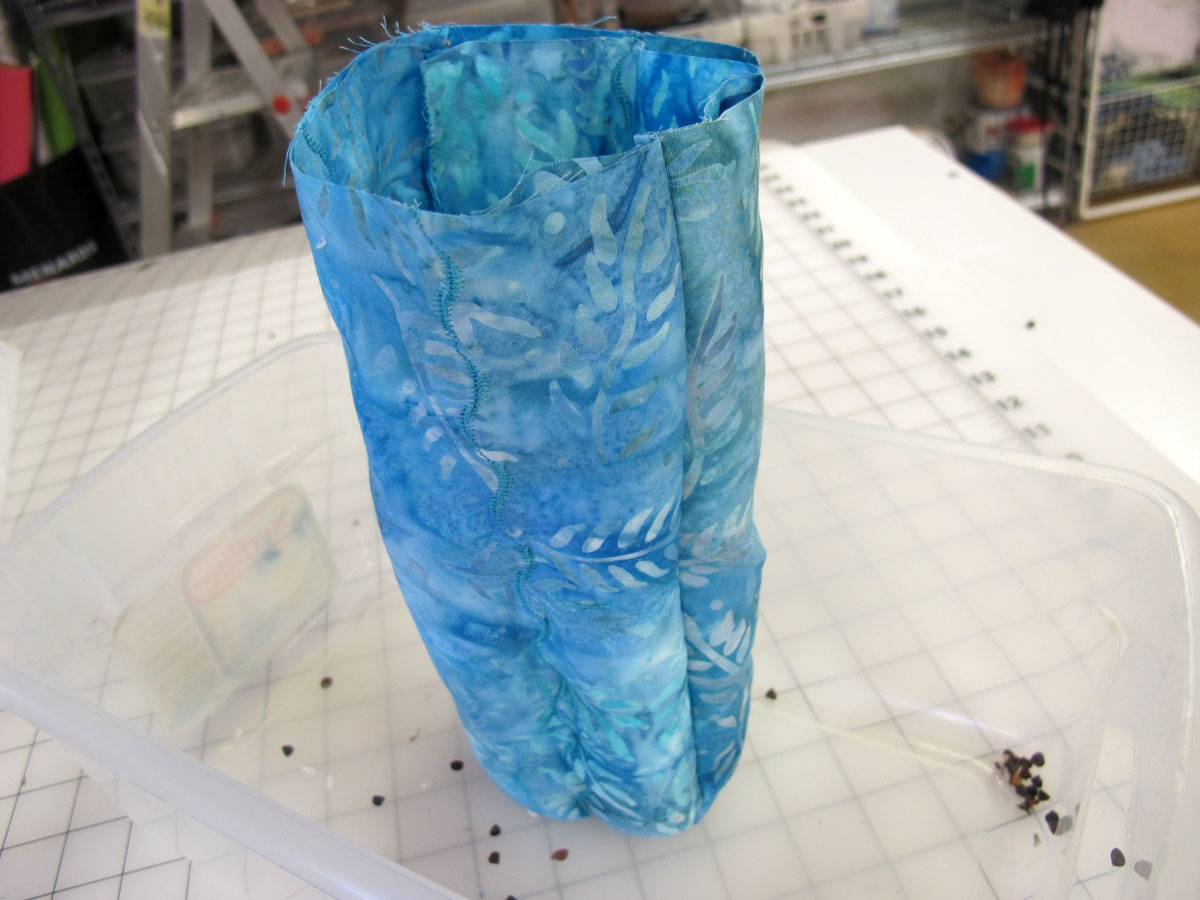
6. Use a measuring cup with a spout to pour the mix into the channels on the mitt. Pour the mixture into the mitt over a box or tray to catch any of the mix that falls outside of the mitt.

Note that a lot of the mix will go into the middle of the mitt (we will deal with that later!) Fill the channels almost to the top. It should stand up on its own in the box (and yes there will be a lot of rice mix on the bottom of the box!).

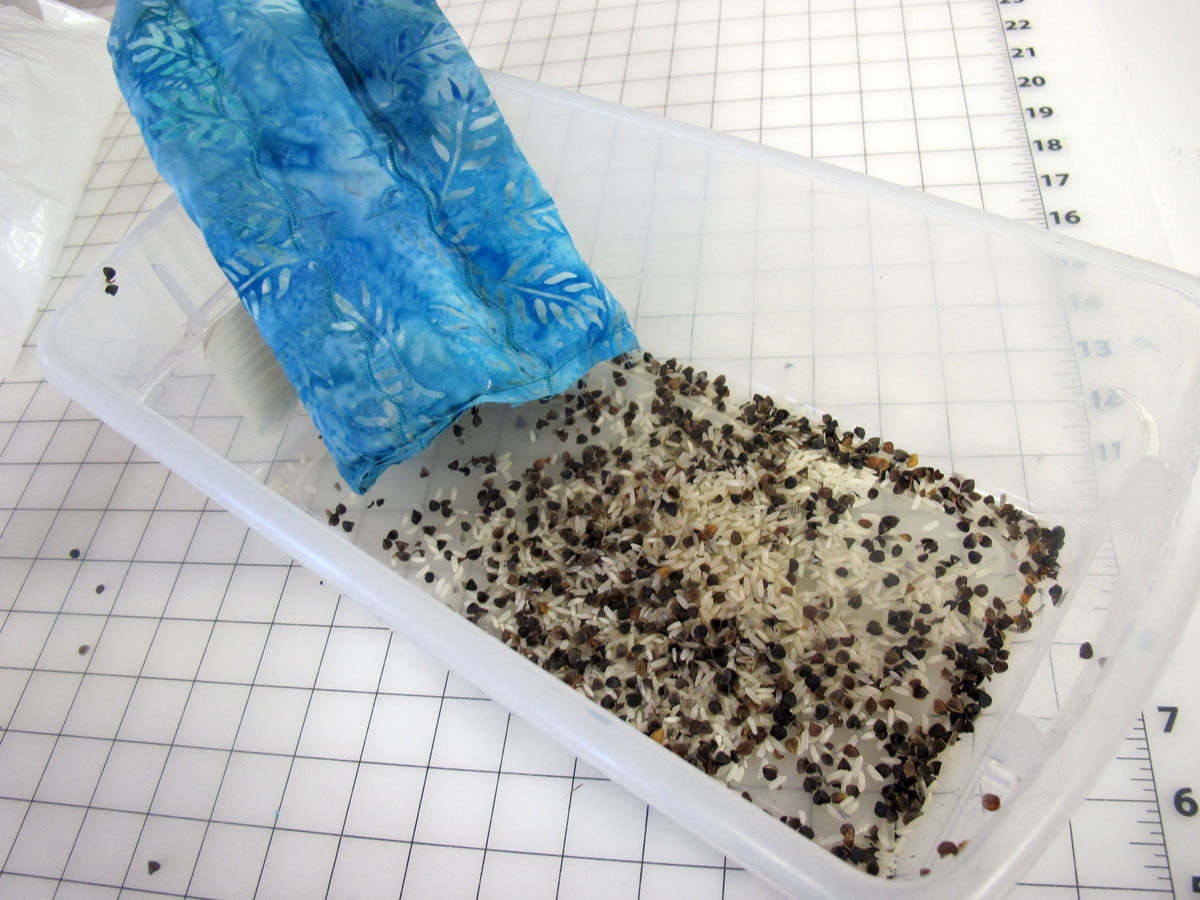
7. Now, in order to make sure the filling is even in all sections, pour out a little of the mix (about 1/4).
This will make the mitt flexible and soft. (I do it this way because it is easier to know that each channel is about the same amount of full in the end.)
8. Pin all around the open end and stitch using the reinforcing stitch to close up the channels.
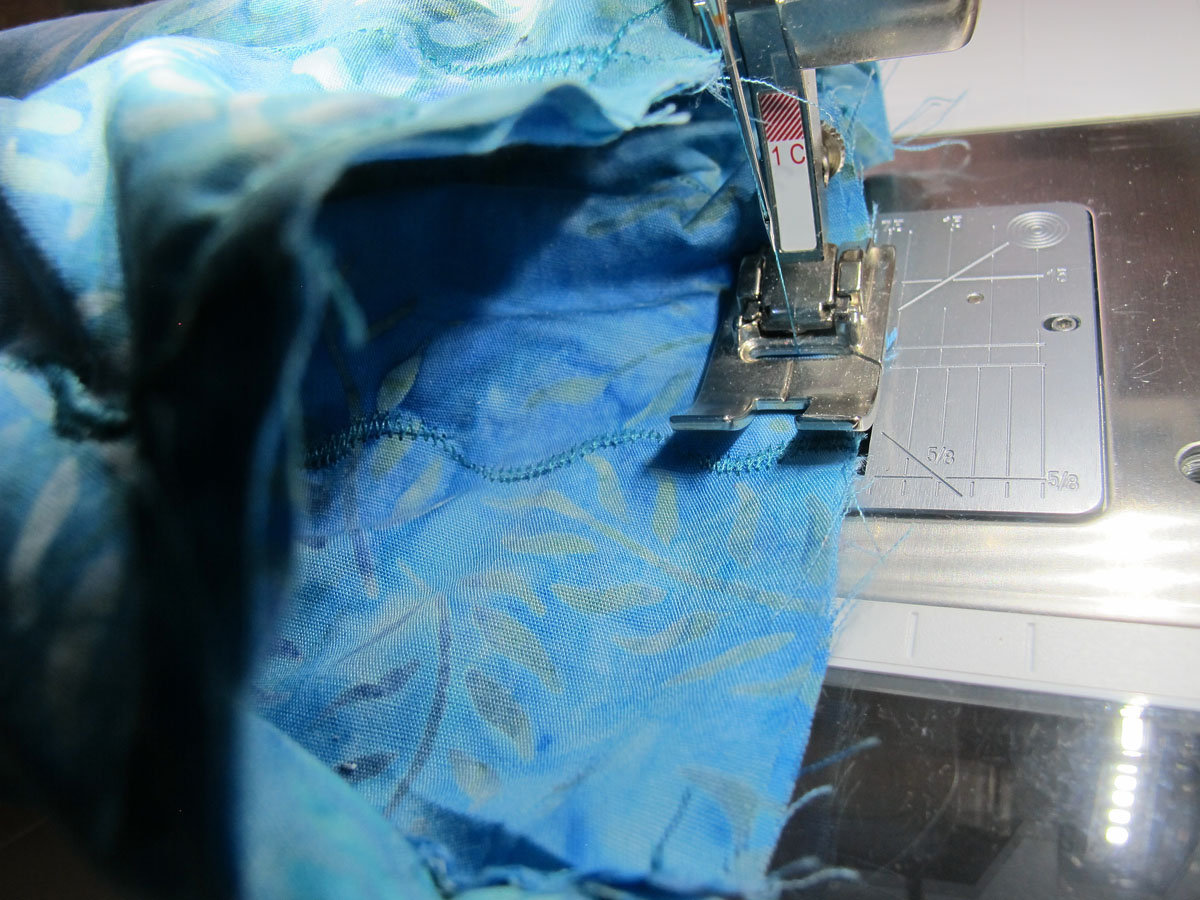
Trim the seam.
9. Pour out any rice mix that got into the middle of the mitt into the box.
Test the mitt on your hand (it should feel cushy and comforting.)
10. To make the cuff, cut a length of contrasting fabric 4.5 inches wide by 15 inches. Make a ½ inch hem at one end.
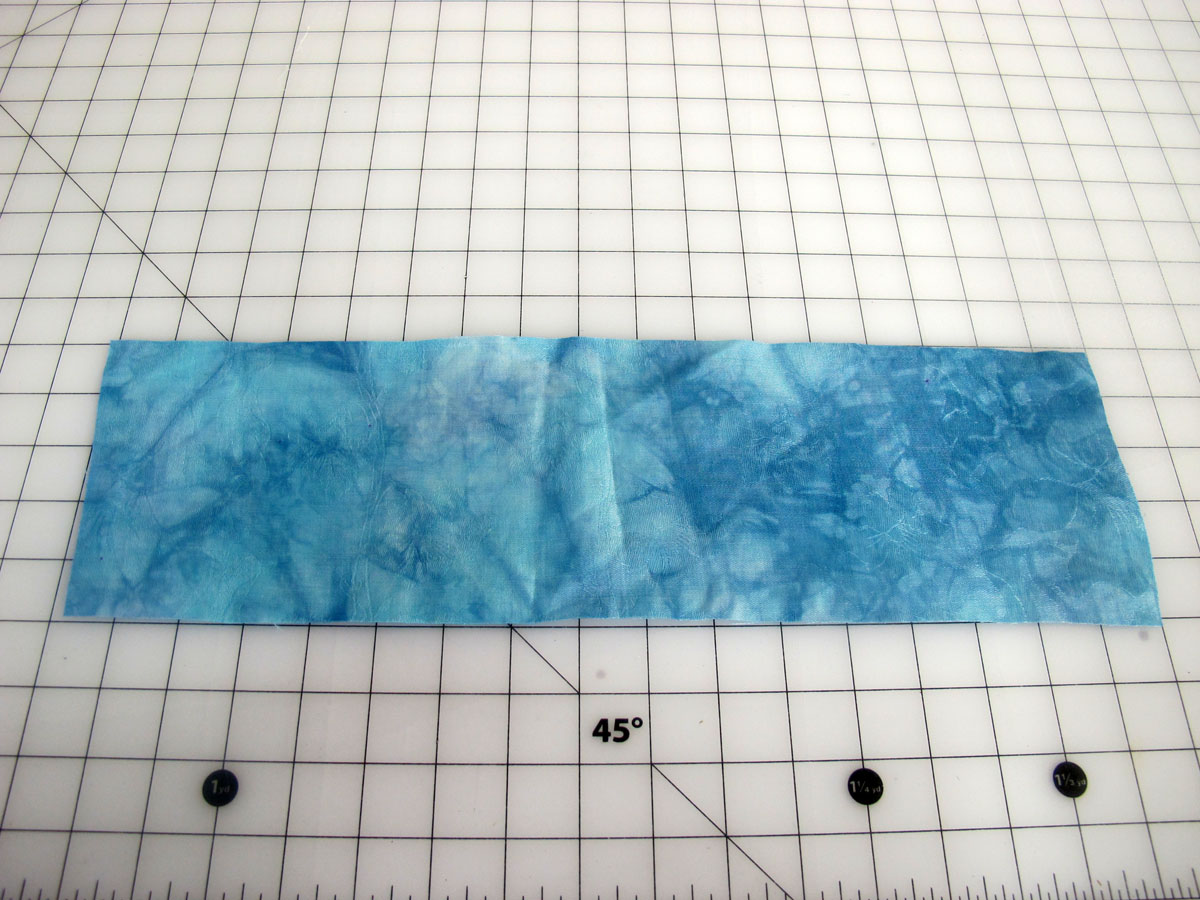
Fold fabric in half lengthwise and iron a crease.
11. Pin the creased and folded cuff into the mitt on the inside.
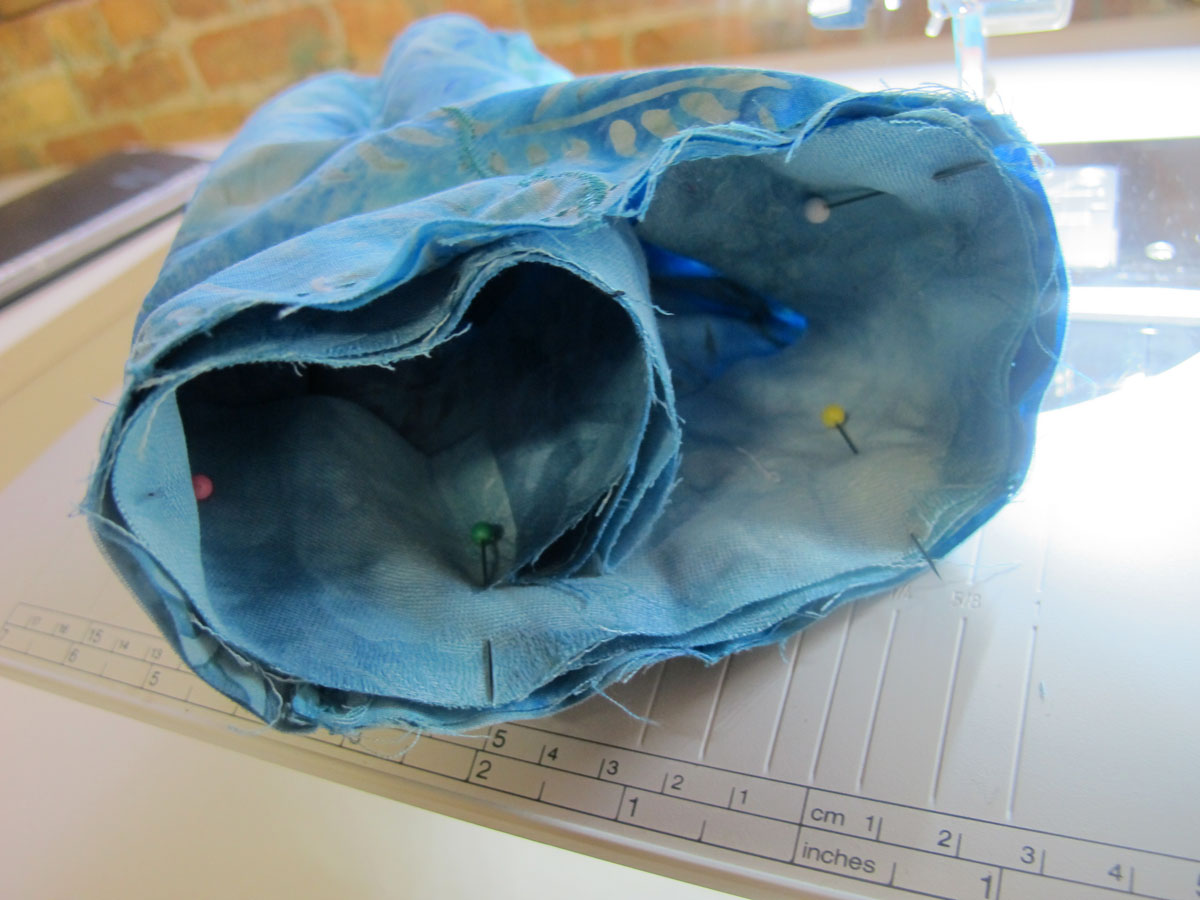
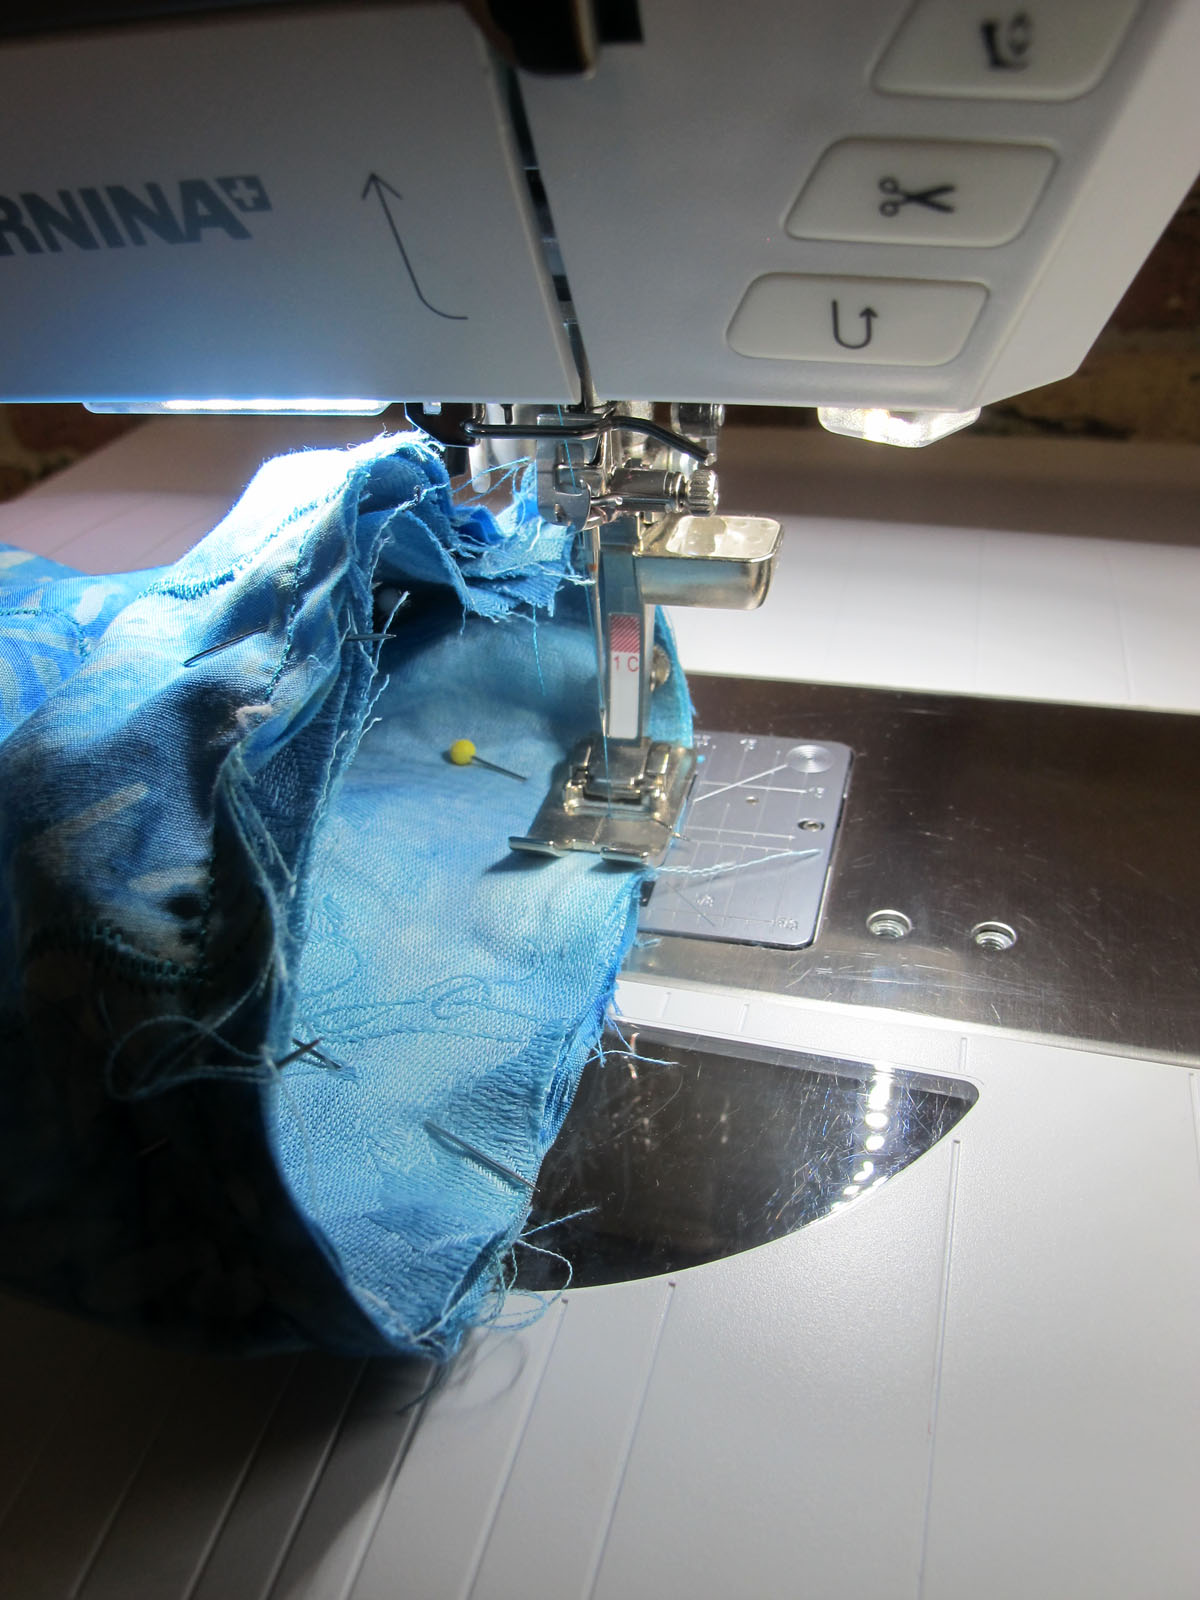
Pin the finished end of the cuff at one seam, and then continue to pin the cuff around the upper edge of the mitt (raw edge to raw edge) and slide the other end of the cuff into the hemmed end. Stitch all the way around the top of the mitt.
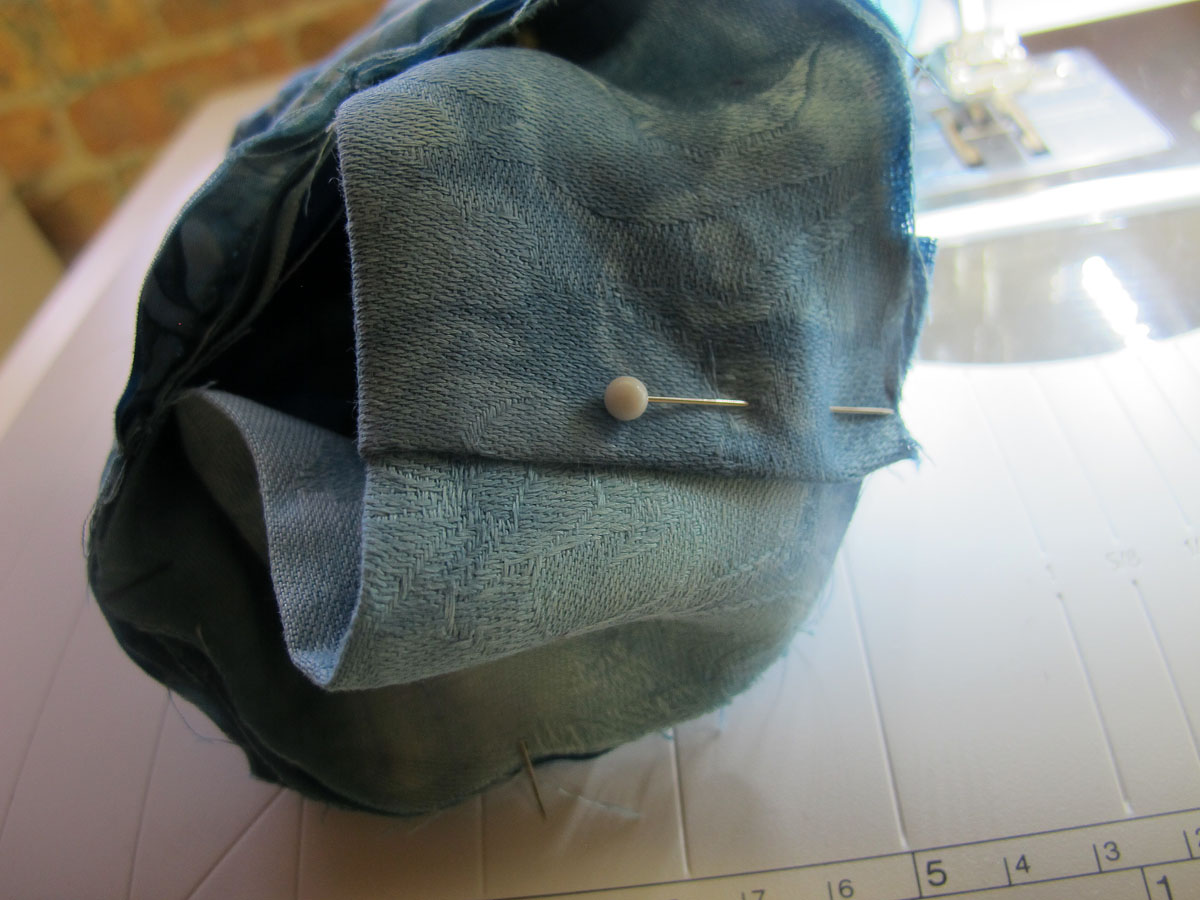
Think of it like putting a tube within a tube and that will help!
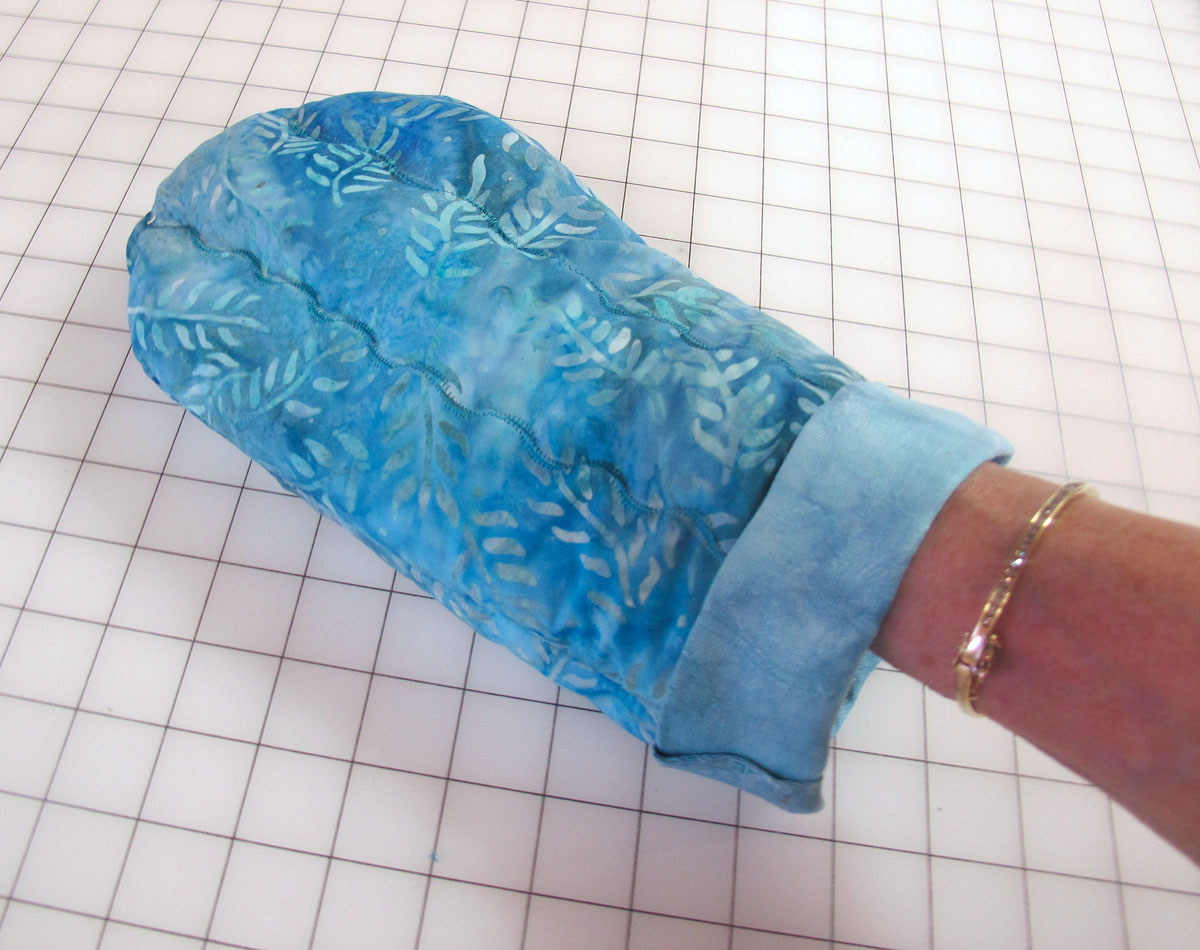
12. Fold the cuff out over the top of the mitt and hand-sew to tack at the two side seams.

13. Voila! Enjoy your new mitt!
Using your Mitt
Keep the mitt in a plastic bag in the freezer for use cold. Take the mitt out of plastic bag and place in microwave to warm it up.
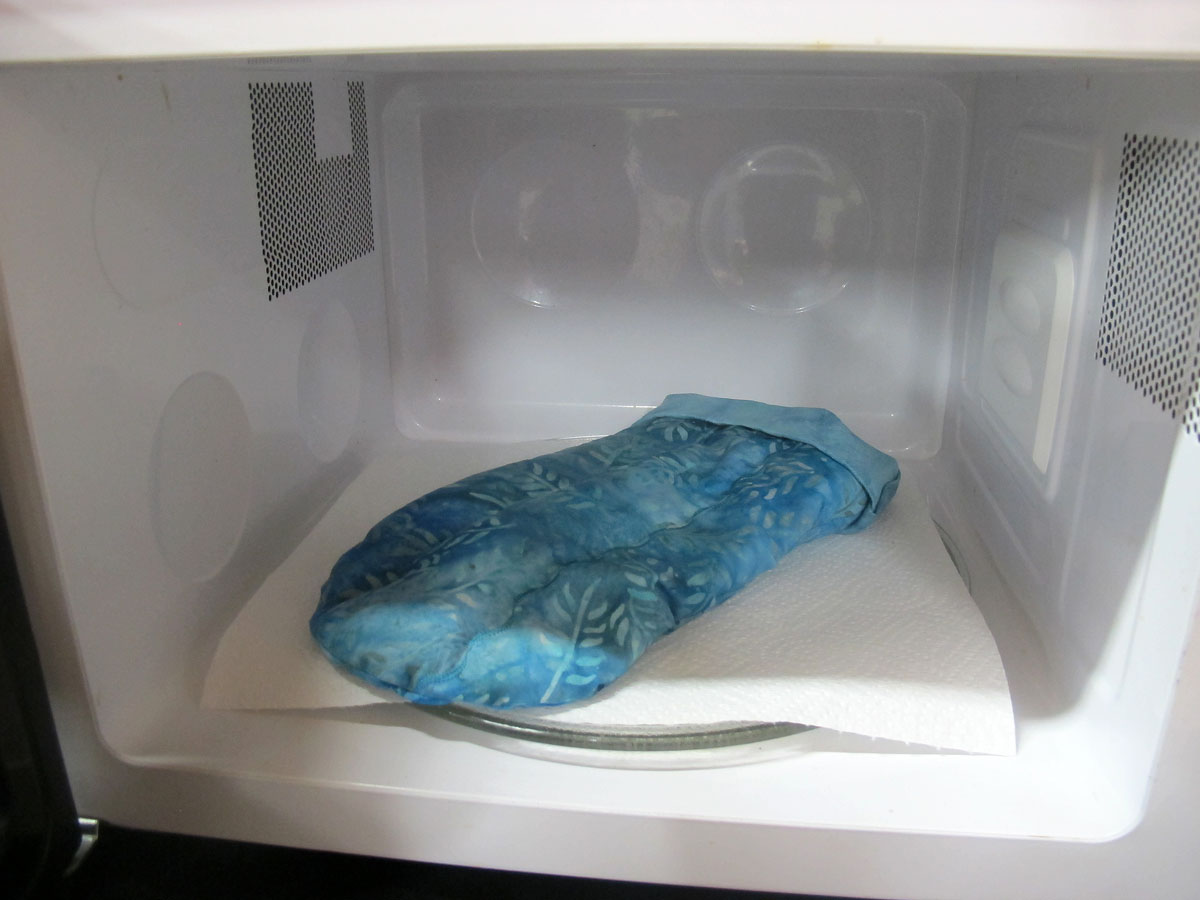
Start with one minute in your microwave to determine how long you need to get it to the temperature that works for you.
Enjoy the cool or the warmth and the aroma. Hopefully, it will help tired, hurting hands to feel better fast!
What you might also like


10 comments on “DIY Hand Therapy Mitts”
-
-
What is the mix that you like to use? It is not in the instructions.
-
-
Going to make this. Thanks for sharing
-
Nice gift idea!! Rib knit fabric would also work for the cuff.
-
I tried making these but something seems off. The pattern prints out at 6″ across yet we are supposed to make quilting lines that are 2.5 inches apart. That adds up to 7.5″. Were we supposed to enlarge the pattern?
-
I found the same problem…would someone please help??
-
6 inches wound up being too narrow to fit my hand comfortably especially after filling. (I have large hands) so I will have to modify it.
-
-
Do you sew channels for the rice mixture on both front and back pieces of the mitt?
Leave a Reply
You must be logged in to post a comment.

I’ve always wanted one of these. I’m making one for myself and three more as gifts. Thanks for sharing this.