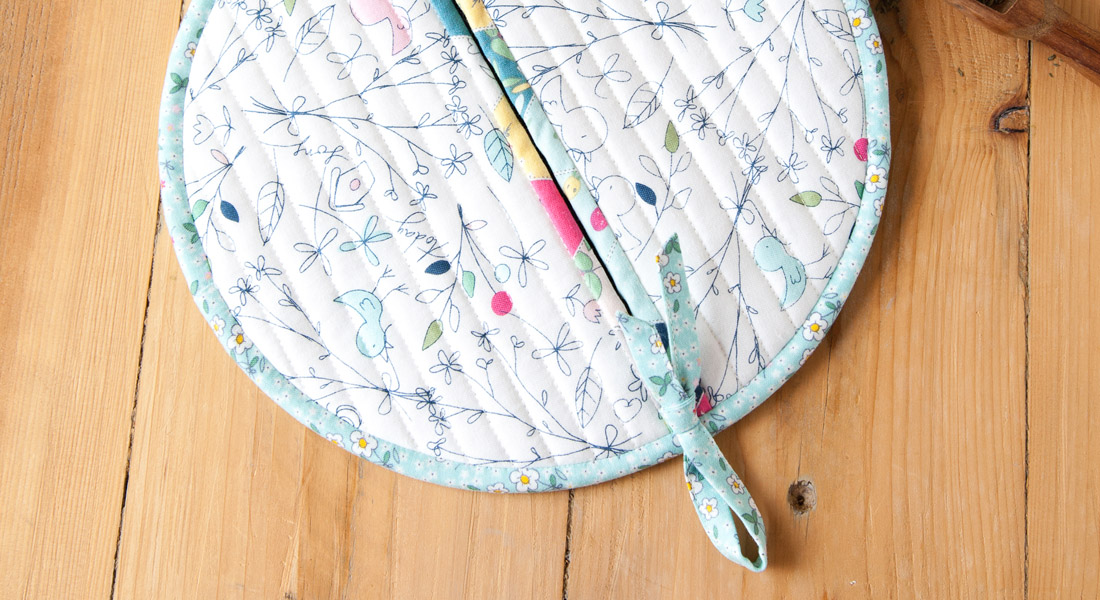
Double Pot Holder with Hand Pockets
Nothing’s worse than placing a delicious meal or sweet dessert in the oven, waiting for the timer to finally sound, and then realizing you need 2 hot pads to pull your large dish or pan out of the oven, but you can only find one. Or even worse…..you can’t even find ONE! And then you know what happens next—you scramble for a kitchen towel, awkwardly wrap it around the edges of the pan and then try to lift it out of the oven without getting burned. Boo. It’s tragic!
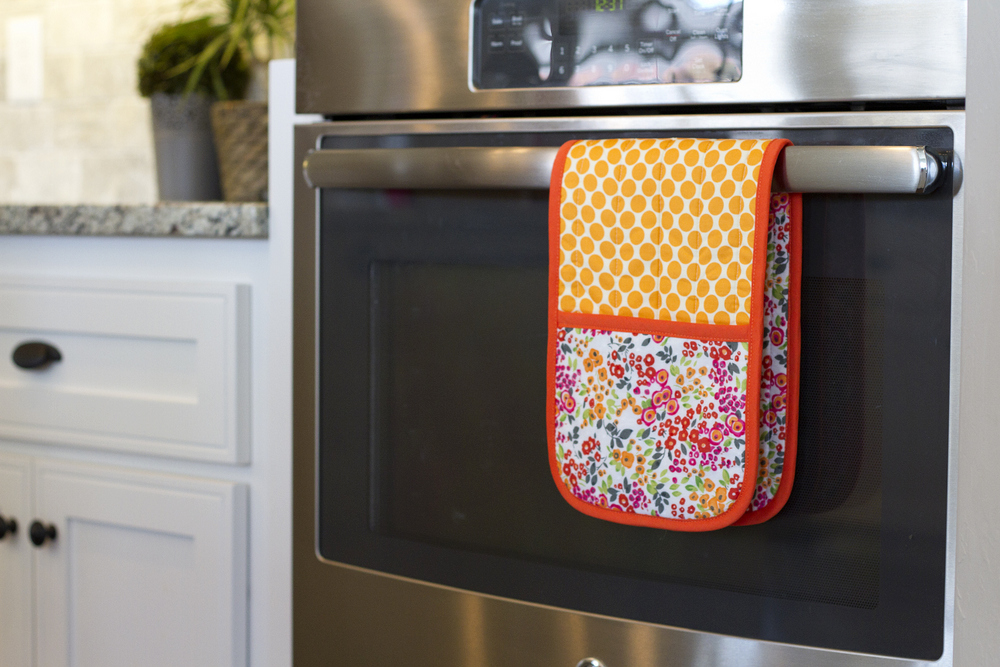
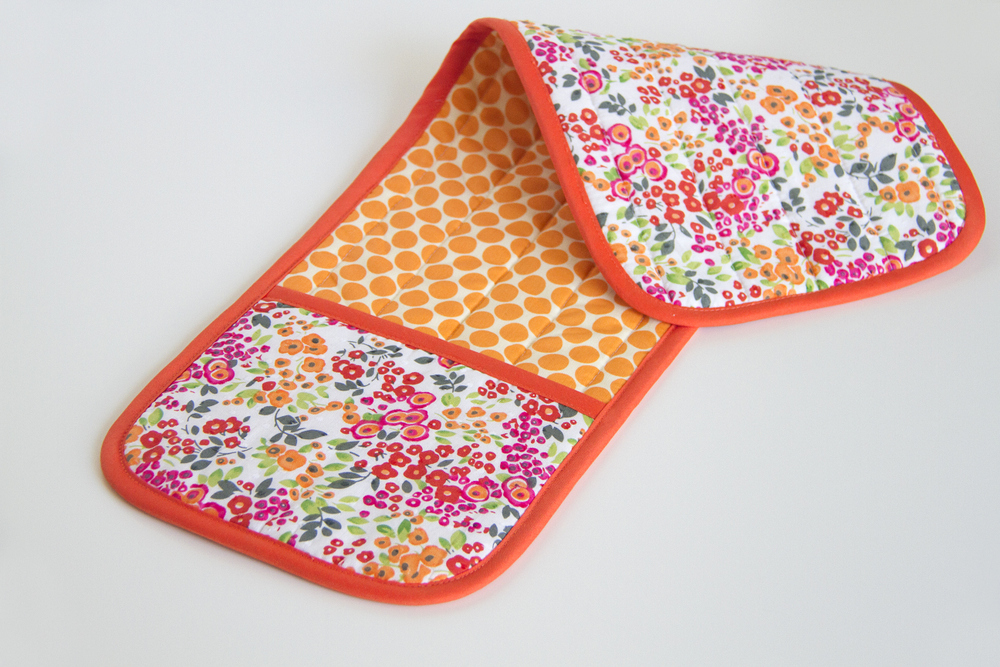
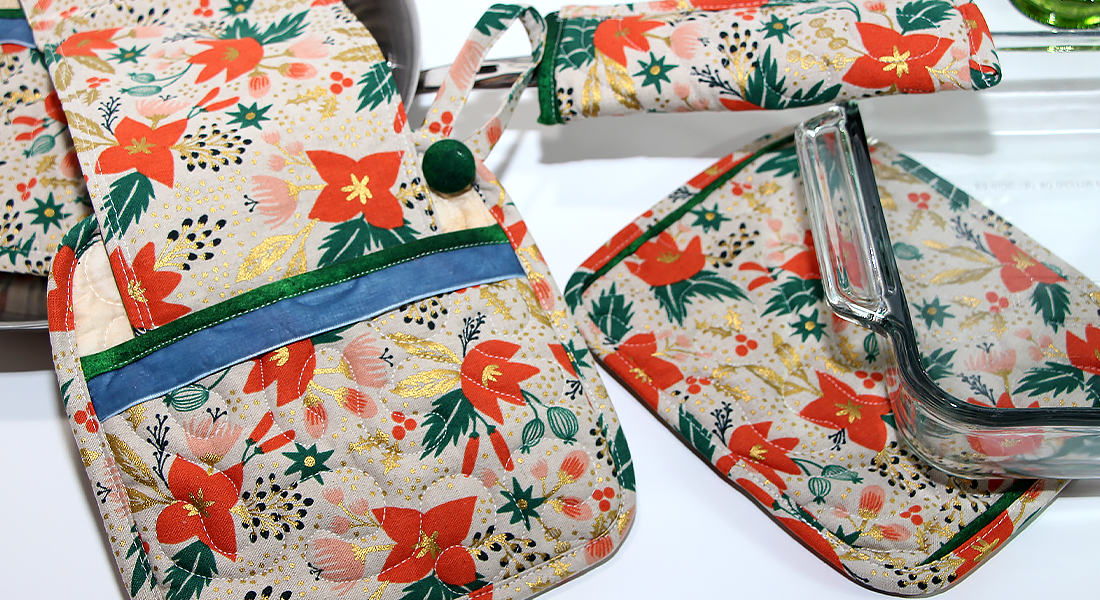
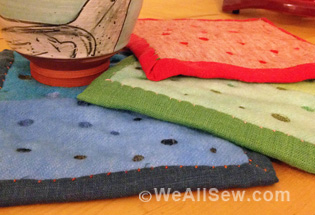
Here’s a solution for that…..a Double Pot Holder with Hand Pockets! Just hang it over the oven bar, keeping it handy at all times!
Once you’re ready to use it, just slide your hands in each end pocket and grab any of your large pans, dishes, hot trays, etc. Or hey, just use one end for your smaller items. It’s the only hot pad you’ll ever need!

Ready to make one for your kitchen?! (And your friend/mother/neighbor’s kitchen?)
Materials to make a Double Pot Holder
- 100% cotton fabric, outer fabric
- 100% natural cotton batting (Pellon makes something called Wrap-N-Zap that’s microwave safe)
- 100% cotton 1/2-inch double fold bias tape (if you’d like to make your own, HERE’S a Bias Tape Tutorial)
- 100% cotton thread
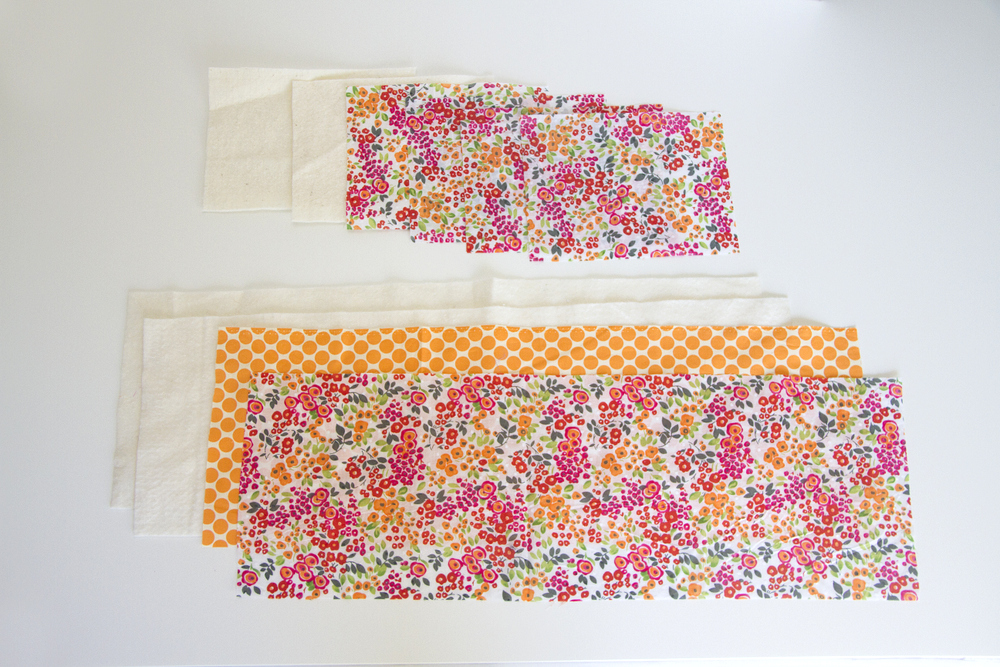
Start by cutting 2 large pieces of cotton fabric and 2 pieces of batting that are all 8 x 24 inches for the main portion of the hot pad. Then, cut 4 smaller pieces of cotton fabric and 2 pieces of batting that are all 6.5 x 8 inches for both pocket sections.
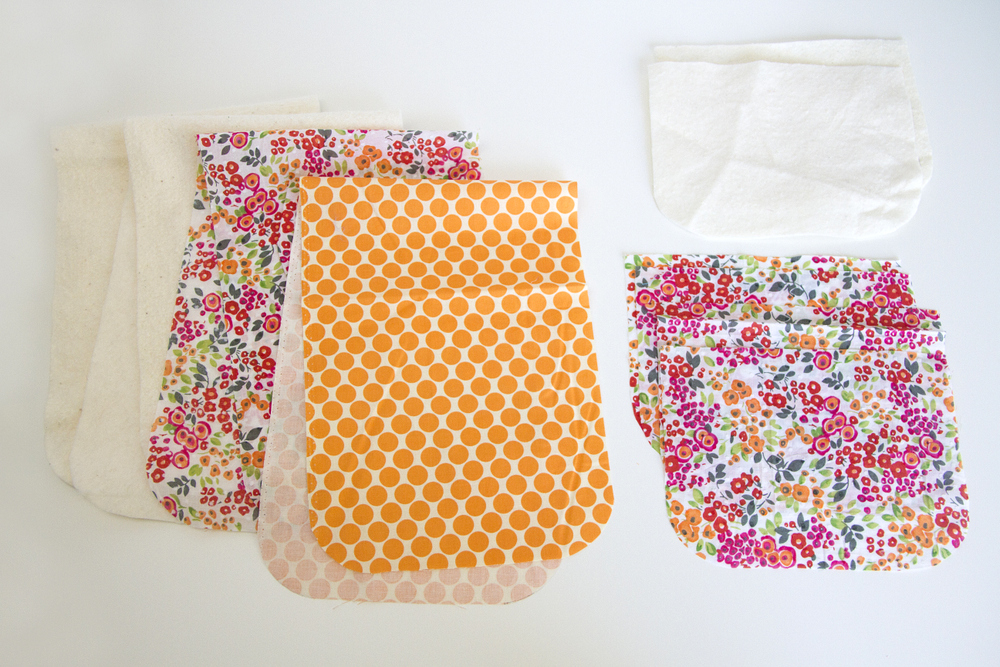
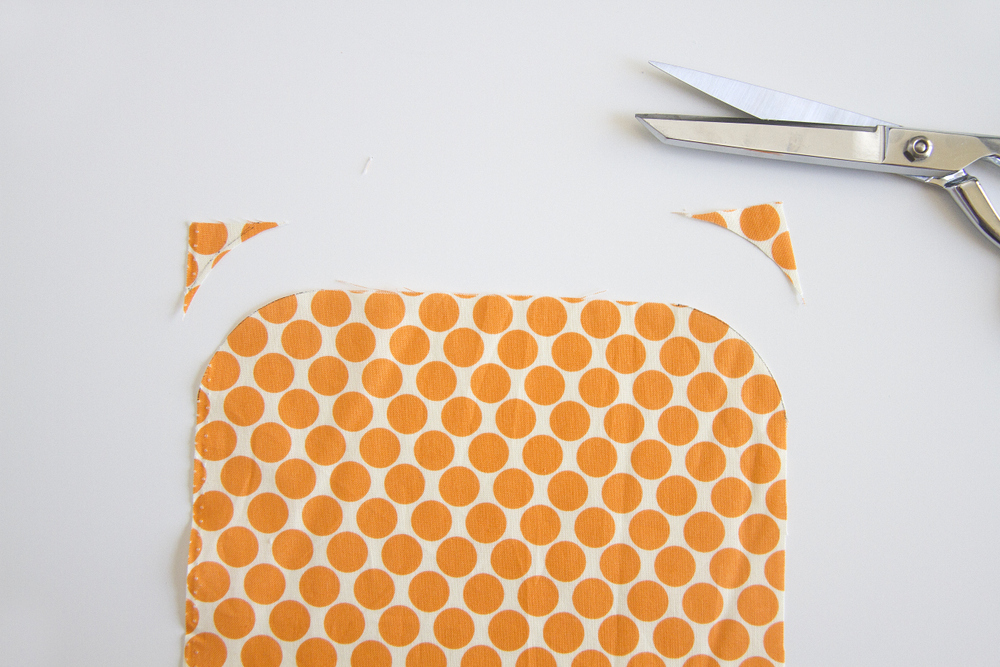
Now, round all 4 corners of the bigger rectangles and round the 2 bottom corners of the smaller rectangles.
To create a simple rounded corner, use a mug or small bowl and trace around it…
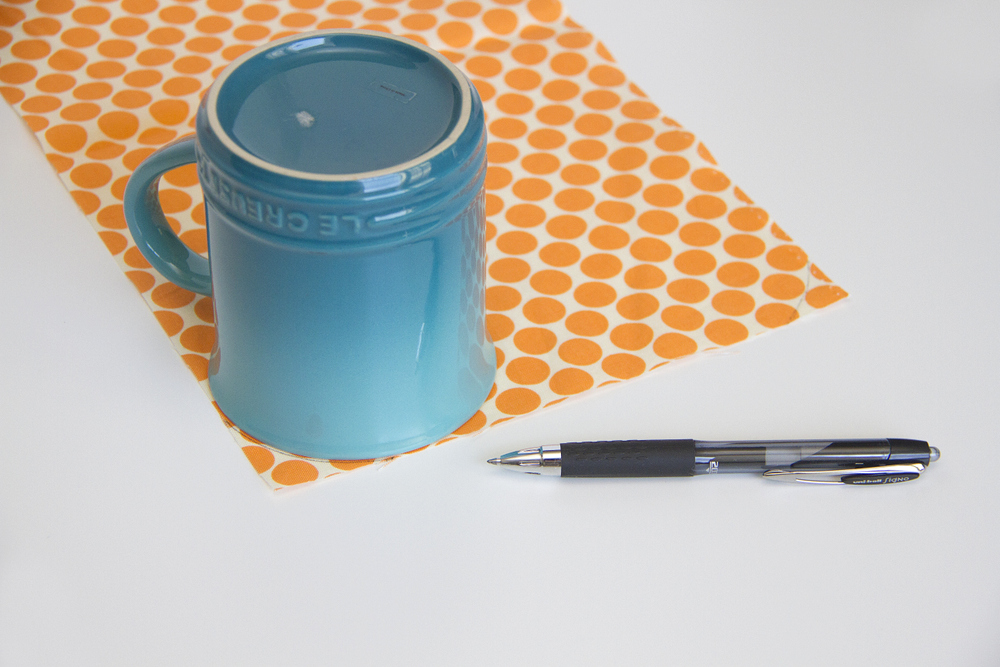
…then cut around it.
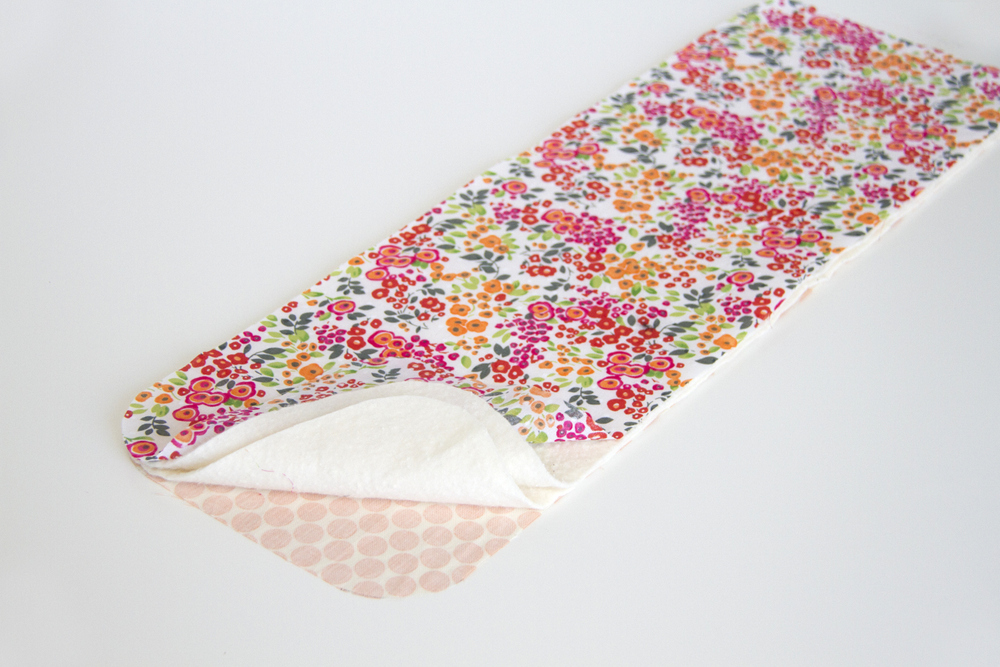
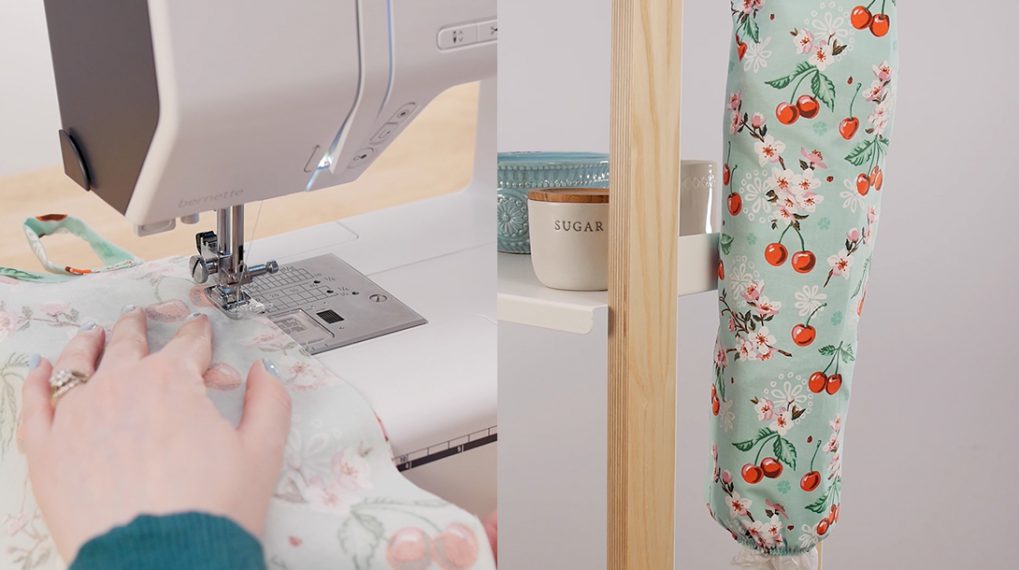
Next, place your large rectangle pieces together with the 2 batting pieces in the middle and the cotton fabric sandwiching them together, facing outward.
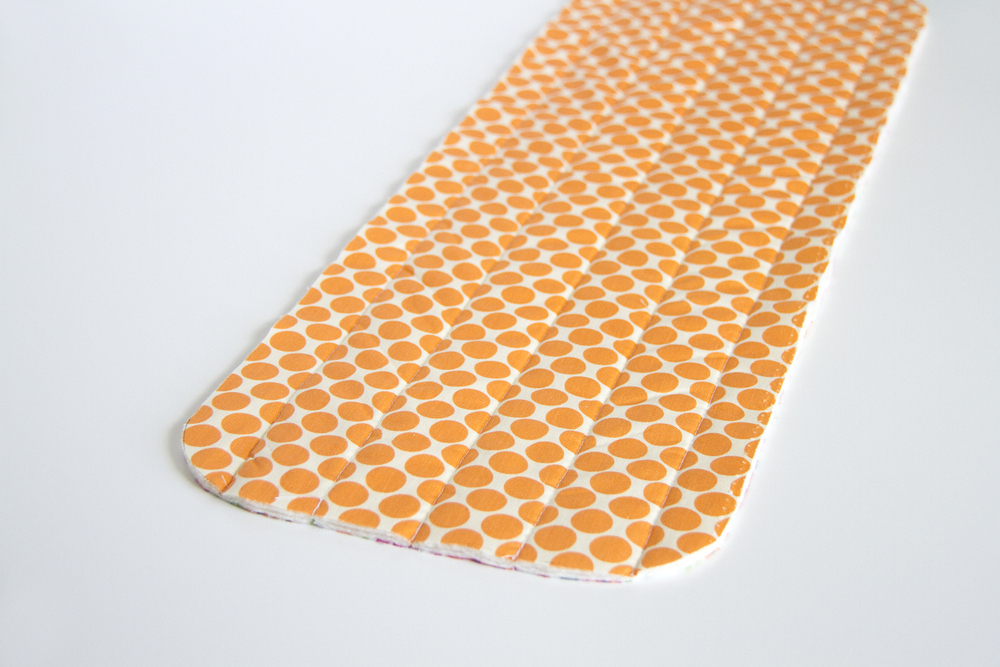
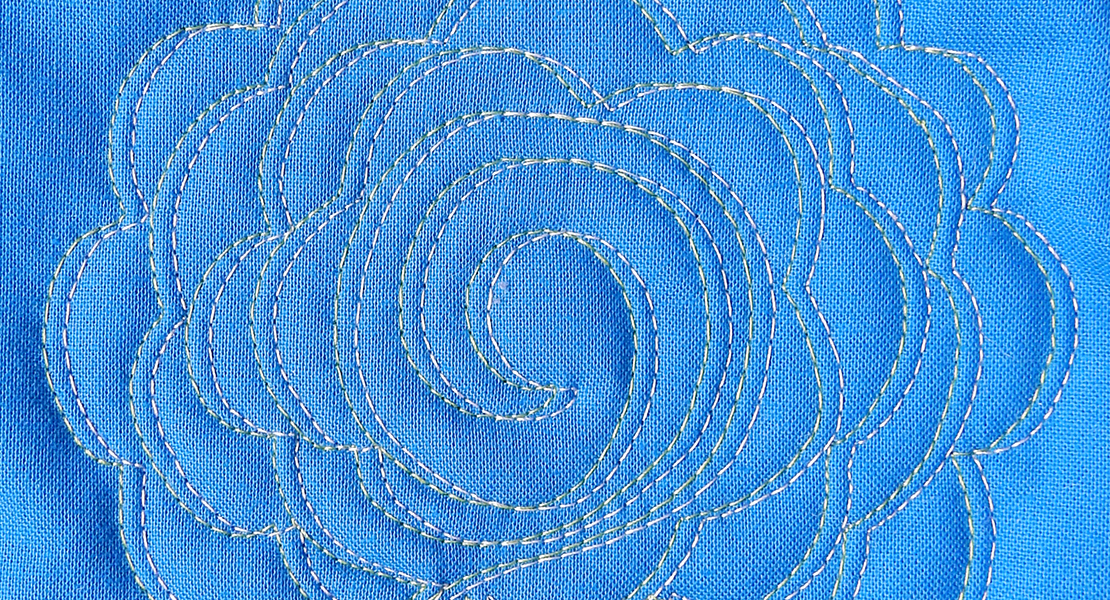
Pin all the layers together and then sew some parallel lines down the length of the fabric, about 1 1/2 inches apart.
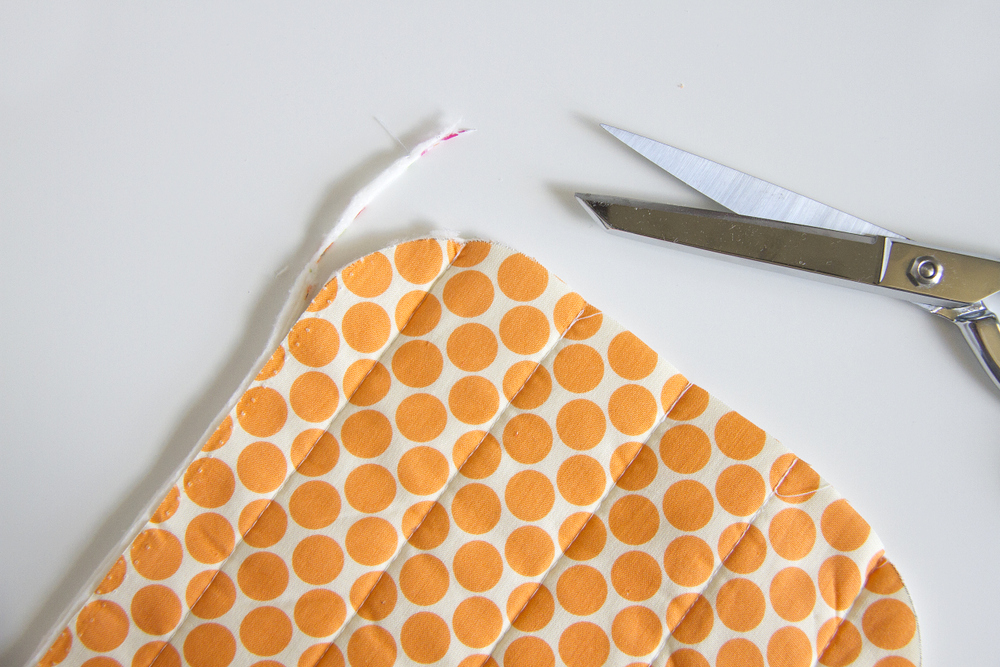
It’s common for the layers to shift slightly, so trim as needed.
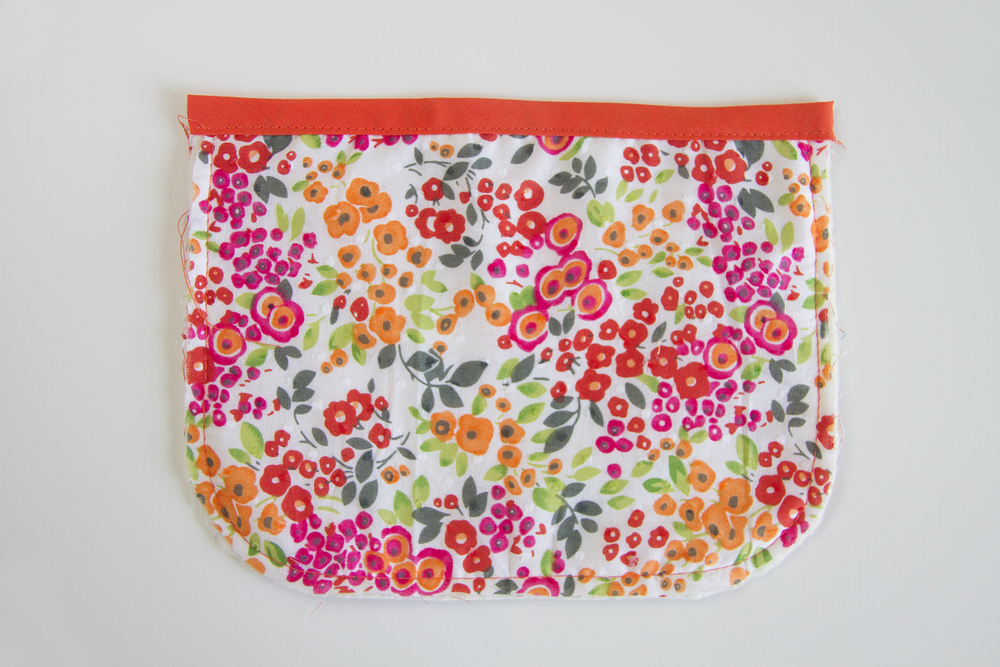
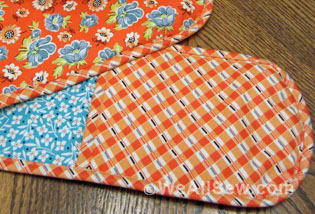
Next, grab 2 of the smaller rectangles and sandwich it around one of the smaller batting pieces, with the RIGHT side of the fabric facing outward.

Then baste all 3 layers together around the curved sides with a 1/4 inch seam allowance and then attach some bias tape along the top straight edge. (Need help attaching BIAS TAPE? Click HERE!) Repeat with the other smaller rectangle pieces.
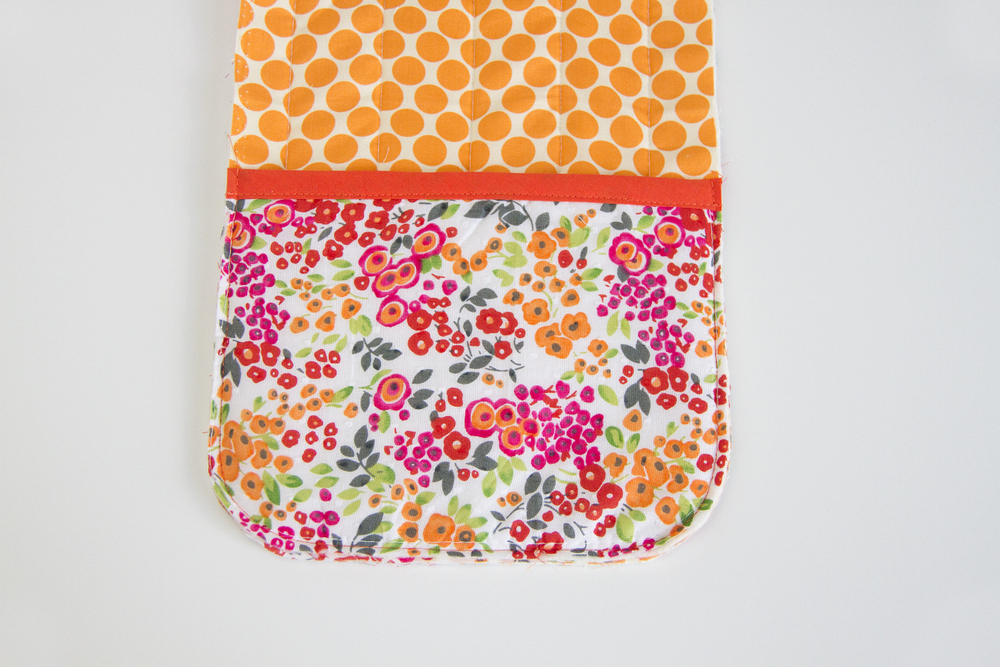
Now, place the 2 smaller rectangle sections at each end of the longer rectangle piece, matching up the curved corners, creating 2 corners.

Attach each pocket by sewing around the sides and bottom, using a 1/4 inch seam allowance.
Then, add bias tape around the entire outer edge of the hot pad.
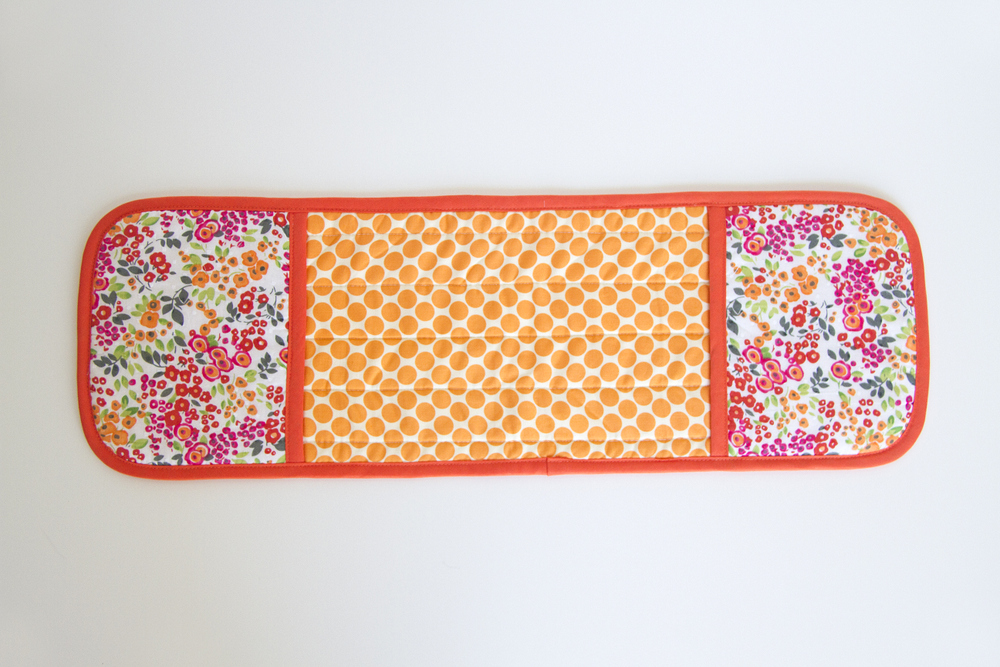
Now, it’s time to hang your Double Hot Pad over the oven handle and let it hang there pretty, until it’s time to be used! 🙂
Enjoy!
-Ashley
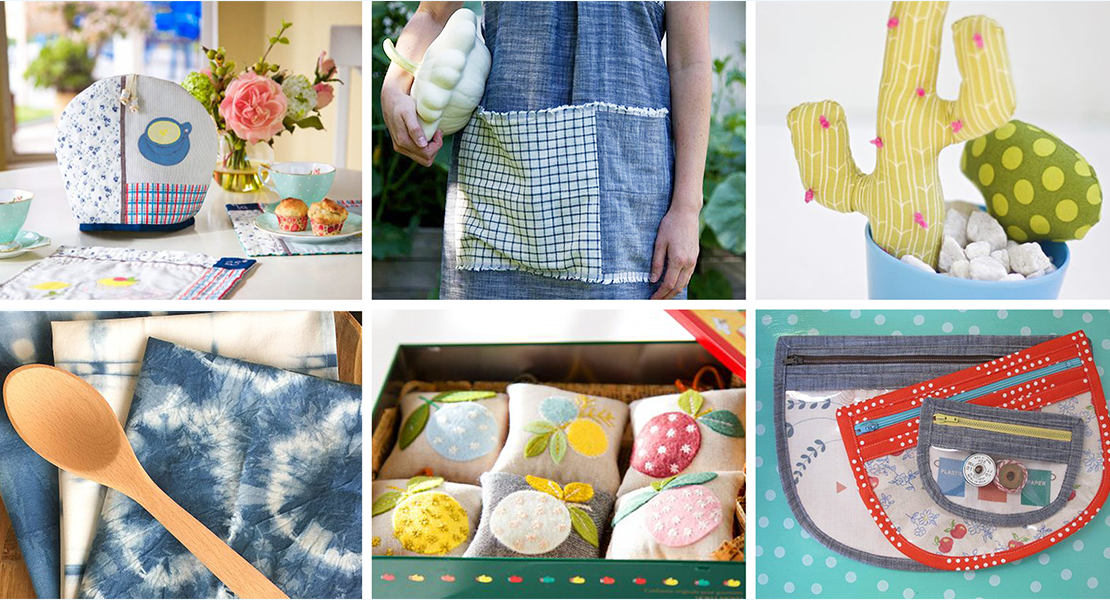
What you might also like


7 comments on “Double Pot Holder with Hand Pockets”
-
-
The binder attachment 87 or 88 make this easier. There are wonderful videos on how to turn a corner. Takes a little practice, but once you do it a few times, it’s not bad at all.
-
-
Love it will make it.
-
I need to try this I like the looks of it
-
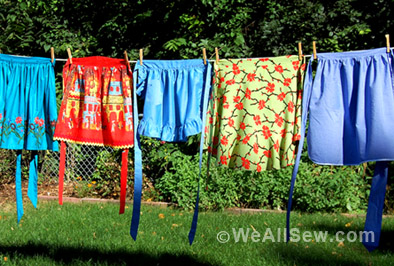
These are so handy, and look great and colorful hanging on the oven handle. I used some of the fabric to top a towel to match. Also makes a cute hostess gift, shower gift, etc.
-
I made a 35″ version to based on comments from other sites. I also used Insul-Brite and a layer of cotton batting for the heat resistance elements. It turned out really cute.
-
I cut mine to 8 x 33 which gave me more length for larger pans. I’ve made several as gifts and everyone loved them. It would be great if these patterns were made in printable form. I used copy & paste, then reduced the size of the pictures, even deleting those I didn’t need.
Leave a Reply
You must be logged in to post a comment.

Is there a trick to attaching purchased double fold bias tape on the corners? I have clipped and trimmed and cannot get the bias tape and corners to lay smoothly.