Duvet in a Day!
Giuseppe here (aka @giucy-giuce)! I can’t believe I am up on the BERNINA blog posting a project! This is a real dream come true. In planning my tutorials this year, I have found myself focusing on all things décor. I have so many different ideas for projects I want to share with you that will spruce up your living space in very simple ways.
For my first project, I wanted to tackle a duvet cover. I love my quilts, but in winter in NYC, when you’re at the will of your landlord turning on the heat, you need something a bit heavier. Plus, what’s better than a soft, cushy, fluffy blanket? I love the feel of a cozy comforter, but I hate not sleeping under something handmade. So I decided to make my own duvet cover.
I did some research on duvet covers, not just the styling of them, but how they are constructed. I put together this super easy duvet in a day tutorial. This project came together so quickly and so simply. It’s the perfect weekend project to breathe new life into your bedding.
The inspiration for this duvet actually came from a set of curtains. My boss and friend Daryl at Andover Fabrics (@fabrichick on Instagram) and I share a love for all things boho chic: World Market, Denim and Supply, Anthropologie… Daryl spied this set of curtains on Anthropologie’s website that I fell head over heals for. They were a neutral-colored base cloth with these long raw edge strips appliquéd all over. The prints were Indian-inspired in varied shades of blue. But the price, as you can imagine, was just crazy.
Daryl told me she bet I could make something like that. We do this a lot, she and I. Find things online and in stores and chat about ways we can make them ourselves for a fraction of the price. After much discussion, the project evolved into a duvet cover. And the rest is history!
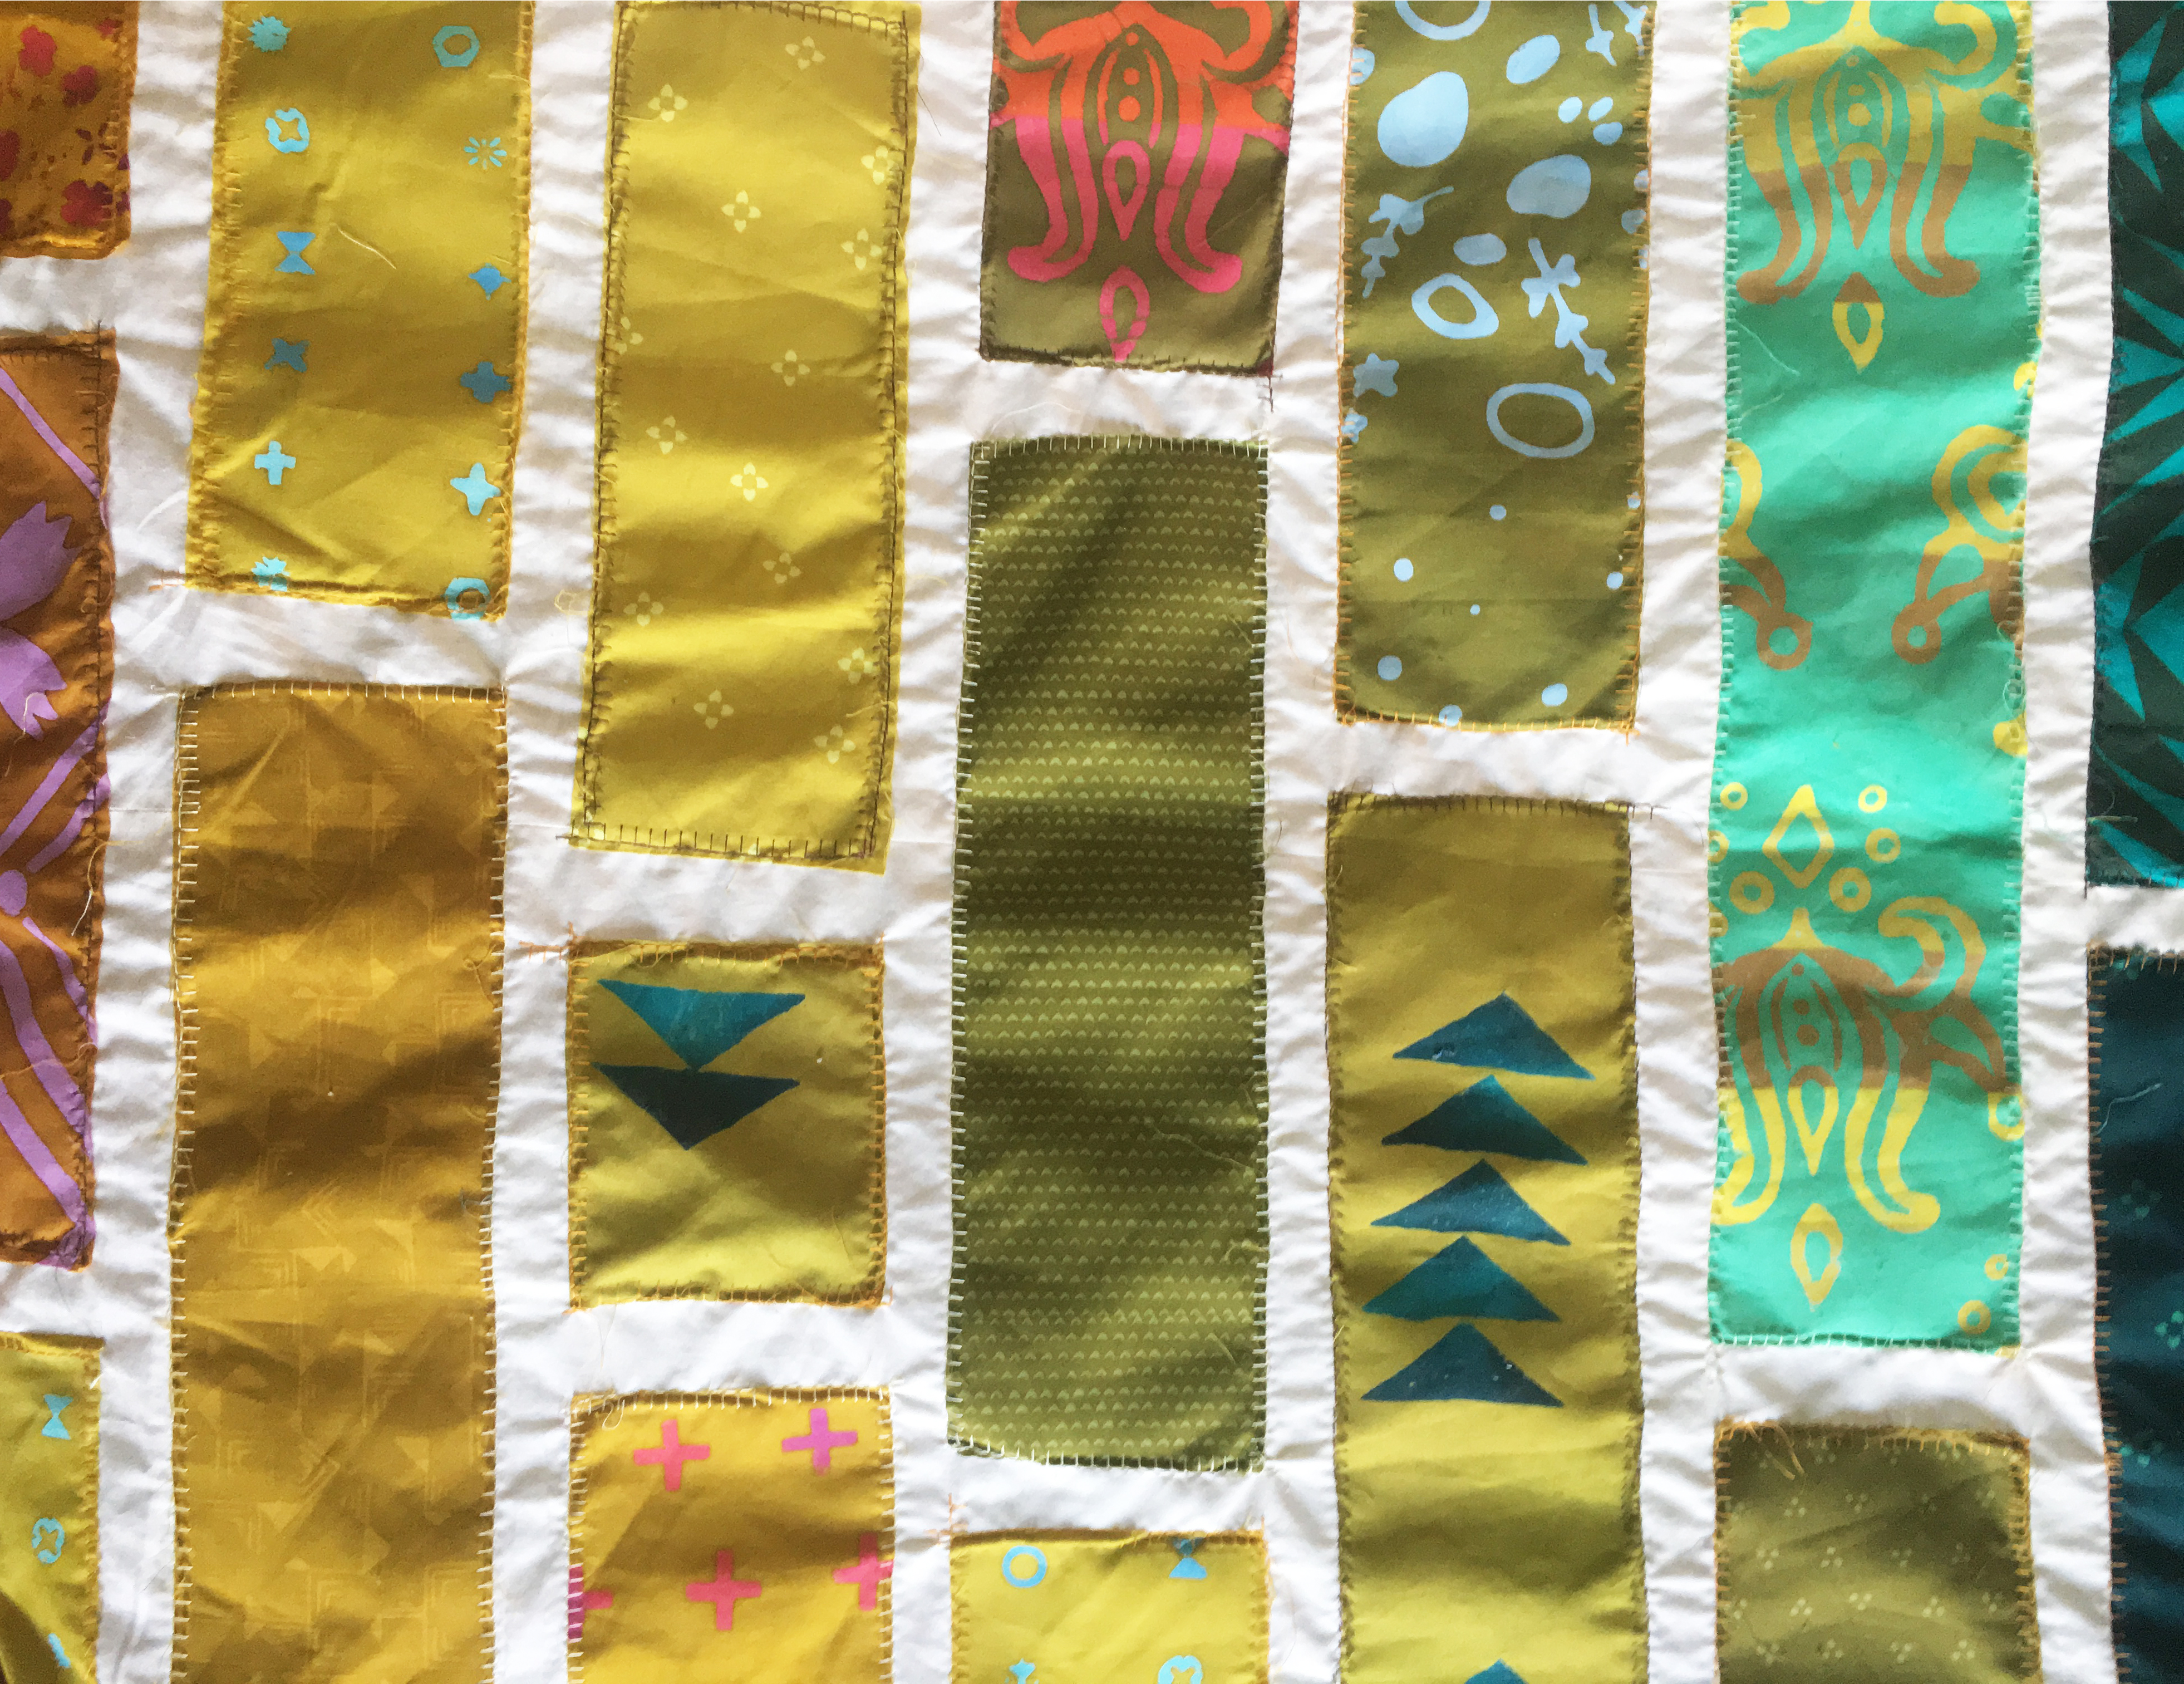
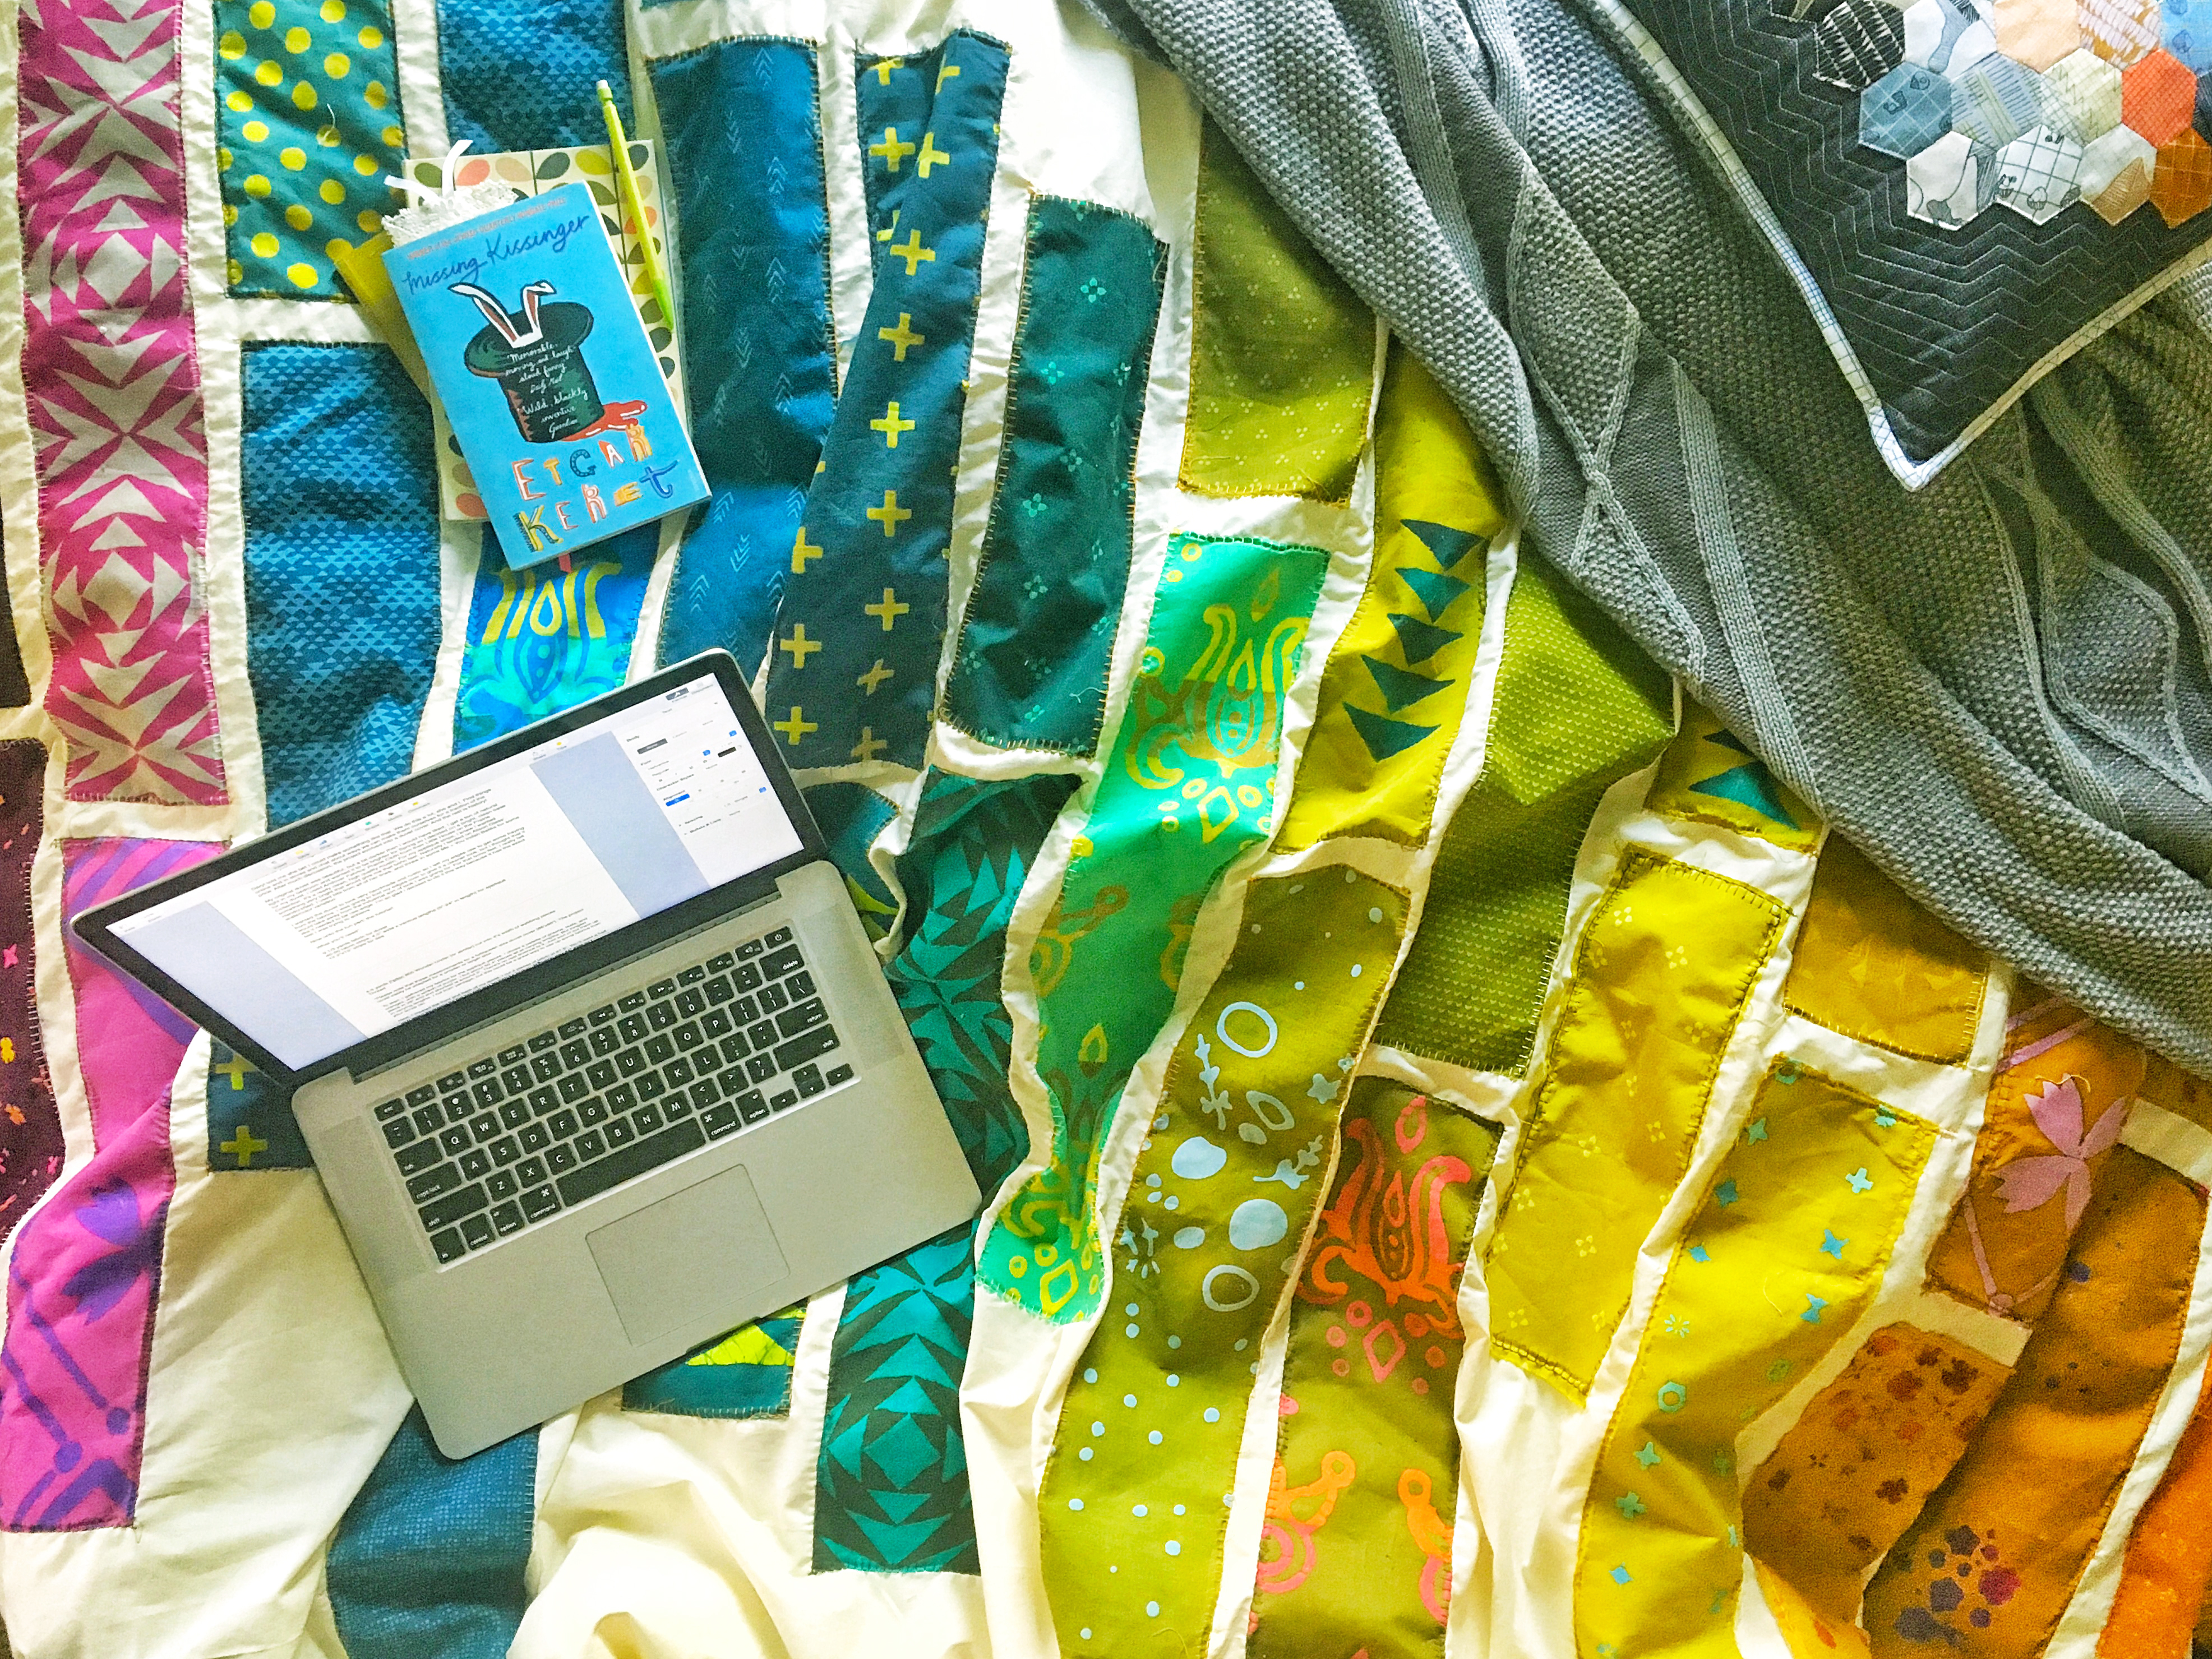
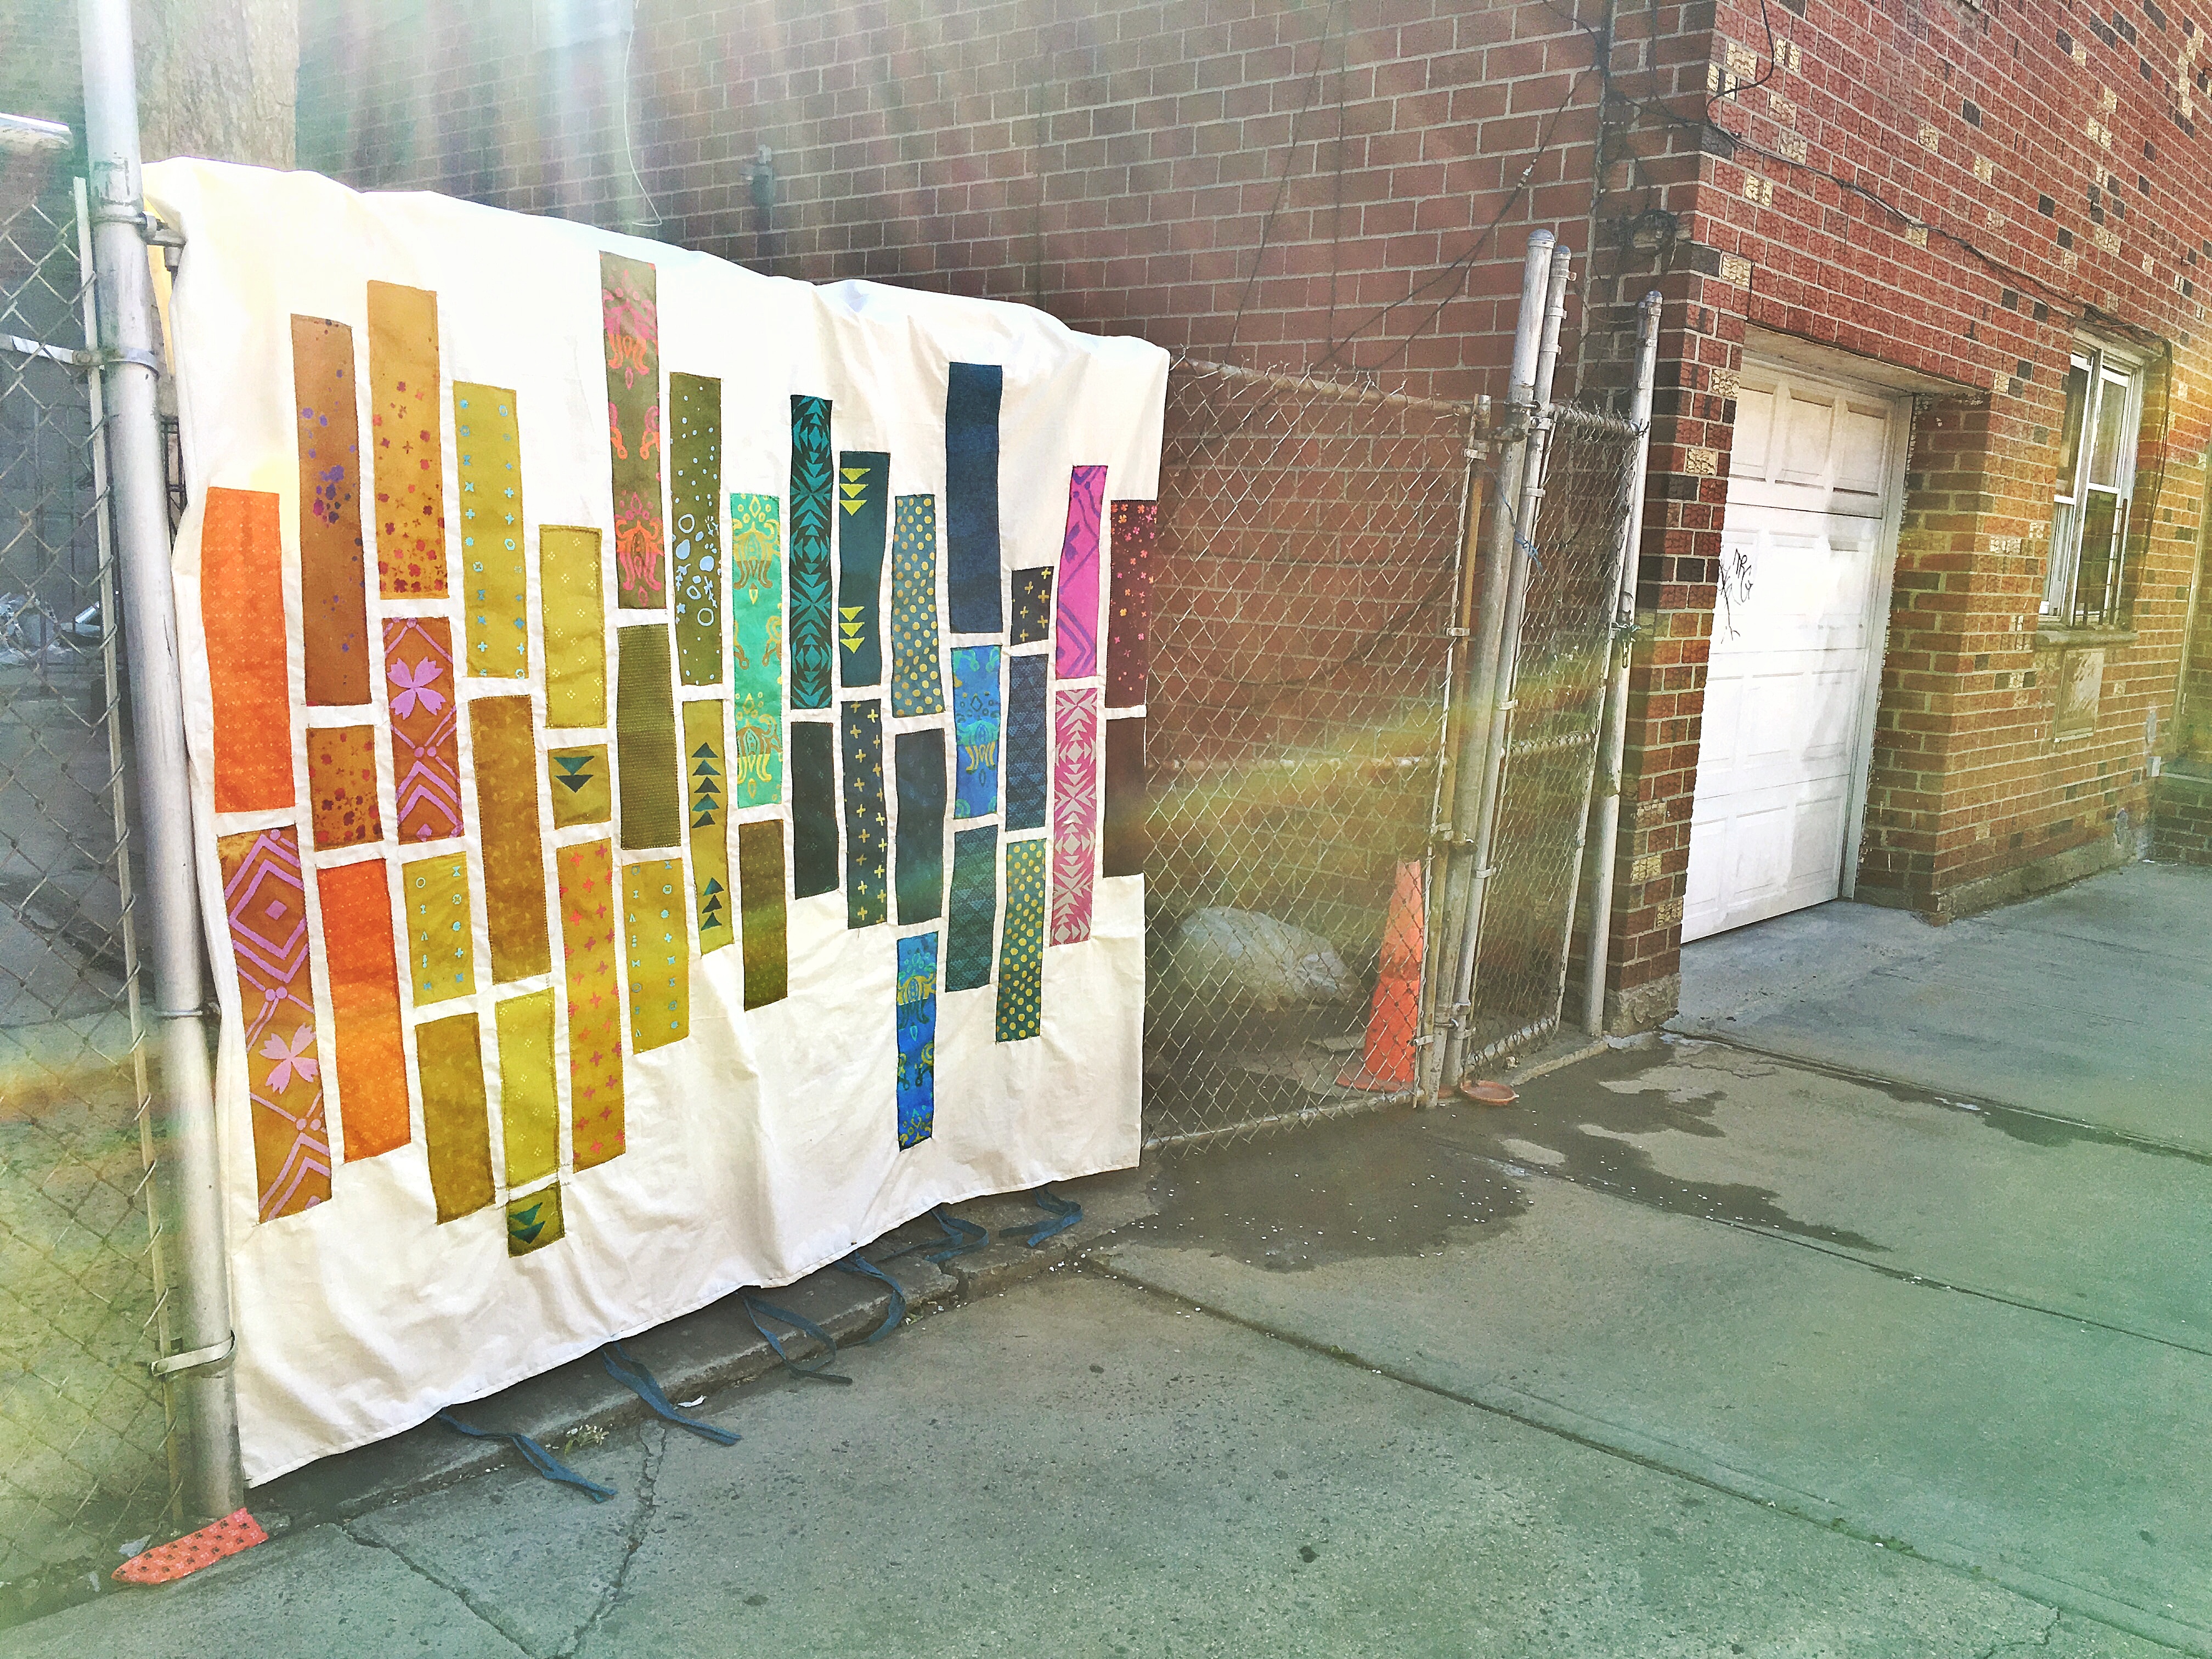
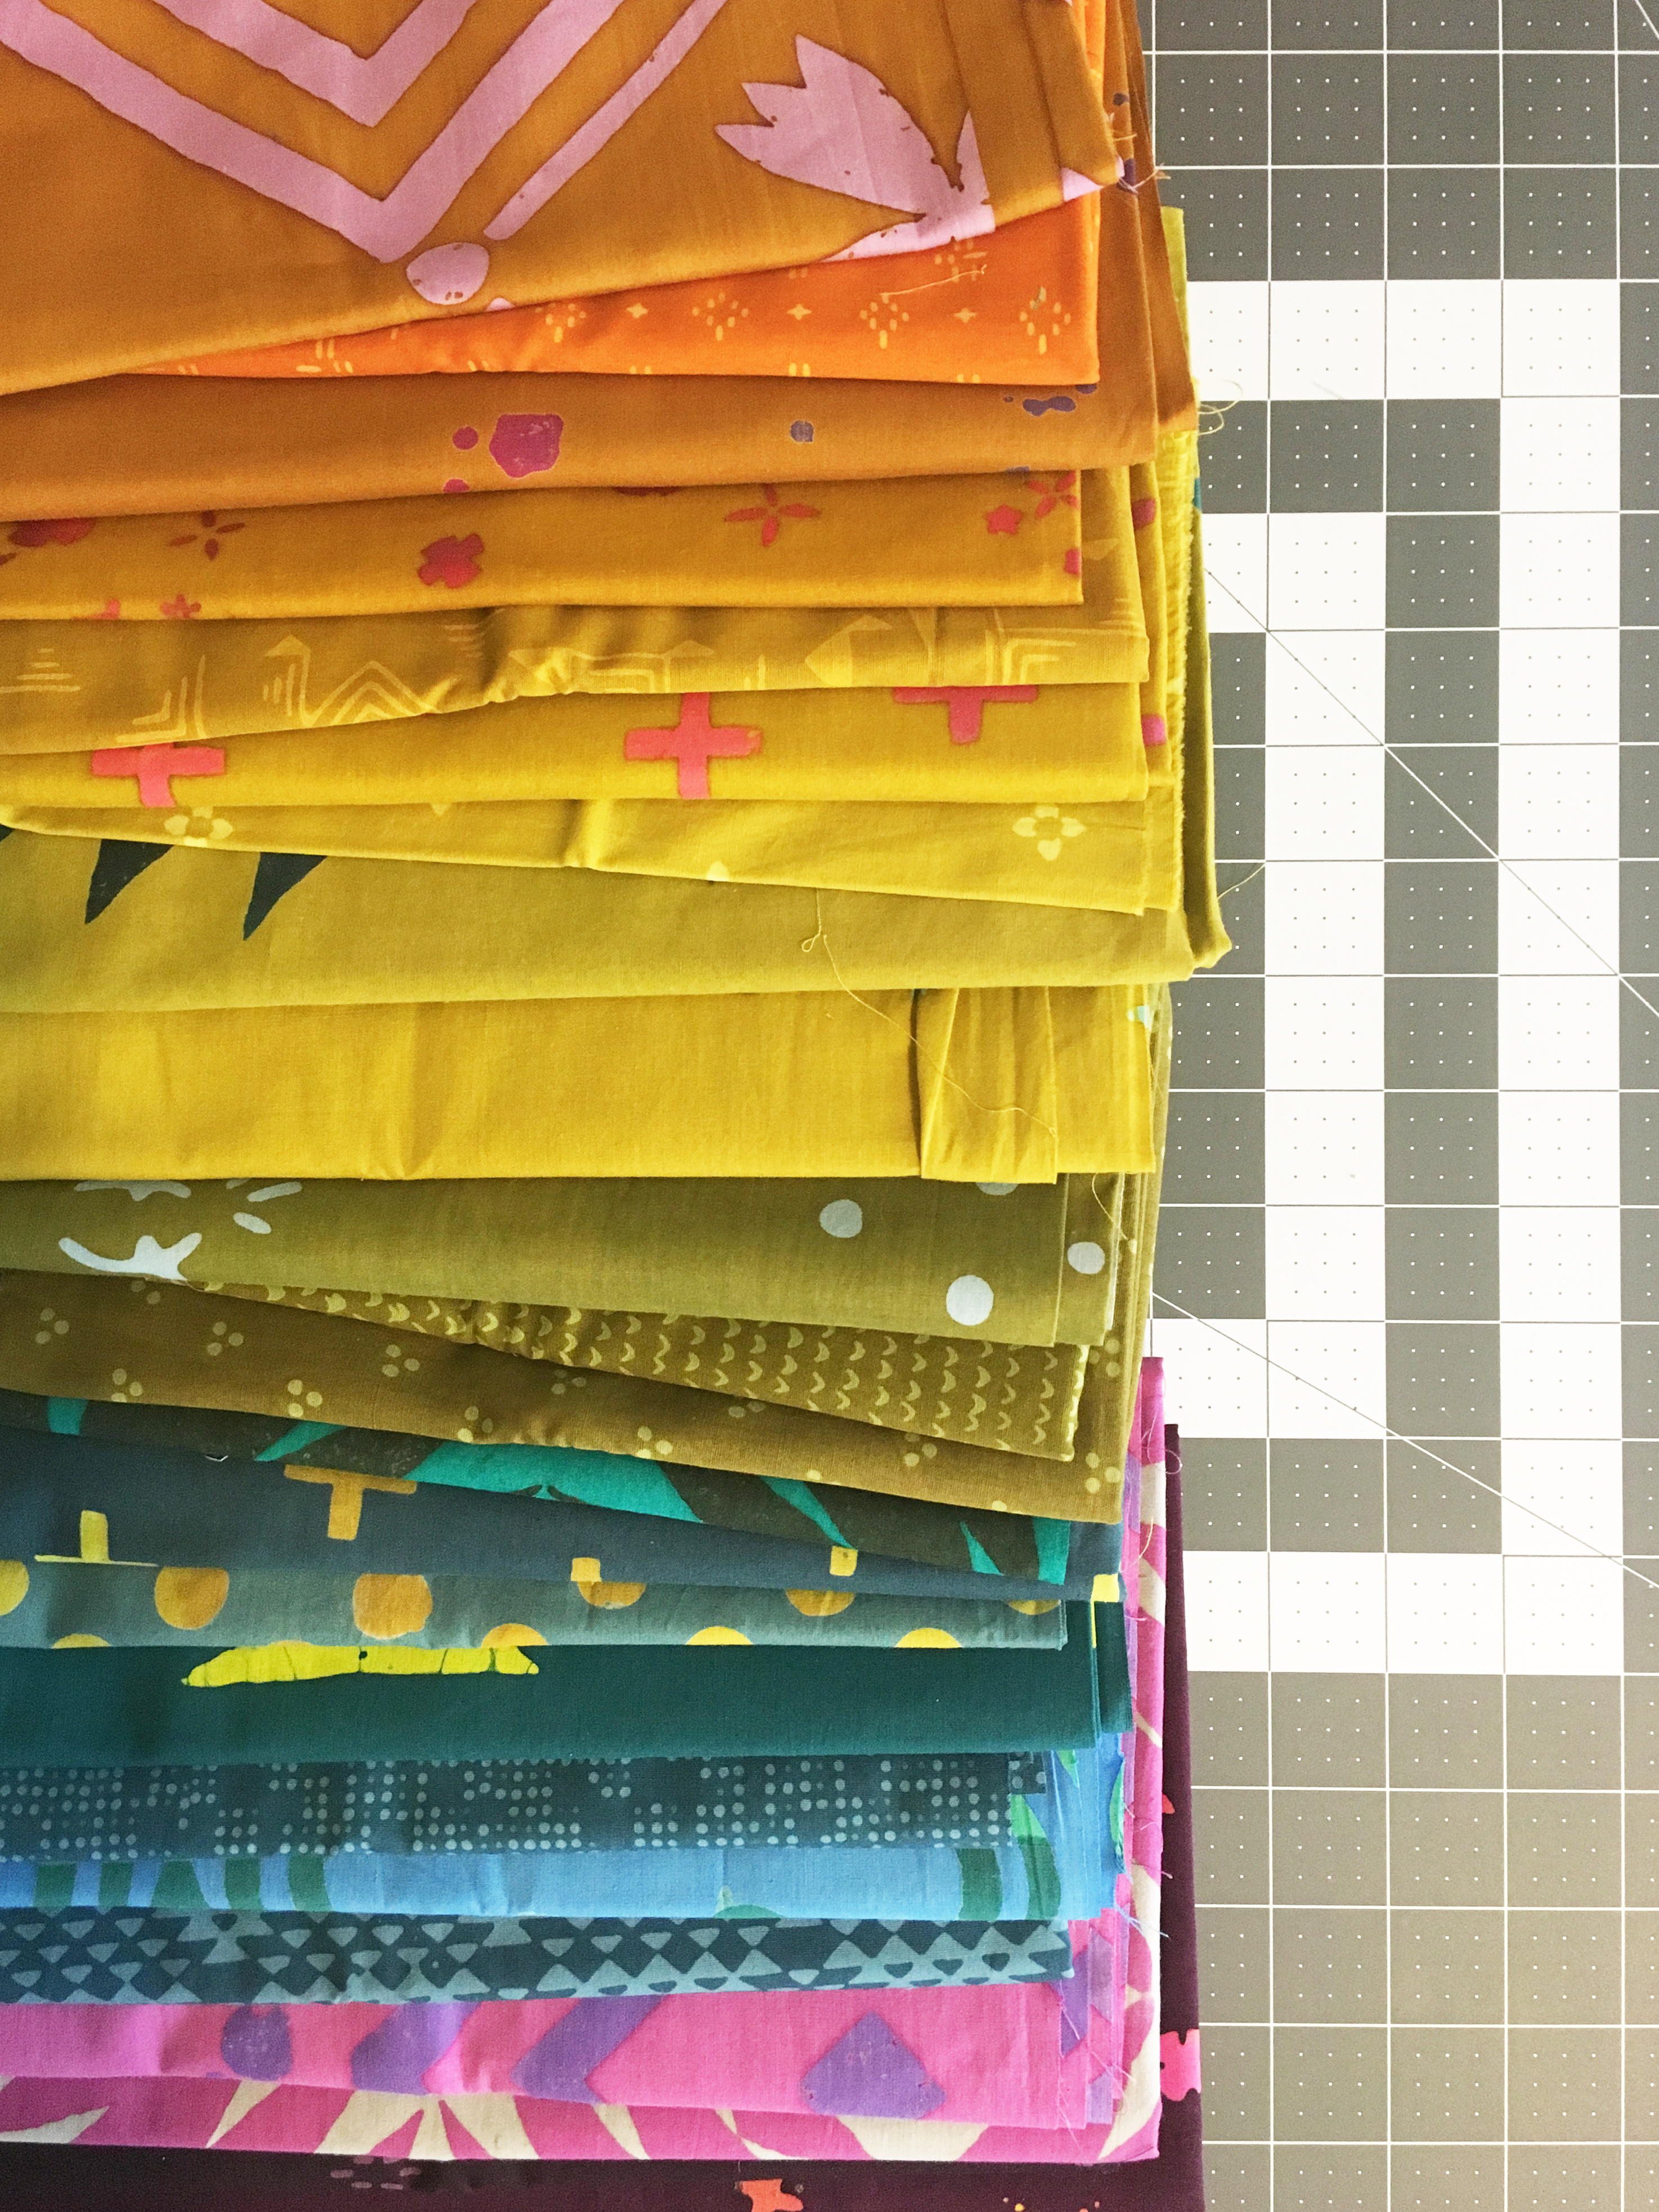
The duvet I owned was beautiful, but a bit darker than I would have liked. I get a ton of natural light in my bedroom and wanted the bed to be brighter for Spring. I decided on a light, clean base for my duvet. I used Andover Fabrics’ Prairie Cloth from their Little House on the Prairie Collection. It’s a really bright, high quality muslin. For my appliqué strips, I knew I wanted something very colorful that would give me a boho feel. Naturally I landed on Alison Glass’ Handcrafted. Alison’s color sense is unparalleled. her hues always speak to my soul. I also used bits from all of her lines, and threw in some Me + You Batiks for some scale/color variation.
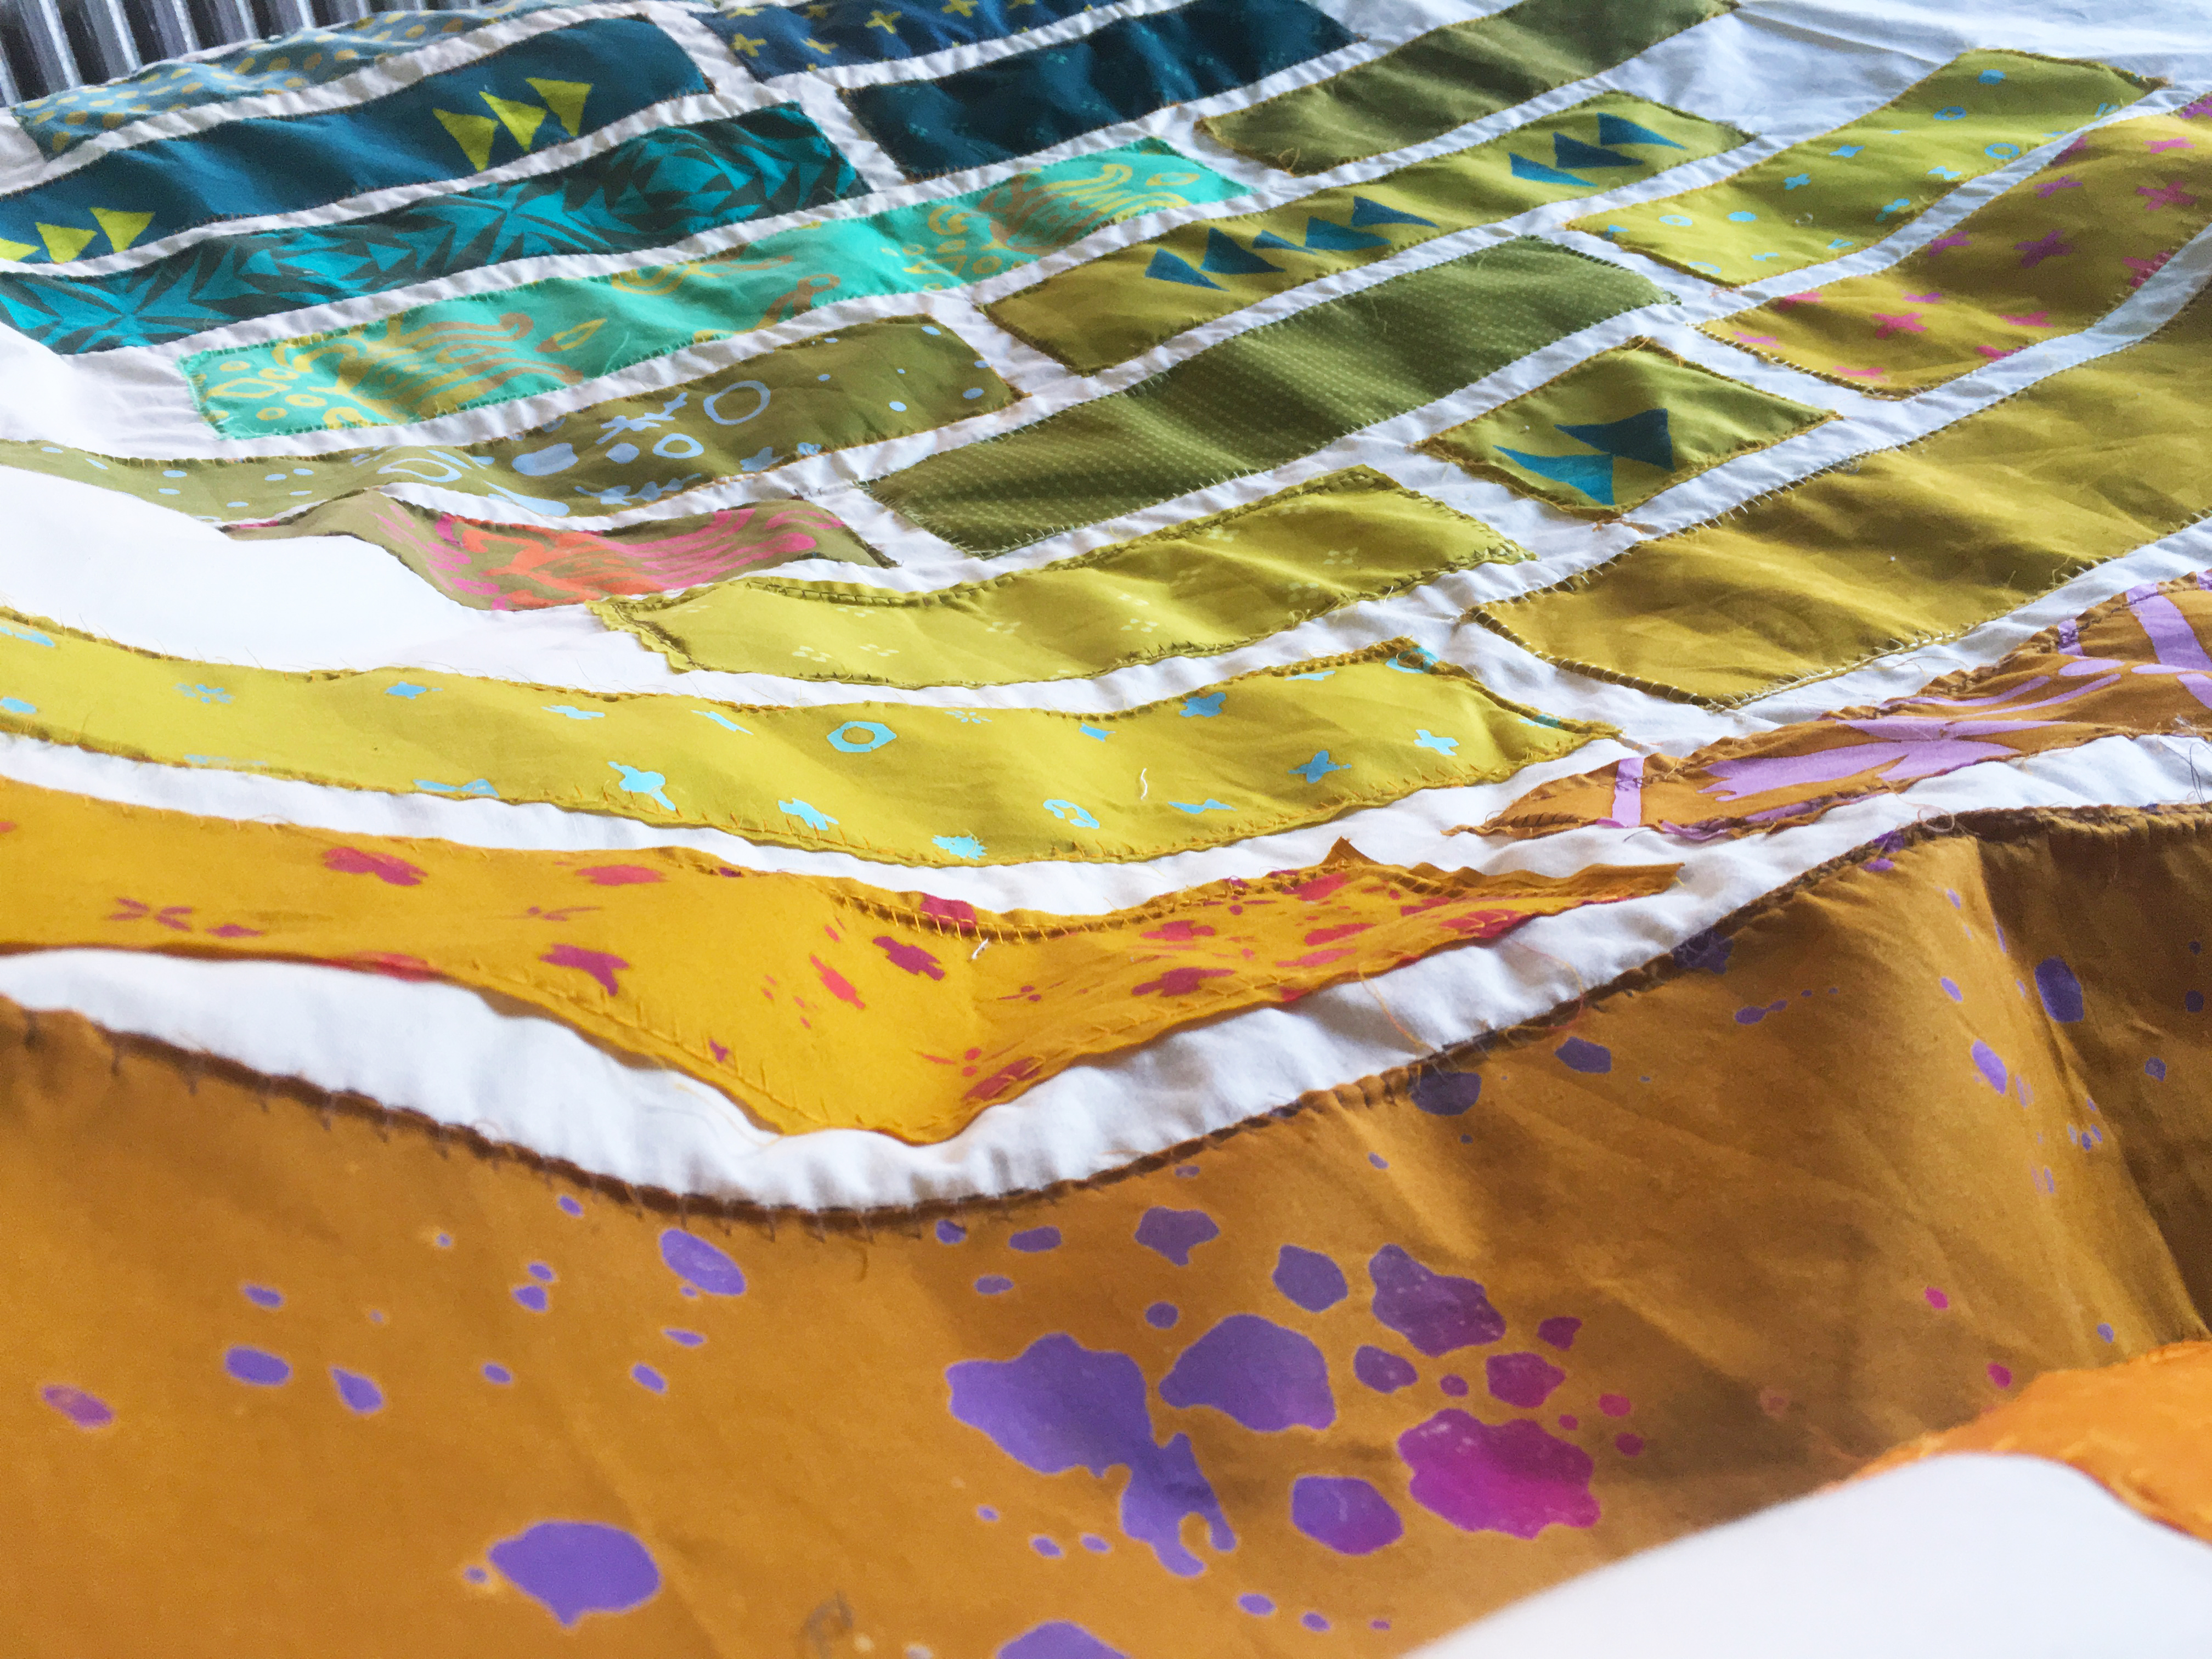
I wanted the duvet to look very handmade and rustic so I left my edges raw to get some fraying from the fabrics. I was going to fold my edges over to give it a more refined look, but I thought that it would take away from the industrial sort of feel I was going for. For that boho aesthetic, I really felt like it needed to be raw-edge. I’m so glad I decided to do it this way because it has the exact look I was trying to achieve.
Now onto the fun part: the tutorial!
Materials to make a Duvet Cover:
- 9 1/3 yards fabric for duvet
- About 40 fabric strips, 4.5″ wide x various lengths (5″-24″ in length) for appliqué
- 12 2″ x 15″ strips for ties
- 4-5 yards Pellon 805 Wonder-Under [or similar] cut into 4″ x width of webbing pieces
- Thread
*Please note that these measurements for a full/queen size duvet cover [86″ x 86″]. The project could easily be adapted for a smaller or larger size.
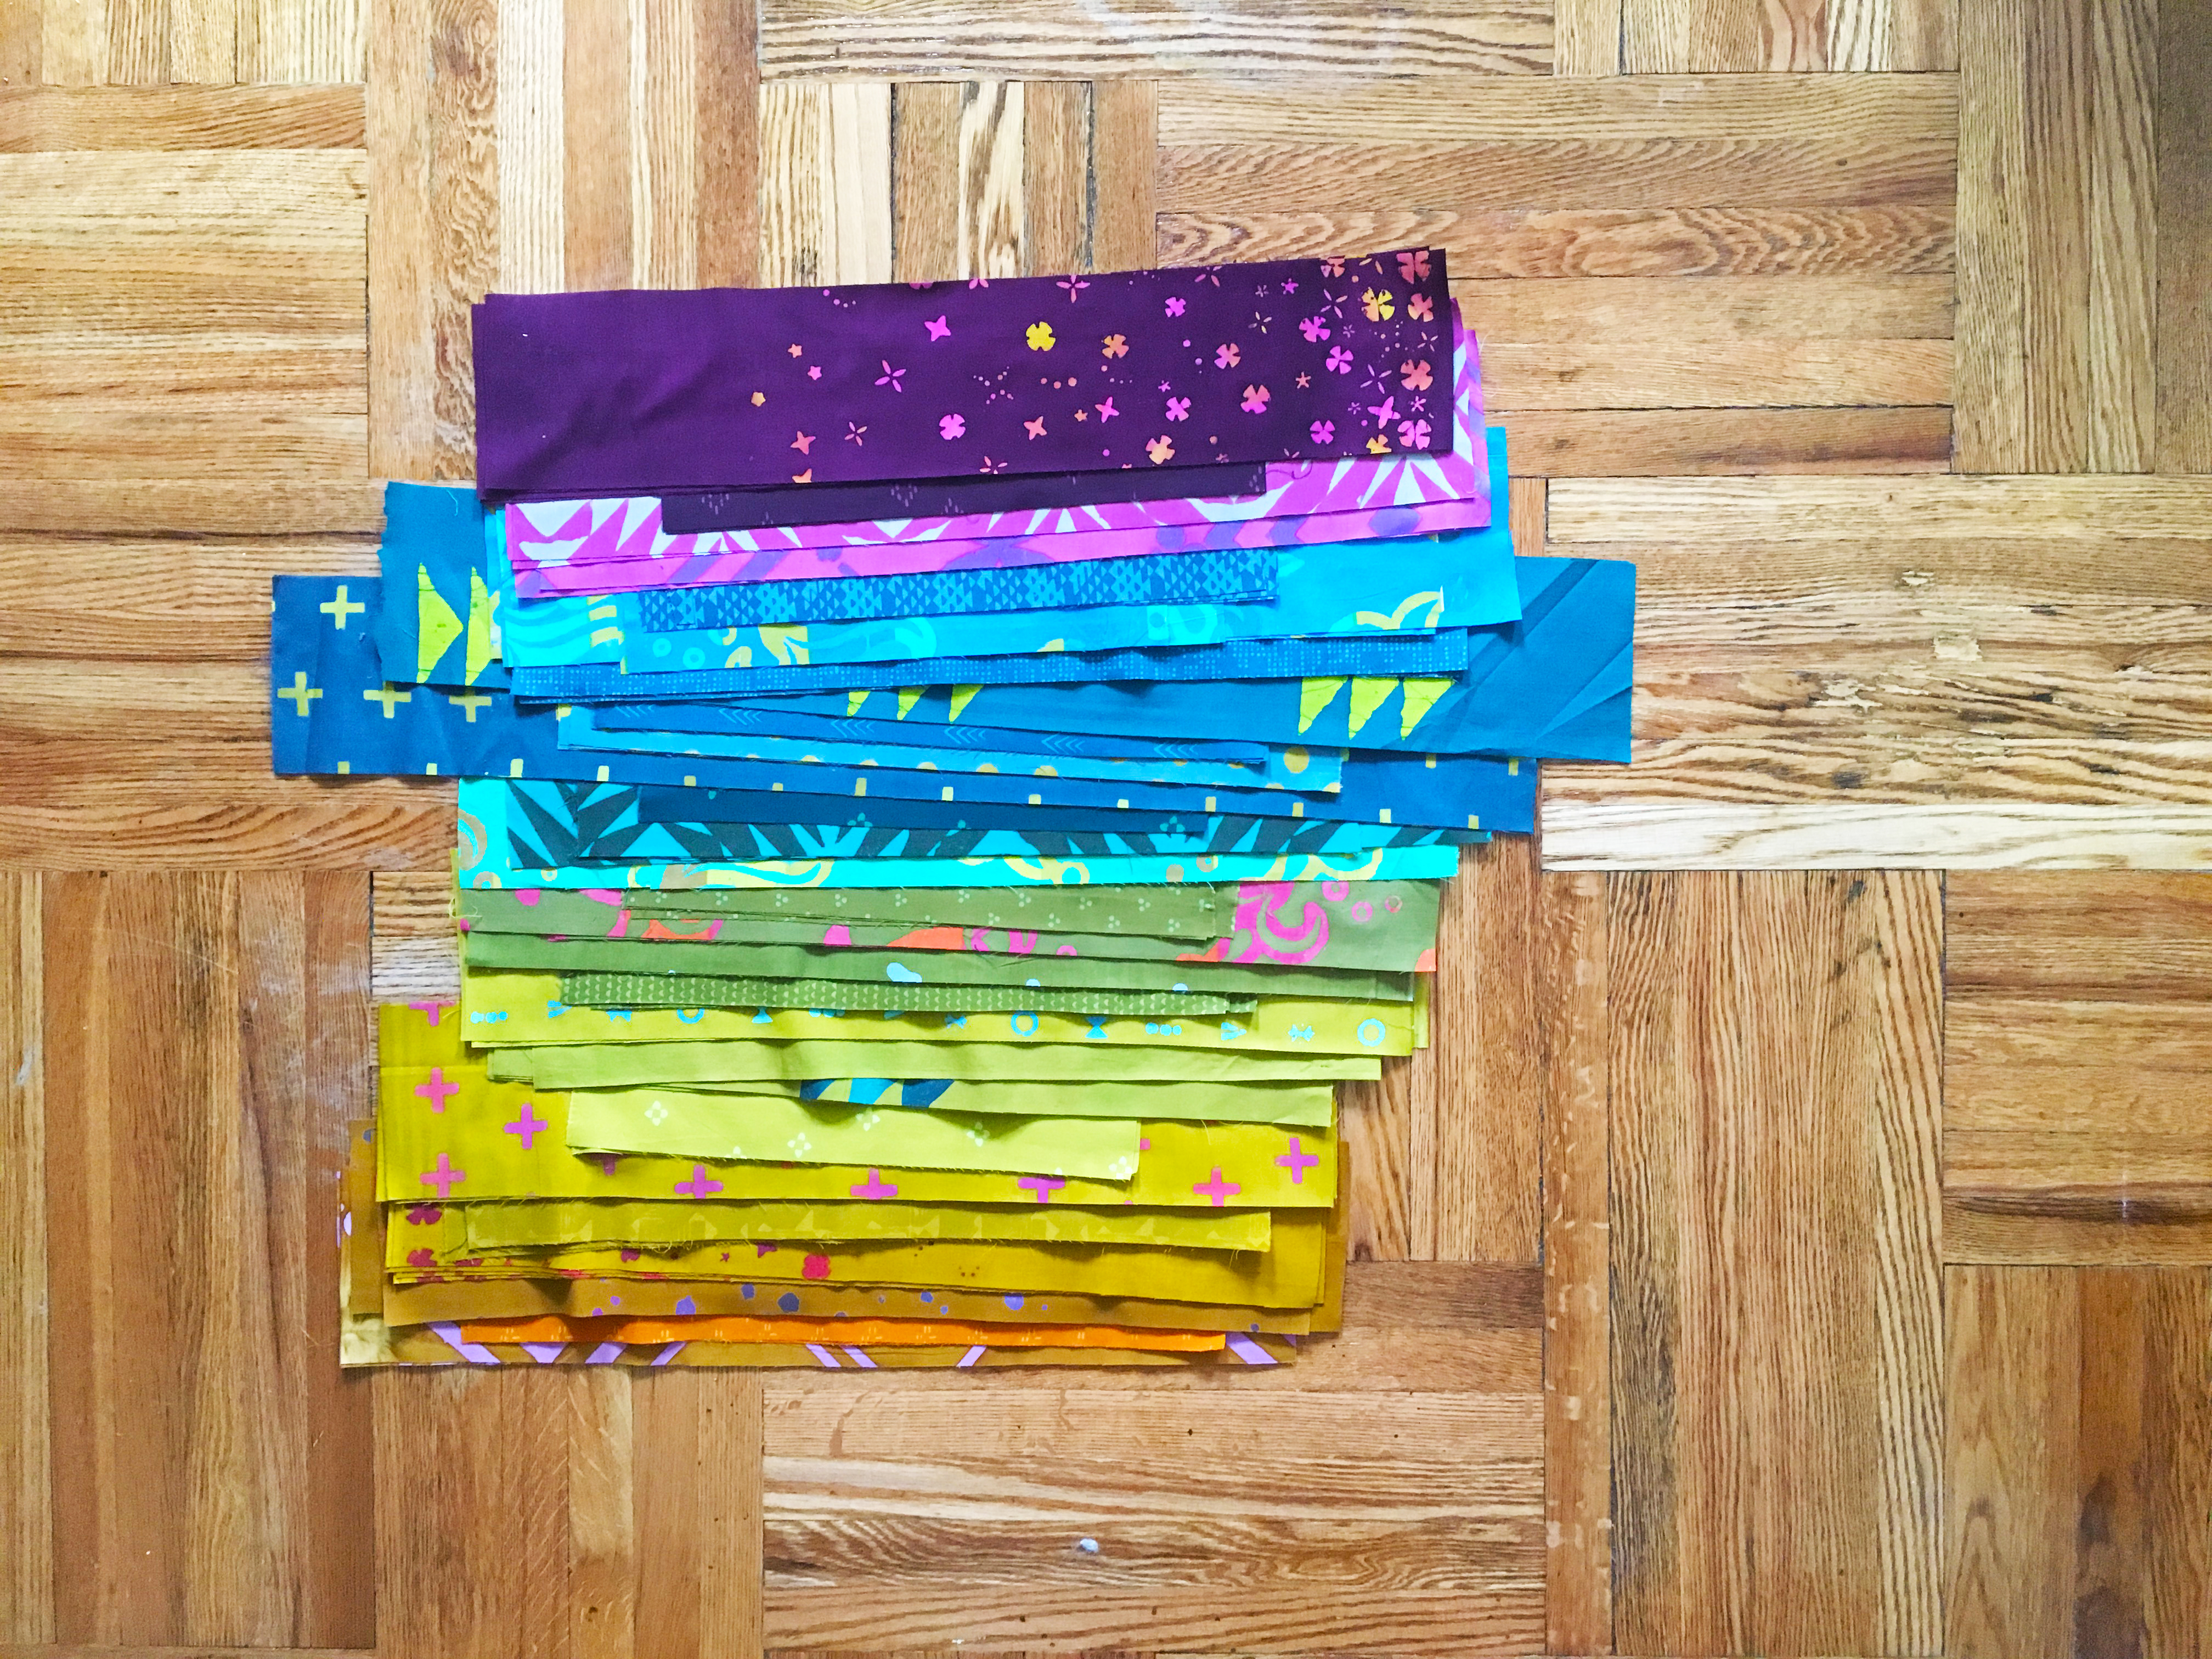
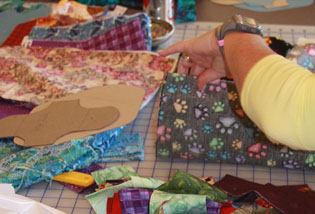
To start, I gathered my fabrics for the appliqué pieces. I chose a palette of greens, teals, and oranges, with a splash of purple. I cut about 40 4″ pieces all at varying lengths. The longest piece in 26″ and and shortest is around 5″. There’s no real science to it. Just sort of cut them up in varying lengths. I cut from yardage, but this could be a great way to use up some fabrics from your scrap bin.
Next, I created the front and back of my duvet. I cut 4 pieces of fabric at 87.5″. You’ll want a half inch seam allowance for the top and and an inch for bottom. My fabric was 44″ wide so I removed my selvages (about a half inch on either side) and wound up with them being 43″ wide each. I then sewed the two sets of two with a quarter inch seam allowance. You now have your front and back, measuring 87.5″ x 85.5″. Your cover will be just a wee bit narrower than it is tall when all is said and done, but it’ll fit nicely.
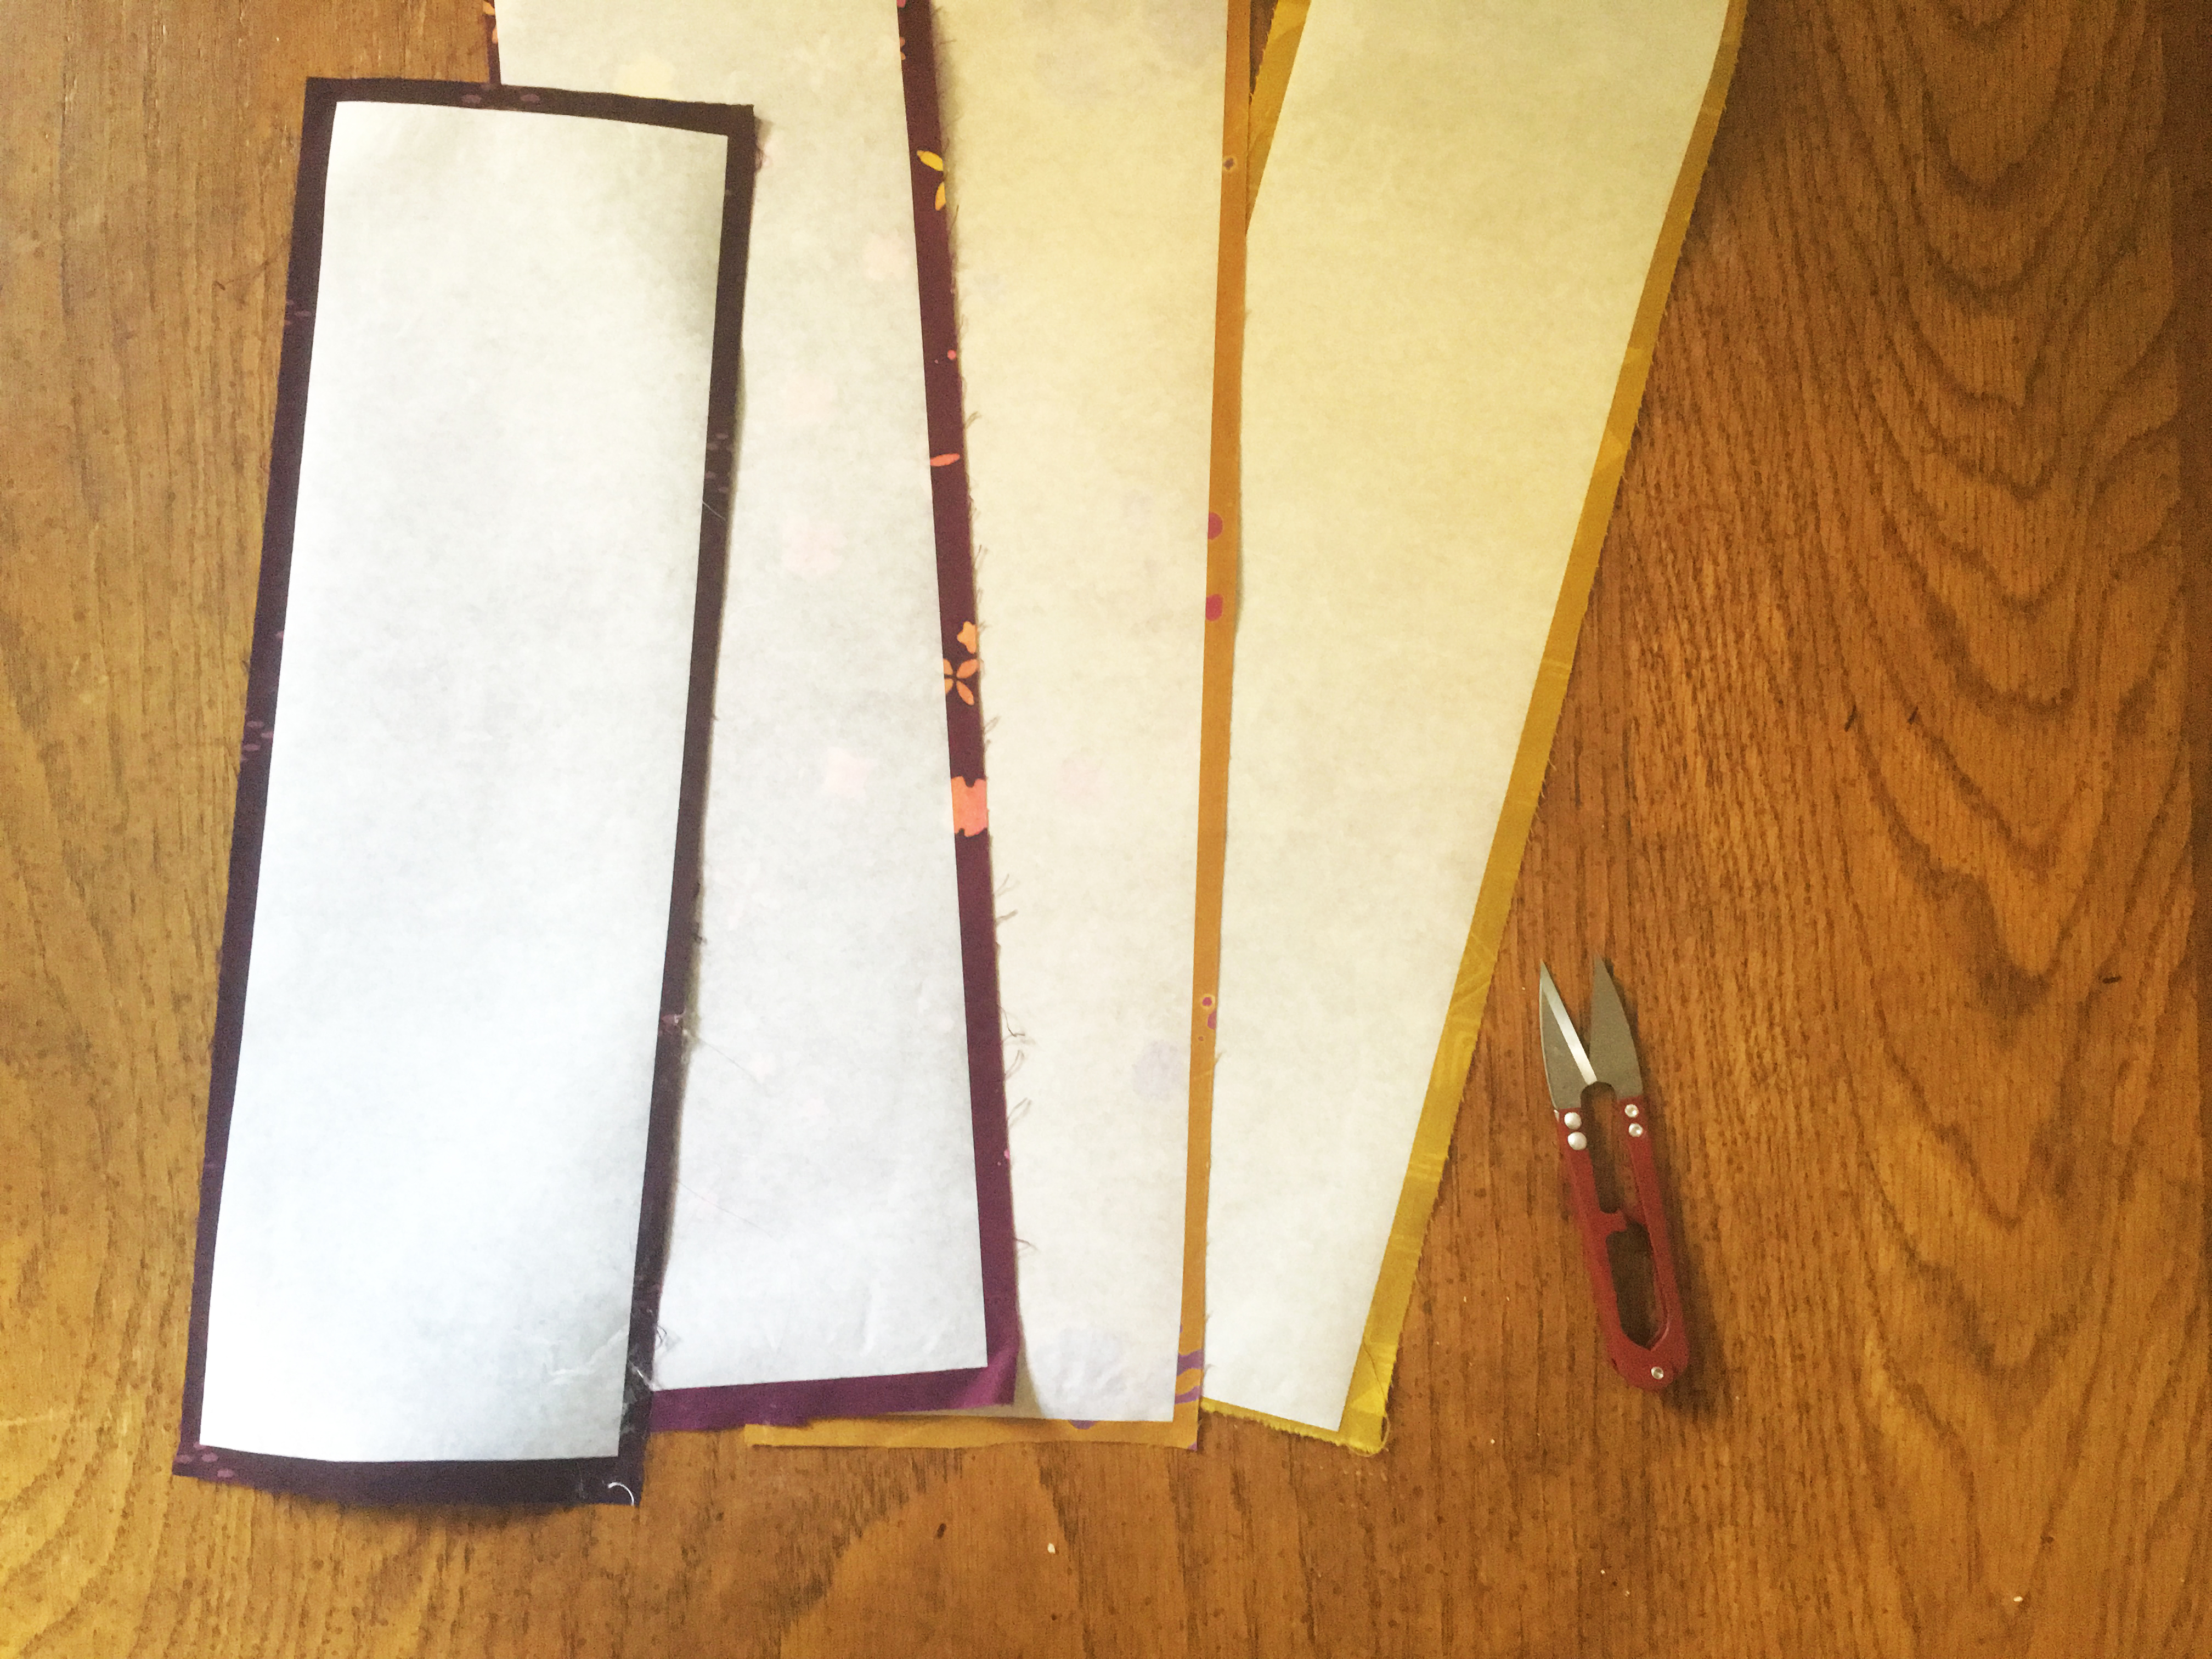
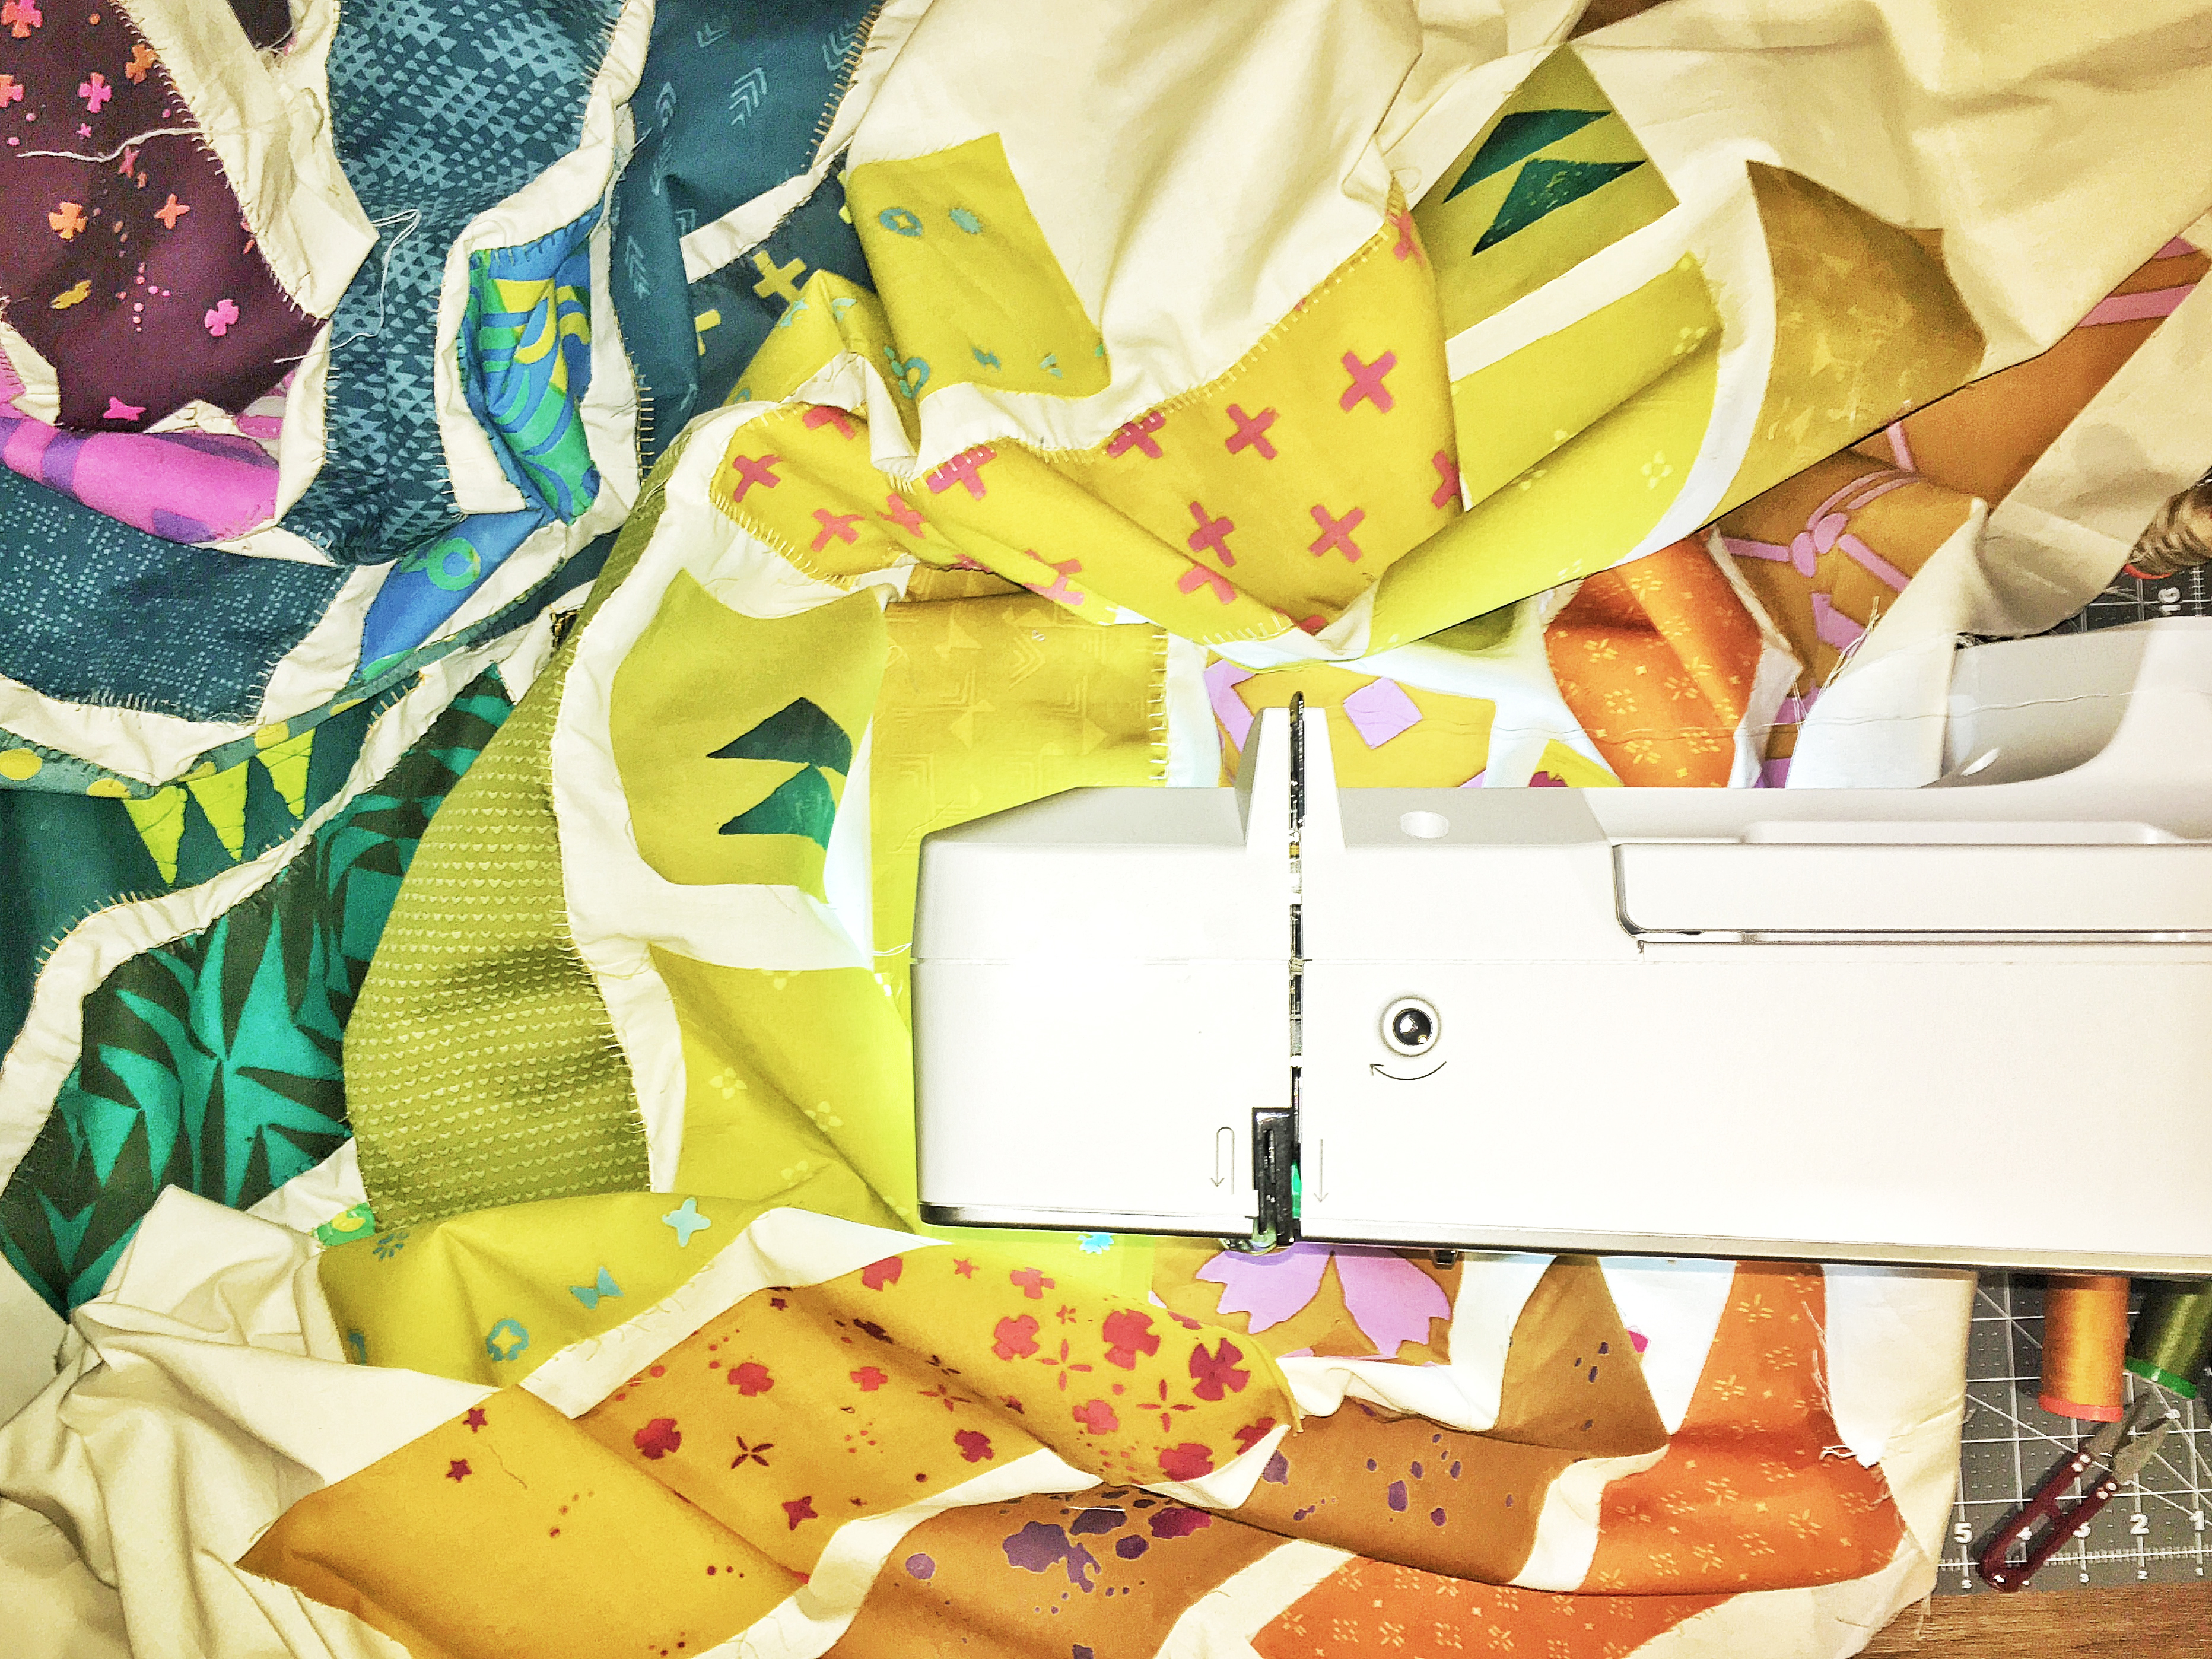
Once my pieces were cut, I sliced into my Pellon 805 Wonder-Under. Pellon 805 Wonder-Under is a fusible webbing that I used to adhere the pieces of fabric to the duvet top. It should be noted that you can skip/replace this step if you want. There are a number of great ways you can attach the fabrics to one another: pinning, glue-basting. For me, this was the right fit. I cut my pieces of fusible at 4″ so they were not quite as wide as my fabric strips. Again, I wanted to be sure that my edges would fray a bit so I didn’t want any glue on them. Then, I adhered the webbing to the wrong side of my fabrics (be sure to follow the instructions for your particular webbing).
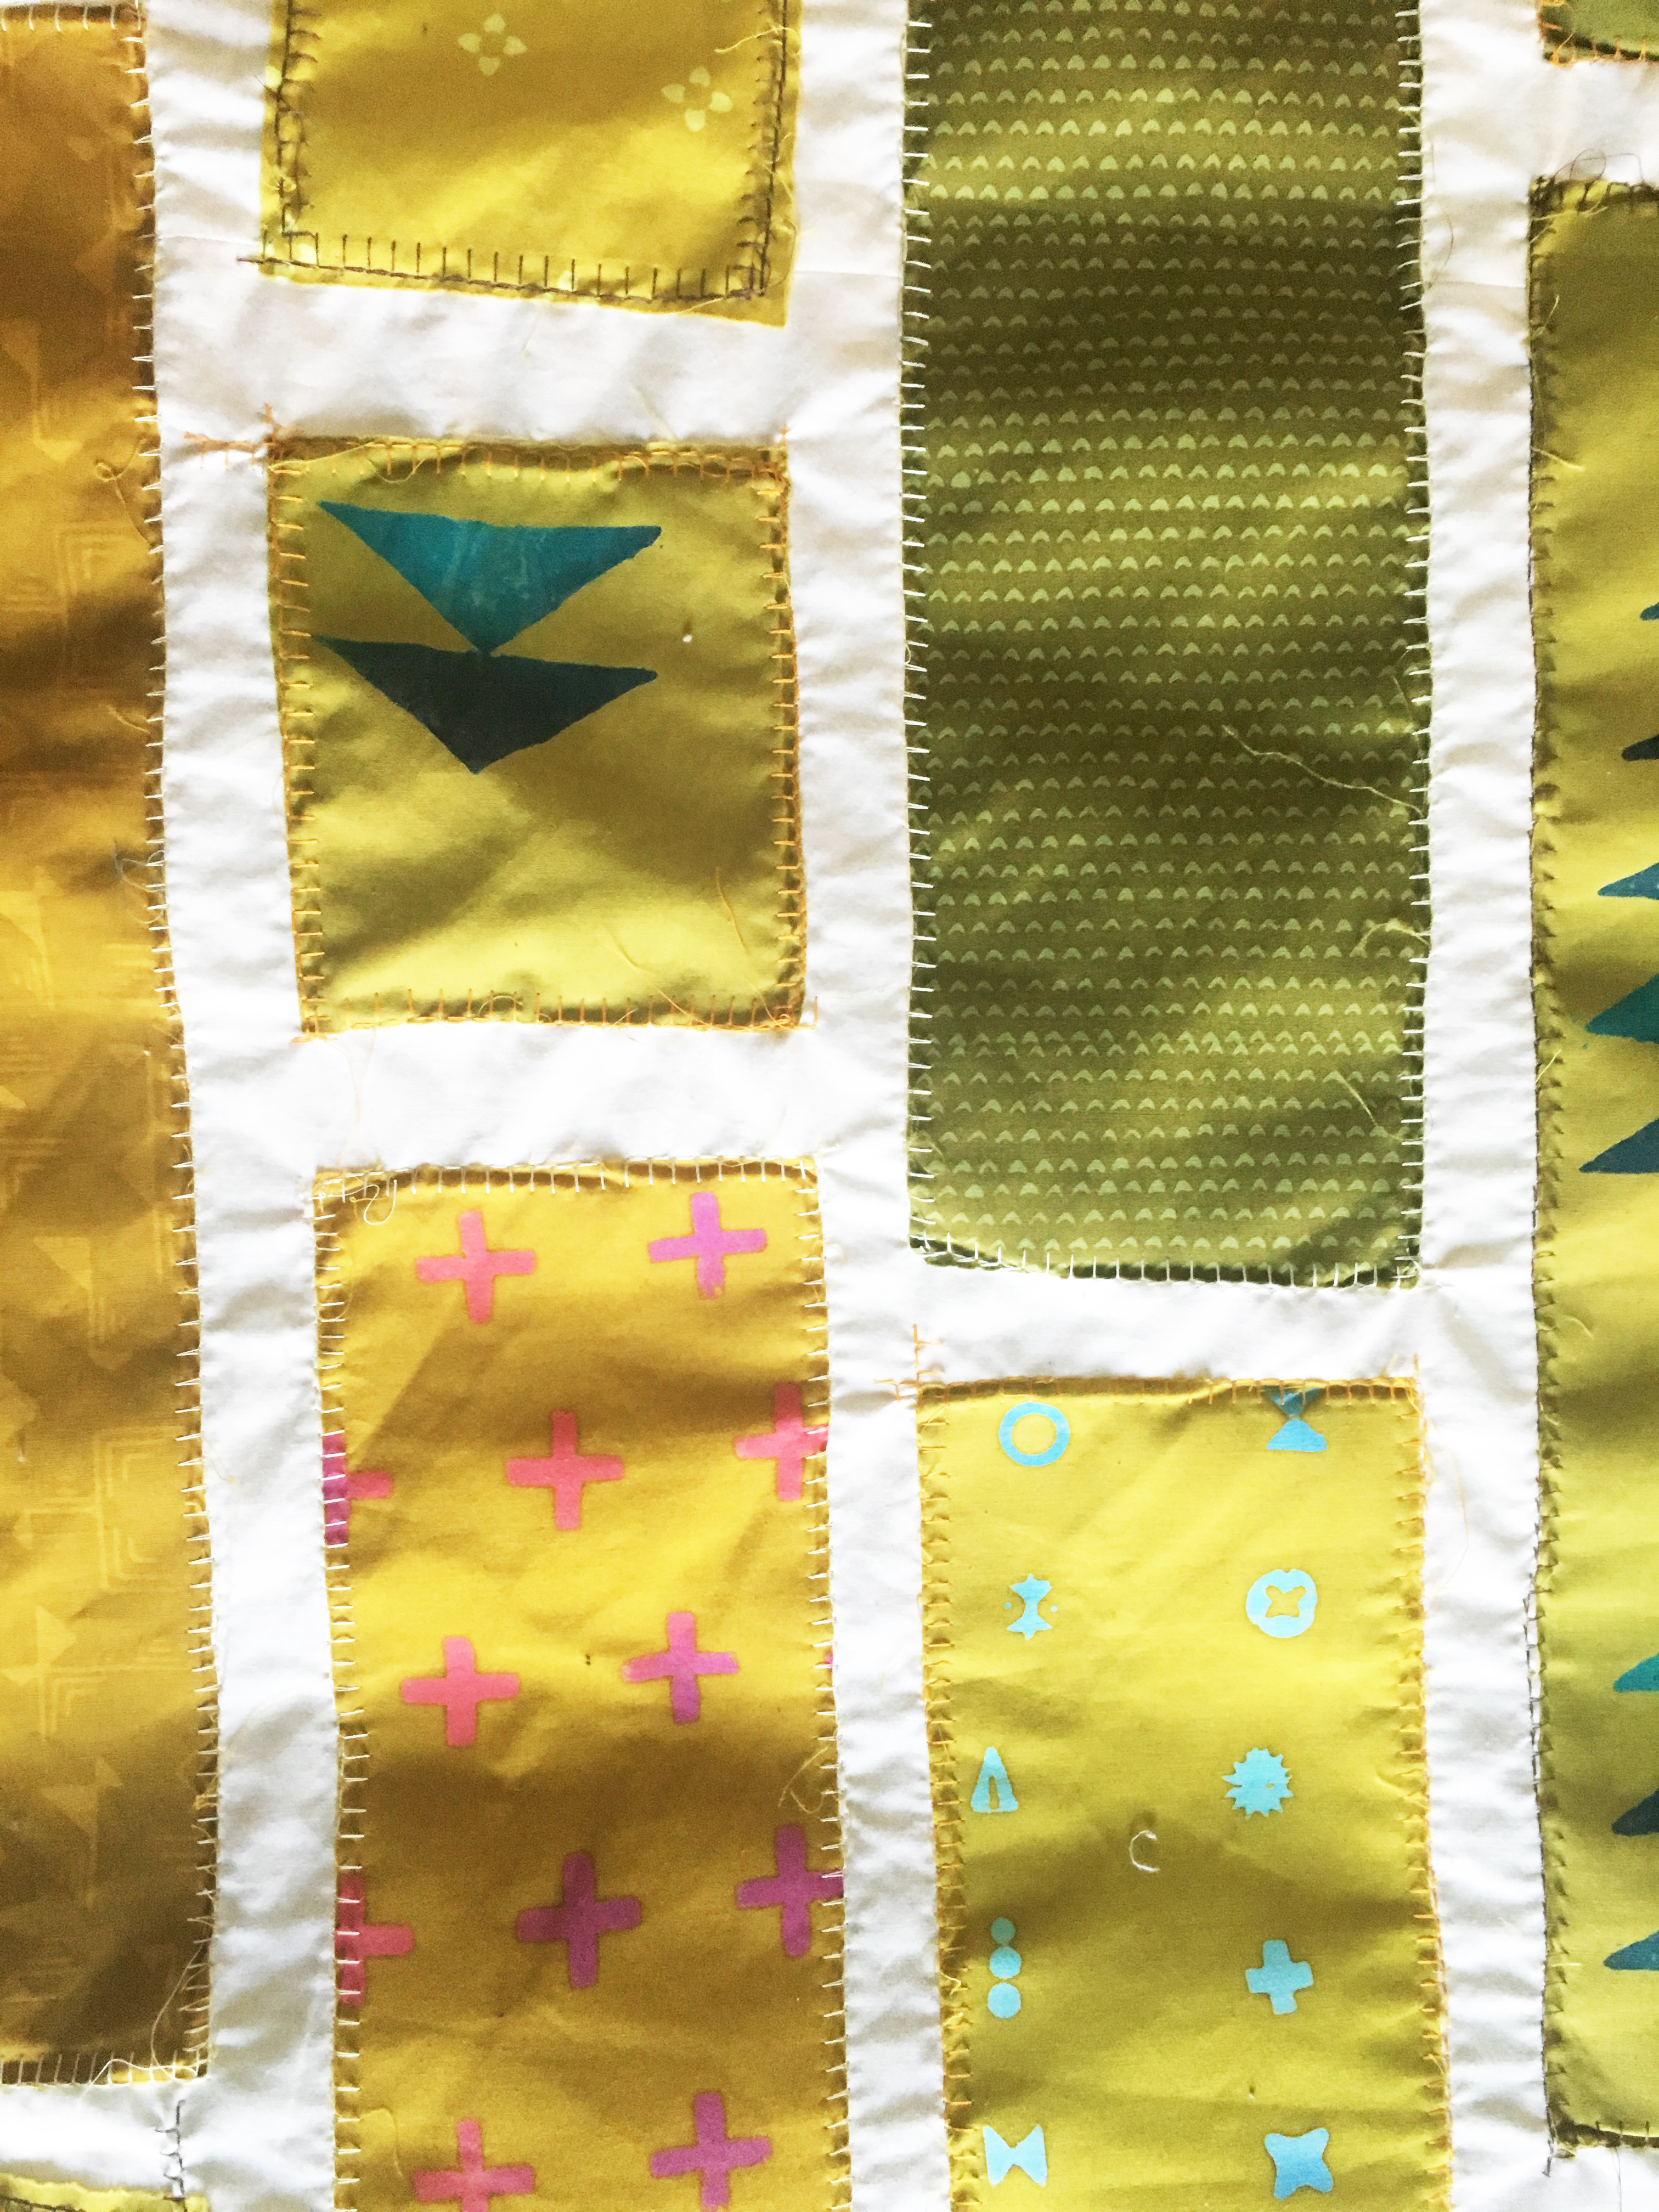
When my pieces were adhered to the backs of my fabric, I laid out my fabric in 15 columns. Some had two long pieces, some had four shorter ones. I laid them out in varying heights, as well, to add interest. You can just have fun with it. It should be organic and intuitive. Don’t get bogged down in thinking about it too much.
Once I had decided on a layout, I grabbed the top piece of column one and started fusing. For my particular interfacing, I just slashed it a bit and pulled the backing off of it. Then I just pressed with a hot iron (no steam) to adhere it to my duvet top. I placed my strips about an inch apart, side to side and up and down. For the pieces on the edge I left an inch and a half, allowing an extra inch for seam allowance.
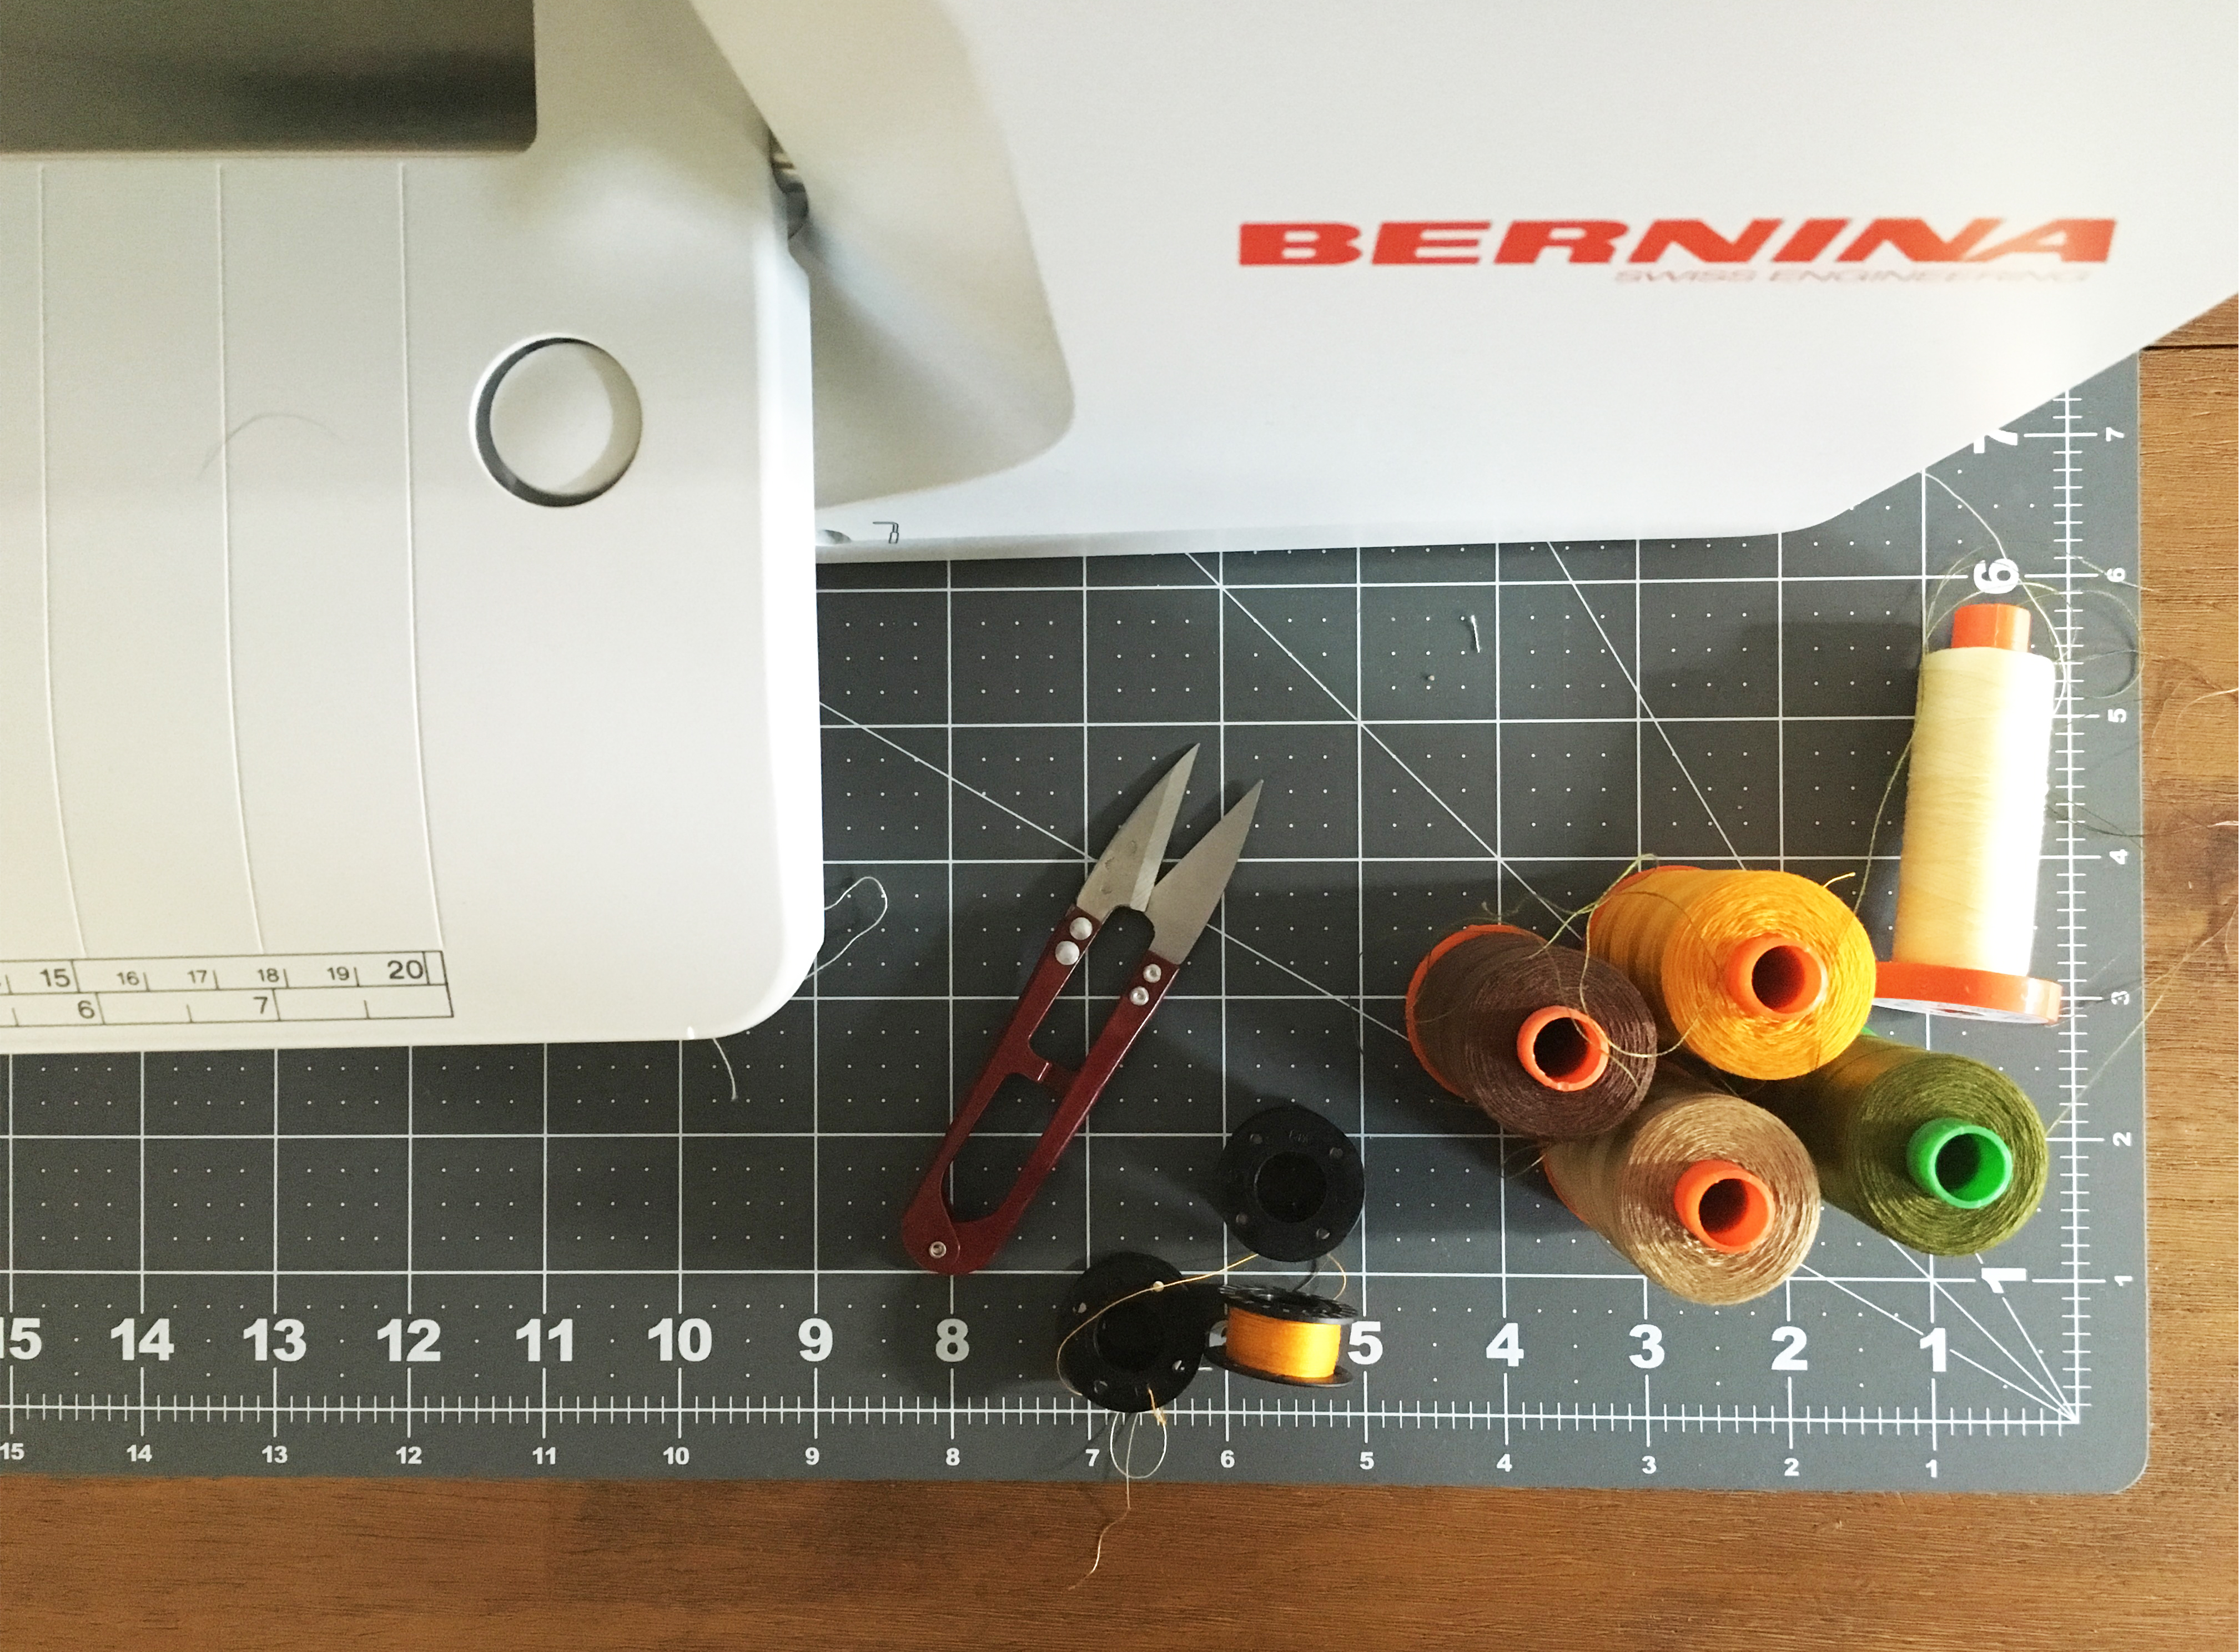
I adhered all the pieces and then got to the really fun part…using BERNINA’s super fancy stitches! I used an overage stitch to tack down each of my strips. I used decorative stitch 720 on my BERNINA 770 QE. I set it to a 6 for stitch length and a 7 for stitch width to allow room for my fabric to fray.


I varied the distance from the edge for each strip to get different degrees of the fray I so badly wanted to achieve. Some I sewed right on the edge, others I sewed in a quarter inch from the edge of the strip, sometimes I even sewed passed the strip and onto the duvet to give it that extra “handmade” look. I also used different color threads to give it a more piecemeal feel.
When I finished sewing all my strips down, the rest was super simple. I put my front and back together, wrong sides together, and sewed the side and top edges together with a straight stitch using a half inch seam allowance. I left the bottom of the duvet completely open. I then zigzag stitched the edges along the straight stitch and trimmed the excess fabric.
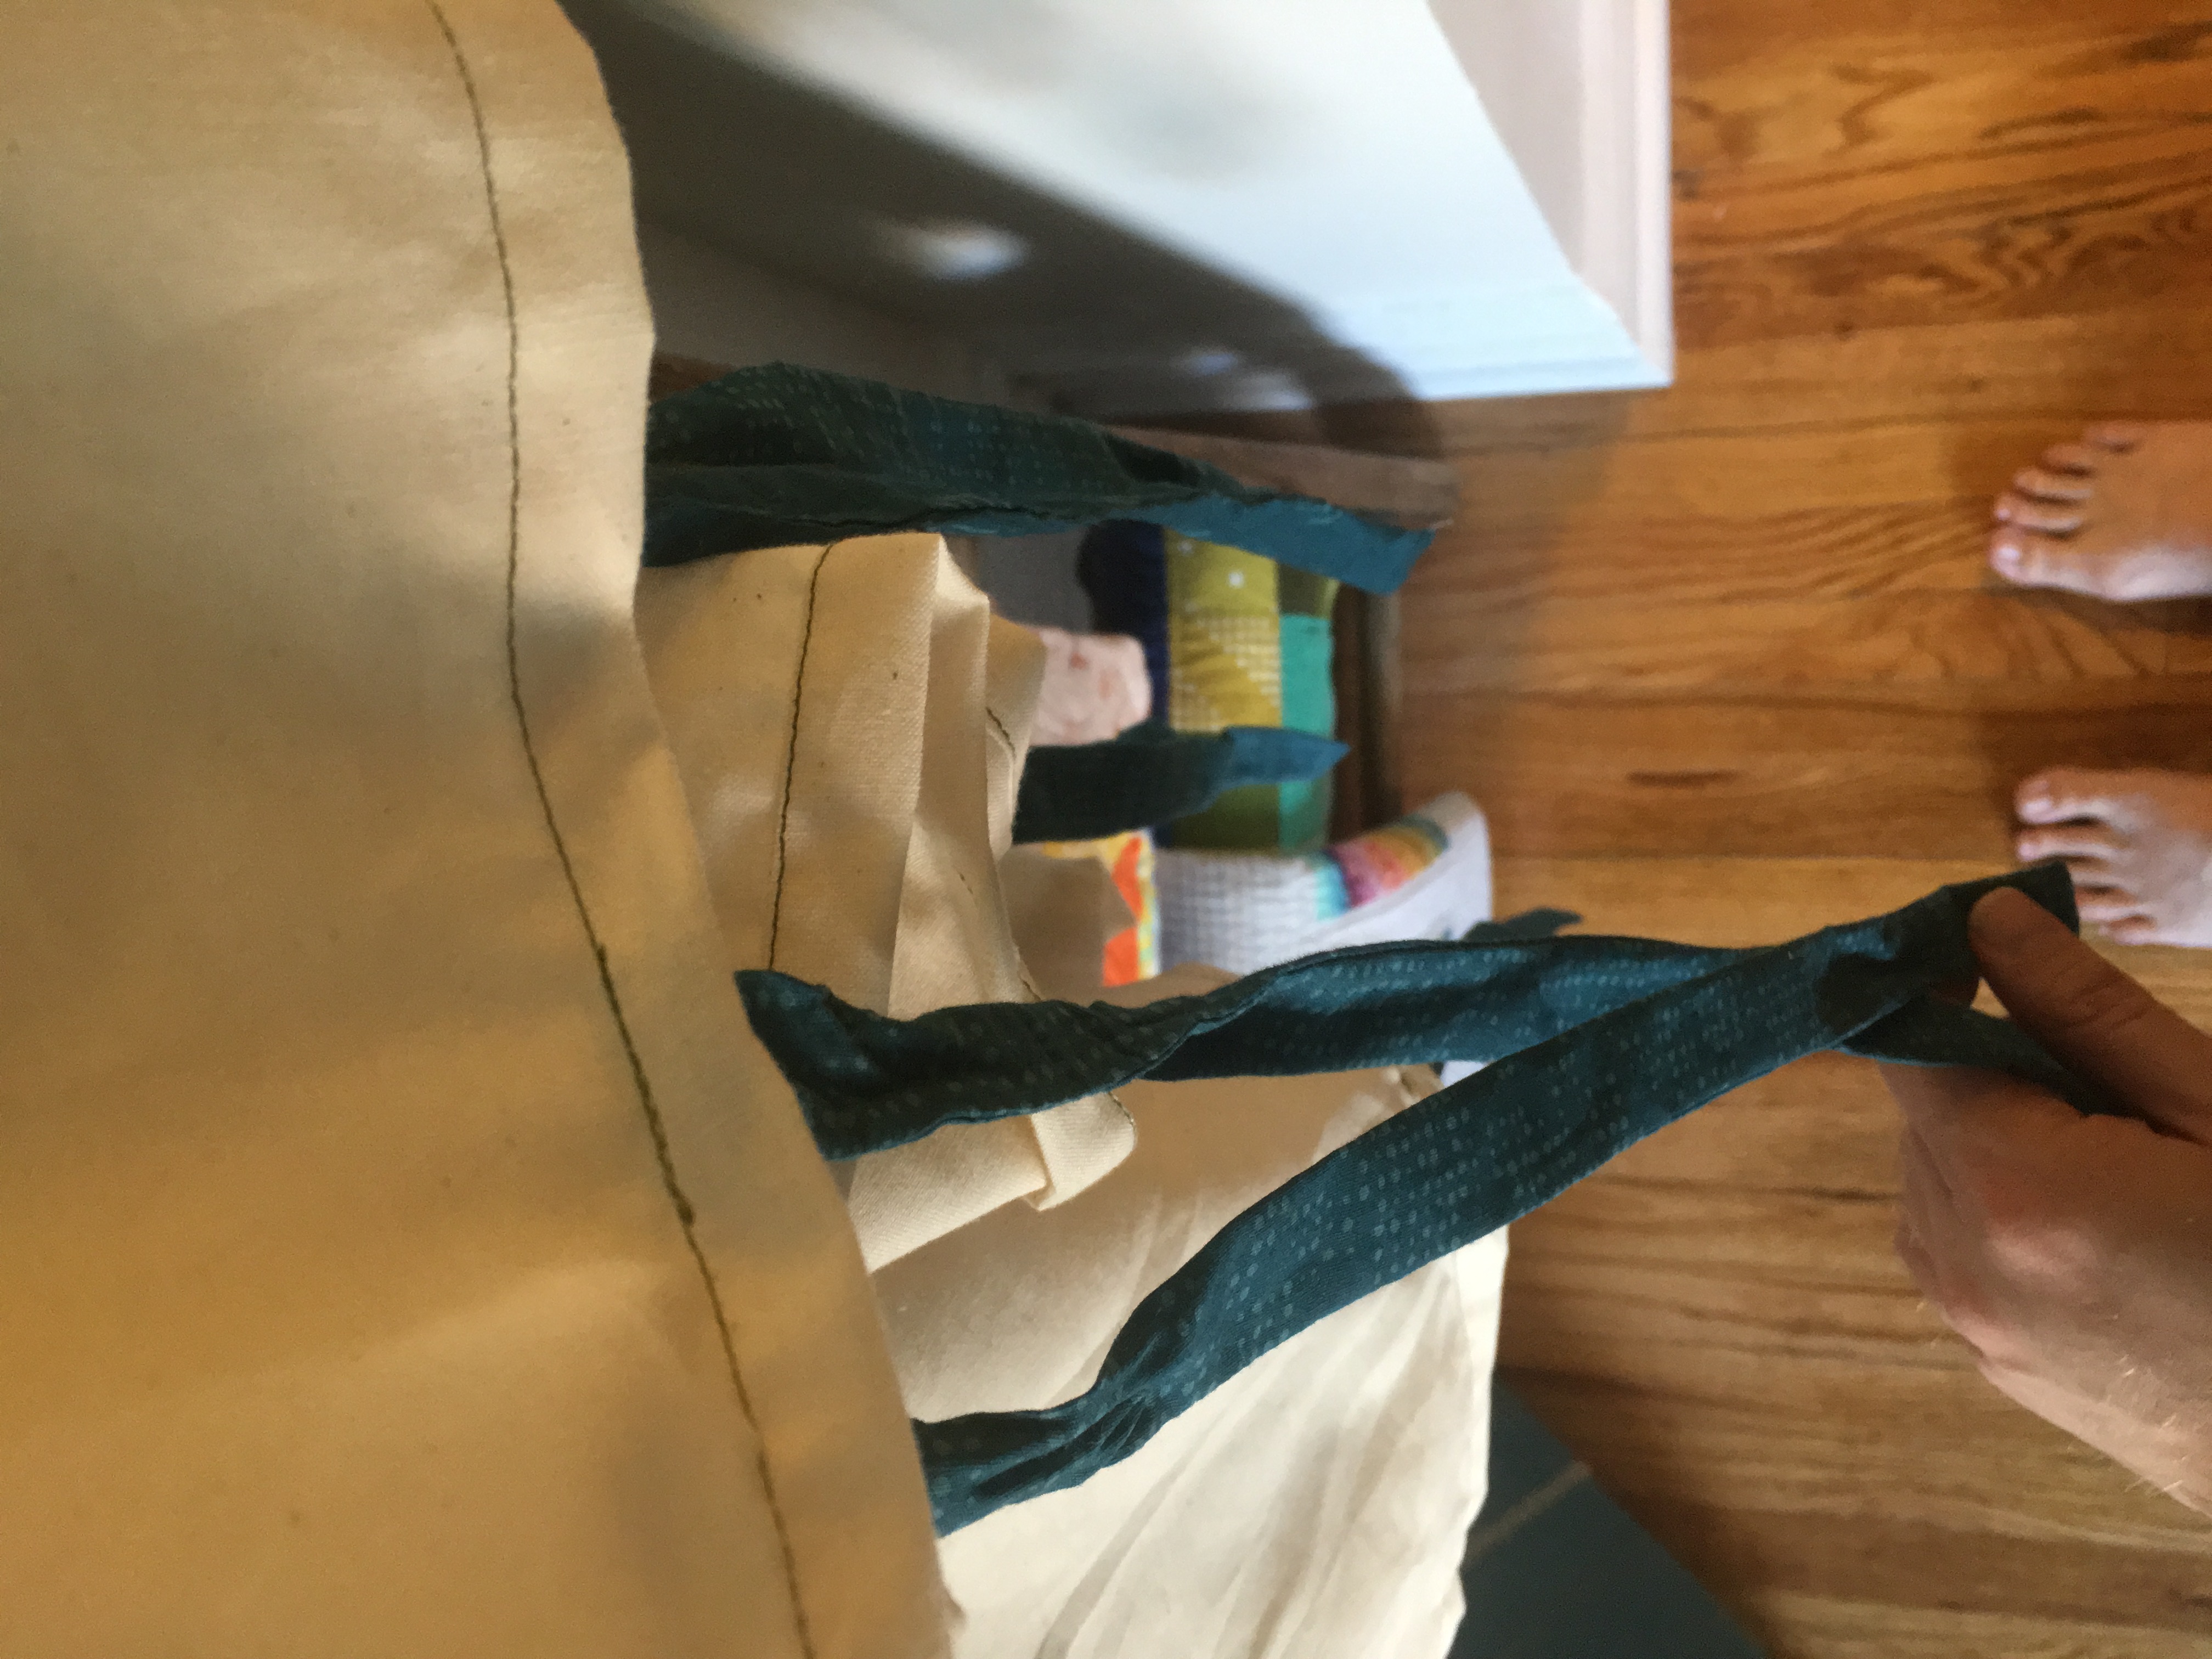
To make the ties for the duvet, I simply folded the 12 2″ x 15″ strips in half length-wise, right sides facing. Sew the top and sew the long edge with a quarter inch seam. Trim your corners, then turn, pressing out the corners. Press the ties flat. Easy-peasy.
You’re almost done!
Back to the duvet…fold and press the unfinished edge over half an inch twice to create a nice, clean edge. Once pressed, pin each tie about 11.5″ apart along the top and bottom edges of the duvet, 6 for the top six for the bottom, tucking the unfinished side within the seam. Now just a simple straight stitch all around the pressed seam. I did a little back stitch when I got to each tie to secure them firmly.
Once that final seam was sewn, I pressed all the sides to set the seams, then flipped the duvet around and pressed the edges to get a nice, clean edge.
Now just put your comforter in the duvet cover, make a cup of tea, and watch some old movies under your fancy new boho chic duvet cover!
I hope you enjoyed this tutorial as much as I enjoyed making it. I look forward to creating many more cozy projects for you in the very near future.
Happy sewing, everyone!
Used Products


What you might also like


6 comments on “Duvet in a Day!”
-
-
I like the relaxed and organic look of this duvet cover. Thanks so much for sharing. I agree, these Allison Glass fabrics are perfect!
I searched for the Andover Prarie Cloth but cannot find it, even on the Anfover site. Is there a different name for it?
Also, can you clarify which way the quilt is intended to lay? Do the rows run horizontal or vertical?
Very inspiring!
Michelle
In Seattle-
Hi Michelle!
Thanks so much for the kind words. Relaxed and organic is just what I was going for!
It doesn’t go by a different name as far as I know, just Prairie Cloth. I found it on Fat Quarter Shop’s website. Here is a link for you!
http://www.fatquartershop.com/little-house-on-the-prairie-natural-cotton-solid-yardage
As far as how they lay, really it’s however you want it to, but I imagined it vertically. Maybe tomorrow I’ll make my bed horizontally and see how it looks!
Thanks again!
G.
-
-
Thanks for the compliment! So glad you are inspired!
G.
-
-
OMG – this is perfect and arrived at a perfect time. I was struggling with choices to make a duvet for a guest room and this just hit the mark. What would be better? Perhaps strips of Spectrastatic and Declassified! I’m anxiously awaiting my preorder but I can see it now. Can’t wait to get started. Thank you for the inspiration.
-
Hi. Did u really put wrong sides of duvet cover together to assemble? If so was it to further the boho look with an unfinished (frayed-look) seam?
Leave a Reply
You must be logged in to post a comment.

Thank you for sharing. This is gorgeous and I love the way you have done the sewing…. Looks lovely and informal, just like your colour and fabric choice. Enjoy. You have inspired me!