Embroider-Along Part 10: Embroider a Pillow Case
Welcome back to my Embroider-Along: Part 10. Hi, my name is Sue O’Very, BERNINA Ambassador and machine embroidery expert. During this Embroider-Along we have covered all the basics and even stitched a few projects to put into practice the tips and tricks learned along the way. Today I am going to show you step-by-step how to embroider on a pillow case with this adorable Sweet Dreams Design! Download the folder including all of the Sweet Dreams Embroidery Designs here. So grab your machine and let’s get stitching!
Embroider on a Pillow Case
In Part 6 I showed you how to embroider on woven materials. I went into detail how to mark the material, hoop the stabilizer and a few extra tricks about lining designs up. When finished the project was an adorable wine bottle apron. If you are interested in the wine bottle aprons, ask your local shop to order some in for you. In Part 6 there was also a list of the most popular woven materials and which stabilizers to use and even how to hoop them.
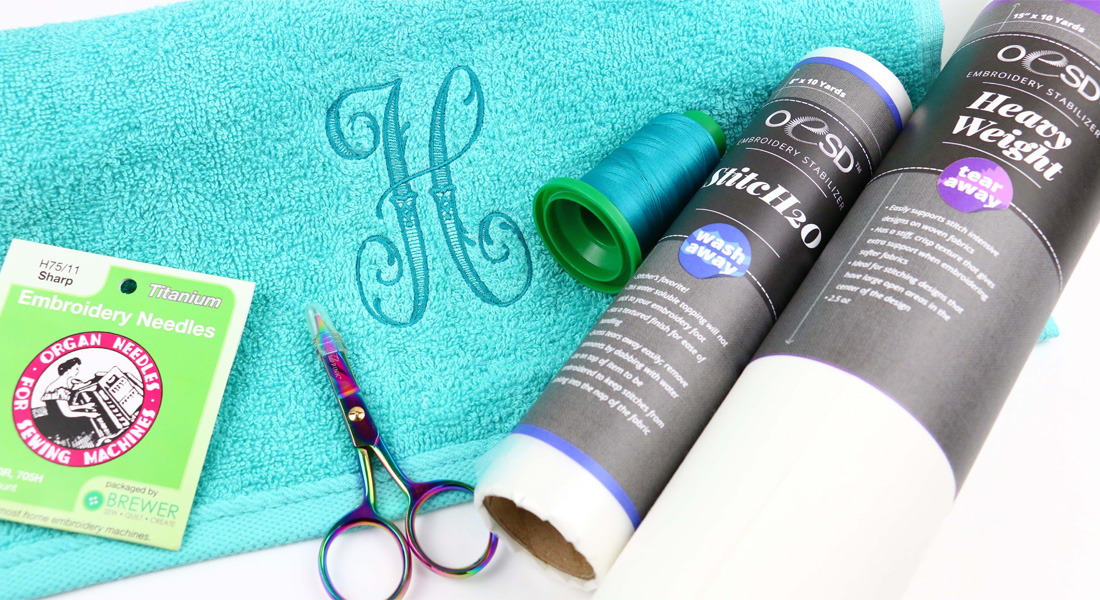
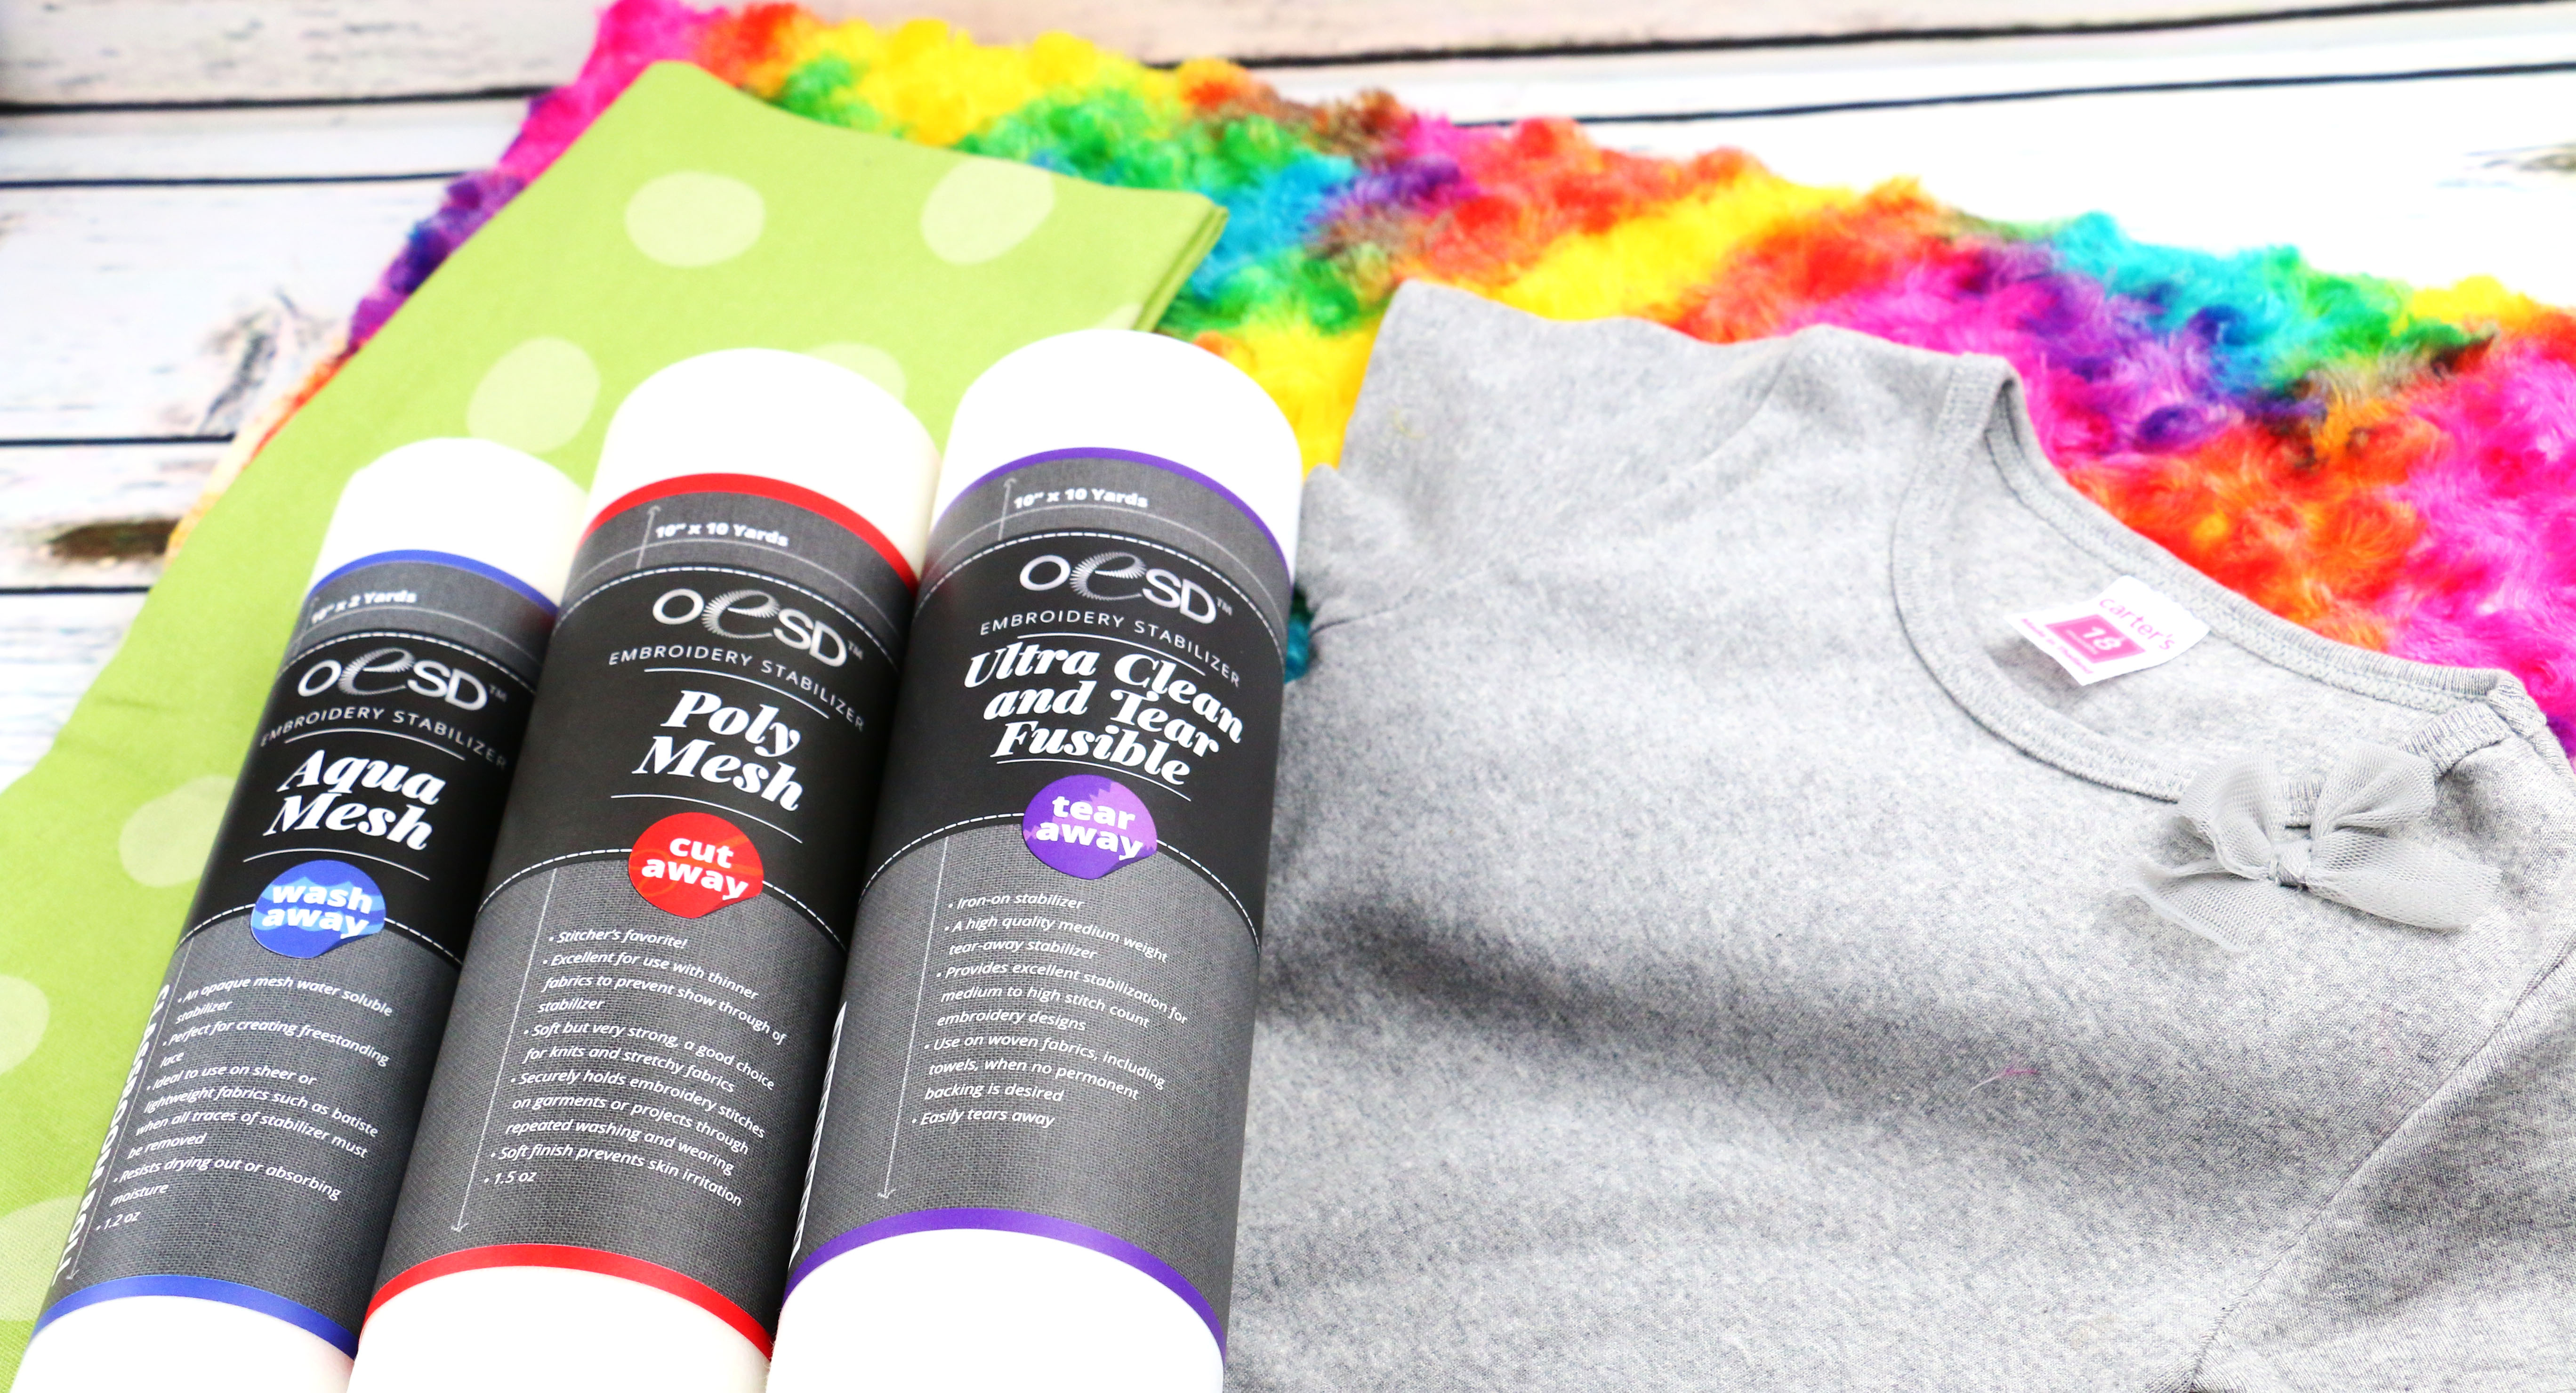
Stabilizers for Pillow Case
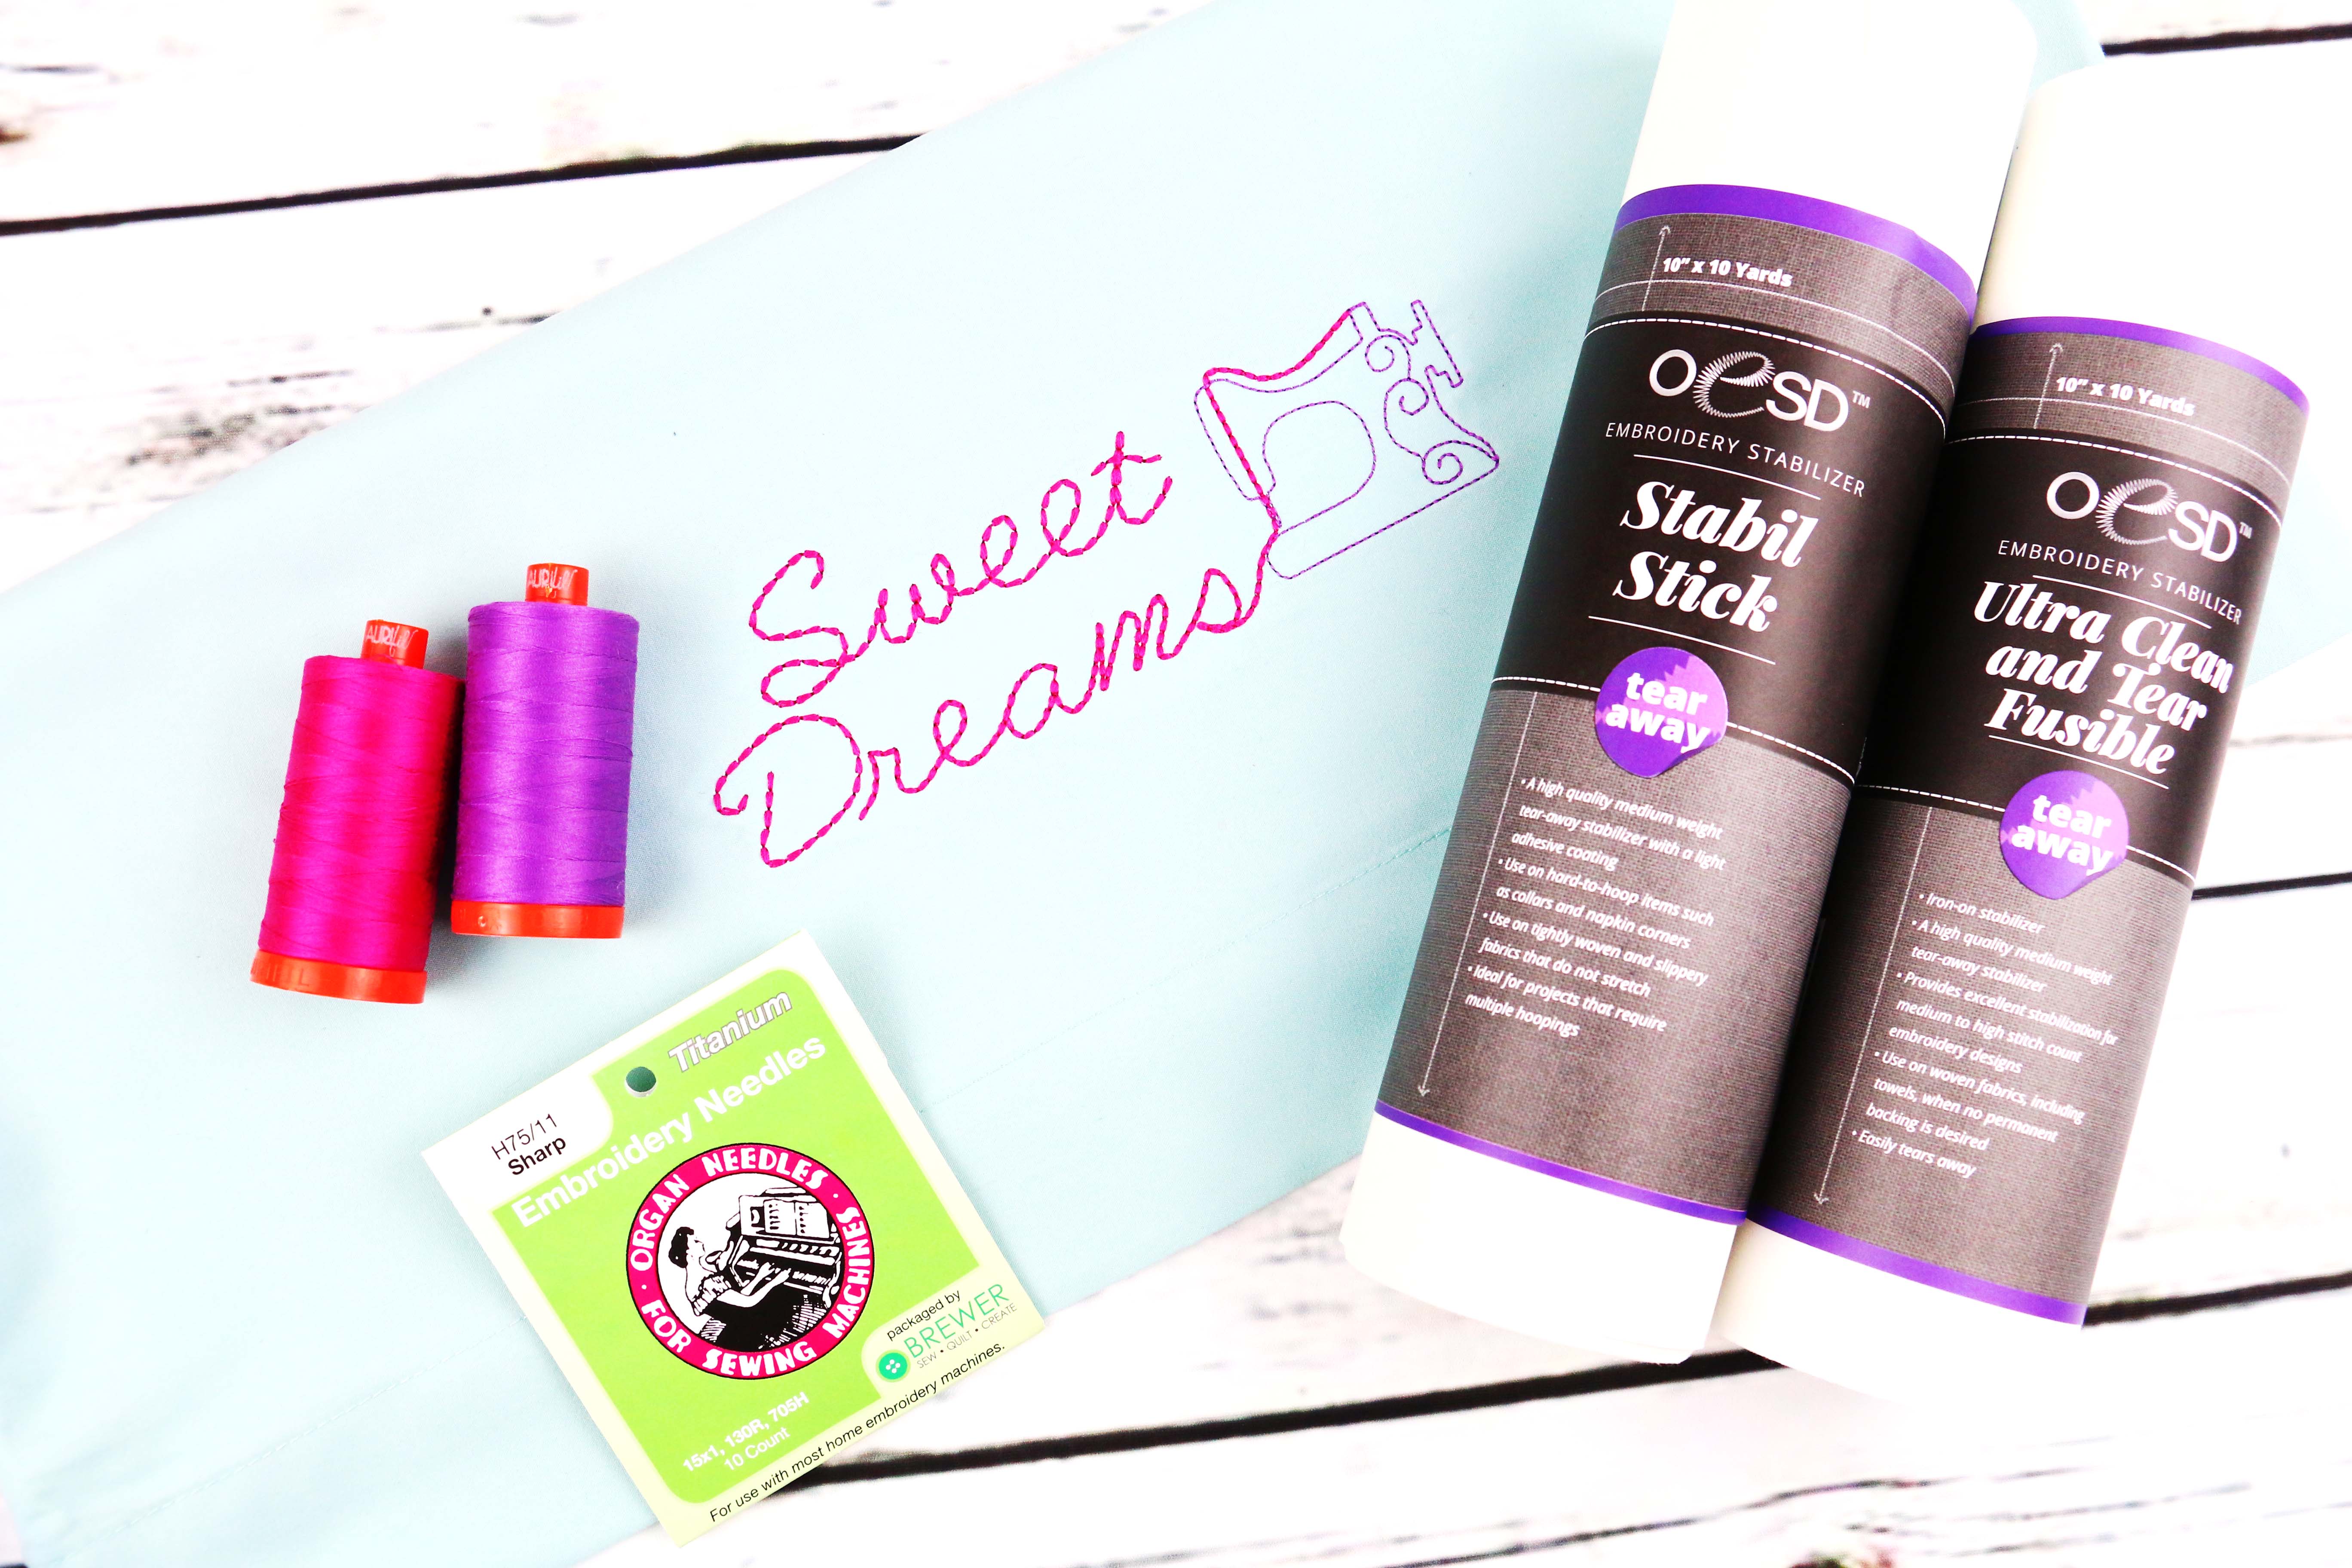
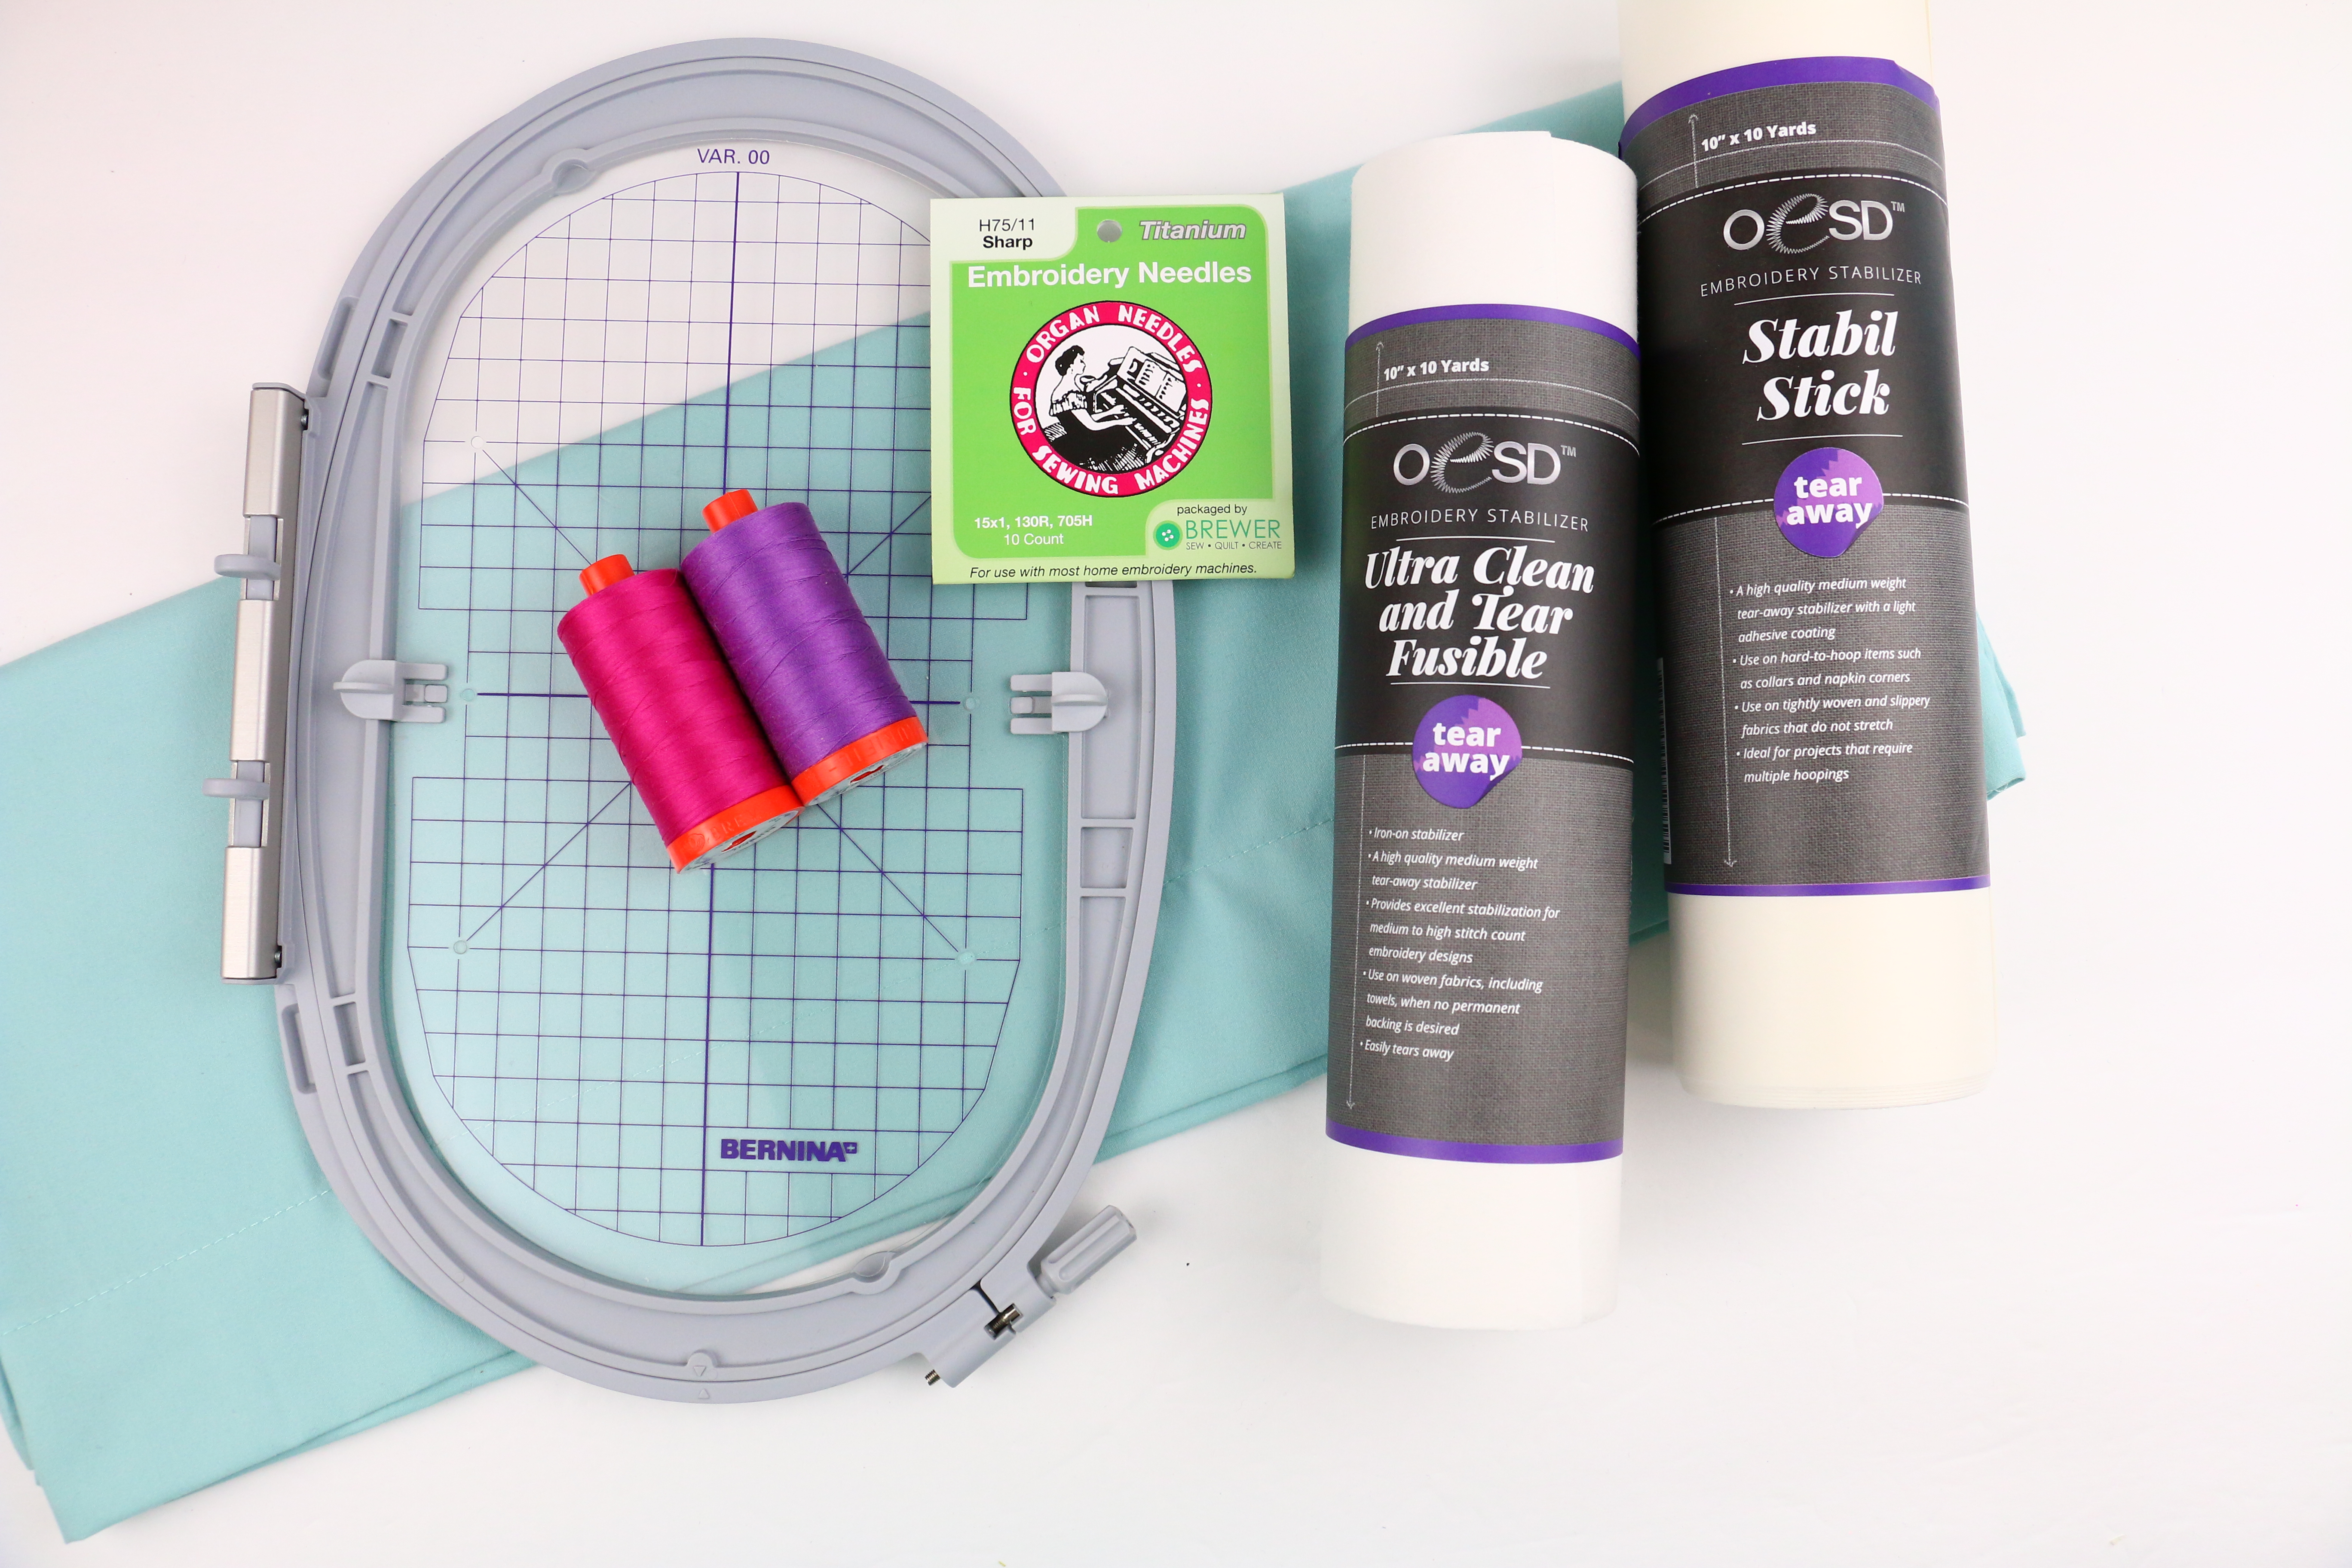
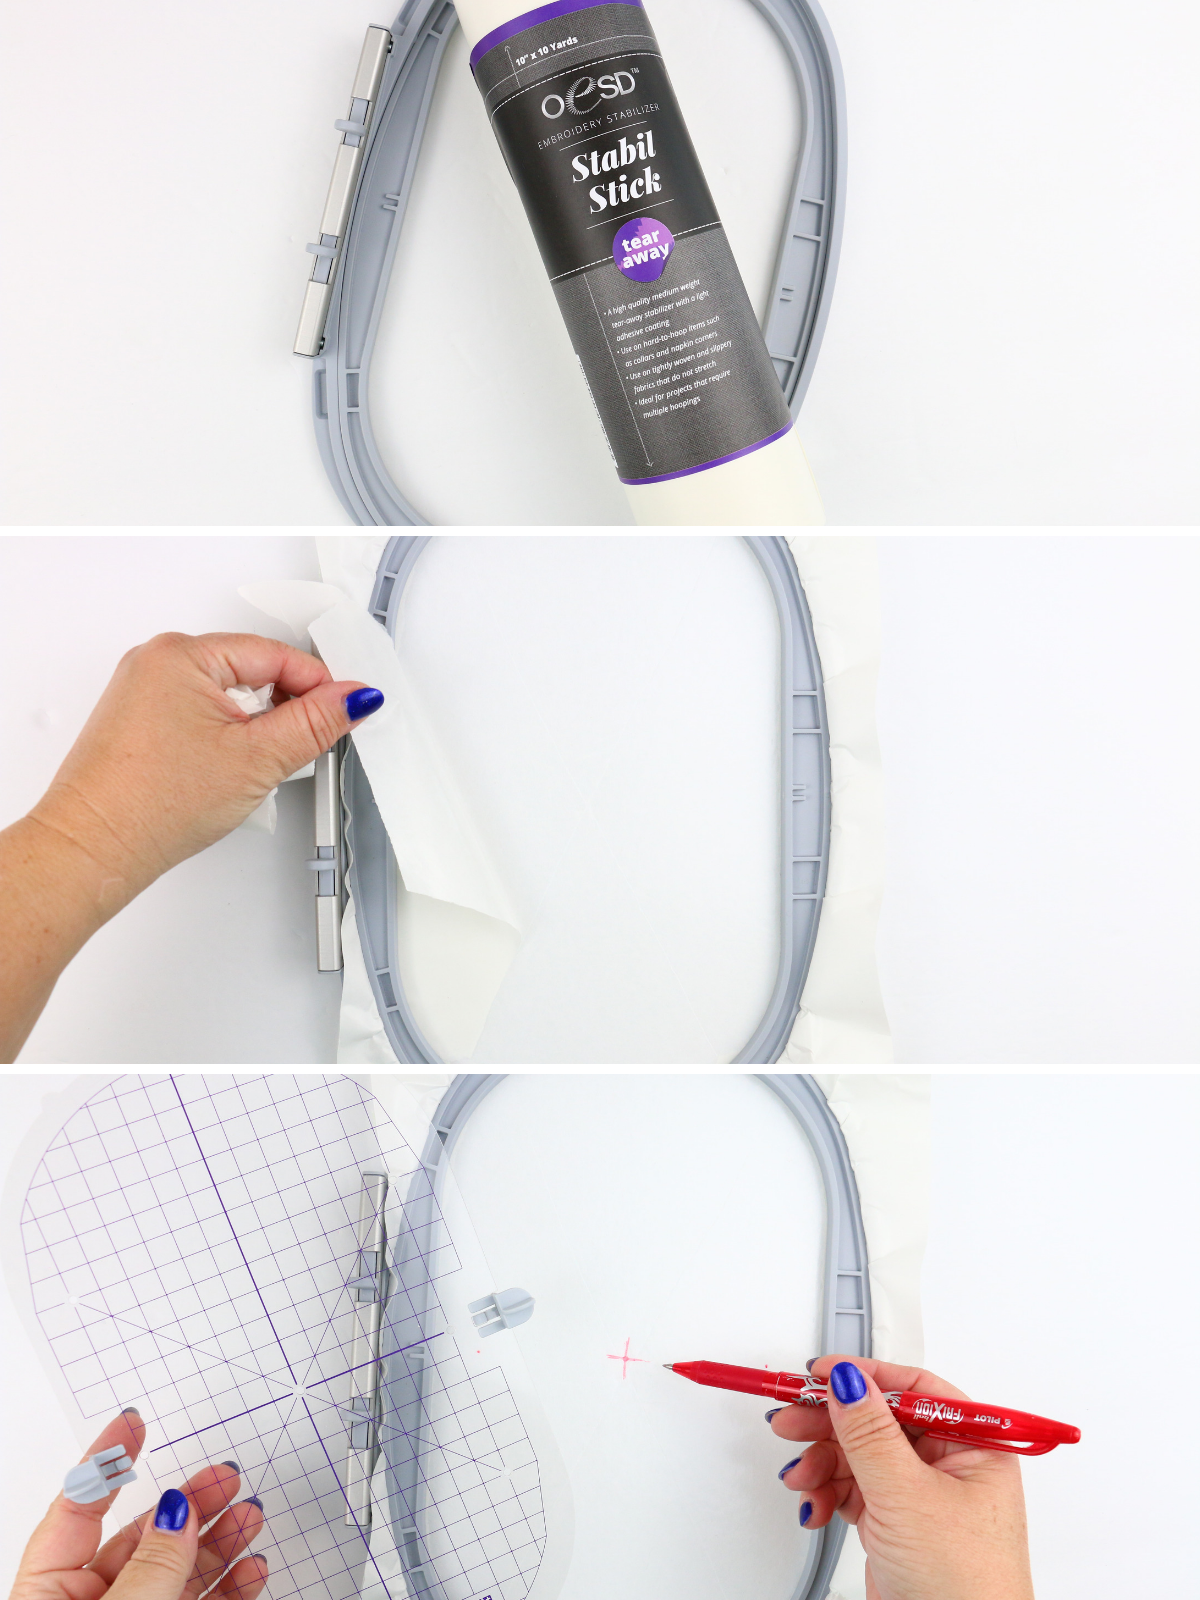
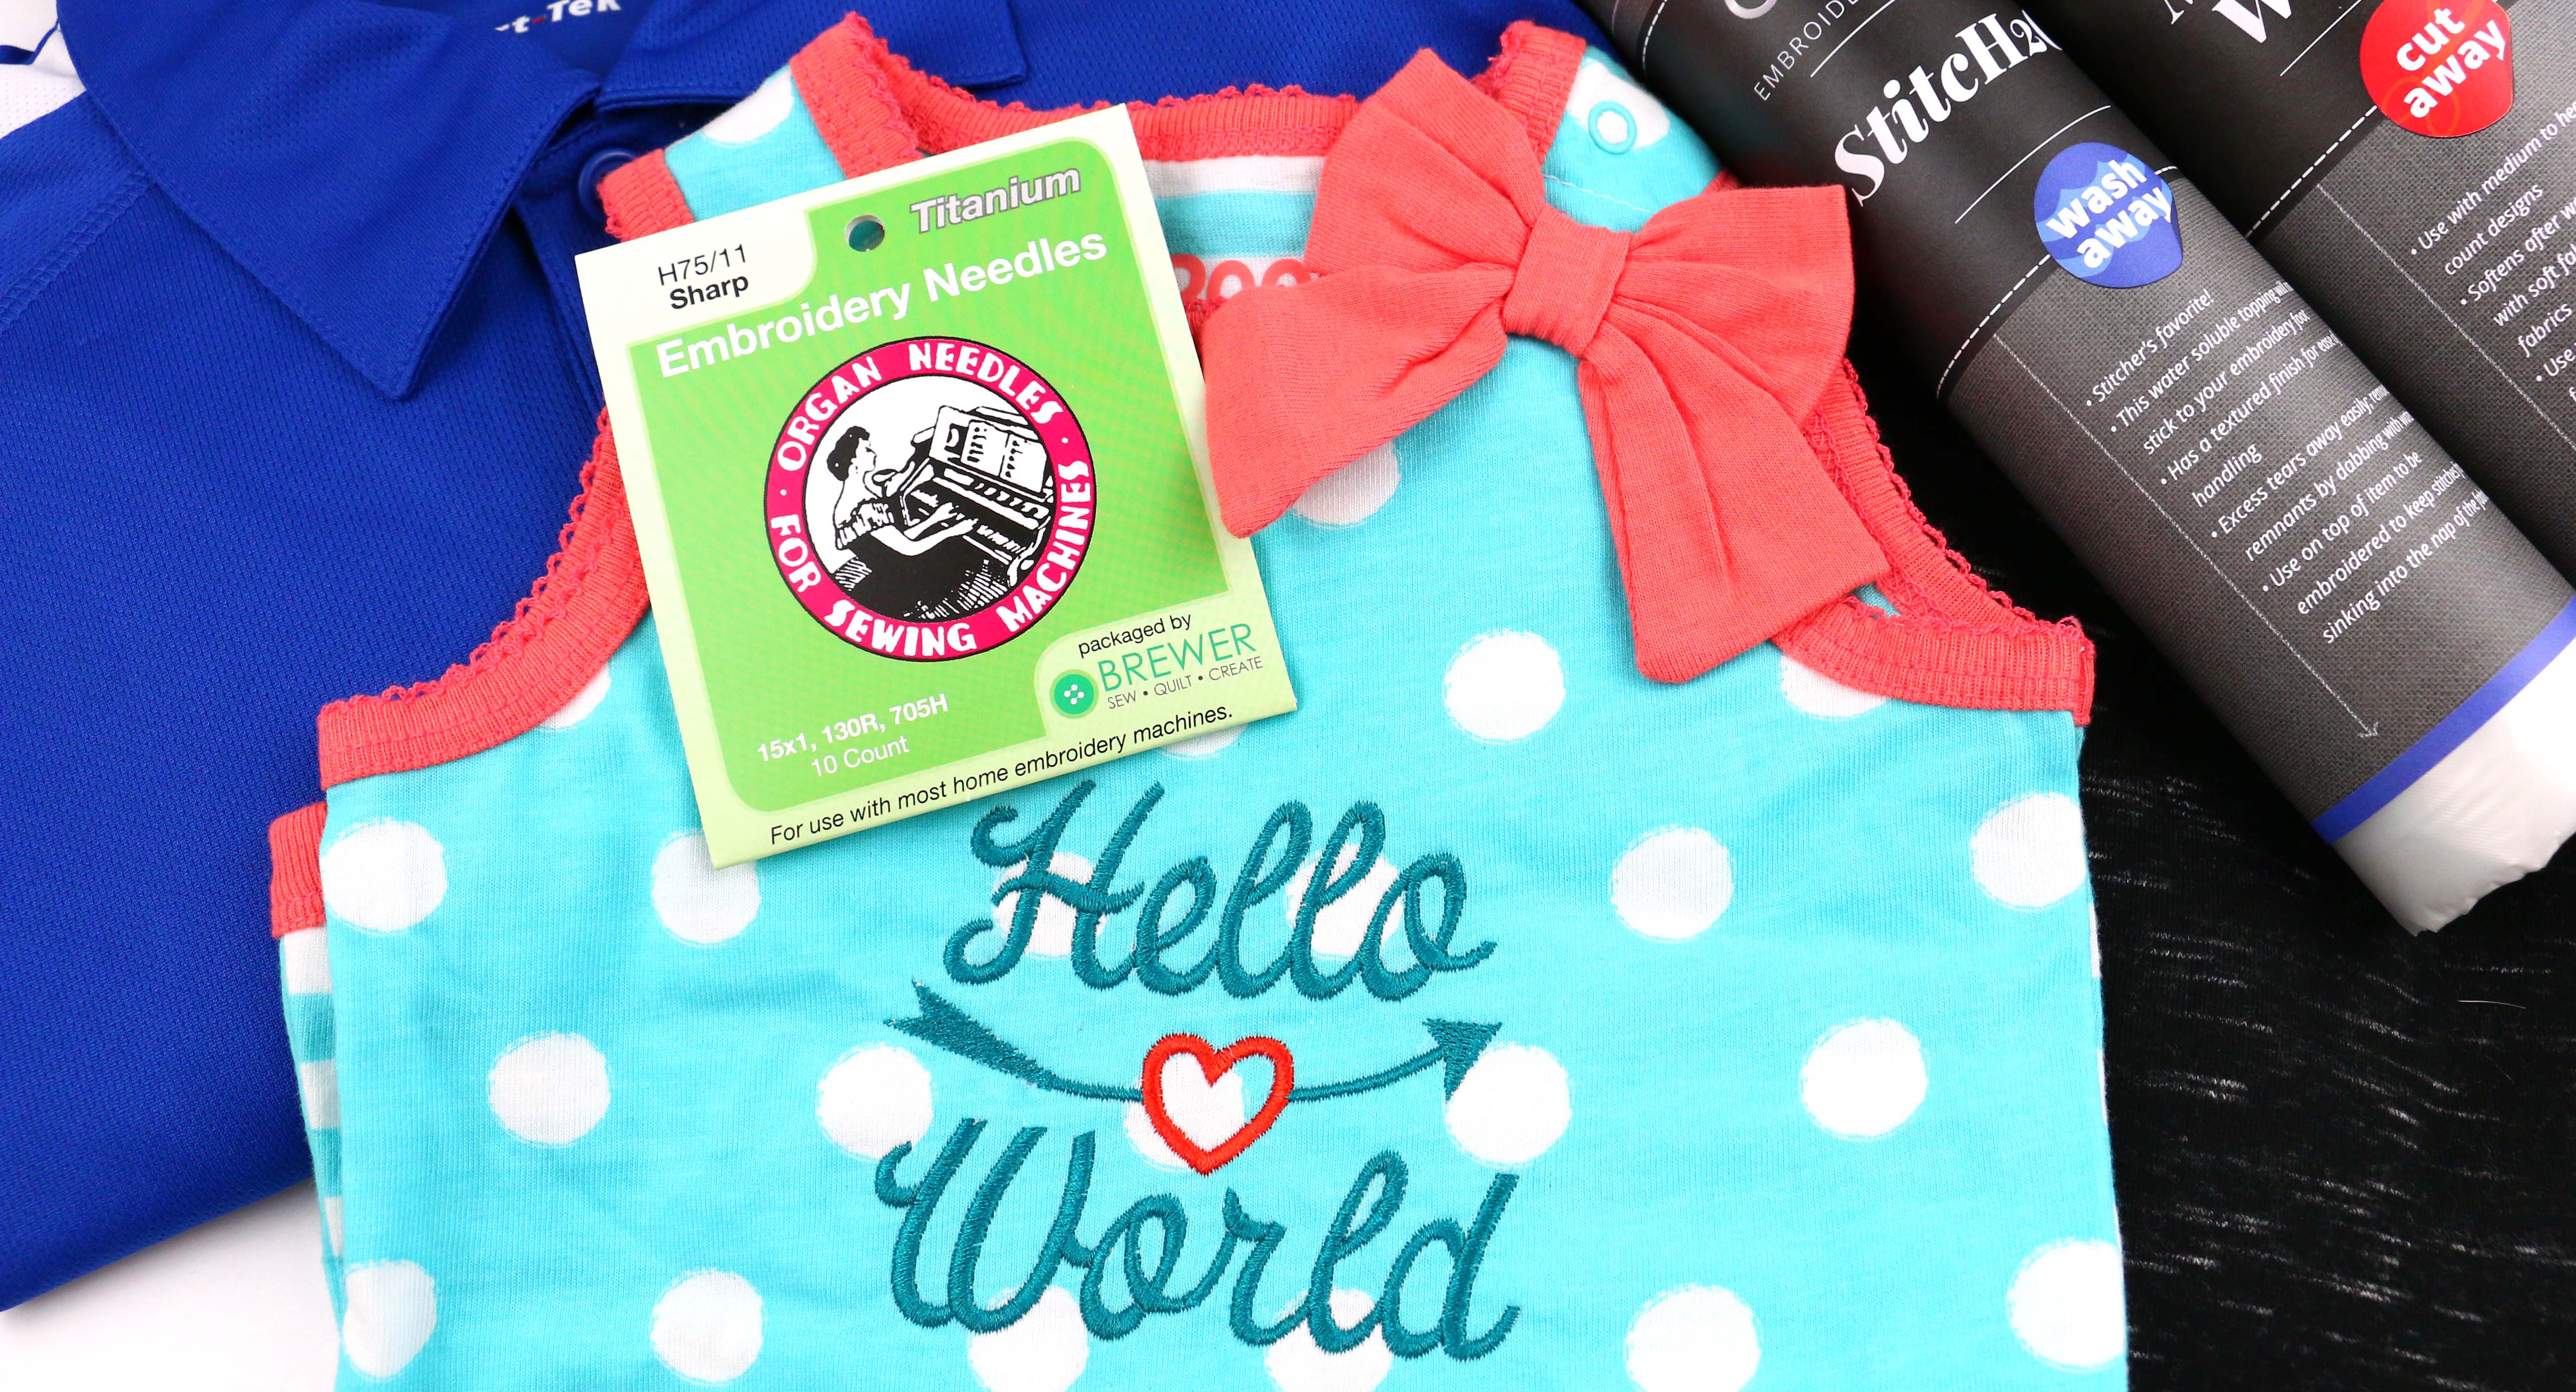
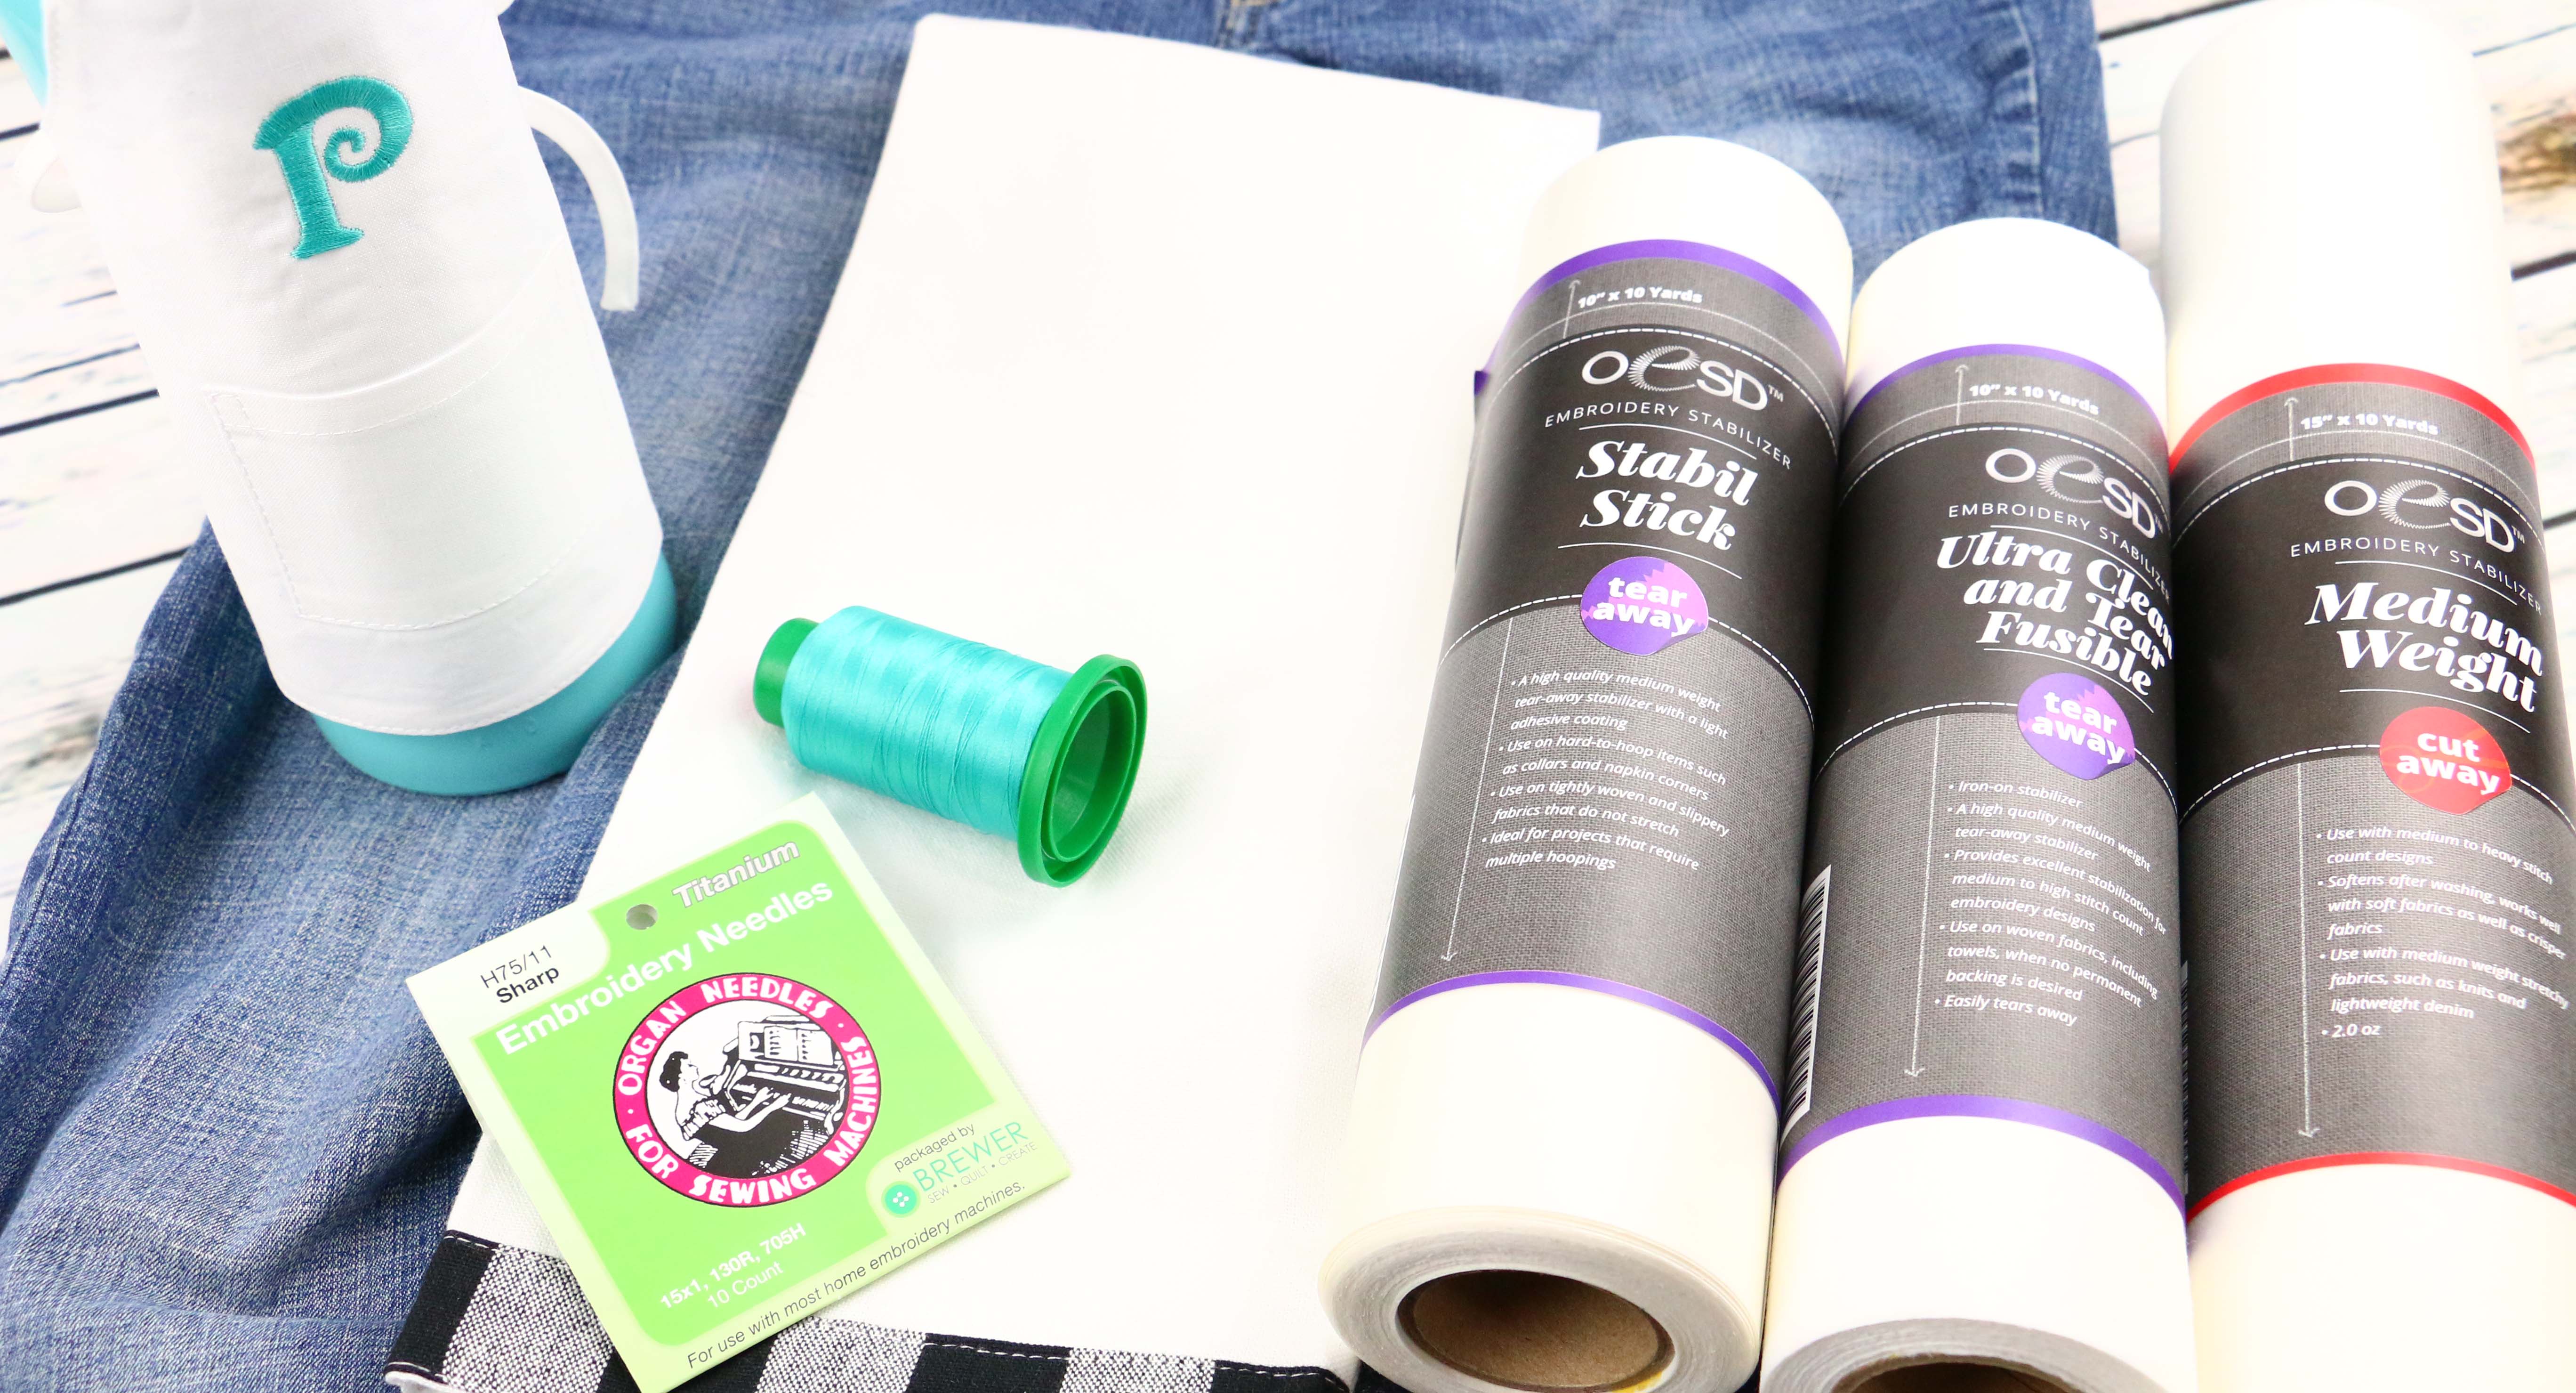
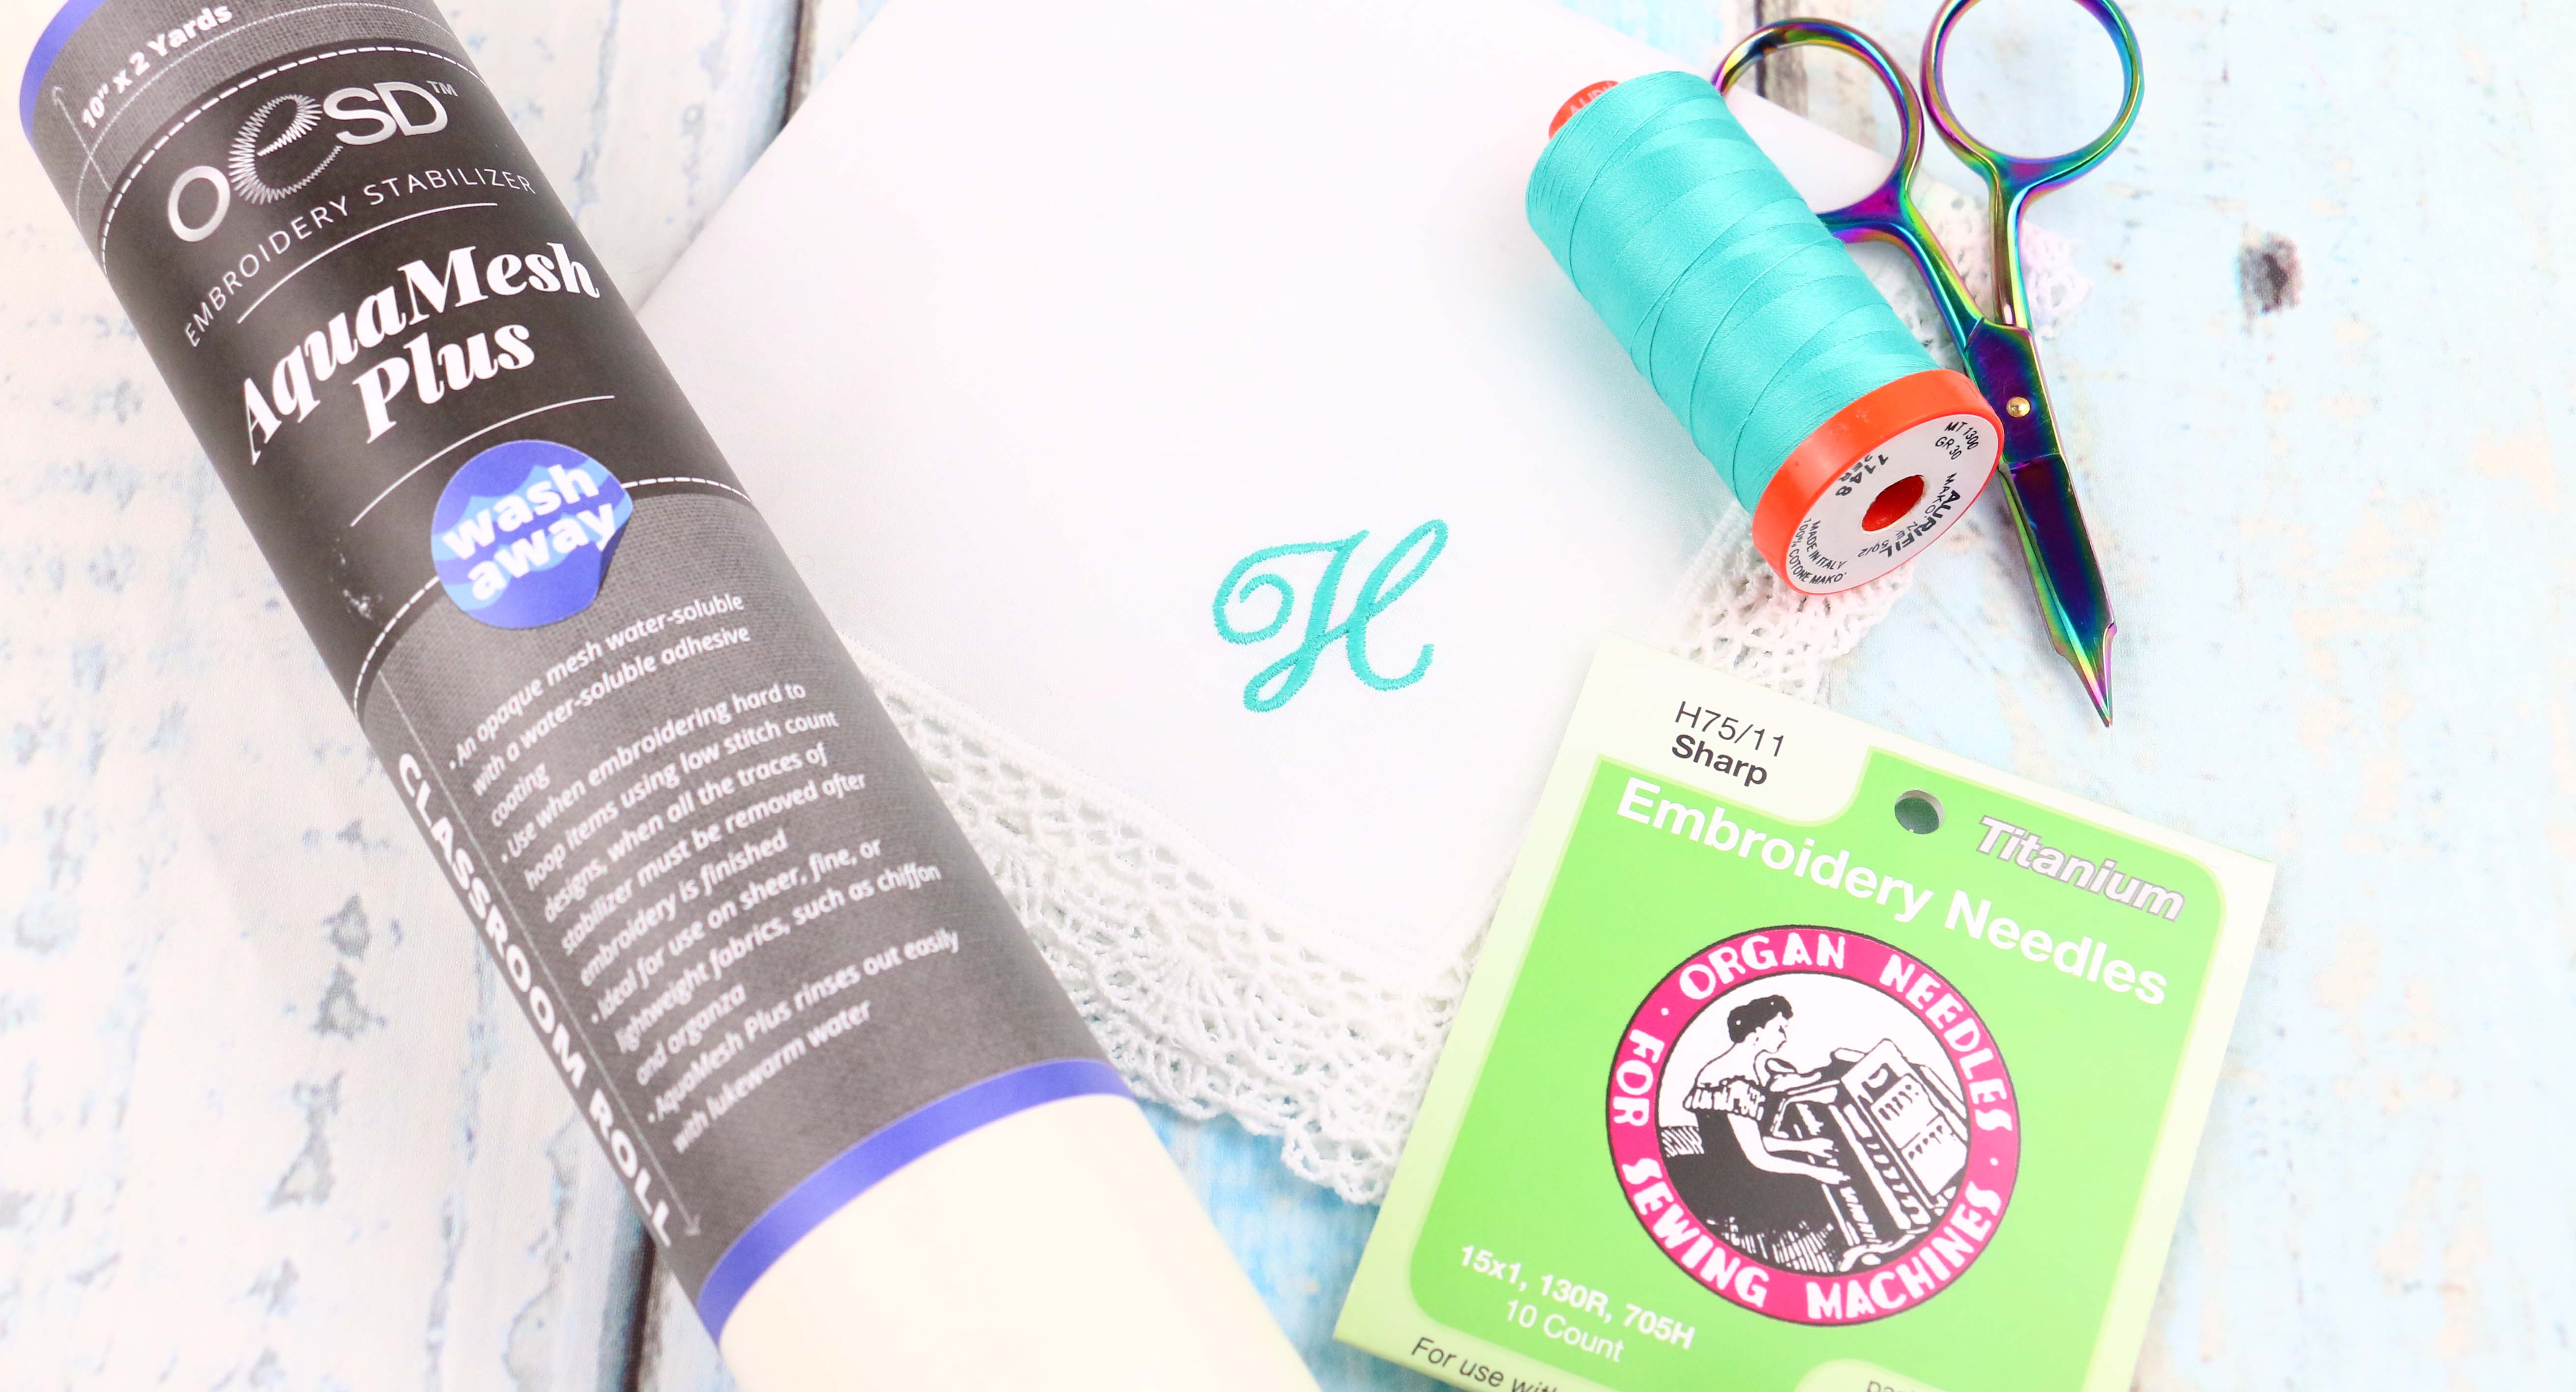
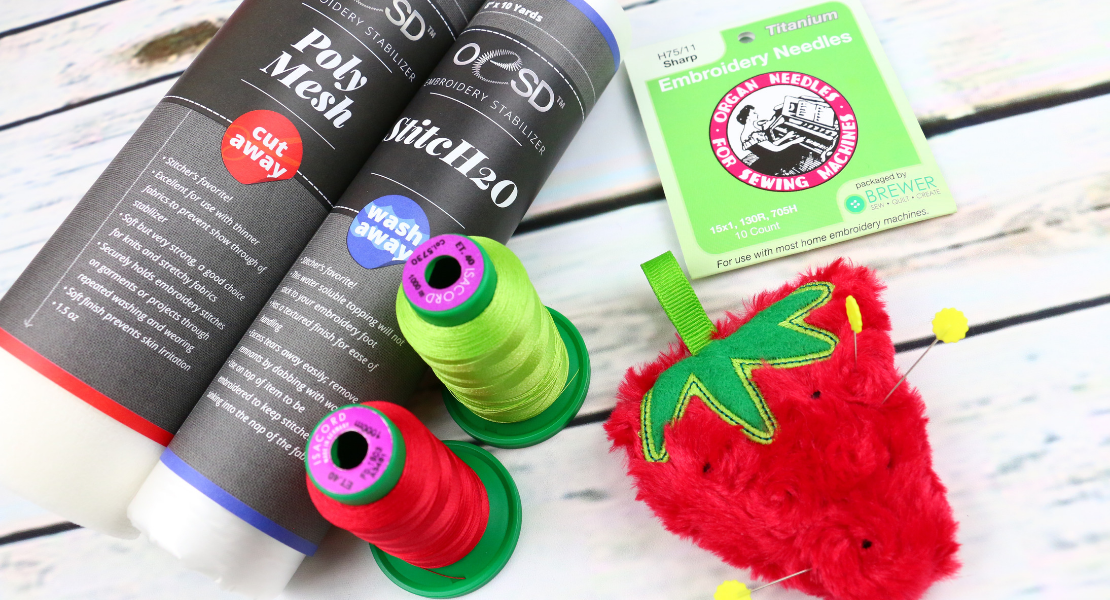
For a pillow case the best stabilizer to use is a fusible tear away. If embroidering on the edge of the pillow case the materials won’t fit into the hoop. If you remember back in Part 4 we discussed hooping and placement. The rule of thumb when hooping stabilizer is there should be at least 1″ of stabilizer around the outside of the hoop. The trick is to hoop a sticky/adhesive stabilizer, remove the paper topping and place the project wrong side to the adhesive. Today I will use two stabilizers for the pillow case. The StabilStick and the Ultra Clean and Tear Fusible.

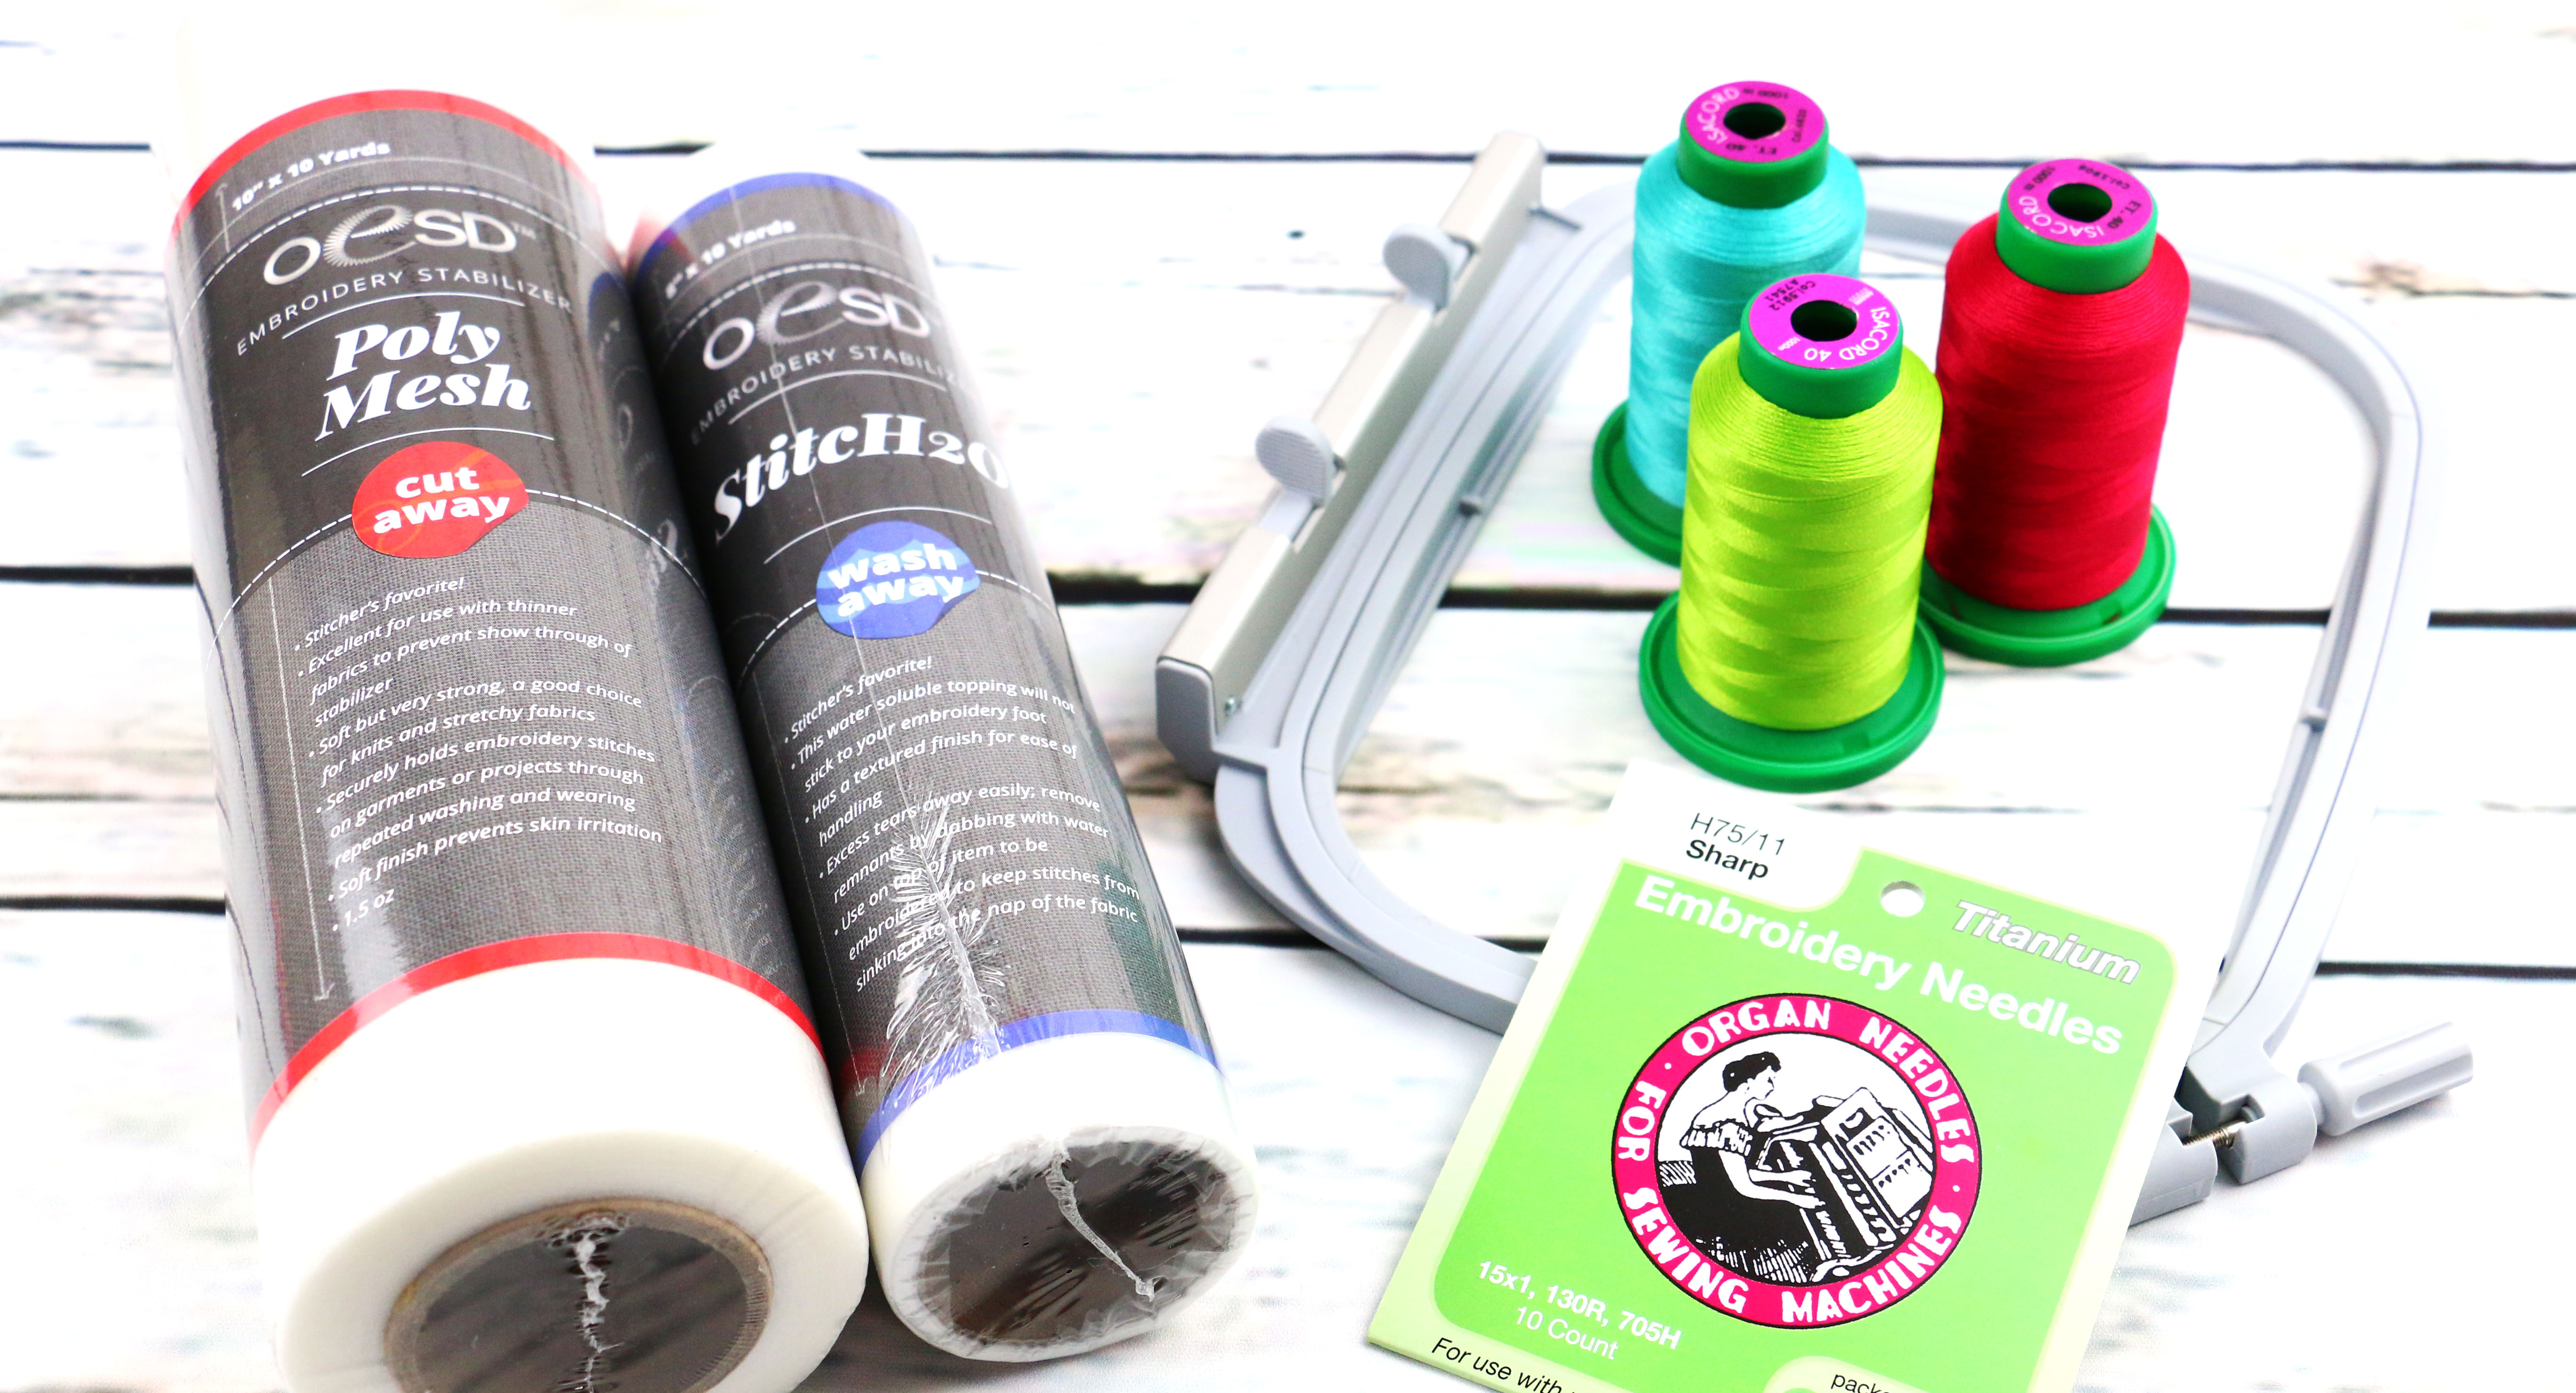
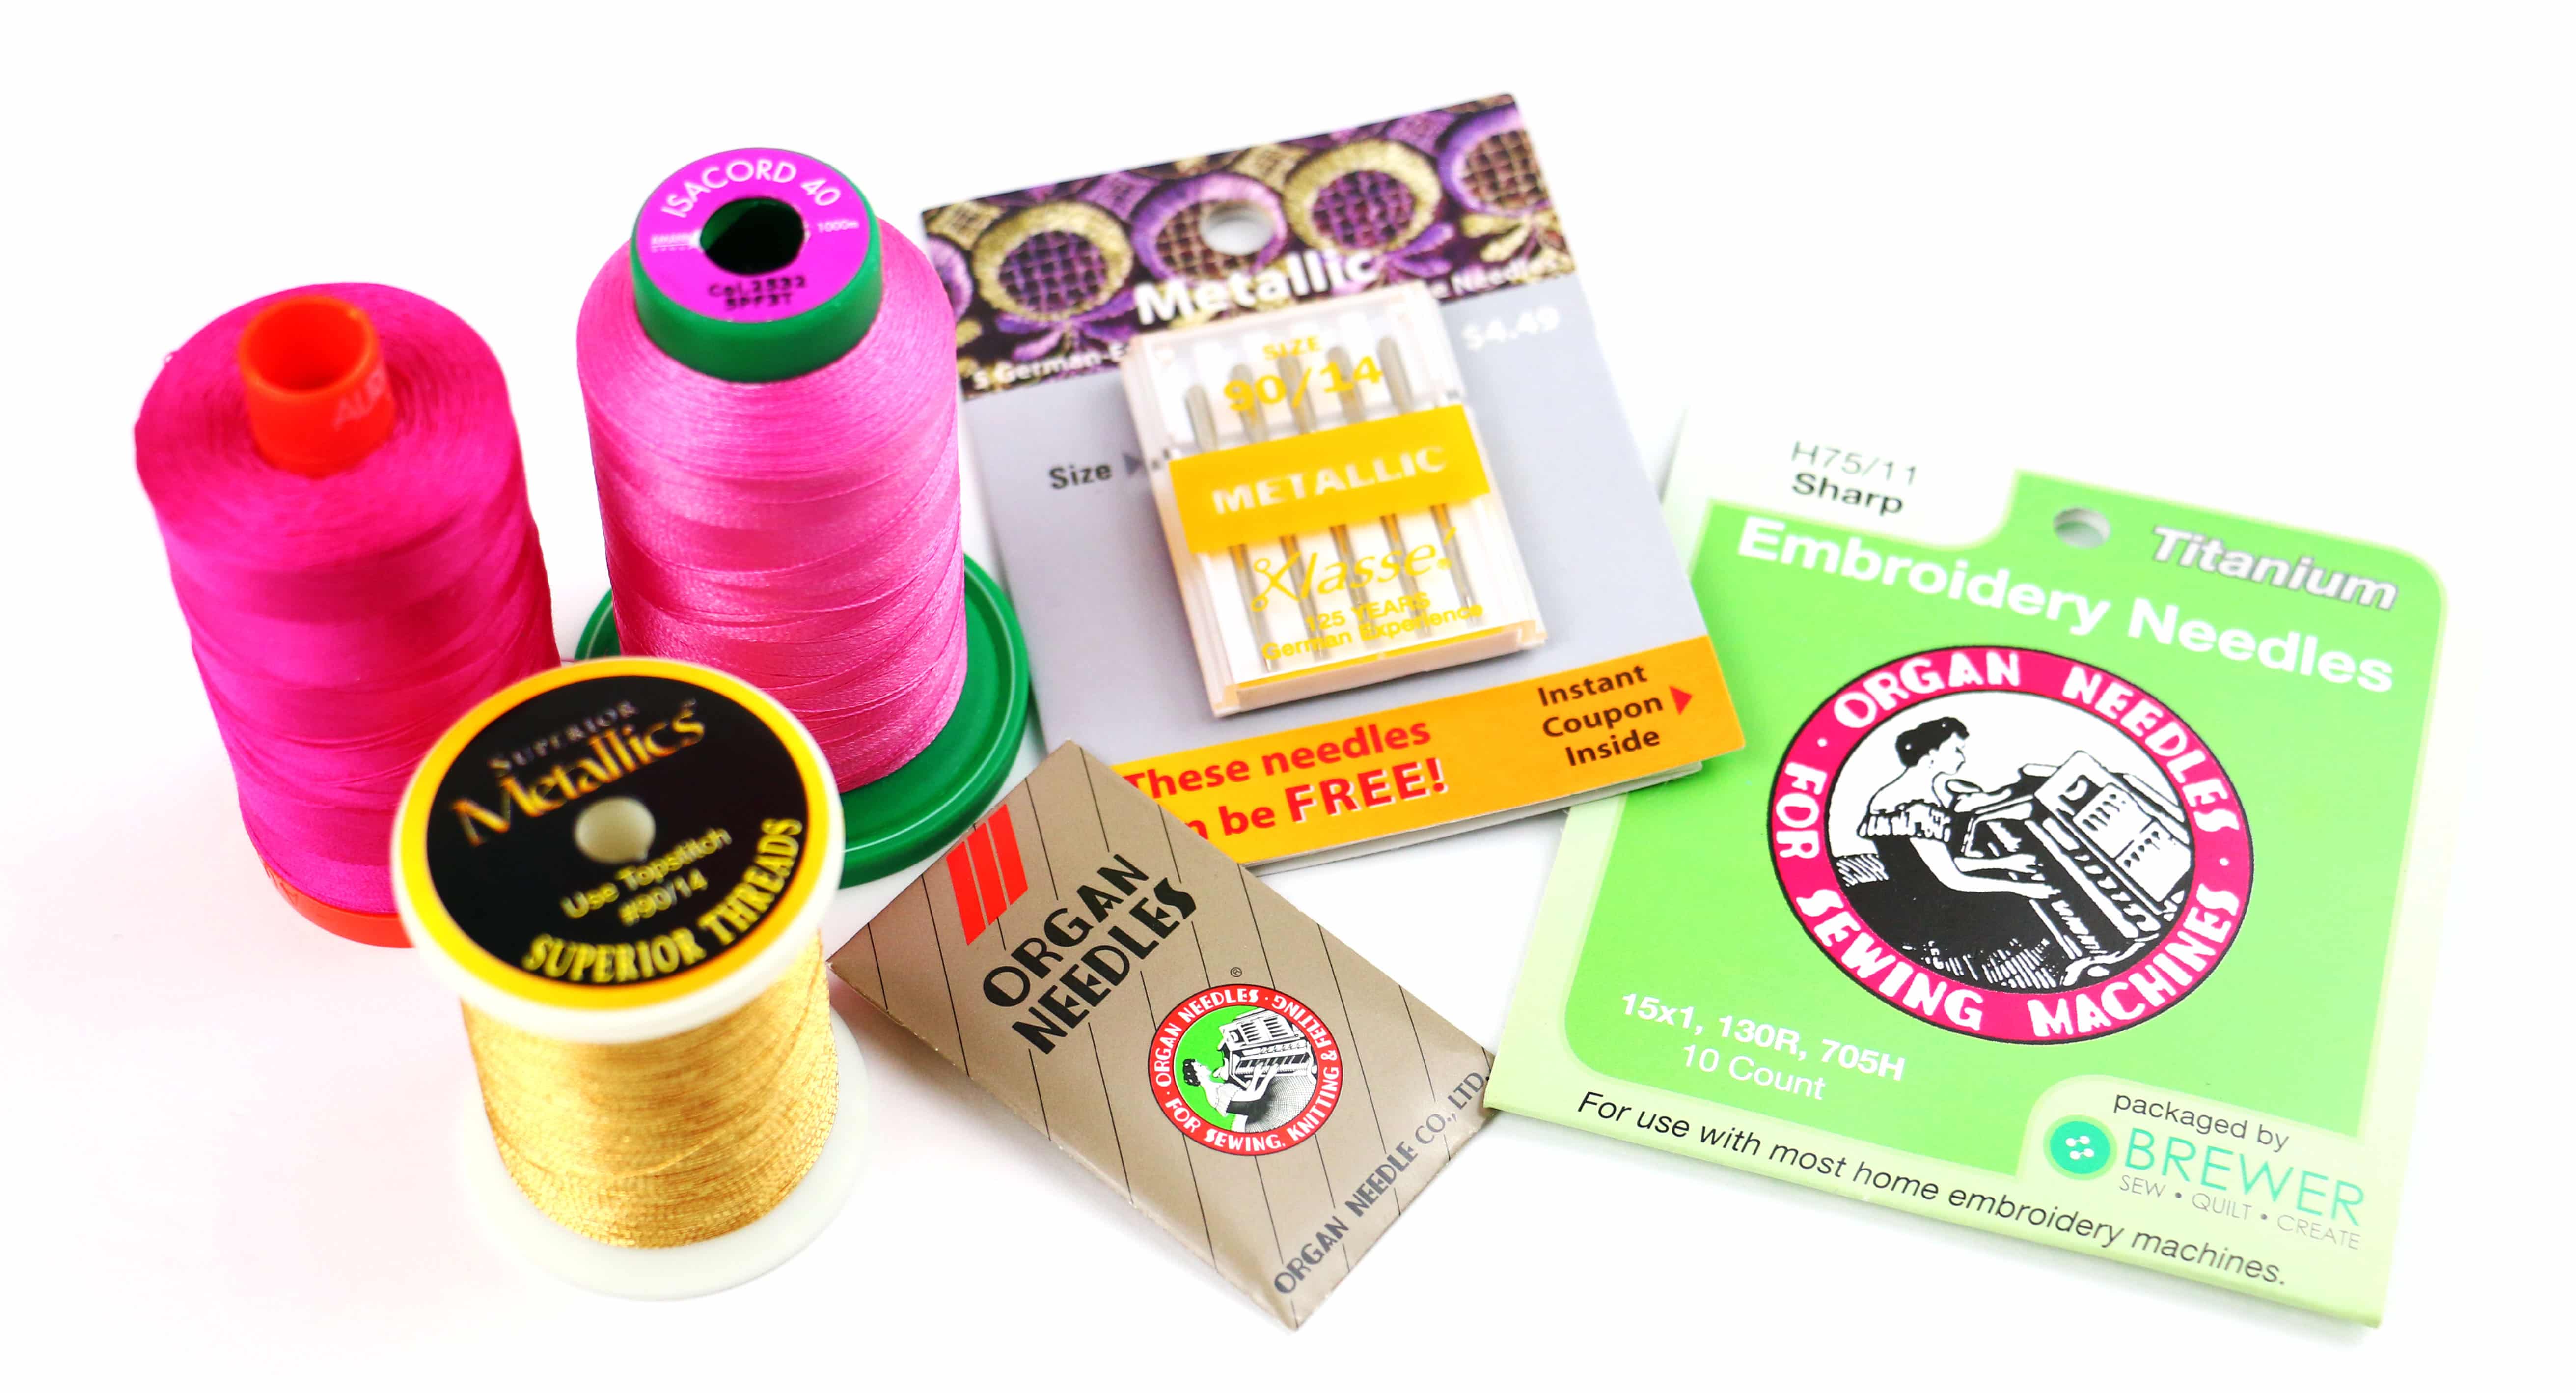
Thread and Needles for a Pillow Case
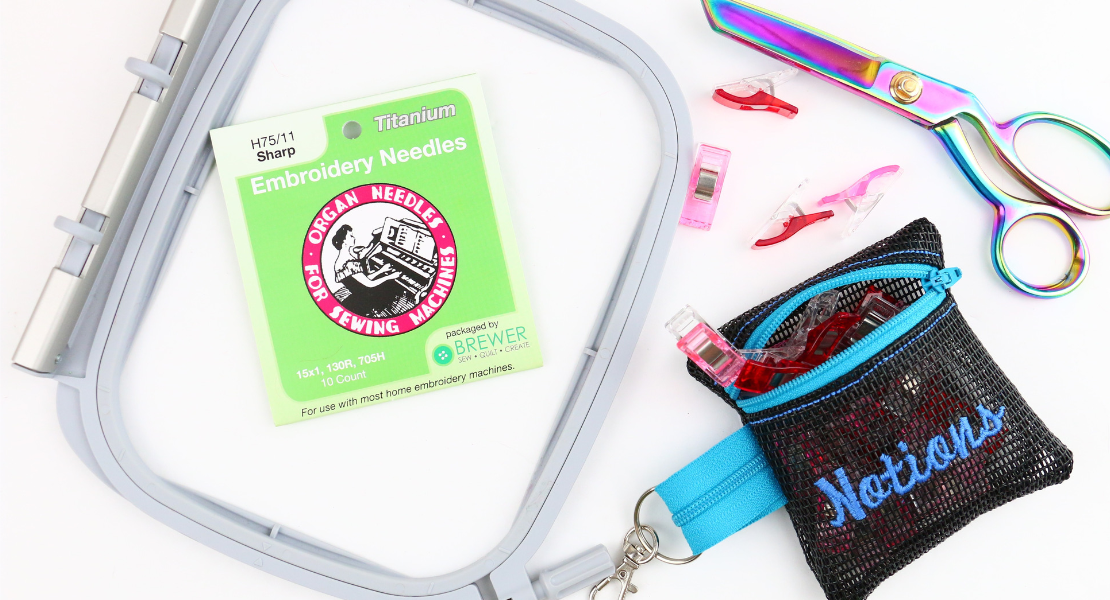
The choice of needle for embroidering on woven materials will almost always be the embroidery 75/11. Refer to Part 3 where I talked about different types of threads and needles. Personally I avoid metallic threads on pillow cases as it can be scratchy against sensitive skin. A perfect solution for embroidering on pillow cases is cotton thread. It is machine washable, soft and has a sophisticated appearance. Today I am using the Aurifil 50 weight cotton thread from my thread box, the Sewing Gnome. I like how this thread works on my BERNINA 790 Plus for flawless sewing and machine embroidery! 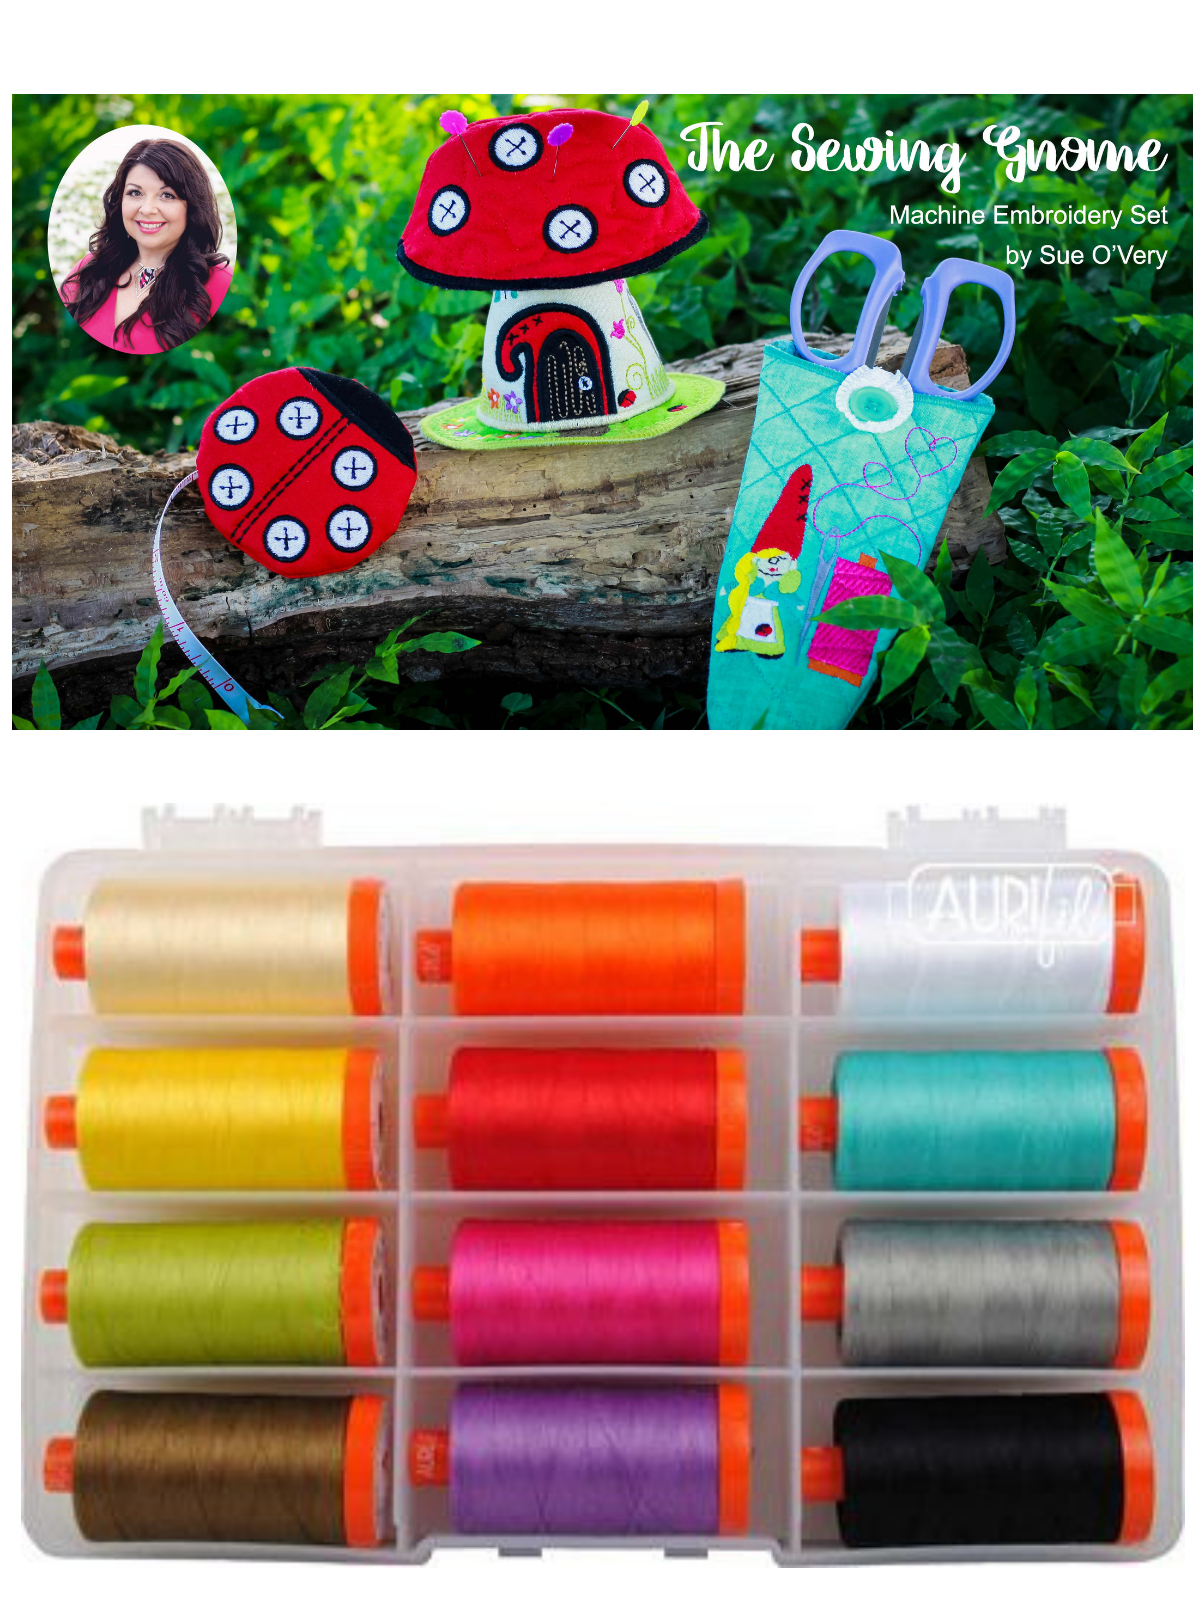
Embroider on Pillow Case – Step-by-Step guide
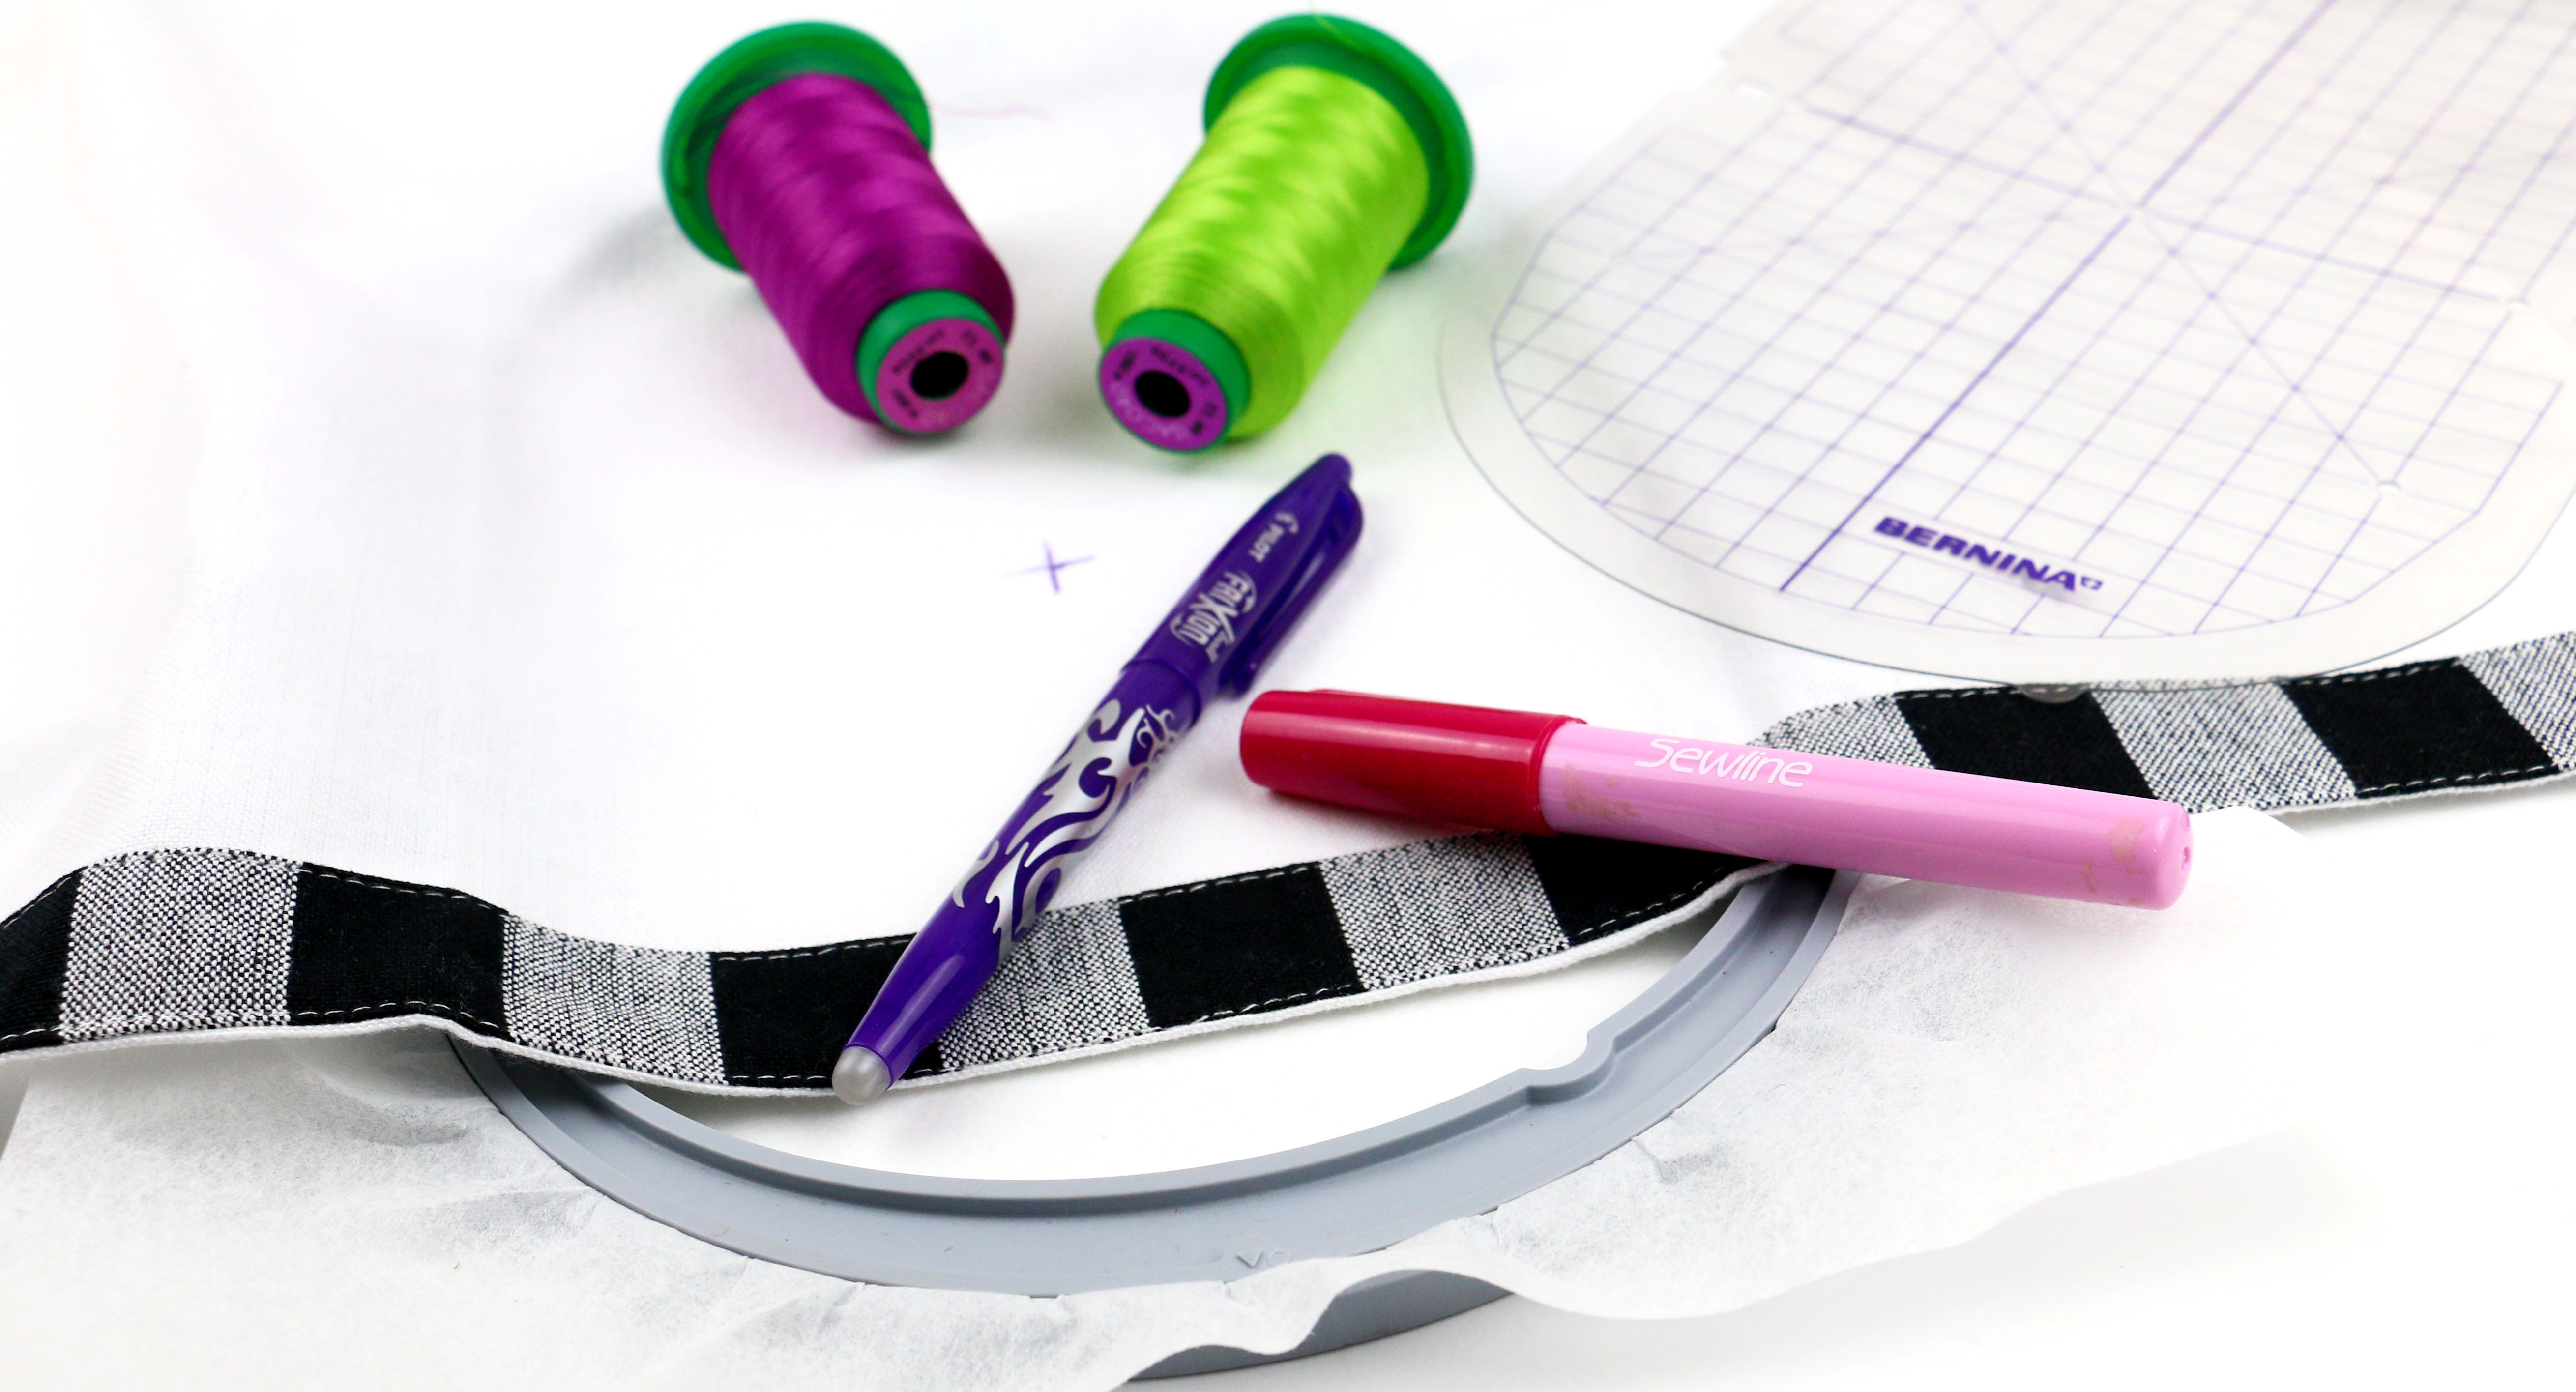
Now that you’ve got your stabilizers, needles and thread ready lets gather the rest of the tools needed. In Part 4 I discussed hoops, grids, marking pens and adhesives. For the the pillow case I will be using a Frixion marking pen, ruler and iron. I have created a darling design any sewer would want to rest their head on at night, the Sweet Dreams sewing machine. It comes in three sizes; 5″ x 7″, 6″ x 10″ and 8″ x 12″. Remember in Part 4 I covered hoop size vs actual embroidery area. Because of the actual embroidery area of the 5″ x 7″ design I am able to embroider it with my BERNINA 790 Plus Oval hoop.
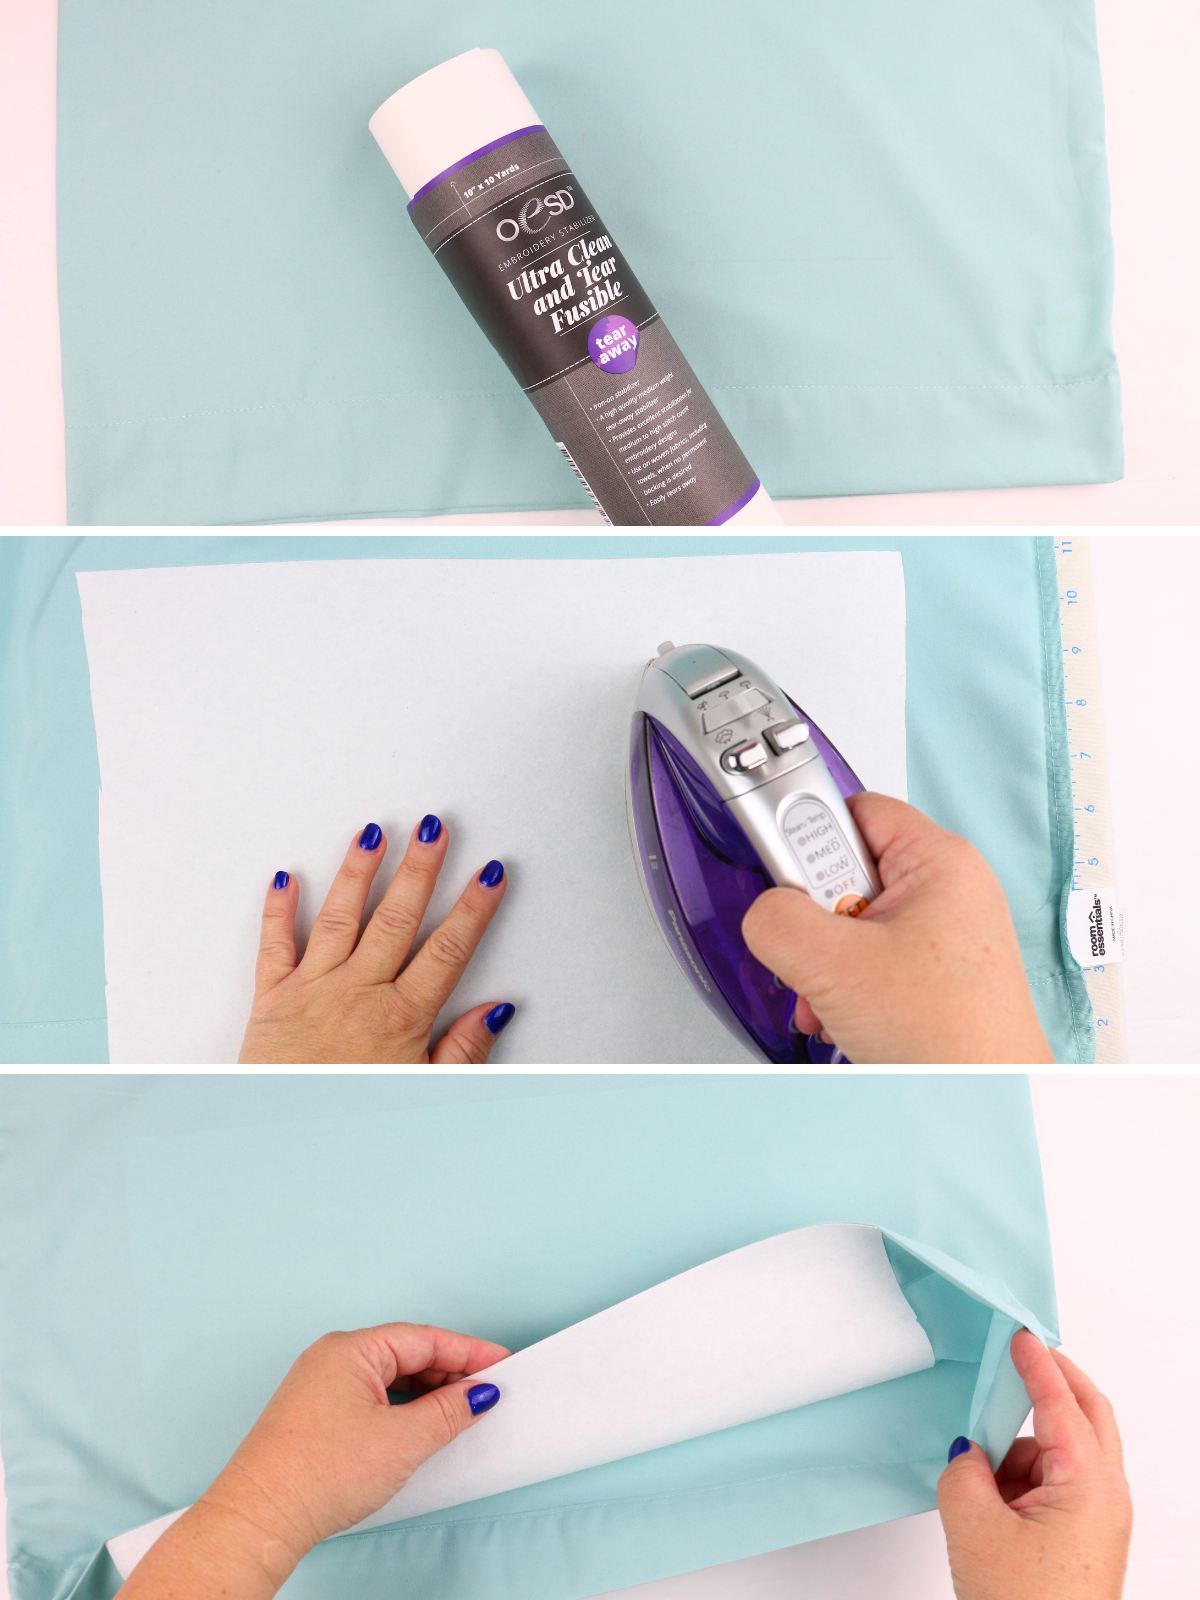
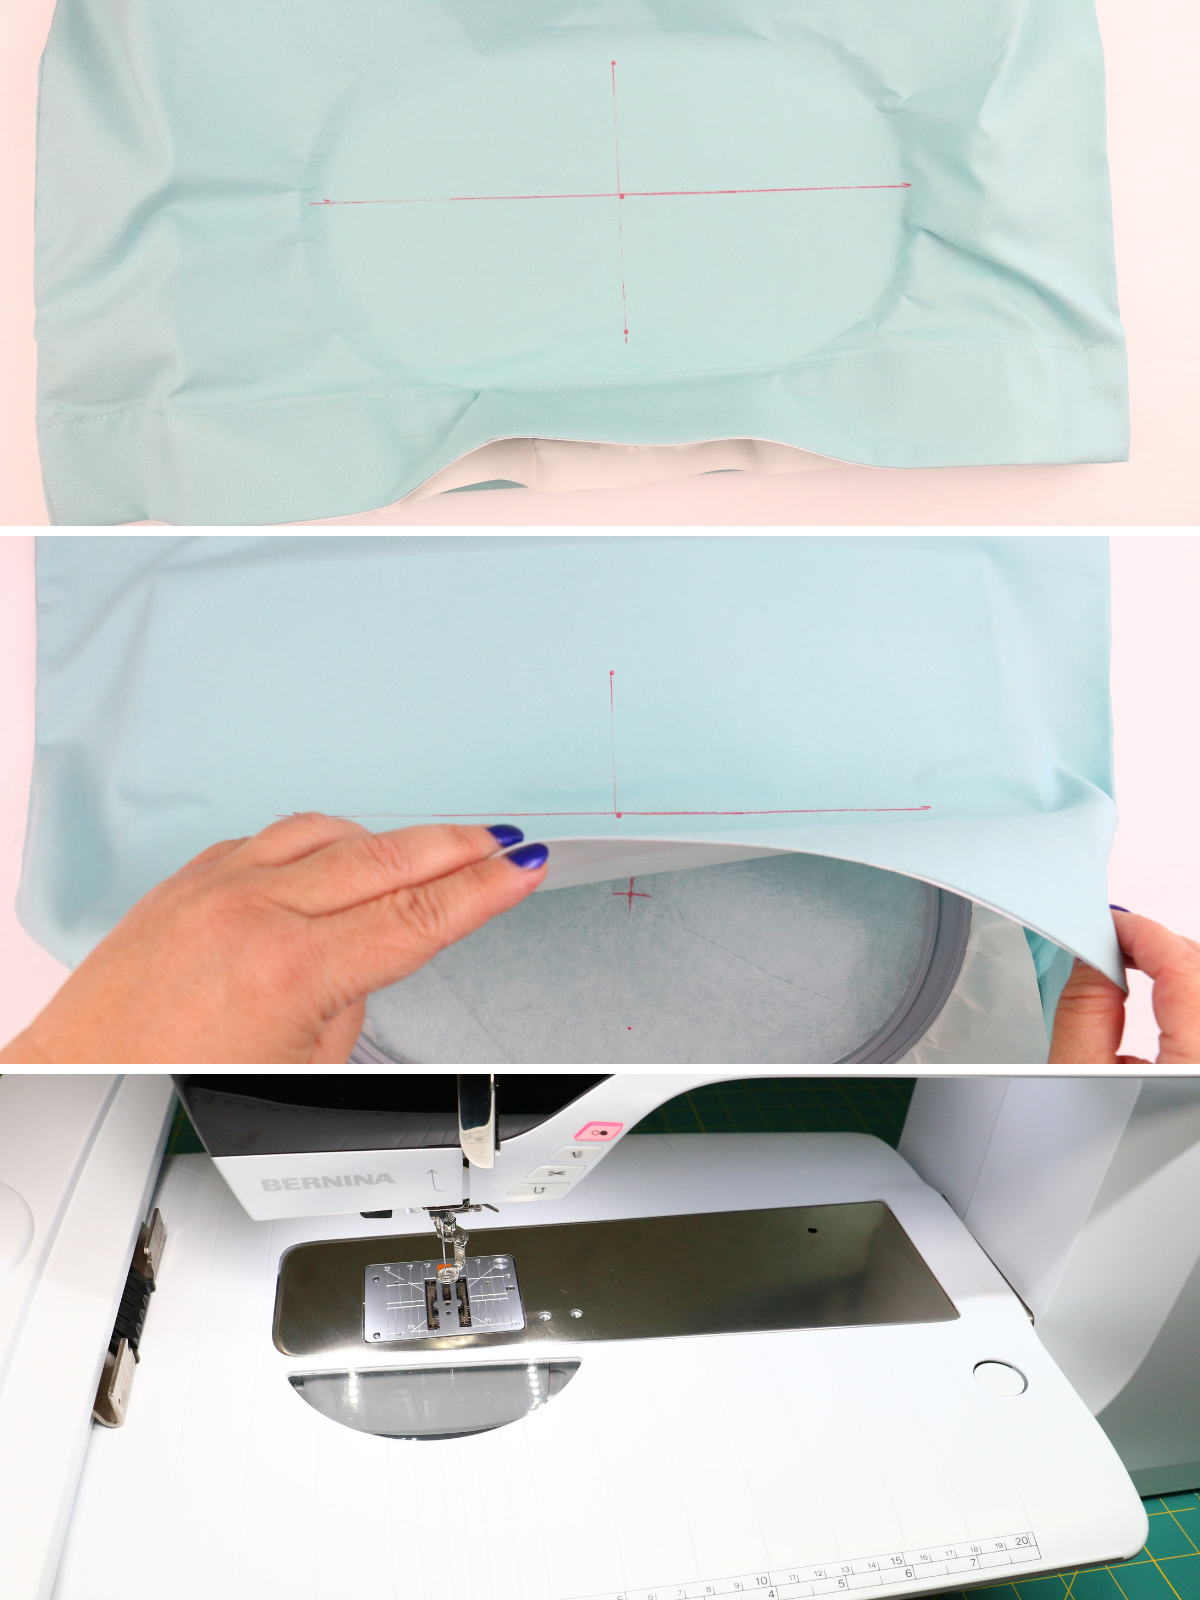
Decide where you want the embroidery to be placed. You could also print a template as shown in Part 5. Turn the pillow case inside out. Press a large piece of Ultra Clean and Tear Fusible over the embroidery area. Turn pillow case right side out.
Use template to align hoop. Mark center and side marks. Connect the marks to form the cross hairs. For more details on this process head to Part 6.

Hoop the StabilStick. Score stabilizer with a pin. Remove and discard the paper. Use the template and mark the center.
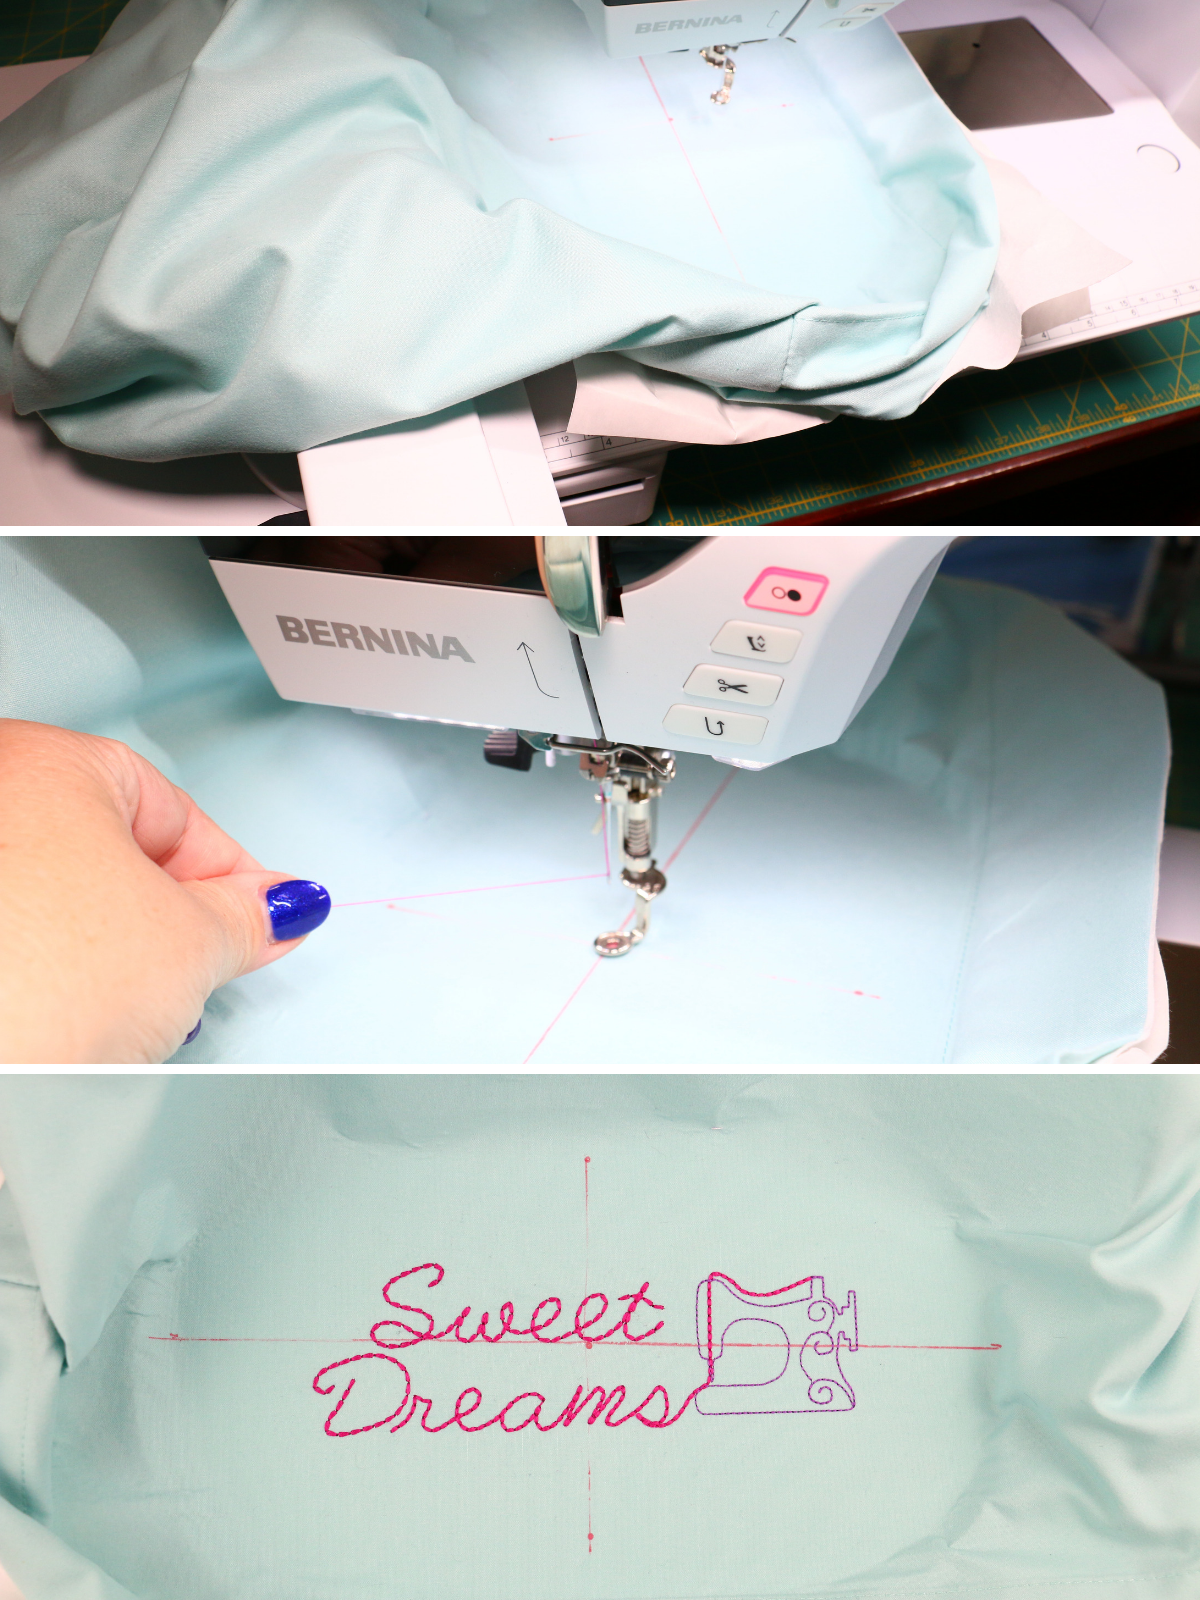
Align the pillow case cross hair with the stabilizer center mark. Keep the flatbed of your embroidery machine attached so the pillow case has a flat surface to rest on.
Find the center of the design, adjust the needle and begin embroidering.
When embroidery is complete remove hoop from machine and materials from hoop. Hold the stitches while gently removing the stabilizer from the wrong side of the pillow case.
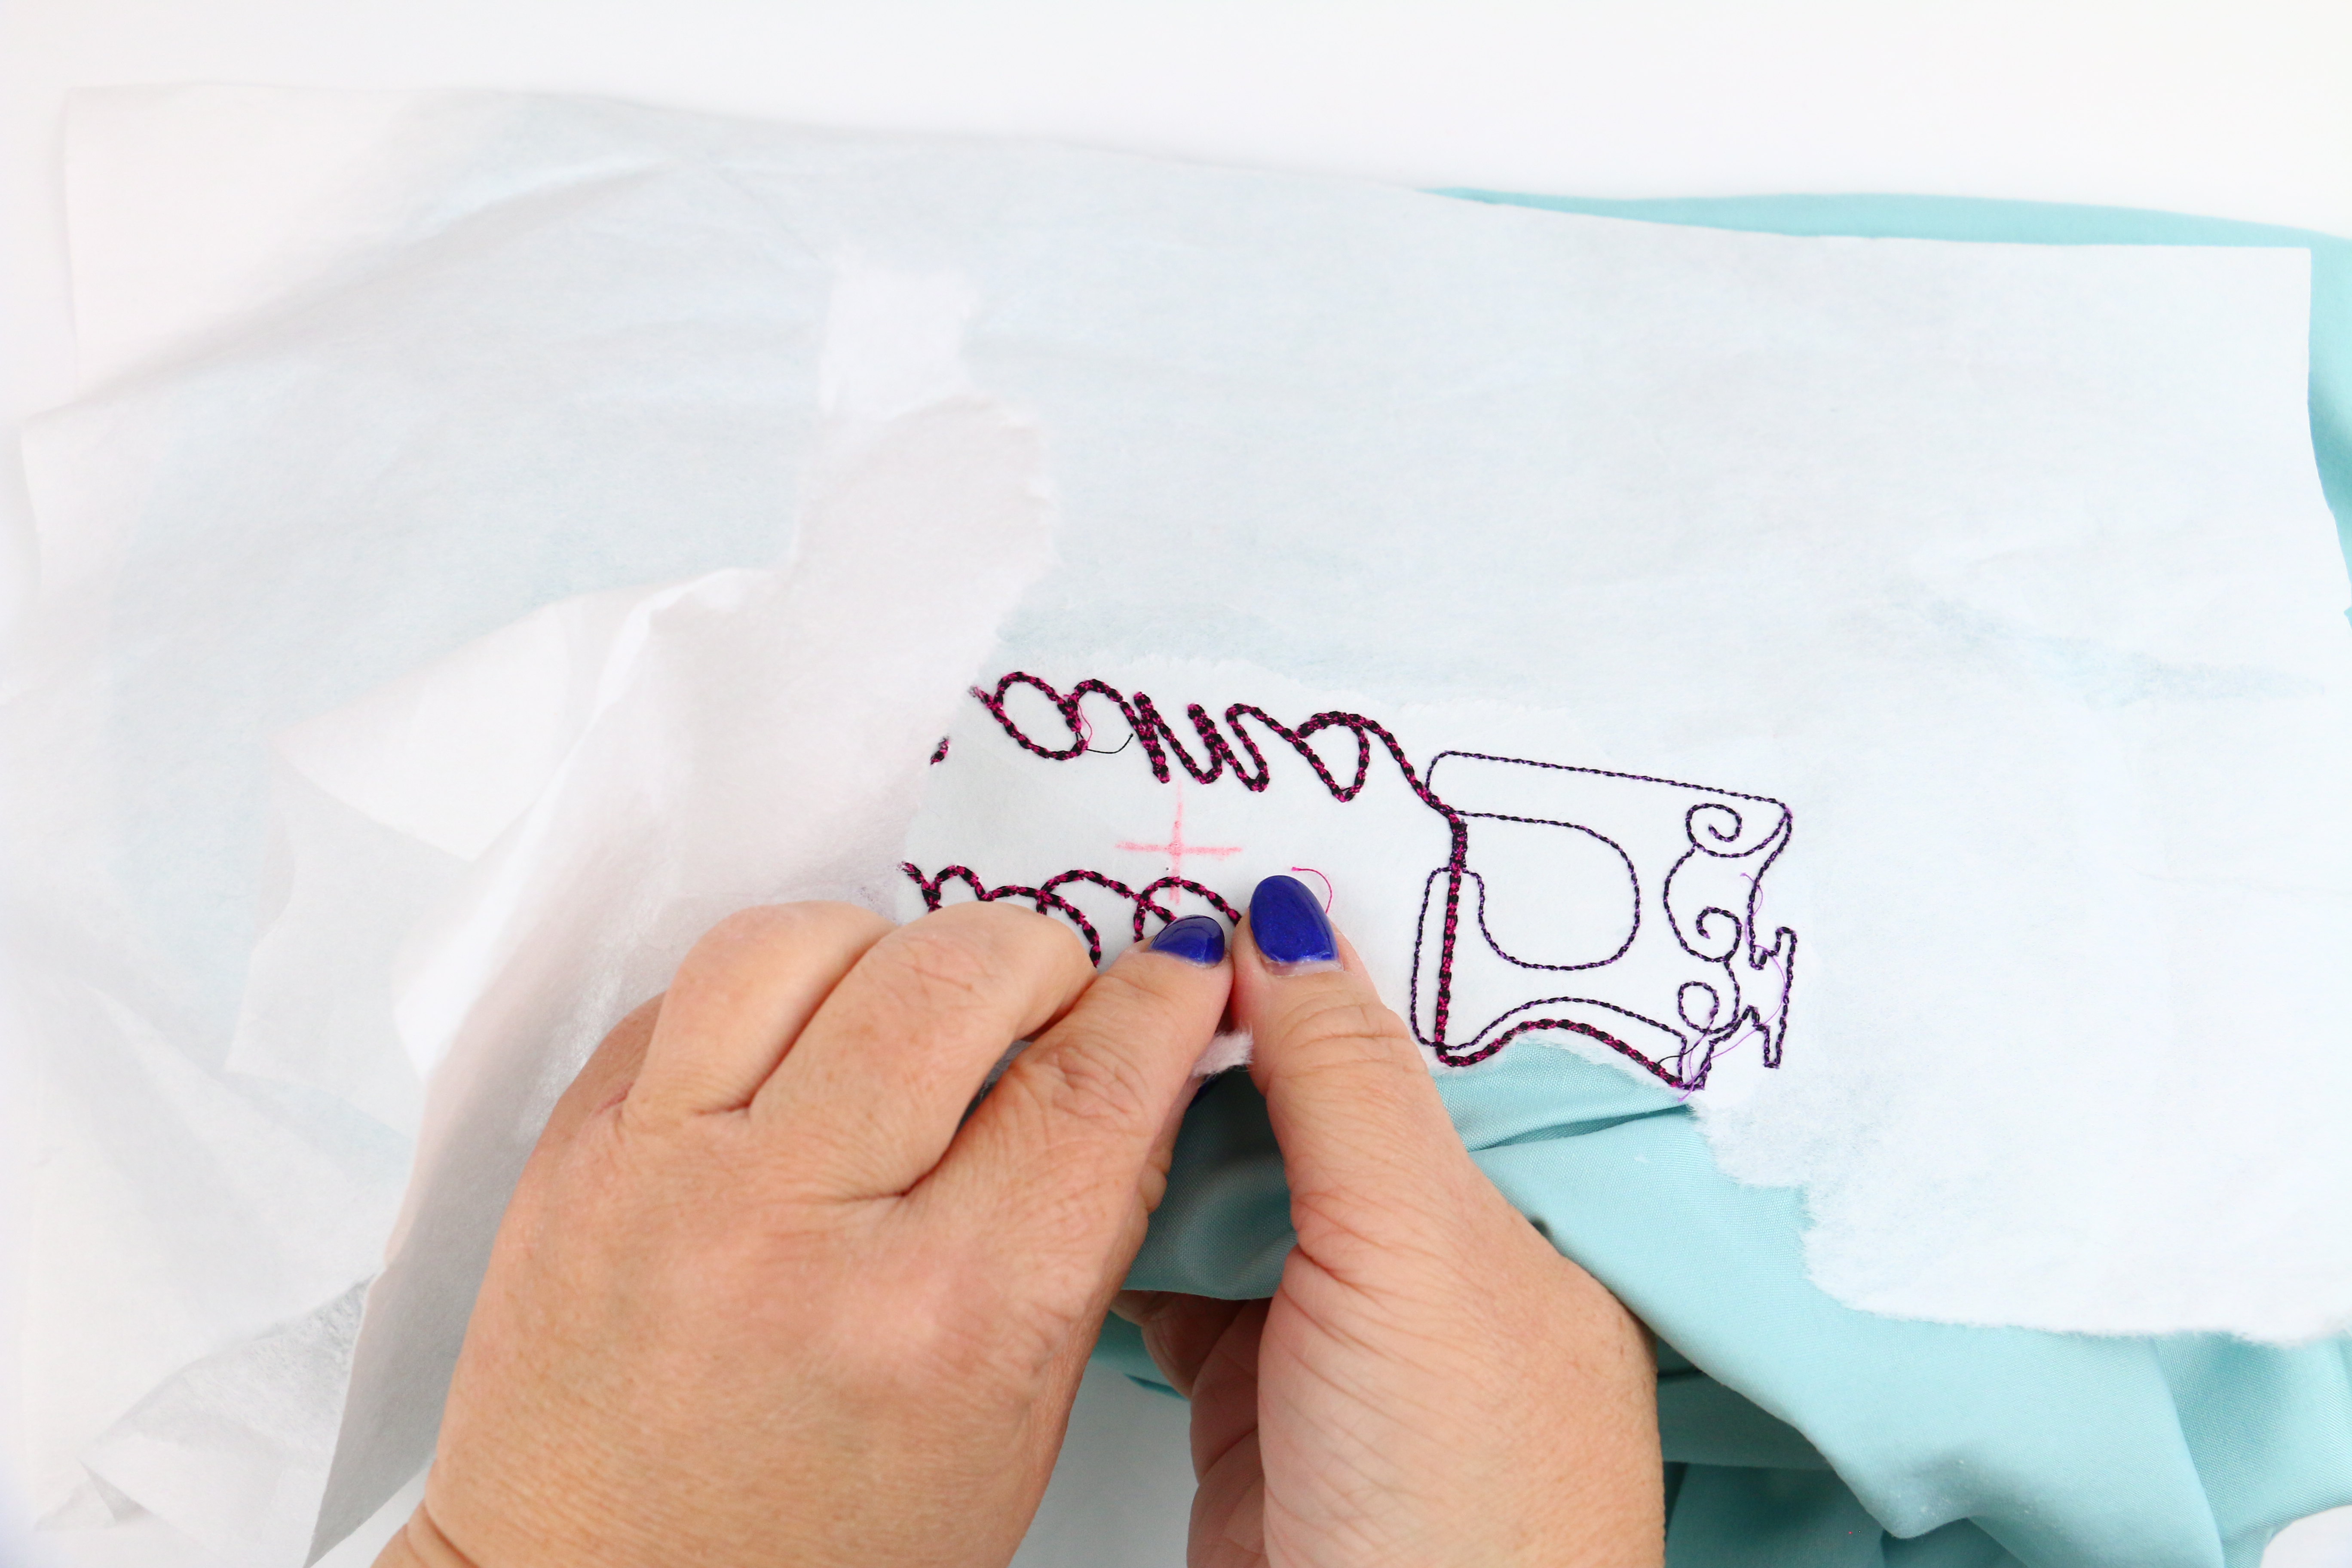
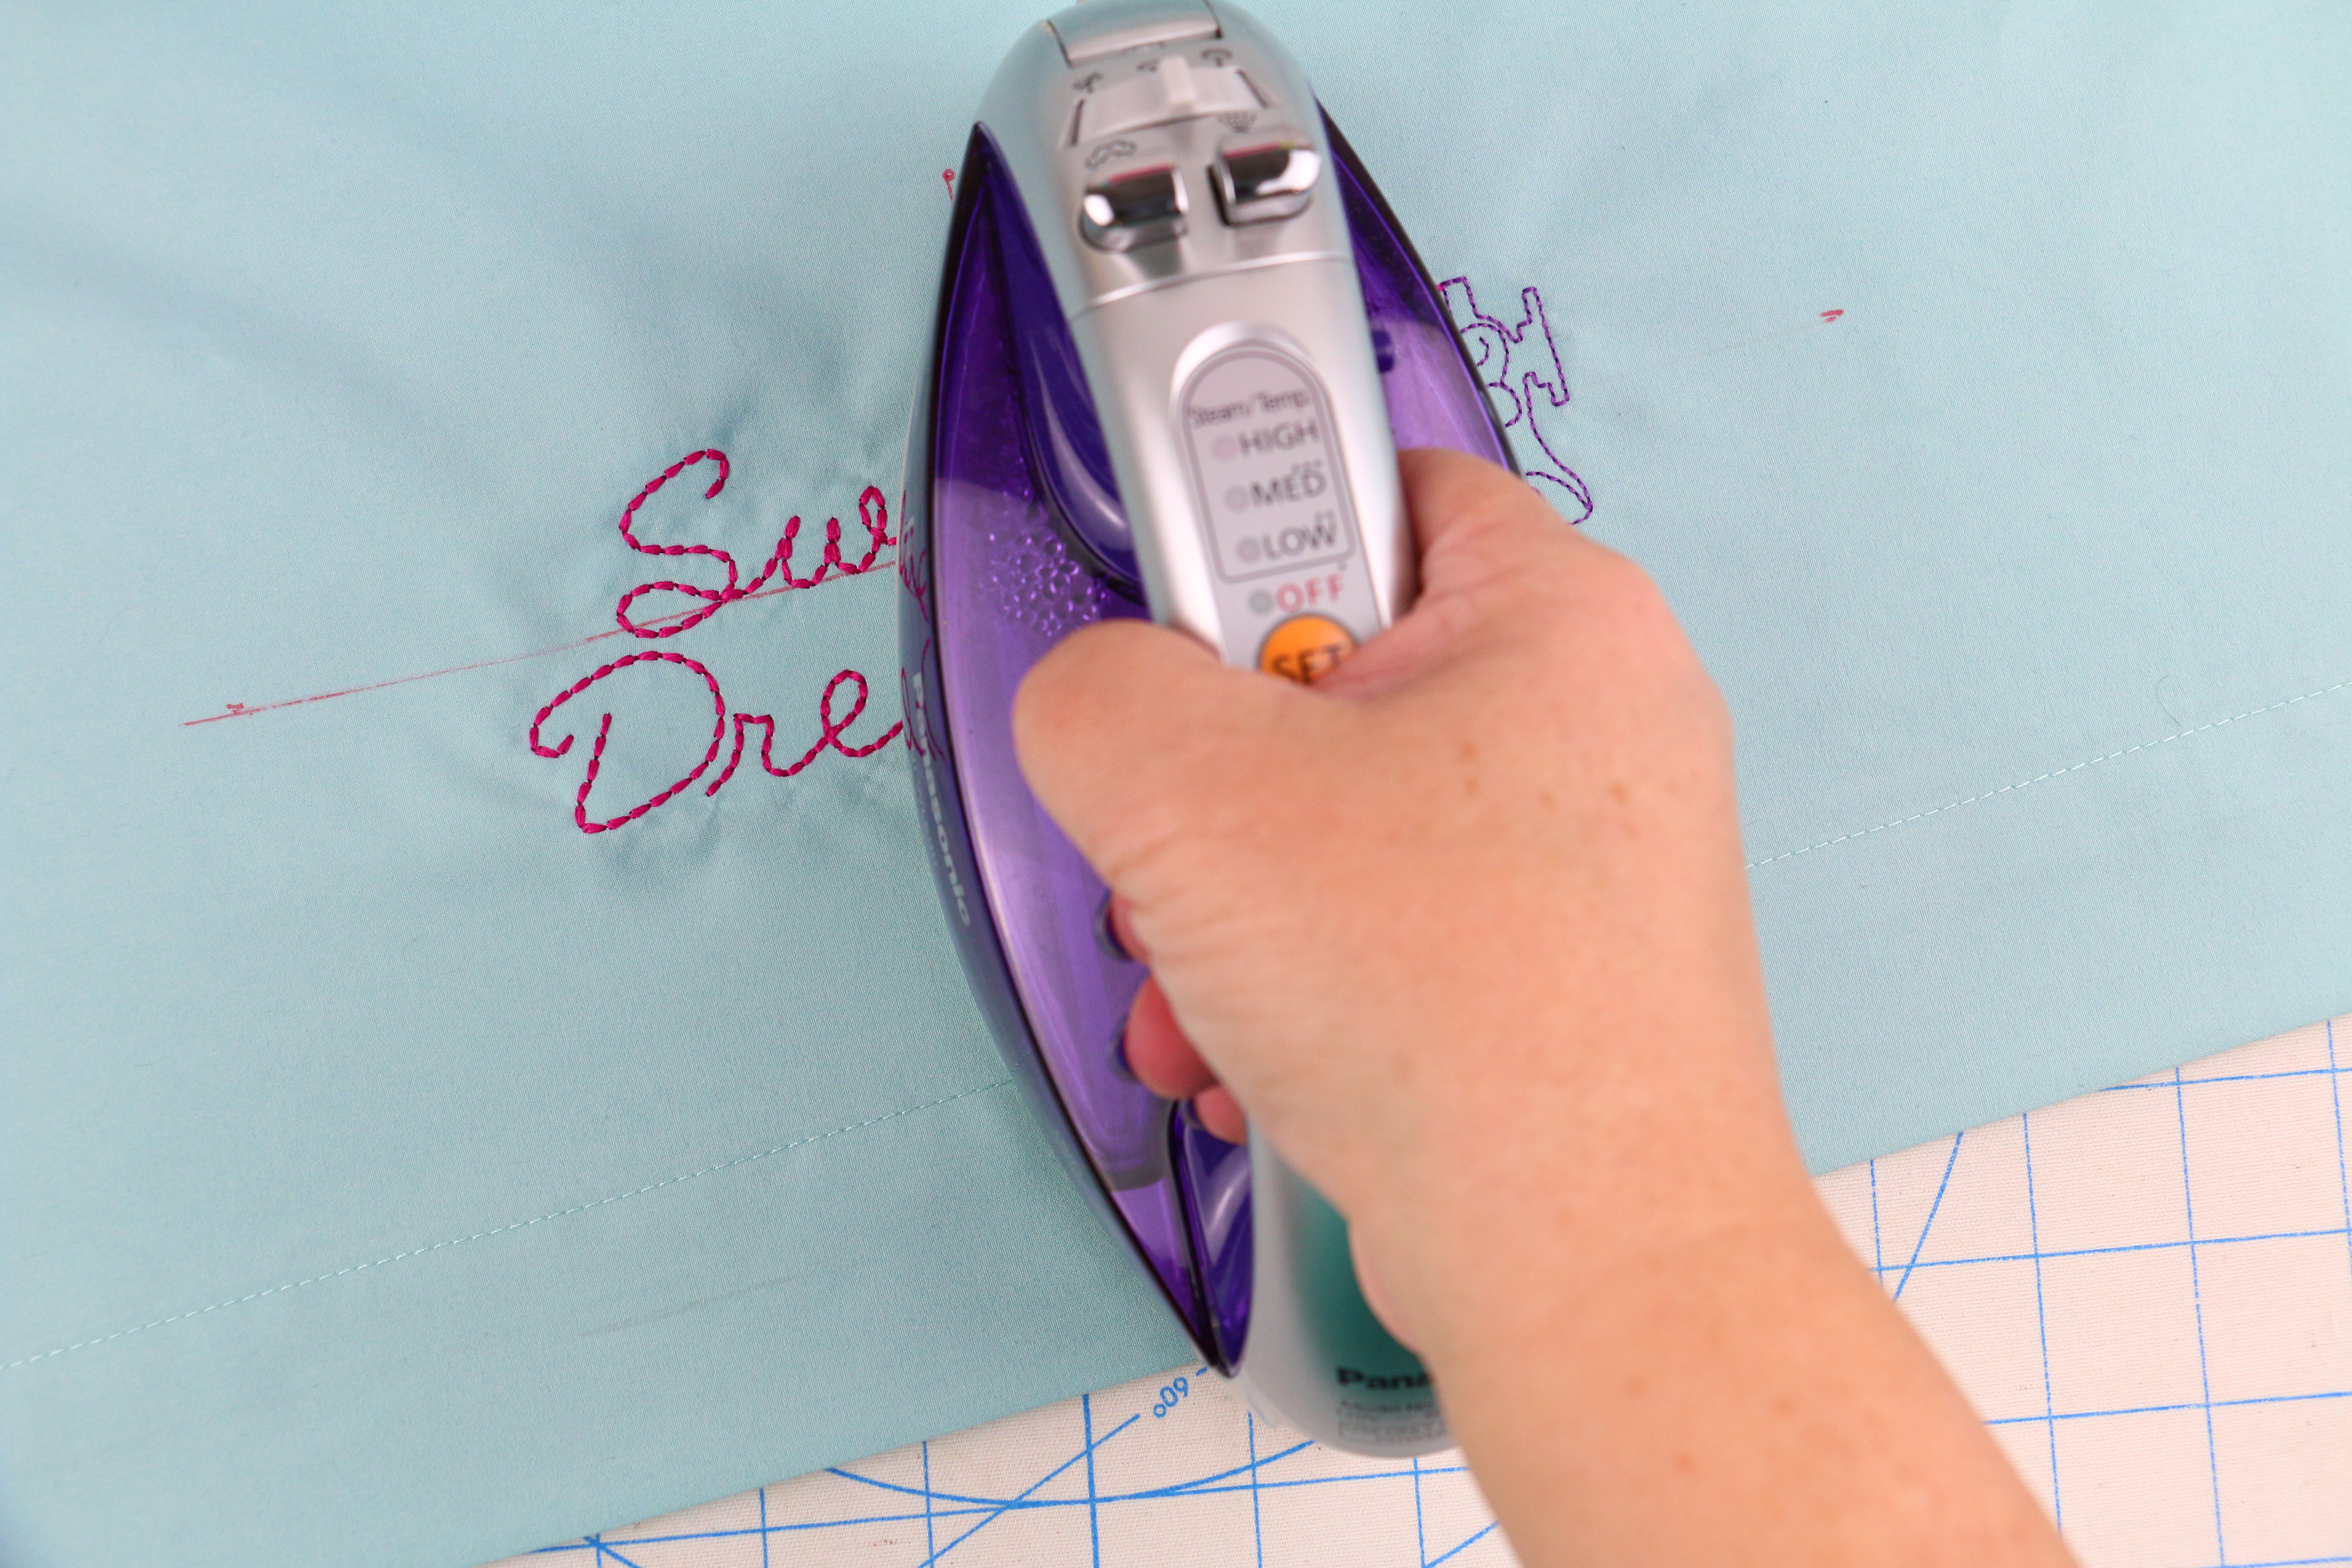
Press the embroidery area to smooth out pillow case and remove the Frixion pen.
Pro tip: When embroidering with polyester thread avoid pressing directly over the stitches as this can flatten the stitches, and depending on the temperature of the iron can melt the thread turning it excessively shinny. This pillow case features Aurifil 50 weight cotton thread.
All finished! Slip your pillow case over a soft fluffy pillow and have sweet dreams of sewing!
What is next?
The last two parts of my Embroider-Along are going to be focused on the last two material types, Napped and Sheer. I’ve got two adorable projects headed your way!
What is your favorite type of embroidery? Redwork, appliqué, Free Standing lace or In-the-Hoop projects? Let me know in the comments below and please ask any questions you might have about machine embroidery I haven’t covered. Be sure to keep following along here, you can also follow BERNINA on Instagram and Facebook to see the latest post!
Here is the Embroider-along schedule:
- Embroider-Along Part 1: Intro four most popular materials for machine embroidery
- Embroider-Along Part 2: Stabilizer and Materials
- Embroider-Along Part 3: Needles and Thread
- Embroider-Along Part 4: Placement and Hooping for Machine Embroidery
- Embroider-Along Part 5: How to Embroider on Knits
- Embroider-Along Part 6: How to Embroider on Woven Materials
- Embroider-Along Part 7: How to Embroider on Napped Fabrics
- Embroider-Along Part 8: How to Embroider on Sheer Materials
- Embroider-Along Part 9: How to Embroider on a Ladies T-shirt
- Embroider-Along Part 10: How to Embroider on a Pillow Case
- Embroider-Along Part 10: How to Embroider on a Pillow Case
- Embroider-Along Part 11: How to Embroider on Luxe Cuddle® Rose
- Embroider-Along Part 12: How to Embroider on a Pet Screen
Until next time I hope you have a creative day, bye-bye!
Sue
Used Products

What you might also like
15 comments on “Embroider-Along Part 10: Embroider a Pillow Case”
-
-
So glad to hear so. Thanks for following along
Sue
-
-
Sue,
I am bookmarking each and every one of your lessons. Wonderful for a newbie like me. I have one question that I haven’t seen addressed yet. How do you set up a design that requires re-hooping? Example: if you wanted to put a border all around the edge of a pillowcase. Will you be addressing this in one of your lessons to come?-
That’s great! This series has been very popular and BERNINA went ahead and set up it’s own category.
https://weallsew.com/category/projects/embroider-along/
Bookmark this page.
So your question about boarder and rehooping. There is a great blog post here on http://www.WeAllSew.com with that exact topic. Check it out.
https://weallsew.com/design-positioning-in-machine-embroidery/
Enjoy ~ Sue
-
-
I love to make pillowcases for kids. Now I’ll be able to add each child’s name to his or her pillowcase which I’m sure will delight them even further! Thanks!!!
-
Wonderful!! There is another great tutorial here on We All Sew on this topic. Check it out
https://weallsew.com/design-positioning-in-machine-embroidery/
Thanks for following along
Sue
-
-
I would like to see a continuous design demonstrated on the edge of the pillow case and on the top edge of a sheet. Loving this series!
-
Such a great question. Check out this other blog post here on the We All Sew blog.
https://weallsew.com/design-positioning-in-machine-embroidery/
Hope this helps
Sue
-
-
Hello! Thanks sew much for the pillowcase lesson. I own a B790 Plus, and my machine will not allow me to use my flatbed during embroidery. Have I missed something?
-
You are so welcome!
So, my flat bed is a little tight. At first I thought it was something I was doing wrong but a fellow BERNINA Ambassador showed me it was ok to have it tight. Give it a try again and if you have issues I would contact your local BERNINA dealer. They should be more than happy to help you out!Sue
-
-
Hi Sue, I always look forward to all of your tutorials and notion reviews and this one is no exception. Thanks for the great tips and instructions on how to embroider on a pillow case.
-
You are so very welcome! Thank you for your continued sweet comments.
Sue
-
-
I always use the OESD pressing cloth on my embroider. This will not flatten your embroidery stitching.
-
Oh very good idea 🙂
-
-
Great information to use before I start my wedding gift. I will embroider the top sheet and pillow cases. tHANKS A LOT.
Leave a Reply
You must be logged in to post a comment.

I’m looking forward to learning new tips and tricks to incorporate embroidery into my quilting.