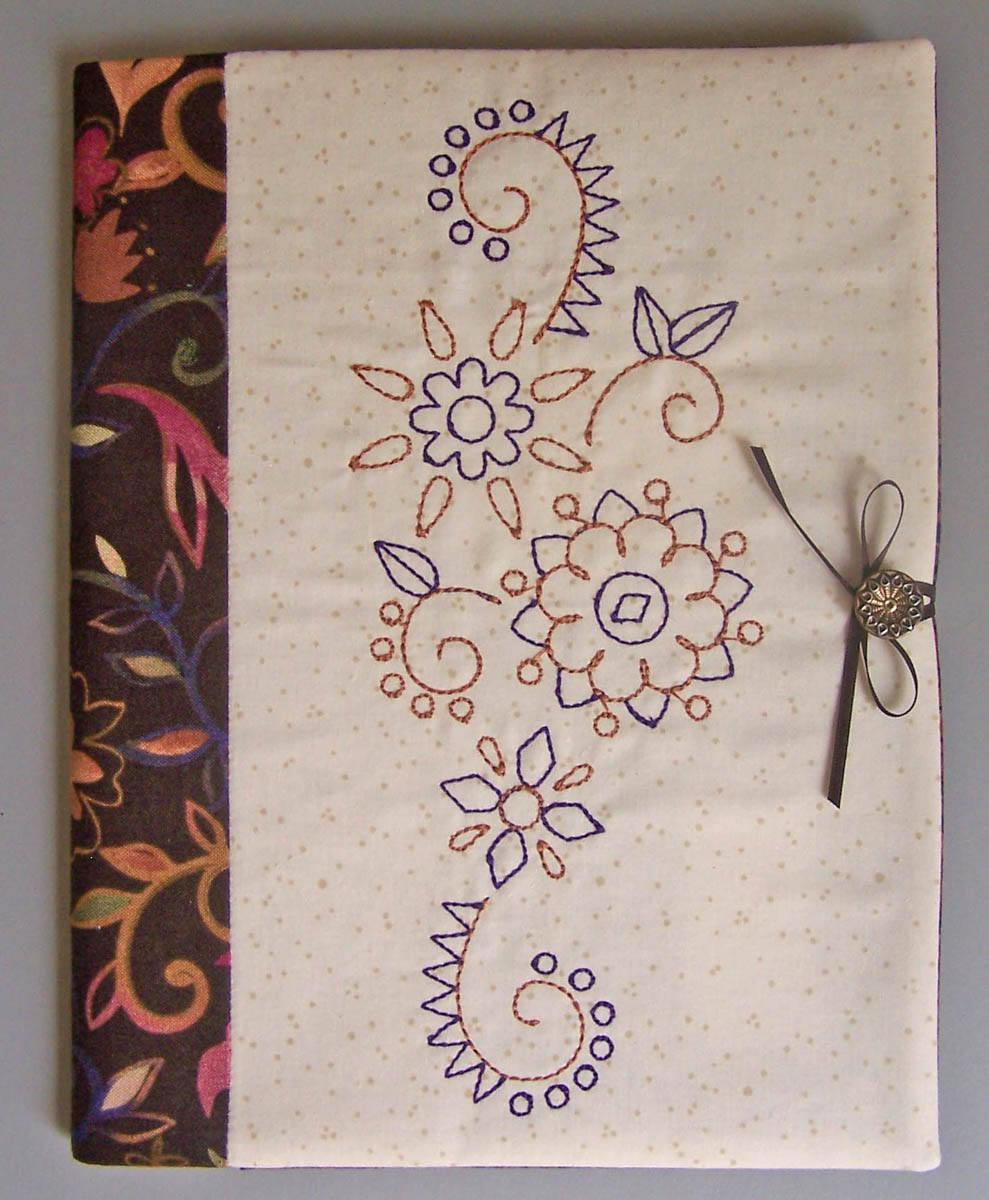
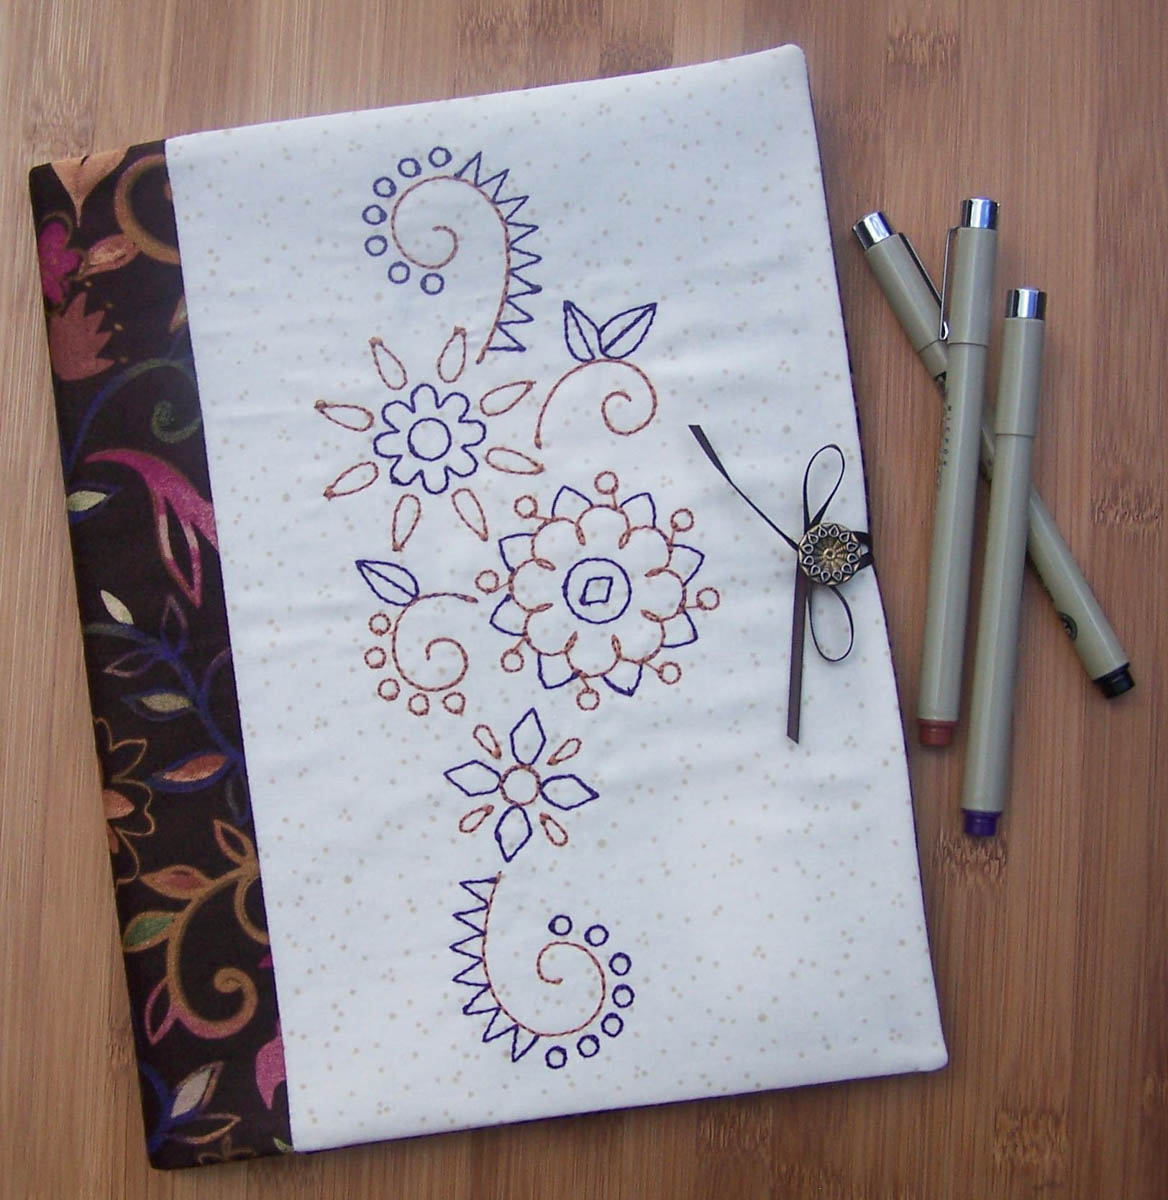
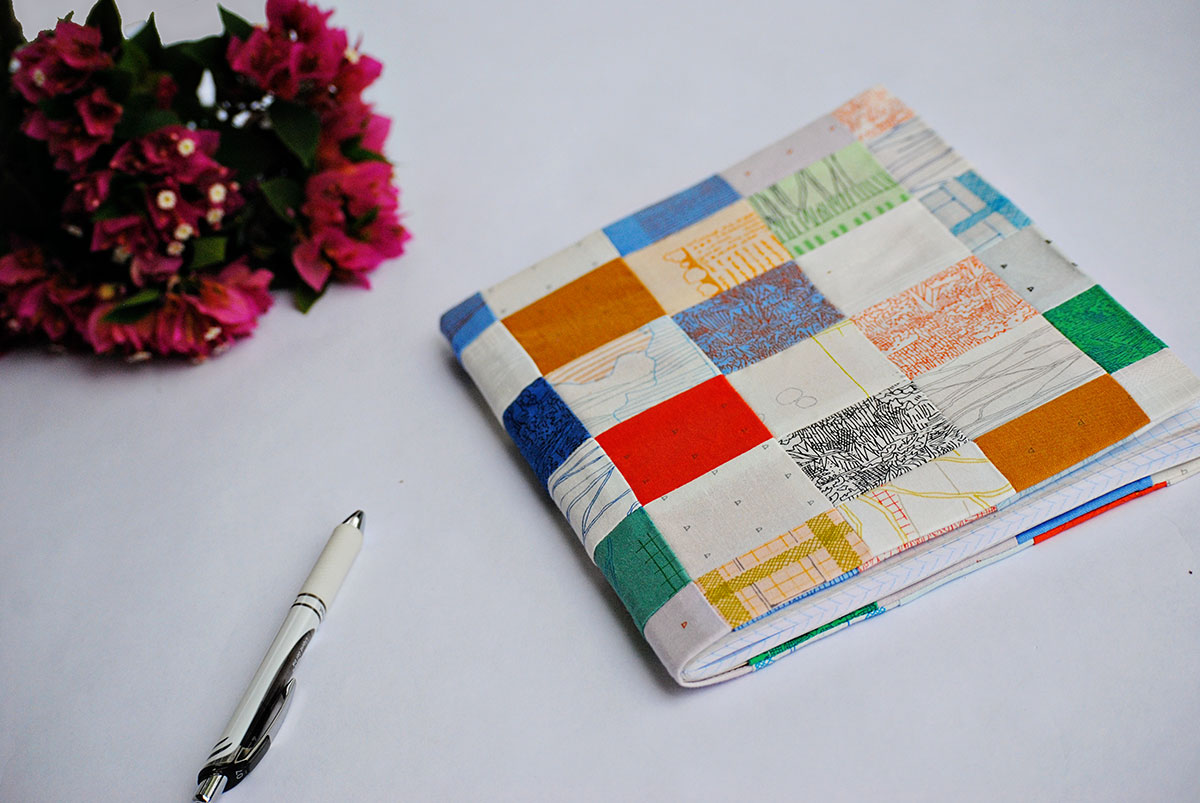
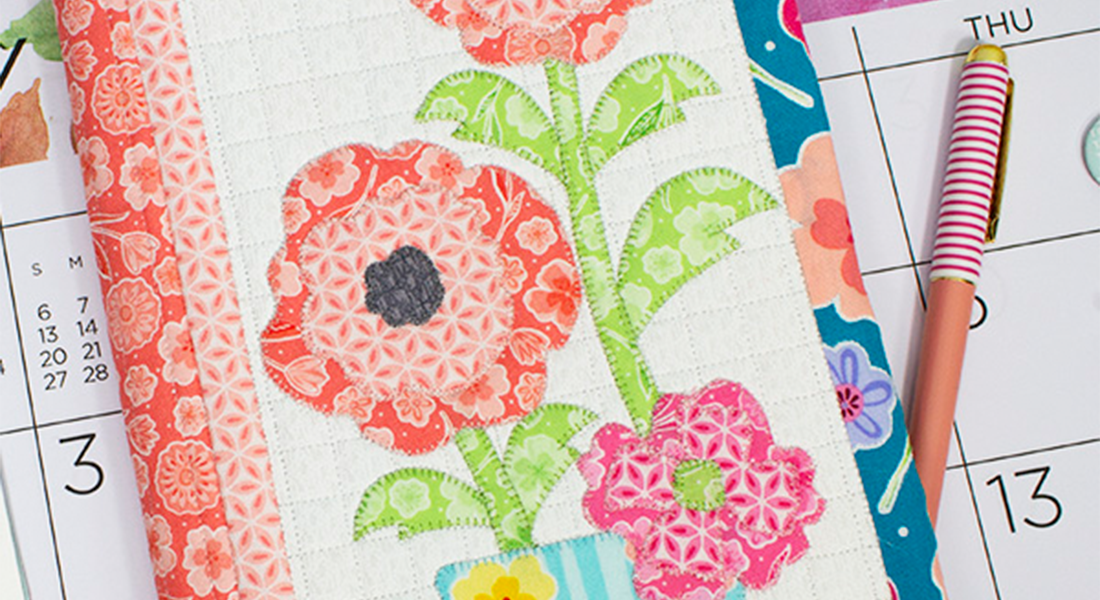
Embroidered Journal Cover
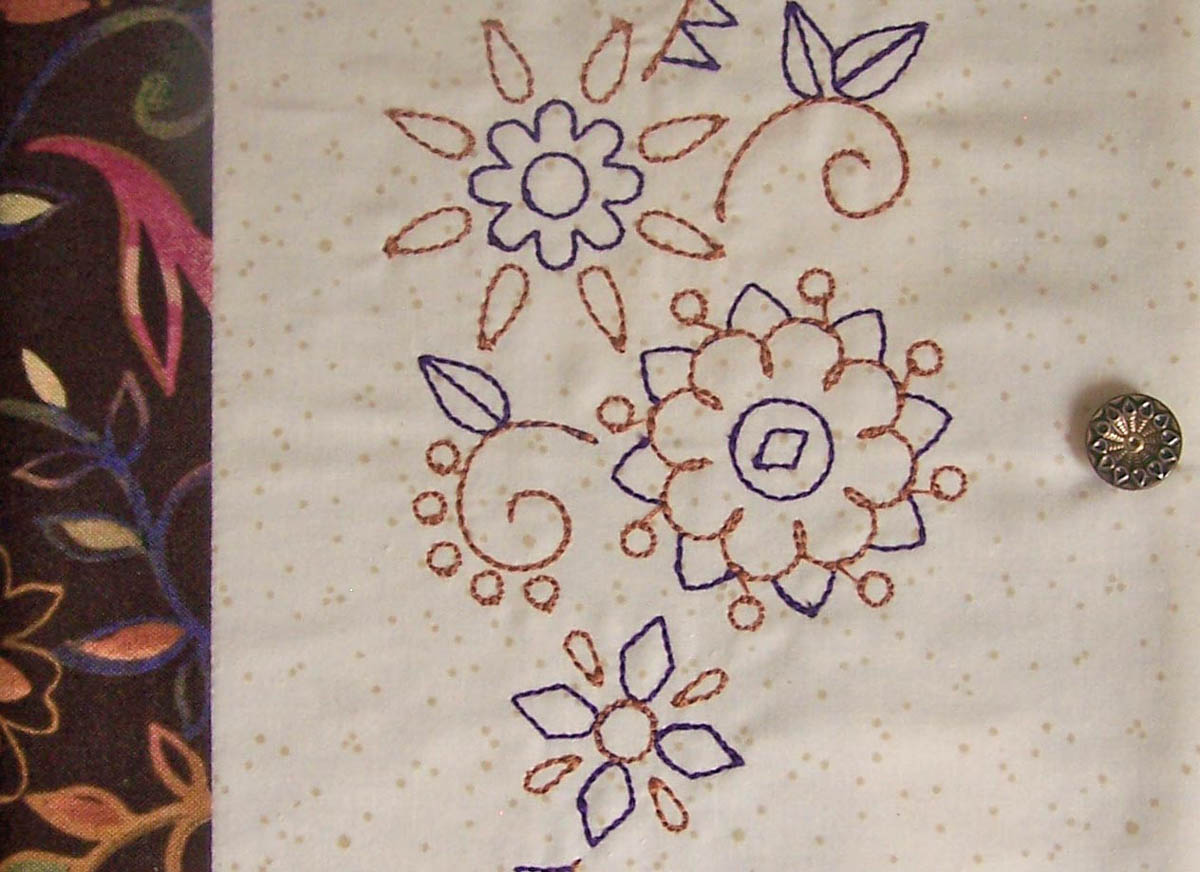
This delightful journal cover by Nancy Mahoney is stitched with a spray of seasonal flowers. An embroidered journal cover is just the right place to record those special dreams, plans, or quilt sketches. Use it to make notes about your day or your next quilt. It’s so quick and easy to make, you’ll want to make one for every season of the year.
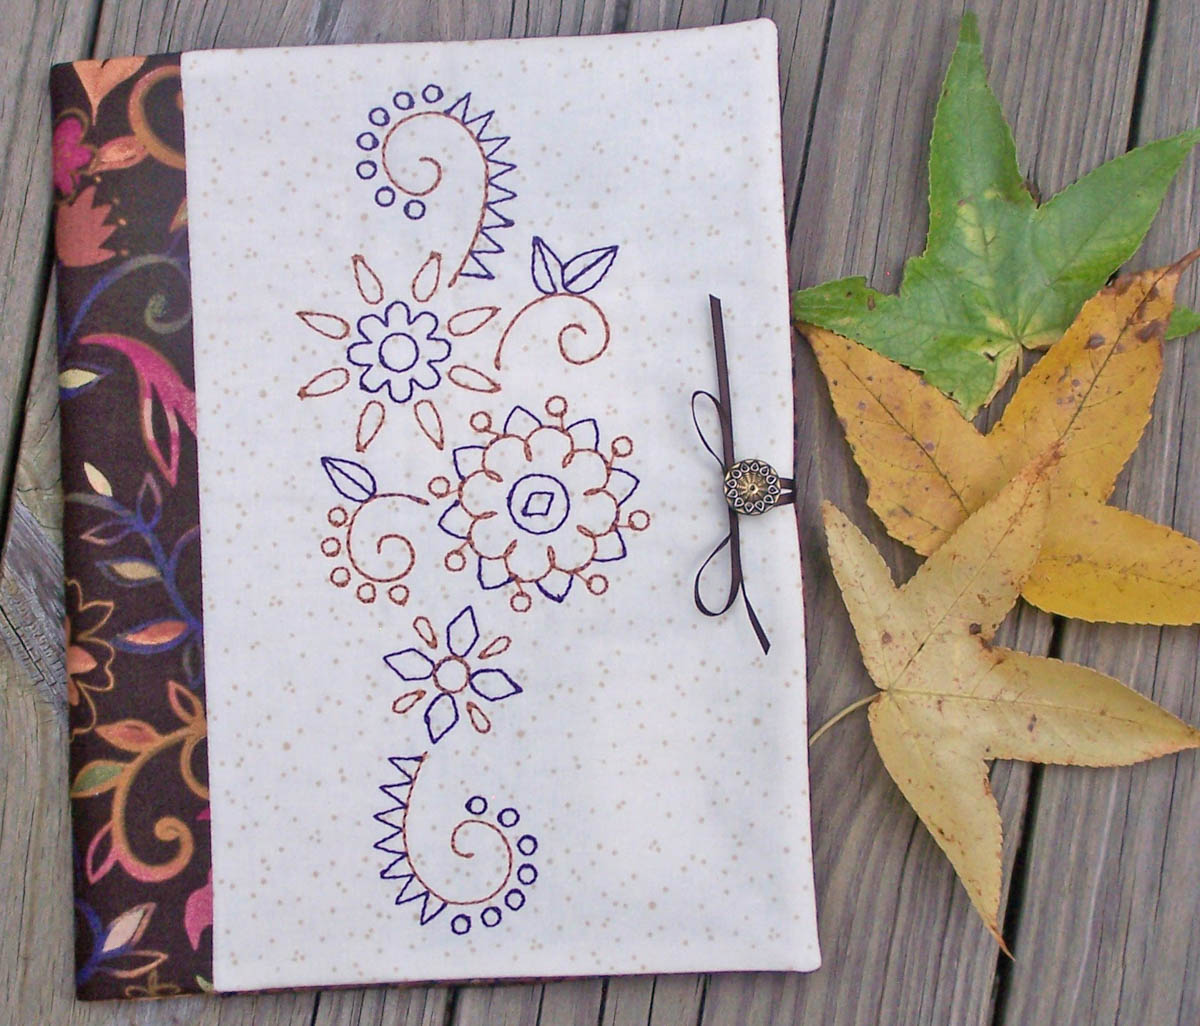
Size: 8″ x 10″, closed; 16″ x 10″, open
Materials to Create an Embroidered Journal Cover
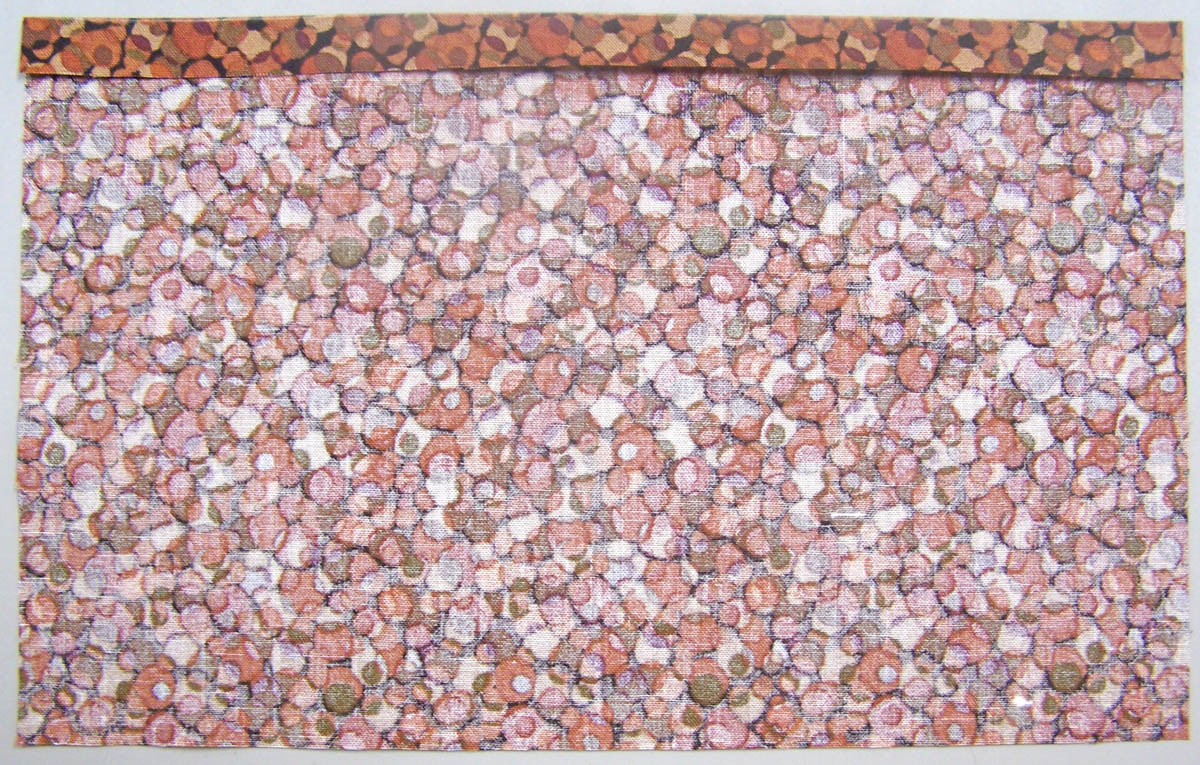
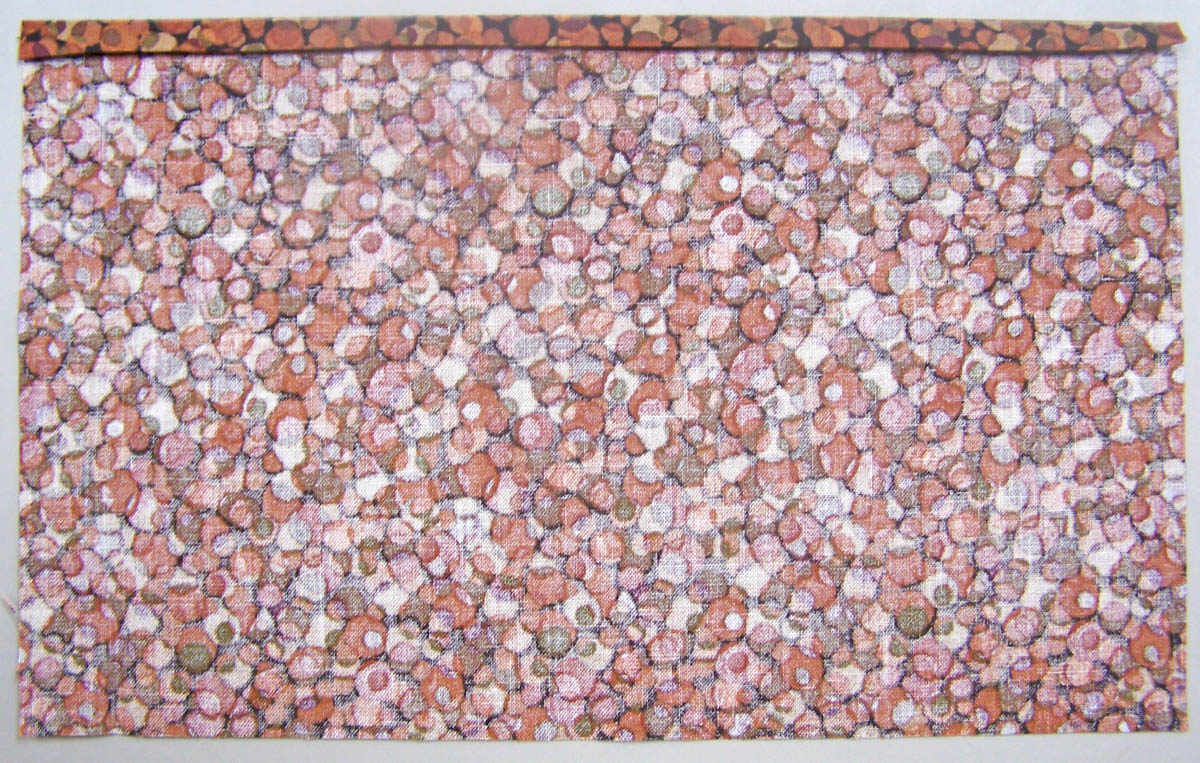
- 10″ x 15″ rectangle of light print for outer cover
- 10″ x 15″ rectangle of dark print for outer cover
- 7″ x 10-1/2″ rectangle of fabric for lining
- 7″ x 21″ strip of fabric for flaps
- 7/8 yard of OESD Fuse & Fleece Embroidery Stabilizer
- 12″ length of 1/8″-wide ribbon
- 1 button, 5/8″ diameter
- Mettler 50-wt thread for patchwork (white and color to match fabrics)
- 2 colors of 30-wt embroidery thread to coordinate with fabrics
- Sewing Machine (I used a BERNINA 780)
- Reverse Pattern foot (1, 1C, or 1D)
- Patchwork foot (37/37D or 97 97D)
- BERNINA Machine Embroidery foot #26
- Sharp 80/12 needle for patchwork
- Embroidery needle for machine embroidery
- Straight Stitch plate for patchwork
- 9mm Stitch plate for machine embroidery
- Oval hoop for machine embroidery
- Parchment paper
- Composition book, 7-1/2″ x 9-3/4″
Cutting
From the fabric for flaps, cut:
- 2 rectangles, 7″ x 10-1/2″
From the stabilizer, cut:
- 2 pieces, 10″ x 15″
How to assemble the Journal
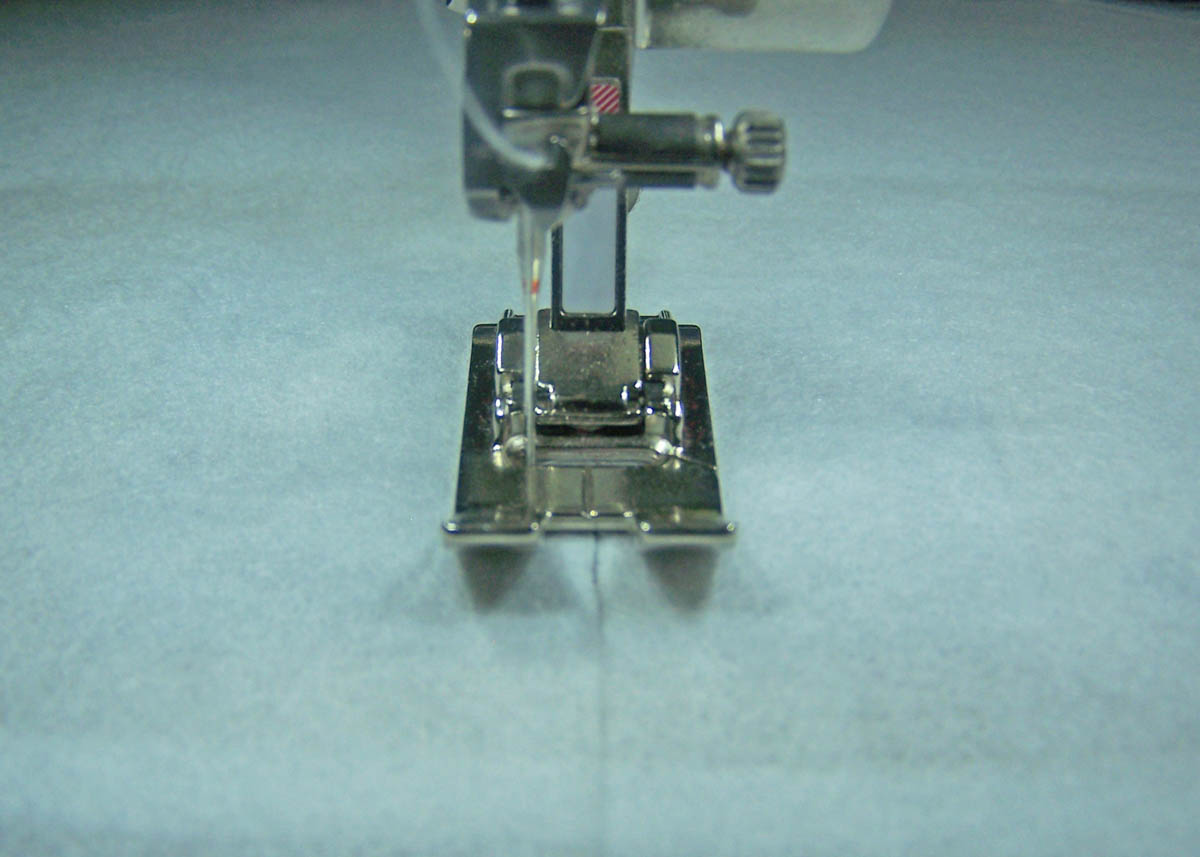
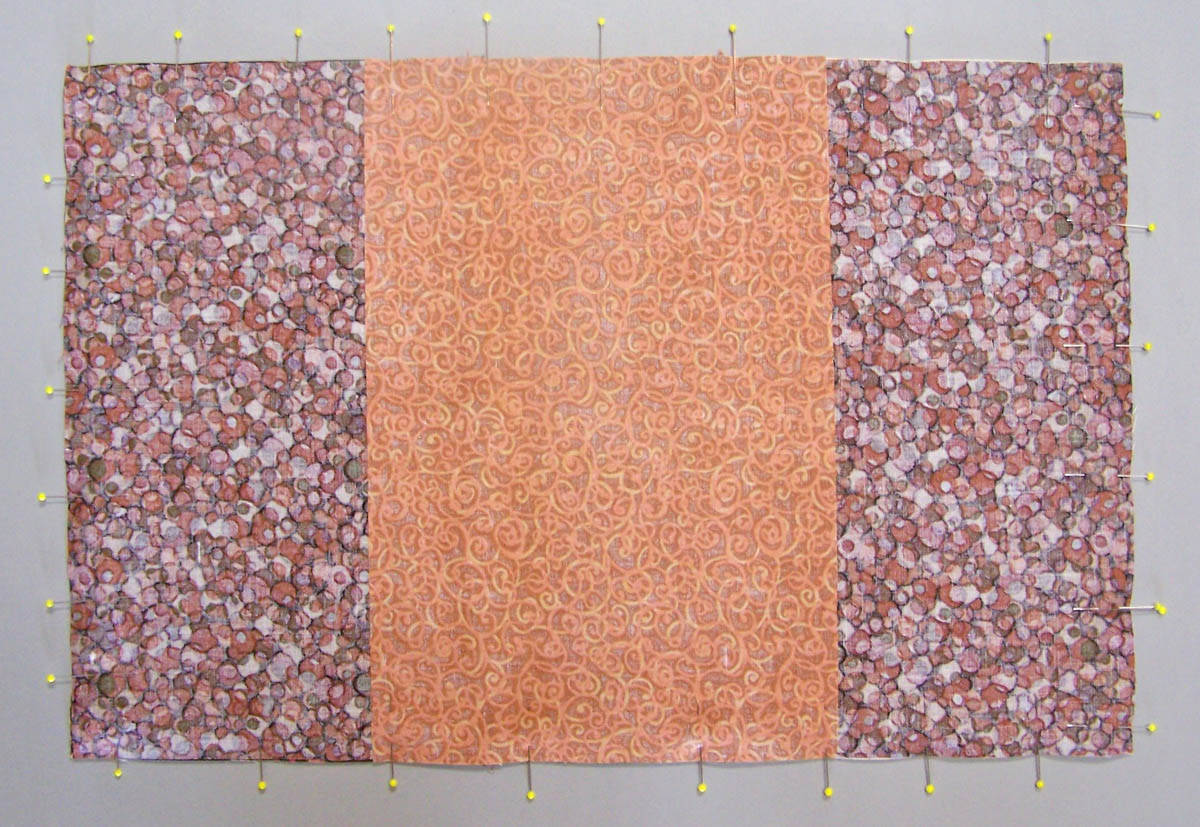
Install a 9mm Stitch plate and a Reverse pattern foot on your machine. Select the zigzag stitch and set the length to 6.0 and the width to 9.0. Using white thread, join the two pieces of stabilizer along one 15″-long edge to make a 15″ x 20″ piece.
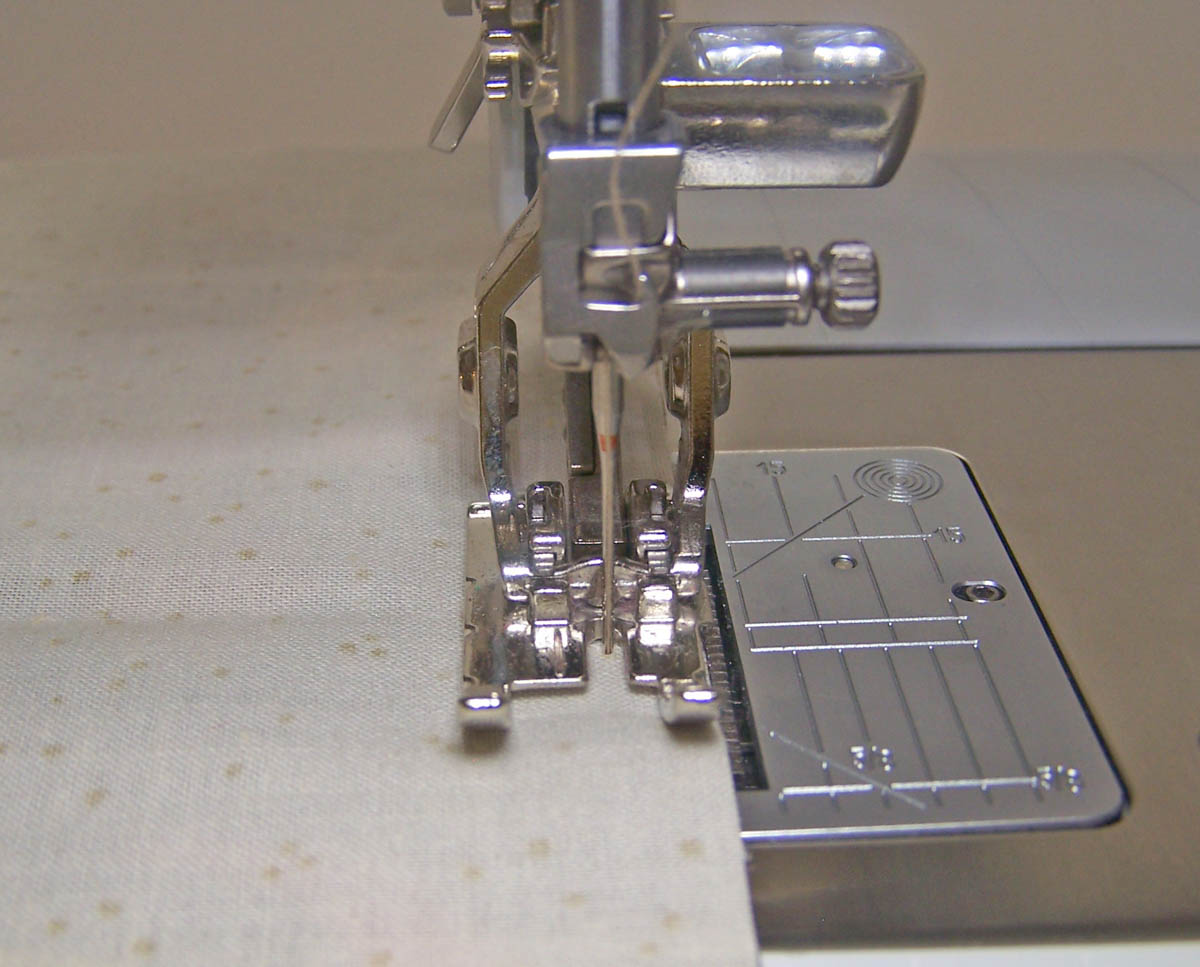
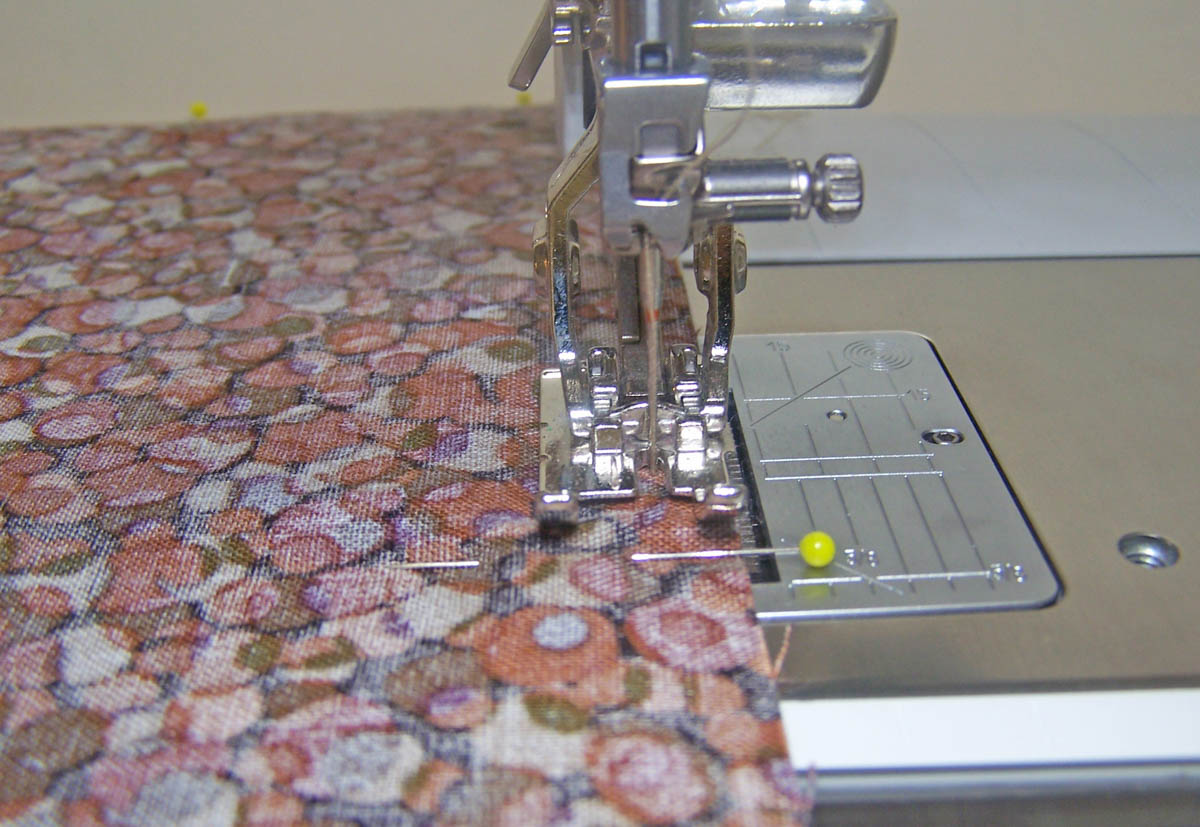
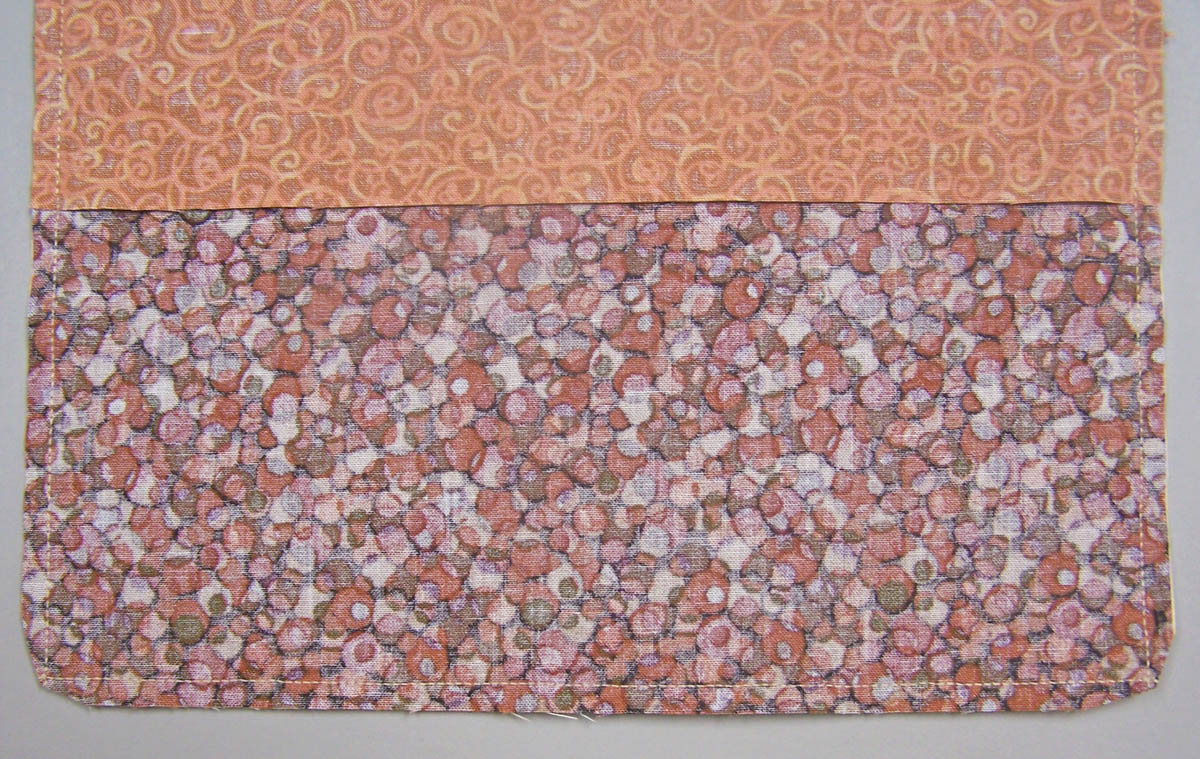
Install a Patchwork foot and select a straight stitch. Place the light and dark rectangles right sides together. Using a 1/4″ seam allowance, join the two rectangles along one 15″-long edge to make a 15″ x 19-1/2″ piece for the outer cover of the journal.
With the fusible side of the stabilizer facing up, place the outer cover right side up on top of the stabilizer. Cover with a piece of parchment paper. Following the manufacturer’s instructions, fuse the stabilizer to the outer cover.
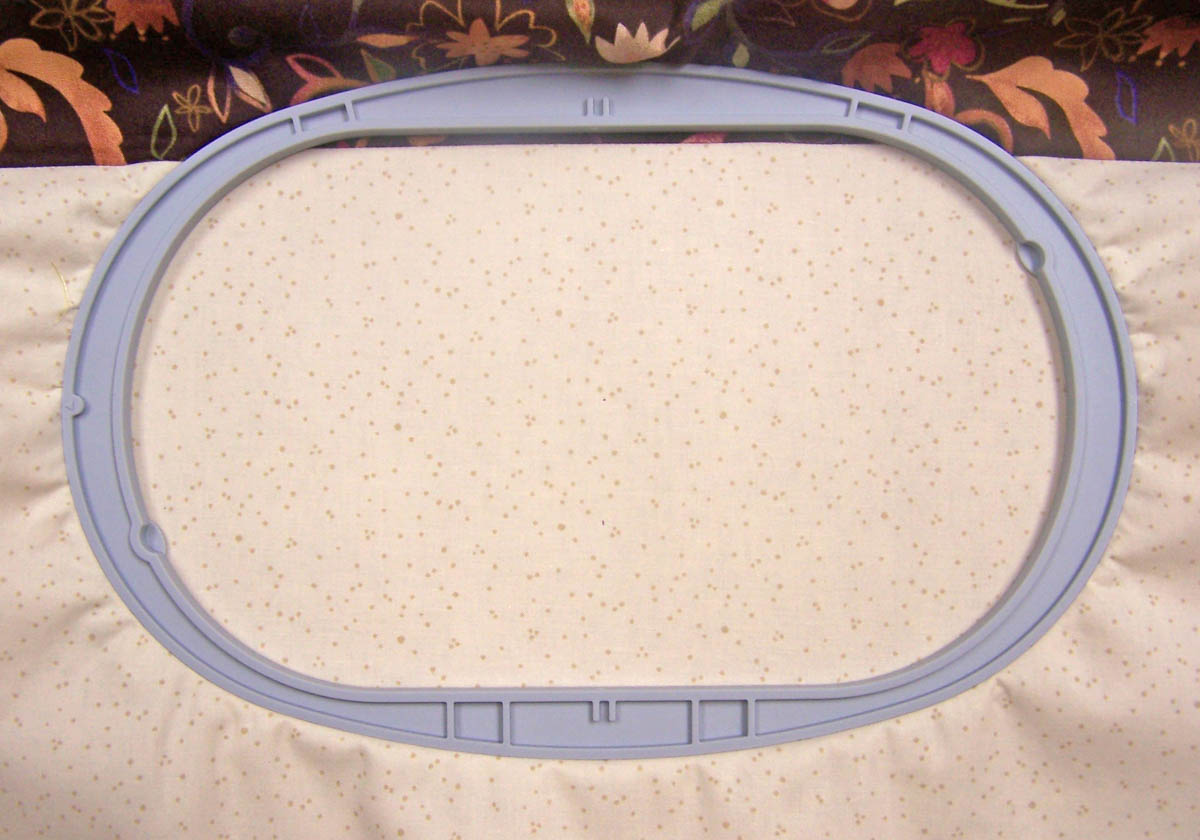
Place the outer cover in an oval hoop, with the seam line about 1/8″ inside the hoop and centered lengthwise.
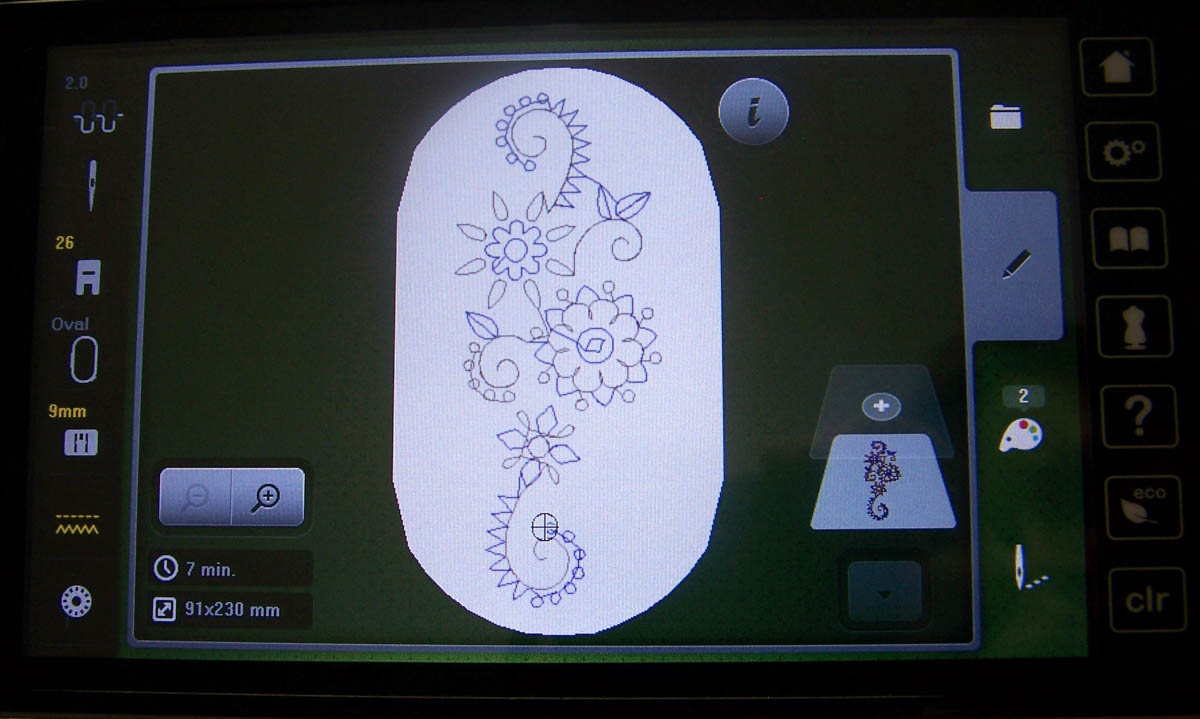
Attach the embroidery module to your machine. Install an embroidery needle and an embroidery foot. Thread the machine with 30-wt thread. Select an embroidery design; on my BERNINA 780, I selected WS673 and increased the size to 91 x 230 mm, or 135% of the original. Refer to the manual for your machine for help setting up your machine.
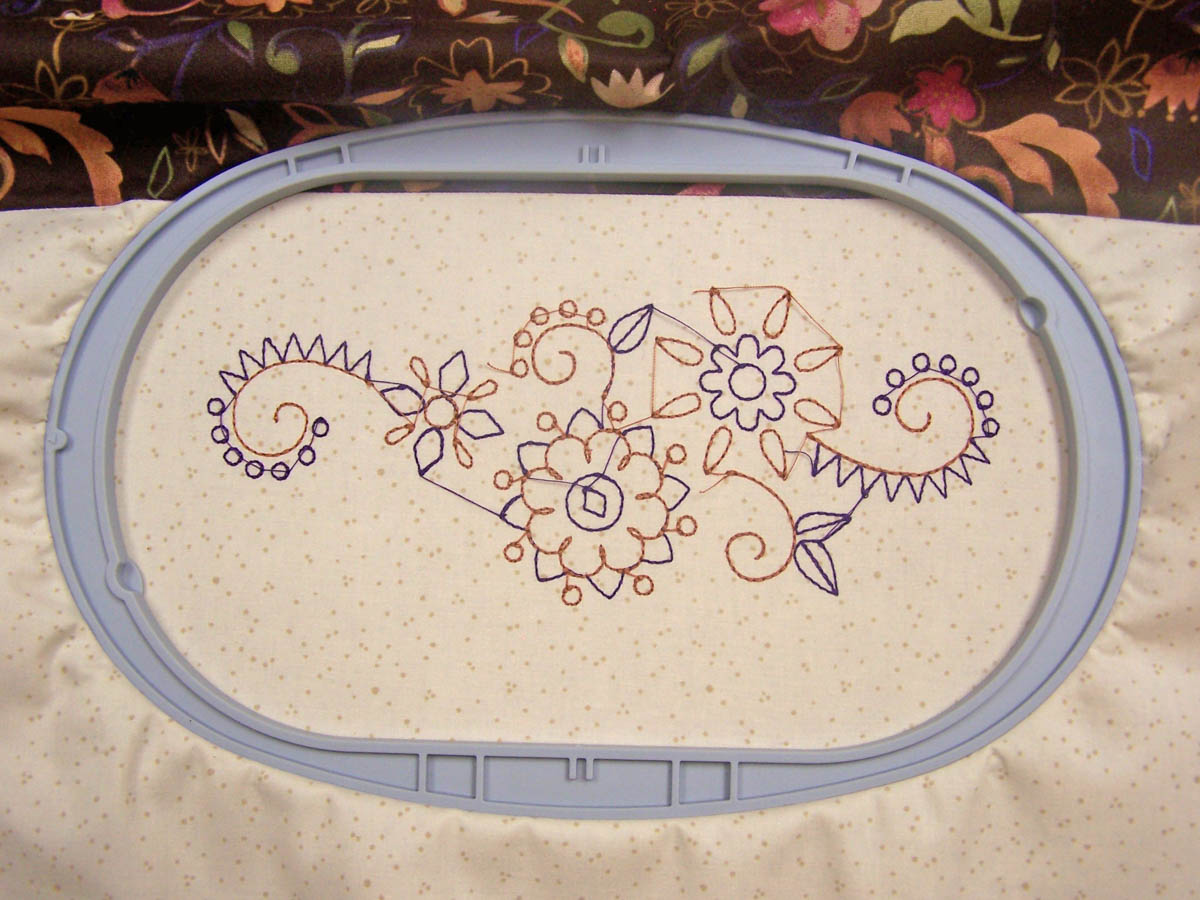
Embroider the design and remove the hoop from your machine.
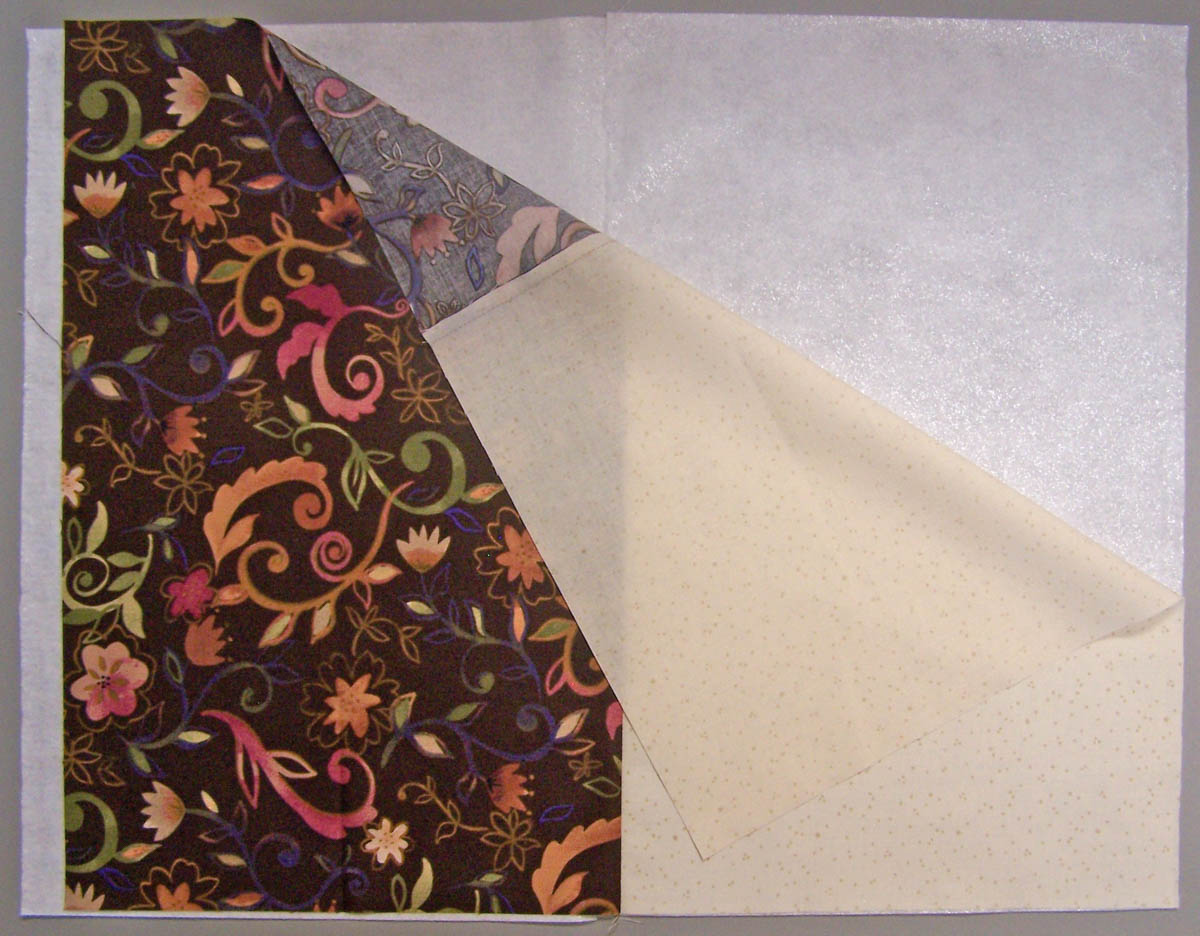
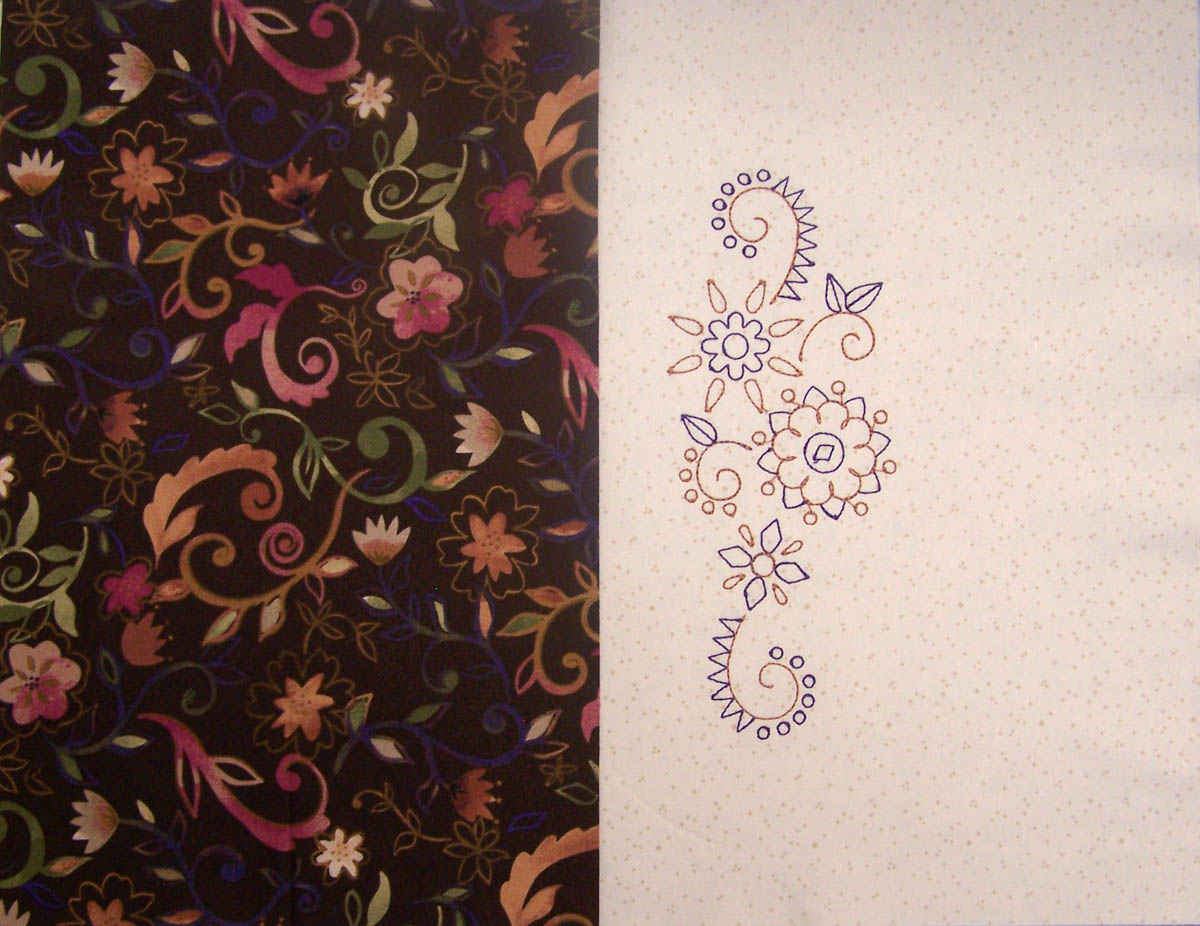
Clip the threads and remove the hoop. Gently press the outer cover. Centering the design from top to bottom, trim the cover to measure 10-1/2″ tall. On the left edge, trim the stabilizer even with the edge of the fabric. Then, measuring from the left edge, trim the cover to 16-1/4″ wide.
Using the two rectangles cut from the flap fabric, mark a line 1/2″ from the raw edge on one 10-1/2″ edge of both rectangles. Fold over on the line and press.
Then fold under 1/4″ and press.
Install a Straight stitch plate and Patchwork foot. Using a straight stitch and matching thread, stitch along the folded edge to make a hem on each flap.

Fold the length of ribbon in half. Place the ribbon on the back of the cover, about 1/8″ from the raw edge and centered along the 10-1/2″ edge. Sew over the ribbon 2 to 3 times to tack it in place.
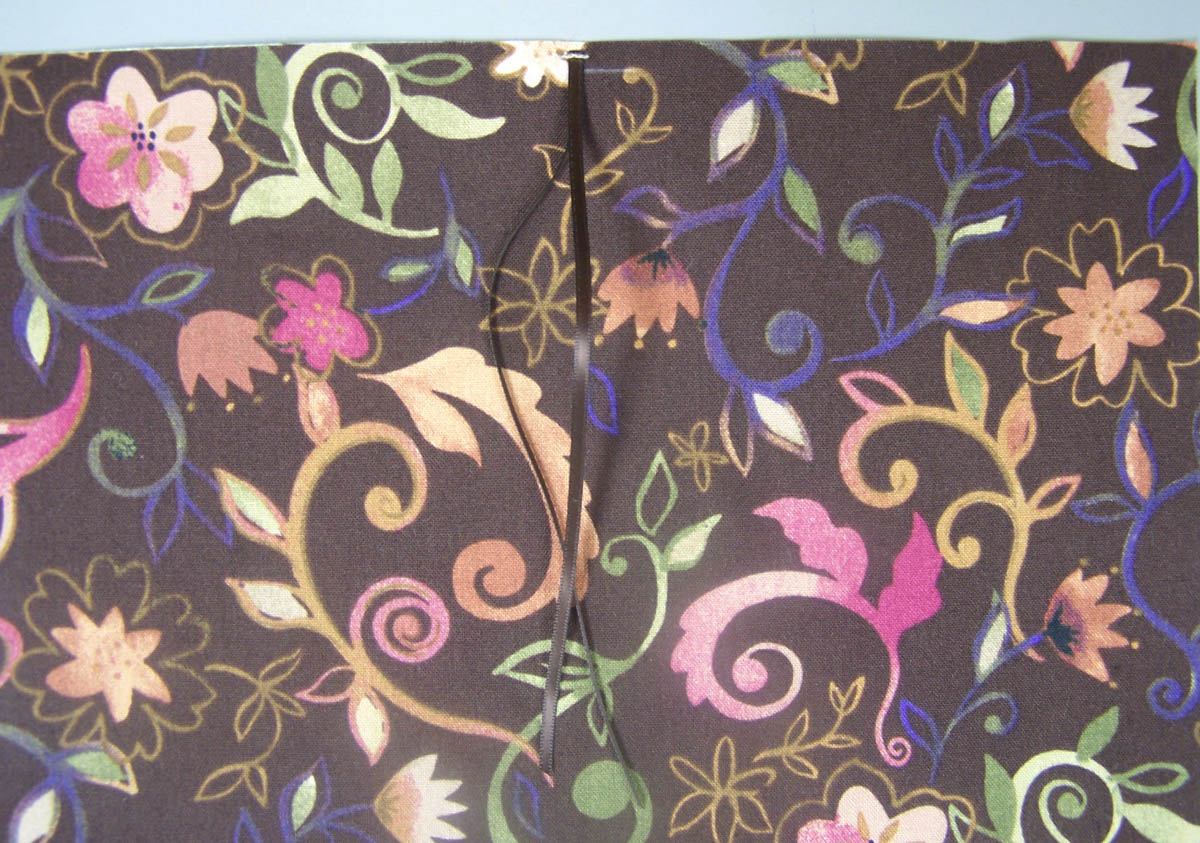
Place the flaps on top of the cover, right sides together and raw edges aligned. Make sure the hemmed edges on the flaps are in the center and the ribbon is laying flat on the cover back.

Aligning the raw edges, place the lining rectangle on top of the cover/flaps, wrong side facing up, and centered from side to side. Pin well, making sure to pin through all the layers.
Using a 1/4″ seam allowance, sew all the way around the edges of the journal. Be sure to remove the pins as you go.
Trim the corners
Turn the journal cover right side out. Press.
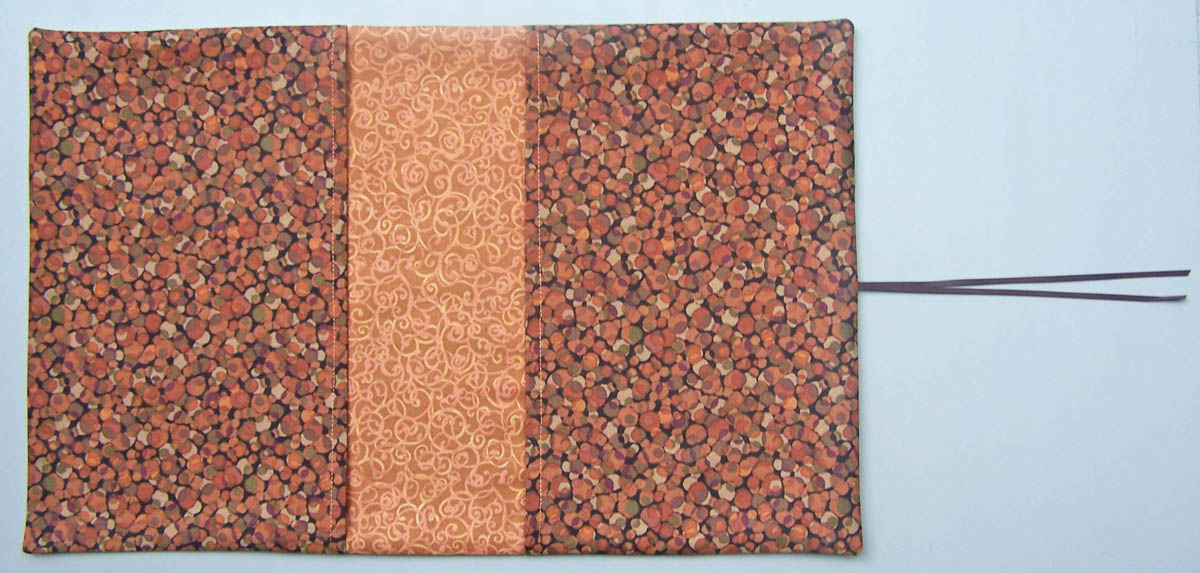
On the front cover of the journal, place the button in about 3/8″ from the edge and centered from top to bottom. Sew the button in place, being careful to not sew through the flap.
Slip the composition book inside the journal cover. Tie the ribbon around the button to hold the journal closed.