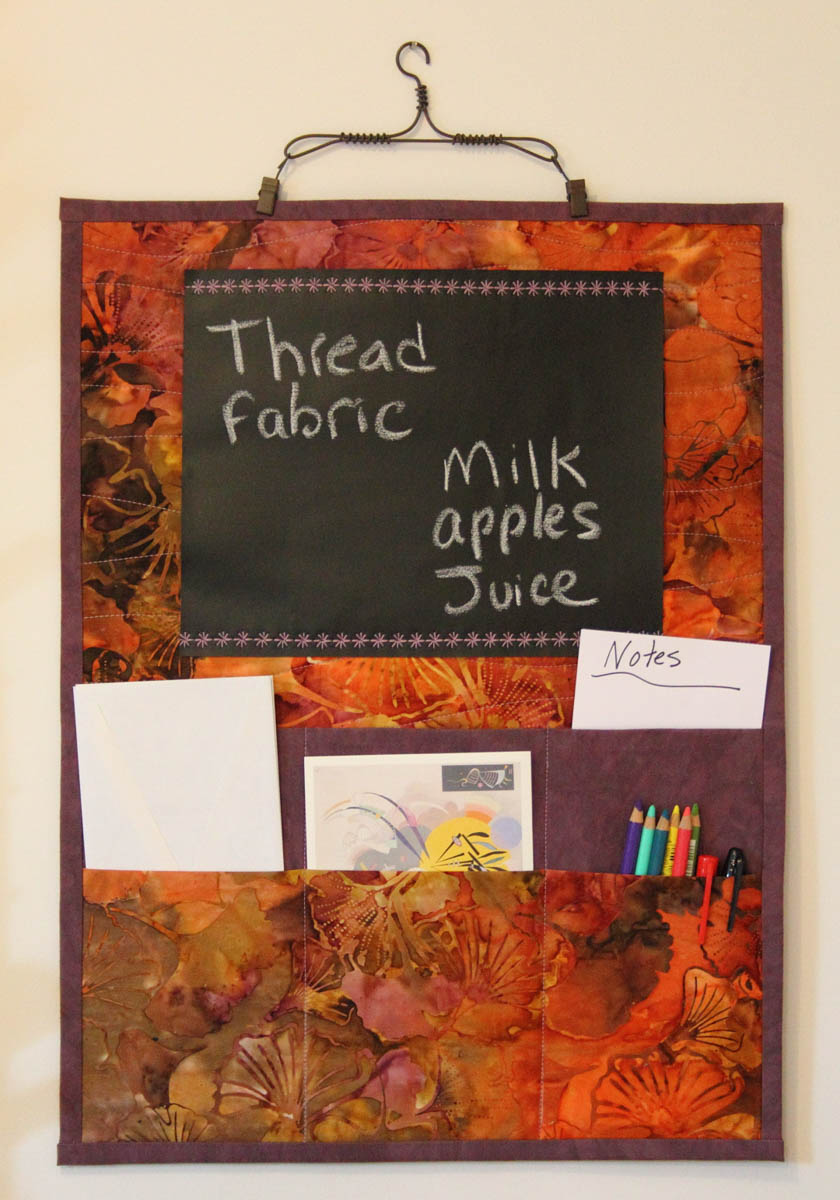
Fabric Message Board
Customize this fabric message board to go with any decor and hang it in the mudroom, kitchen or studio. It would make a great gift for a college student too!
Materials to create a Fabric Message Board
- National Nonwovens Wool felt—one piece 16″ x 21″ . I use the 65/35 wool/rayon blend. Note: You can substitute quilt batting if you prefer.
- Main fabric: one piece 16″ x 21″ and one piece for the pocket 15″ x 12″
- Muslin or scrap fabric: one piece 16″ x 21″
- Contrast fabric for the pocket: one piece 15″ x 18″
- Contrast fabric for the binding: two pieces 2″ x 20″ and two pieces 2″ x 17″
- Chalboard fabric: one piece 8″ x 10″
- Fabric for the back: one piece 15″ x 20″
- Mistyfuse Fusible Web
- Glue stick (optional)
- Chalk marker or disappearing ink pen marker
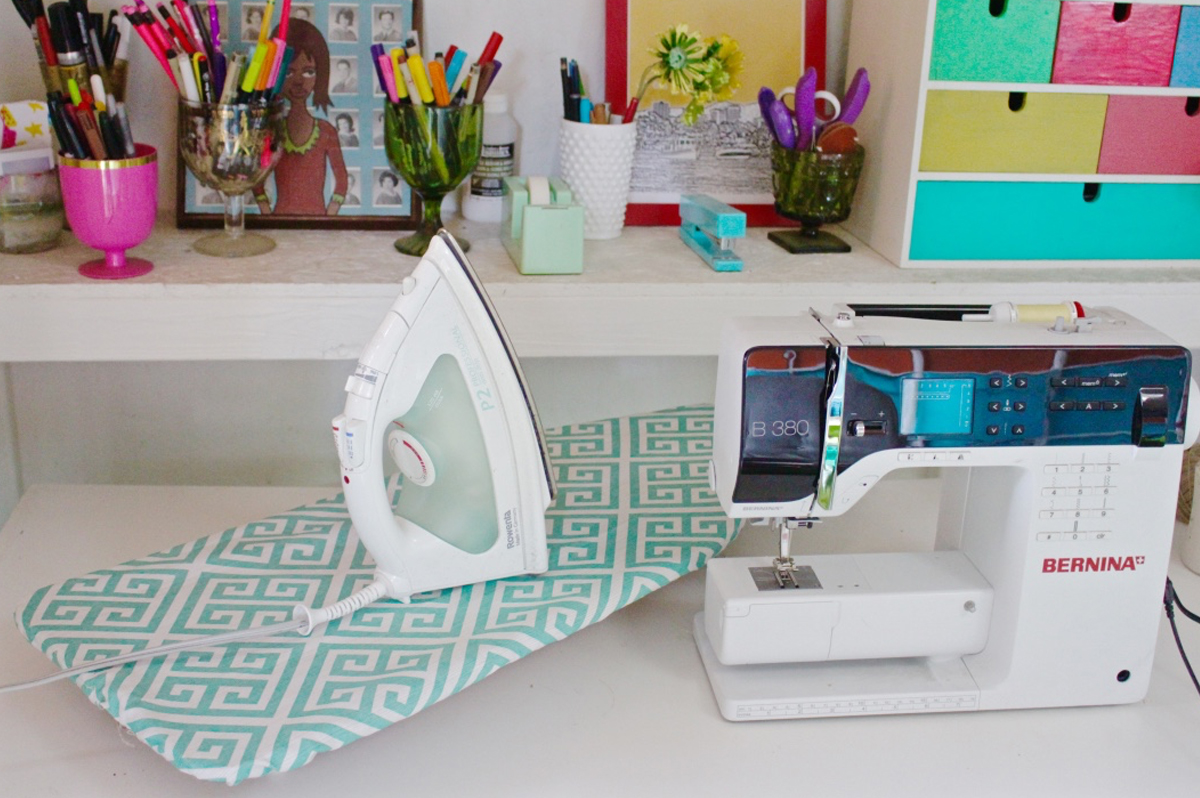
I used my favorite foot—the BERNINA Reverse Pattern Foot with clear sole #34D for this project.
NOTE: Do not allow your iron to come in direct contact with the chalkboard fabric. If your chalk cloth has been stored rolled and proves a bit unwieldy to work with unroll it and leave it under a stack of books overnight. This will help flatten it and make it easier to work with. DO NOT try to flatten it by ironing it!
Step 1
Fuse the muslin to one side of the wool felt. Fuse the main fabric piece to the other side. Quilt the piece however you like. I stitched wavy lines across the surface but this is a great opportunity to do some free motion stitching.
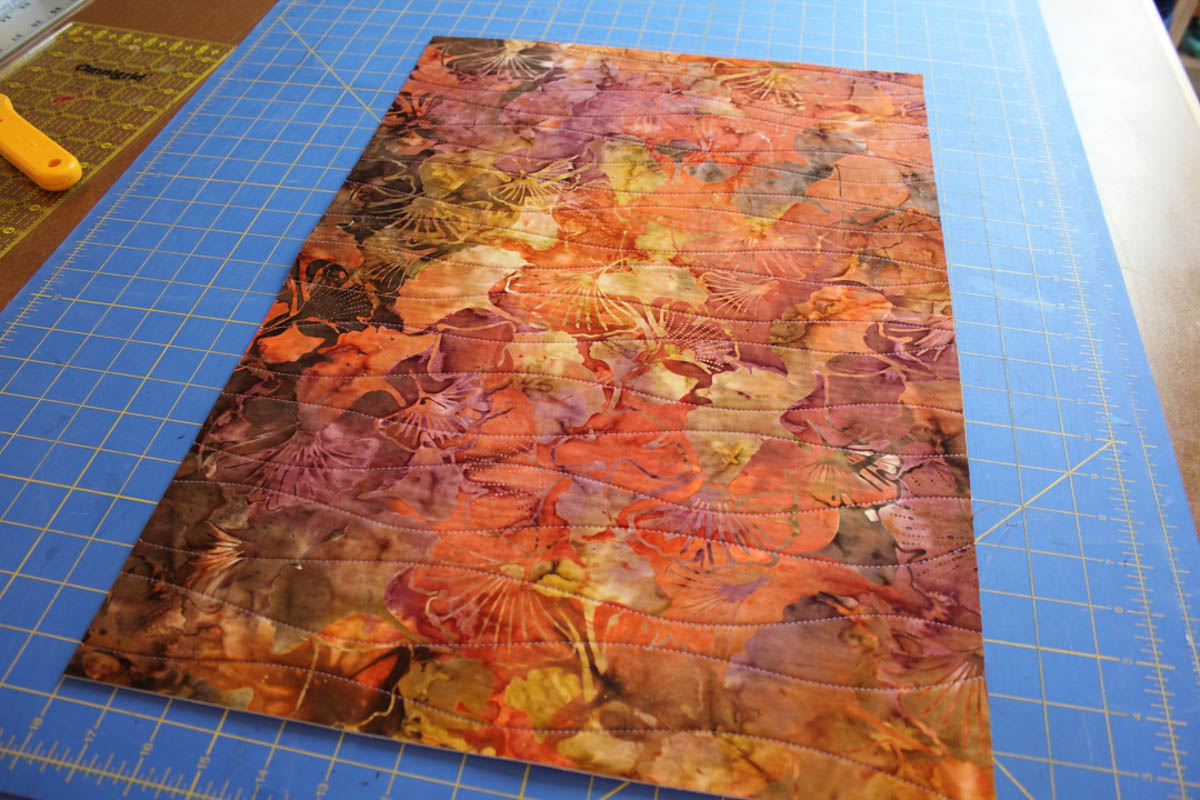

When you’re done quilting the message board trim it to measure 15” x 20”
Step 2
Fold the contrasting fabric pocket in half wrong sides together to measure 15” x 9” and press it well.
Fold the smaller main fabric pocket piece in half wrong sides together to measure 15” x 6” and press it well.
With the message board right side up, place the larger pocket on top aligning the raw edge of the pocket with the bottom edge of the message board. Place the smaller pocket on top of the large pocket. Use a chalk marker to divide the pocket into three equally spaced sections.

Stitch over the marked lines to secure the pocket pieces to the message board.
Step 3
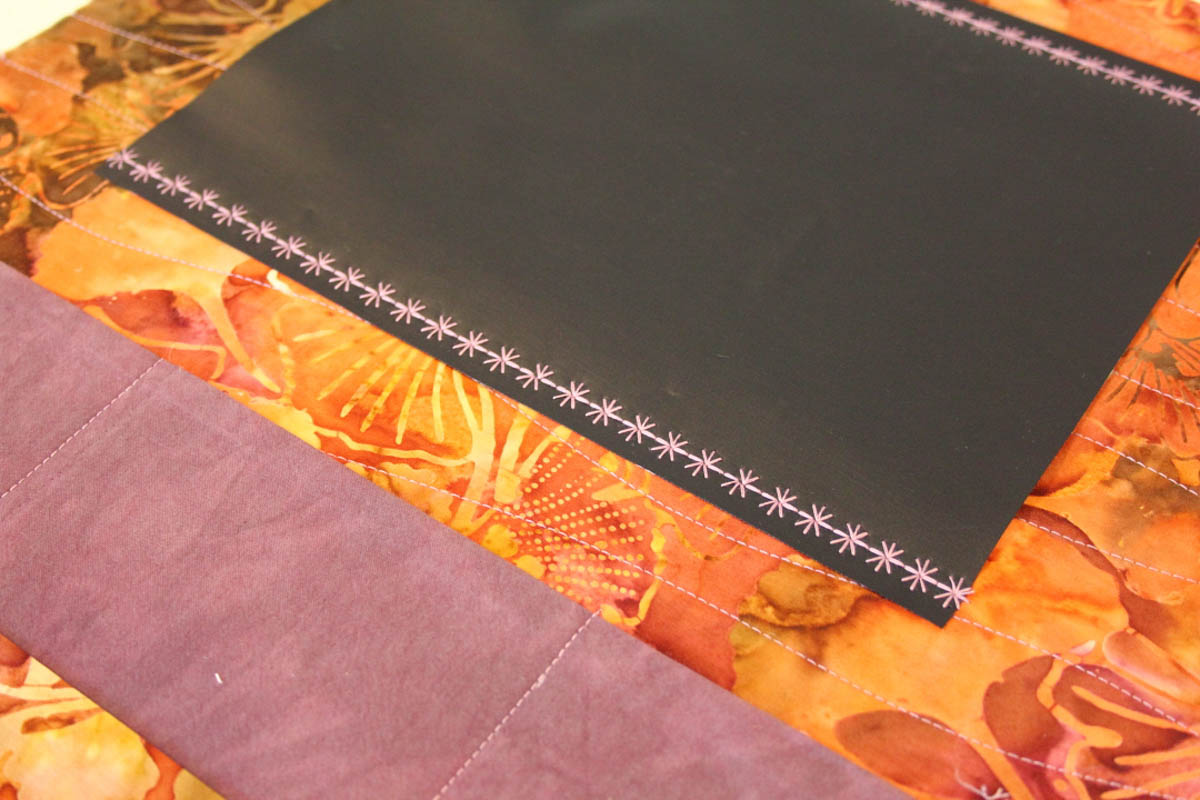
Place the chalkboard piece on top of the message board. Place it so that the top edge of the chalkboard fabric is 1 1/2” inches from the top edge of the message board. To keep the chalk fabric from shifting while you sew it in place use the glue stick to adhere it to the message board. Use a small amount of glue and keep it at least a 1/2” from the edges.
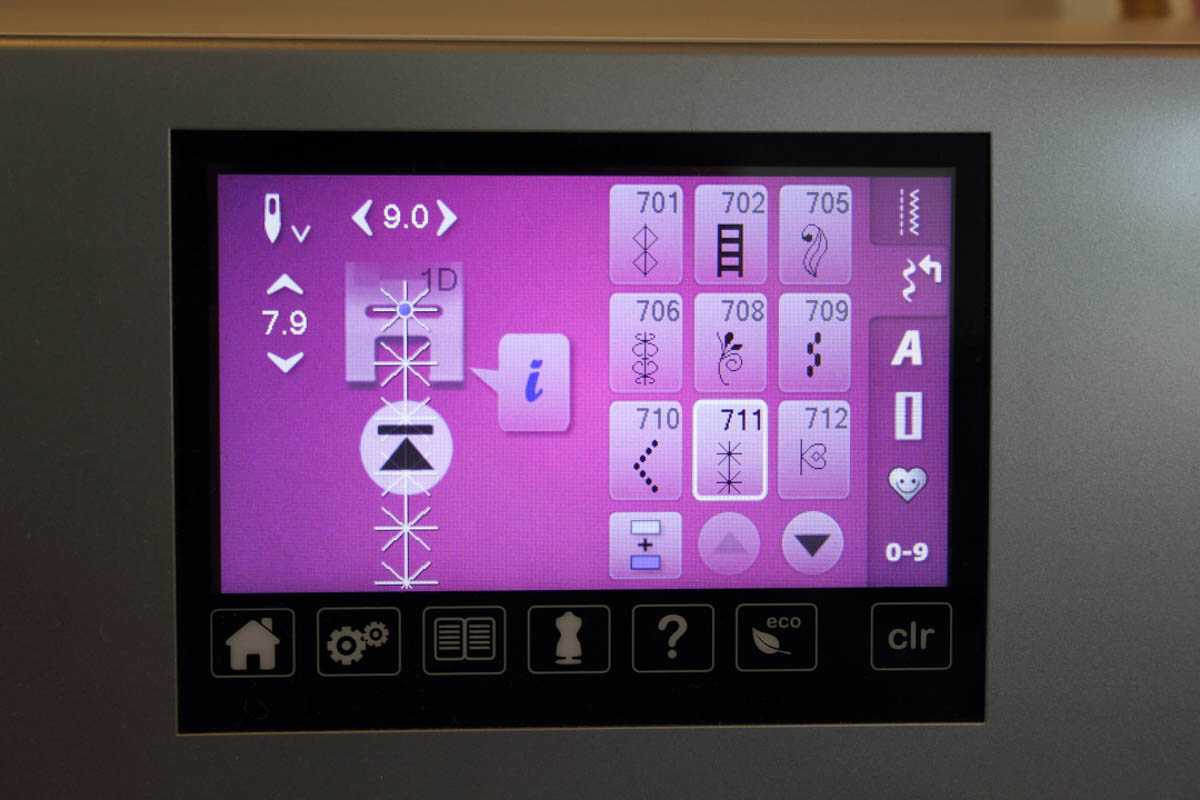
Sew the chalkboard fabric in place. I used decorative stitch 711 along the top and bottom edge.
Step 4
To cover up the stitching on the back of the message board, fuse another piece of fabric to the back.
Step 5
Bind the message board using your favorite binding technique or you can use my 4 strip binding technique:
Start by stitching each of the 2” x 20” strips to each long side of the message board using a 1/4” seam allowance.
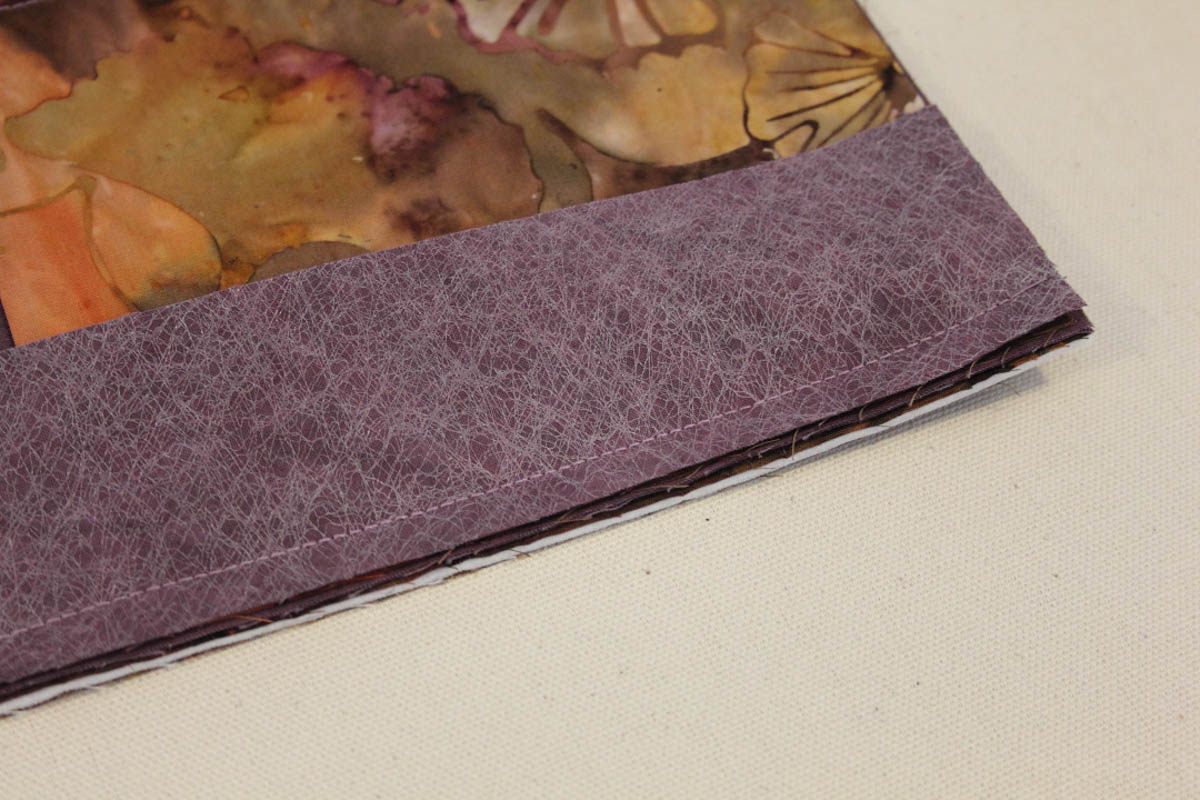
Press the binding strips flat and turn the message board over so that the backing side faces up. Fold each of the binding strips in half lengthwise and press them to set the crease. Fold the binding strips toward the back, pin in place and then hand stitch them in place to the back of the message board.
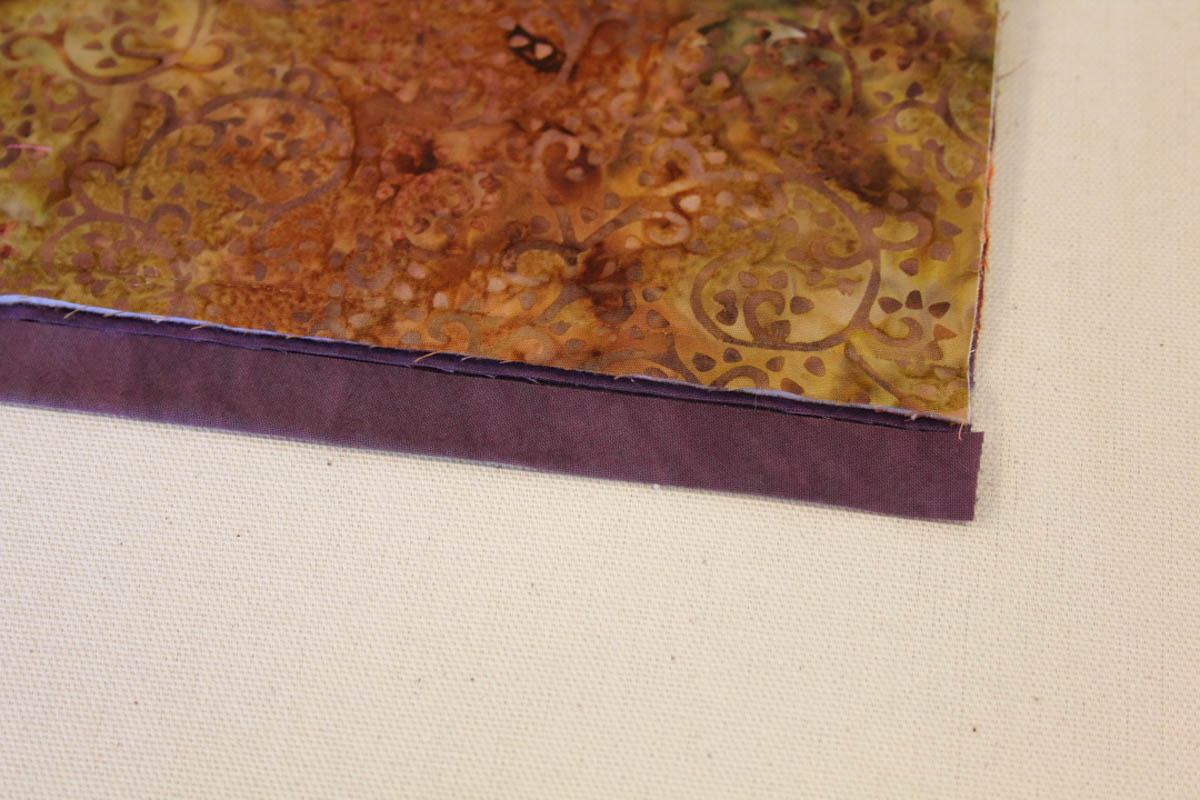
Sew the other two binding strips to the short edges of the message board using a 1/4” seam allowance so that there is 1” excess on each edge.
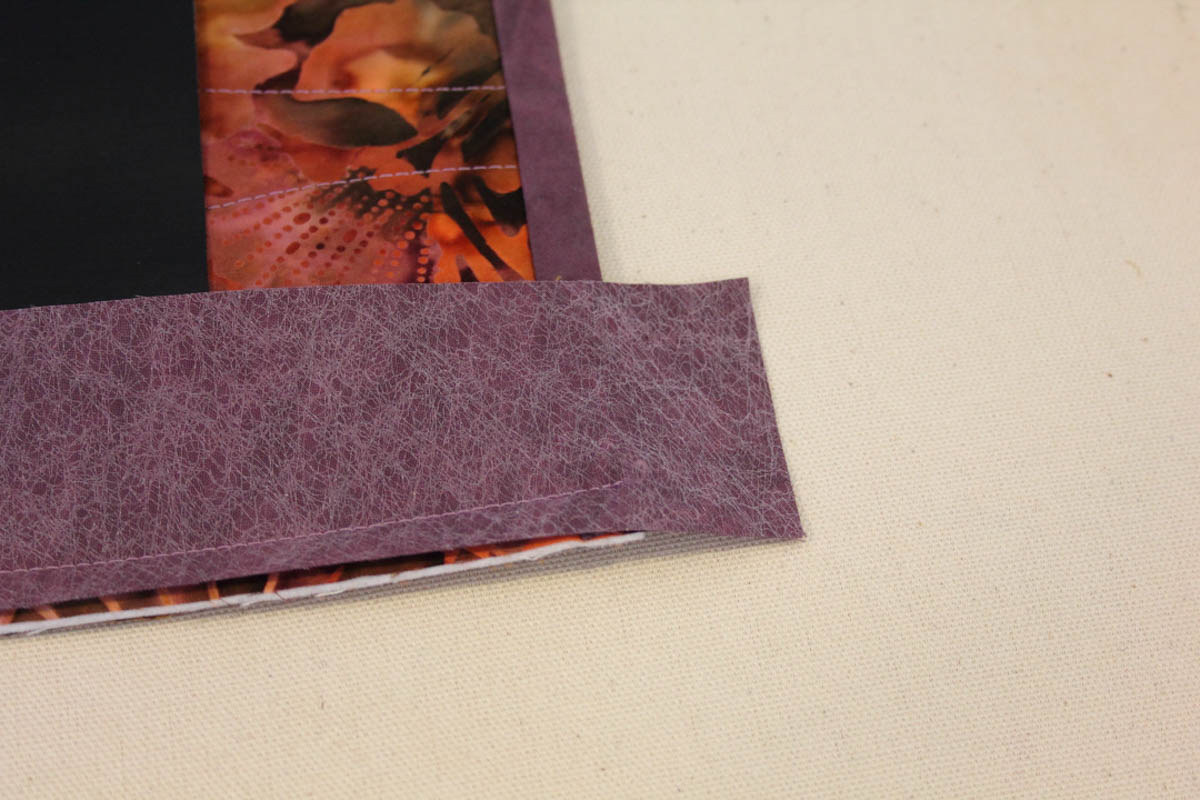
Press the binding strips flat and turn the message board over so that the backing side faces up. Fold the excess 1” on each edge towards the message board and press.
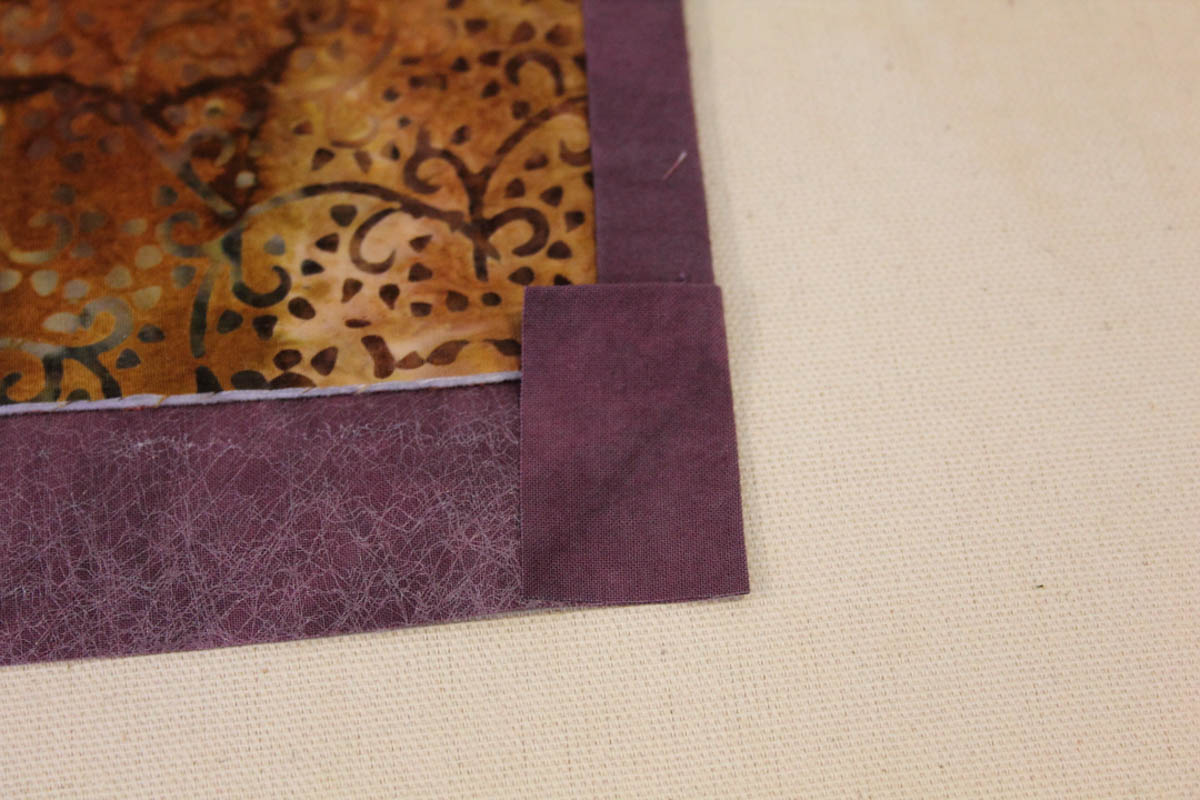
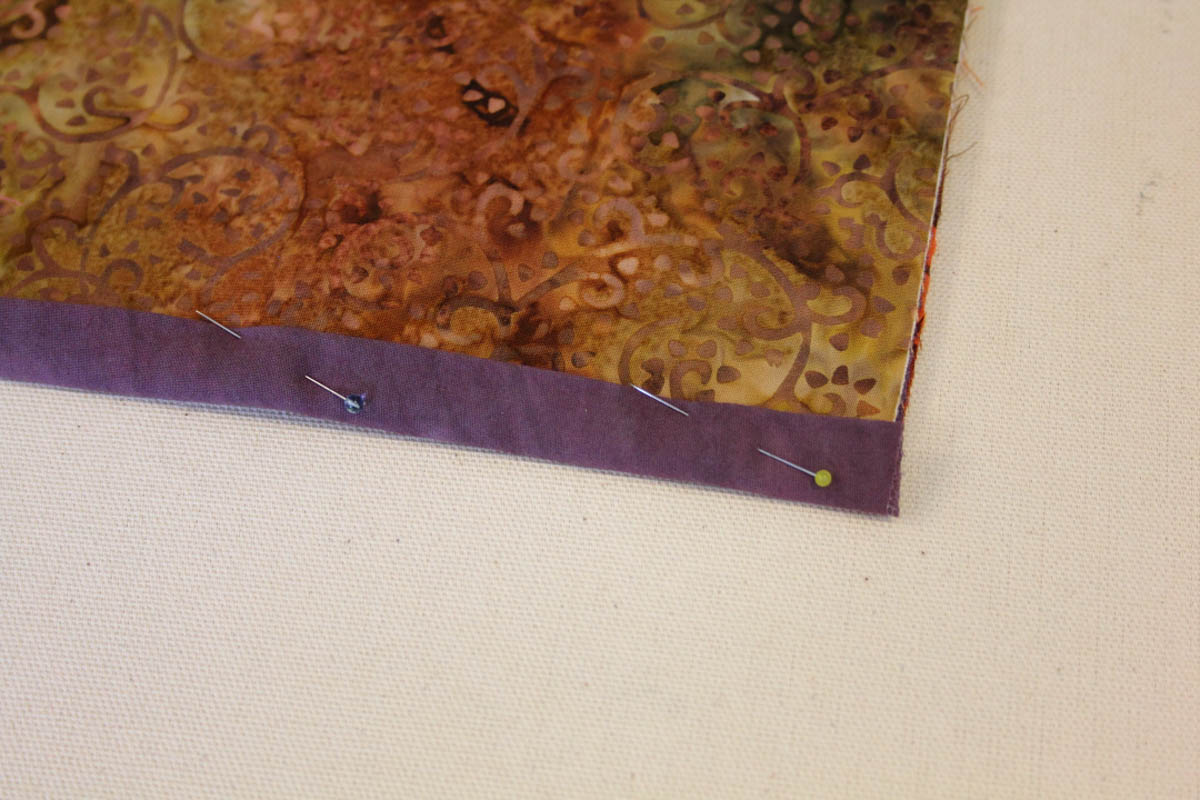
Fold each of the binding strips in half lengthwise and press them to set the crease. Fold the binding strips toward the back, pin in place and then hand stitch them in place to the back of the message board.
Hang up your message board and enjoy!
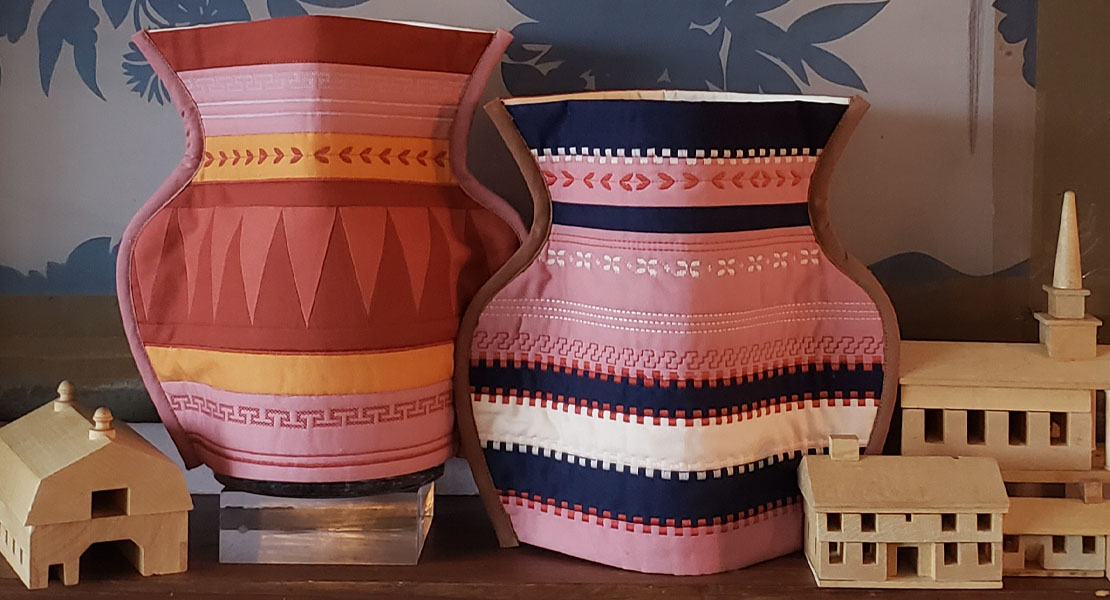
What you might also like


4 comments on “Fabric Message Board”
-
-
If you google chalkboard fabric you’ll find several online resources for it. equilter.com carries it as well as several other fabric supply websites and you may be able to find it at your local fabric store. If not, ask them to carry it for you.
-
-
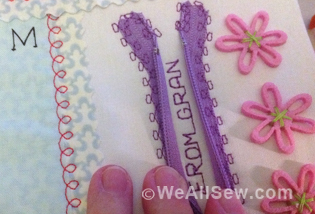
Where did you find the little hanger for the project?
-
I wish I could remember! I bought them ages ago. Sorry I can’t remember where I bought them.
-
Leave a Reply
You must be logged in to post a comment.

Where can you find the chalkboard fabric? This is such a cute idea!