How to Bind Edges with Ribbon
Here’s a tip from Ed Roux, author of a series on heirloom sewing techniques for WeAllSew to add a special finish on any project by using ribbon and the Binder attachment #88 for unfolded bias tape. Read on to learn how to bind edges with ribbon.

Have you considered using ribbon with the Binder attachment #88? There is almost an infinite variety of ribbon colors and patterns to choose from, and with Binder Attachment #88 you can effortlessly attach sewn ribbon bindings to your quilts, home dec or garment projects. Using commercially available ribbon is an alternative to using bias tape or manually cut straight- or bias-cut binding strips. More importantly, it can be more convenient to use as it is pre-cut and unrolls from a spool. Ribbon also adds a distinctive contrast depending on the project.
Most flat woven polyester or rayon silk, grosgrain, taffeta or linen ribbon will feed beautifully in your Binder attachment #88 to bind projects with straight or gently curved edges.
You may also want to consider using bias cut Silk Habotai or China ribbon to:
- Bind projects with curved edges.
- Beautifully finish the inside seams of tailored or couture garments.
- Bind organdy edging.
- Significantly cut the time to make Hong Kong binding seams.
- Quickly create skirt, blouse or sleeve plackets.
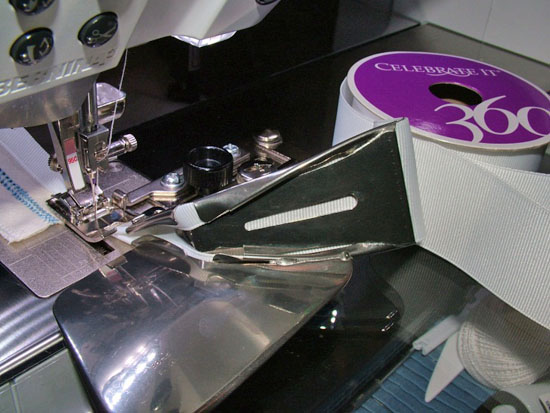
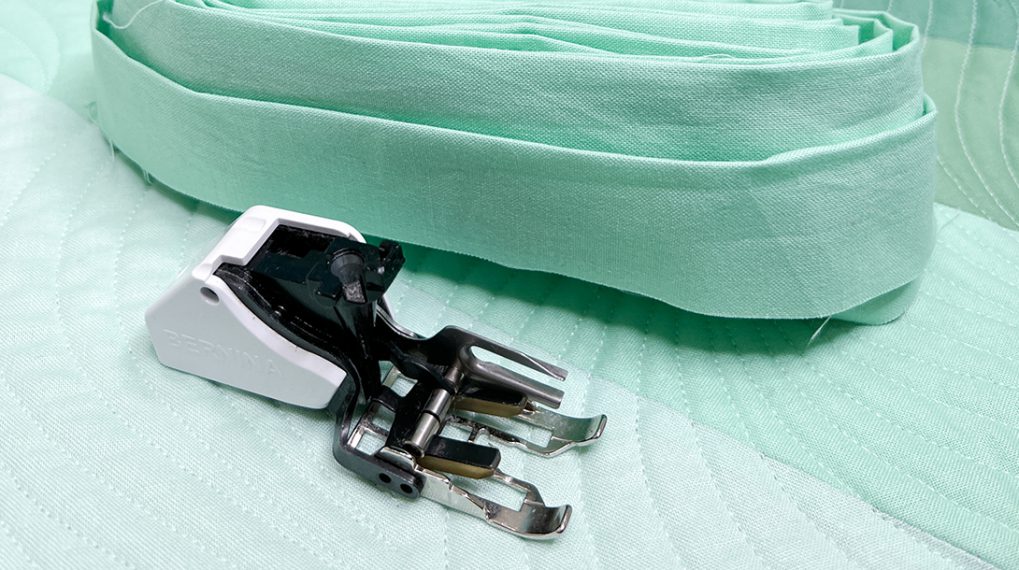
Three ribbon widths work well with the three Binder attachment #88 sizes and the Binder foot #95/95C:
- 1″ wide ribbon with the 28 mm binder.
- 1¼” wide ribbon with the 32 mm binder.
- 1½” wide ribbon with the 38 mm binder.
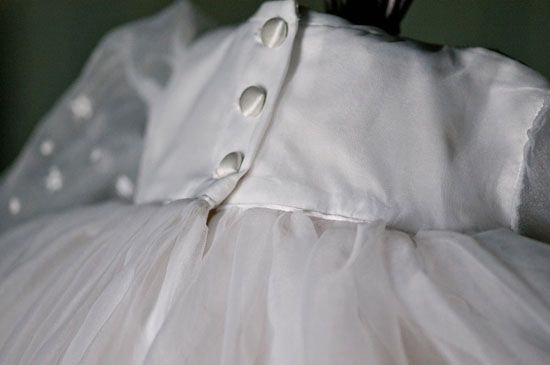
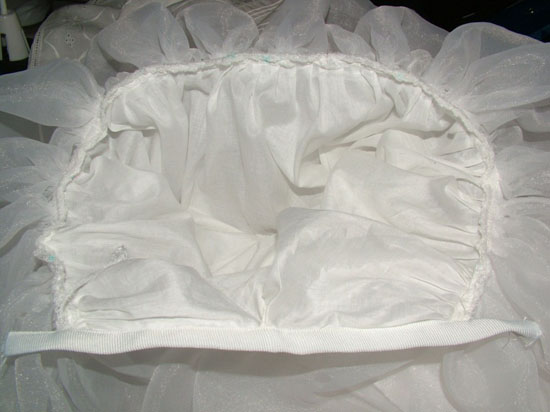
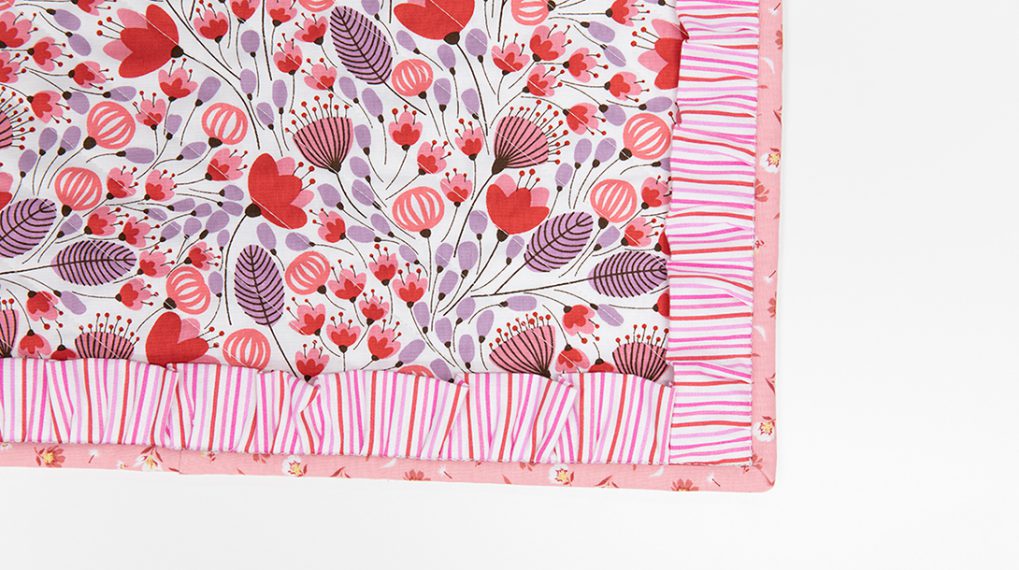
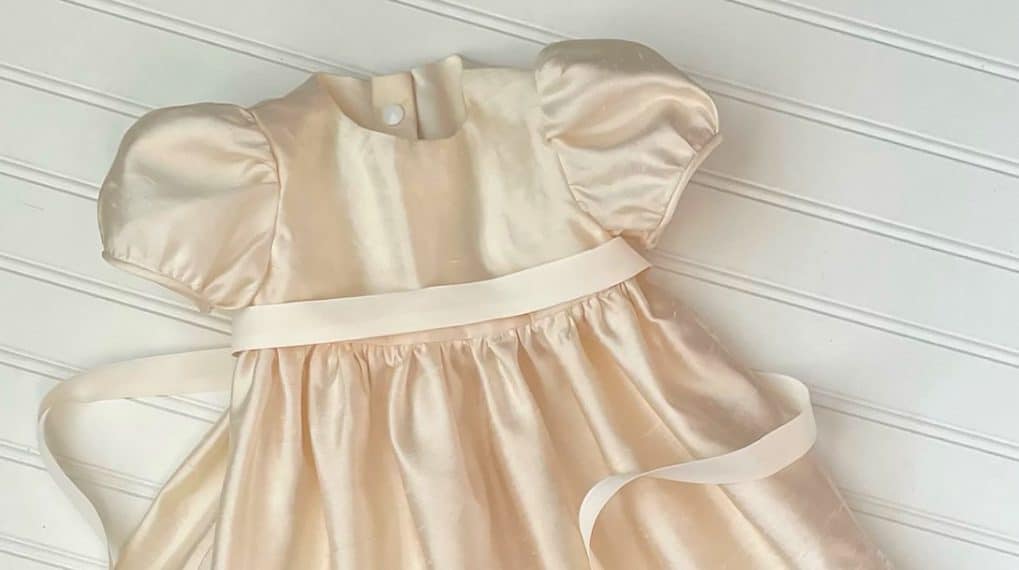
For the skirt placket of my “Christina” Christening Gown, I chose to use 1 1/2″ Grosgrain ribbon with the 38mm Binder attachment #88.
Using the Binder attachment #88 is a very fast way to attach binding to projects, and yields professional-looking results that are otherwise extremely difficult to achieve.
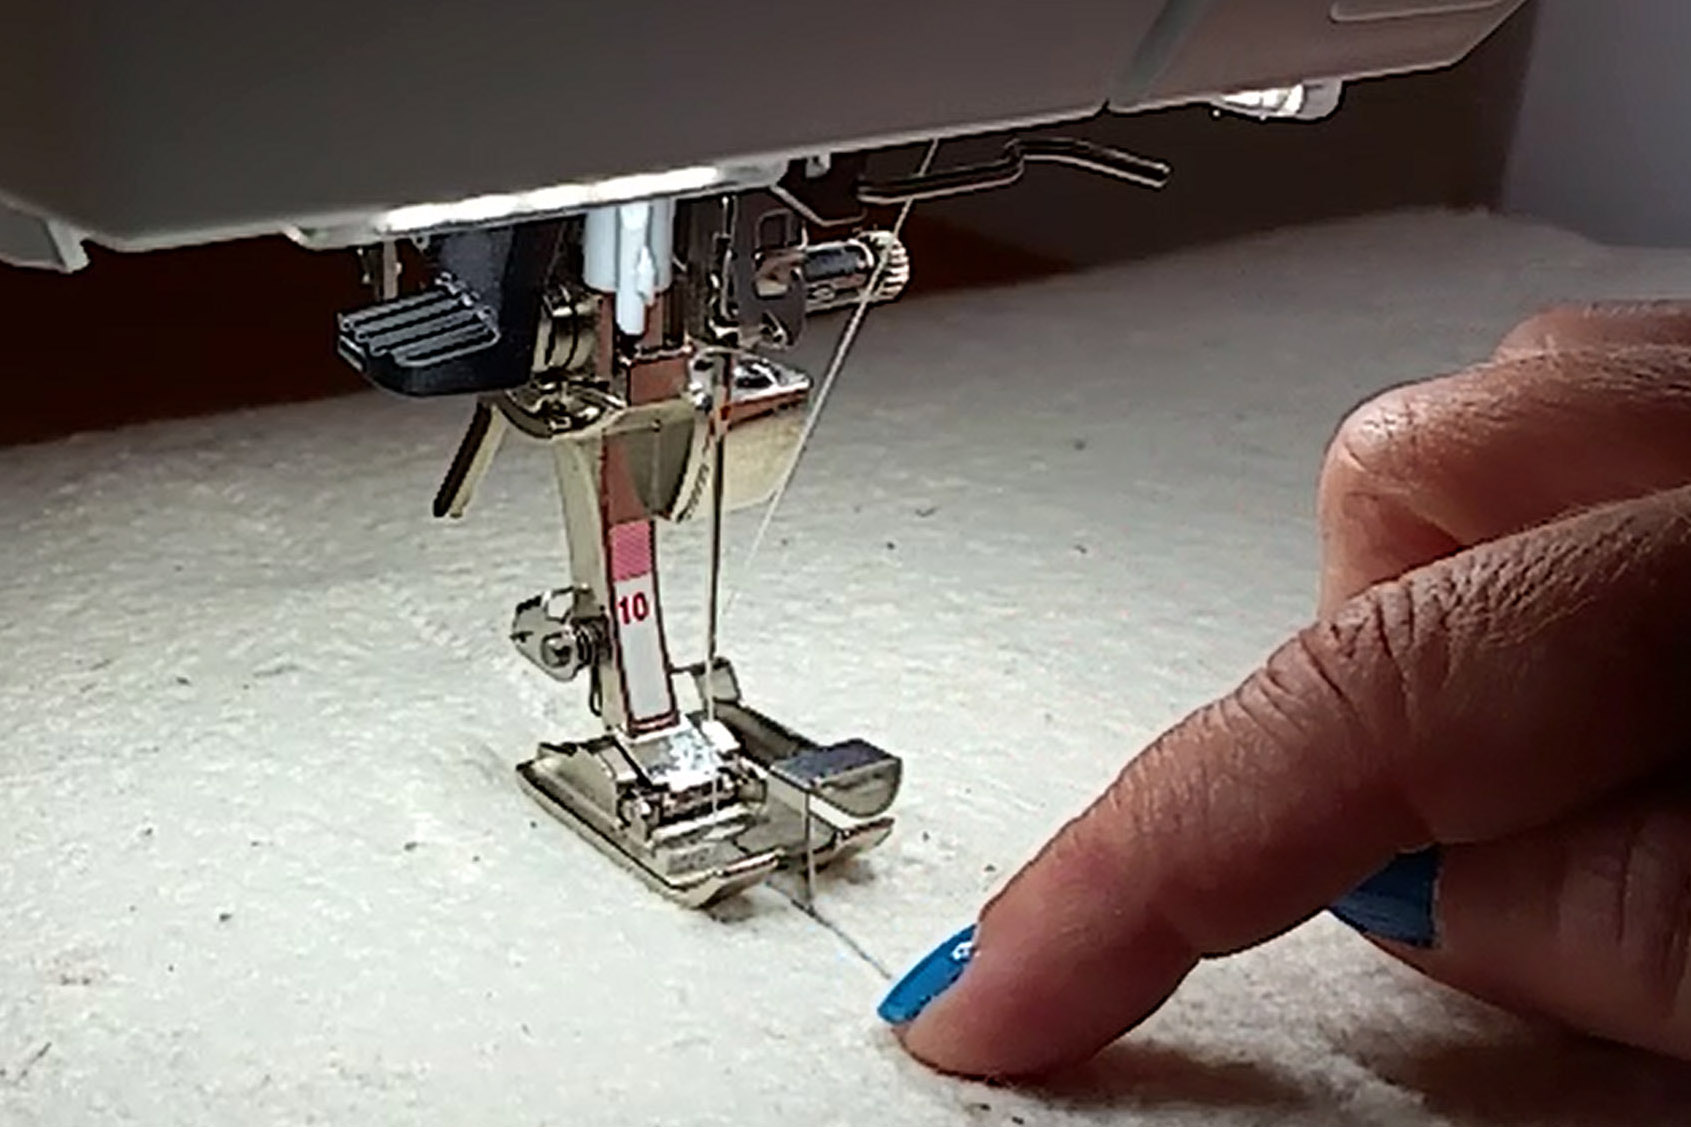
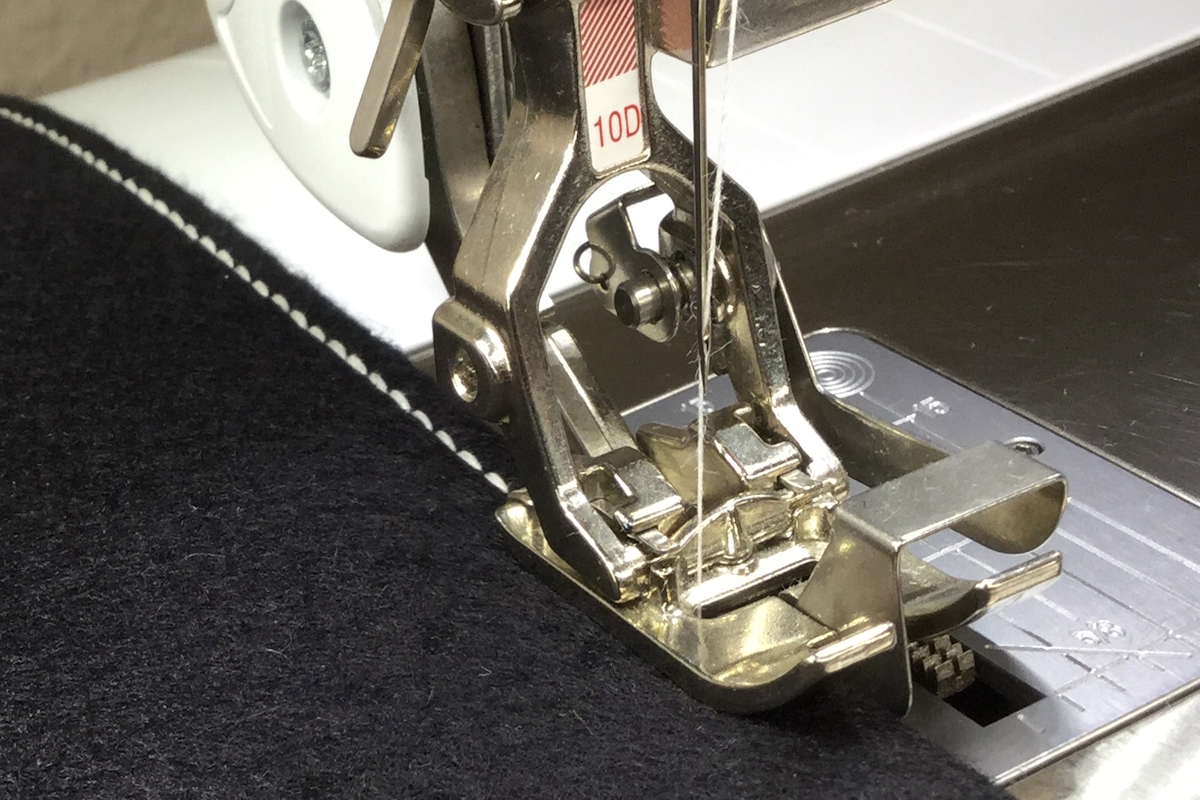
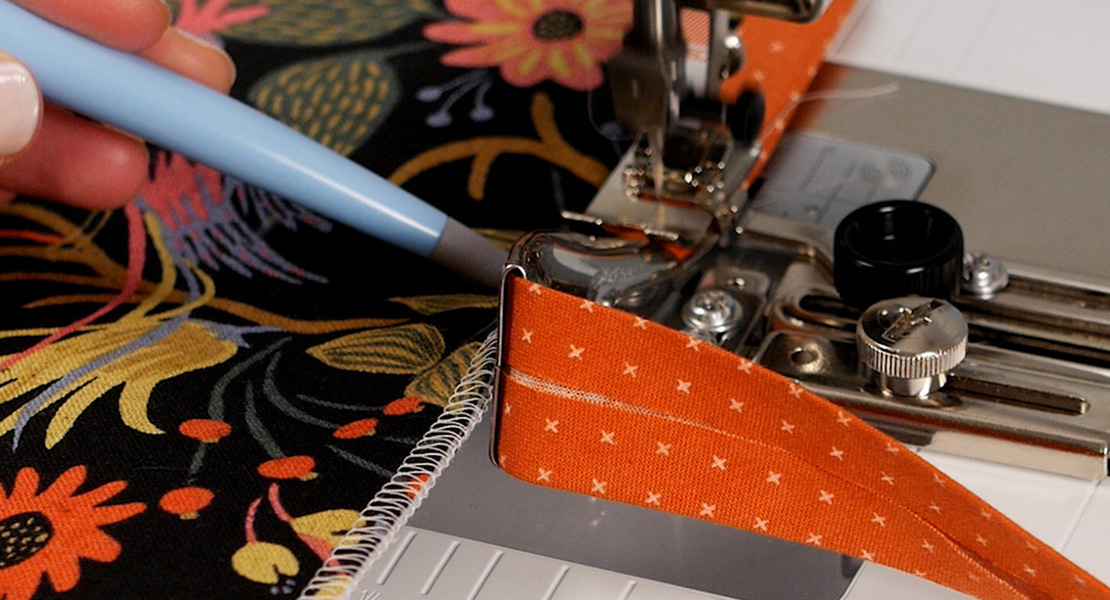
1. Thread ribbon through the binder attachment to form a double fold under the binder foot.
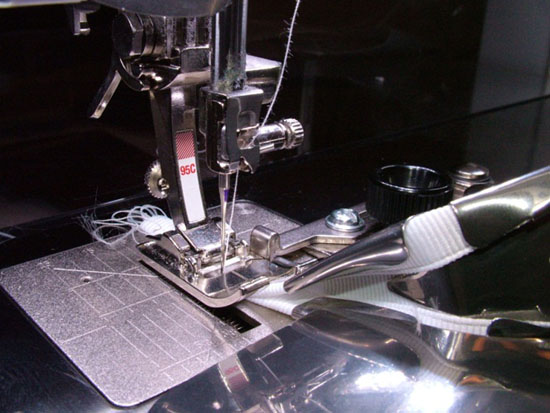
2. Test the formation of the binding by starting the stitching with a test piece of fabric (this will be cut after binding is completed). Adjust, if necessary, to ensure the ribbon forms a beautiful double fold under the foot. Adjust the needle position if necessary so the straight stitch is positioned just inside the left edge of the folds.
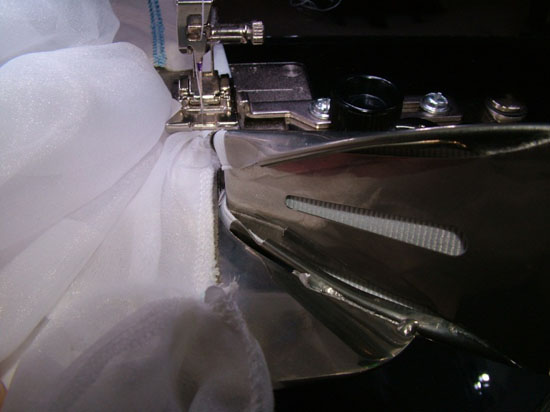
3. Feed the edge of the skirt slit inside the fold of the ribbon and sew the binding to finish the placket.
4. The raw edges of the placket are finished with a beautiful grosgrain ribbon binding.
5. Finish the placket by folding the binding over itself and stitching a 45° degree angled seam at the bottom. Trim the ends and finish the garment.

Experiment with different types of ribbon and the Binder attachment:
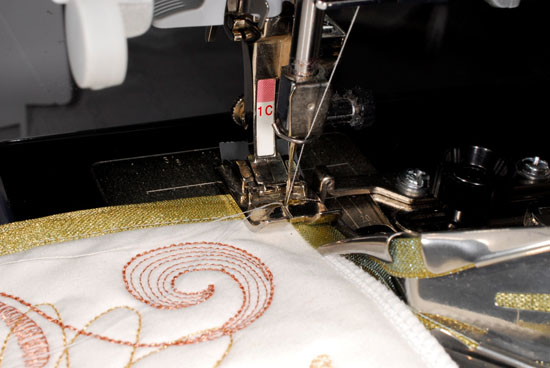
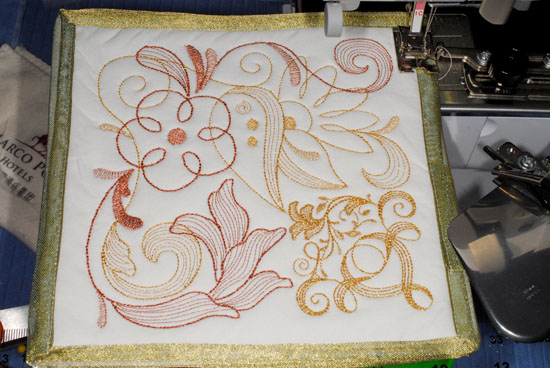
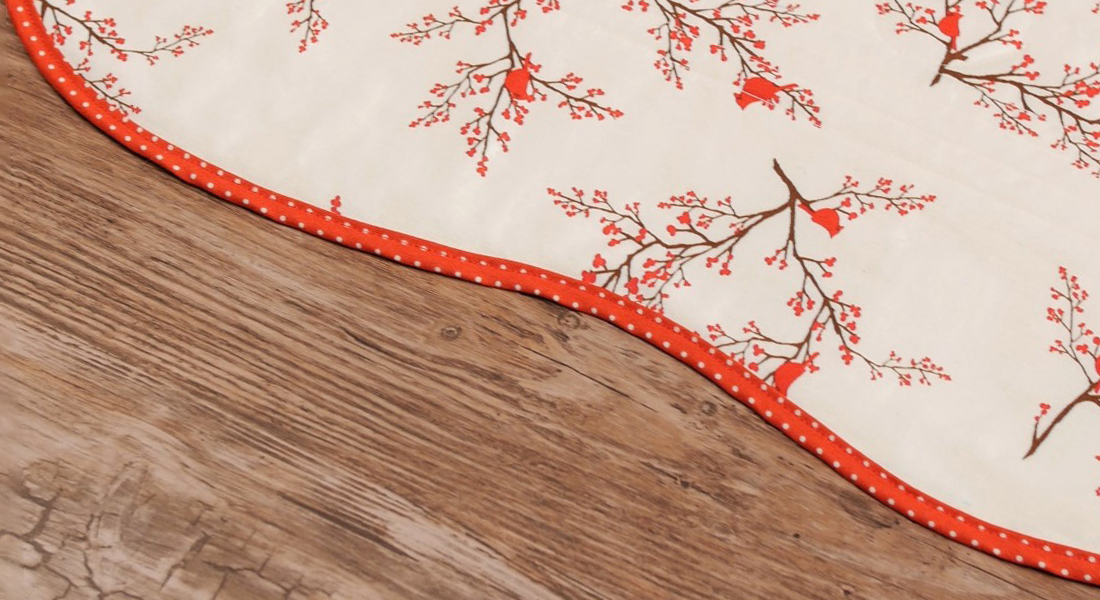
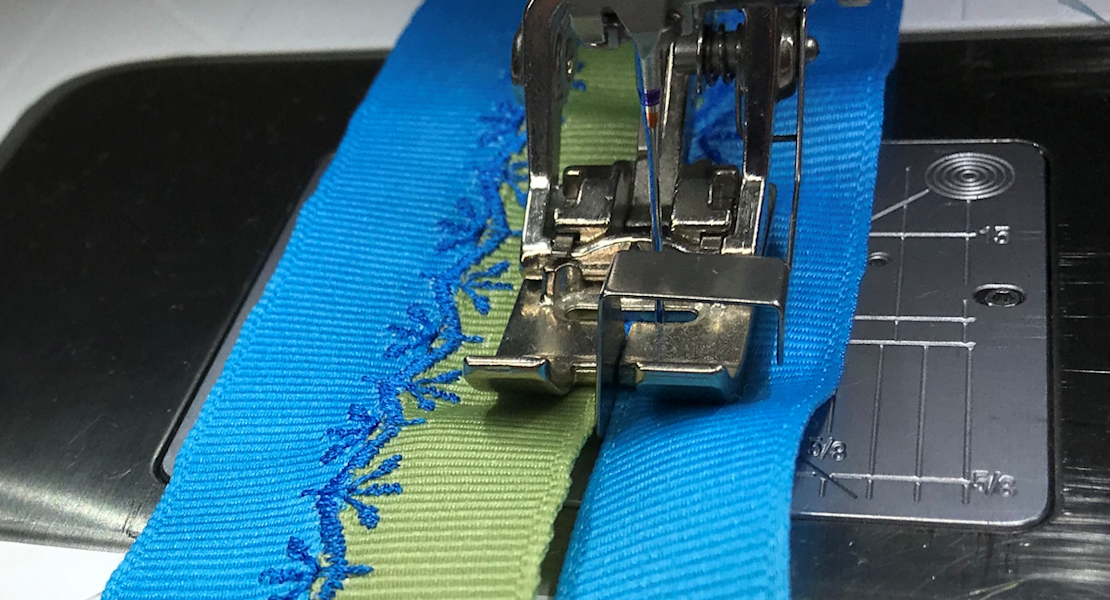
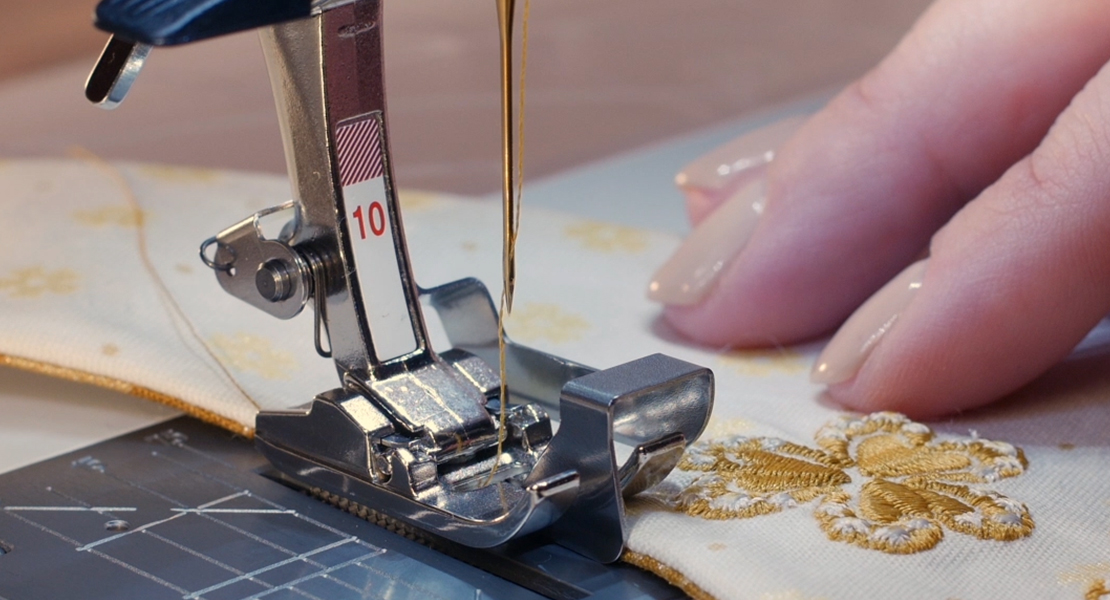
This sample stitching from the BERNINA Exclusive Sepia Petals embroidery collection in gold and bronze metallic threads was finished with 1½” wide wired-edge gold metallic ribbon using the 38mm Binder attachment #88.
For couture detail finishing, consider using 1″ wide bias cut 100% silk Habotai ribbon on 100% wool suiting to create Hong Kong seams with the 28mm Binder attachment #88 instead of using a serger to finish the seams allowances.

If you have two or more BERNINA sewing machines and you are sewing a garment project that requires a lot of these bind-finished seams, you may want to consider dedicating one of your precision machines for binding so the Binder attachment #88 is readily available at any point throughout your project.
What you might also like


2 comments on “How to Bind Edges with Ribbon”
-
-
Pingback: WeAllSew « https://weallsew.com
Leave a Reply
You must be logged in to post a comment.

Ed, that’s a great idea! I never would have thought to use wide ribbon as binding.
Very nice work on your projects.
Robin
VIP Retreat