Free-Motion Quilting 101
Award winning artist, quilter, author, fabric designer and Twisted Sister Jamie Fingal, who is a self-proclaimed Rebel Quilter is here to share some of her expert free-motion quilting tips!
I am happy to share some things that I’ve learned along the way in my journey as a fiber artist. Many times, I am asked how to get started with free motion machine quilting (FMQ). Most quilters are afraid to be their own guide with the needle and thread. It just takes a lot of practice. Give yourself permission to take risks, and don’t concern yourself with being perfect. Just have fun. Use the needle on the sewing machine like a pen and simply doodle. Loop-de-loops, lines, shapes, words, etc.
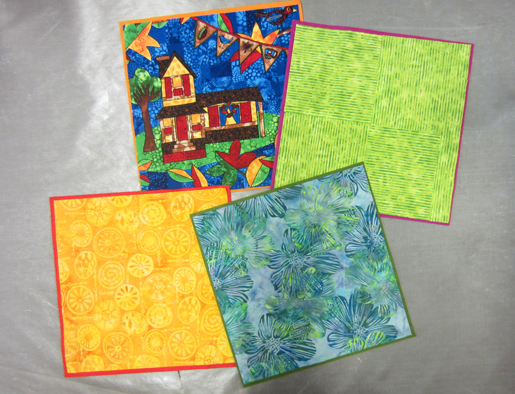
To practice, I put together four 12×12″ quilt sandwiches, the “Rebel” way, by fusing a piece of fabric onto a black wool blended felt foundation, and then backing it with a fun color of wool blended felt. This is the way that I make my quilts. I used a straight pin to keep the sandwich in place.
You can make a quilt sandwich with a topper, batting and a backing. Whatever floats your boat and makes you the most comfortable.
Materials:
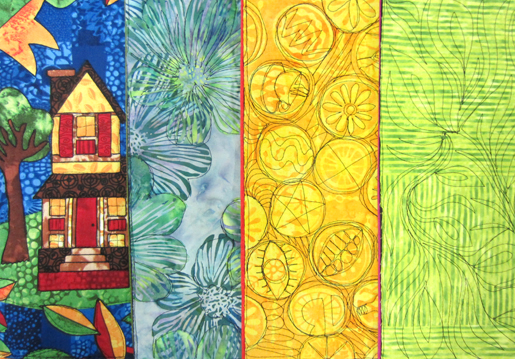
- Four different 12″ x 12″ pieces of printed fabric; one large print with large shapes (such as a house), one with big flowers, one with circles, and one with small stripes
- One yard wool blend felt in black (such as National Nonwovens)
- One yard wool blend felt in a fun color
- Fusible webbing (such as Mistyfuse)
- Black sewing thread
- Pressing sheet (such as Goddess Sheet)
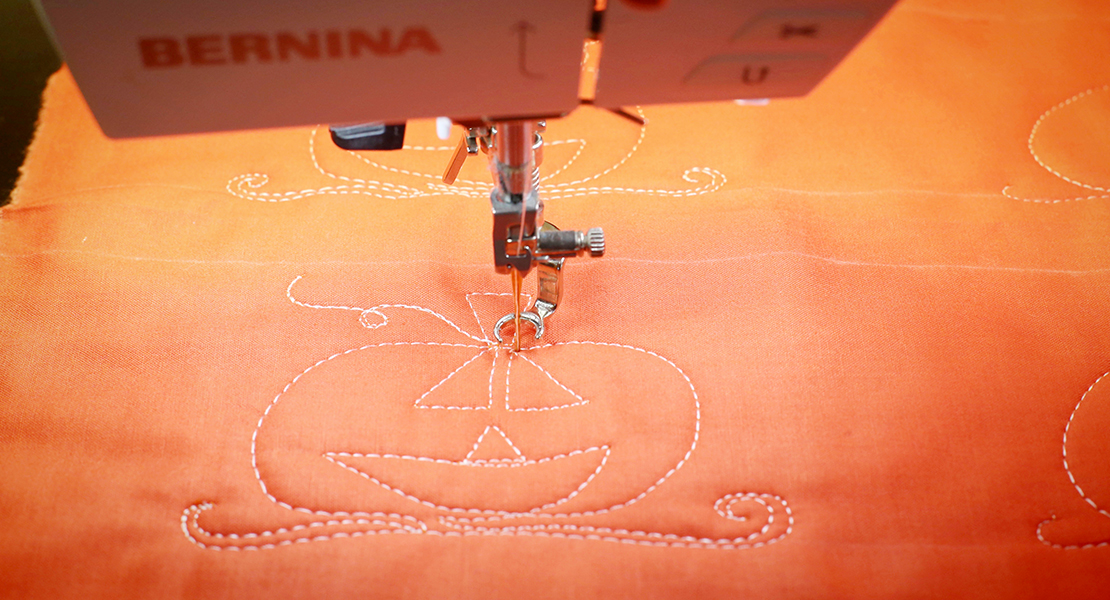
I use black thread because it shows, and really, it’s the only color that I use in my work. Pre-wind several of your bobbins ahead of time.
A short fusing lesson using Mistyfuse and a Goddess Sheet. Carefully lay the fusible web over the top of the wrong side of fabric, trimming where needed so it does not overlap the sides. Either use a Goddess Sheet or a piece of parchment paper over the fusible web. Using a dry iron on the cotton setting, gently glide your iron over the top, in a circular motion, making sure that you get all of the edges.
When it has cooled, you can check to see if it is fused by pulling up one corner. If it has strings that come up from the fabric to your top sheet, it is not done cooking. Bring it down and press a little more. The fusible web should be flat and shiny if it is totally fused. Cut fabric into 12″ x 12″ pieces for each scenario. Fuse to a piece of wool blended felt or batting. Cut a piece that is a little larger of the colored felt for the backing and place a pin on the top to secure it into place. Continue to do this until you have your four sandwiches done.
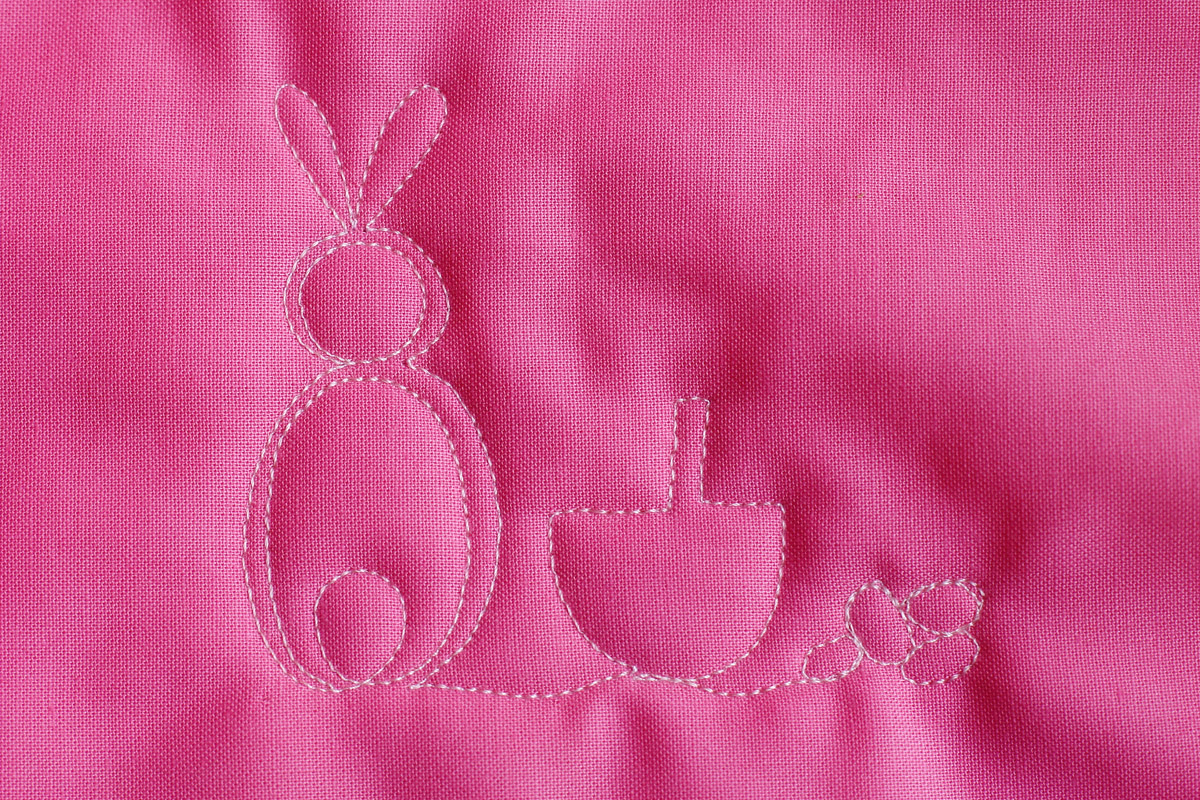
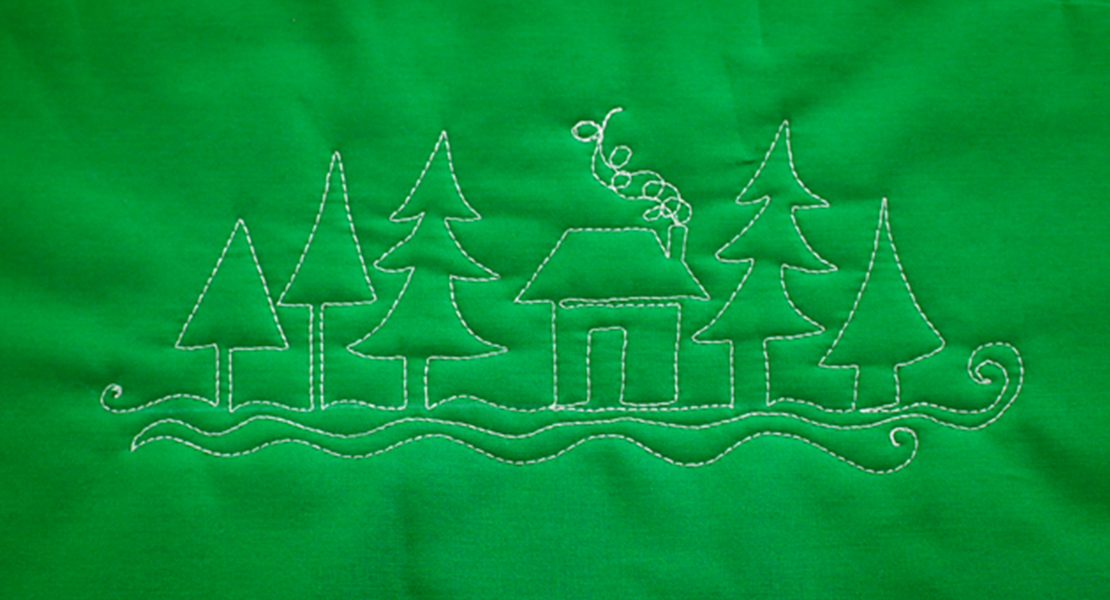
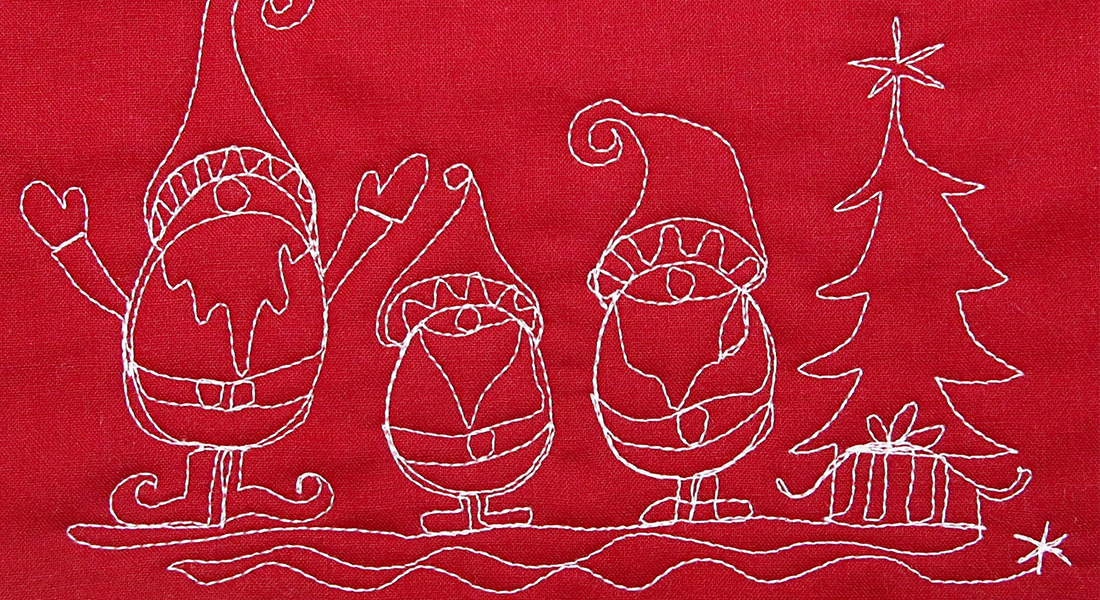
House scene:
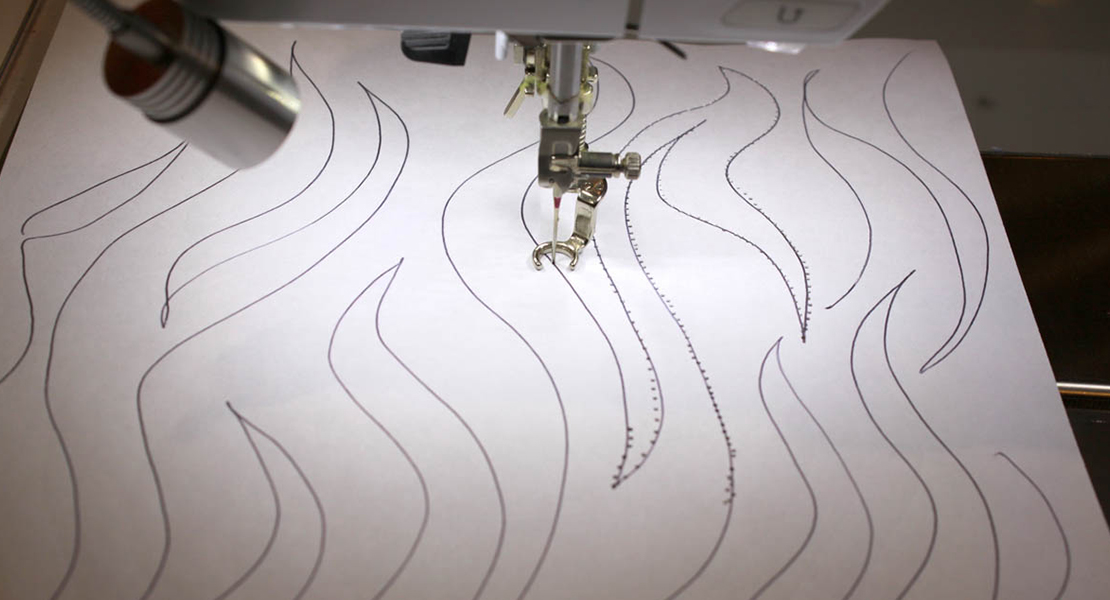
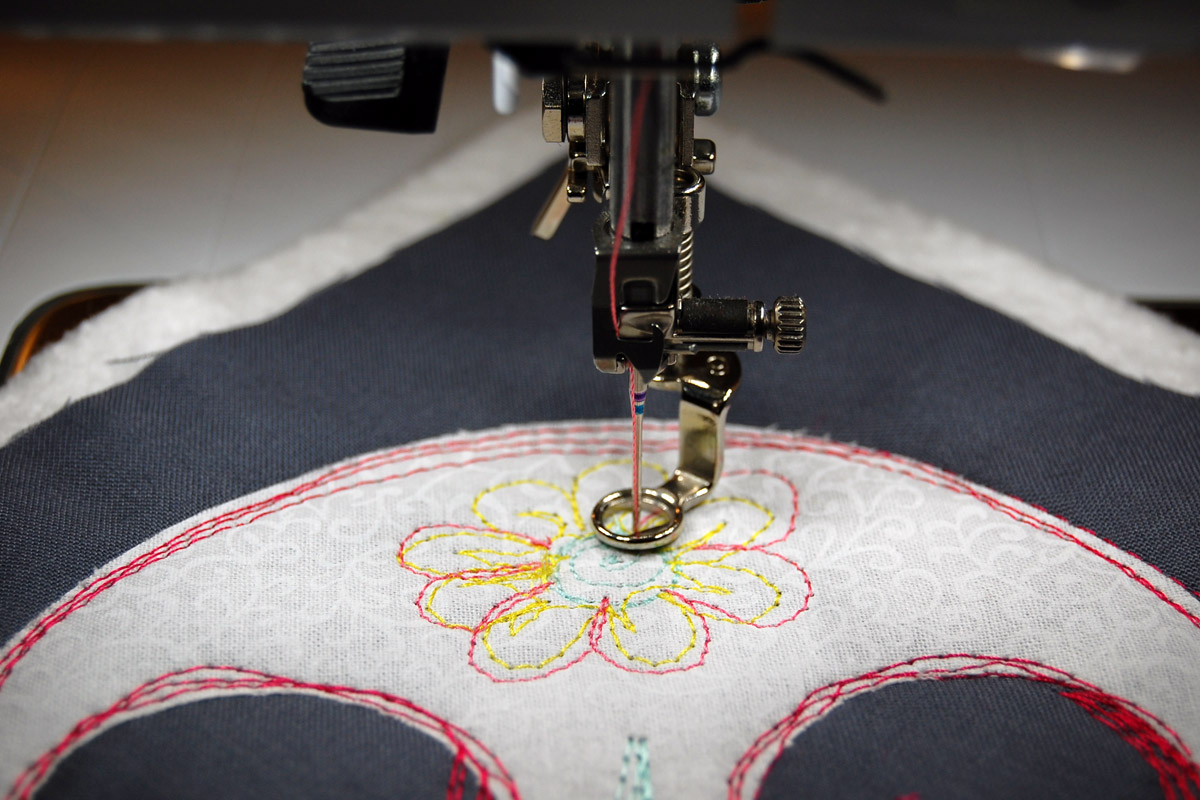
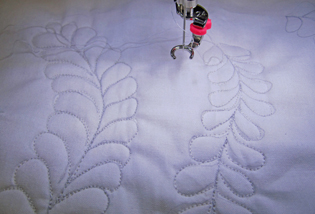
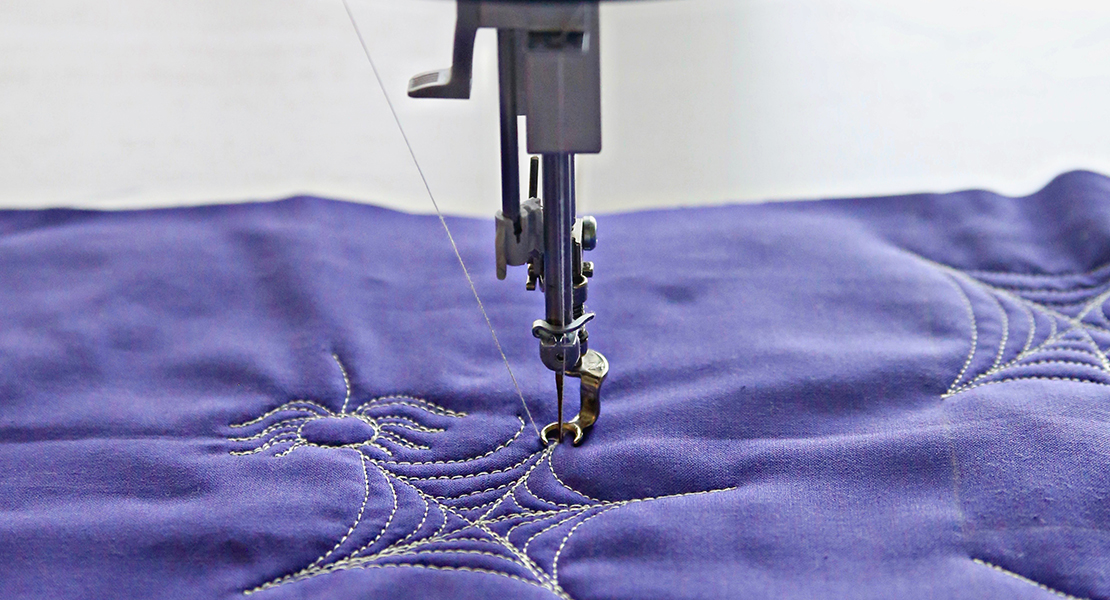
Put your free-motion quilting foot on your machine and lower the feed dogs. You can use the open toe Free-motion embroidery foot #24, I use the Quilting foot #29 and it is my favorite. You are guiding the needle by holding onto your quilt as you sew, moving it around. Anchor your first couple of stitches by going forward and then back. Pull the top thread away from where you are sewing. When you get a little farther in the piece, put the needle in the down position and cut the threads on the top and underneath. Then you won’t be running over them with more thread. Now you are ready to start sewing around the objects.
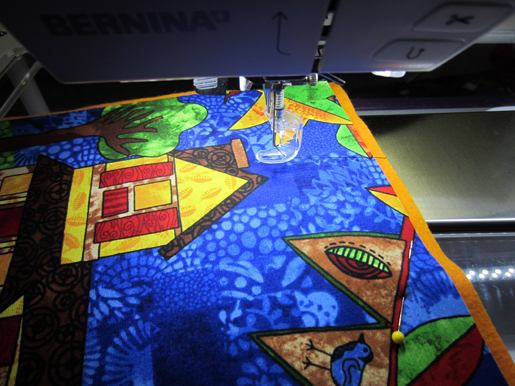
Don’t worry about crossing the threads. Sew around all of the big things. On my quilt, I sewed around the house, the windows, tree, leaves, bunting and bird. I left the landscaping and sky free of quilting. This is a go-back-to project, where you can revisit those areas after you feel more comfortable with your quilting.
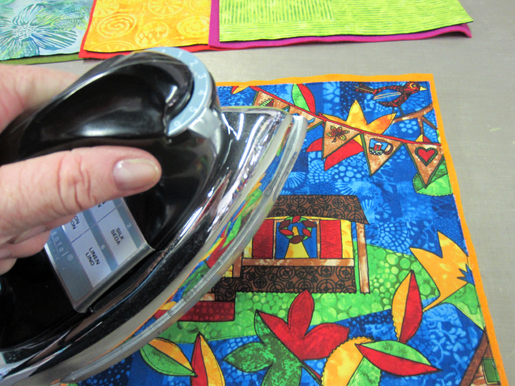
Press your sandwich periodically to make sure your sandwich remains flat. Sometimes during free motion machine quilting the quilt can scrunch up.
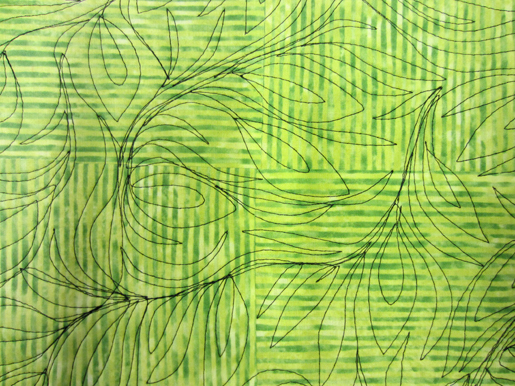
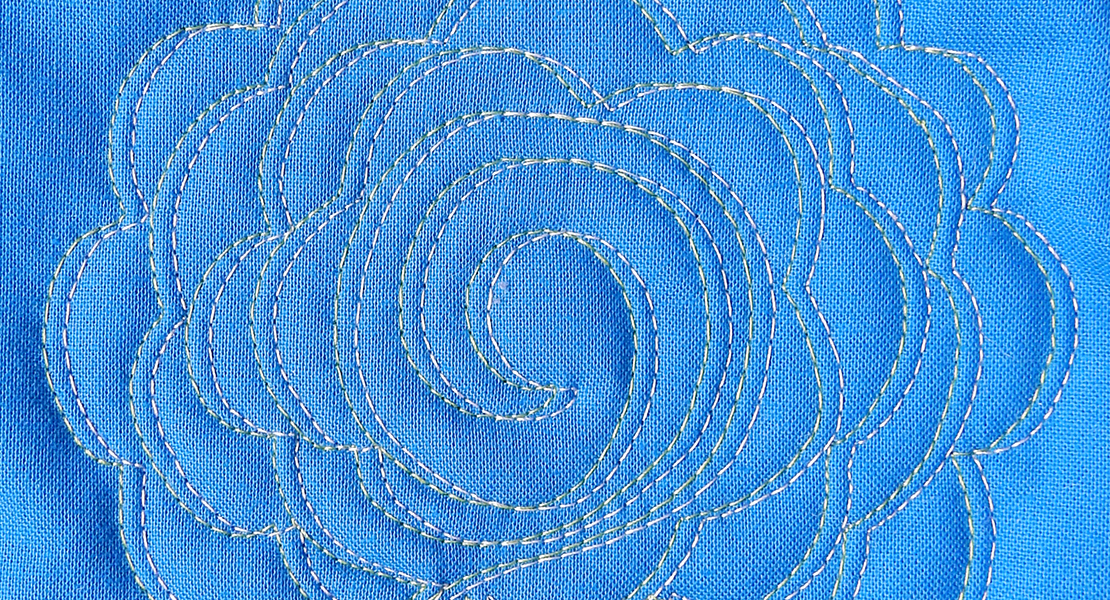
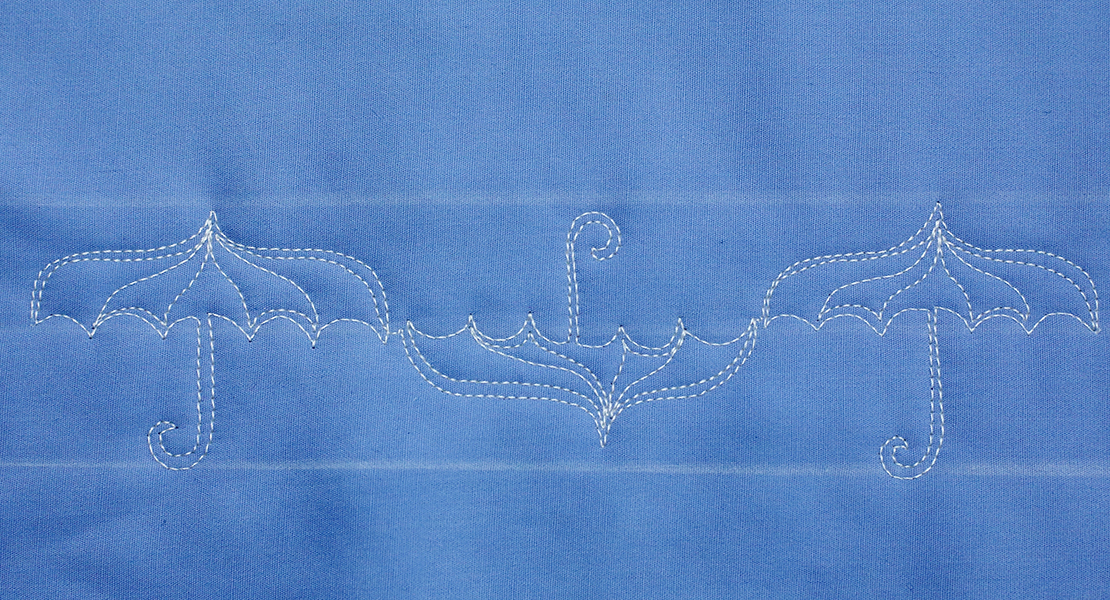
Large flowers:
Next up, the large flowers. This is a batik and there are many ways to quilt this. Anchor your first stitches, and cut the threads when they are out of the way.
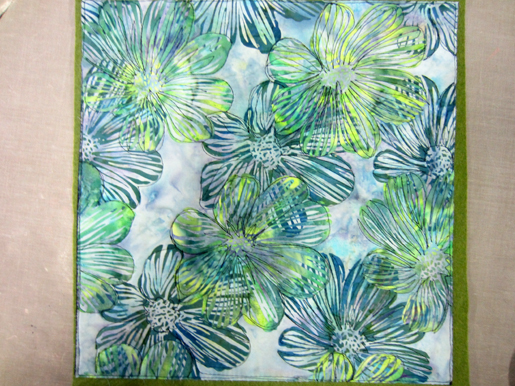
Outline the flowers with your needle as the first thing that you do, to get yourself familiar with the flow of flowers. Then as you go, you can get more detailed by bringing your needle up and back to create lines, and they don’t need to be straight. Make them wavy. See what you can do with the middle of the flowers. No need to stop and start. Just sew all around to get the look that you want. This is just practice, so be free with the needle.
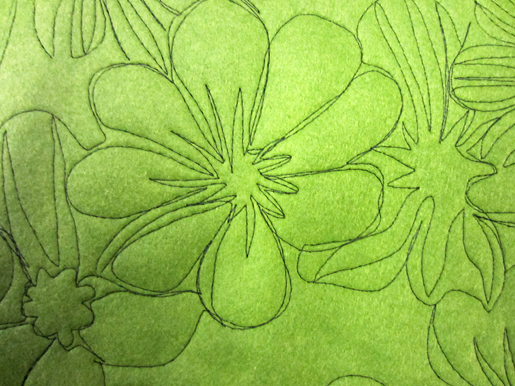
Flip your quilt sandwich to the back side to get a better look at your flowers.
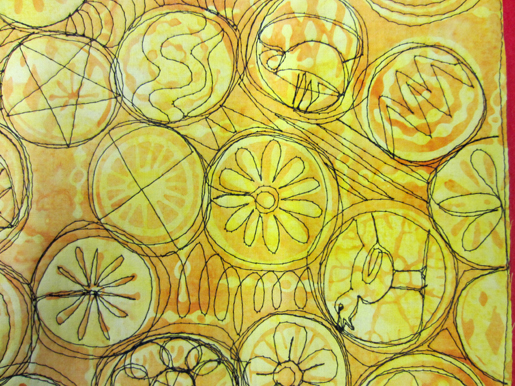
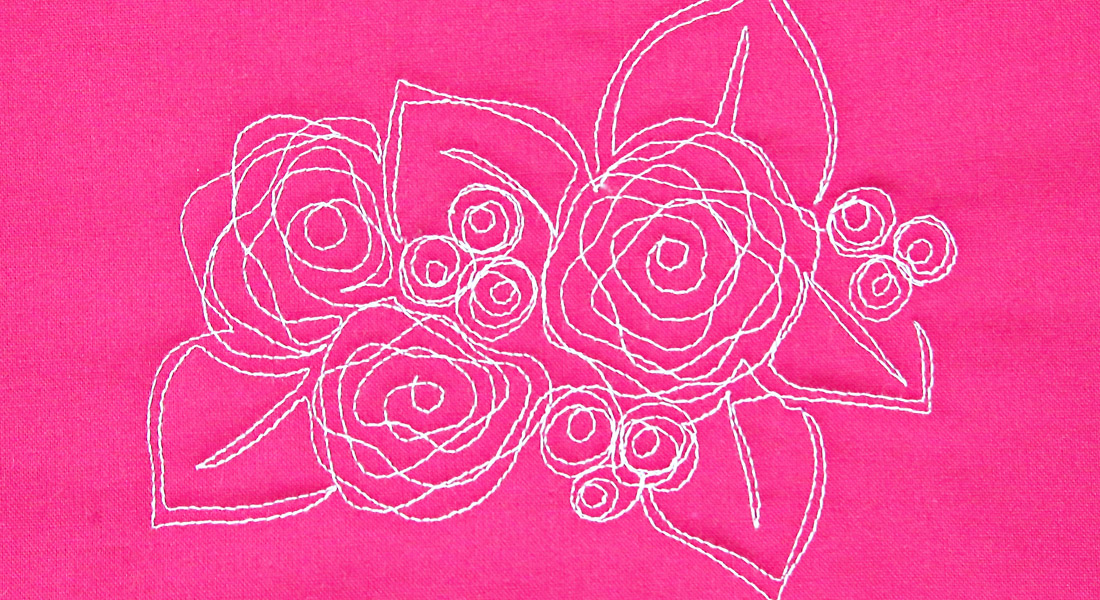
Circles:
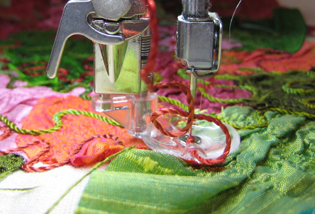
This is a tone-on-tone batik. I love free motion machine quilting circles. All kinds of sizes; far apart, linking, with motifs inside the circles, etc. They make great centers of flowers, a background on an abstract quilt or a fun design element in about anything that you create with fabric and thread.
Begin by anchoring your stitches. Okay, you get it. Begin sewing around the circles. Round and round. You can even use the design in the circles to quilt over, or you can create your own, as you go.
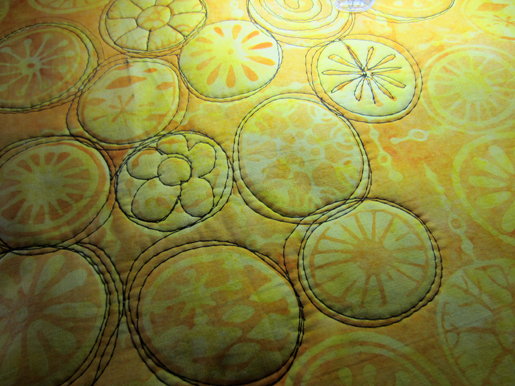
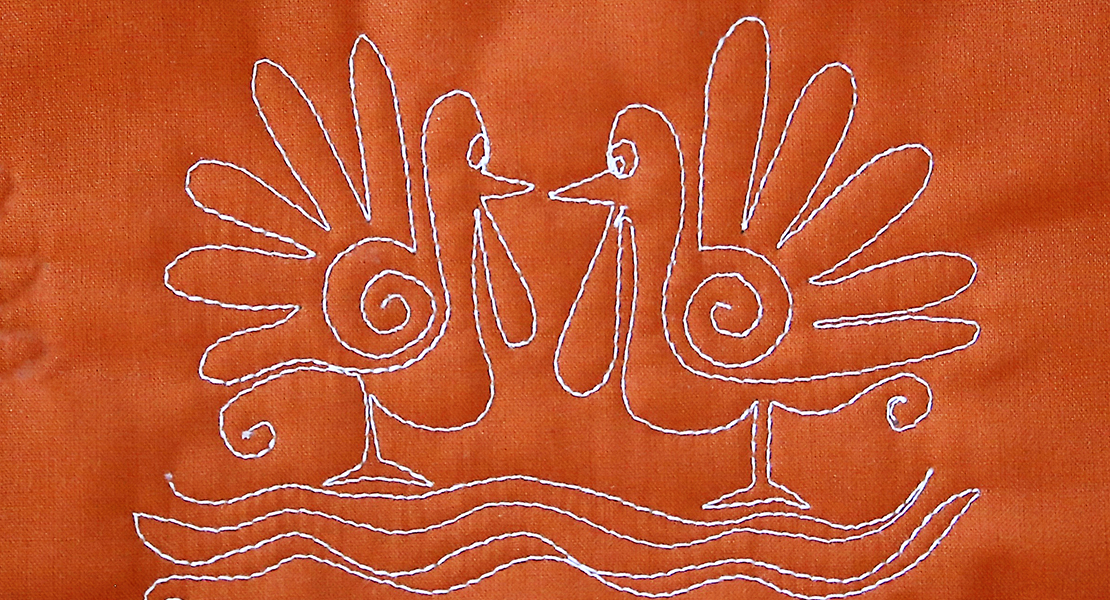
Remember it doesn’t have to be perfect. Let yourself go to the place where you are FREE to express yourself on the quilt. I admit, I went a little nuts on this one. I started with circles, then went to crossed lines, a spiral, a leaf, a house, a flower, then proceeded to do an eye, cup and saucer, a bird, and letters. It was just fun! I hope it will be for you too!
Stripe:
You know the drill to start. Oh! But where do you start when you have nothing on the fabric?
Make a plan. You have a blank canvas. What do you see on that piece of fabric? Does the color speak to you? You have learned to go around large objects, to do flowers, and circles. What was the most fun to create?
Option 1 – start quilting anyway you want; Option 2 – use a Frixon erasable pen to draw your design (it goes away by ironing it); Option 3 – use some of the elements from what you learned on the blank canvas.
Start sewing. I am a pretty simple FMQ’r. I like organic flowing images in my work. Vines, leaves, flowers, swirls, and circles. Add more design to fill up the space with your imagination.
The four pieces all sewn up! You did it. Congratulations!
Every time I start a new project, I feel that I am practicing my free motion machine quilting. Just have fun with it. There are many great resources on the BERNINA WeAllSew blog for free-motion quilting, here are a few to check out:
Top 5 Tips for Successful Free-Motion Quilting
Learning Free-Motion Quilting with BERNINA
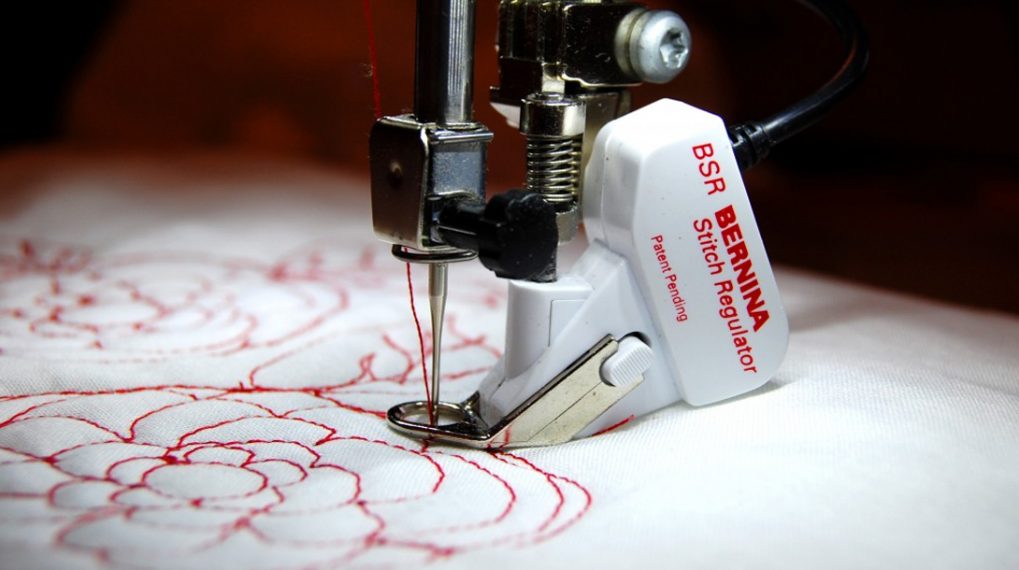
How to Free-Motion Quilt with the BERNINA Stitch Regulator
Free Motion Quilting Series: Four Designs to Take You Beyond the Basics!
Happy Quilting!


Thank you, thank you, thank you….. for reposting this article. I saw it ages ago and forgot where and then couldn’t find it. Now I can try to do this properly. Going to have fun today!