Free-Motion Quilting Bunny Tutorial
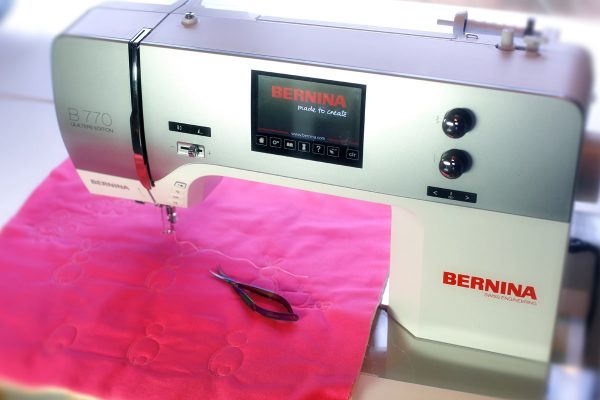
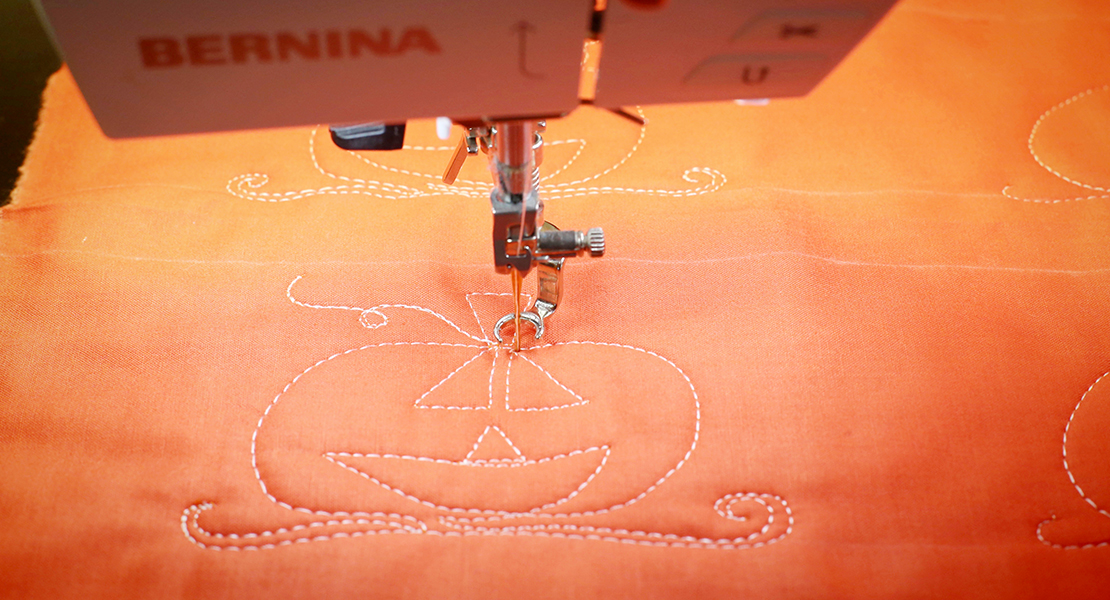
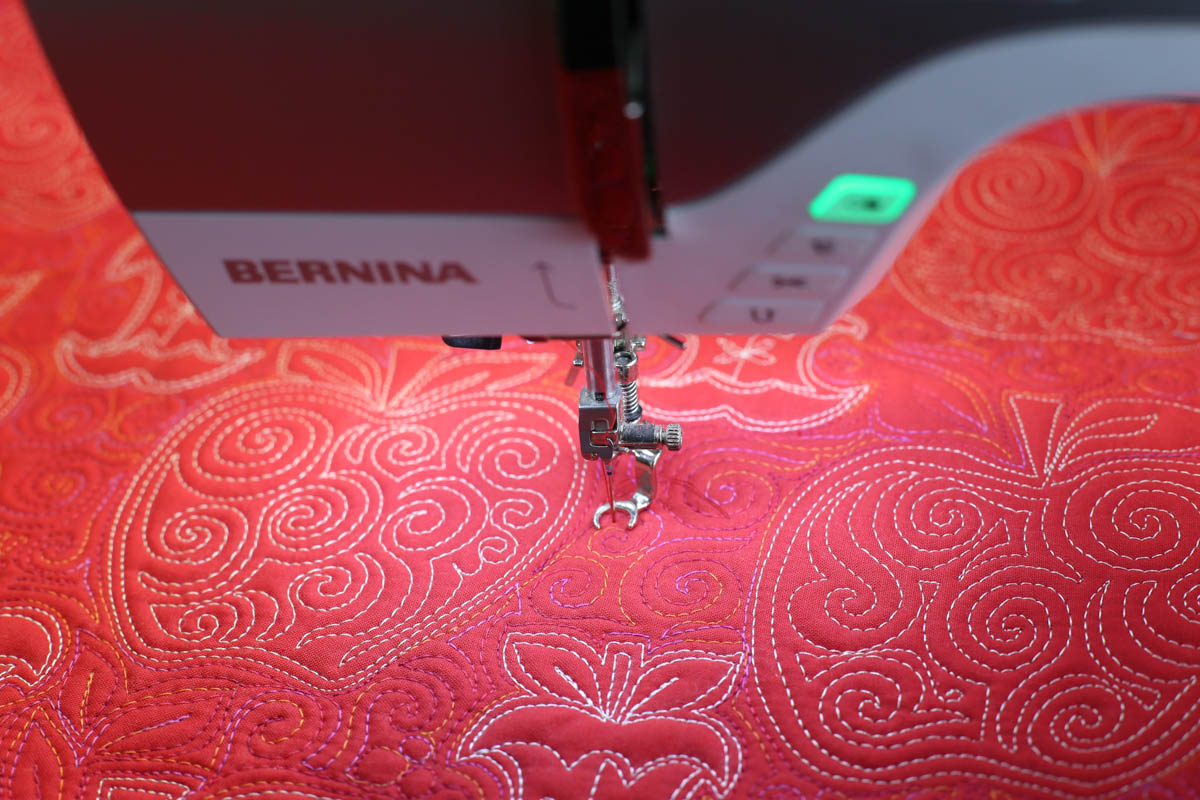
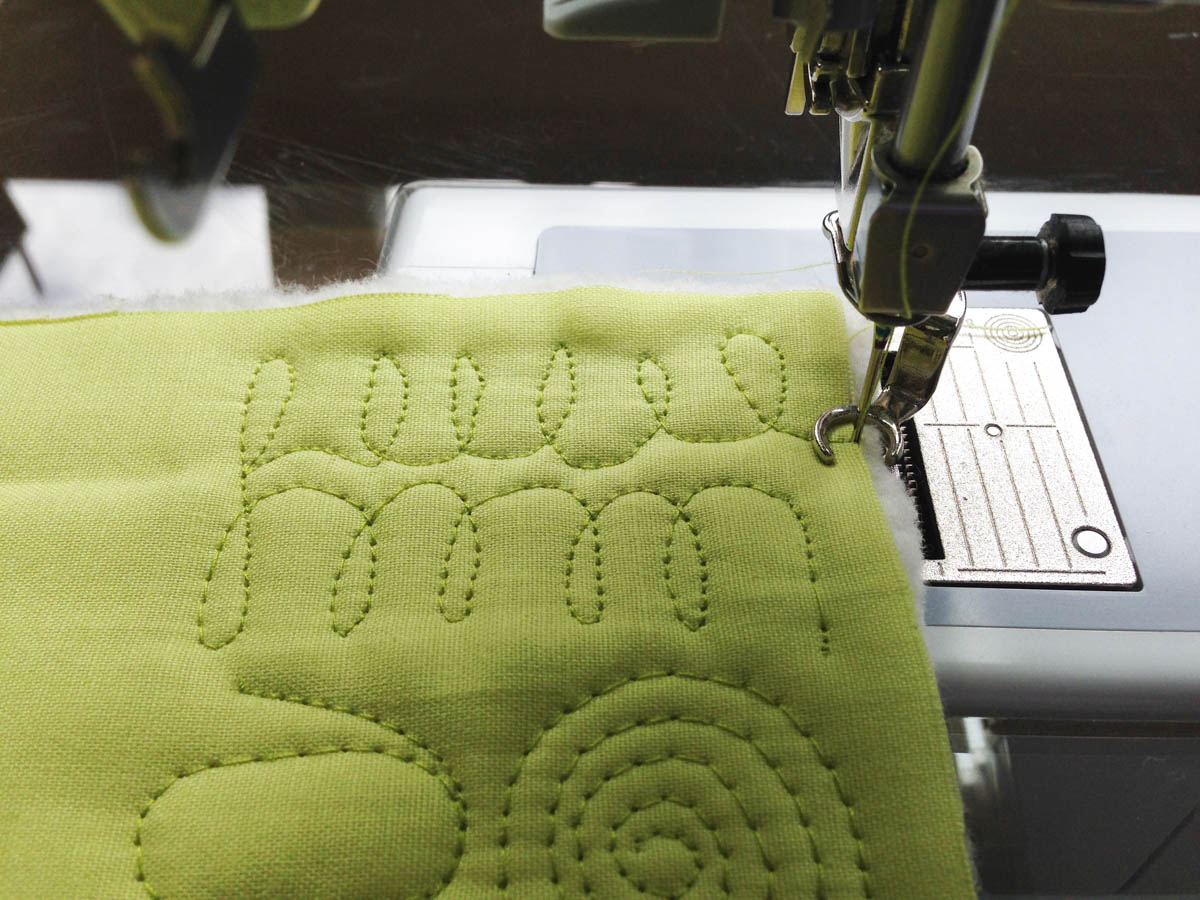
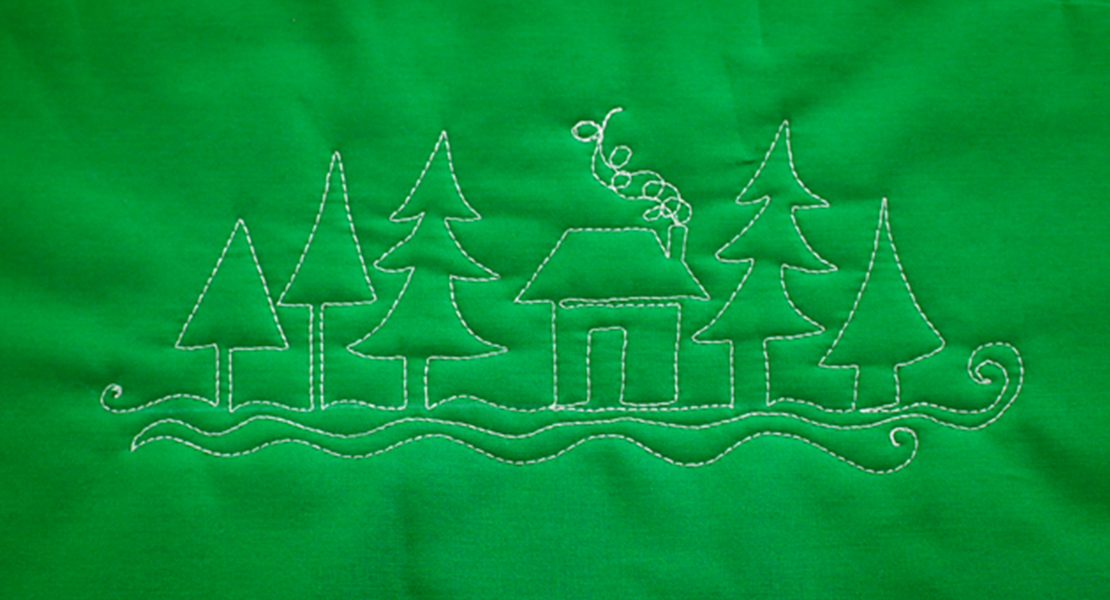
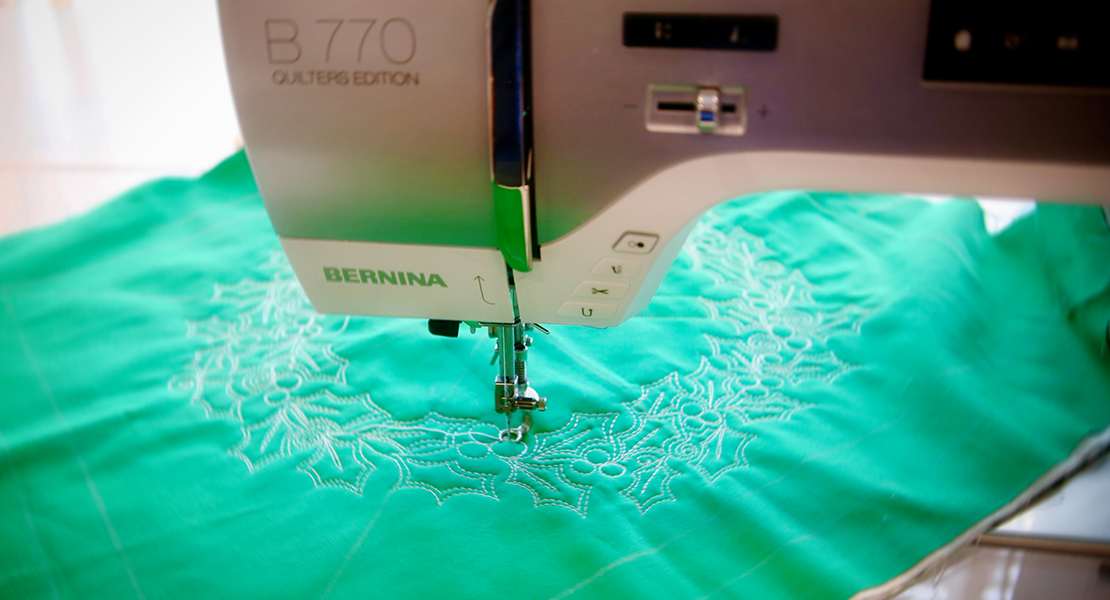
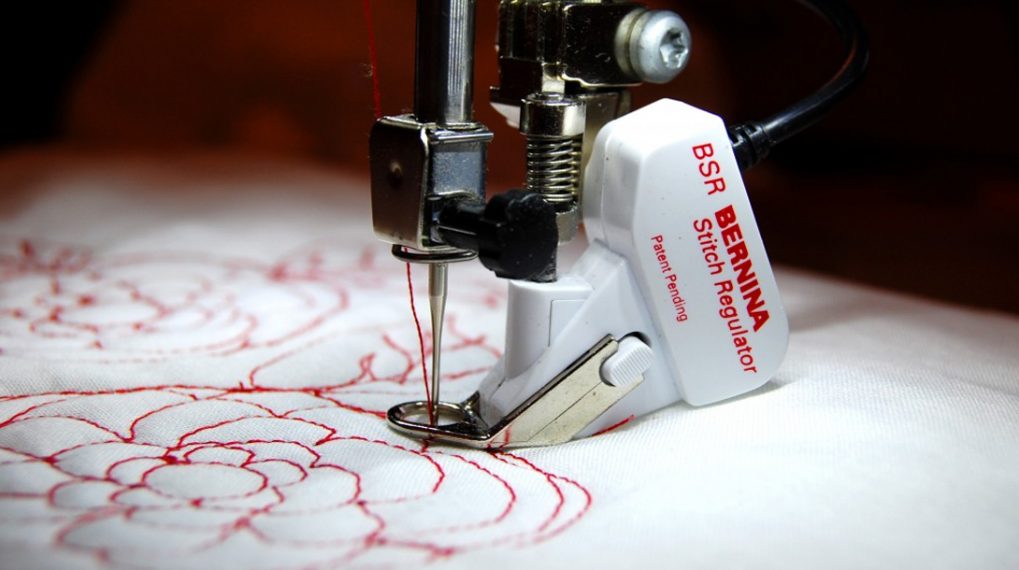
Whether you are stitching on a longarm machine like the fabulous BERNINA Q20 or Q24, or on a domestic machine like my BERNINA 770 QE (with its gorgeous stitch formation), this step-by-step tutorial will have you ready for spring—“Quick like a bunny!”
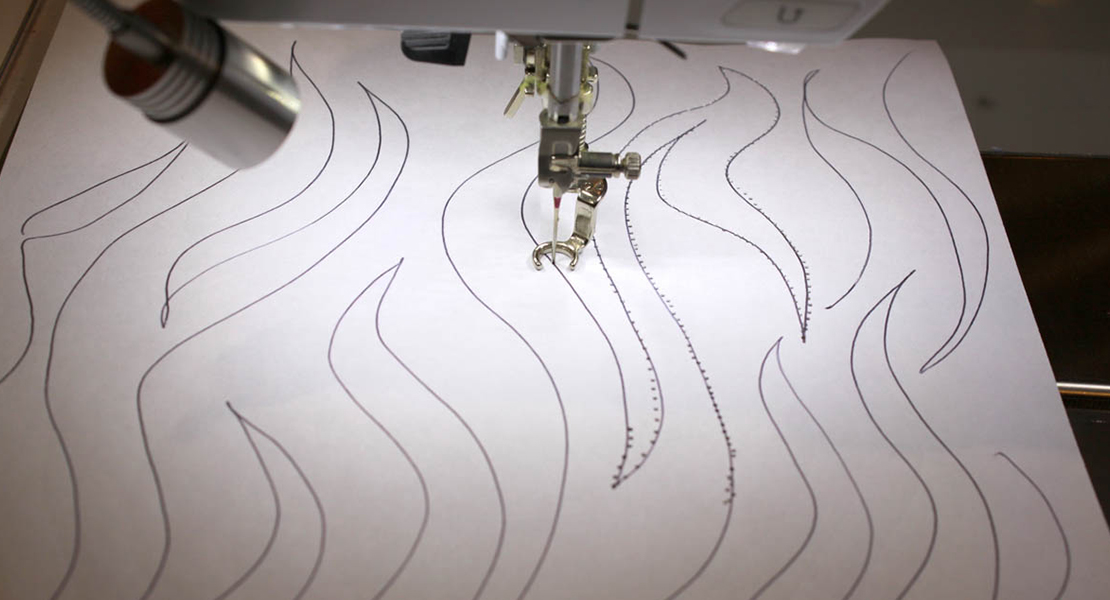
Start by doodling the motif several times until you can do so without looking at the tutorial. Then doodle the bunny for a few more minutes to develop muscle memory. Now you are ready to stitch the bunny with smooth stitching lines for an adorable border on any quilt, table runner or tea towel.
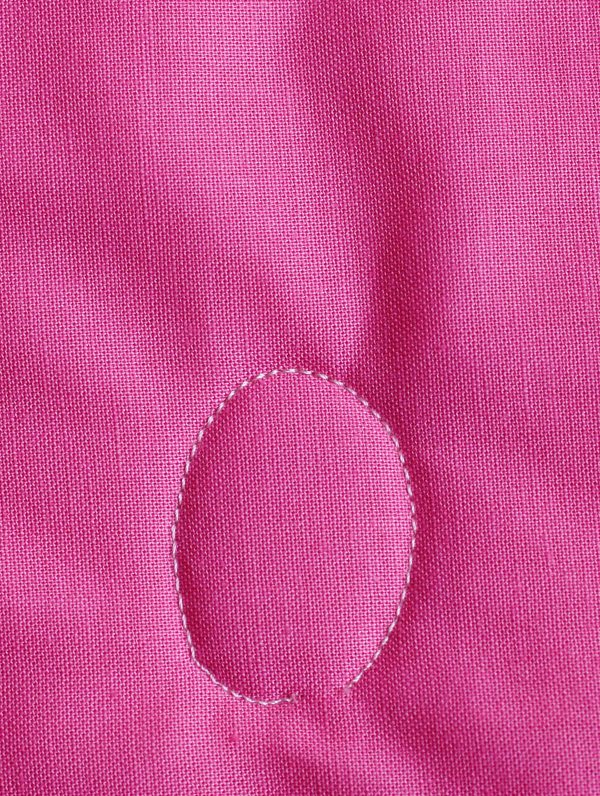
Begin by stitching an oval, leaving a small gap at the bottom
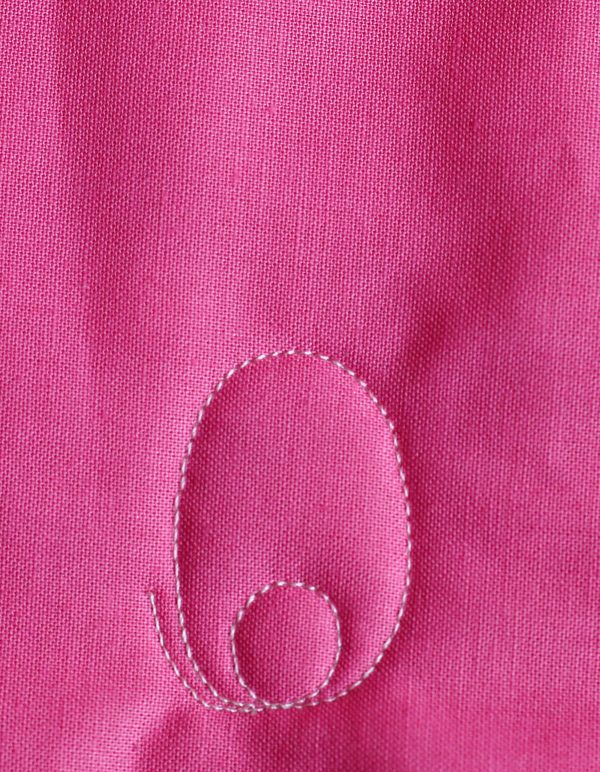
Stitch a small circle to create the bunny’s tail inside of the oval.
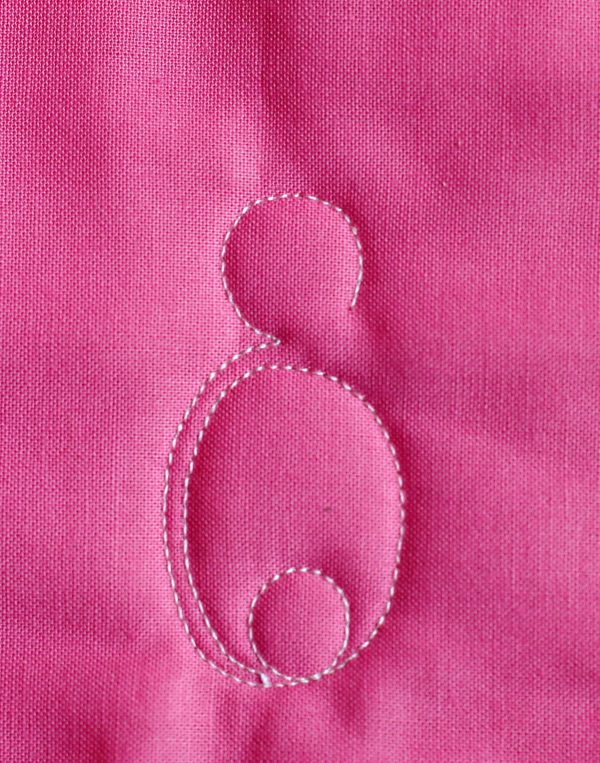
Echo stitch the left side of the oval, stopping on the top of the oval. Stitching clockwise, add a small round circle.
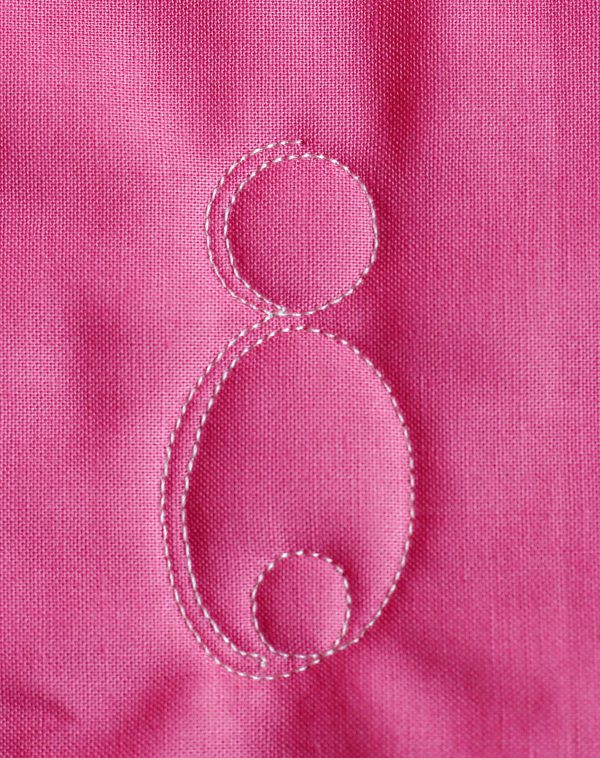
Echo stitch the left side of the small circle, stopping on the top.
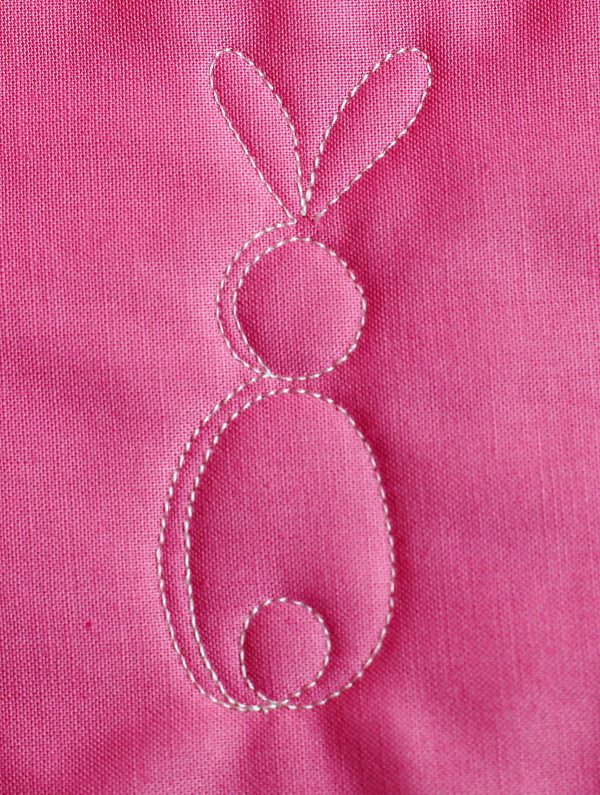
Add two small loops for the Bunny’s ears.
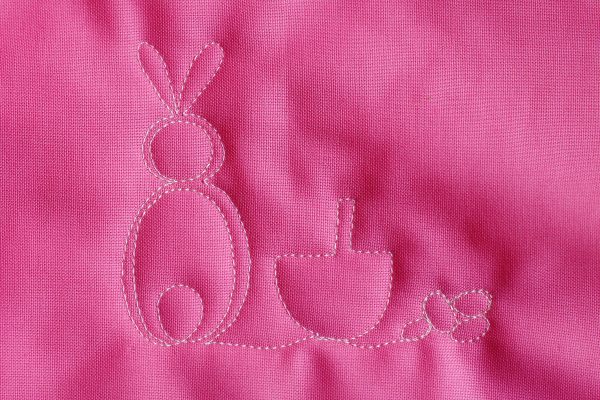
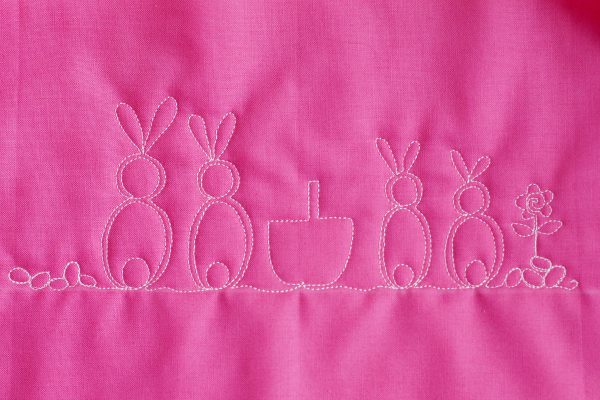
To complete the bunny, echo stitch the circle and the oval and continue along the bottom line to create the next bunny or add other elements like a simple basket and eggs or a row of your favorite spring flowers!
QUICK FMQ TIP
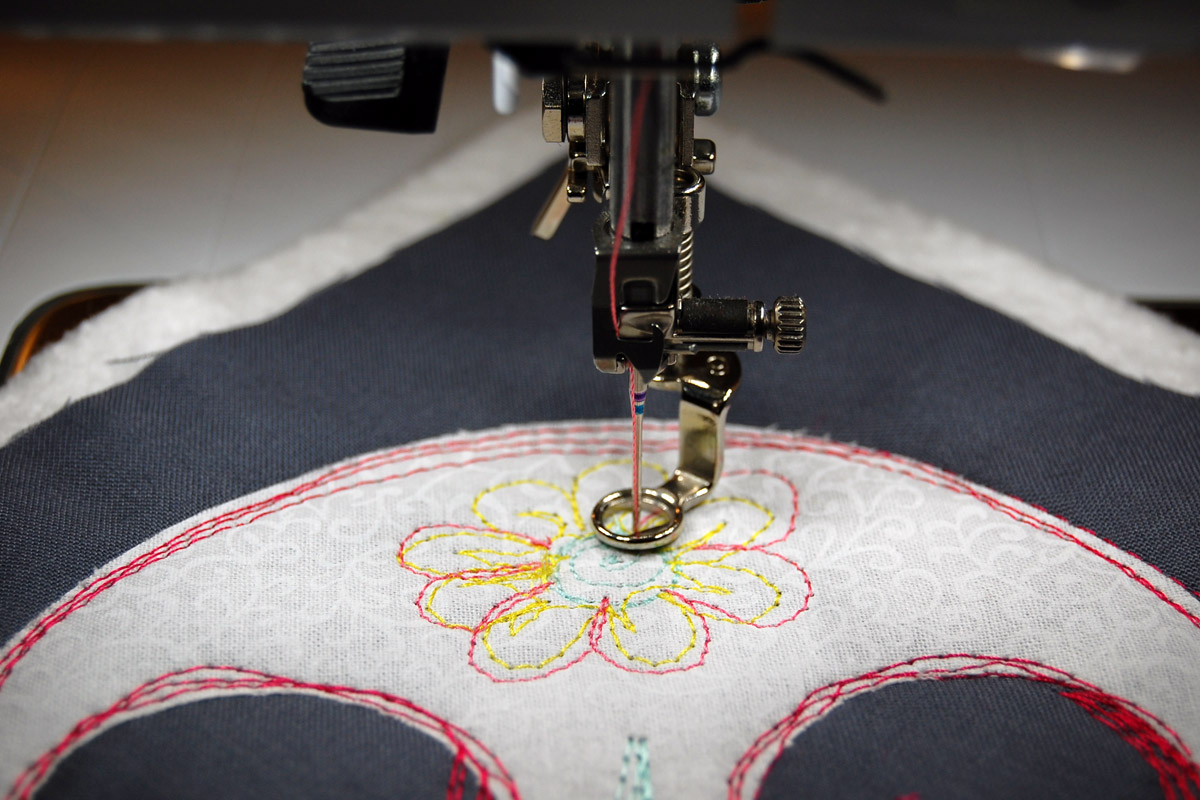
Whenever you are machine quilting, regardless of thread choice, you will probably need to adjust your tension to create the best looking stitch. Always adjust the top tension first, and only adjust the bobbin tension if you cannot achieve a balanced stitch with top tension adjustments alone.
For more step-by-step tutorials, be sure to join me at www.theinboxjaunt.com and check out my new book, Free Motion Machine Quilting 1-2-3 (Martingale, 2017).
Happy, Hoppy Stitching!
Lori
What you might also like
7 comments on “Free-Motion Quilting Bunny Tutorial”
-
-
really cute…I’m through with Easter projects for this year, but I’ll save.
-
Cute! I’ll try it now!
-
This is great! I am just trying to do some free motion quilting. So helpful
-
This is soooo adorable! I have a grandson who’ll be celebrating his furst Easter… still in the womb and expected June 21… My daughter would love this yo help her celebrate with my SIL. ❤️??
-
This is great for quilting on the cozy bowls. thank you for the great ideas
-
Very cute! Thanks for the exercises for practice!
Leave a Reply
You must be logged in to post a comment.


One word: ADORABLE!!
Thank you!