Girls’ Faux Leather Puppy Purse
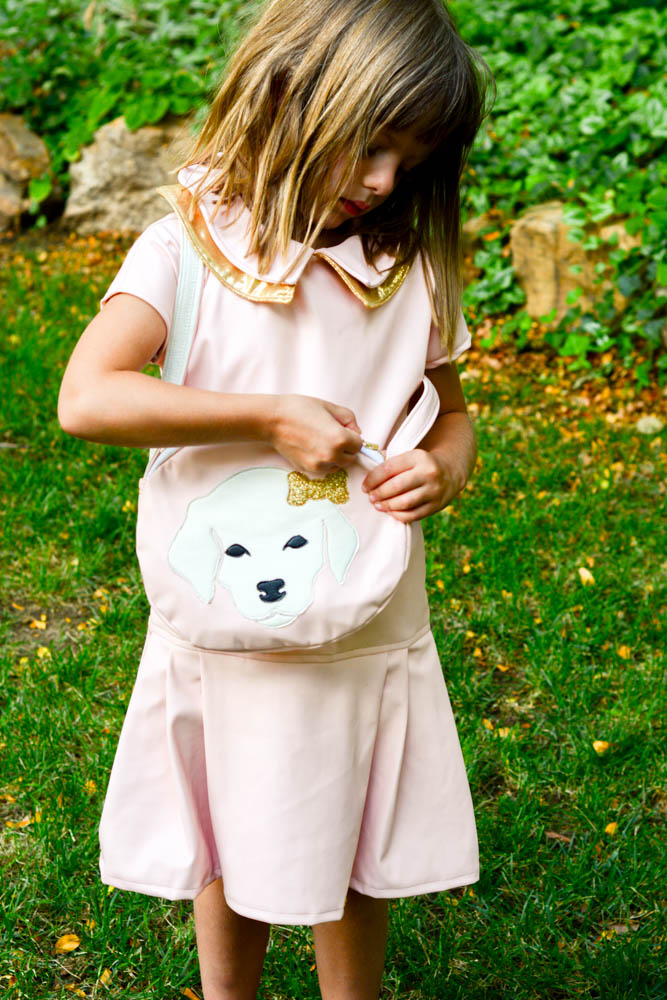
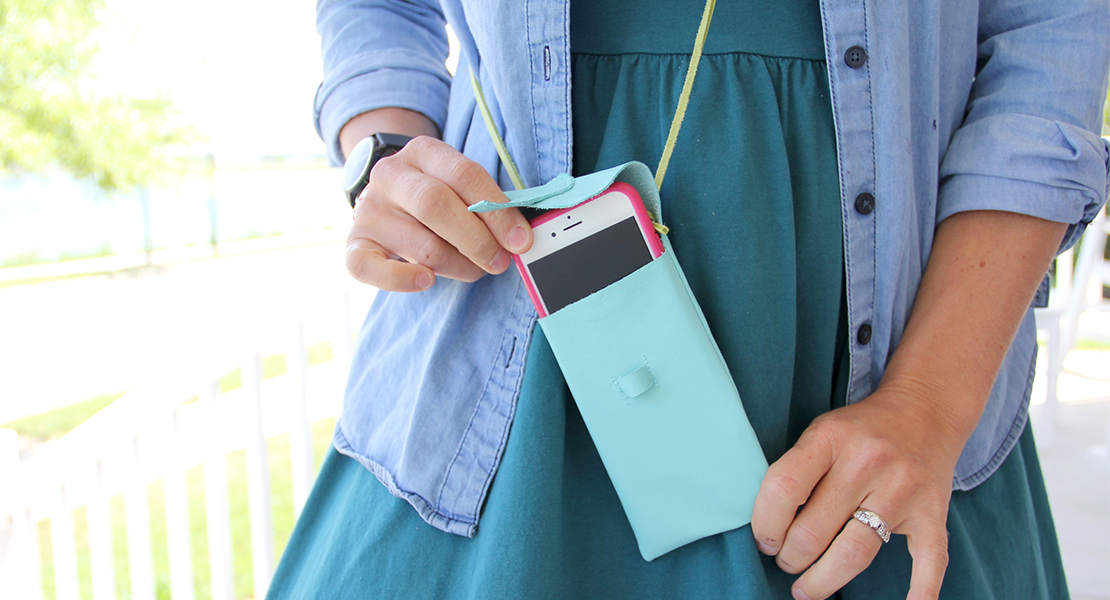
My daughter is a dog lover, just like her sisters. And for her birthday she asked for a puppy party, which I indulged because it sounded like a lot of fun. Especially in pink and gold. To go with her party dress I made her the perfect accessory: a puppy purse.
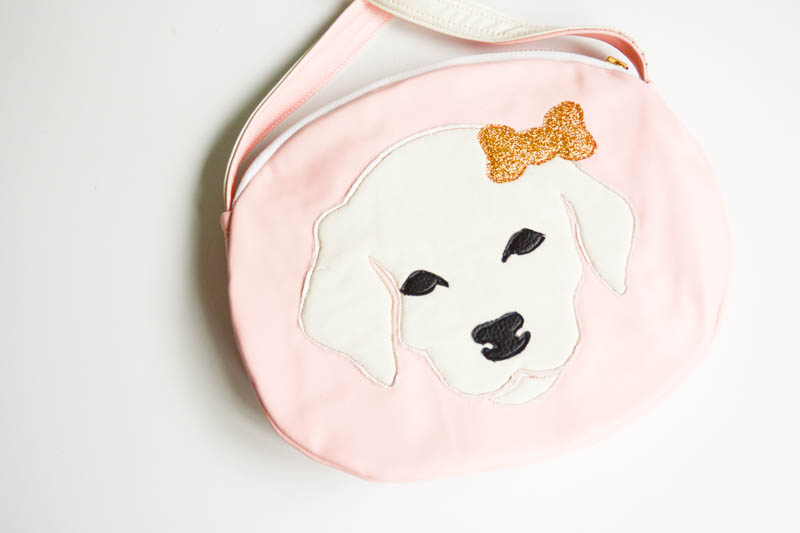
Sewing this little purse is easier than you’d think and the puppy face applique makes it hard to resist. I made it in vegan leather with some metallic fabric for the bow. If you are looking for a gift for a little girl this purse would make a sweet surprise.
Materials for sewing the Faux Leather Puppy Purse
- Puppy Purse Pattern
- 1/2 yard pink faux leather
- Optional: 1/2 yard of stiff interfacing if you’d like the bag to be more structured (I didn’t use interfacing for mine)
- Scraps of white and black pleather for dog applique and strap
- Scrap of metallic gold fabric for bow
- 12″ metal zipper
- BERNINA sewing machine
- BERNINA reverse pattern foot #1C
- BERNINA zipper foot #4D
Sewing the Puppy Purse
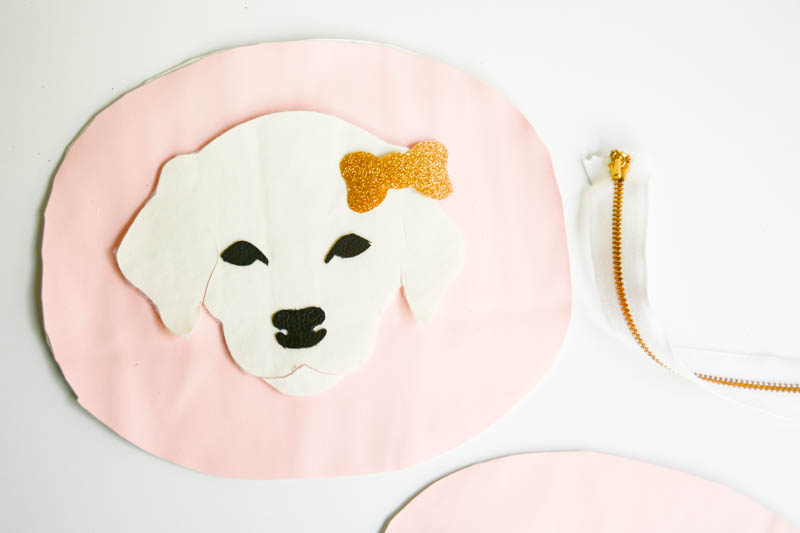
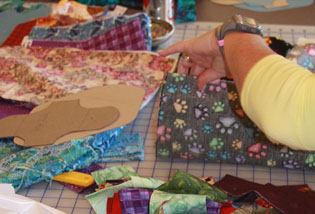
Step 1: Cut out your pattern pieces
- Cut two ovals in pink for the purse front and back
- If using interfacing, cut out two ovals of interfacing
- Cut one rectangle in pink 25 inches x 1 1/2 inches for the purse sides and bottom
- Cut out the puppy applique in white
- Cut out the puppy eyes and nose in black
- Cut out the bow in gold
- Cut two pieces of faux leather for the straps, each 2 inches x 36 inches (I cut one in pink and one in white)
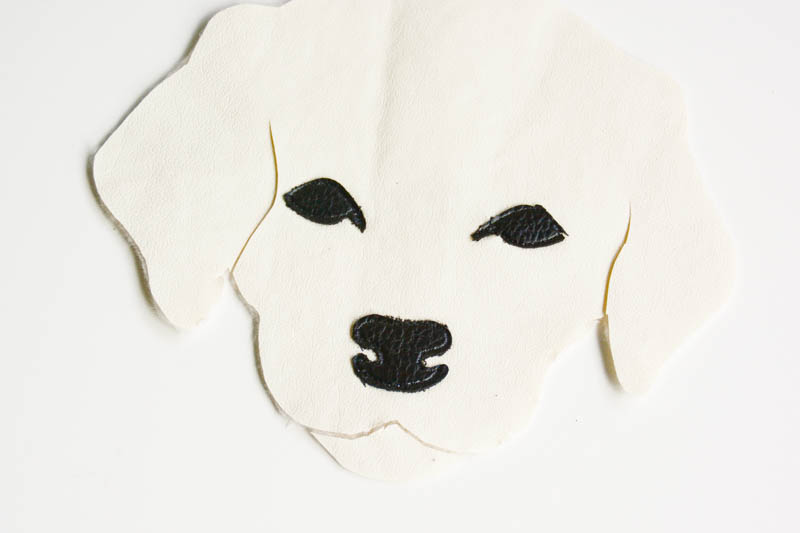
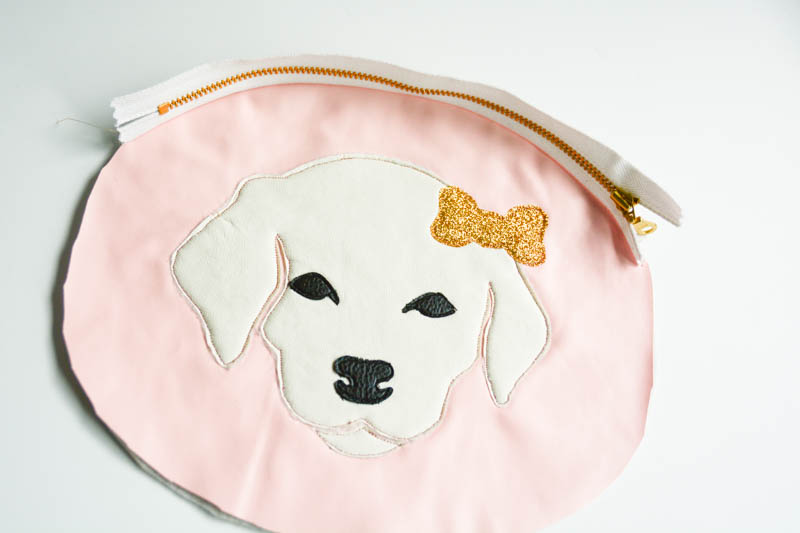
Step 2: Sew the eyes and nose onto the puppy face.
Follow the pattern for placement of these small pieces. If you’d like you can use spray fixative or another sewing glue to hold the little pieces in place for sewing. Using your BERNINA sewing machine, stitch very close to the edge of the applique shapes using a straight stitch.
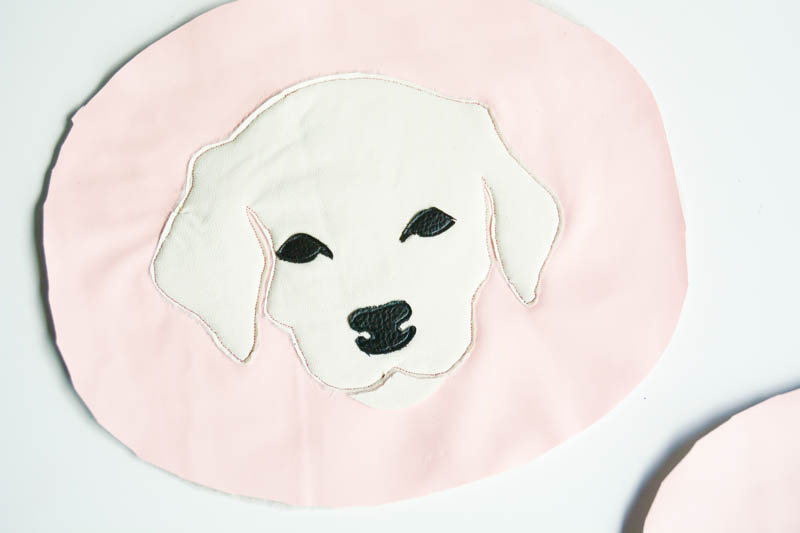
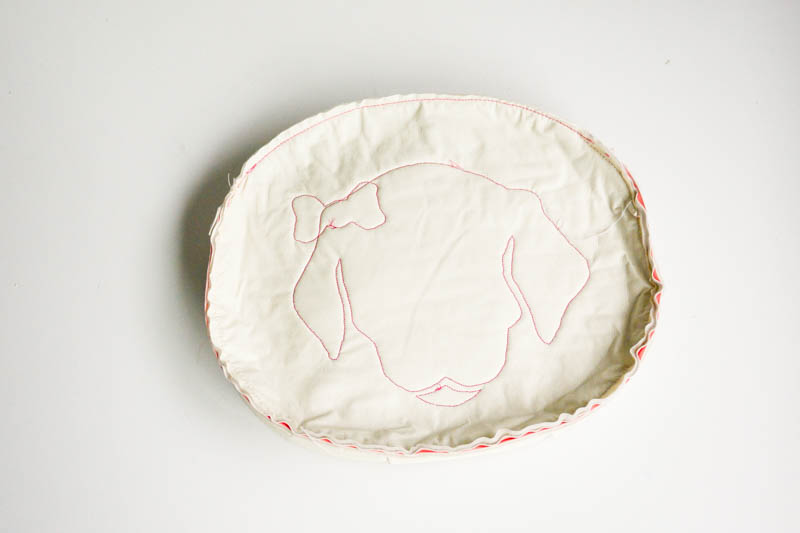
Step 3: Sew the puppy face onto the purse front.
If using interfacing, place the interfacing on the wrong side of the purse front and back pieces and treat as one piece of fabric. Use fusible interfacing, spray fixative or sewing glue to hold the puppy face in place in place for sewing. Stitch very close to the edge of the applique shapes using a straight stitch.
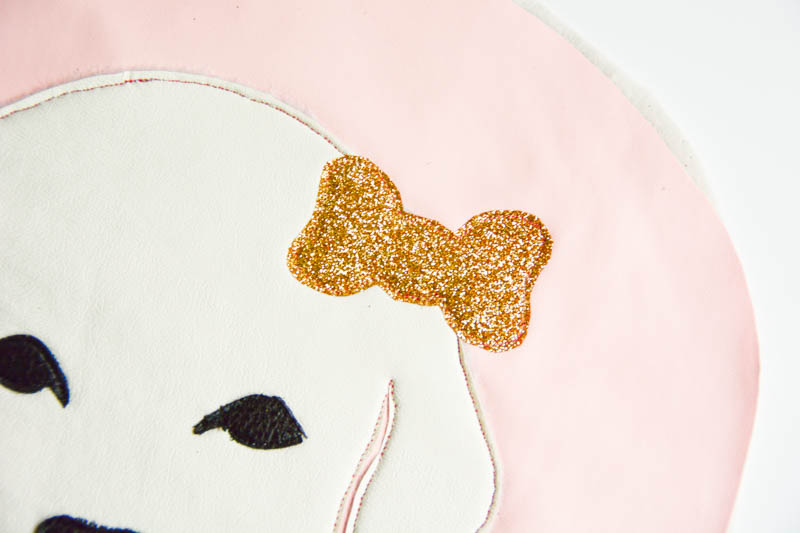
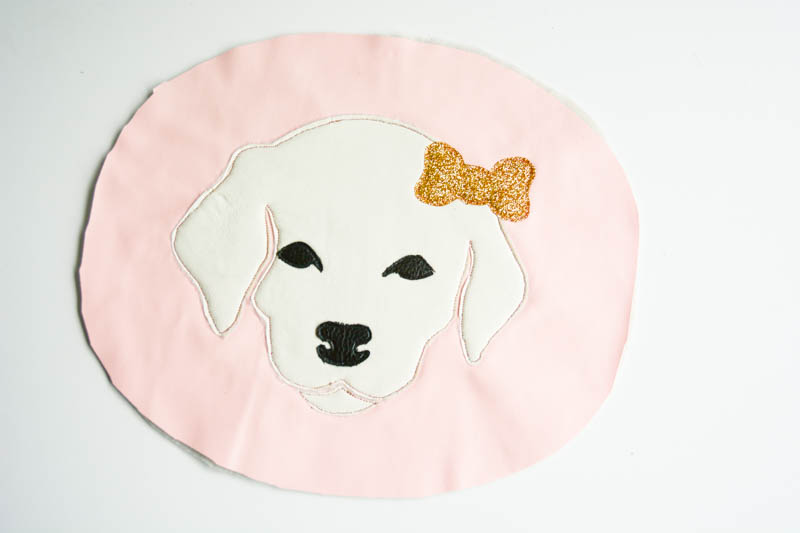
Step 4: Sew bow onto puppy face.
Use fusible interfacing, spray fixative or sewing glue to hold the bow in place in place for sewing. Stitch very close to the edge of the applique shapes using a straight stitch.
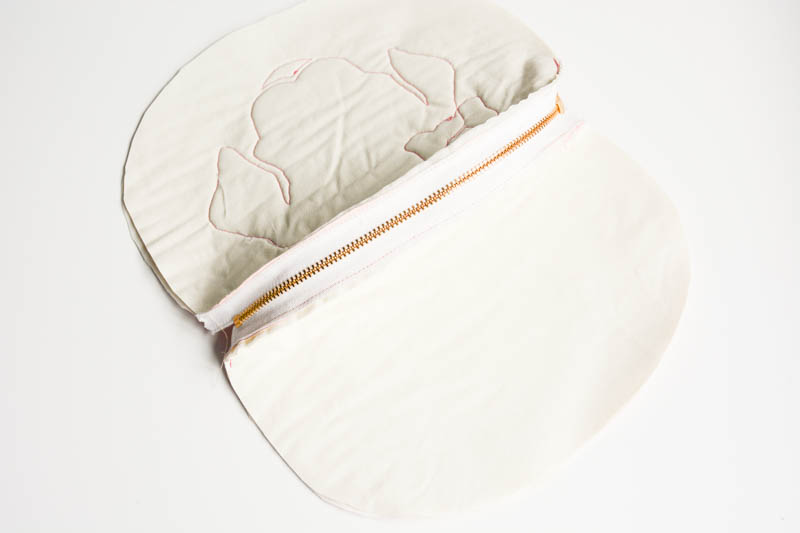
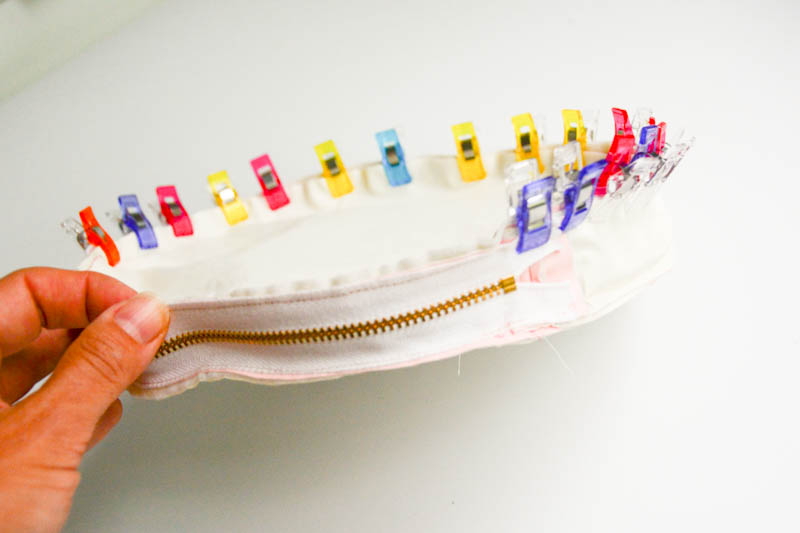
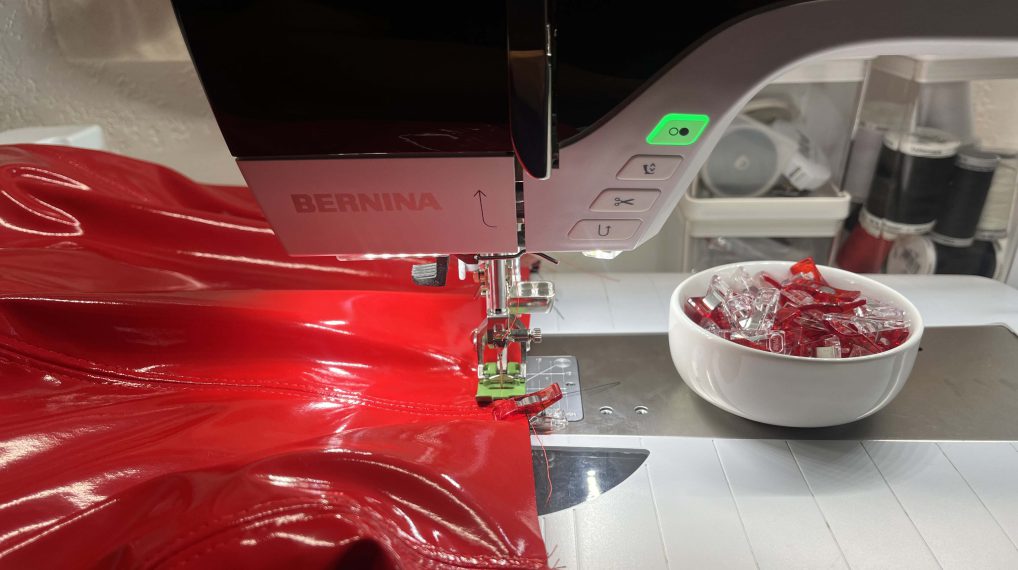
Step 5: Sew zipper to purse front and back.
Use clips to place zipper centered on the purse front. Using a BERNINA zipper foot #4D, sew zipper to front edge, right sides together, using a quarter inch seam allowance.

Using clips, attach back of purse to the other size of the zipper, right sides together.
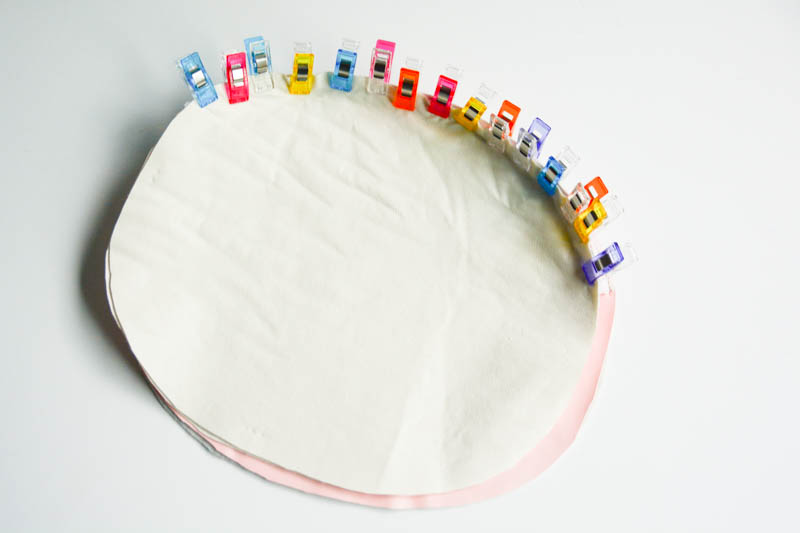

Stitch using a quarter inch seam allowance.
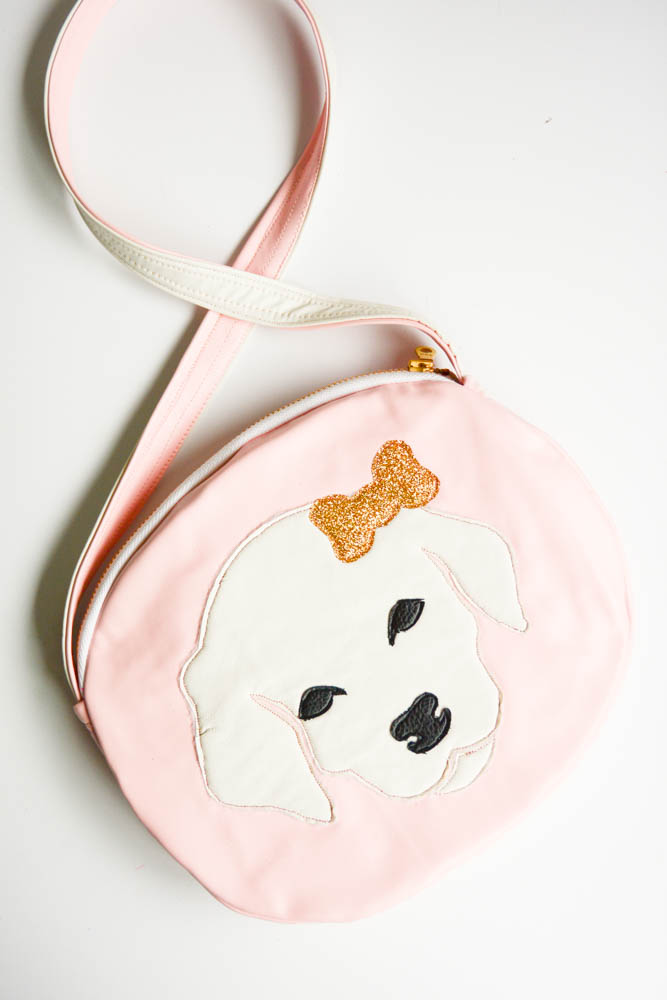
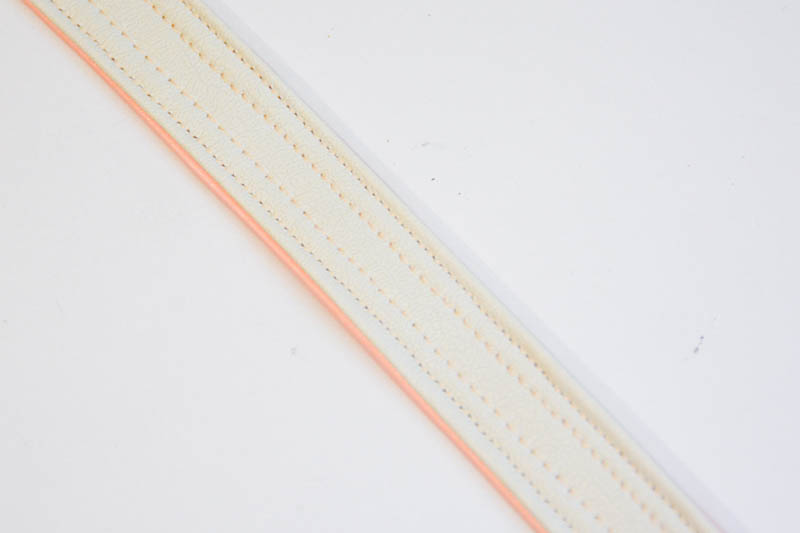
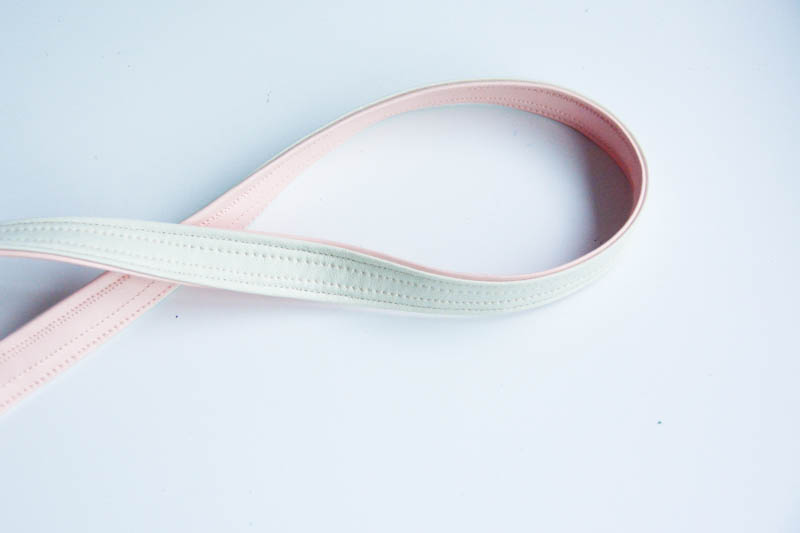
Step 6: Sew purse straps.
Switch back to your BERNINA reverse pattern foot #1C and fold under the long edges of the two strap pieces 1/2 inch, wrong sides together, and secure with clips. Stitch close to the raw edge of the folded edge to finish.

Sandwich the two strap pieces, wrong sides together, and stitch close to the folded edges along both long sides of the strap.
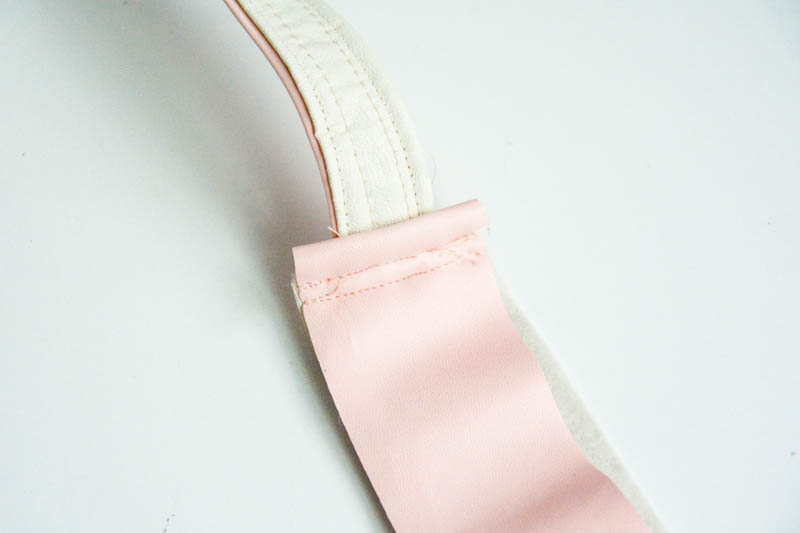
Step 7: Sew purse sides/bottom to purse.
Fold under one of the short edges of the sides/bottom rectangle piece 1/2 inch , wrong sides together, and stitch close to the raw edge to finish. Place one end of the strap against the finished edge of the sides/back piece with the the right side of the strap facing the wrong side of the sides/back piece. Stitch across the strap to secure.
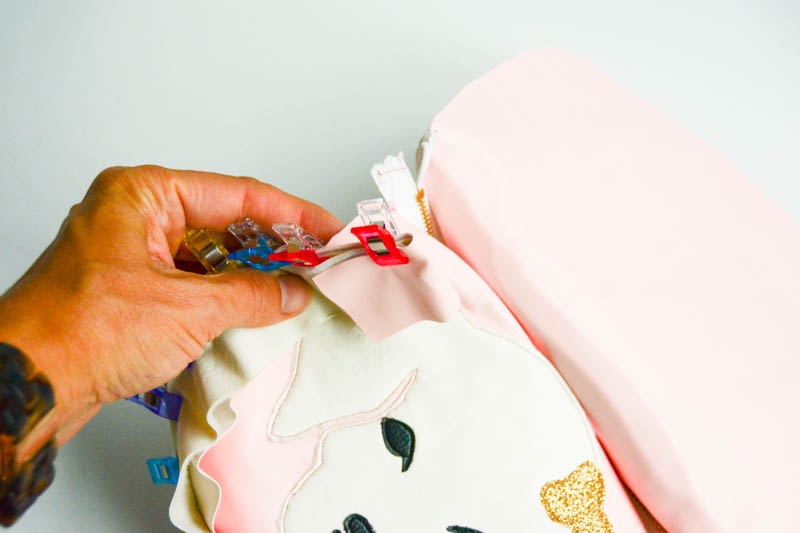
Clip the sides/bottom piece to the bag front right sides together,…
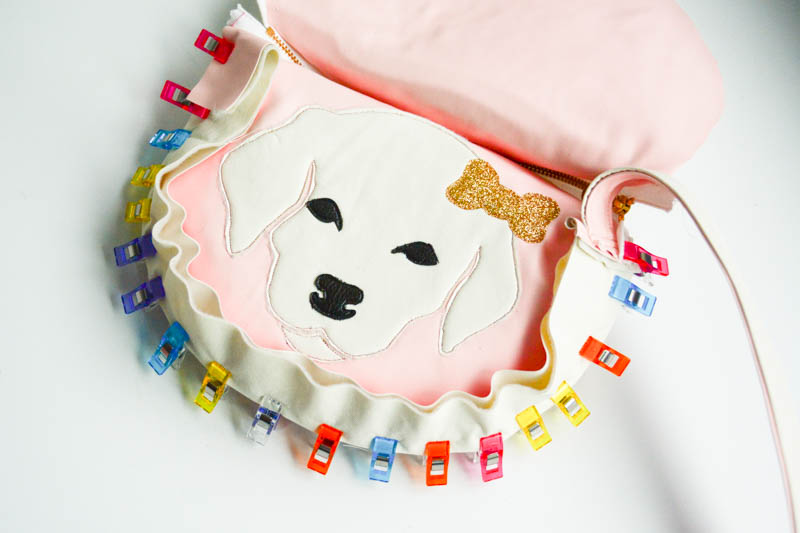
…overlapping the the excess zipper webbing so that the right side of the webbing is against the wrong side of the sides/bottom piece.
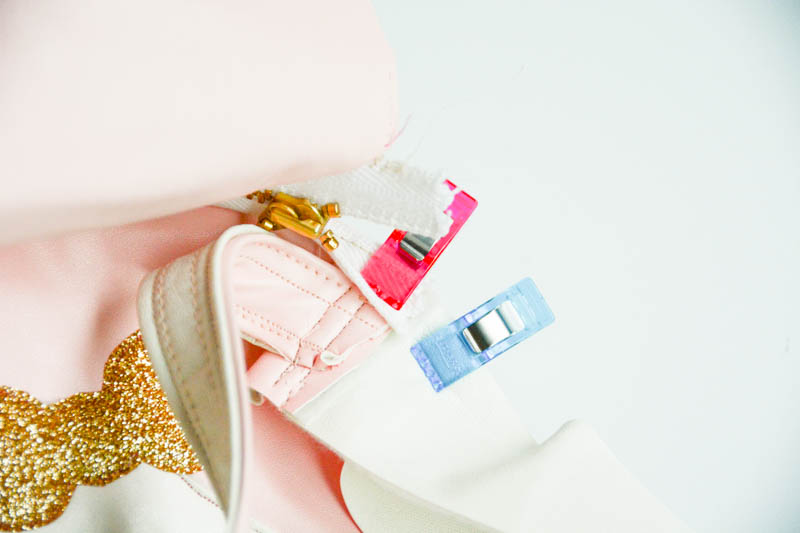
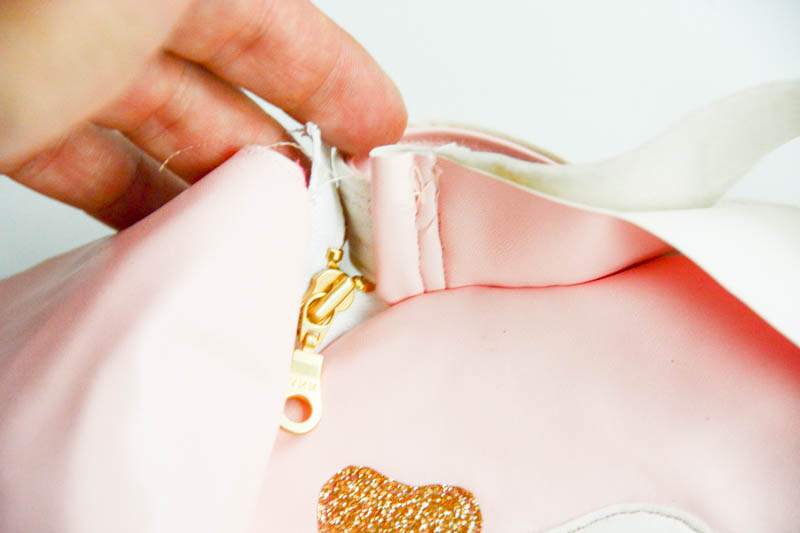
At the opposite end of the sides/bottom piece fold under the excess length so that the sides/bottom piece comes to the edge of the zipper stopper. Stitch with a 1/2 inch seam allowance and trim excess. Attach the other end of the strap, right side of strap to wrong/folded side of sides piece. Stitch across the strap to secure.
Clip this end of the sides piece to the purse front overlapping the excess webbing at the end of the zipper with the right side of the webbing against the wrong side of the sides piece.
Stitch all the way around the front with a 1/4 inch seam allowance.

Tuck the strap inside the purse to get it out of the way of the stitching.

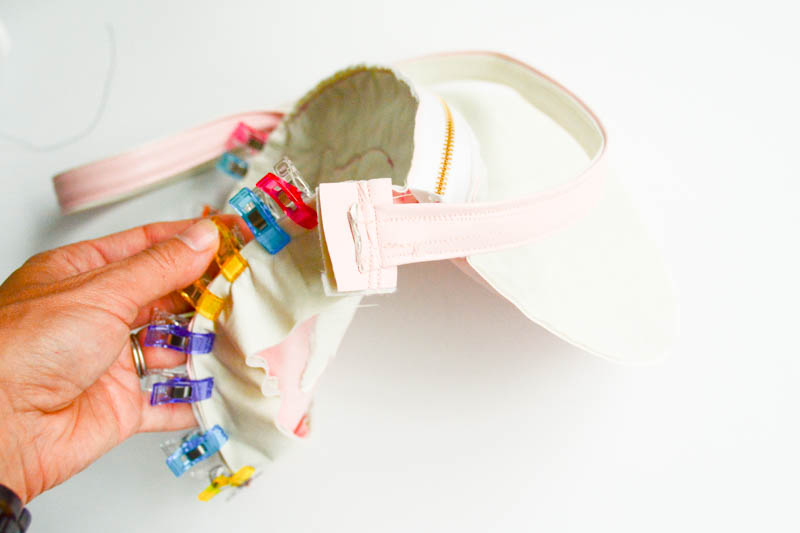
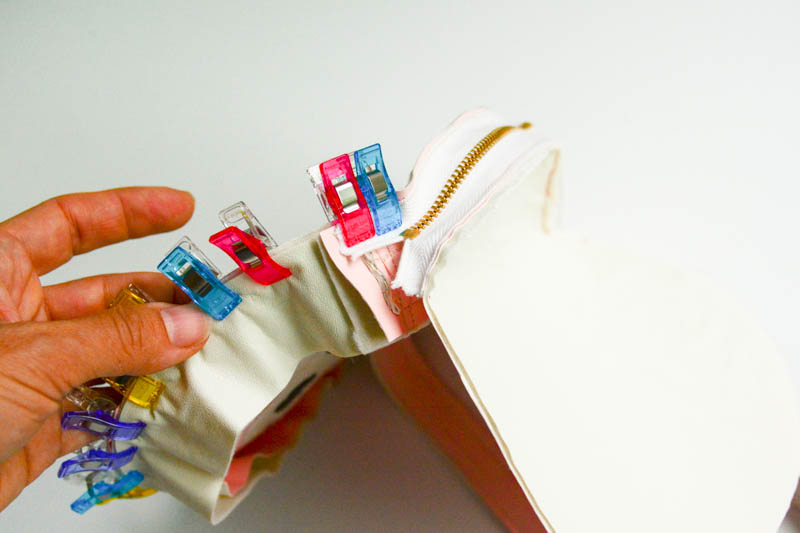
Clip the back of the purse to the purse sides/bottom piece being careful to overlap the zipper webbing with right side of webbing against the wrong side of the sides/bottom piece.

Stitch all the way around the sides/bottom piece using a 1/4 inch seam allowance.
Zig zag stitch the seam allowances to finish.
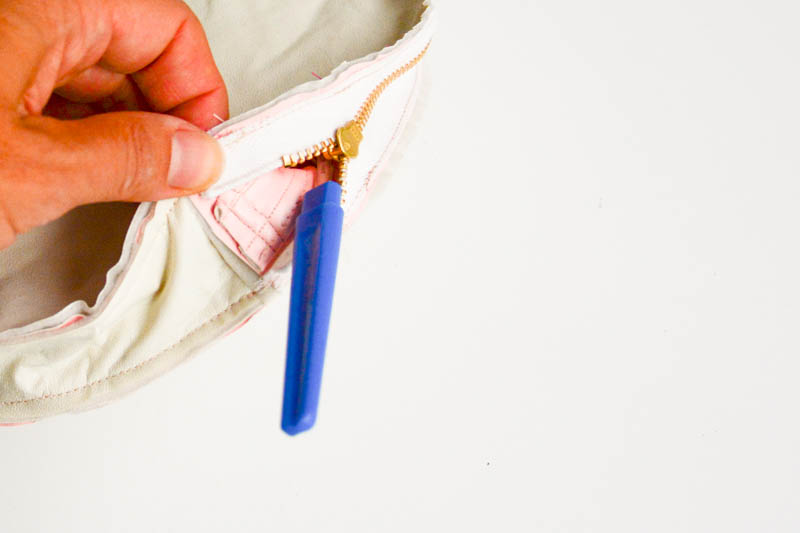
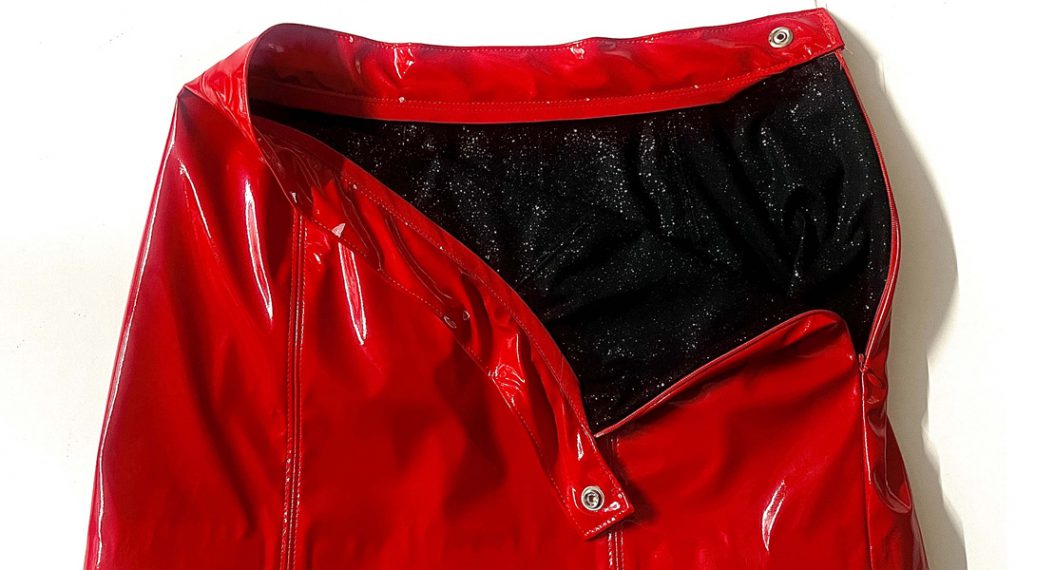
Step 8: Turn purse right side out.
Use a seam ripper to push the zipper open.
Turn the purse inside out.

Now enjoy seeing your little girl with her new puppy purse!


4 comments on “Girls’ Faux Leather Puppy Purse”
Do you have a template for the puppy face. When I click Free Pattern above I am directed to download a template, but nothing happens. Thanks. This is a charming pattern.
Hi. There is a link, “Puppy Purse Pattern” listed first under materials above. Clicking there will open a PDF file, which you can then print or save and then print. I hope that helps! Glad you like the project–it’s one of my favorites.