How to Insert a Centered Zipper
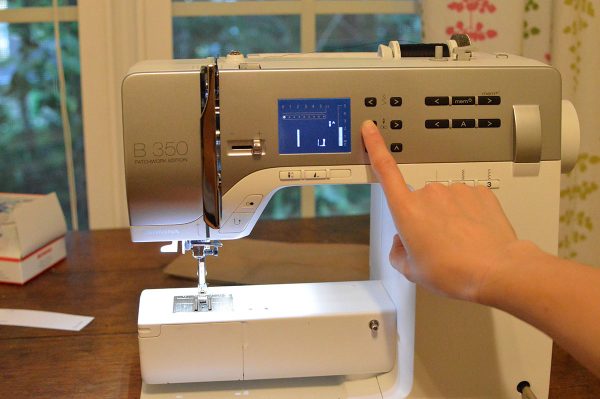
Hello! Today I’ll be showing you how to sew in a classic center zipper using your BERNINA sewing machine (I use a BERNINA 350 PE). This is a very common type of zipper application, often seen on the center back seam of fitted garments, like a pencil skirt or a sheath dress.
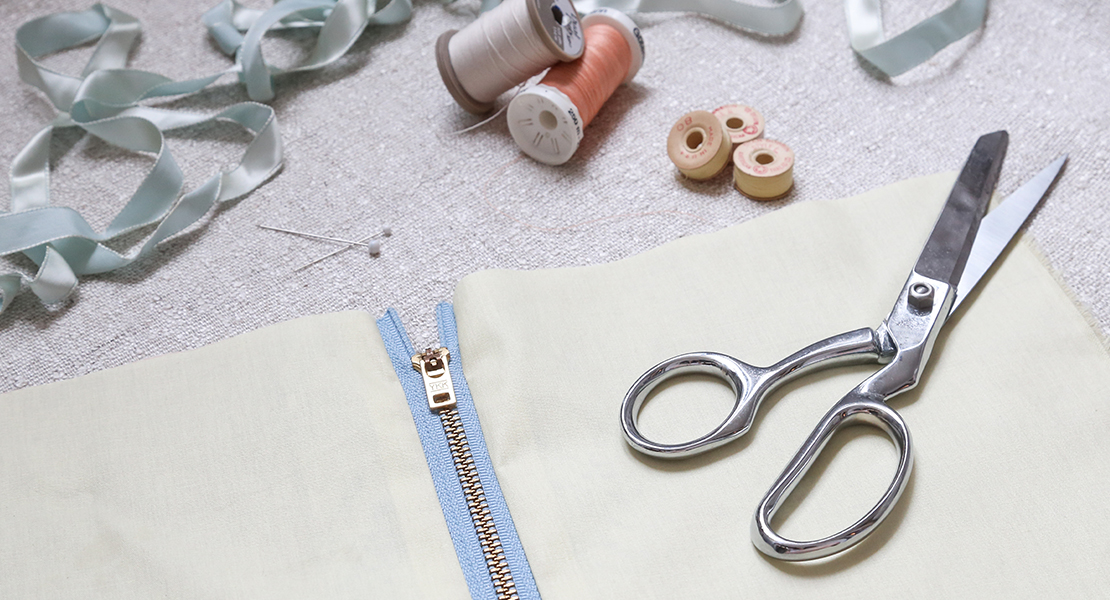
Before you begin, finish your seams so they don’t unravel during wear and wash. Using your pinking shears, slightly trim the seam allowance, preventing your fabric from unraveling. Here you can see that the center back seam of my garment, and also the facing, are finished with my pinking shears.
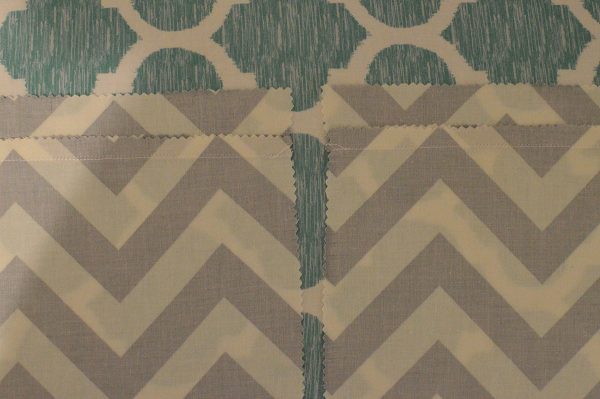
Once your garment is complete up to sewing in the zipper, with facings applied, the first step is to baste and sew the seam shut.
Typically, your pattern will have a mark showing where your basting stitches should end. I like to pin my seam closed, right sides together, and place two pins at that mark as a reminder to switch my stitch length!
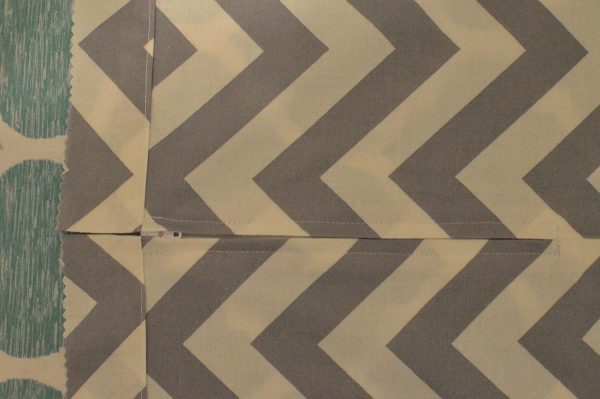
From the top of the garment down, baste the seam closed, using your Reverse pattern foot #1/#1C/#1D and a stitch length of 5 mm.
When you get to your dot and your double pins, shorten your stitch length to your regular sewing length, about 2.2 – 2.5 mm. Backstitch and sew the rest of the seam.
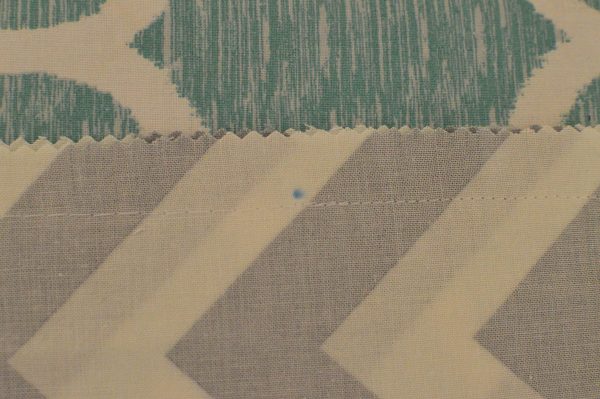
Here you can see the basting stitches above (left of) the dot, then backstitching and a regular stitch length below (right of) the dot.
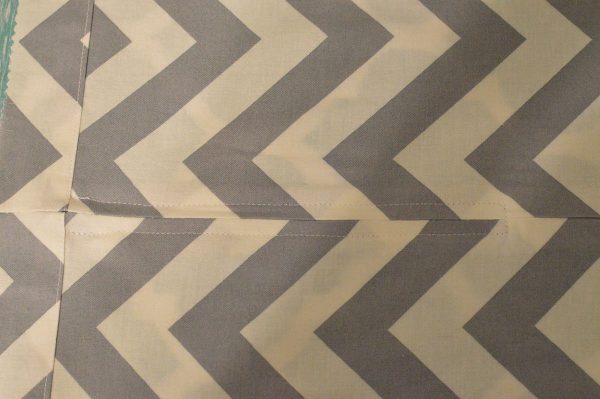
Press the seam open.
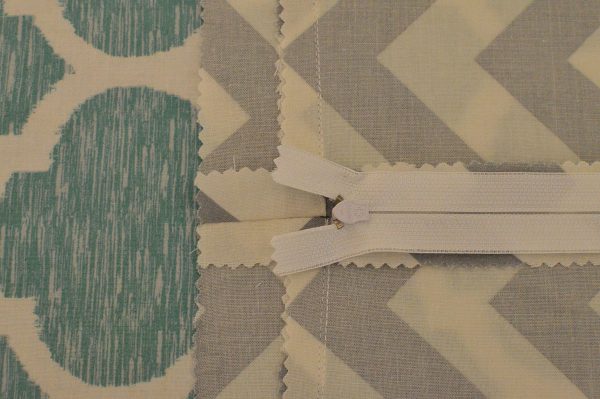
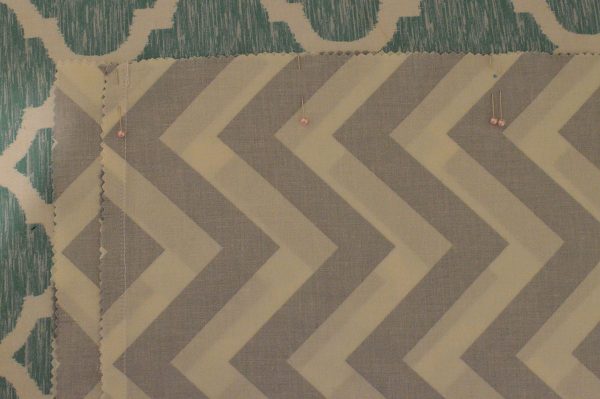
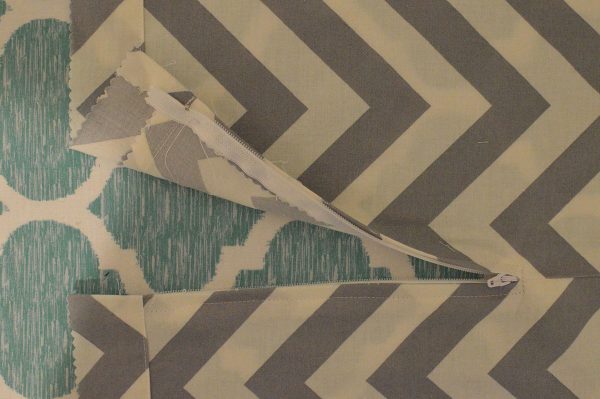
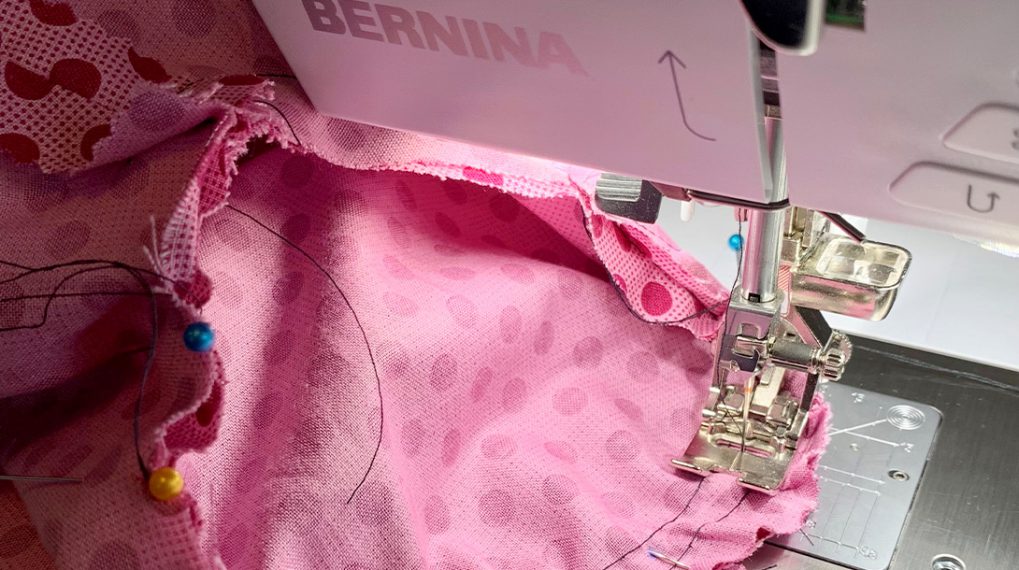
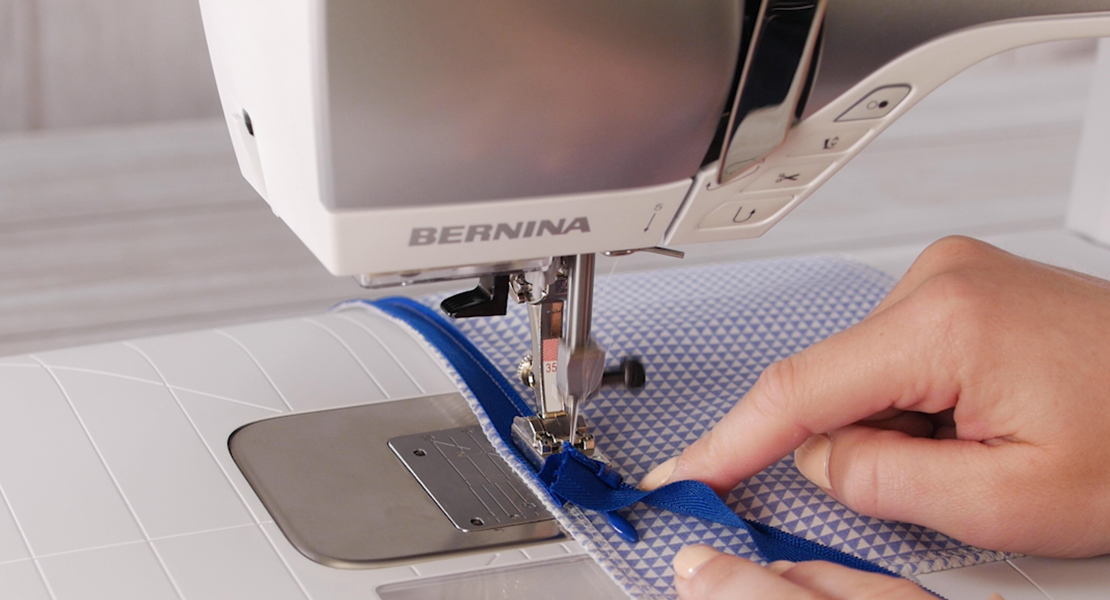
Align the top of the zipper with the top of your garment (not the facing) and feel with your fingers to ensure that the zipper teeth are centered under the basted seam.
From the front of your garment, pin your zipper to the seam allowances and fabric of your garment. Pin along both sides in the same direction. (I usually pin, but some people like to hand-baste in their zippers for a bit more control, and I’ve even heard of people using glue sticks to baste their zippers in!)
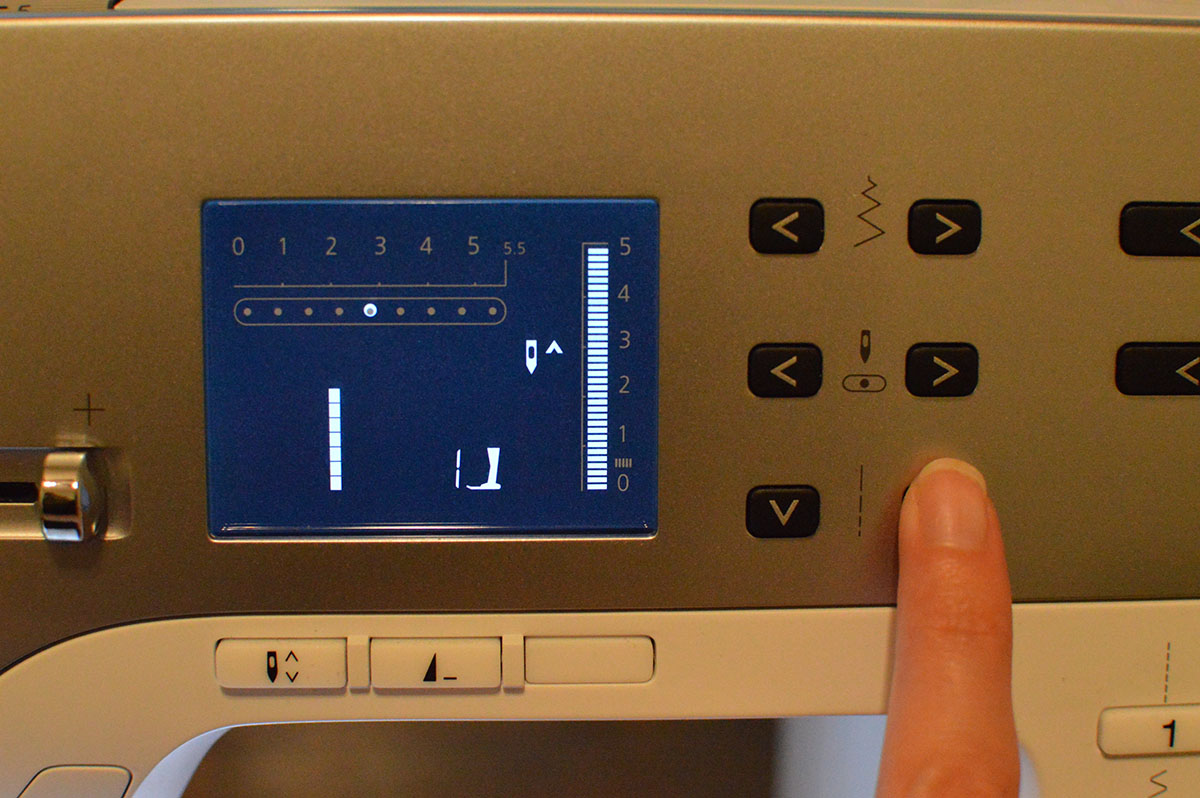
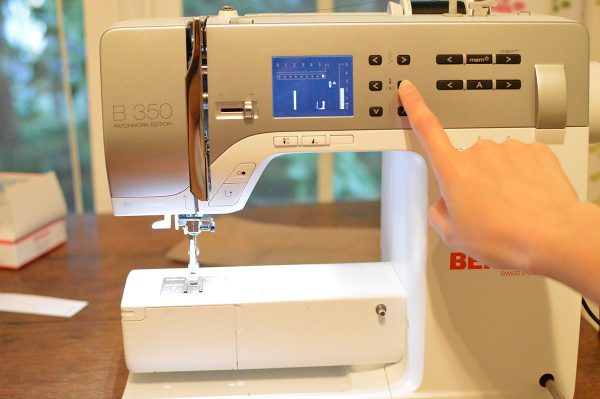
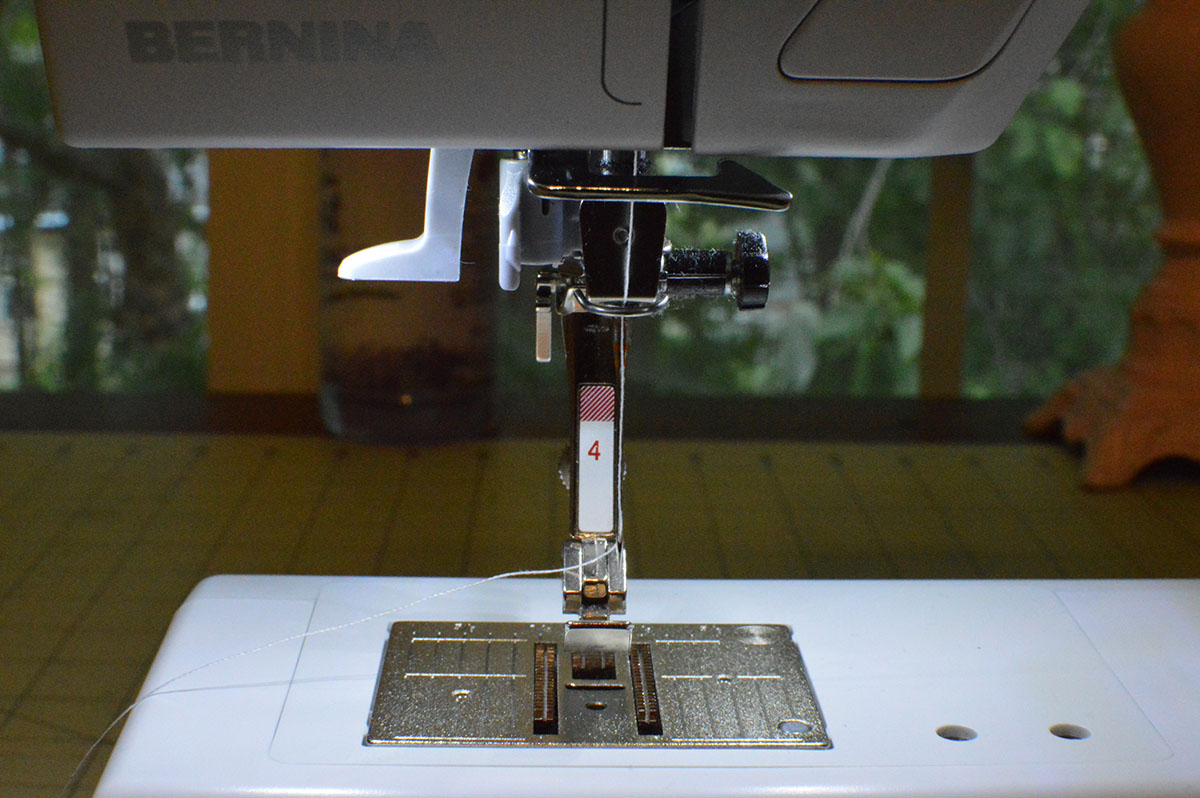
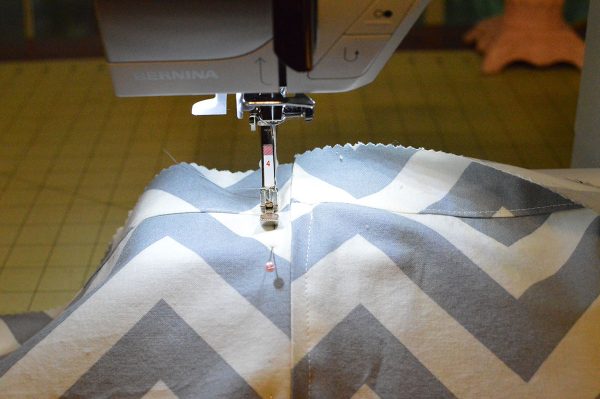
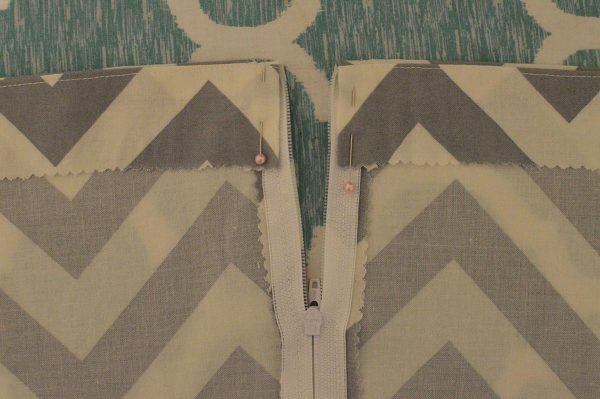
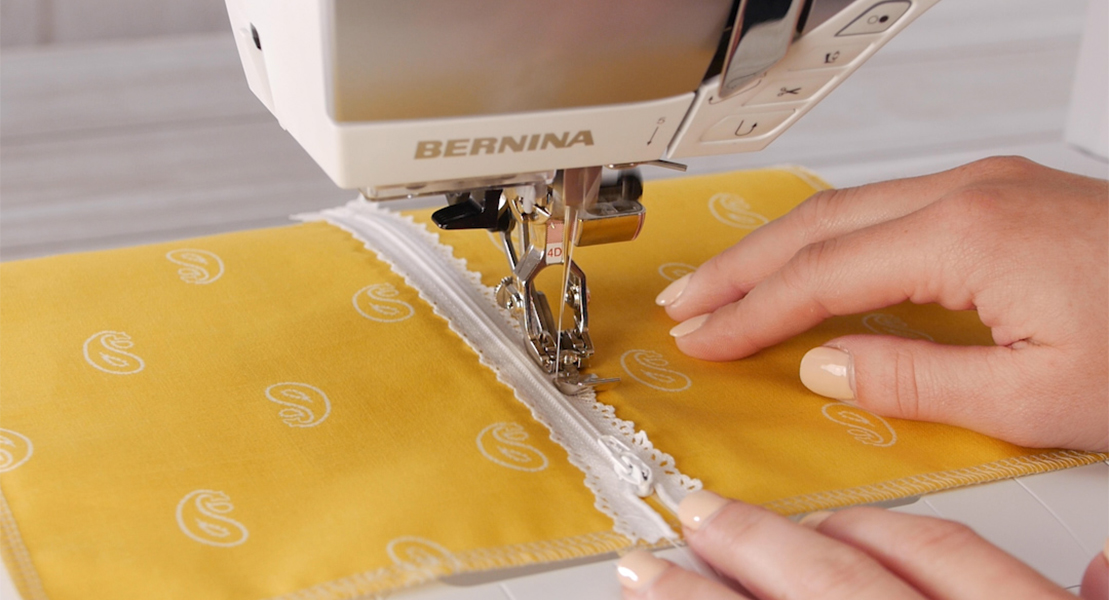
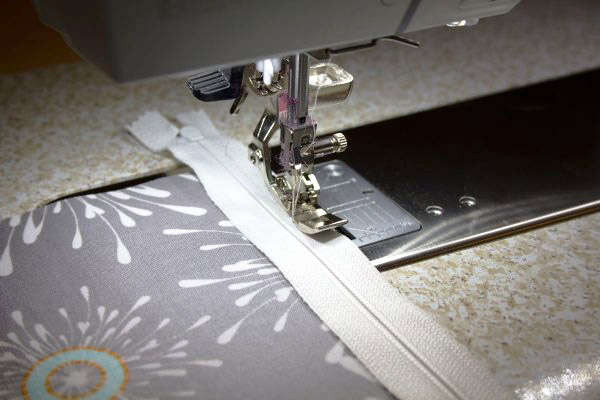
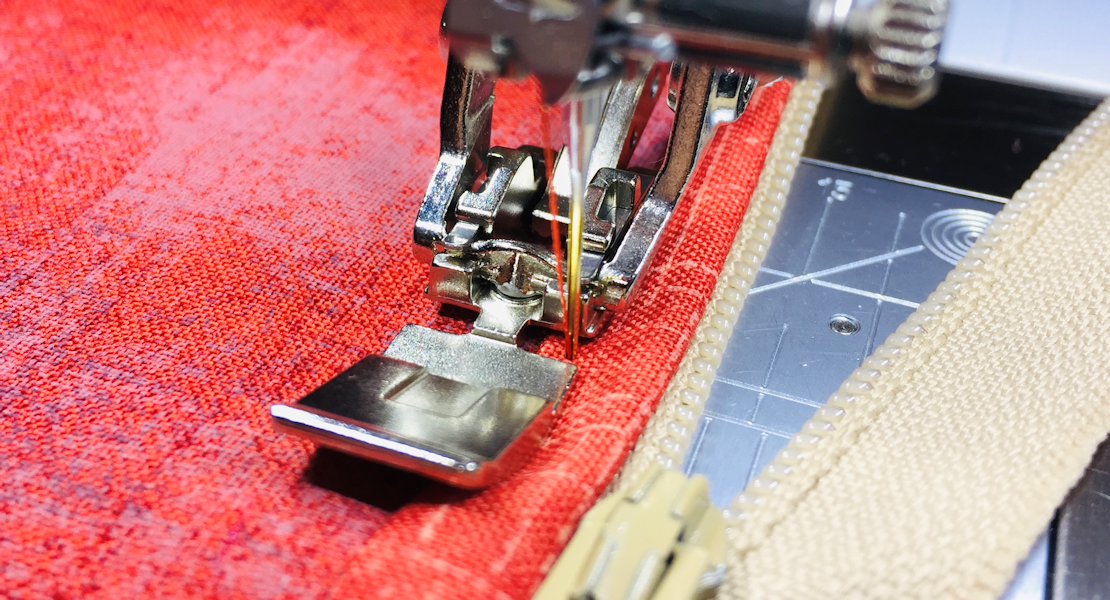
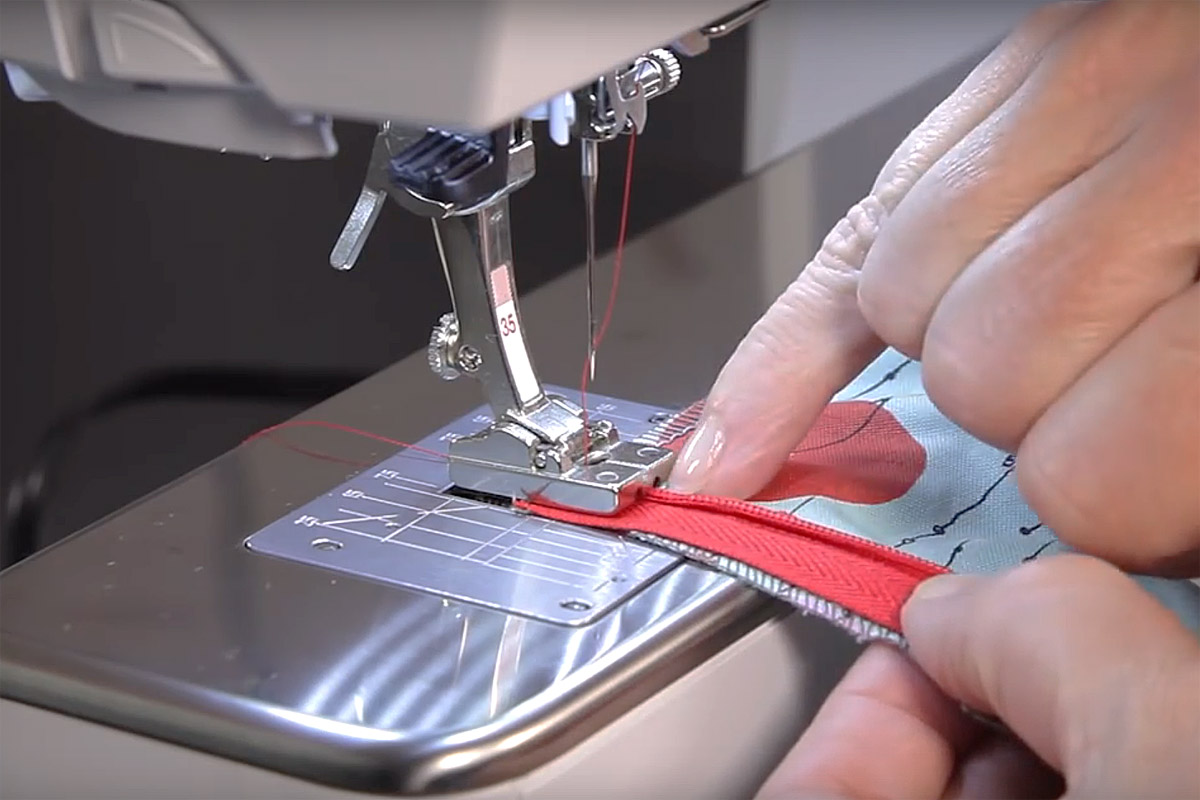
Now we’ll sew in our zipper! Install the Zipper foot #4/#4D and move your needle position to the far left. This allows you to sew neatly and closely along the side of the zipper.
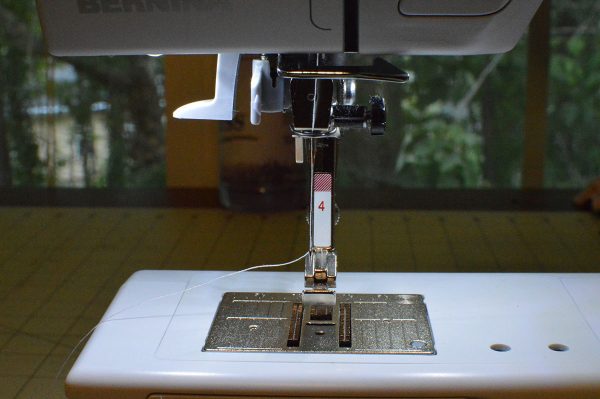
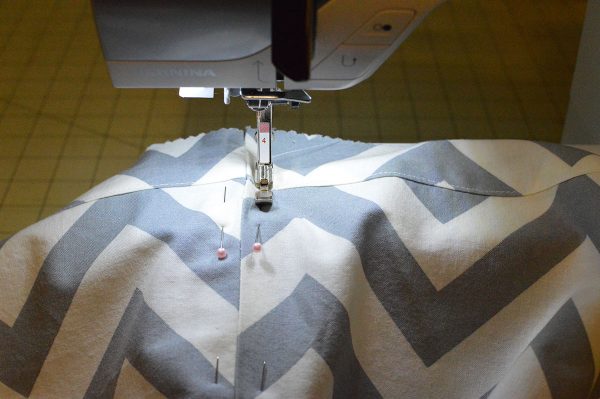
With the zipper on the left side of the zipper foot, sew from the top to the bottom, backstitching at each end.
Ta dah! Half done.
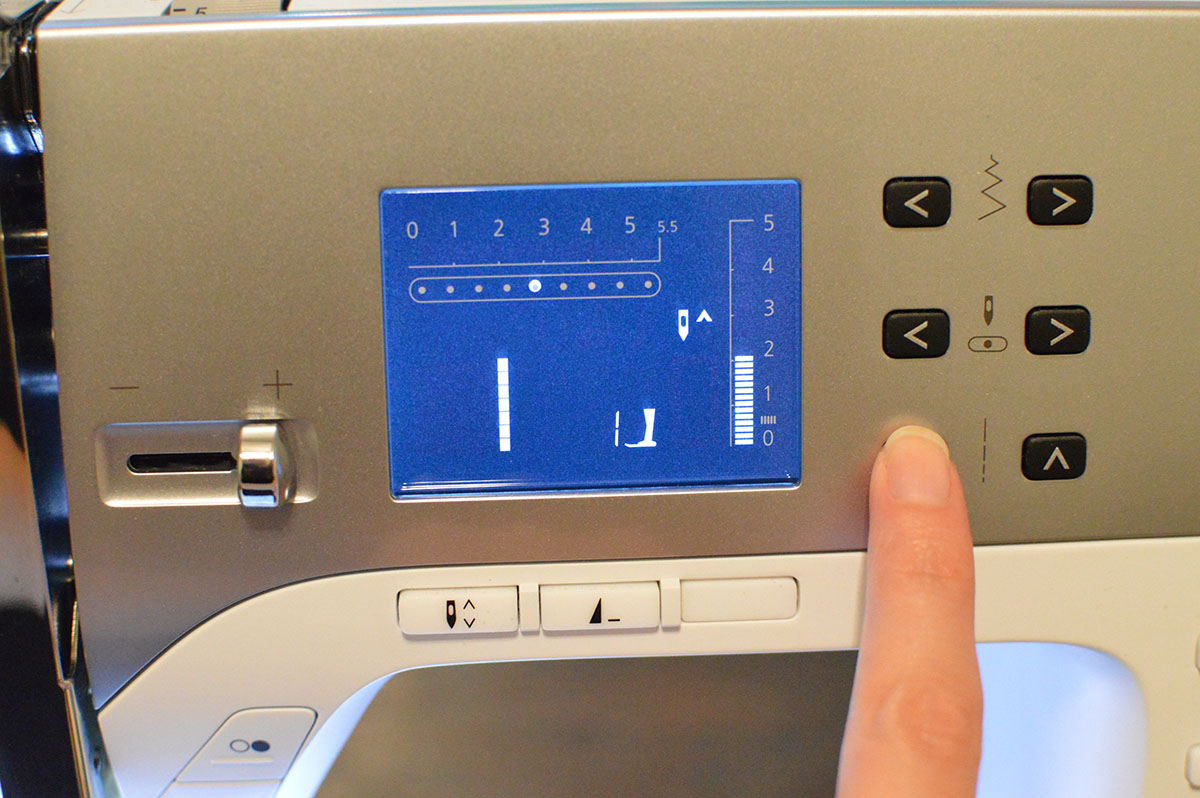
Return again to the top of the zipper, and move the the zipper to the right hand side of the zipper foot. Don’t forget to also change the needle position to the far right!
Sew the length of the zipper, from top to bottom again.
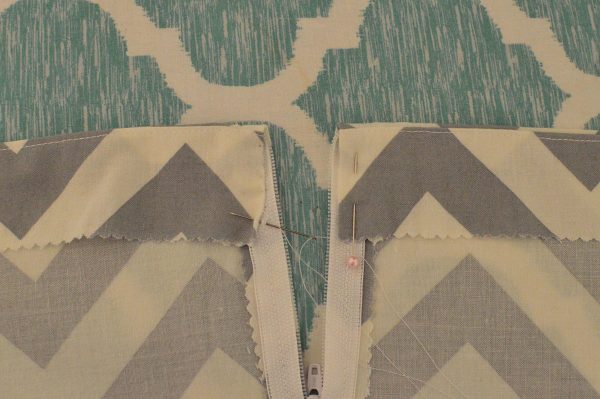
Finally, install the Reverse pattern foot #1 once more and tack across the bottom of zipper: sew back and forth several times for strength.
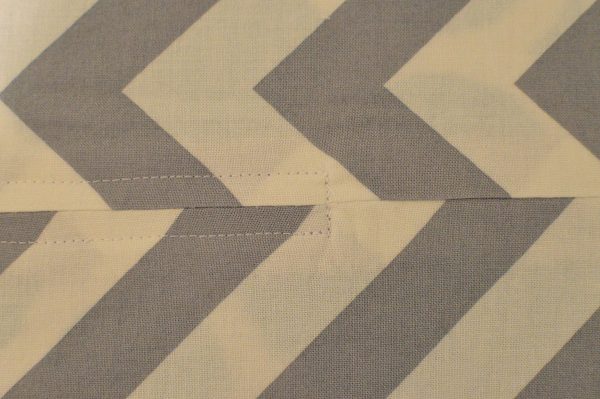
Press!
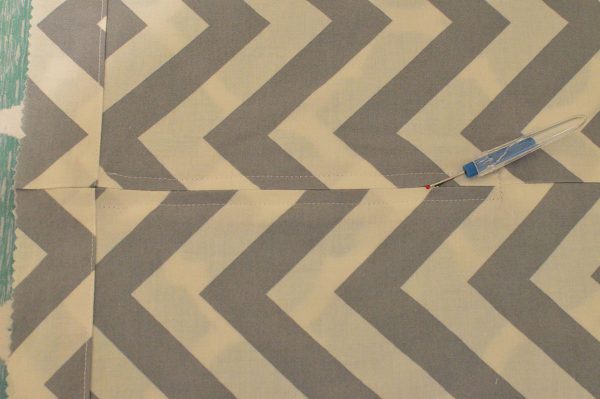
Once your zipper is sewn in, remove your basting stitches using a seam ripper.
Go slowly as to avoid ripping a hole in your fabric, and pick out one stitch at a time, revealing your perfect zipper!
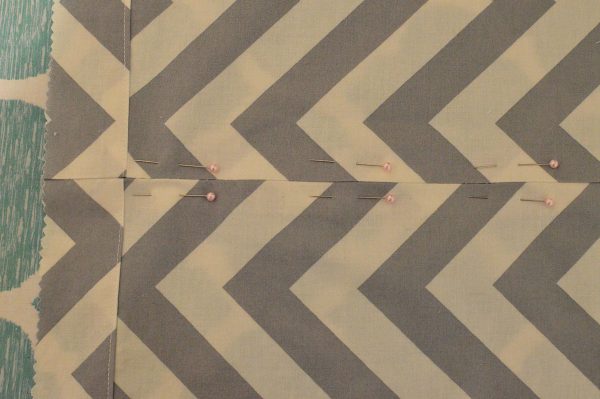
The last step is to hand sew your facing down over your zipper. Fold the facing over the zipper, tucking the tails of the zipper inside.
Make sure the top of your zipper is aligned! If its a liiiitle bit off, you can fudge it a tiny bit at this point by folding down your facing a smidge more or less.
Pin down over the zipper tape and slipstitch your facing to your zipper without going through all layers. Then slipstitch the other side of your zipper.

This step will be invisible from the exterior of the garment.
You’re done! Hem and press your garment, then wear it proudly!
What you might also like


6 comments on “How to Insert a Centered Zipper”
-
-
Hello Joann! I did not match my chevrons because this was just an example on a flat piece of scrap fabric, not a garment. I didn’t want to confuse people by adding in too much for a simple tutorial. If I were making a garment, I would certainly match my stripes (or at least try!). Thanks for reading!
-
-
This is a really good example of a centered zipper – I envy your straight stitching. One thing, though. As a
sewing instructor myself, I put a lot of pressure on myself to have samples as near
perfect as possible – as surely your technique and stitching is. However, one of the great things about sewing for ourselves is that we can avoid the “mistakes” we see in ready-to-wear. I’m referring to matching stripes. I show my students the importance of matching stripes and plaids before they sew their first seam. This is an important technique that exemplifies a master seamstress. I notice more and more in the few remaining sewing magazines that this is apparently no longer considered necessary. I still think it’s important, especially when the stripes are big. I realize you’re focusing on a technique, not design, but just wanted to mention it. Thanks!-
Hello! Since this was just a sample made from scraps, not a garment, I did not attempt to match my stripes. Generally I do match stripes or patterns in things I plan on wearing out of the house!
-
-
I do agree with the other reviewers. Allie is understood as to concentrating on the technique; however, this is Bernina. All aspects should be perfect or close to it. This was a poor choice of material if there was no intent to match the chevrons. A plain fabric would have accomplished the zipper insertion perfectly well.
-
Hi Allie,
I have to disagree with the other reviewers. I came her to learn how to insert a zip, which is exactly what you describe, very clearly and for free. I feel that anyone who disagrees should simply look elsewhere or write their tutorial, rather than criticising. Thank you for a great tutorial.
Leave a Reply
You must be logged in to post a comment.

Thank you. I would like to know why you did not match the zig, zags? Thank you..Joann