How to Make a Pen and Pencil Case from Pieces of Ribbon
As I was packing my “airplane bag” last night I came across a little ribbon pen and pencil case I made eons ago. I still use it – it’s a very useful item for those of us who constantly lose pens and pencils. I’m sure there’s a planet somewhere inhabited solely by ballpoint pens. (An idea I stole from Douglas Adams.) So I put together instructions for a super-quick little project to keep your writing implements corralled: A Ribbon Pen & Pencil Case.
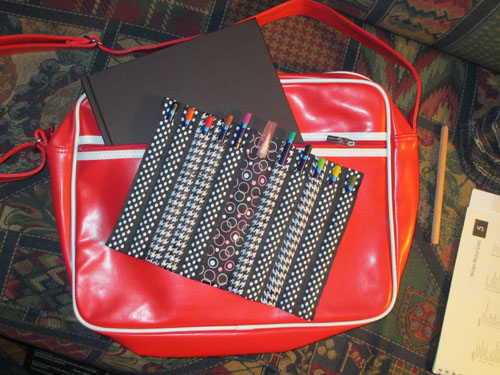
But then I got to thinking… There’s no reason to stop at two pieces of ribbon. I could keep adding more until I had enough slots to carry my all new art pens and pencils – brilliant!
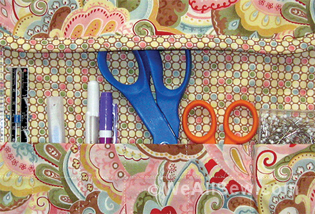
To start: Here’s a “two-slot” pen case.
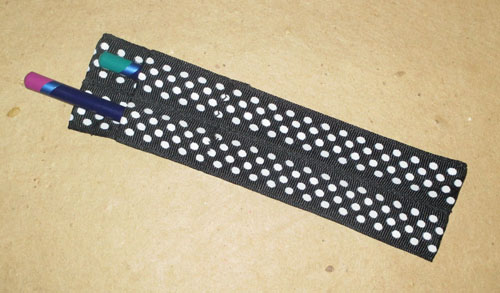
Cut two 15″ lengths of 1″-wide ribbon if you’re making a case for regular-size pens and mechanical pencils. I made my pencil case a little longer and cut the ribbons 17″ long; otherwise the instructions are the same.
Fold under 2″ at each end and stitch in place. I used the markings on my machine’s slide-on table to measure the folds, then stitched them hems with a narrow zigzag stitch.

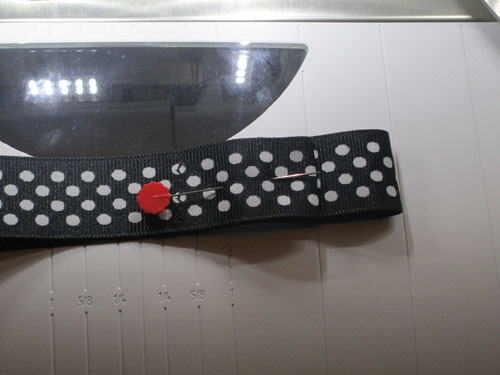
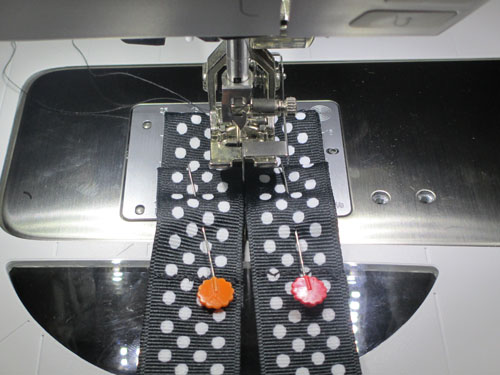
When both ribbons are hemmed, fold them wrong sides together with one end extending 1″ beyond the other end: pin. Again, I used the markings on the slide-on table to measure.
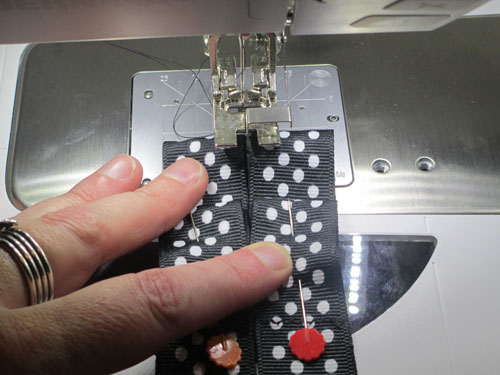
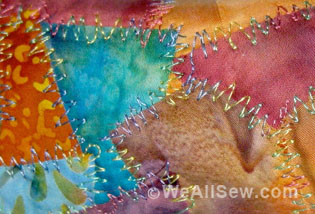
Attach an edgestitch foot and select a zigzag stitch; adjust the length to 2 mm and the width to 3 mm. Other stitch options include a double blanket stitch or a feather stitch. The idea is to have the stitch catch one ribbon on the “zig” and the other on the “zag,” joining the edges together.
Tip: If your sewing machine has dual-feed, or you have a walking foot (even better if it has a center guide), this is a great place to use it. Both of these help keep the layers from slipping as they move under the presser foot.
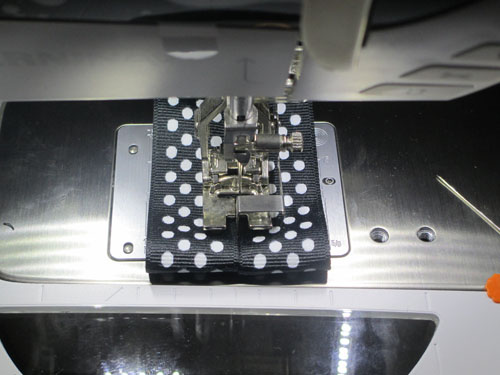
Place the edges of the ribbon against the blade in the center of the foot, making sure the folded edges at the top are even. Stitch the ribbons together, backstitching at the beginning and end. If the fold at the front of the pen sleeve doesn’t stay flat under the foot as you approach it, lift the presser foot and smooth it back into place, then continue stitching. If all your measurements are accurate, the ribbons will match at the top and bottom of the case.
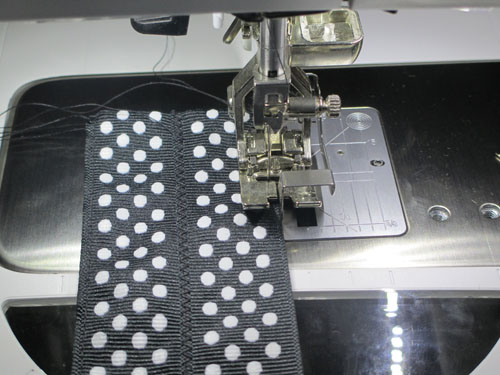
Change to a straight stitch and move the needle 2 or 3 steps to the left. Align the edges at one side of the pen case with the left side of the guide. Stitch the layers together, backstitching at the beginning and end. Repeat for the second side.
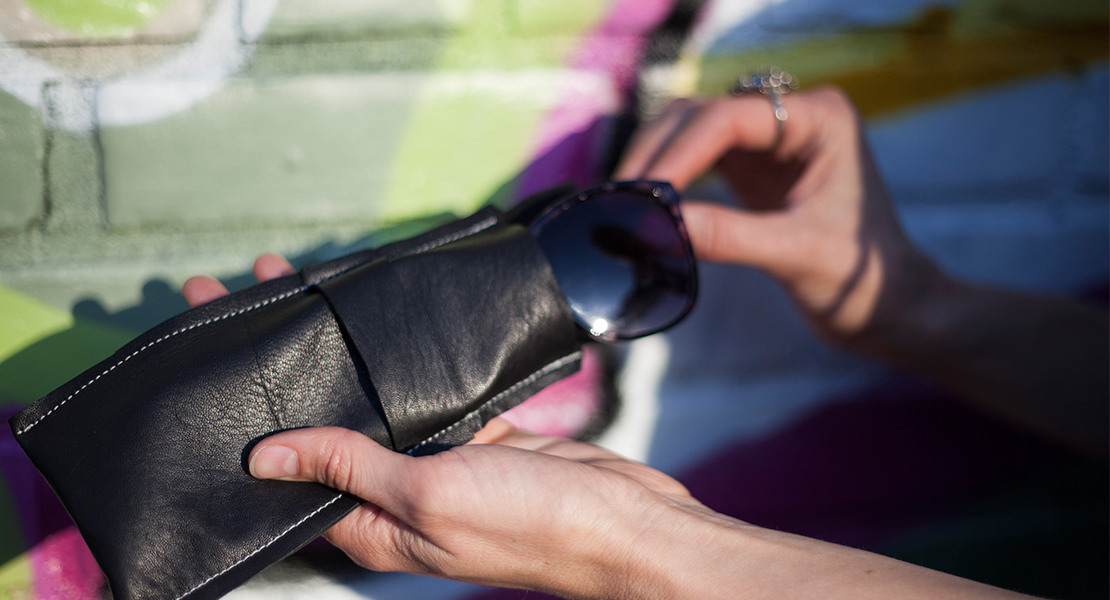
If you’re making a sleeve for just two writing/drawing instruments, you’re done!
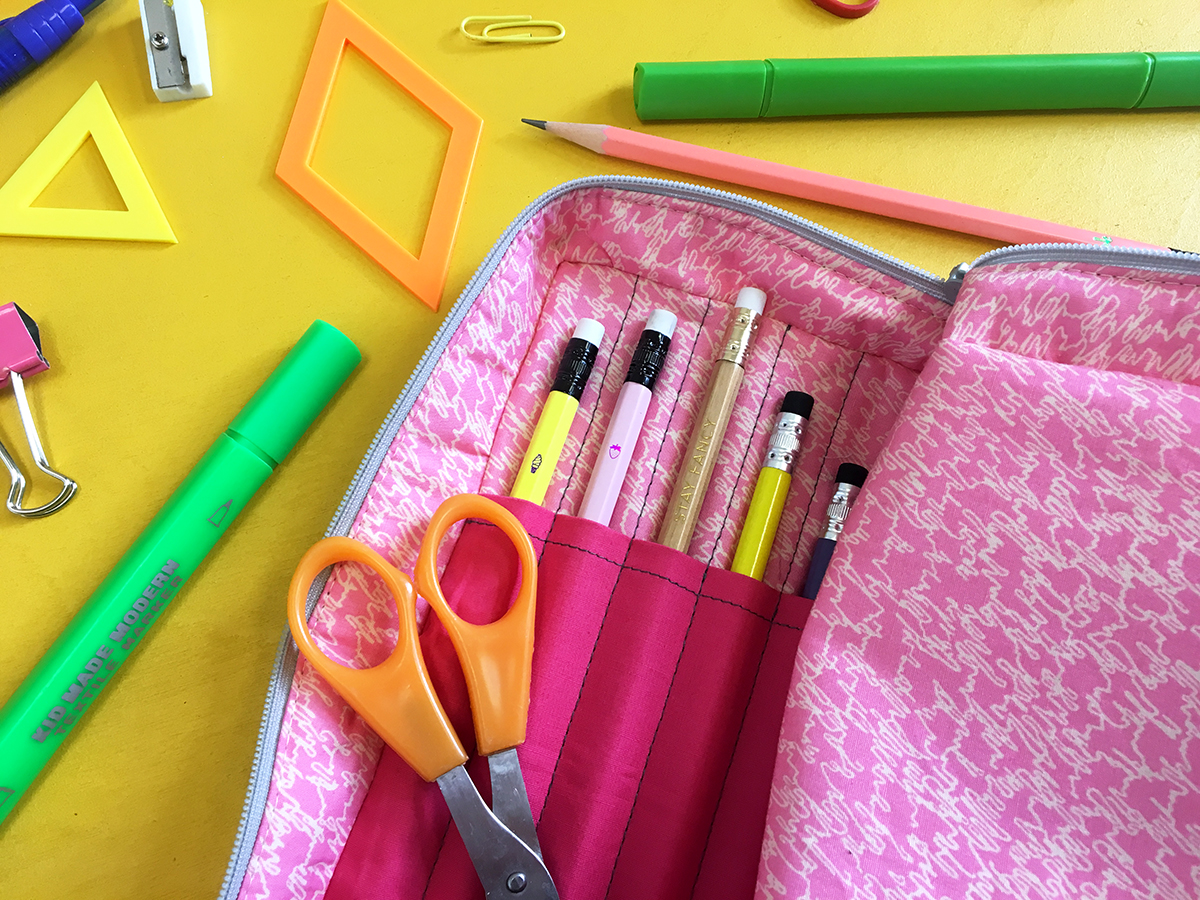
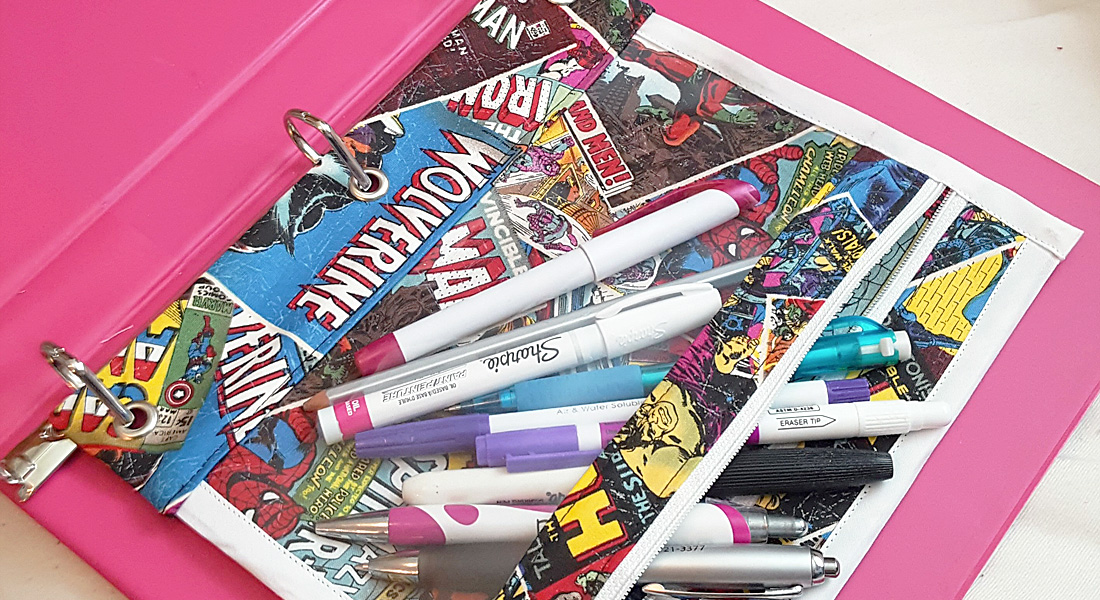
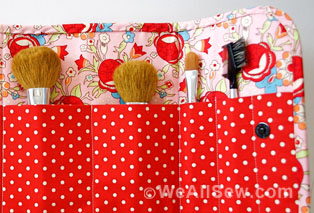
If you want to make a holder for more pencils or pens, keep adding ribbons until your case is as large as you want. I added a wider ribbon into my mix to accommodate a water brush.
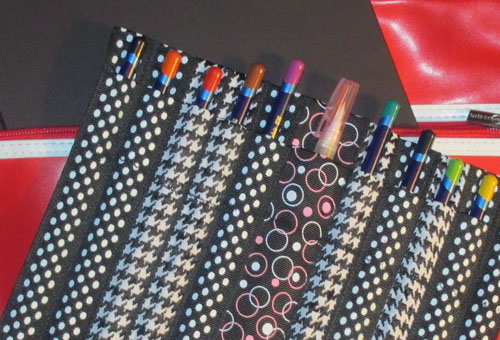
Done! How easy was that?
What you might also like


3 comments on “How to Make a Pen and Pencil Case from Pieces of Ribbon”
Leave a Reply
You must be logged in to post a comment.

This would be great for knitting needles or crochet hooks, too!