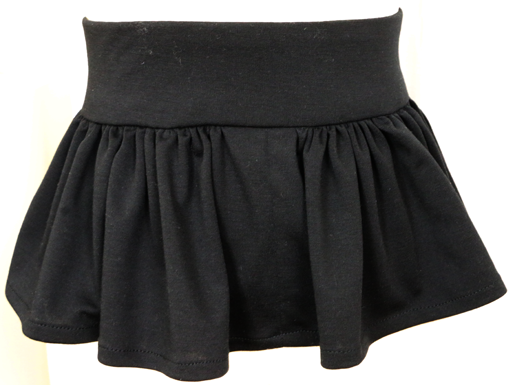
How to Make a Peplum Belt
Make a fashion statement with this easy-to-sew peplum belt. Add an extra half yard of fabric when you purchase supplies for your next dress, skirt, or top and make a coordinating peplum belt.
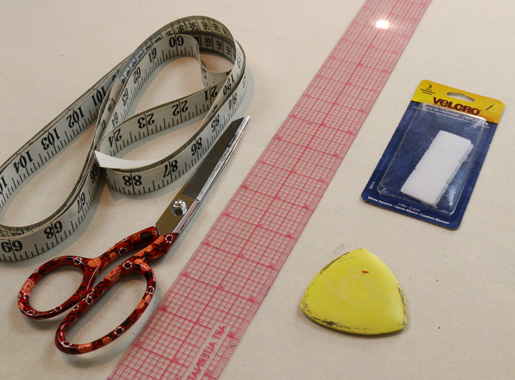
Supplies
- 1/2 yard of fabric
- Matching thread
- Fusible interfacing
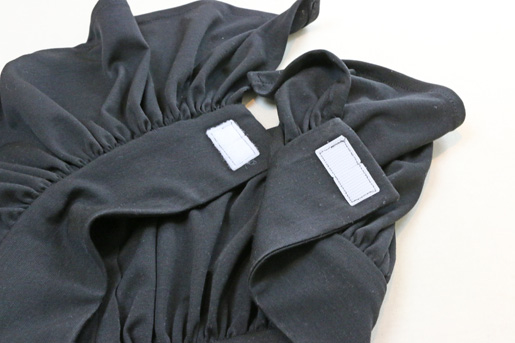
- One 2″-long piece of 1-1/2″-wide hook-and-loop tape
- Straight edge
- Chalk marker
- Hand sewing needle
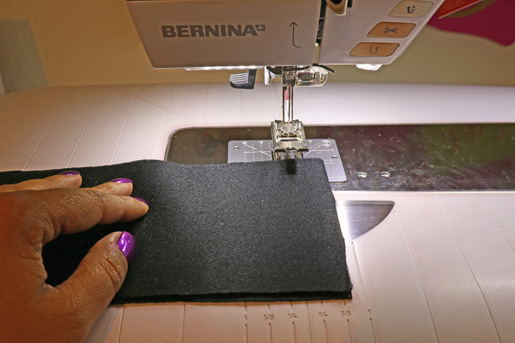
Step 1) Prepare the waistband.
Cut two waistband pieces 4″ x (your waist measurement plus 1-1/2″).
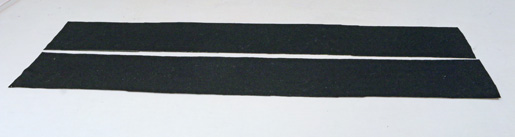
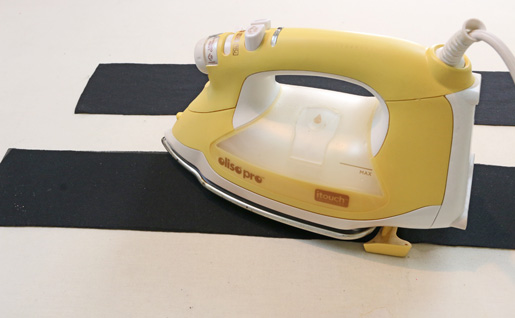
Cut one piece of interfacing same size as your waistband pieces; fuse to the wrong side of one waistband piece.
Place both waistband pieces right sides together. Sew across one long edge and both short edges.
Clip the corners and turn the waistband right side out. Be sure to push out the corners.

Step 2) Prepare the peplum.
Cut two peplum pieces 10″ x (your waist measurement times 1-1/2″).
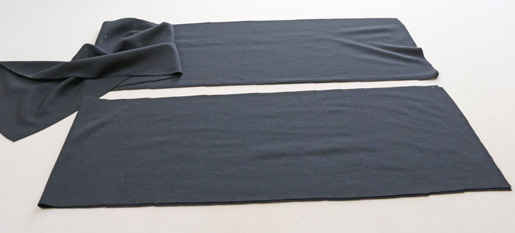
Sew the two peplum pieces together at one short edge to create one very long piece. Press seam allowances open.
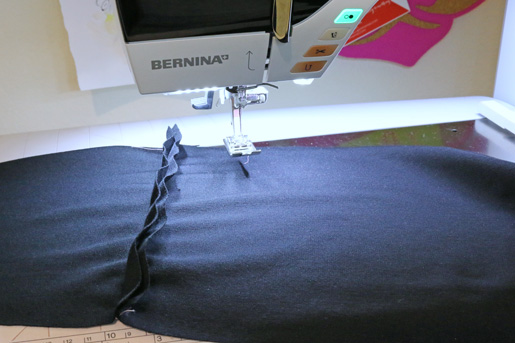
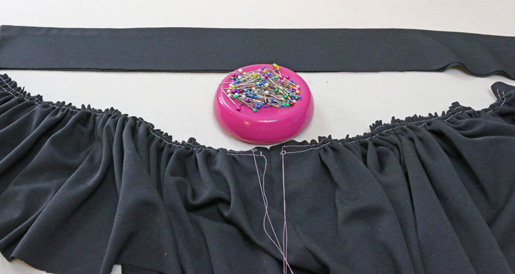
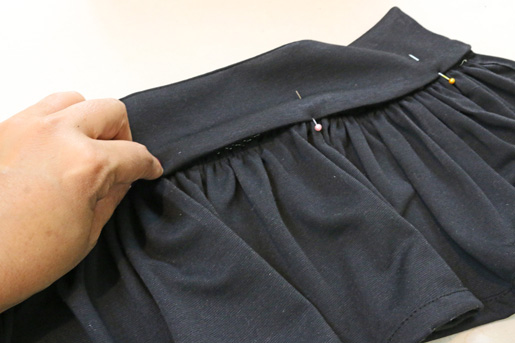
Gather one long edge using your favorite technique. I stitched two parallel lines of 5 mm-long stitches, then pulled on the bobbin threads to gather the edge.

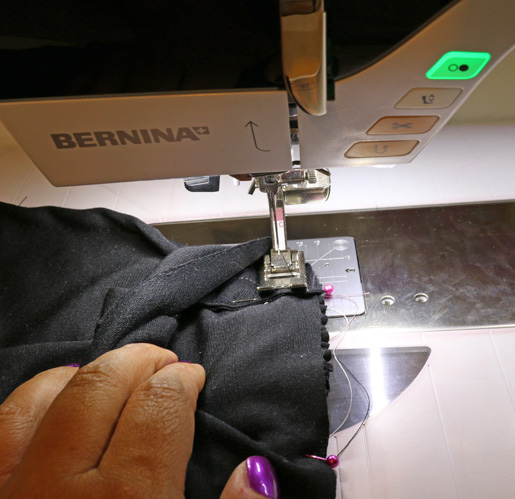
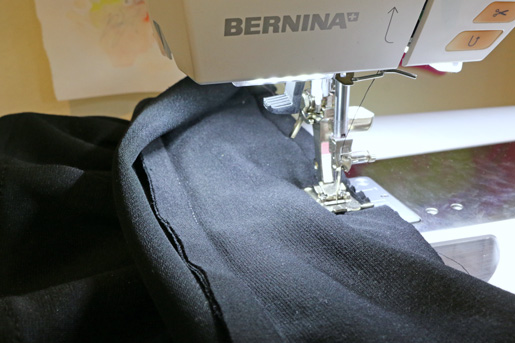
Narrow-hem the sides and lower edge of the peplum by turning under 1/4″ two times and stitching close to the edge.
Tip: If you’re using a fabric that doesn’t ravel, such as leather or suede, there’s no need to hem the edges.
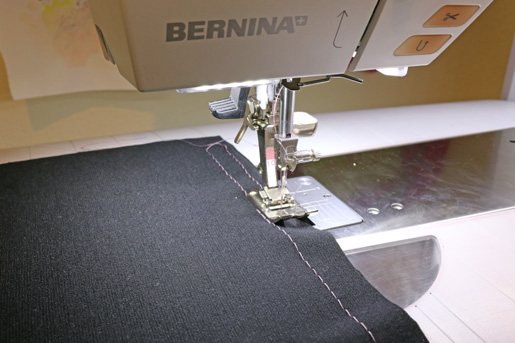
Step 3) Attach the peplum to the waistband.
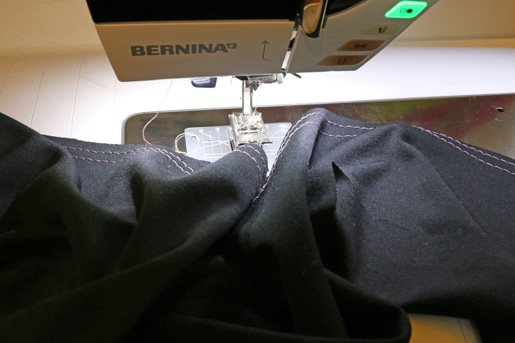
Place the peplum and un-interfaced waistband right sides together, matching the center of the peplum to the waistband center seam, and machine the sides of the peplum to the waistband end seams. Pin the peplum to the un-interfaced waistband piece, leaving the interfaced side free.
 Using a 5/8″-wide seam allowance, stitch the peplum to the waistband, beginning and ending at the waistband side seams and securing stitches at both ends.
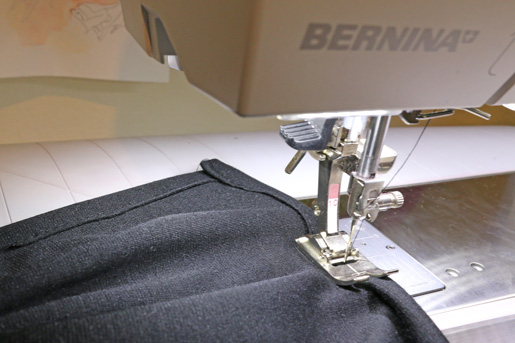
Tip: Stitch with the gathered edge underneath the flat piece; you’ll be able to see what you’re doing and avoid getting puckers in the flat fabric.
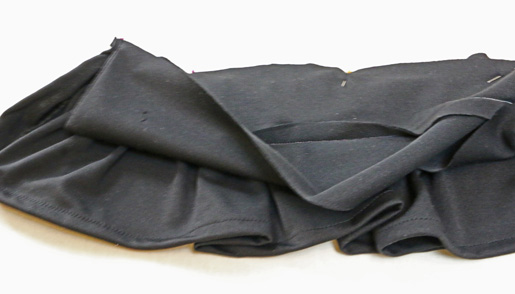
Turn under 5/8″ along the lower edge of the interfaced side of the waistband; pin and slip-stitch closed.
Tip: Turn under a scant 5/8″ to make the waistband edge overlap and just barely cover the stitching.
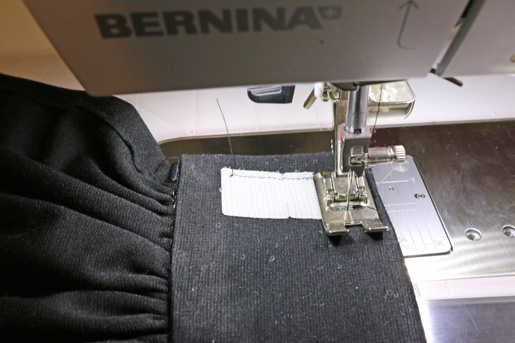
Place the peplum belt around your waist and adjust the overlap to determine where to place the hook-and-loop tape. Mark the location on the back of the overlapping piece and the front of the underlap .
Sew the hook-and-loop tape in place through all layers.
Your peplum belt is finished!