How to Make a Wool Applique Needle Book
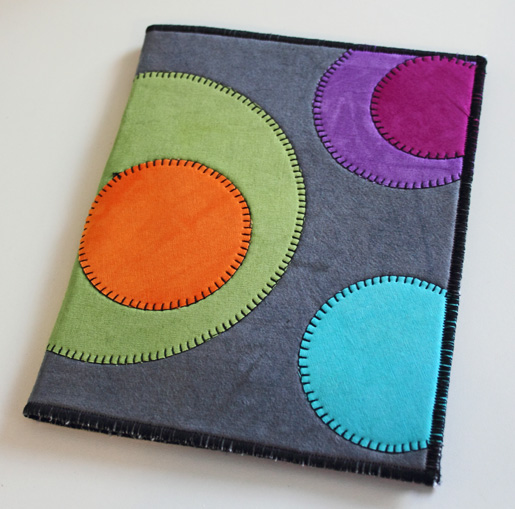
The “hand-stitched” applique on the cover of fiber artist Sue Bleiweiss’ op art needle book is done with the blanket stitch on your sewing machine. What a time-saver! Visit Sue at her blog, www.suebleiweiss.com.
This little needle book comes in handy when I want to sit outside on the deck and do a little hand sewing or stitch a binding on a quilt. It also makes a nice gift for a fellow sewer. My finished book measures 7″ x 5-1/2″ but you can easily size yours up or down to suit your needs.
Supplies
- Wool felt (I use National Non-Wovens 80/20 wool/rayon blend)
- One 7″ x 11″ rectangle, any color as it won’t show
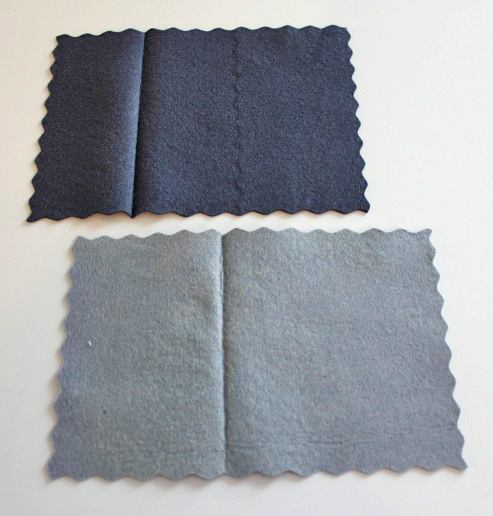
- Two 7-1/2″ x 6″ rectangles for the inside pages – I used dark gray and light gray
- Dark gray cotton fabric
- One 7″ x 11″ rectangle for the cover
- One 5″ x 5″ rectangle for the inside pocket
- Light Gray cotton fabric
- One 7″ x 11″ for the inside lining
- Muslin
- One 7″ x 11″ rectangle
- Mistyfuse fusible web, one small package
- Black thread
- Miscellaneous colored scraps to cut circles out of
- 18″ length of embroidery floss, any color
- Tapestry needle
- Open-toe foot (BERNINA Open Embroidery Foot #20/20C/20D) or you could also use the all-purpose foot (BERNINA Reverse Pattern Foot #1/1C/1D or Clear Foot #34/34C/34D)
Step 1) Prepare the fabric.
Fuse the dark gray outside piece (7″ x 11″) to one side of the wool felt (7″ x 11″) and fuse the muslin to the other side of the wool felt.
Tip: Putting a layer of fusible web on the back side of my fabrics before cutting and sewing saves time once I start the construction process.
Step 2) Applique the cover.
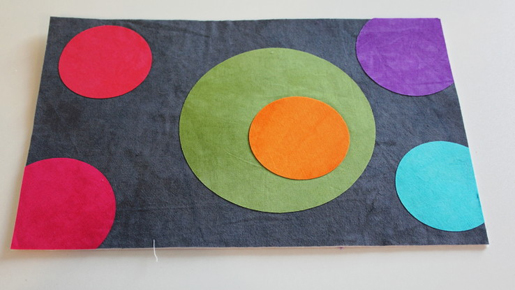
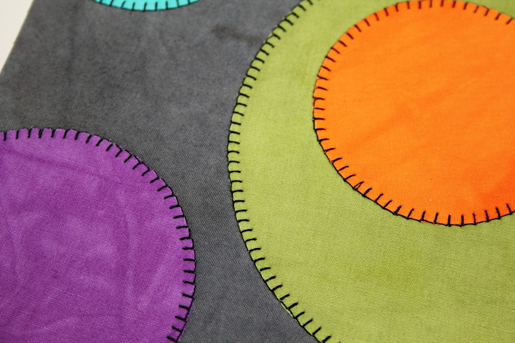
Cut random-sized circles out of your fabric scraps, place them on the dark gray side of the book, and then iron to fuse them in place. I positioned a few of mine so they hung off the edge; after I fused them in place I trimmed off the excess.
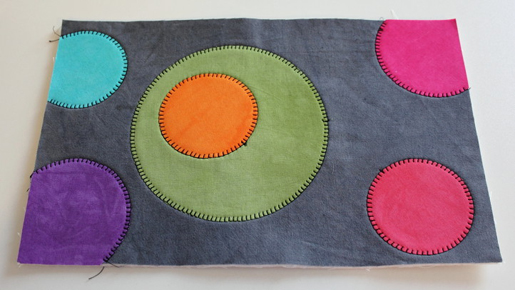
Stitch around the circles using the blanket stitch. I used the Open Embroidery Foot because I found it easier to follow the edge of the circle if I could see it. I highly recommend that you practice on a scrap circle first to see which foot works better for you. When using the blanket stitch to sew around circles the key is to stitch very slowly. This is the perfect time to use that little lever on your machine that controls the maximum speed it will sew. Lowering the maximum speed level allows you to redirect your attention away from the foot control to your stitching, and you’ll get a better result.
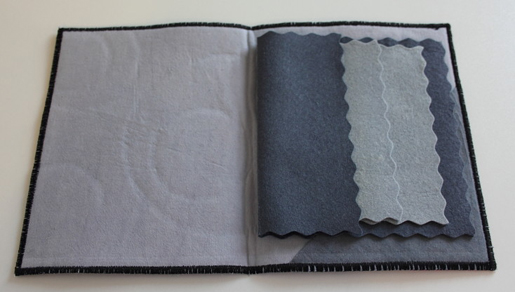
Fuse the light gray lining piece (7″ x 11″) to the inside of the book. This covers up all the bobbin stitches and makes a nice neat inside.
Step 3) Construct the cover.
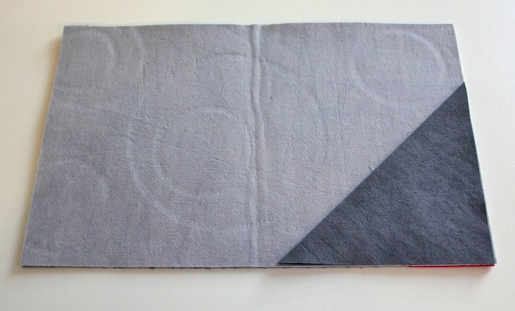
Fold the pocket piece in half on the diagonal and press it well. With the book on your work table, inside facing up, place the folded pocket piece on the lower right hand side cover aligning the raw edges with the right and lower edges. Pin it in place.
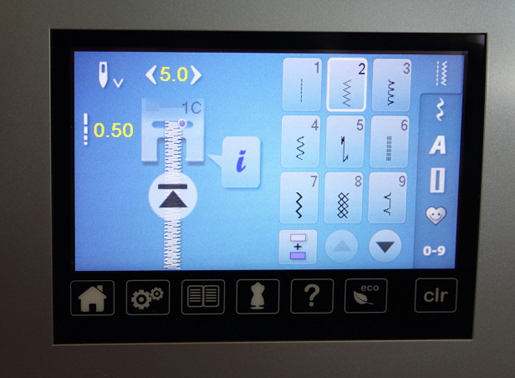
Set your machine up for a zigzag stitch. I used a 5.0 width and a 0.5 length.
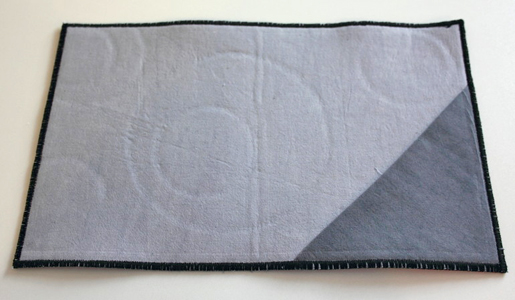
Zigzag around the edges of the book, making sure to catch the pocket edges in the stitching to secure it in place. Stitch around the entire book twice for coverage.
Tip: Start sewing an inch or so away from one of the corners for a better finished result. Overlapping stitches on a straight edge are neater than beginning and ending on a corner.
When you are done, fold the book in half, wrong sides together. press it well with a hot iron to set the center crease (using a blast of steam might be helpful here).
Step 4) Add the inside pages.
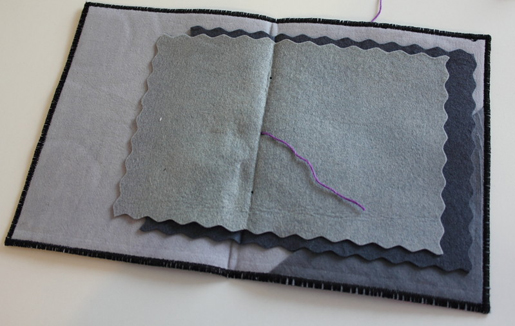
Take one of the 7-1/2″ x 6″ pages and fold the left short side in 2″. Press it well with a hot iron to set the crease (you may want to give it a shot of steam). Fold the left short side of the other 7-1/2″ x 6″ page in 3″ and press it well with a hot iron to set the crease.
Put the page with the 2″ crease on your table and then put the other page on top of it, aligning the fold creases.
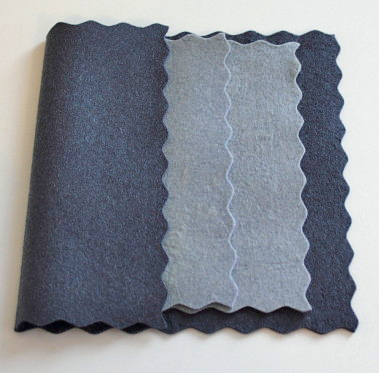
Place the pages inside the needle book aligning the folds of the pages with the center fold of the book and centering them within the top and bottom edges.
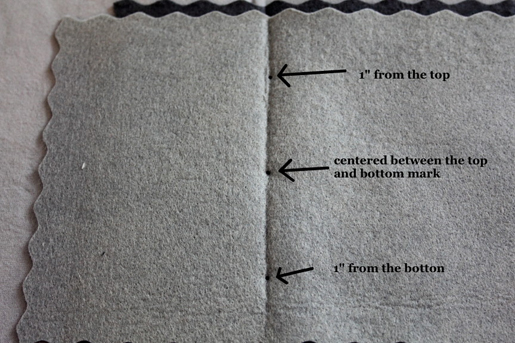
Make three marks with a disappearing marker along the fold of the inner page at 1” from the top and bottom of the page and one in the center. These are your sewing guides to sew the pages into the needle book.
Thread a tapestry needle with an 18” length of floss. Starting from the inside of the needle book sew through the center mark through the pages and the book to the outside leaving a 6” tail on the inside.
Sew back through to the top mark from the outside to the inside.
Sew through the bottom mark back to the outside and then sew back through the center mark again to the inside. Tie a sturdy knot with the tail you left hanging when you started sewing and clip off the excess threads.
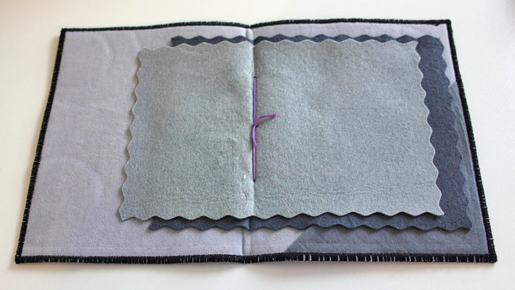
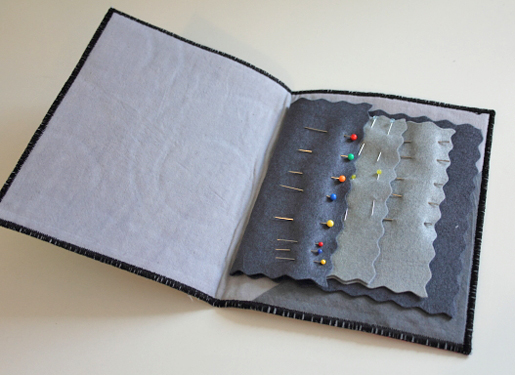
Give your needle book another good steam press to re-set the creased folds, fill the pages with pins and needles and it’s ready to use!
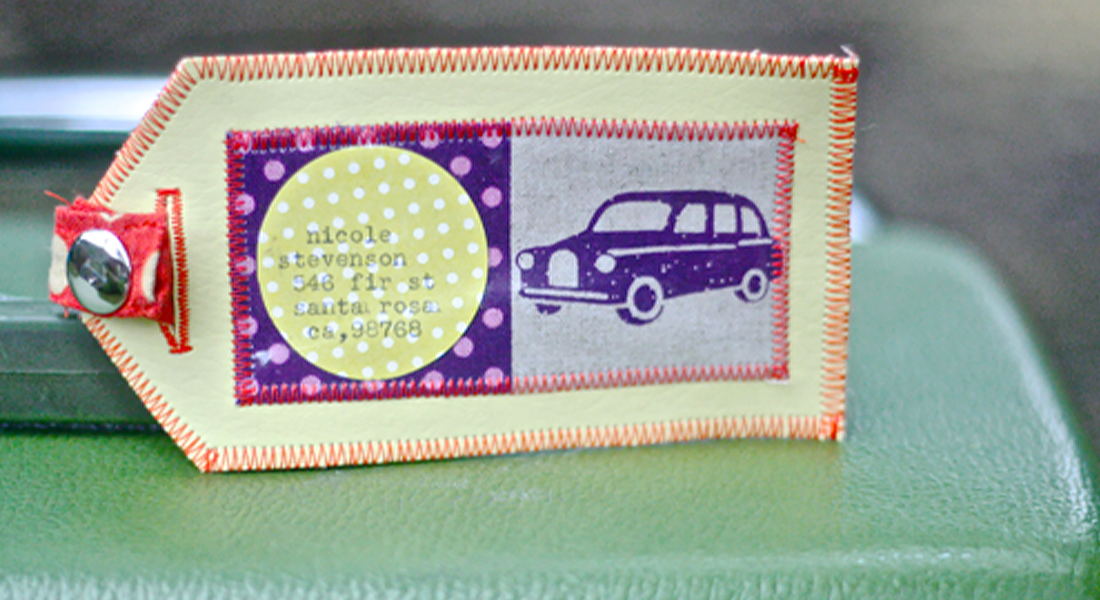
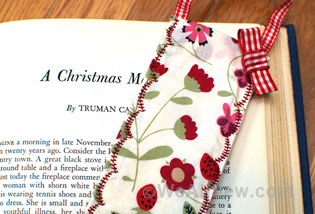
What you might also like


8 comments on “How to Make a Wool Applique Needle Book”
-
-
A “Print” feature would be wonderful, and is on our “Wish List” for future development – Jo
-
-
Are these instructions available as a pdf so we can print them and take them to our machine to make the project?
-
Our instructions are not available as PDFs, but you can print them from your computer. Select File > Print Preview, then select only the pages you want to print. Alternatively, copy the instructions and paste them into a Word DOC, then edit as desired. A “Print” features is on our wish list for future updates. Jo
-
-
I understand how to print this out and have done so in the past. The newsletter in which this was featured directs the reader to “download the project here” with button link. Maybe this is why a PDF is expected.
-
That is a bit misleading. I’ll see about having the wording changed. Thanks for pointing that out! Jo
-
-
Pingback: WeAllSew « https://weallsew.com
-
Thank you for a delightful useful project. Very clever how you staggered the inside pages. Thank you!
Leave a Reply
You must be logged in to post a comment.

A wonderful addition to your site would be a “PRINT” button so these projects that look like so much fun and educational could be saved without having to come to the computer/internet.