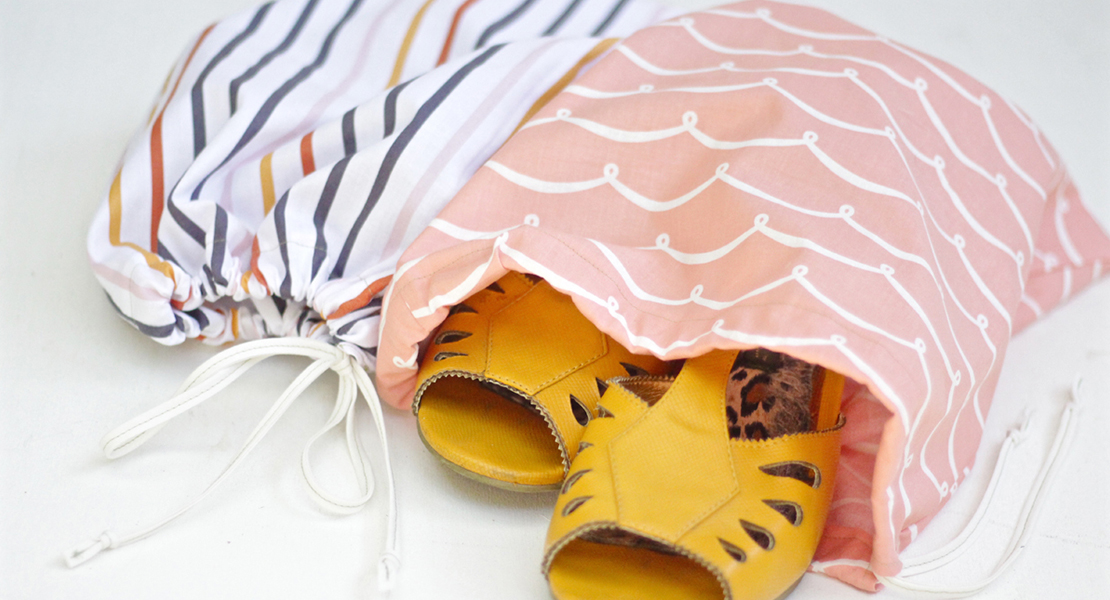
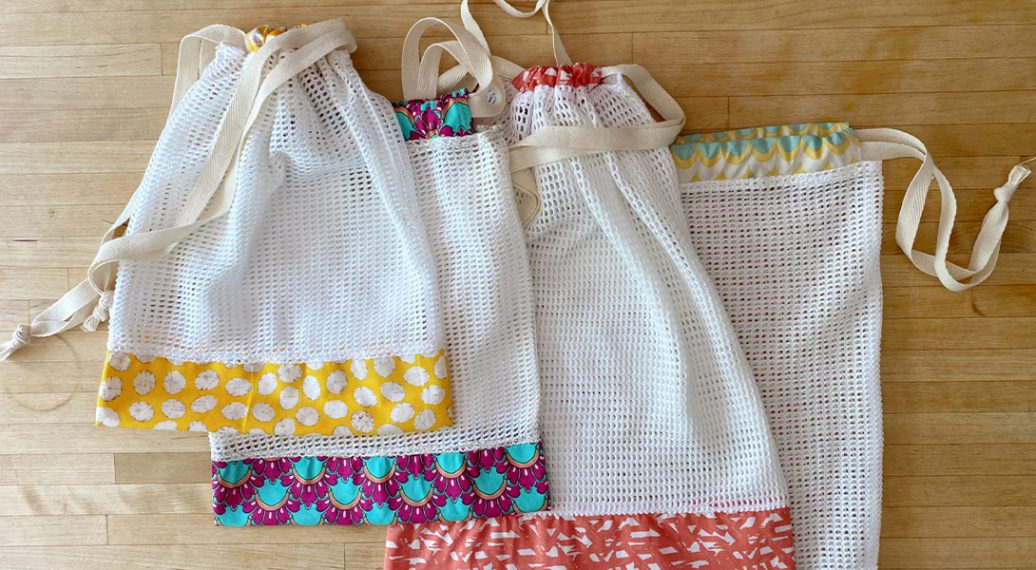
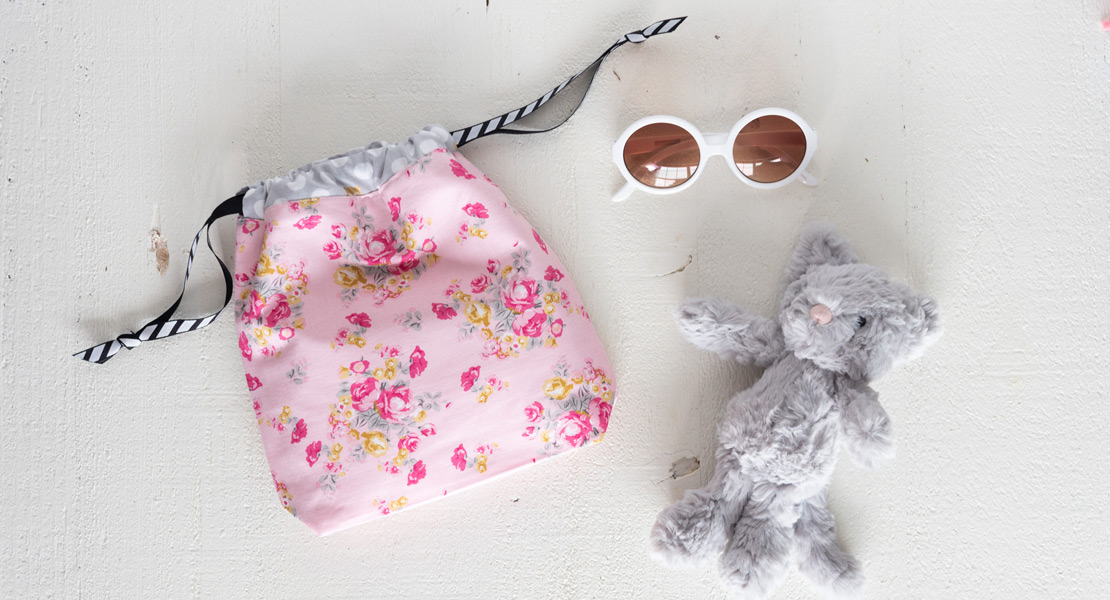
Jetsetter Bags

Traveling is always exciting and adventurous! Packing . . . not so much! So I want to help your traveling experience by creating these adorable and super useful Jetsetter Bags with alphabetical embroidery. In this tutorial, you will learn how to create a drawstring casing and alphabetical embroidery, so sit back, relax and enjoy the tutorial.
Materials to sew the Jetsetter Bags
- 3/4 yd of ESS-II-155 from Essentials II Fabrics FABRIC A
- Fat Eight of PE-452 from Pure Elements FABRIC B
- 1/2 yd of ESS-II-154 Essentials II Fabrics FABRIC C
- 3/4 yd of ESS-II-255 from Essentials II Fabrics FABRIC D
- Fat Eight of PE-420 from Pure Elements FABRIC E
- 1/2 yd of ESS-II-254 Essentials II Fabrics FABRIC F
- 3/4 yd of ESS-II-355 from Essentials II Fabrics FABRIC G
- Fat Eight of PE-435 from Pure Elements FABRIC H
- 1/2 yd of ESS-II-354 Essentials II Fabrics FABRIC I
- Tear-Away Stabilizer
- Universal needles, size 80/12
- Your sewing machine and embroidery machine: I sew on a BERNINA 790
- All-purpose presser foot (BERNINA Reverse Pattern Foot #1/1C/1D), automatic buttonhole foot with slide (Buttonhole foot with slide # 3A) and embroidery foot (Embroidery foot drop-shaped #26)
- AURIFIL cotton thread:
- #2783 for embroidering FABRIC B
- #2530 for embroidering FABRIC E
- #2515 for embroidering FABRIC H
- Safety pin
Cutting Instructions:
Cutting instructions are the same for FABRICS D, E, F, G, H, AND I, for the purpose and accuracy of this tutorial, we will be focusing on just one bag (with the exception of the alphabetical embroidery)
- Cut 2 (two) 15″ by 15″ of FABRIC A
- Cut 1 (one) 1 1/2″ by 40″ of FABRIC A
- Cut 2 (two) 15″ by 14″ of FABRIC B
- Cut 2 (two) 15″ by 10″ of FABRIC B
- Cut 2 (two) 15″ by 14″ of FABRIC C
- Cut 1 (one) 17″ by 18″ of Tear-Away Stabilizer
Step 1- Alphabetical Embroidery
Click here to learn how to attached the embroidery module.
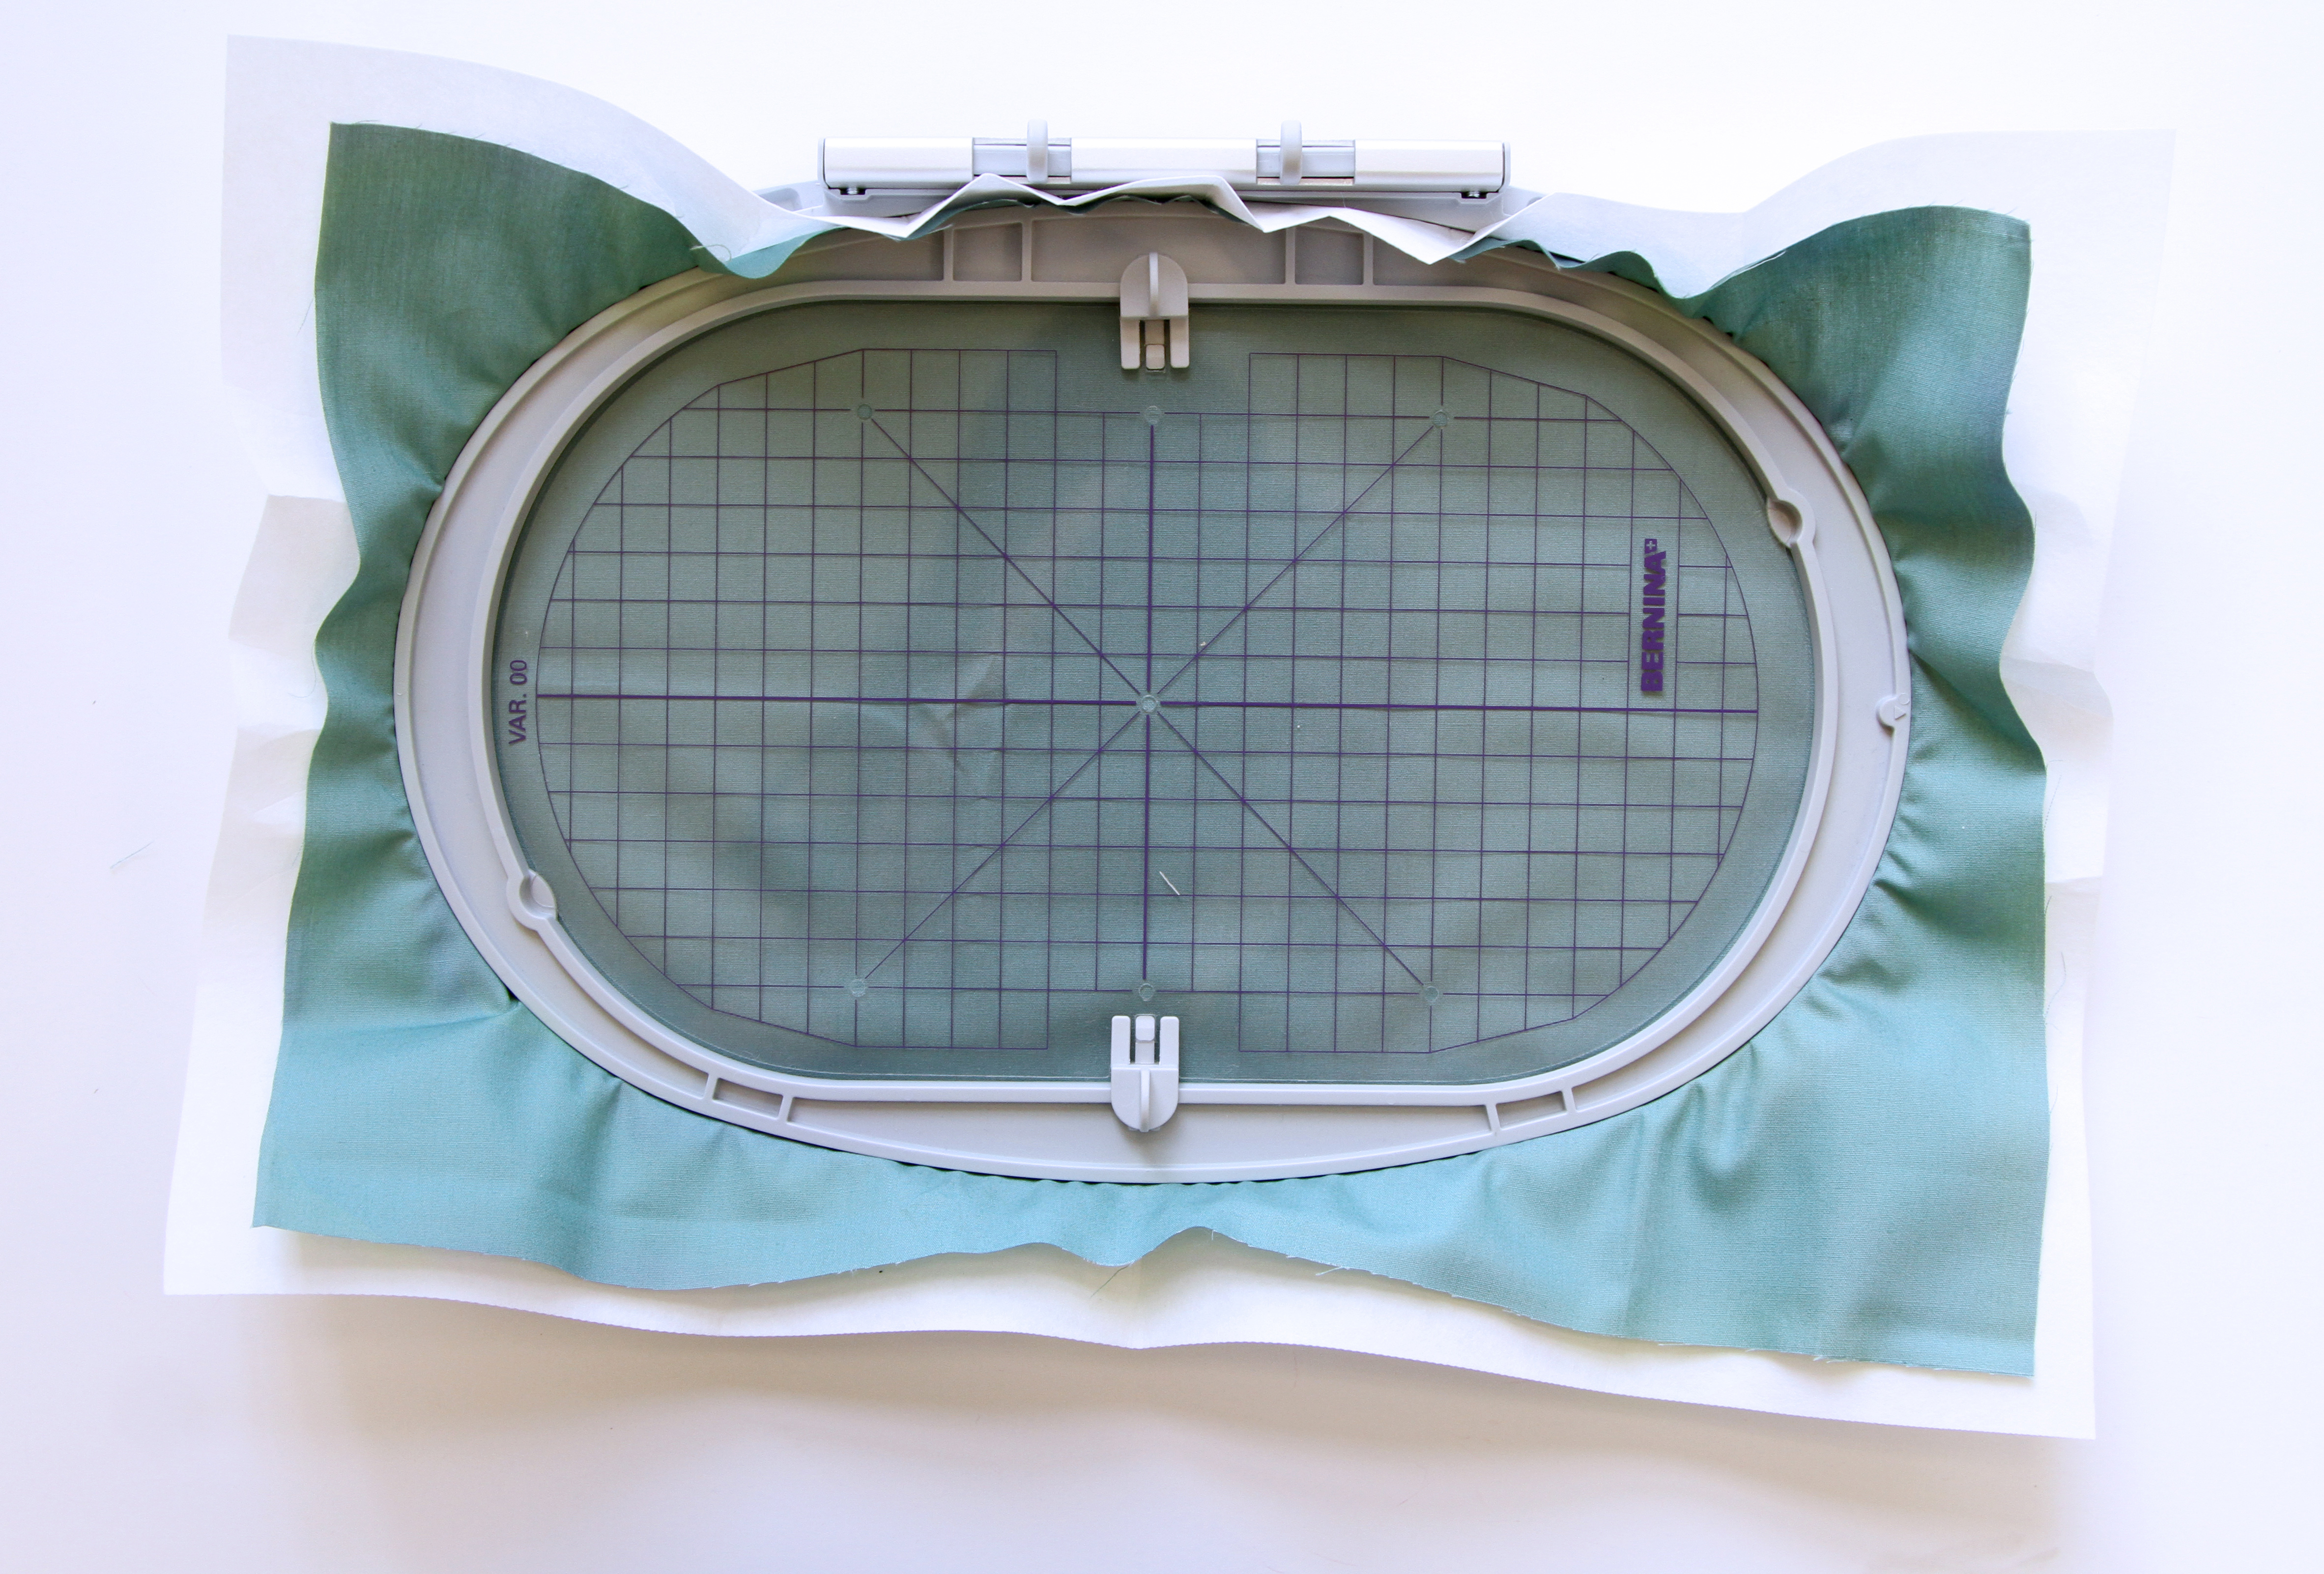
For this tutorial, I will explain how to create one bag (with Fabric A), the steps are the same for the other two. We will be using the Oval hoop for this embroidery. Mark the center of the motif in the 15″ by 14″ of Fabric B using a water-soluble pen. Then loosen the screw on the outer hoop and remove the inner hoop. Make sure the arrow marks of both hoops match and attach the template holder. Next, place the template in the inner hoop, so the BERNINA logo is at the front edge at the arrow mark until in clicks in place. Place Fabric B and tear away stabilizer under the inner hoop and line up the marked center point on the center of the template. Now place Fabric B, stabilizer, and the inner hoop on the outer hoop so that the arrows of both hoops match. As a final step, attach the hoop to the embroidery module (explained in video).
Prep your machine with needle, embroidery foot (Embroidery foot #26, drop-shaped) and Aurifil thread #2783.

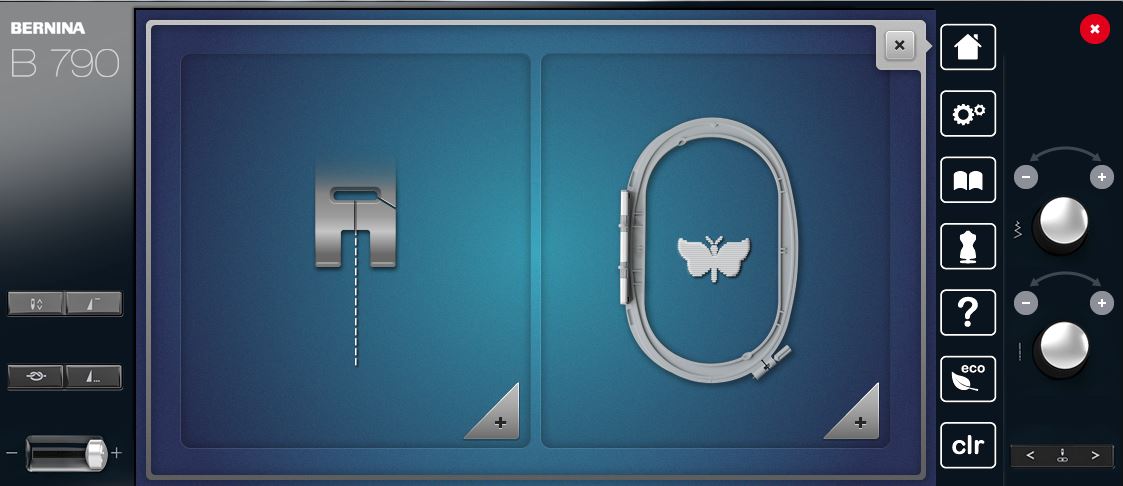
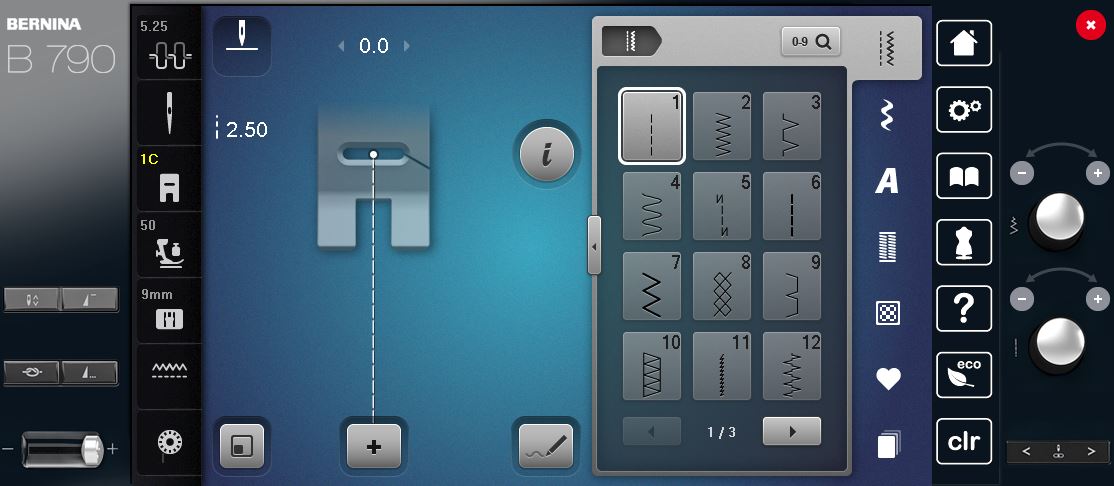
Select the Home button and click on the butterfly and hoop side, which is the embroidery section of the machine.
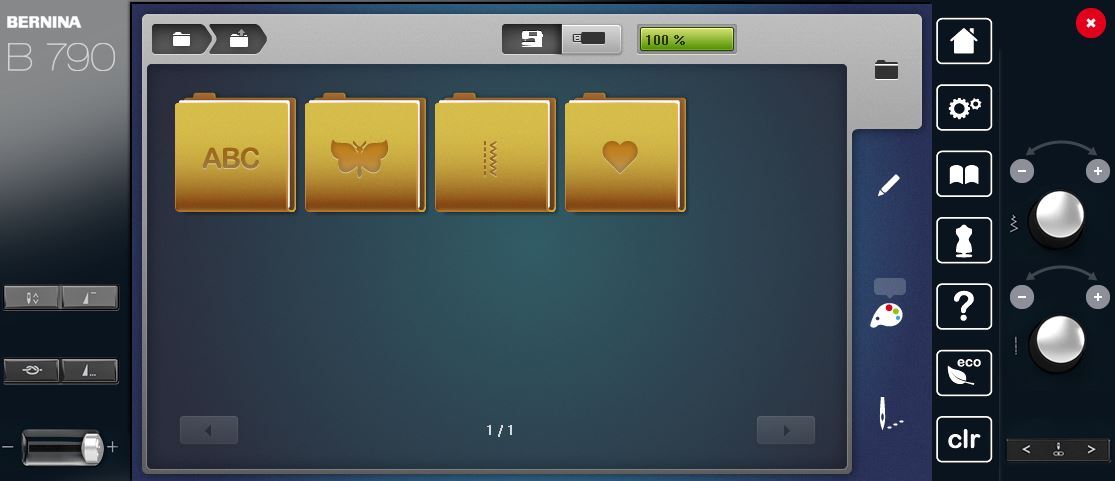
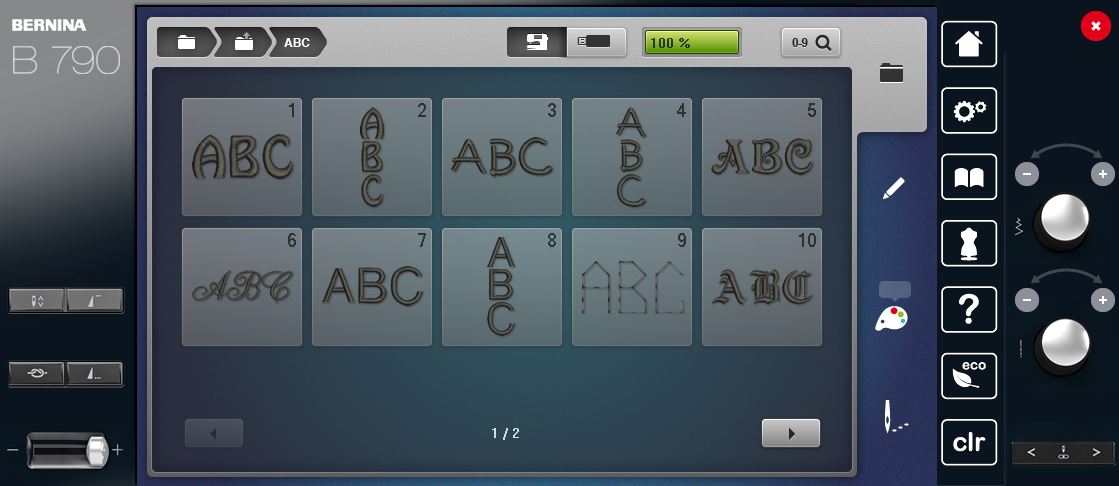
Select the alphabetical motif.
We are will use motif #3.
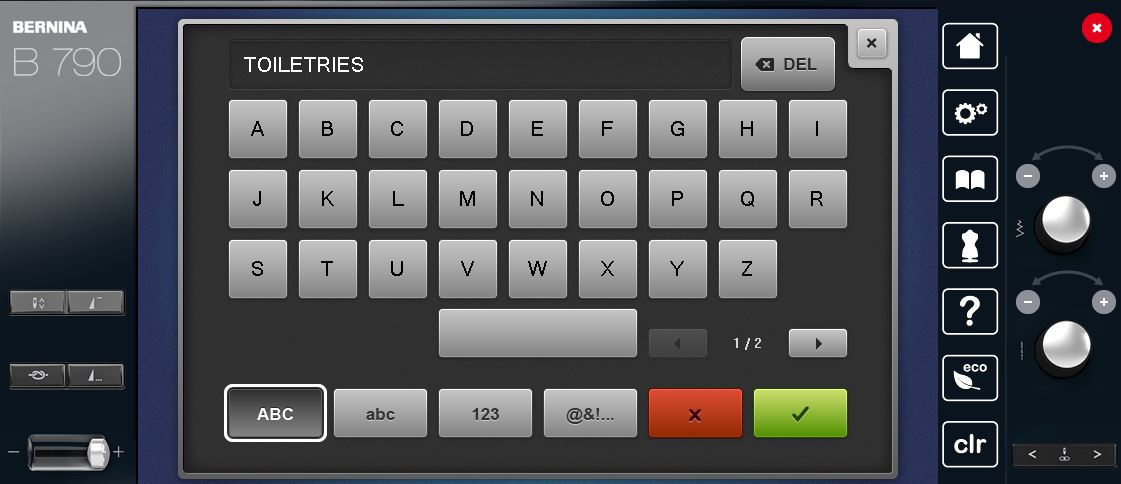
Let’s start with TOILETRIES, type the word on the screen’s keys and hit the green button.
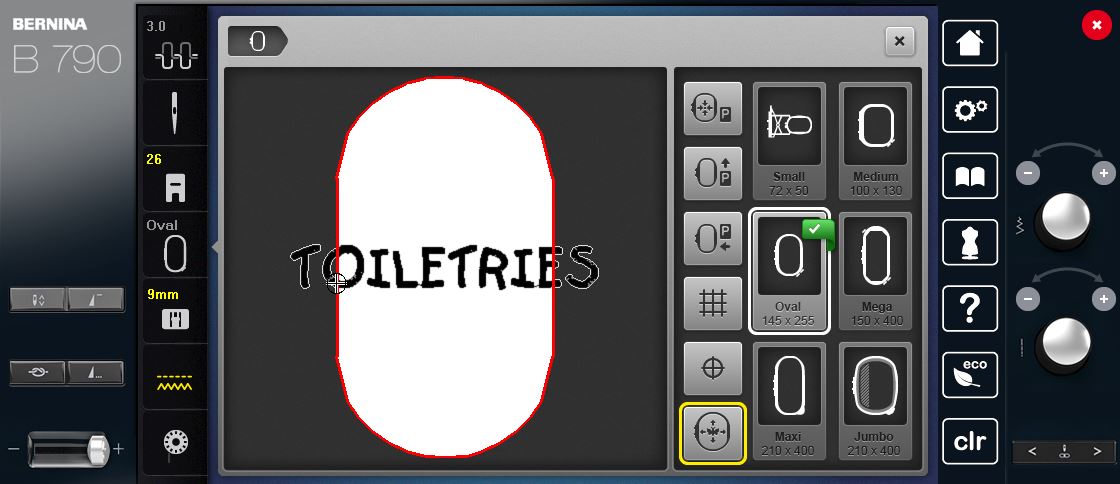
Select the size of the hoop, in this case it will be the oval hoop, 145 x 255.
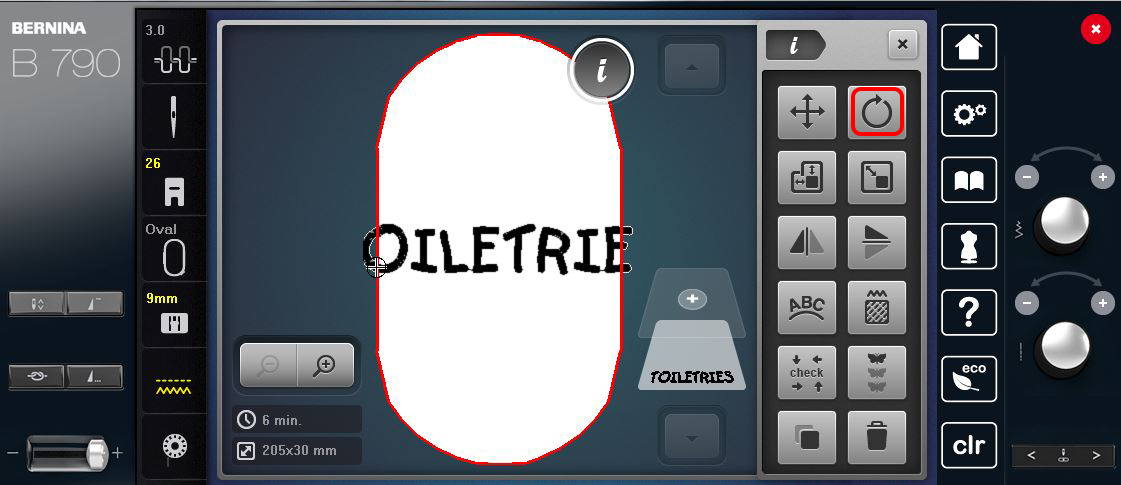
You see that our embroidery is horizontal and we want it vertical, so click on the information icon and then on the Rotating the Motif icon.
Press the +90 degree icon.
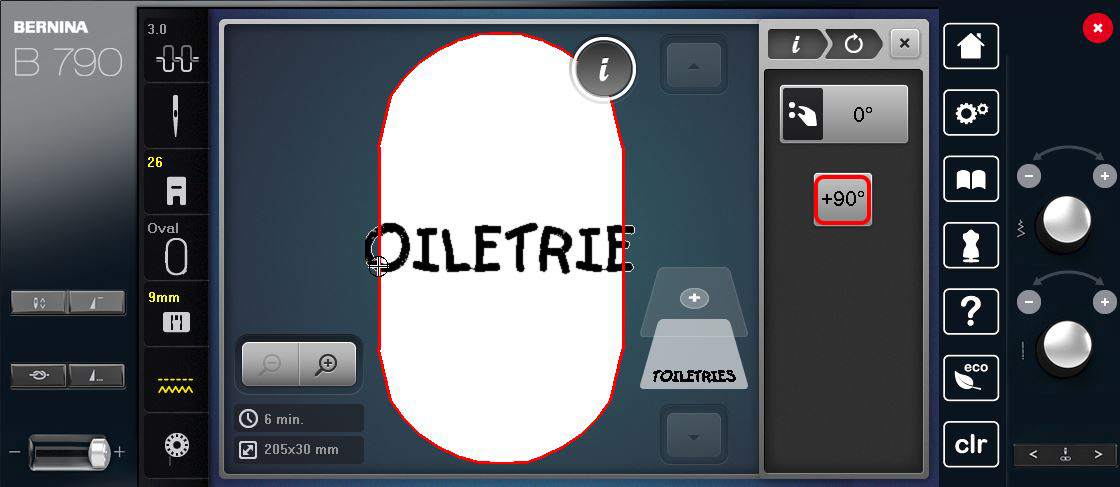
And your motif will rotate vertically 90 degrees.
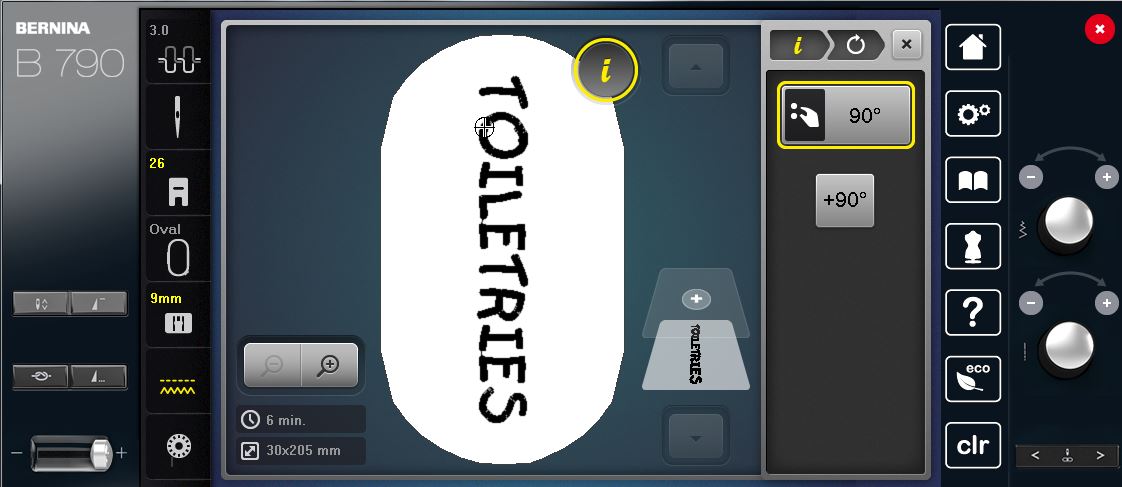
Exit the previous window and your screen will look like this.
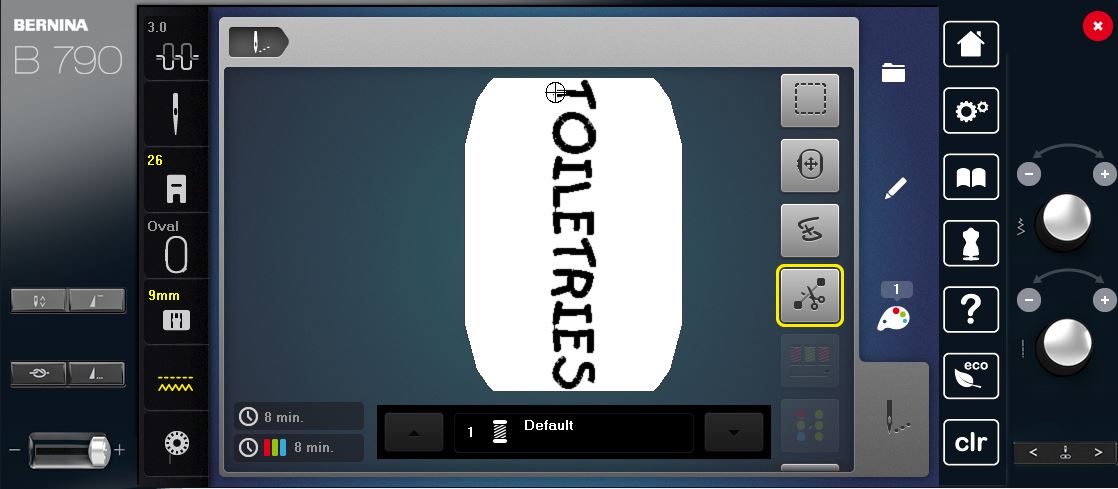
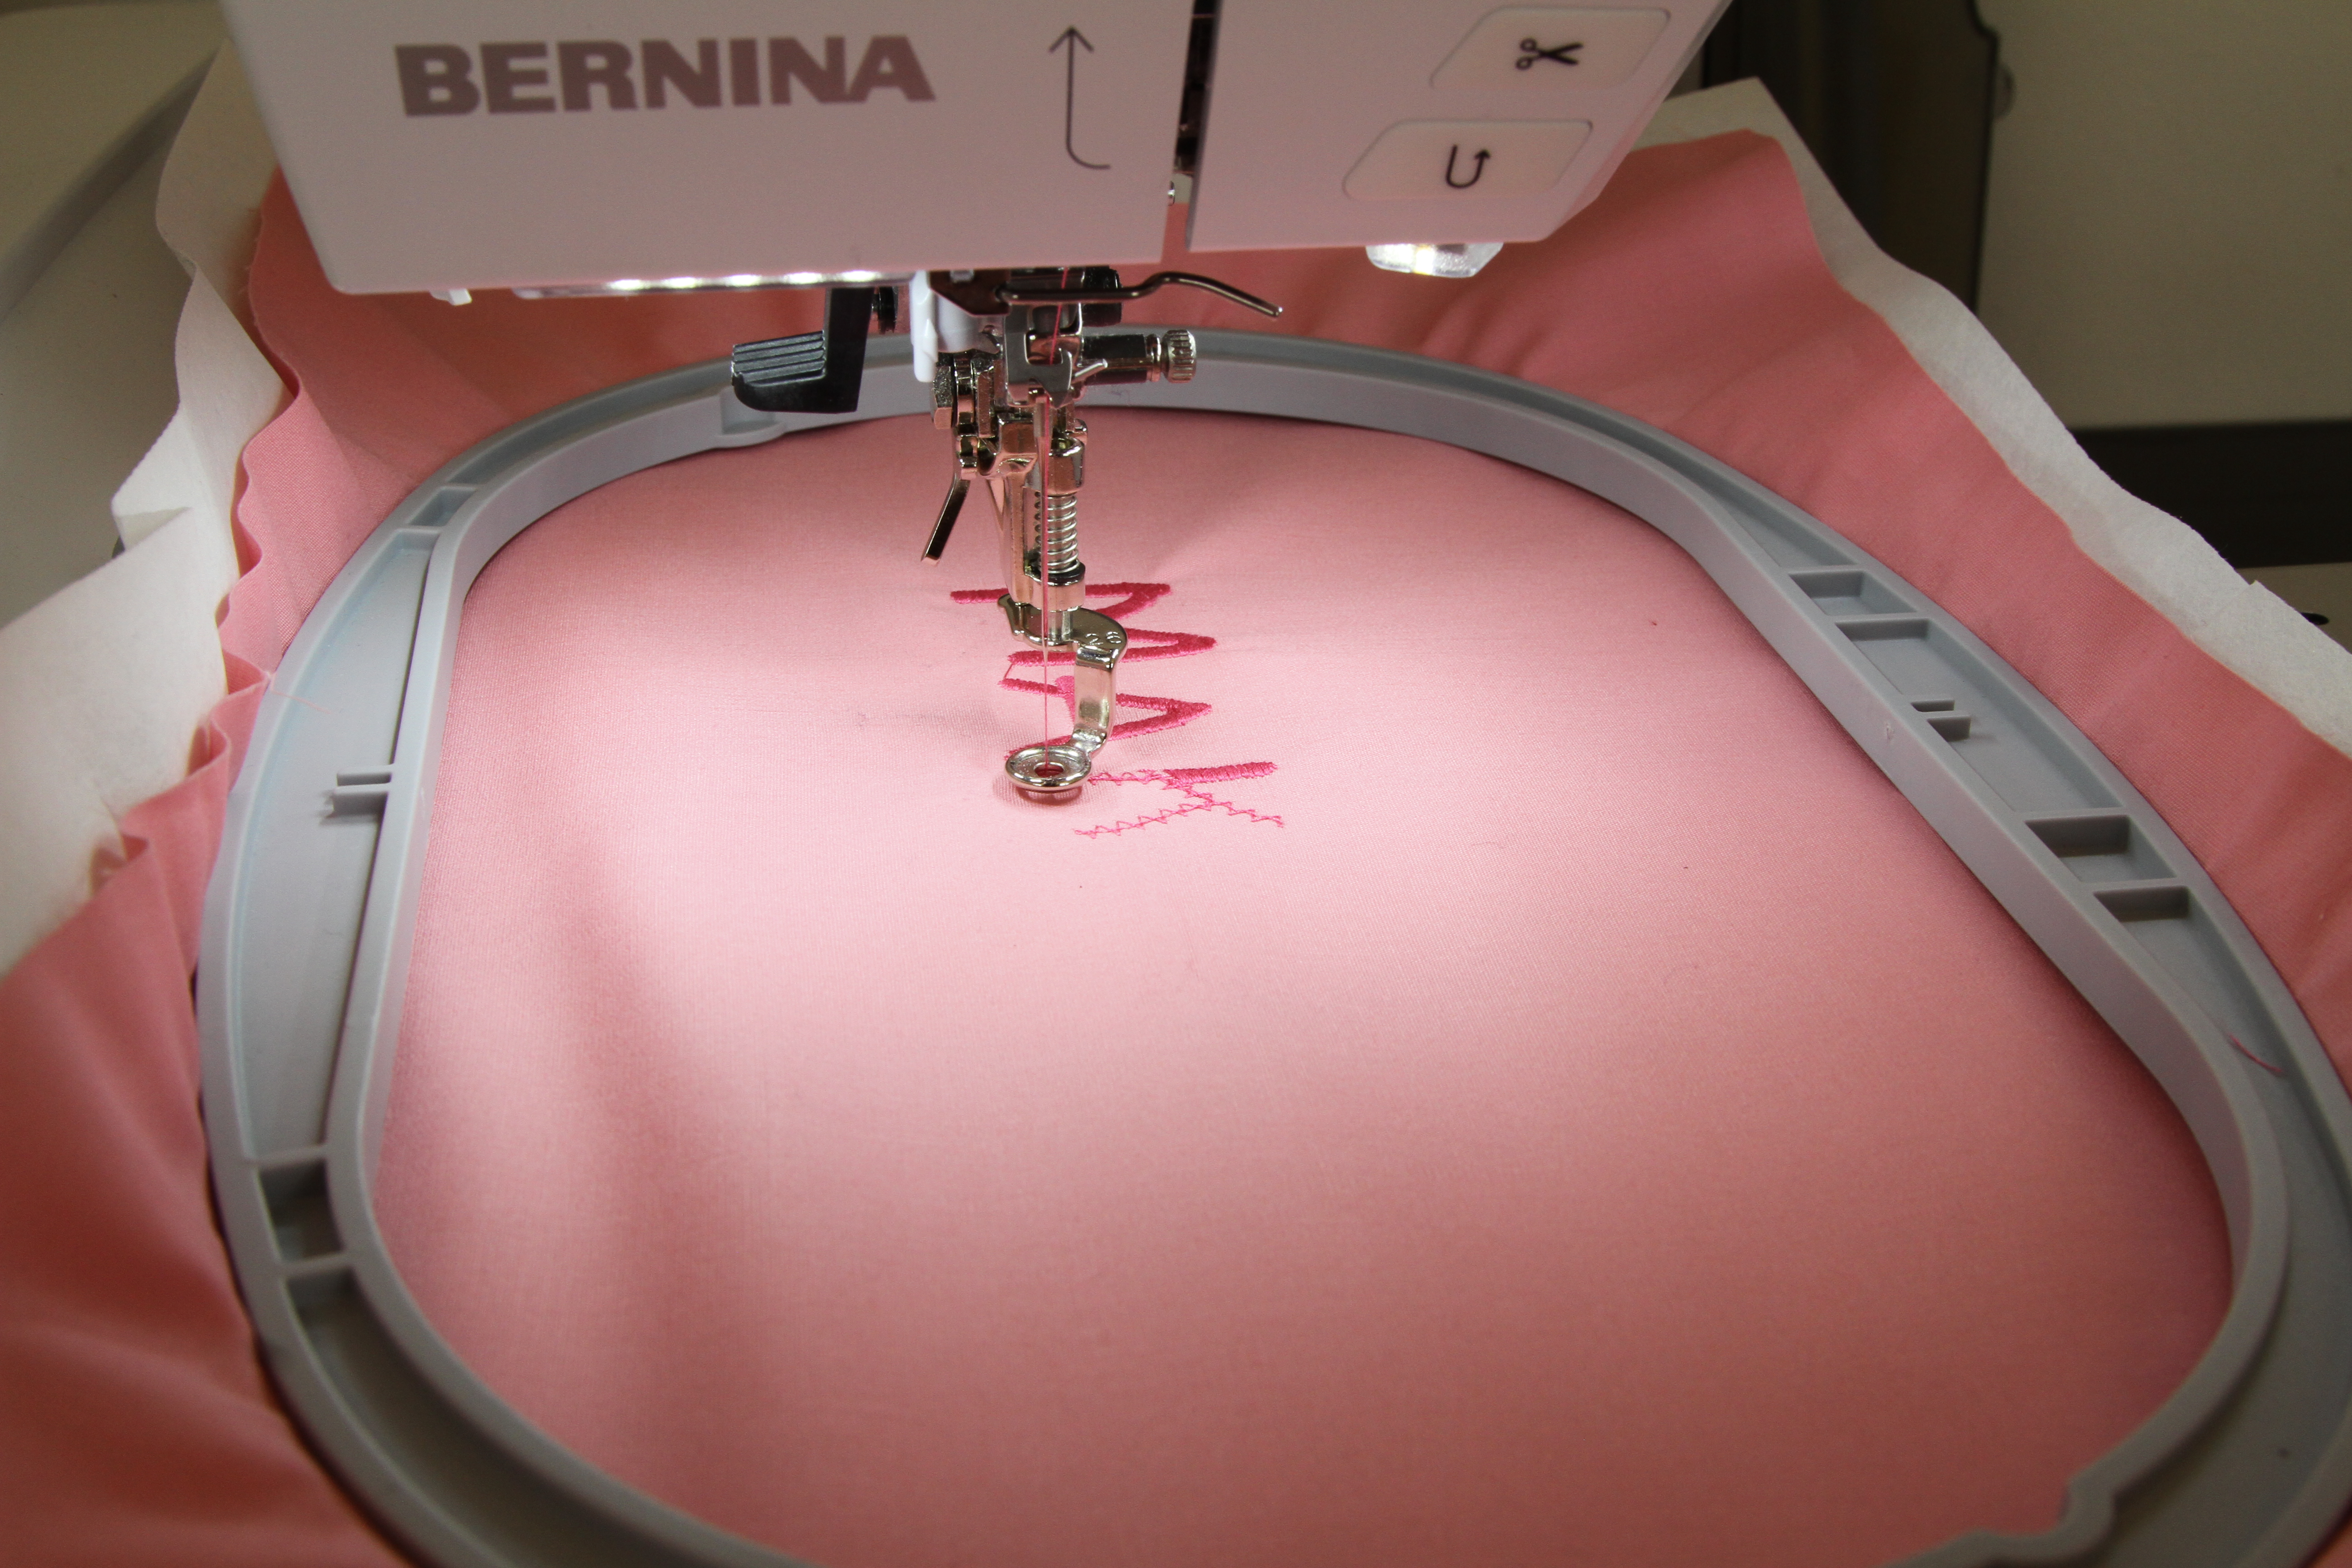
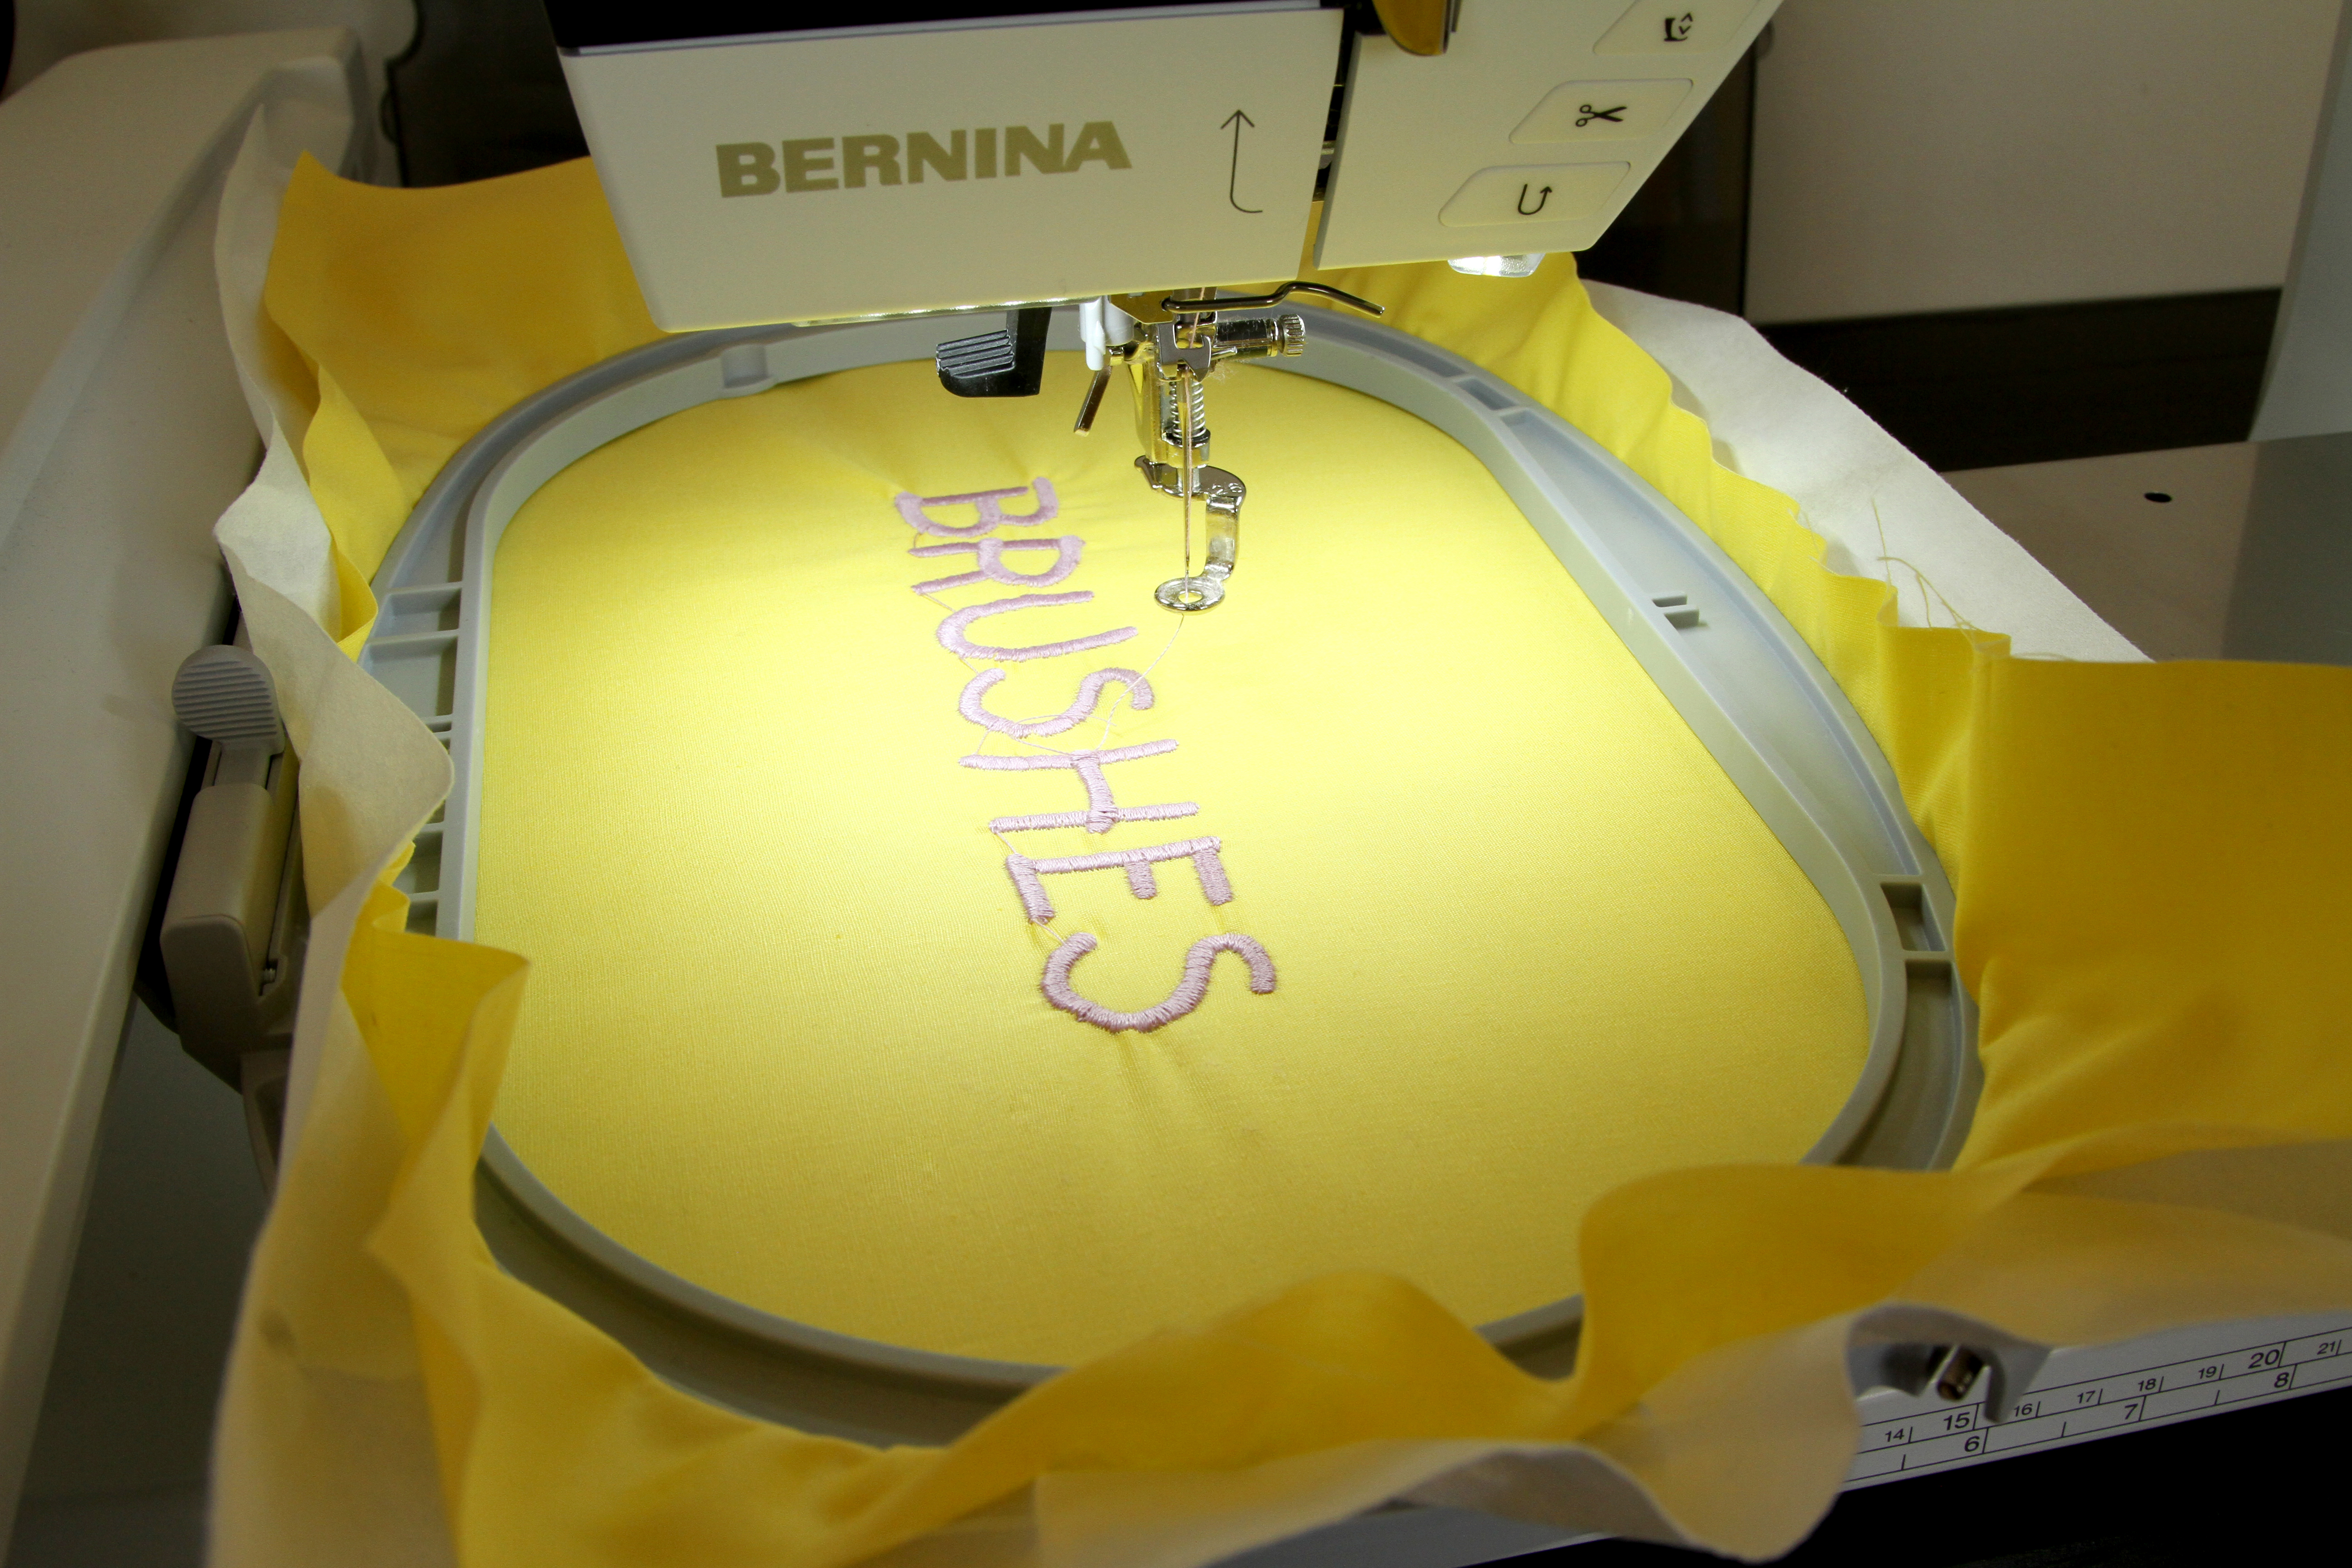
Now start stitching! The embroidery will approximately take 8 minutes.

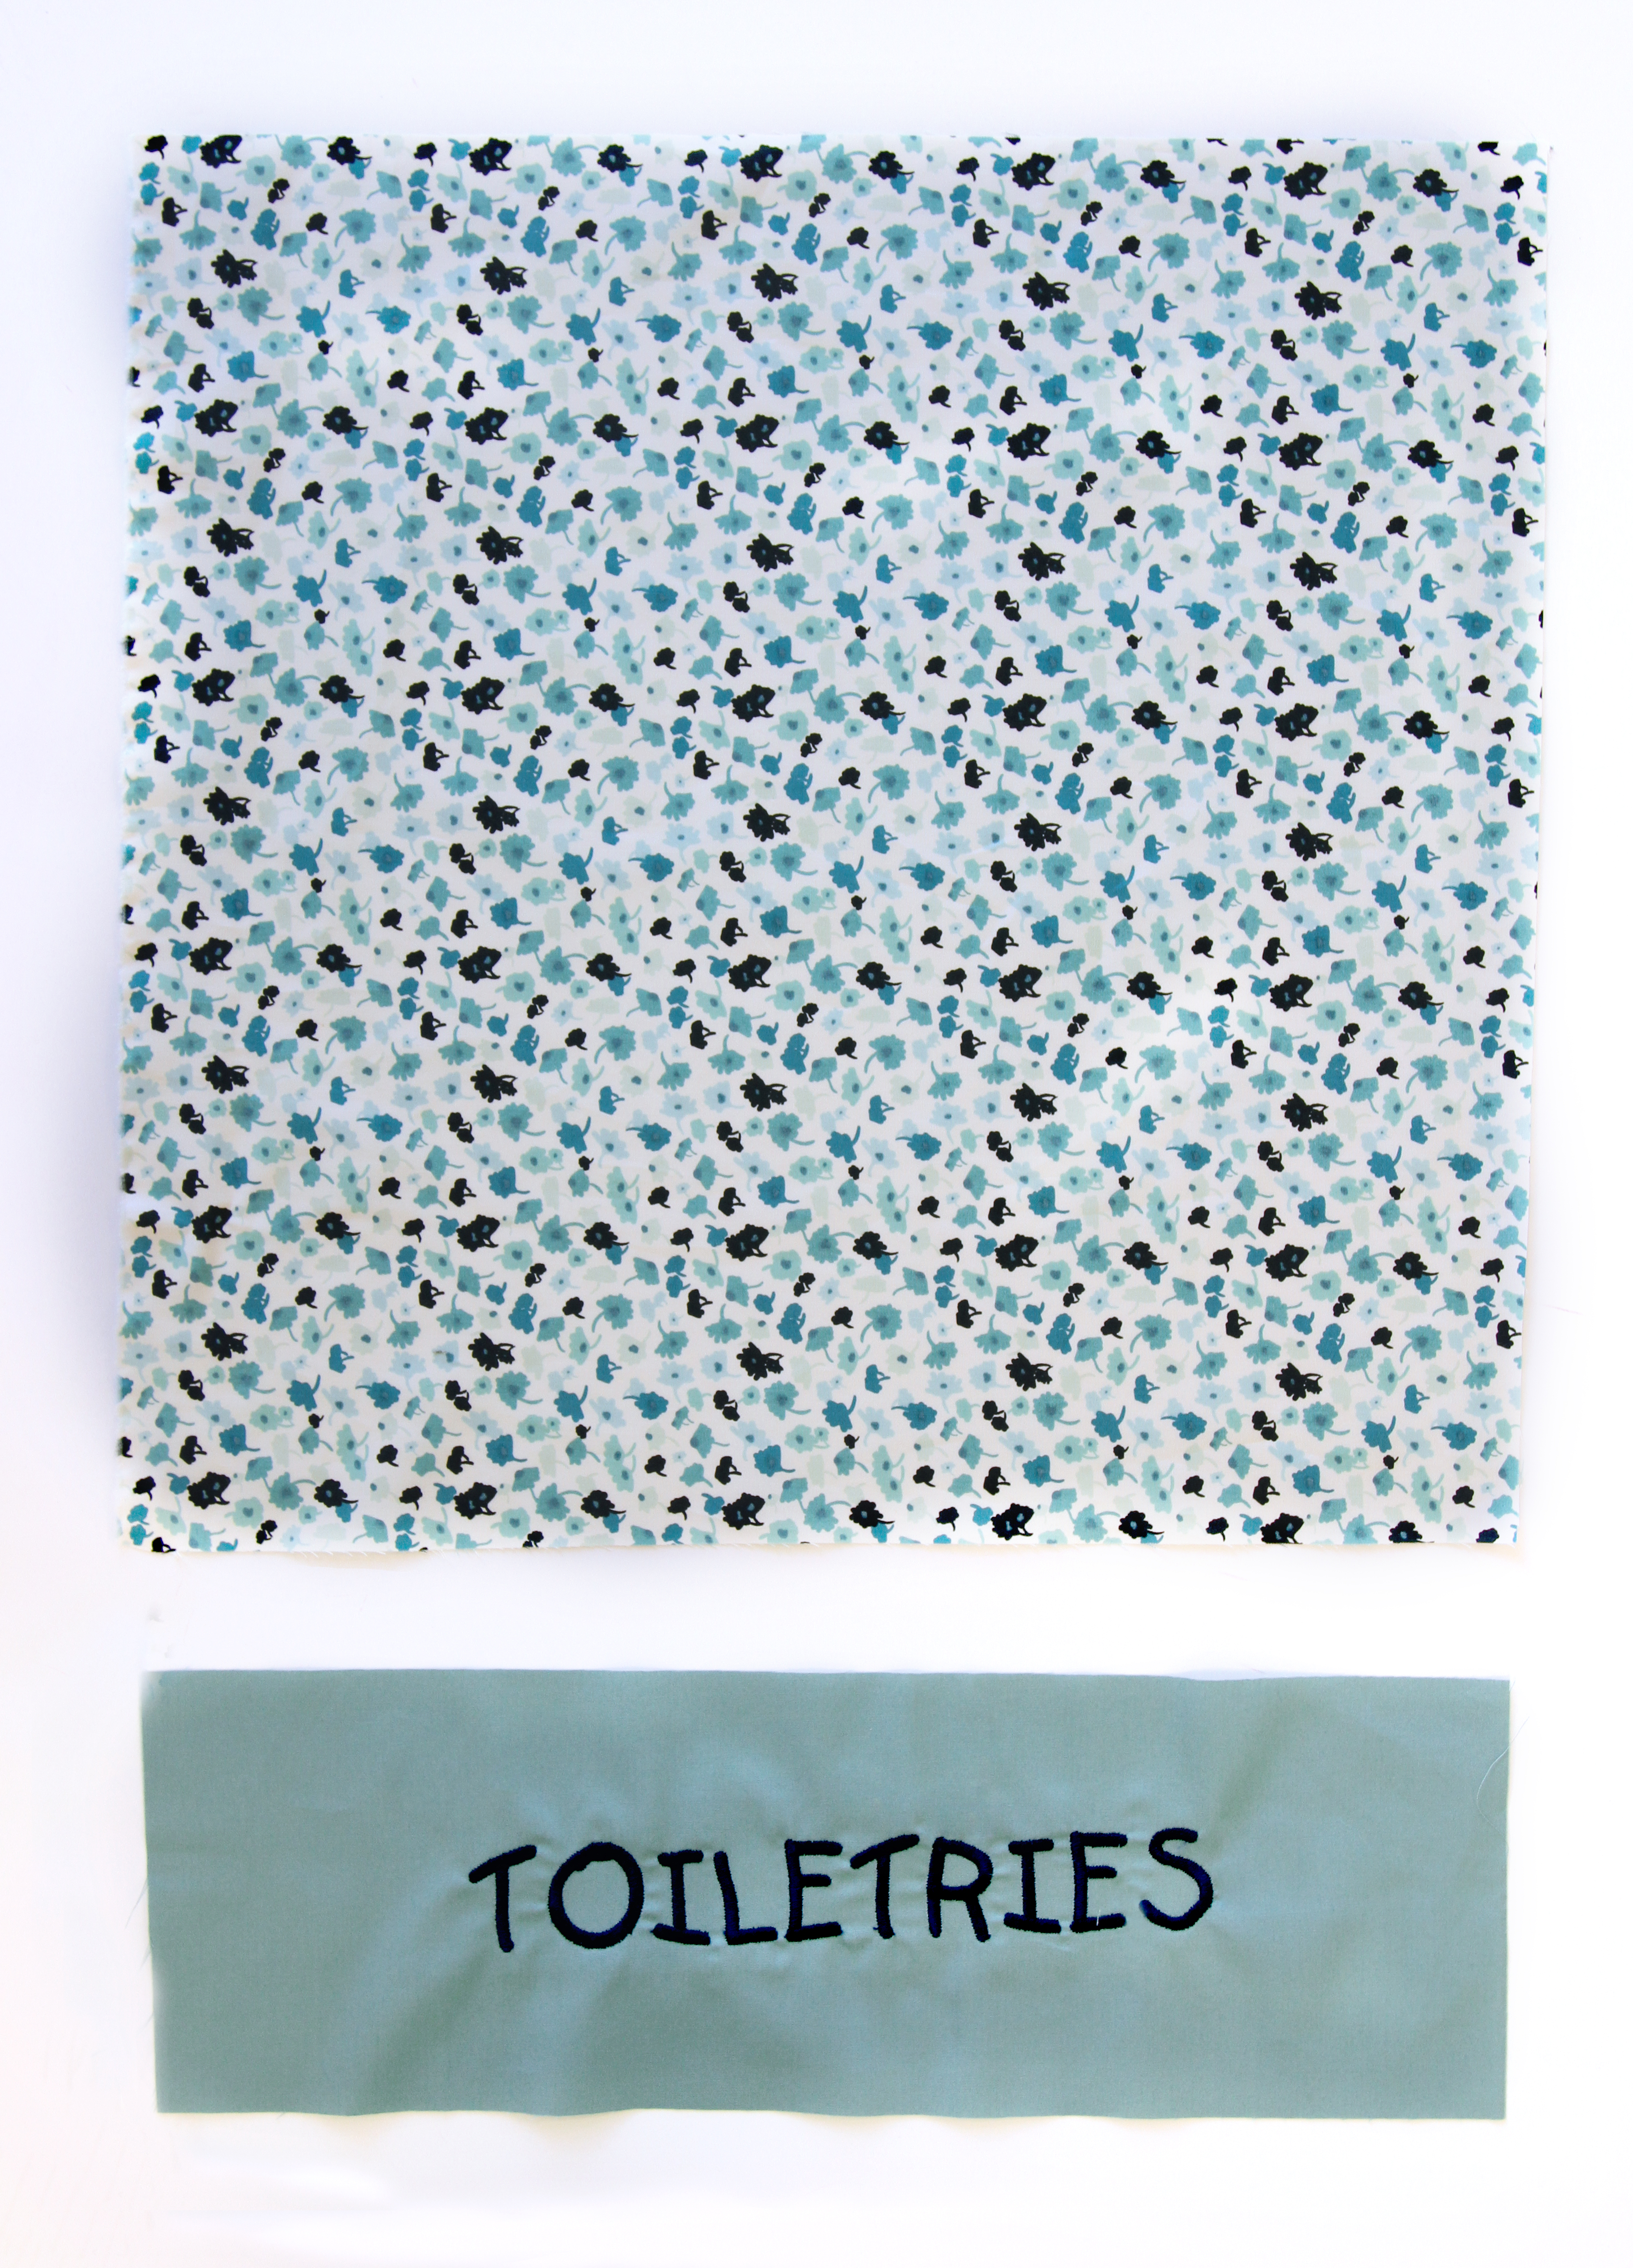
And this is the final result.
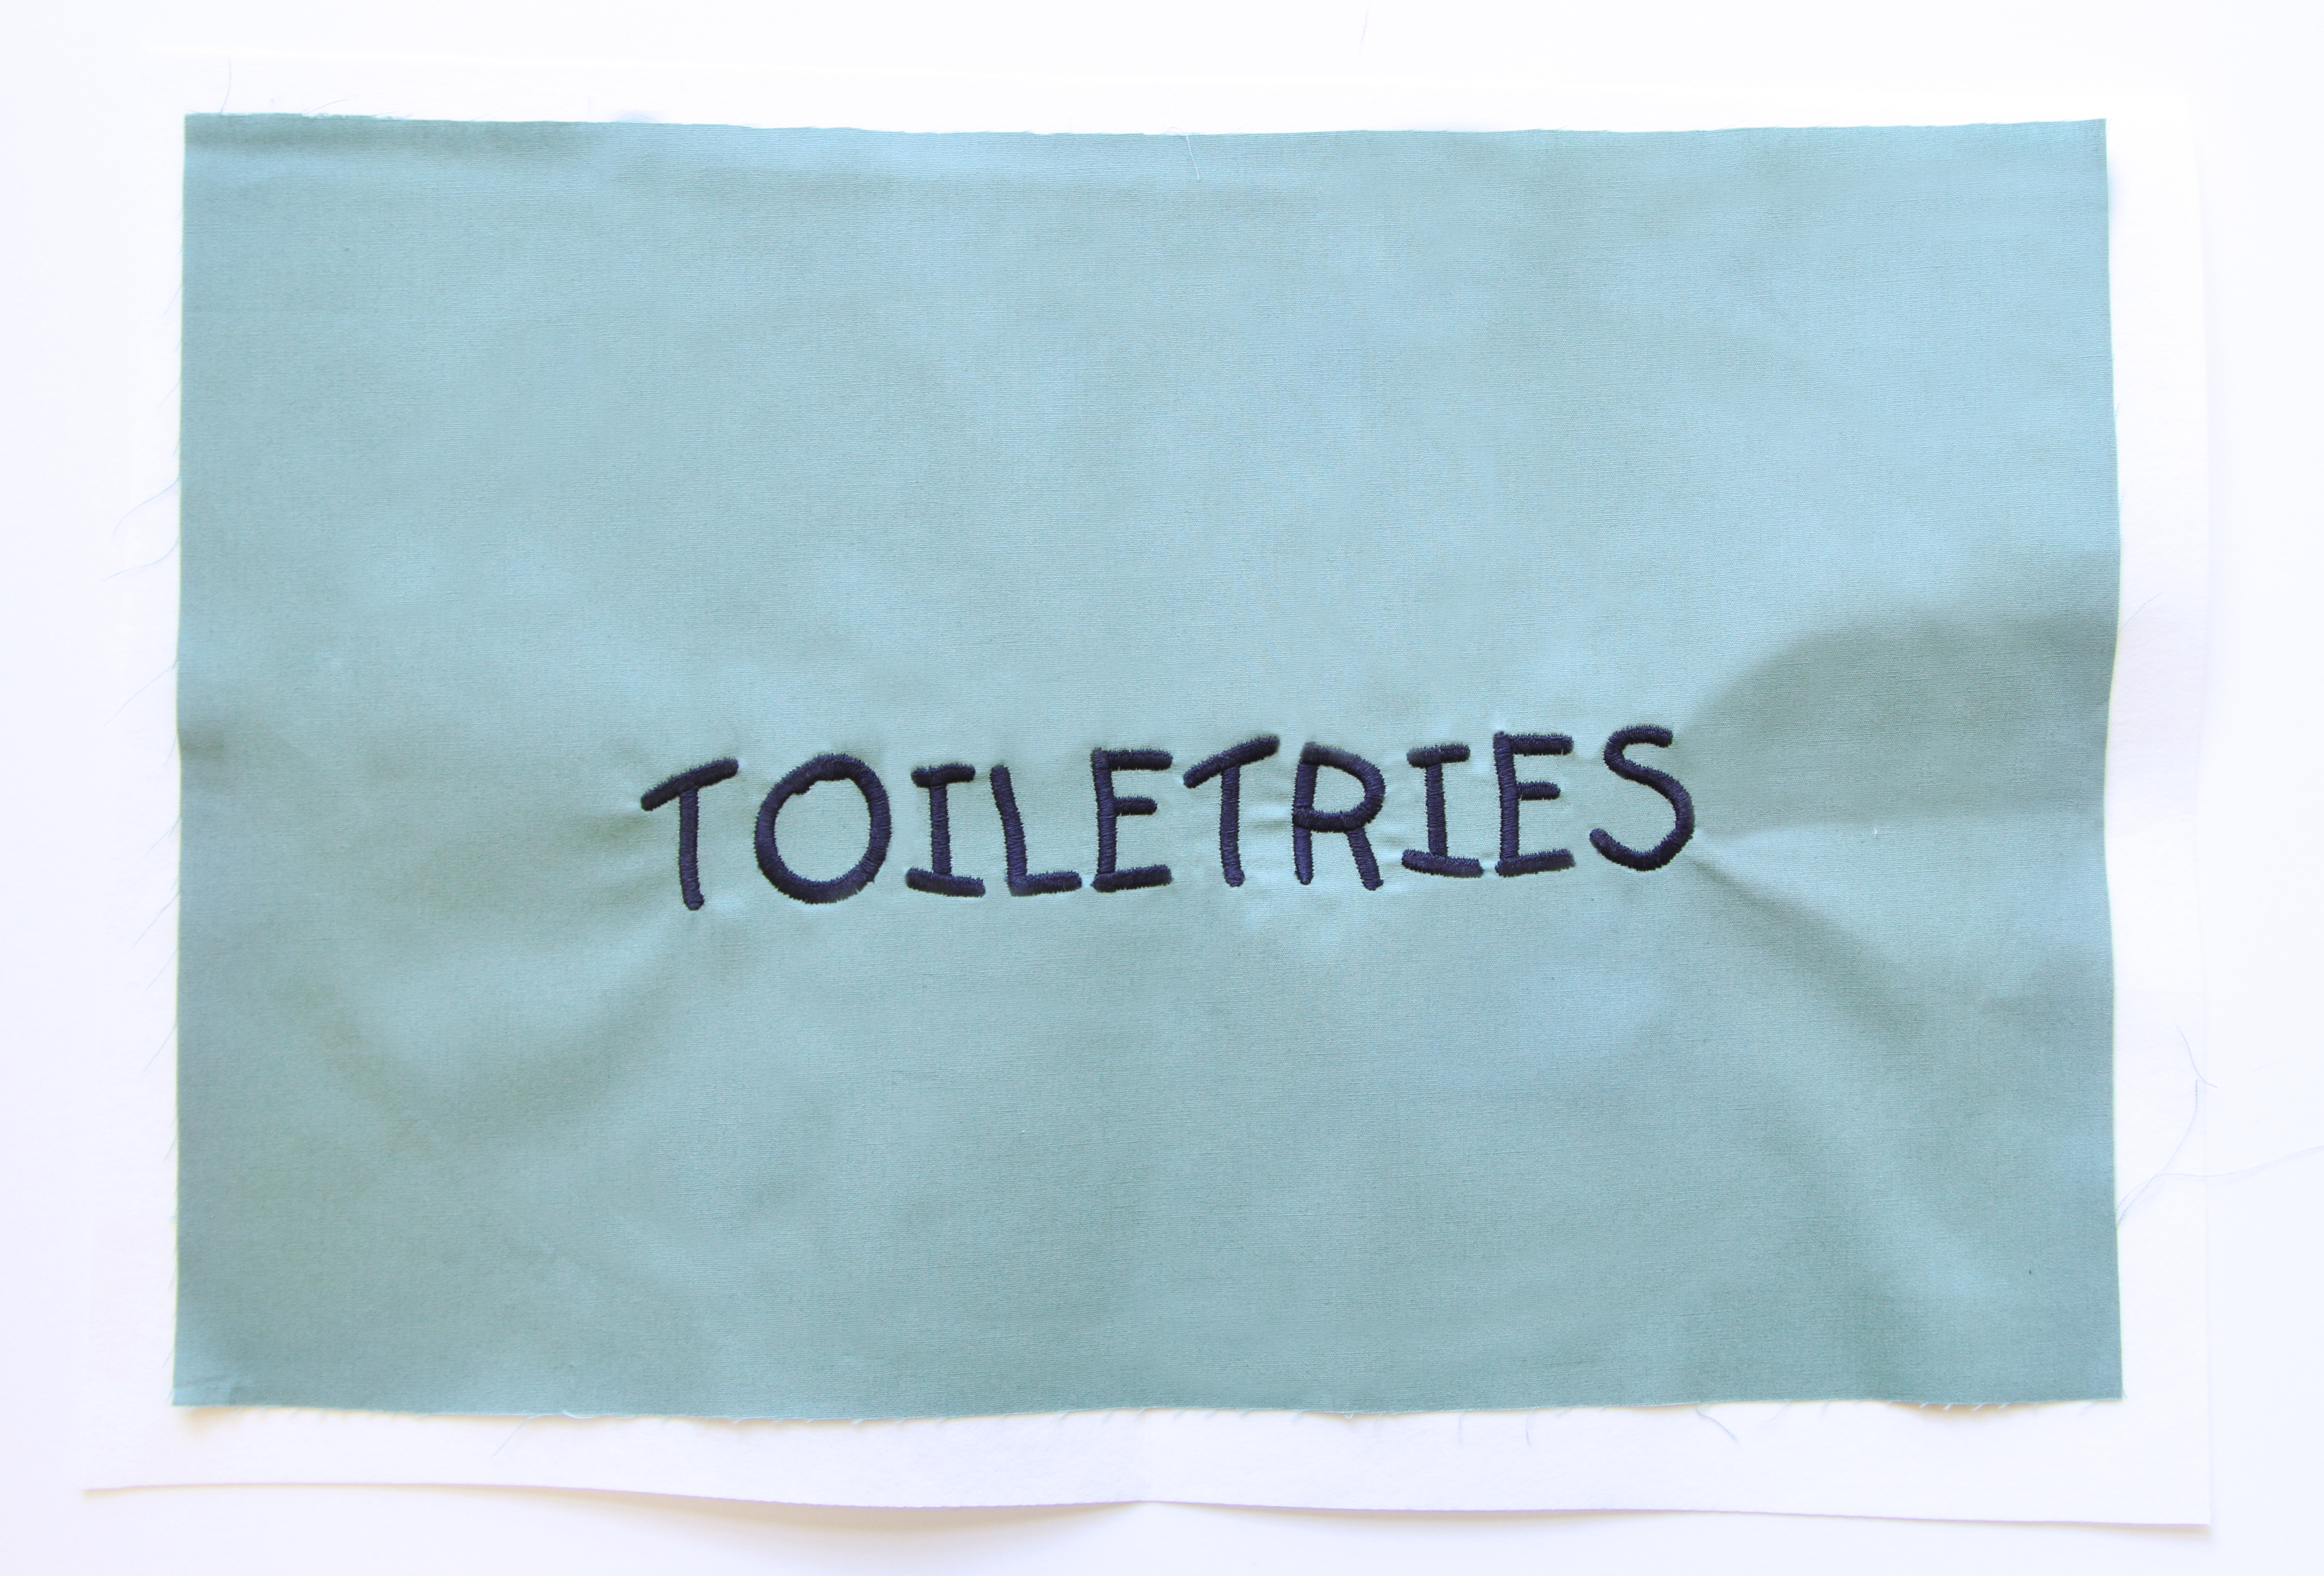
Repeat this same step with the 15″ by 14″ of FABRIC D and F.
Step 2- Constructing the Bag
Prep your machine by changing the presser feet to the Reverse pattern foot #1 and selecting straight stitch #1.
Take one of the 15″ by 15″ piece of FABRIC A, and cut the embroidery piece (Fabric B) to 15” by 10”. Cut away the extra stabilizer close to the embroidery.
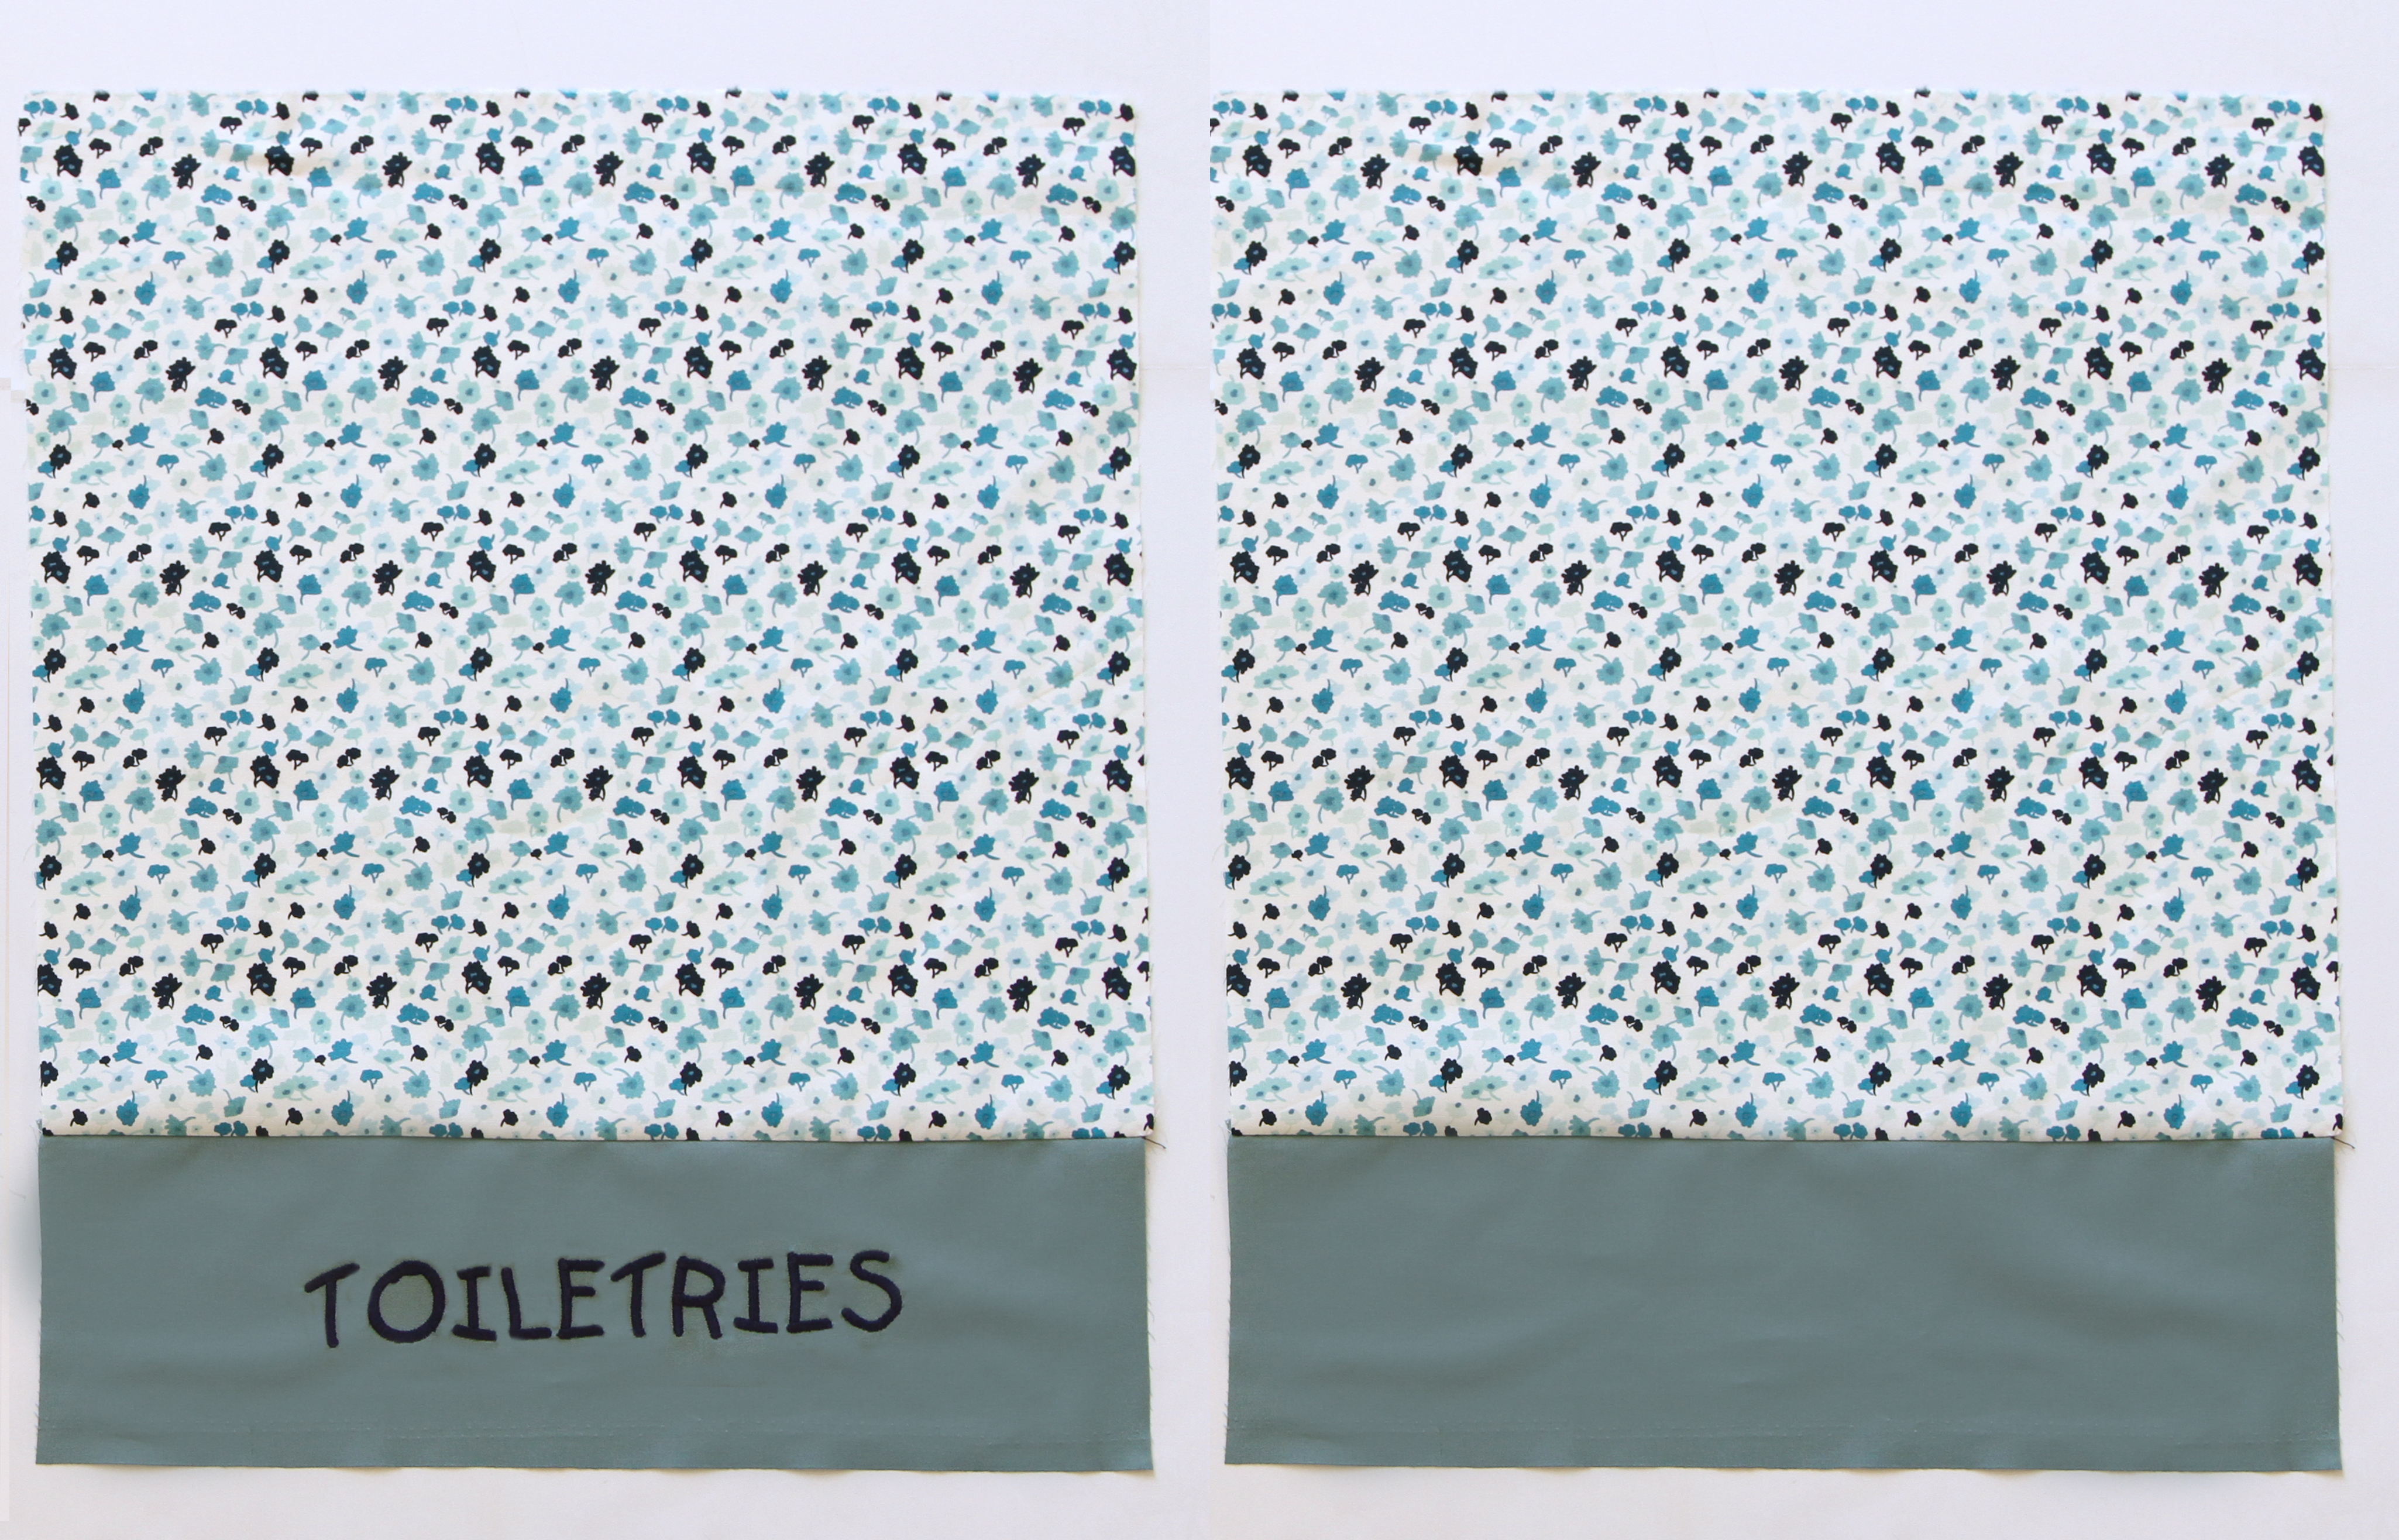
Now make sure embroidery side of Fabric B is facing the right side of Fabric A and stitch along bottom edge with 1/2″ seam allowance as shown below.

Take the last 15” by 15” piece of Fabric A, and the 15” by 10” piece of Fabric B, and sew together in the same way.

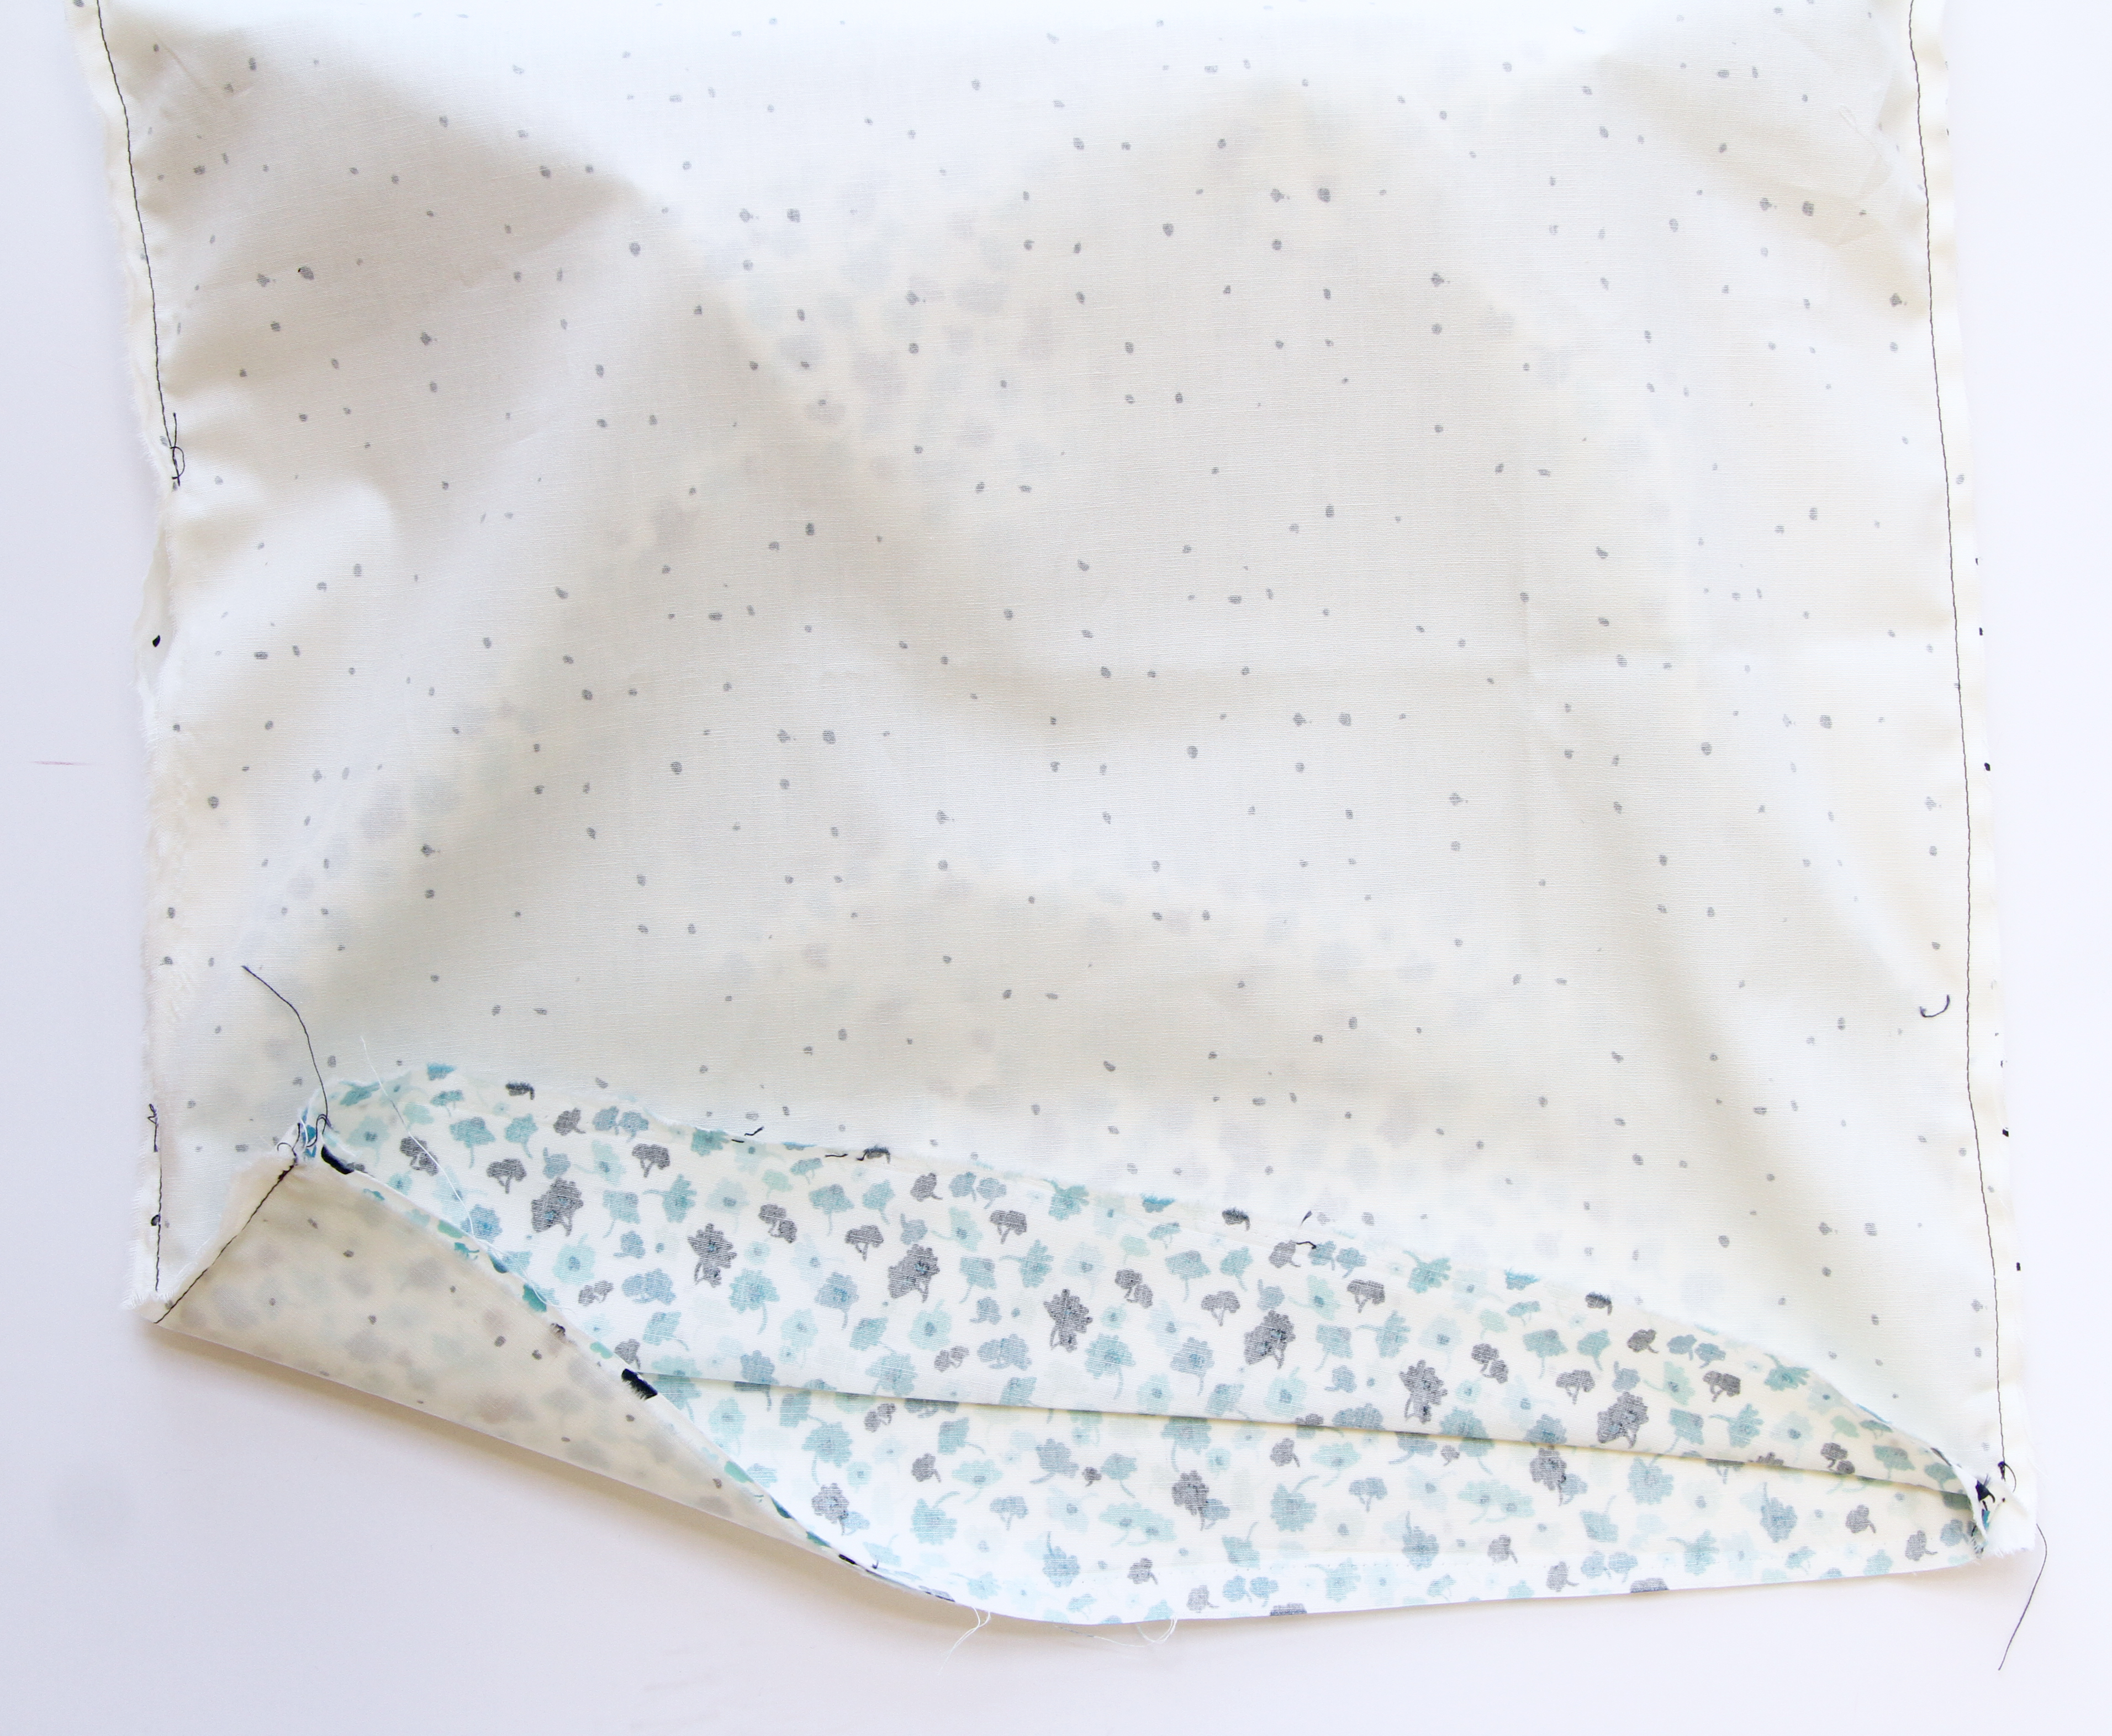
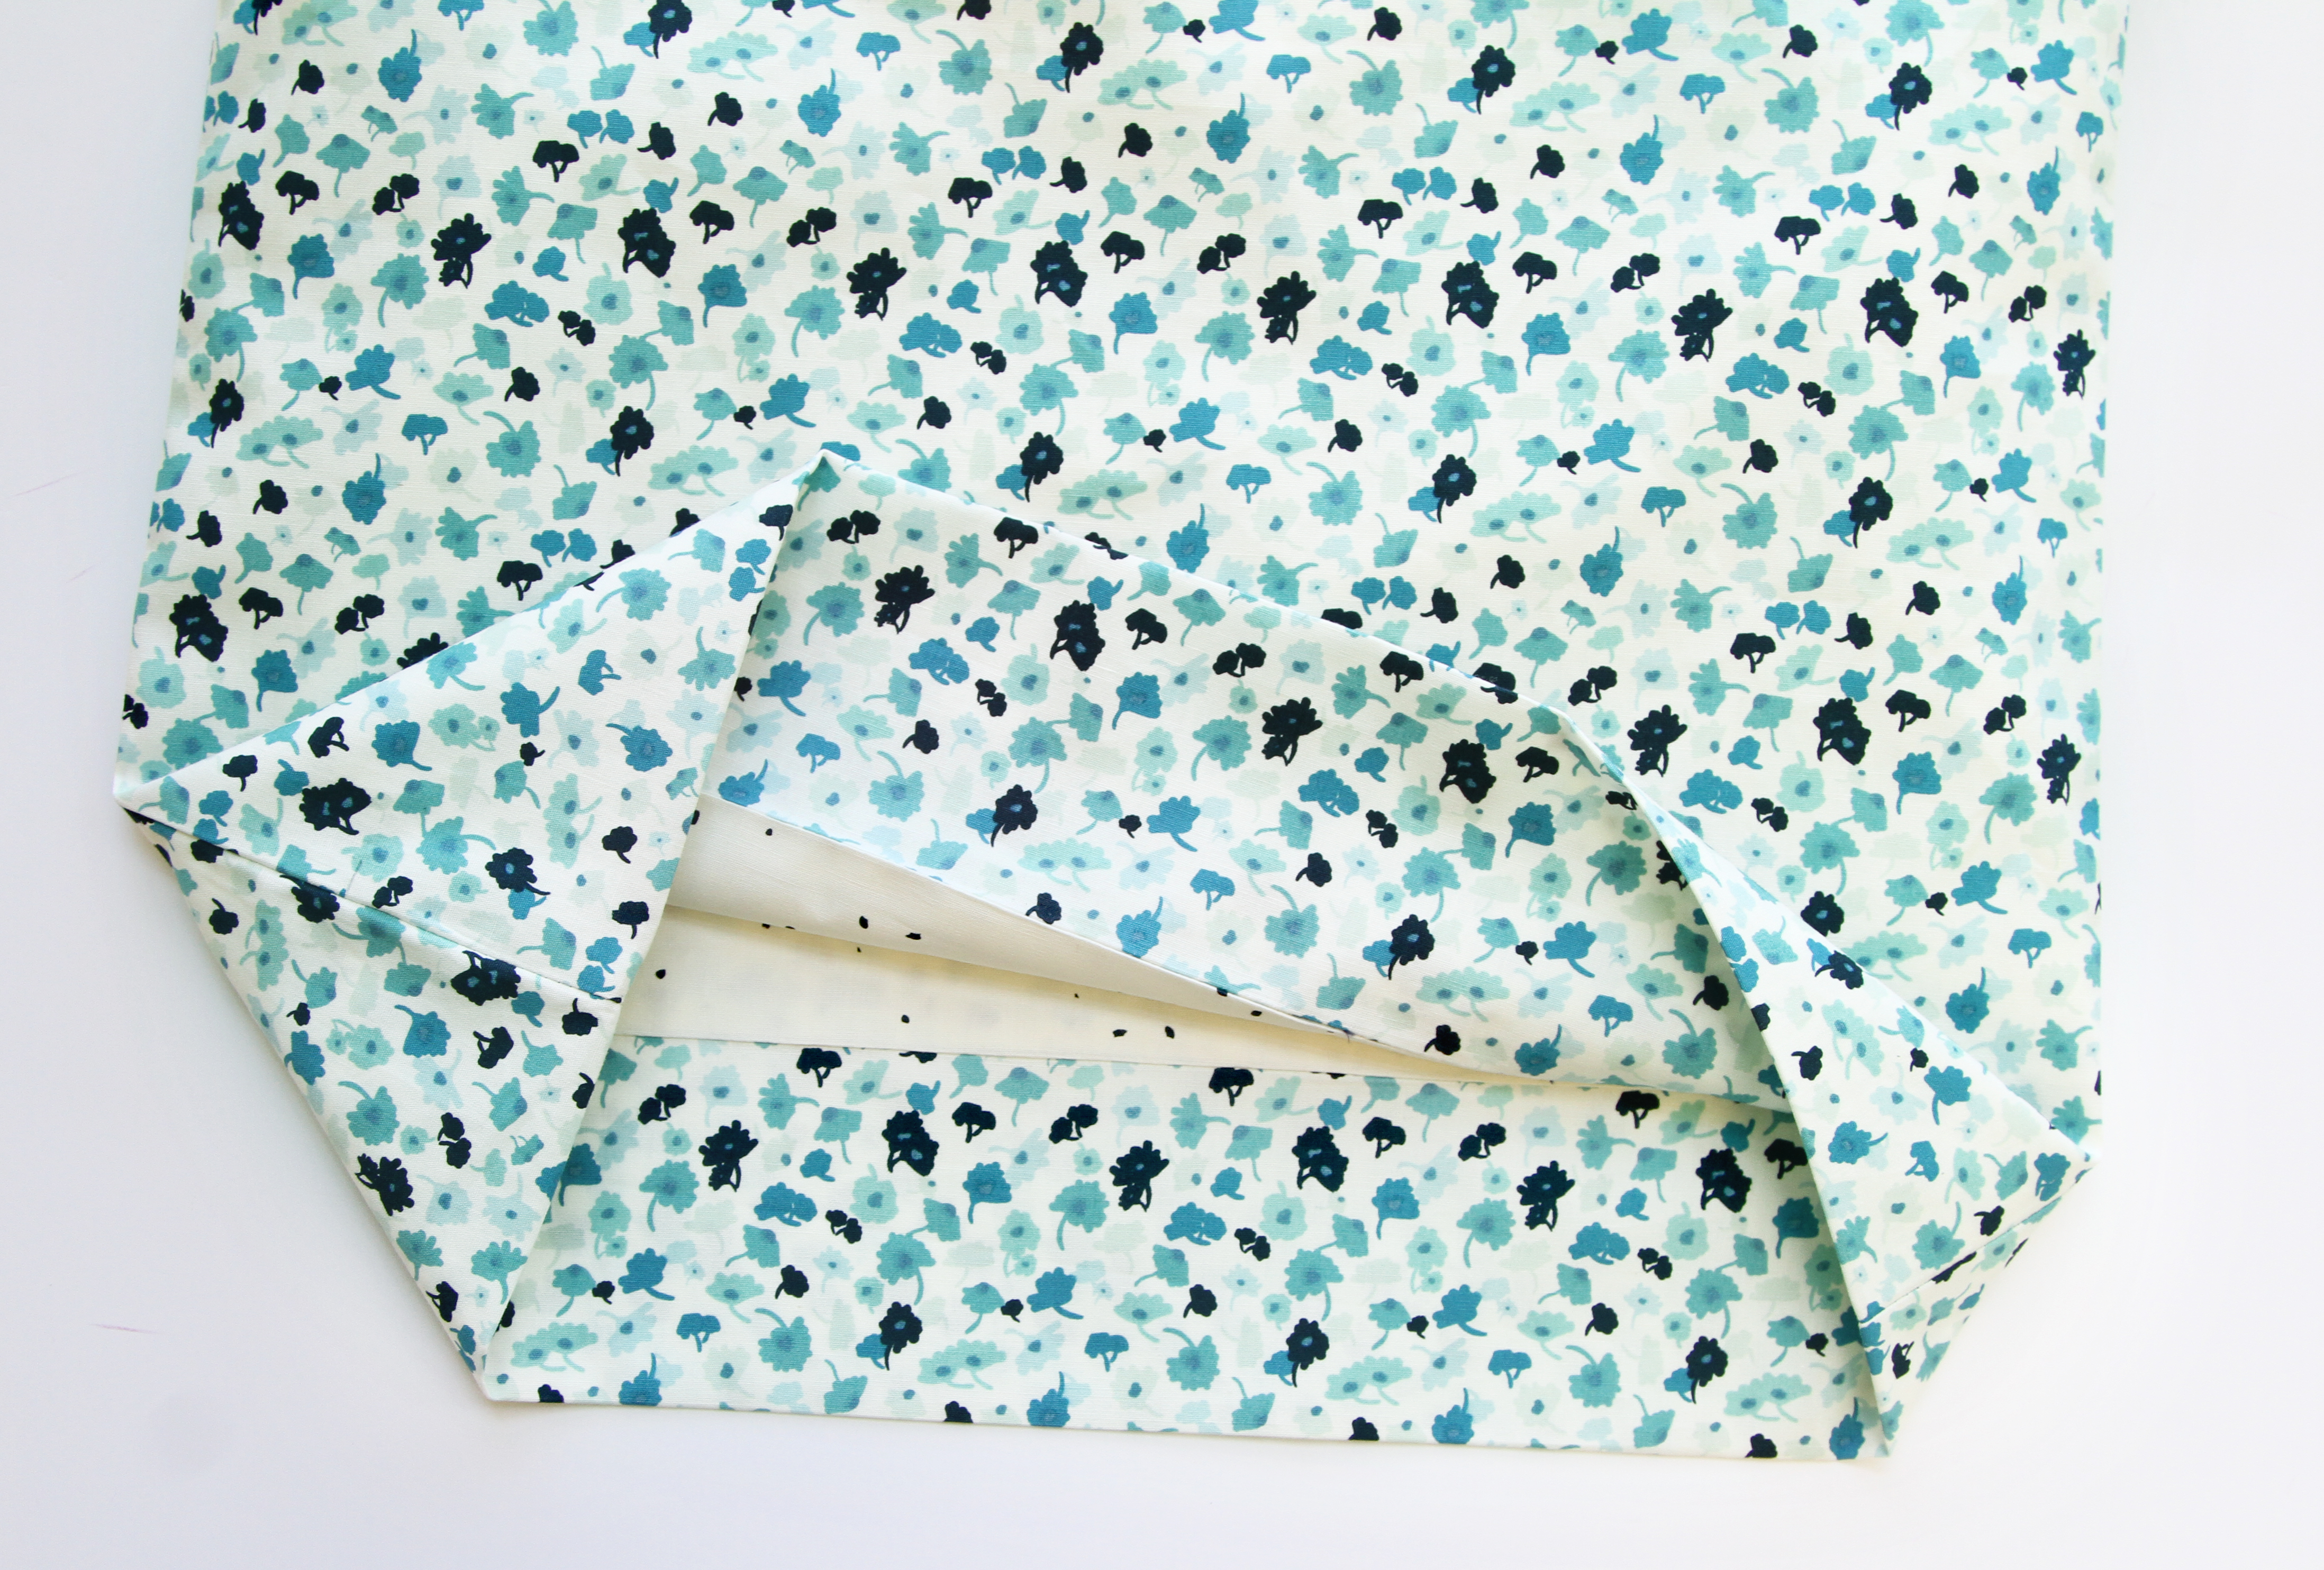
Now that you have both the front and the back pieces finished, let’s sew them together with a 1/2” seam allowance. To do so, place right sides of the fabric facing each other and stitch around, leaving the top of the bag open.
Fold it over and press. Now you have the outer part of your jetsetter bag ready!

Step 3- Creating The Drawstring Button Hole
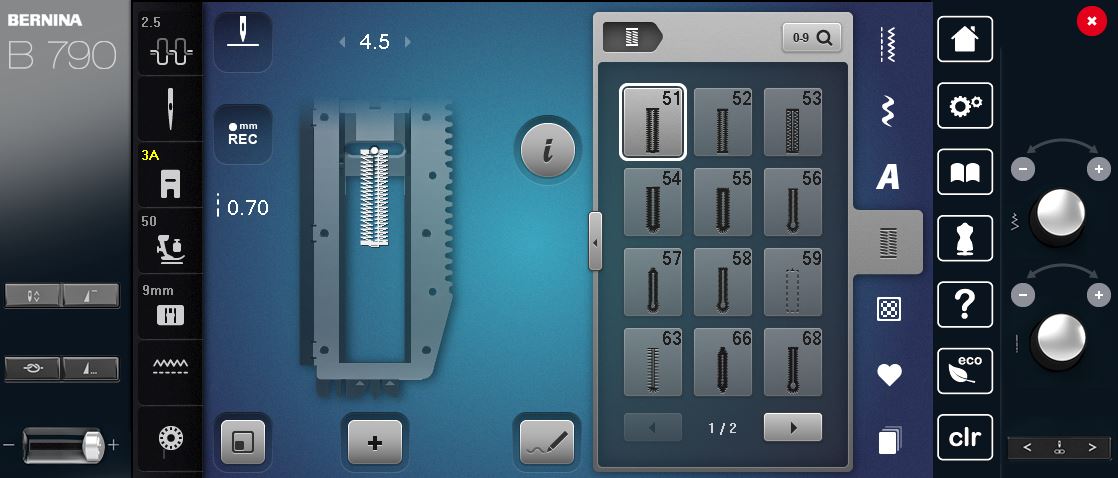
Prep your machine by attaching the automatic buttonhole foot with slide (Buttonhole foot with slide # 3A) and select stitch #51.
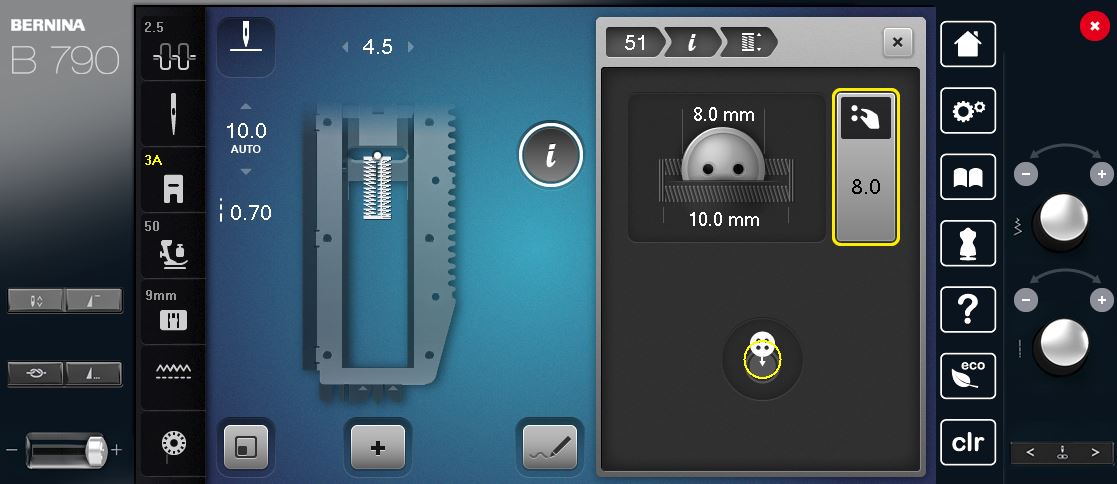
Select the Info button and change the length of stitch to 8.0 which will measure 1/2”.
Measure 5 1/2” from top to bottom and mark with your spot with water-soluble pen. Next, measure first from left to right 6” and mark your spot, make this same step from right to left. Now from that spot that you marked, measure 1/2, this will be the size of your button hole.

Make sure the button hole is being sewn only in the front layer of the bag. Start sewing from the 6” mark. The button hole size is already configured to measure 1/2” and will go over the 1/2” marked. Repeat this step to the other side.

Step 4- Lining
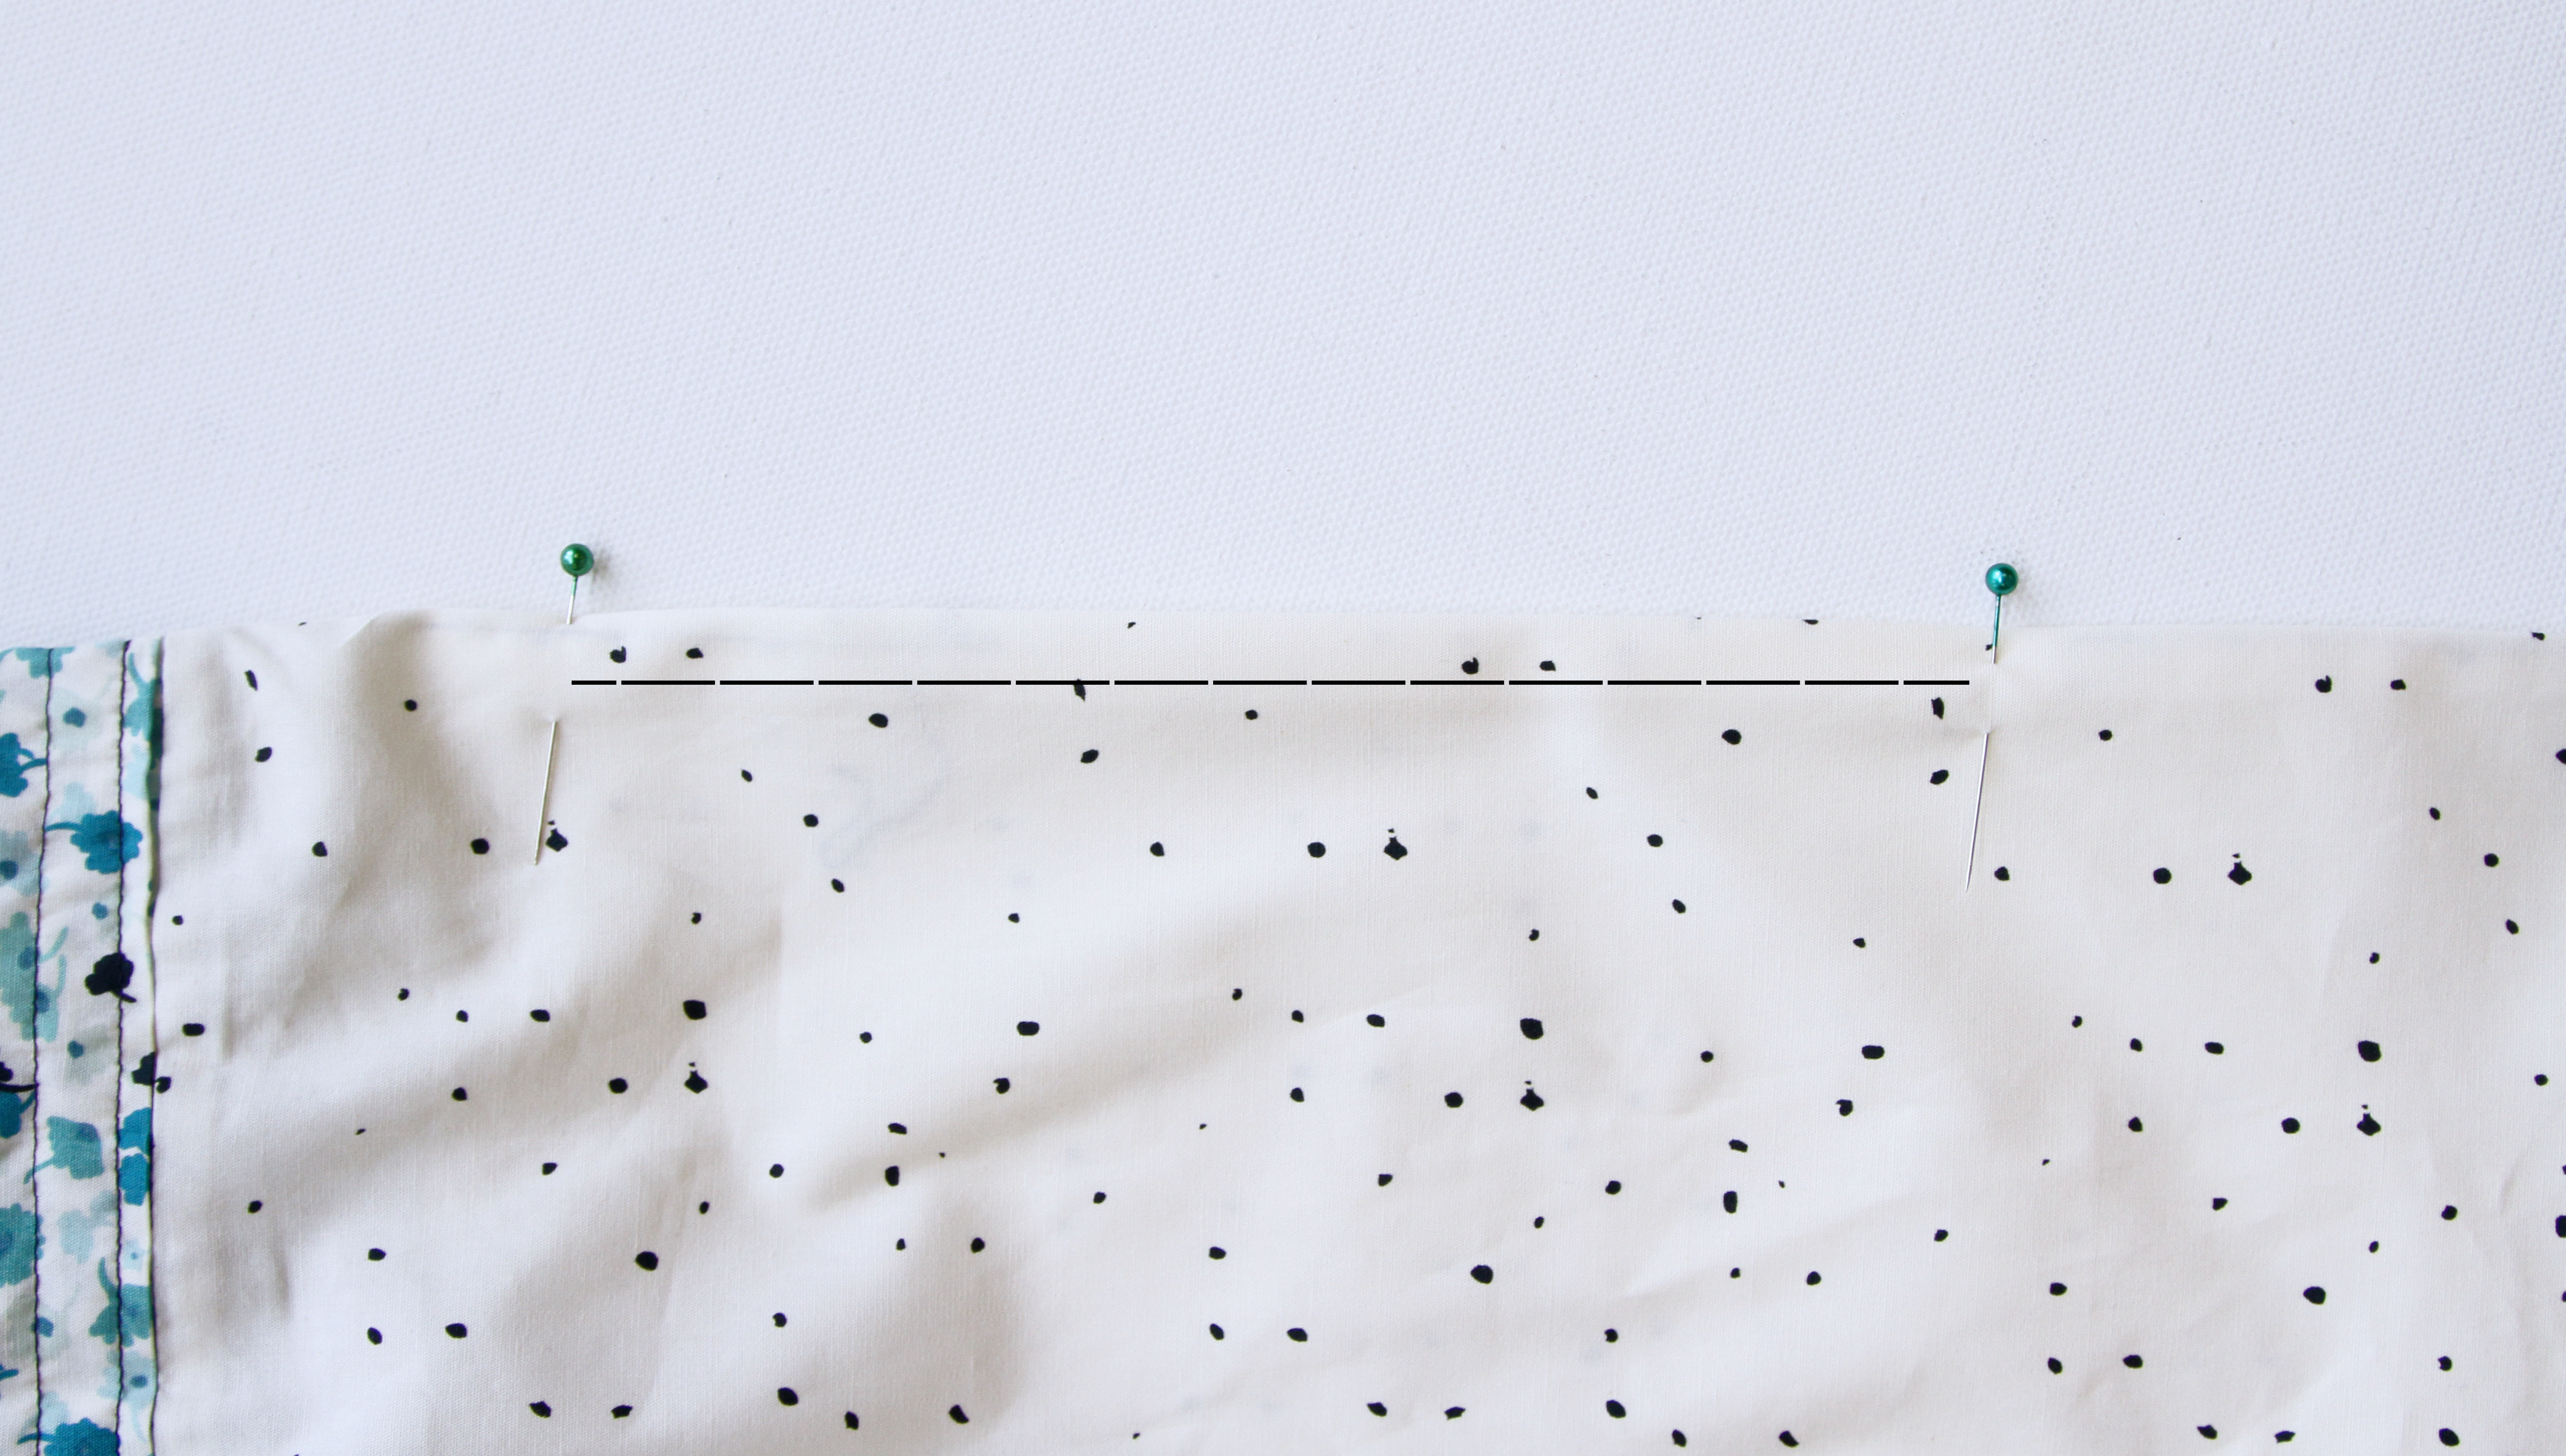
Prep your machine by changing the presser feet to the Reverse pattern foot and selecting straight stitch #1. Get the two 15″ by 14″ of FABRIC C, place right side of the fabric facing each other and sew around with a 1/4” seam allowance, leaving a 5” opening on the 14” side.

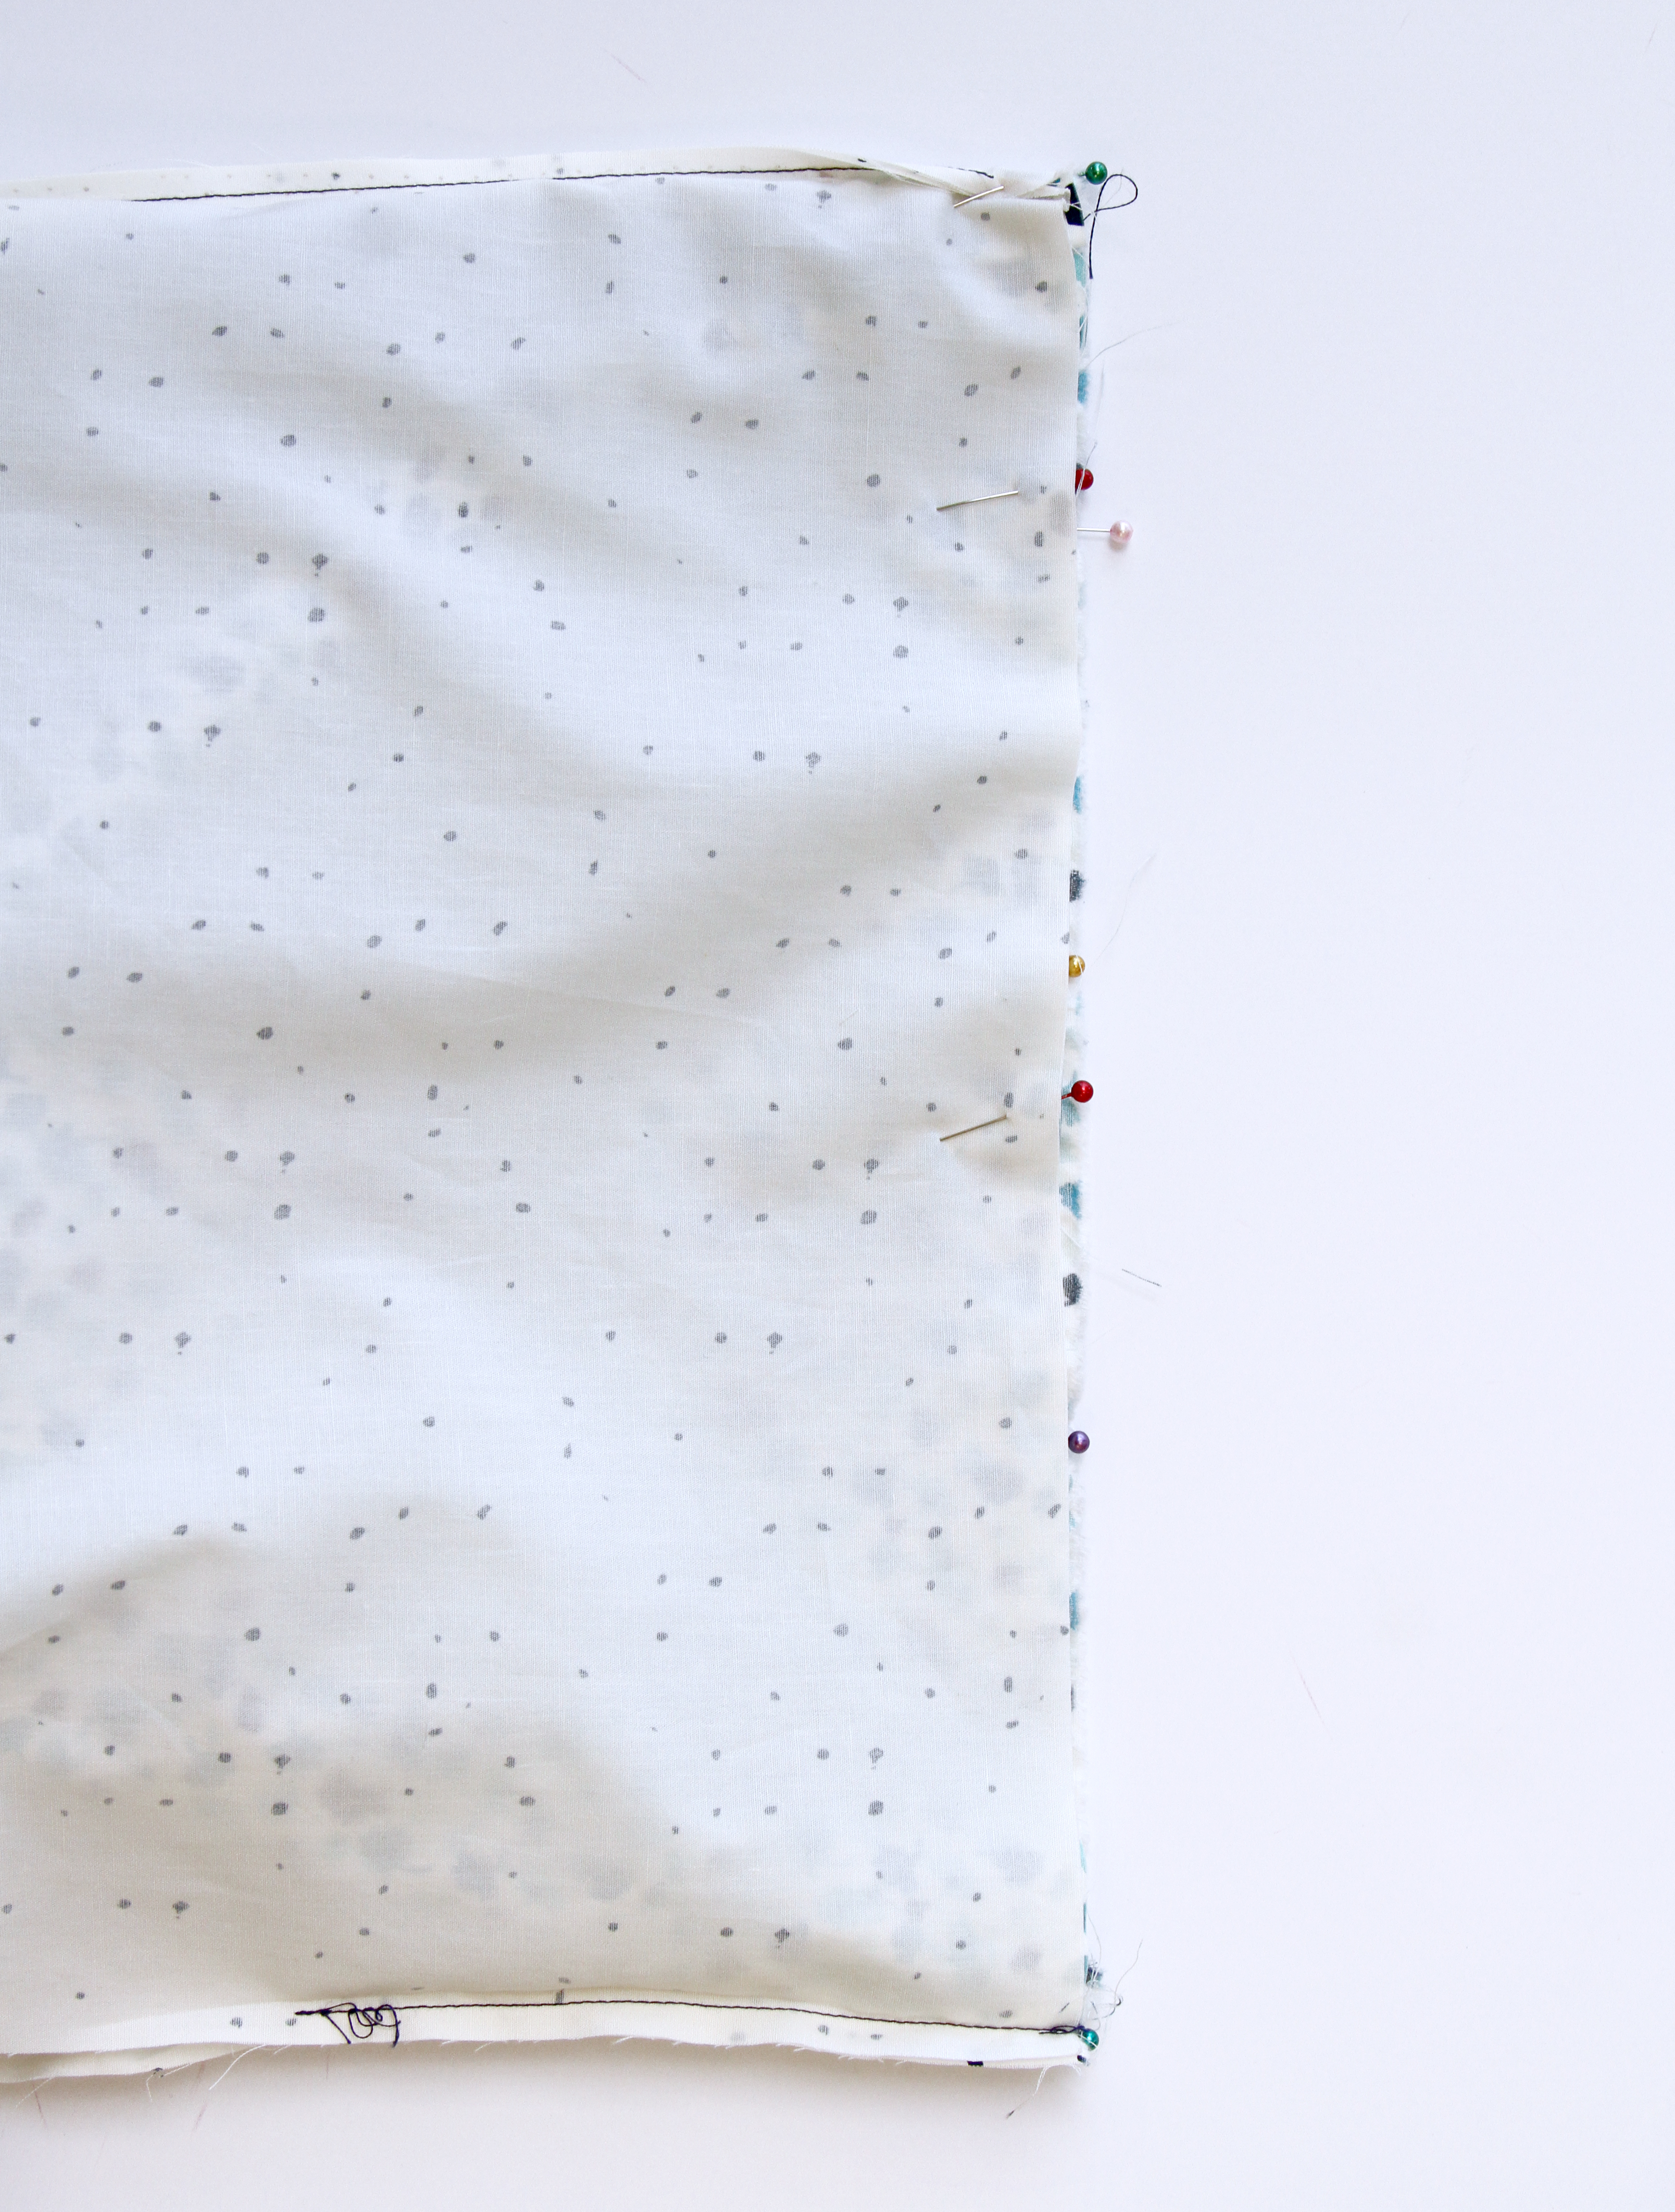
With the lining still inside out, take the outer part of the bag and insert inside the lining. Make sure edges are aligned (outer part is longer so you will feel the extra fabric gathering inside) pin in place and stitch around.
Turn over bag and insert your hand inside to pull bag right side out. Push lining inside the bag, and push out the corners of the bag, press well.
Turn over bag again and fold the top of the bag making sure the edge of Fabric A (outer part) touches the edges of Fabric C (lining) and press. Now you will be creating the drawstring casing. Stitch 1/4” apart from edge of lining (first line) around the bag. Lastly, stitch 1/2” apart from first stitch (second line) around the bag.

Once it’s stitched all around, stitch closed the 5″ opening in the lining. You can either hand stitch it or machine stitch it.
Step 4- Drawstring
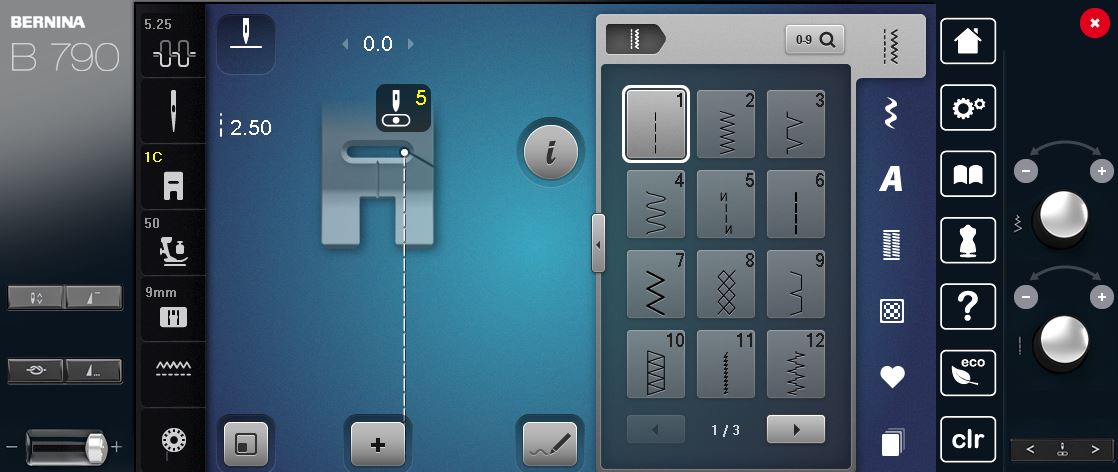
Let’s move the needle to the right by pressing the “Needle left/right” button up to number 5 (which will be 1/8 seam allowance)
Take 1.5″ by 40″ of FABRIC A and fold the sides 1/4” in towards center as shown in the image below and iron press.
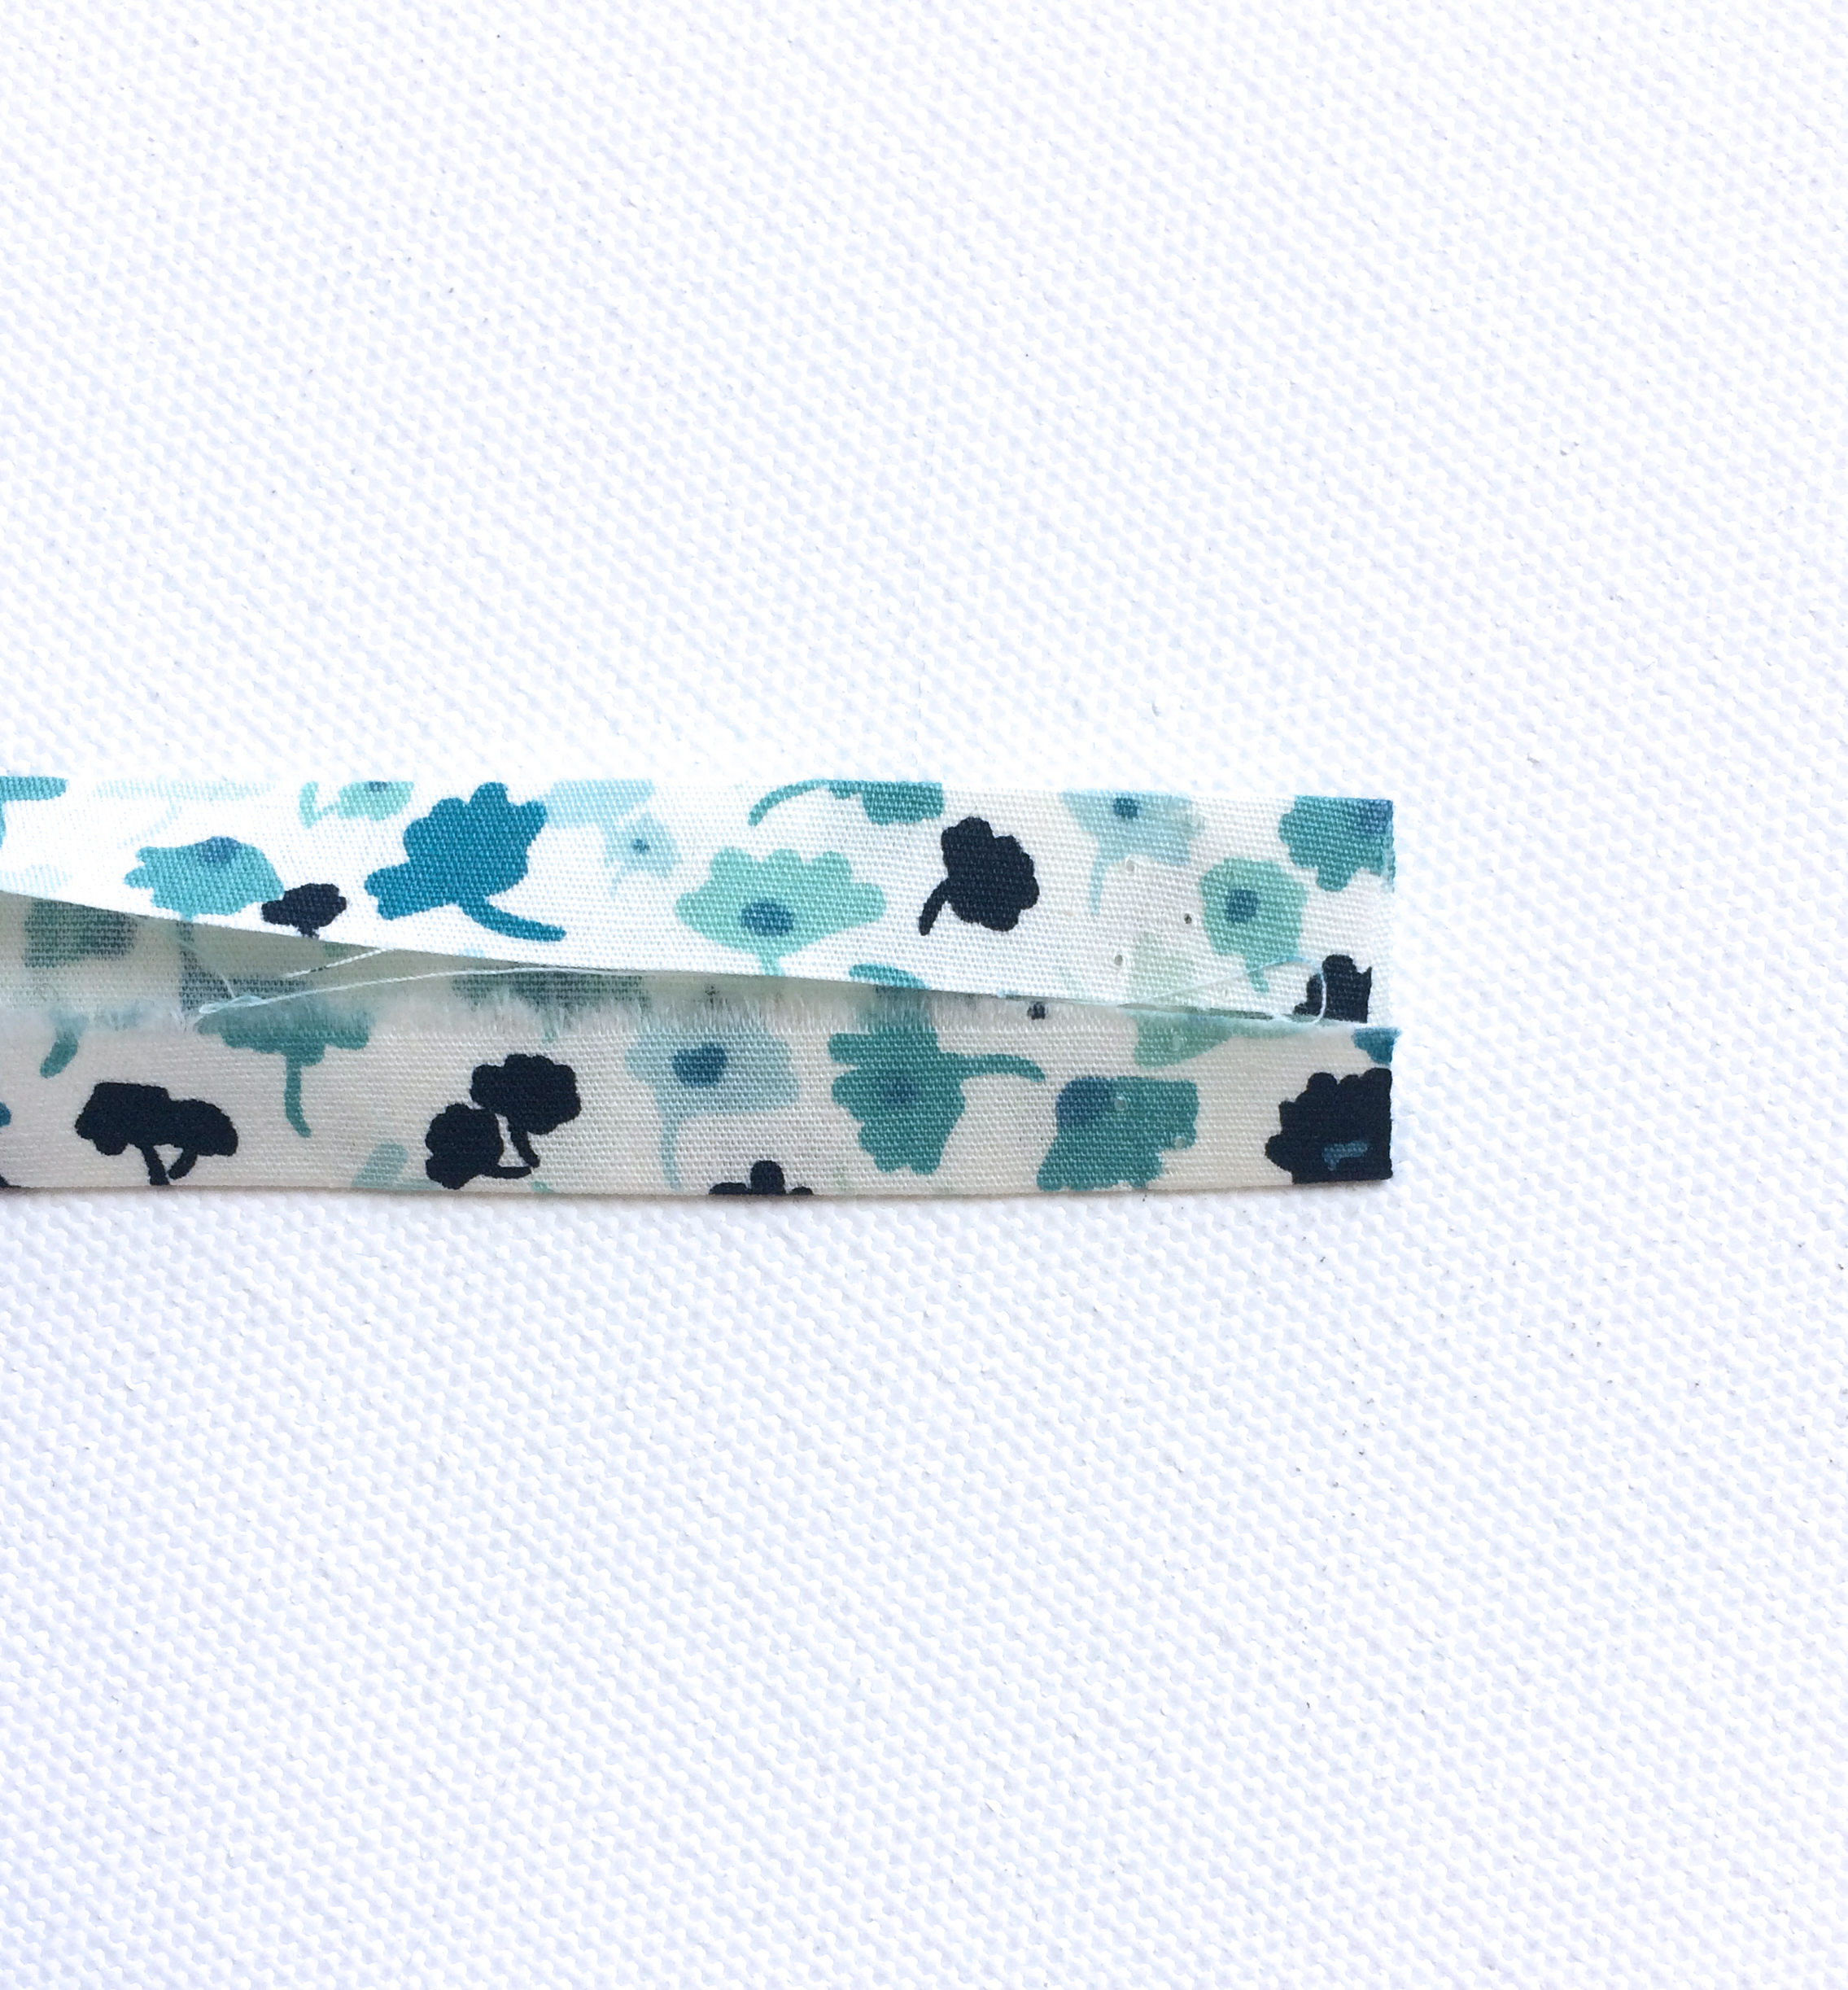
Lastly, fold it in half and iron press.
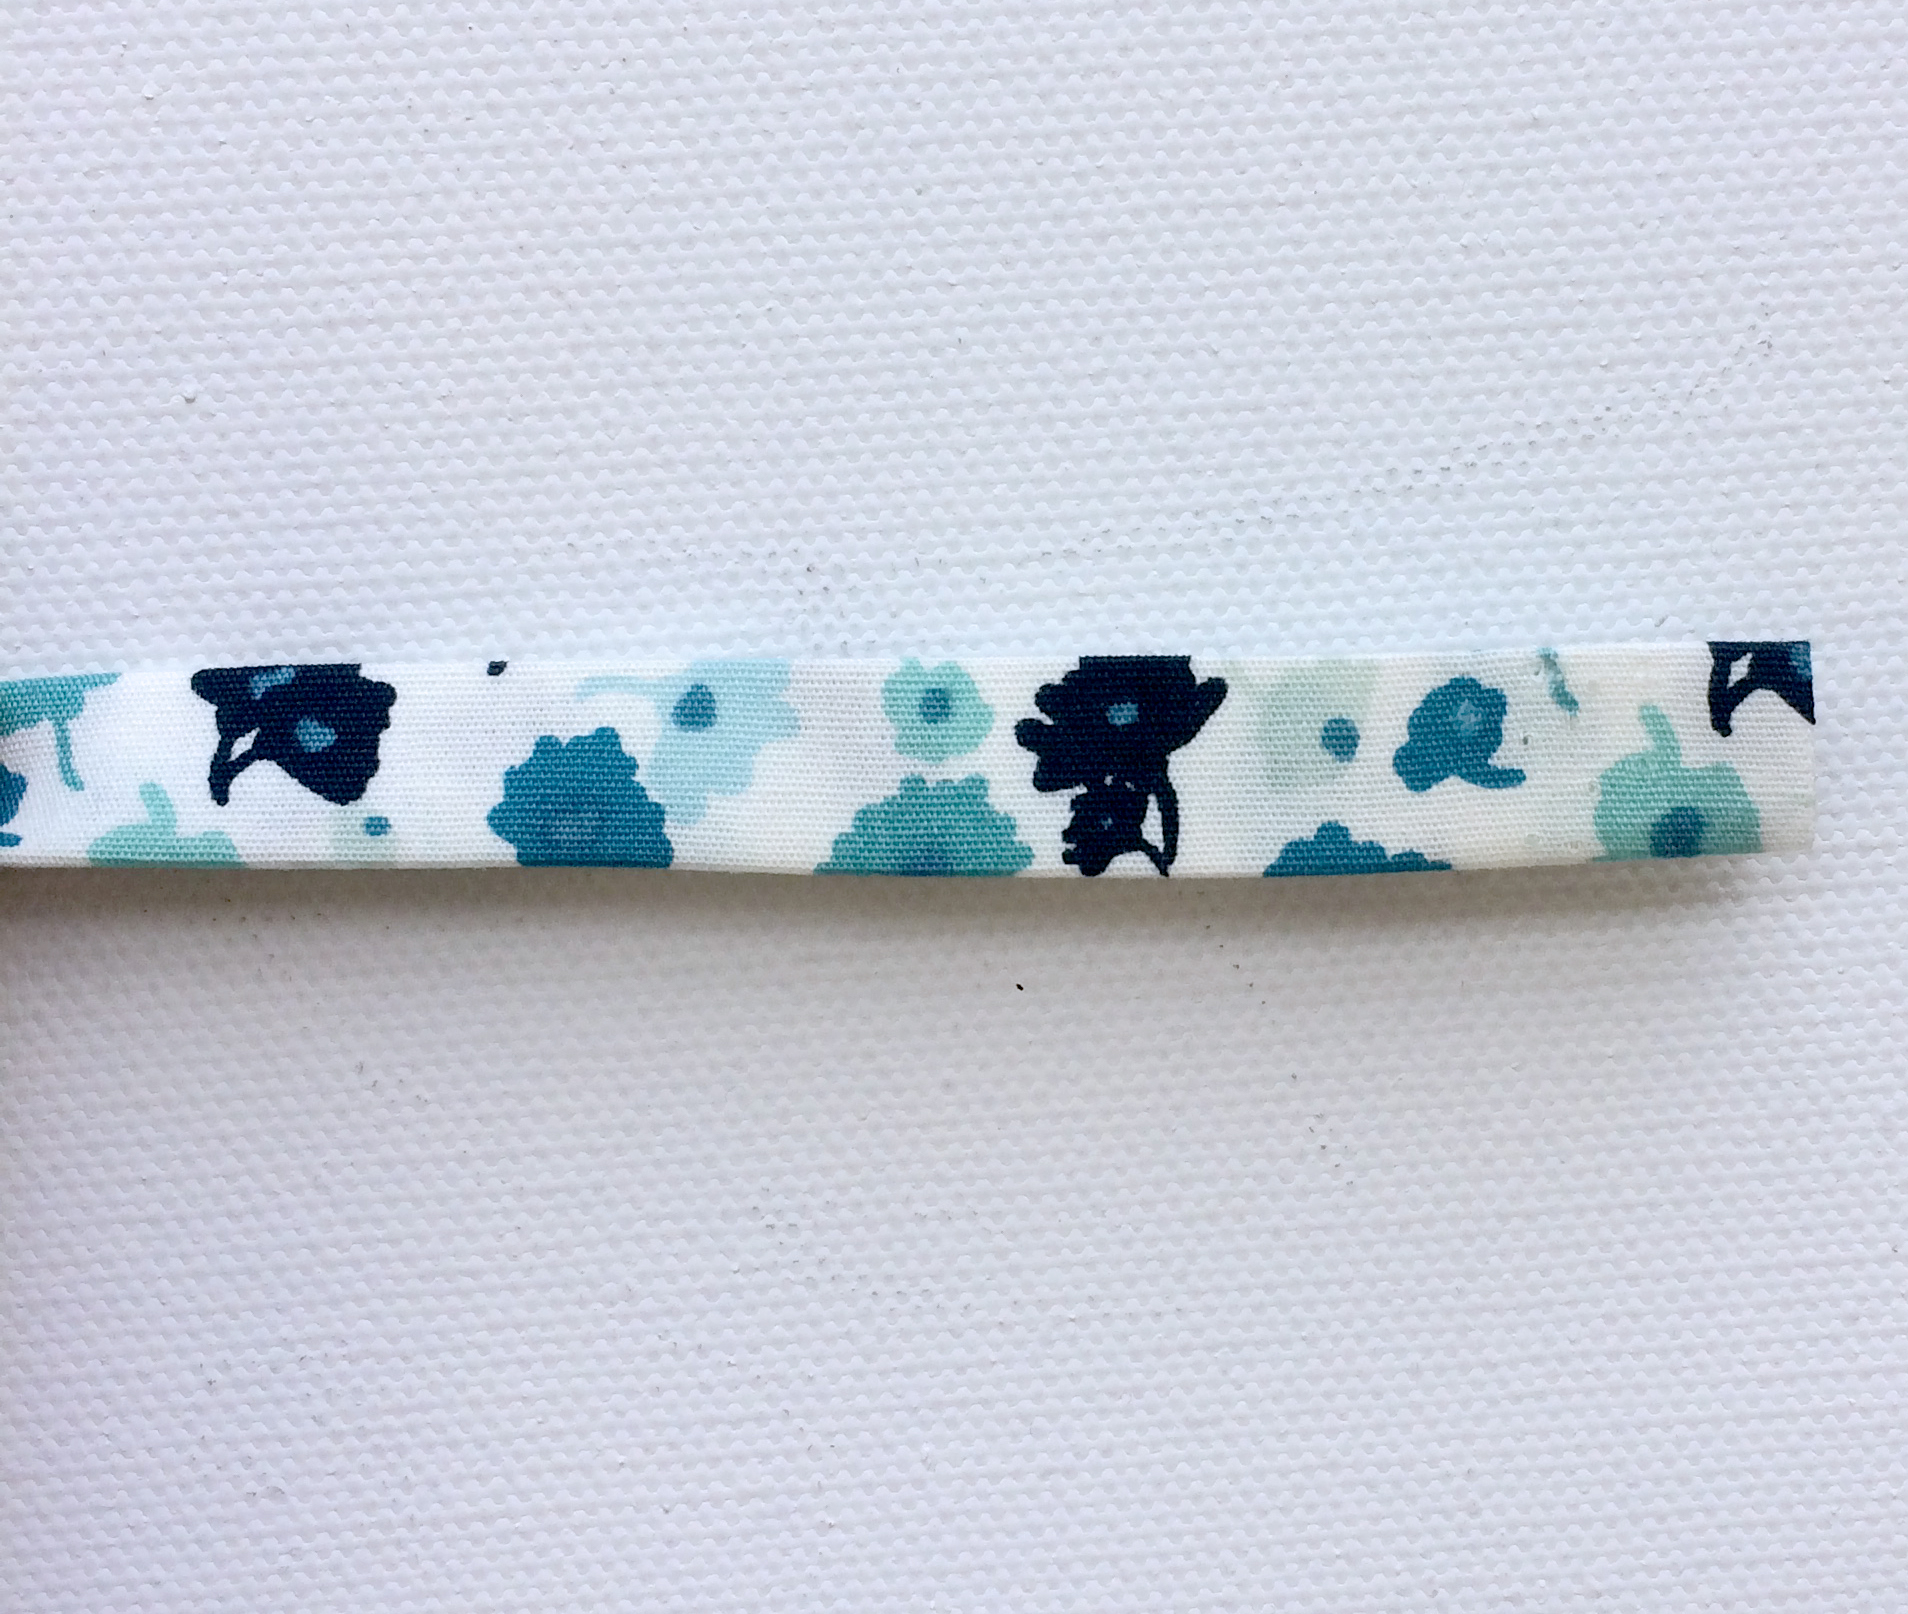
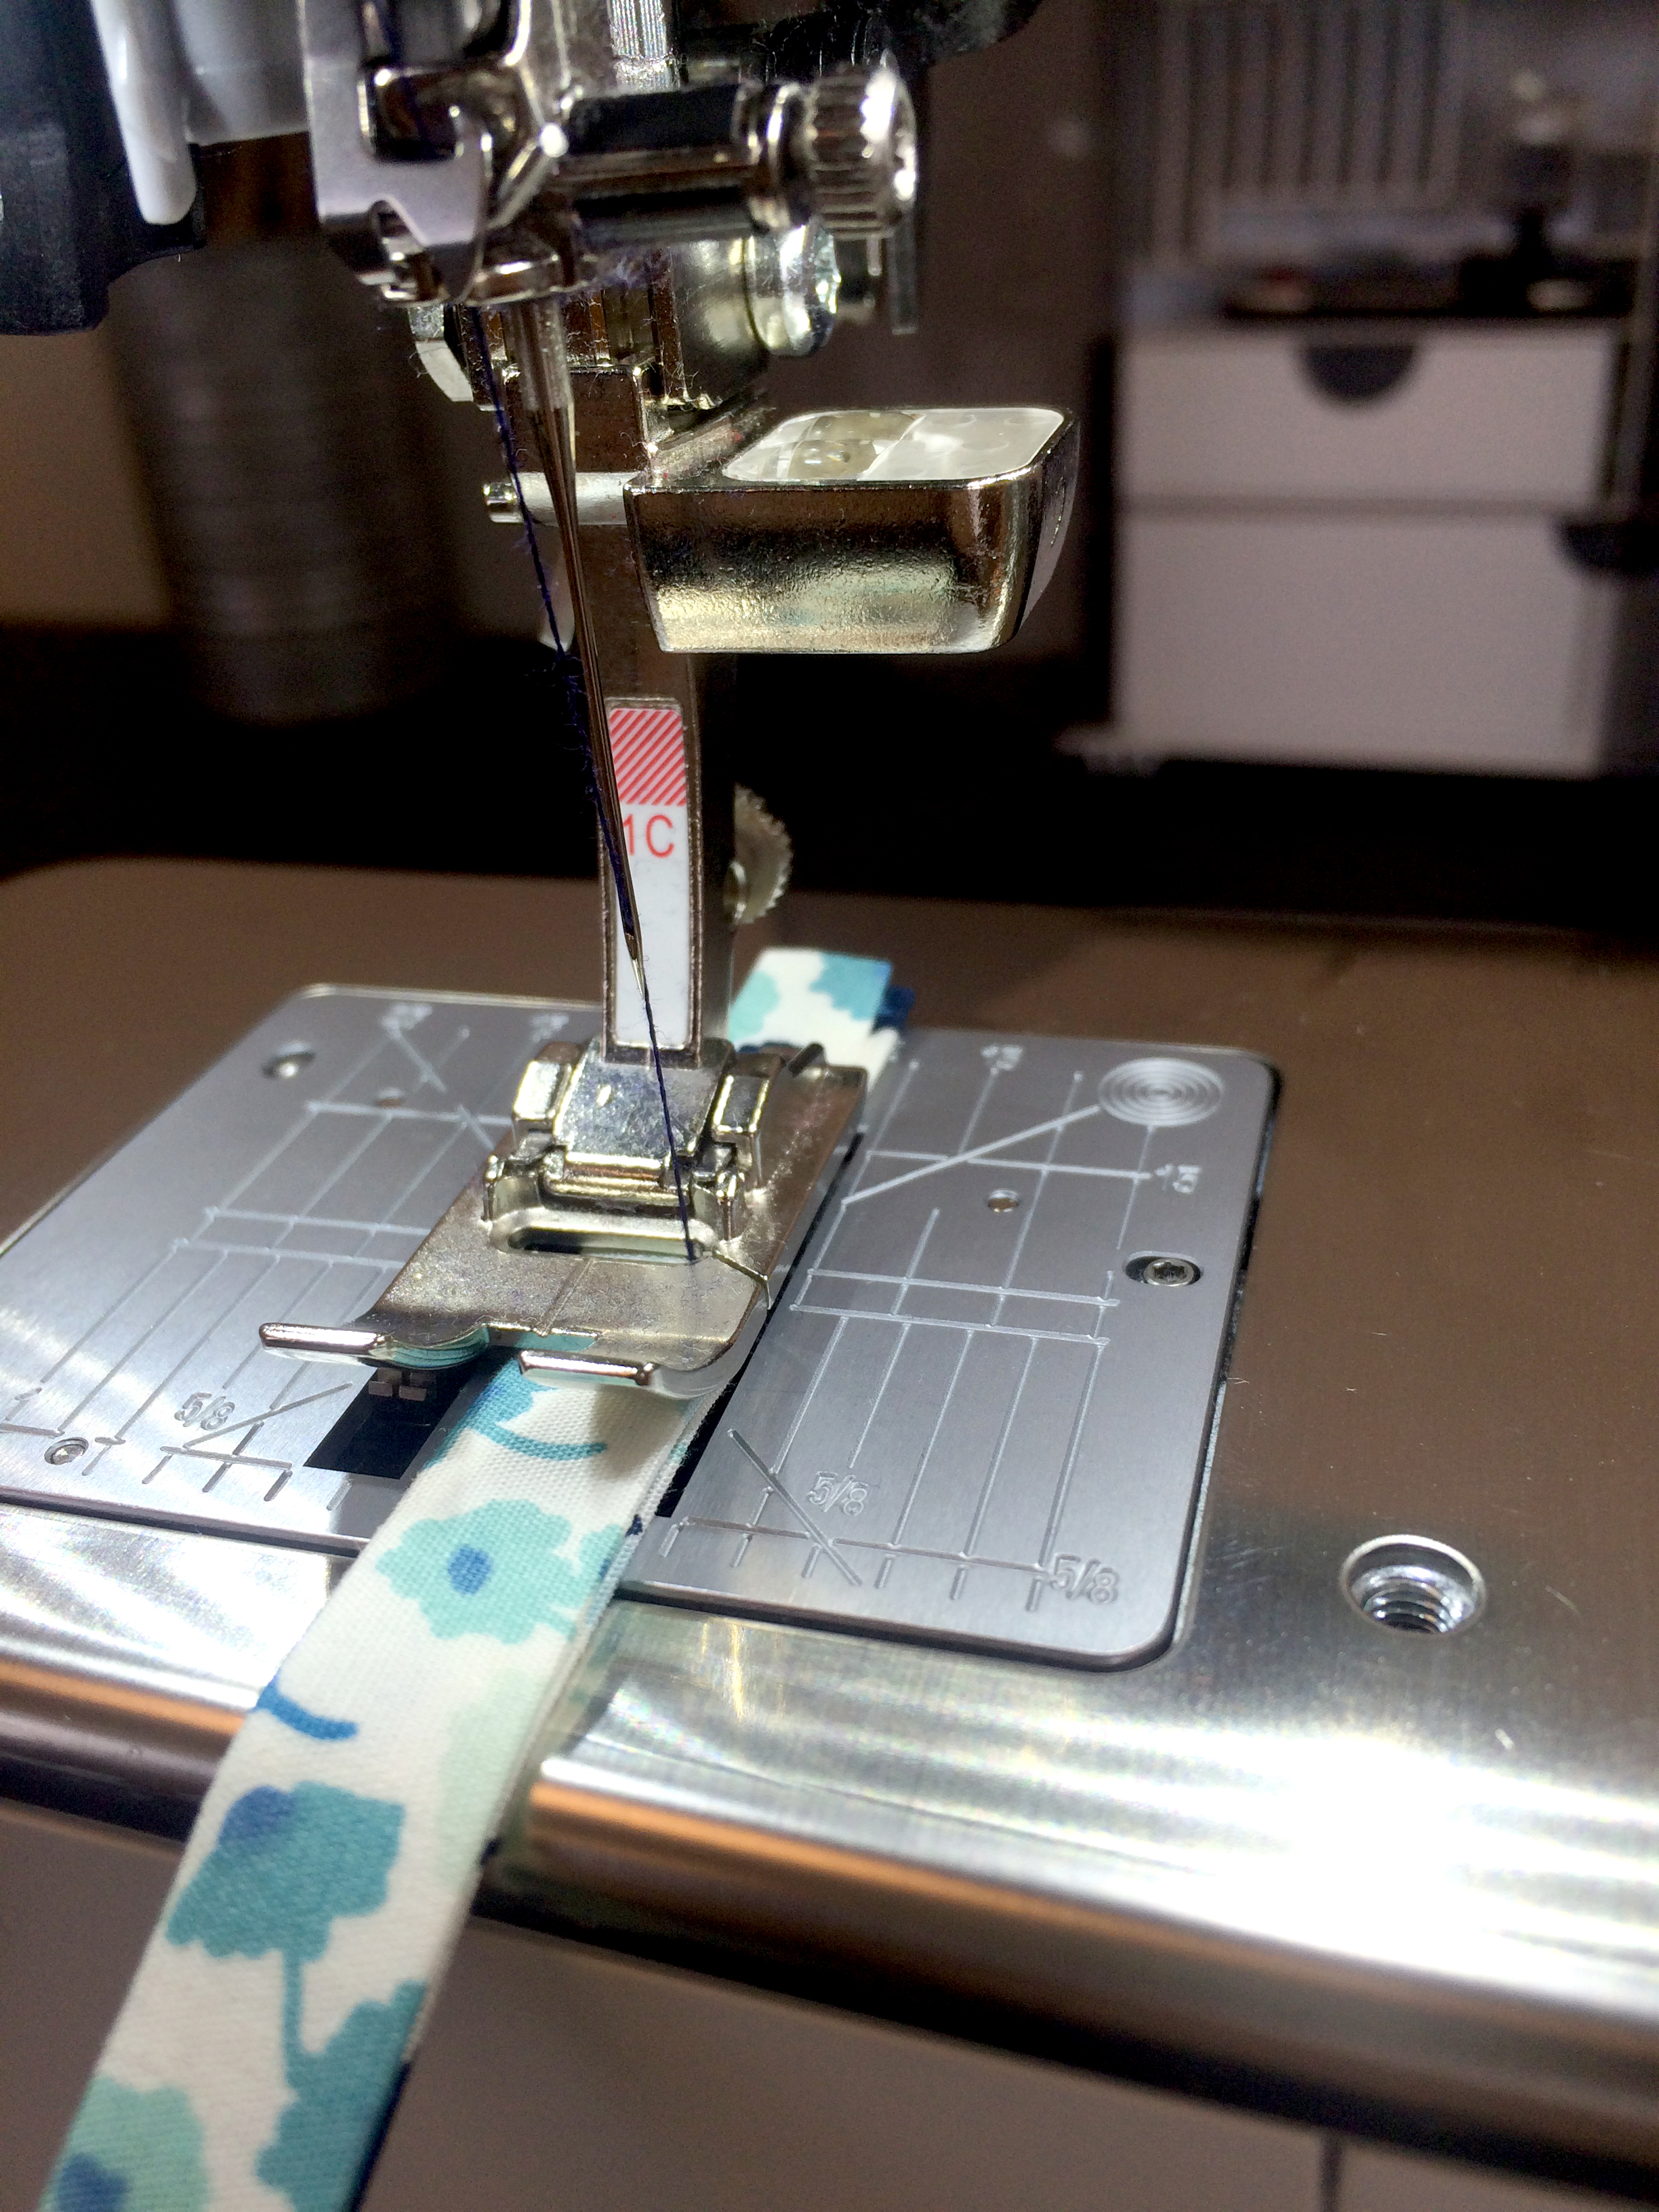
Align the edges of the drawstring to the edge of the presser foot (fold of the drawstring will be on the right, as the image shows) and stitch from top to bottom. For this, I like to remove the slide on table, it is easier for me, but you are free to created this as you see fit.
Using a safety pin, pin the edge of the drawstring and insert into the button hole as shown below. The safety pin will aid you to pass it all the way through the length of the casing.
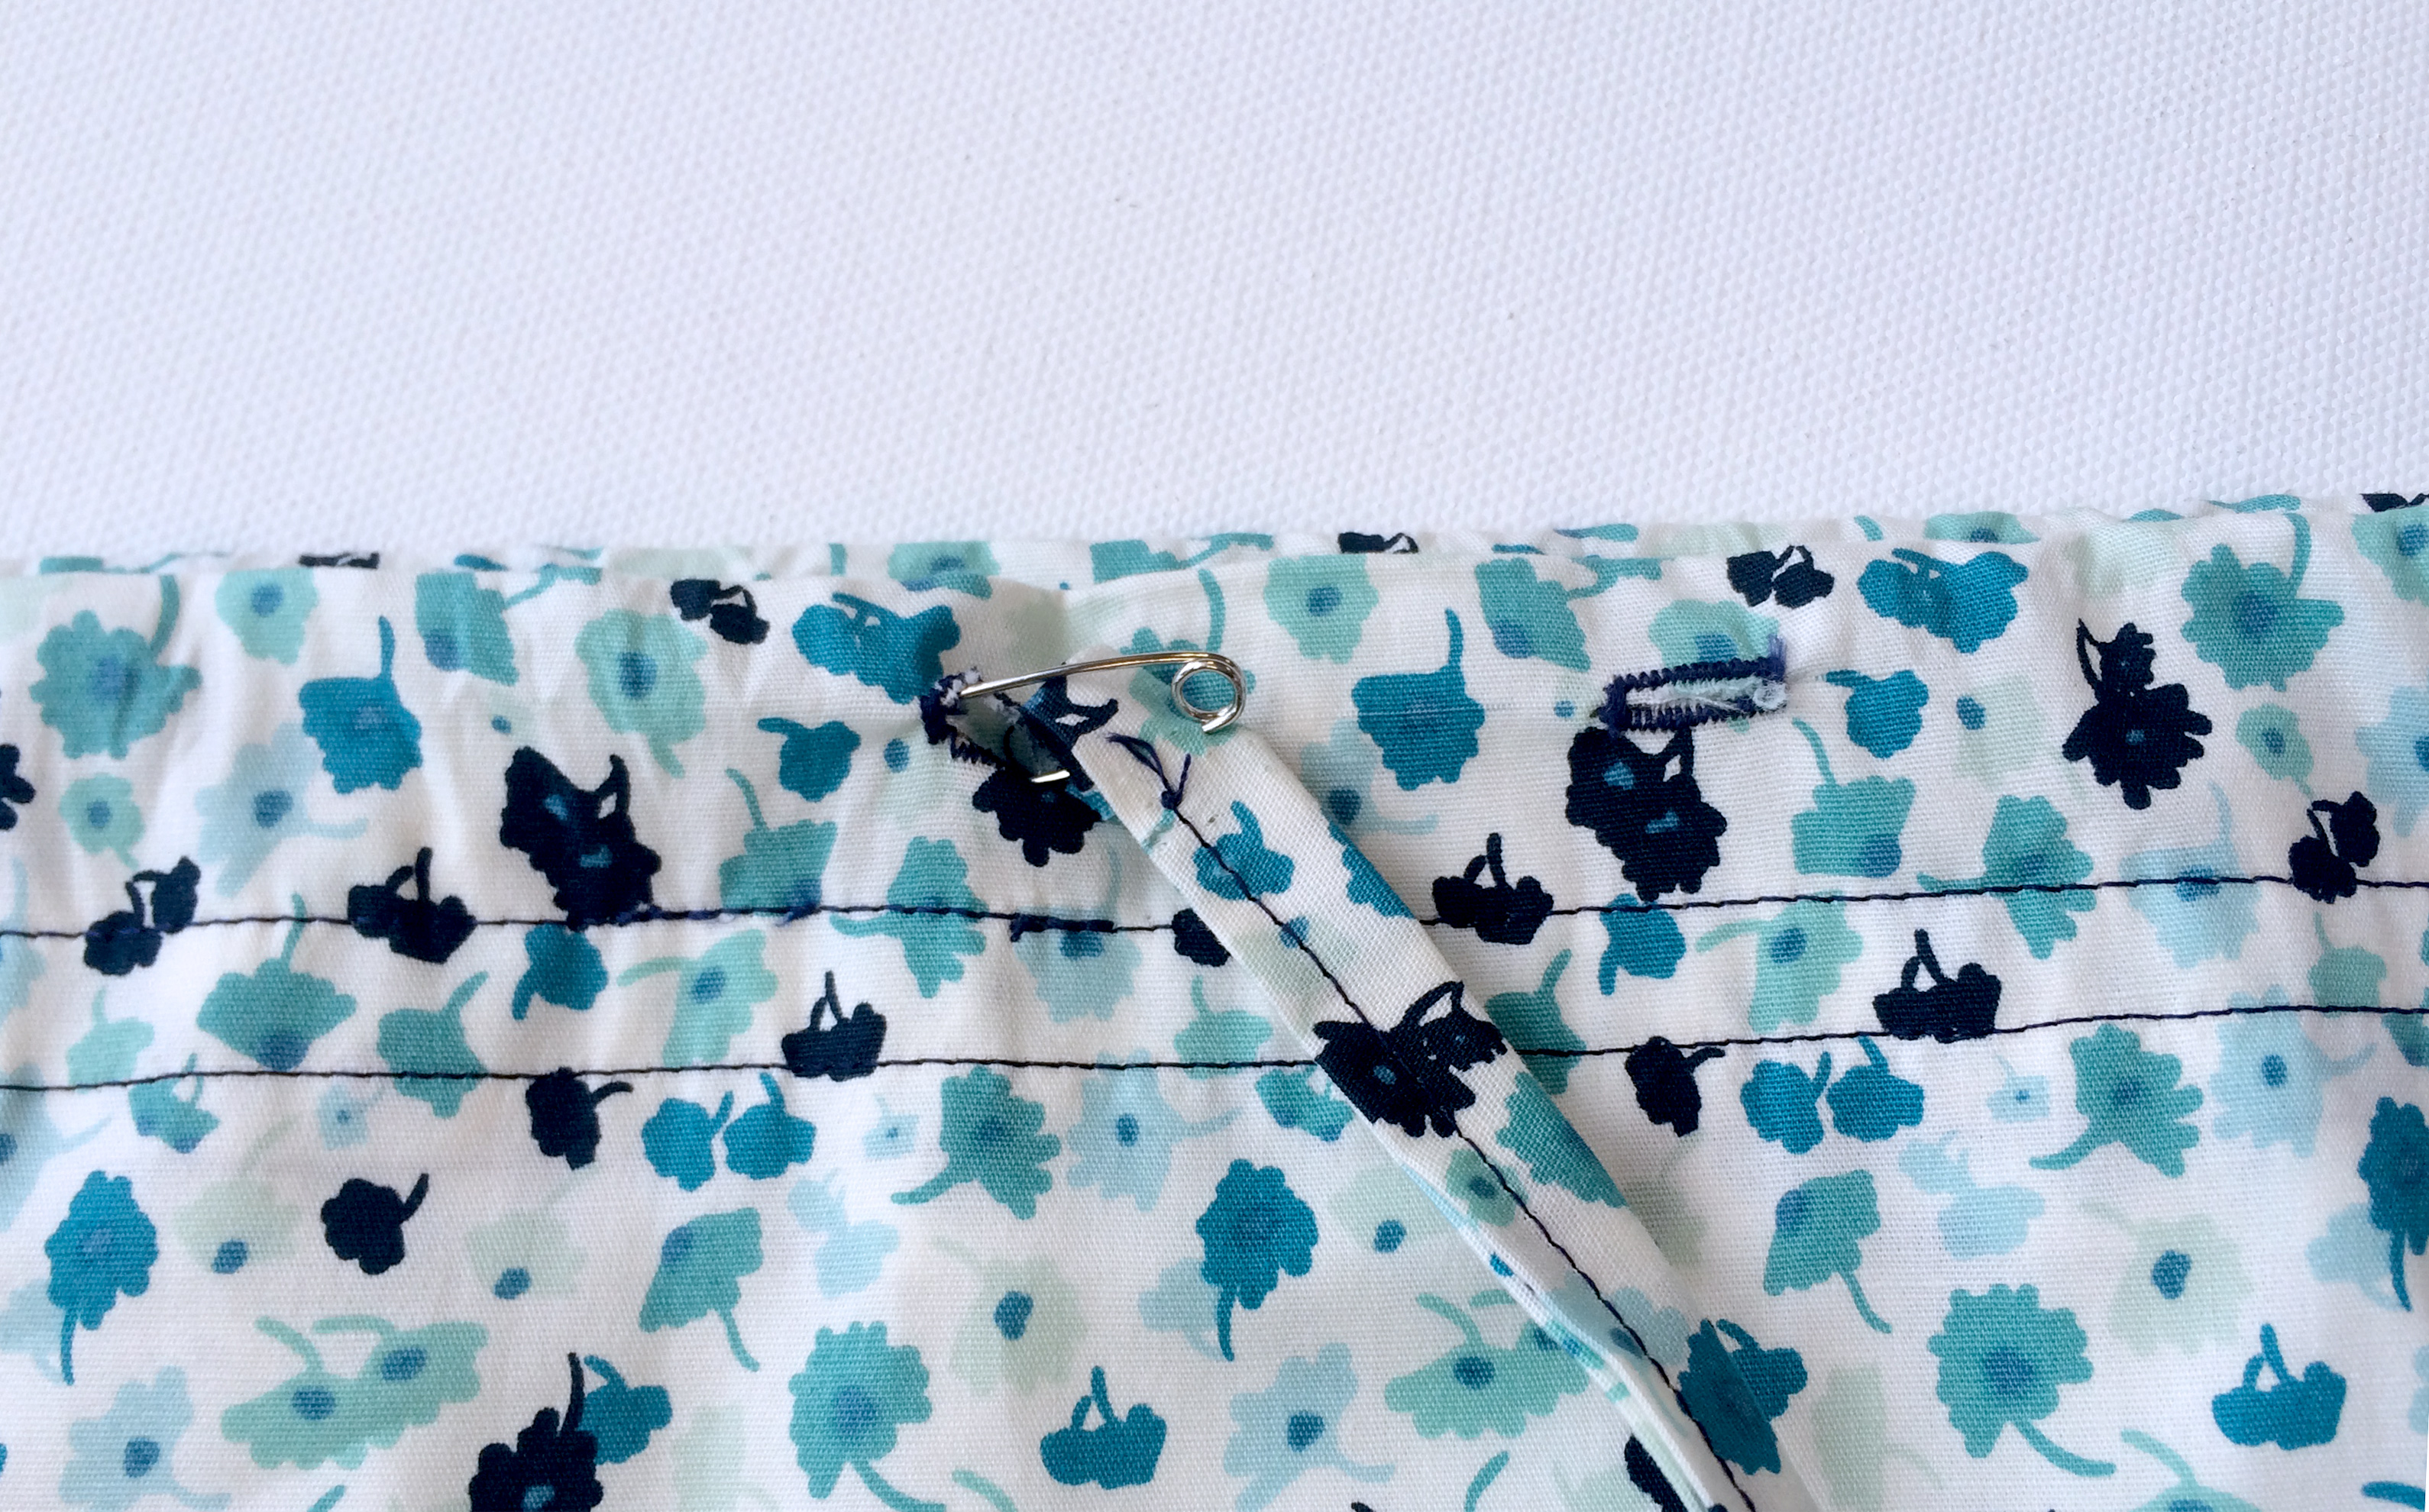
Once you pull the drawstring through, knot both edges of the string and you are done!

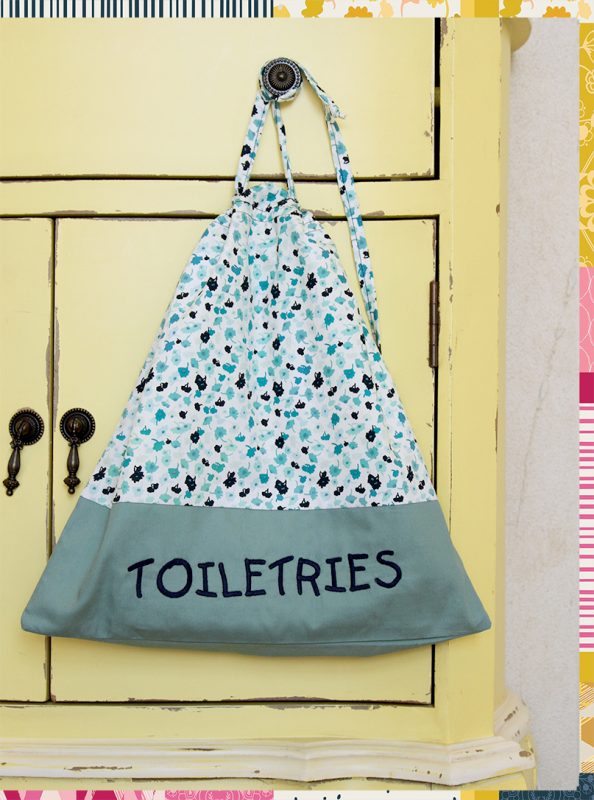
Congratulations! You completed this adorable and super useful Jetsetter Bag. And remember, the steps remain the same for the other two!


Collecting the embroidery unit for my 770QE next month so hope this will be a great learning project which I can do. Love all the detail you give. Thank you so much.