Longarm Quilting Tip: Watch Those Side Clamps!

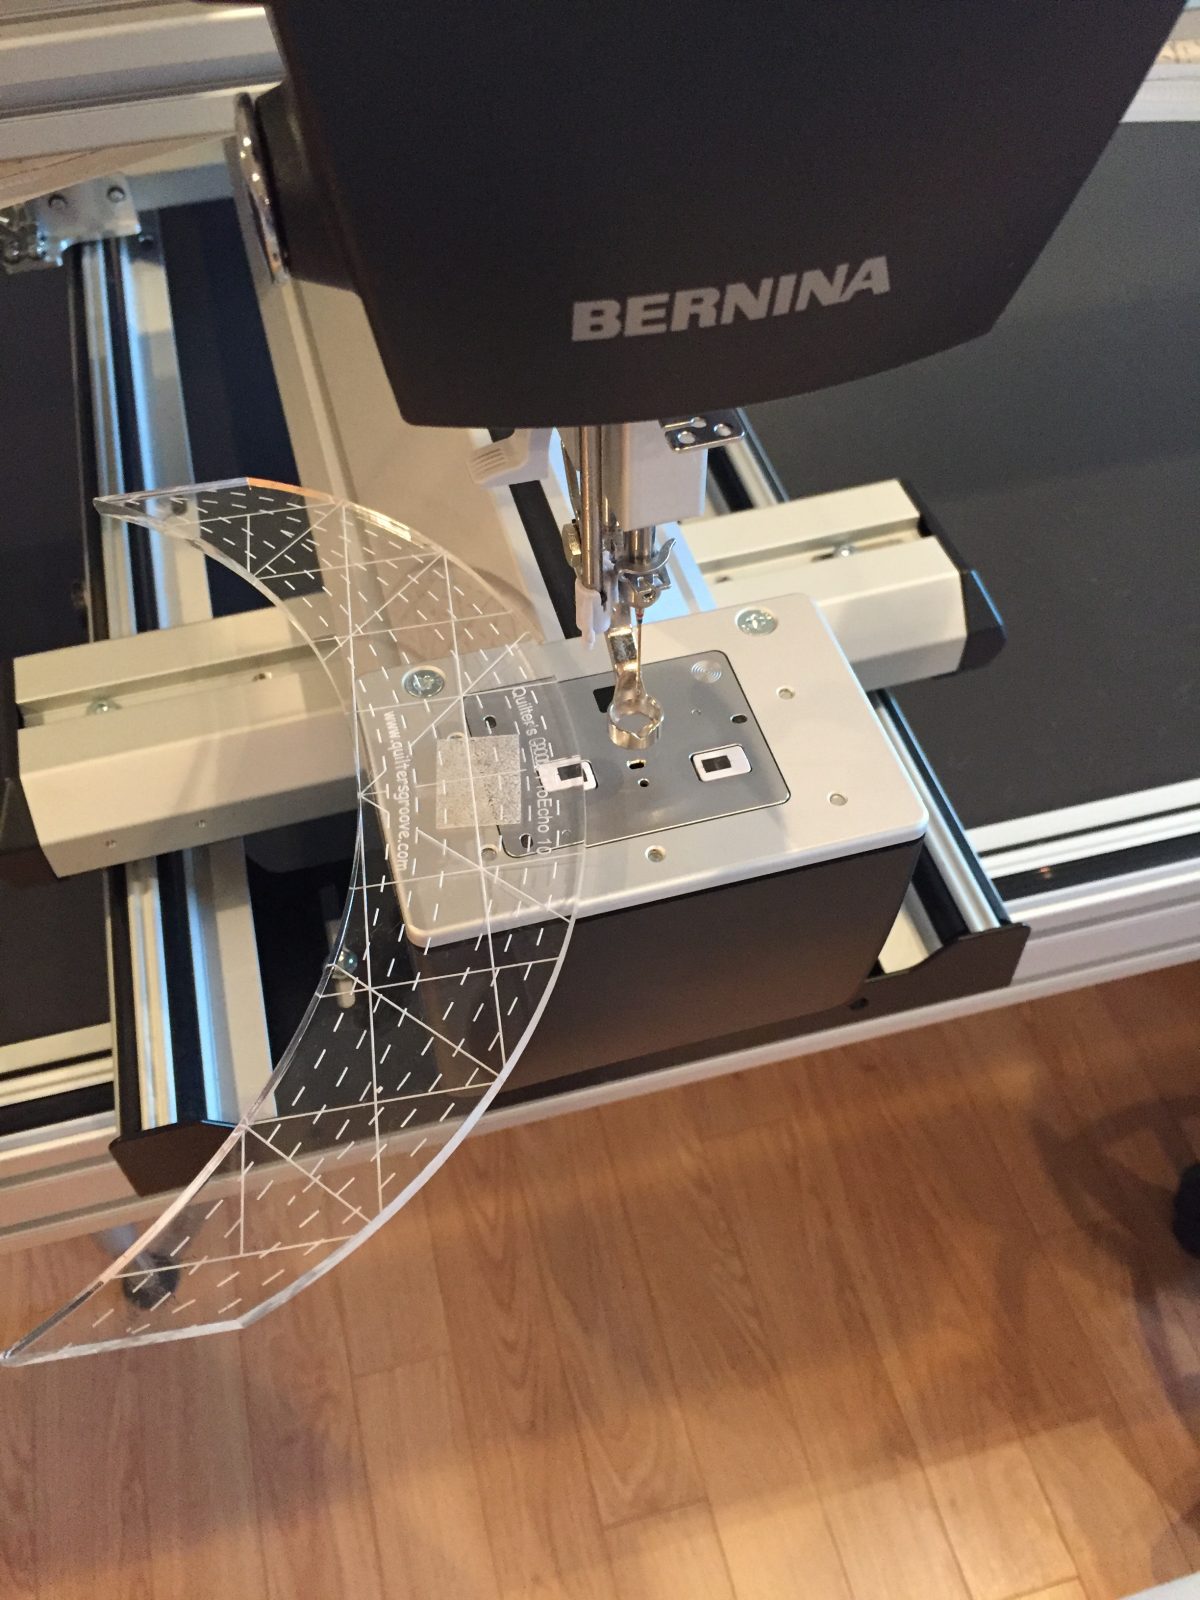
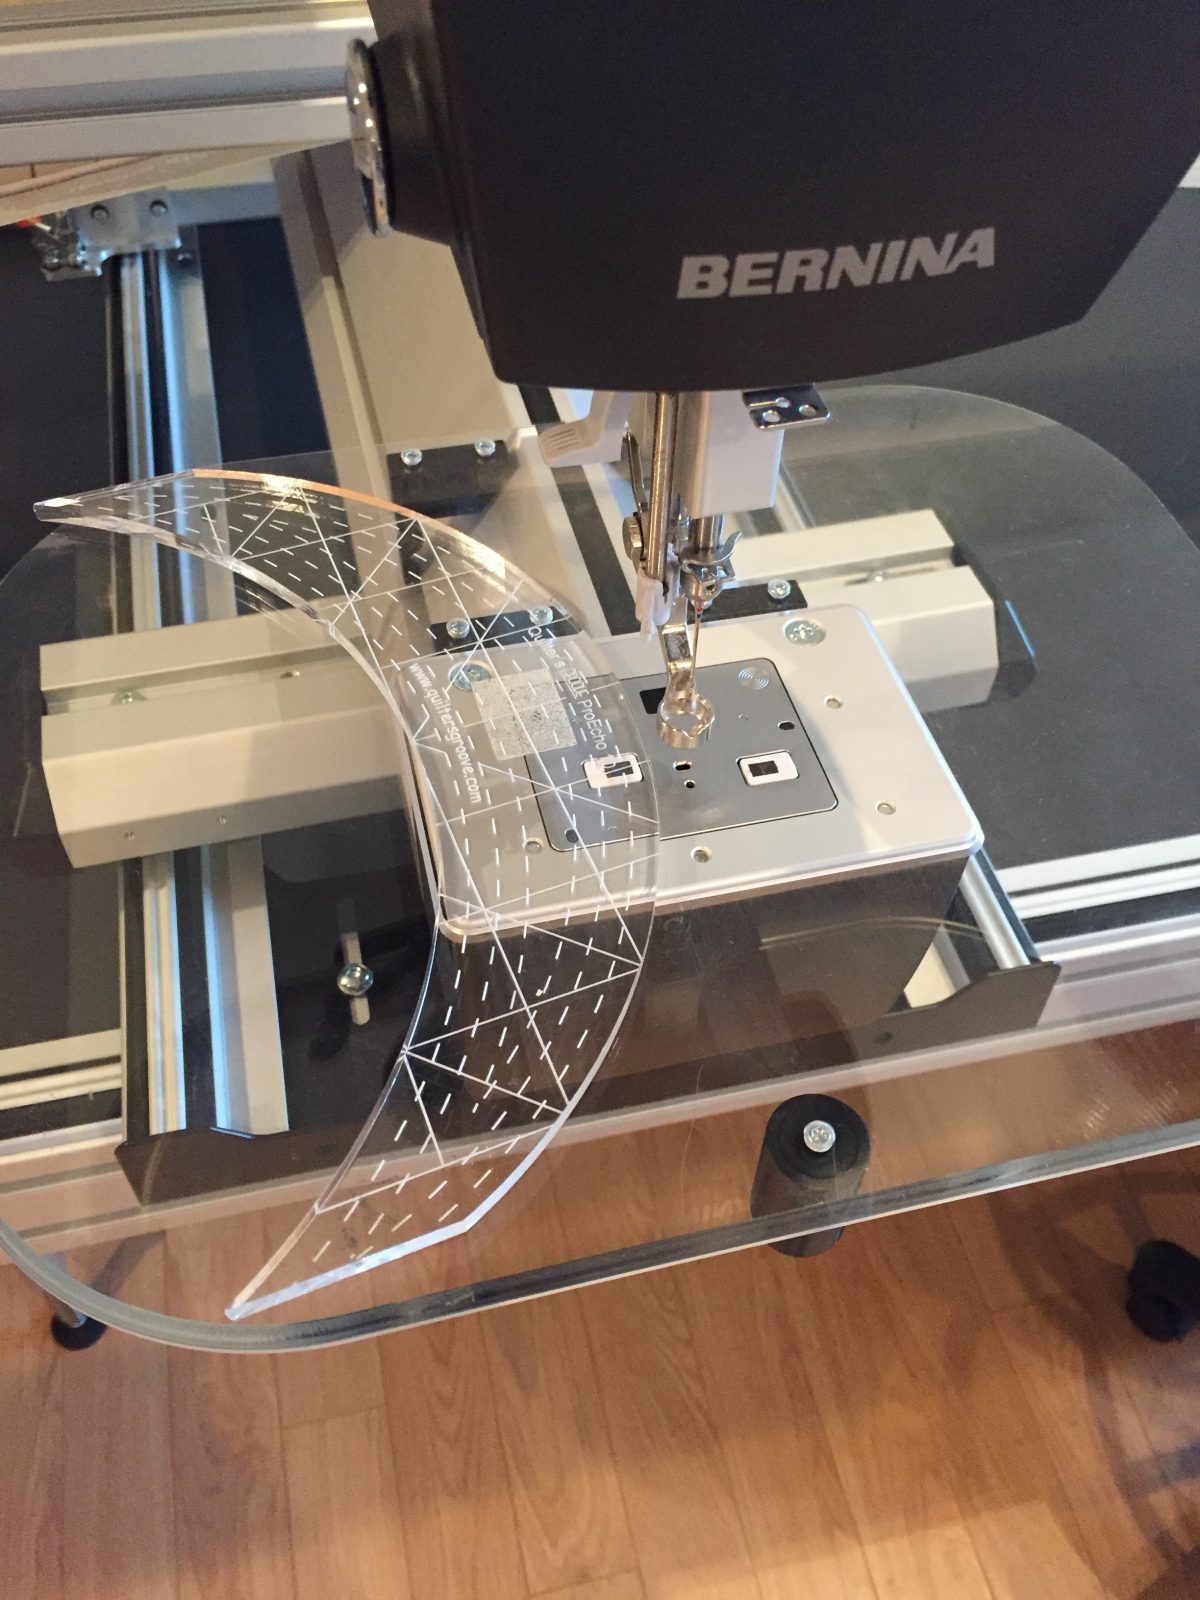
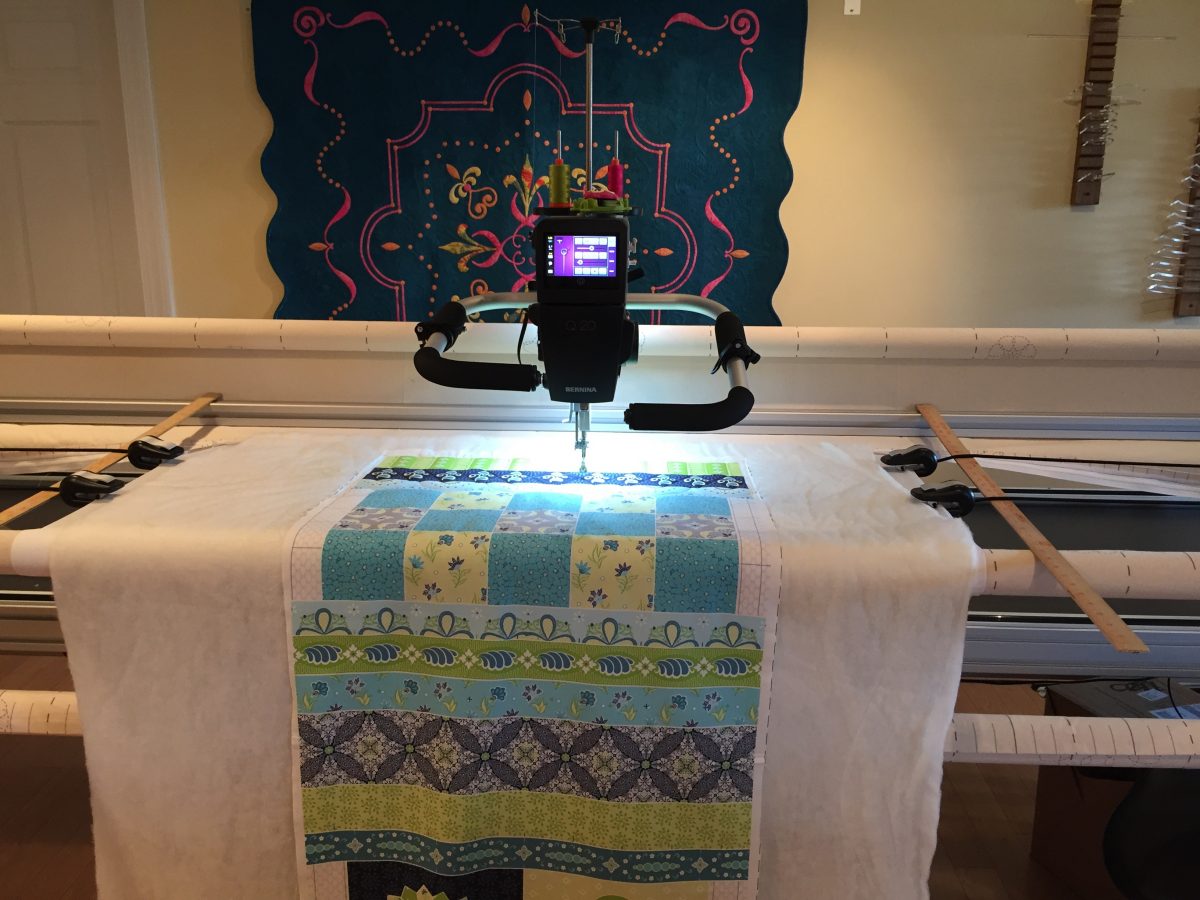
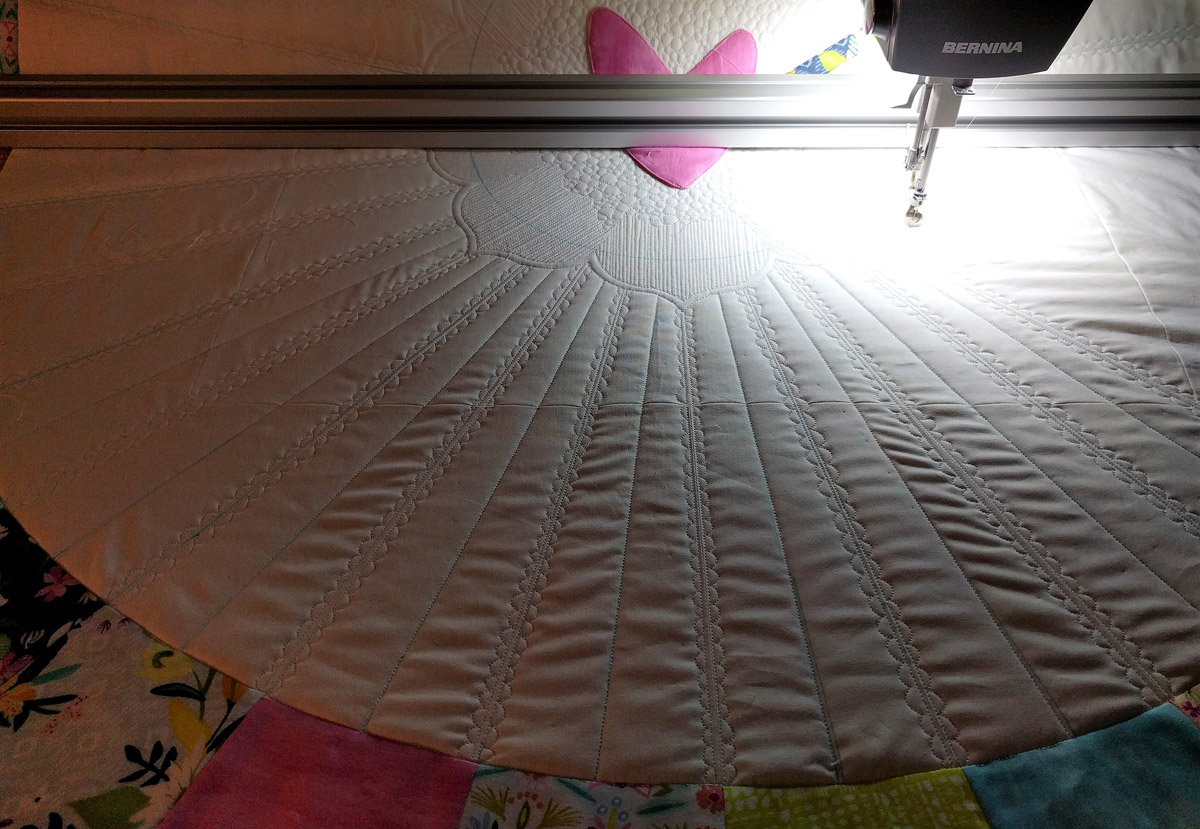
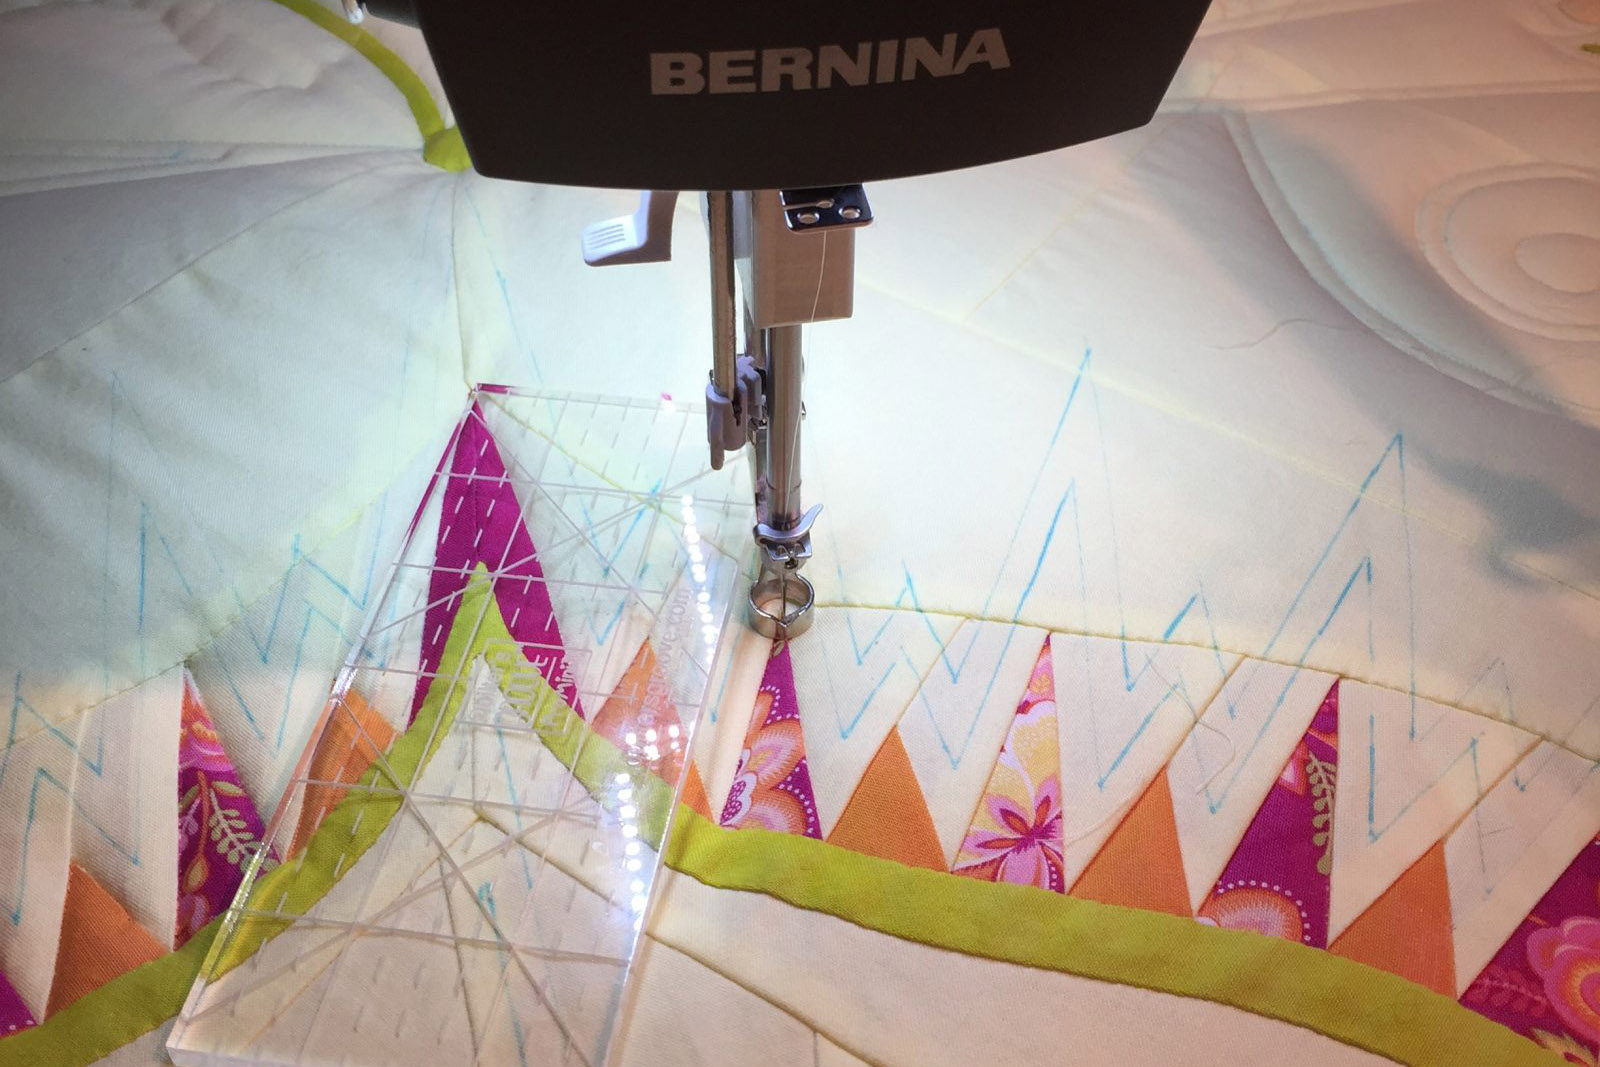
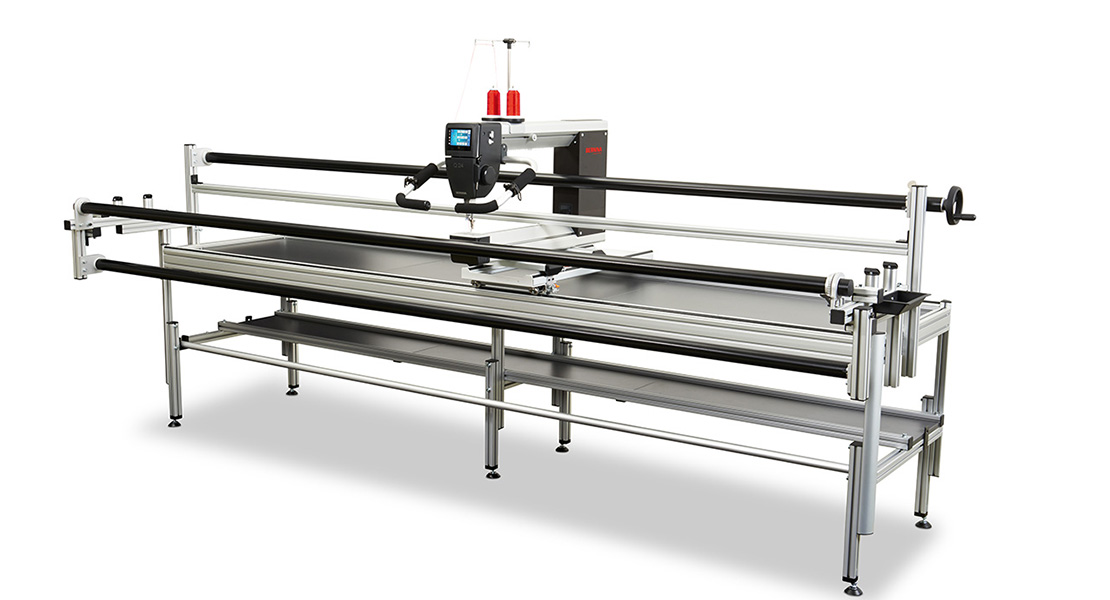
You couldn’t be more excited, unless you were notified that you won the power ball, now that you have your Q20 or Q24 and the BERNINA ruler kit. That super special quilt is now spread out before you patiently awaiting your ruler magic to make its presence known. That anticipated moment arrives, your extended base is secured, that special quilt top is loaded, and your side clamps are attached!
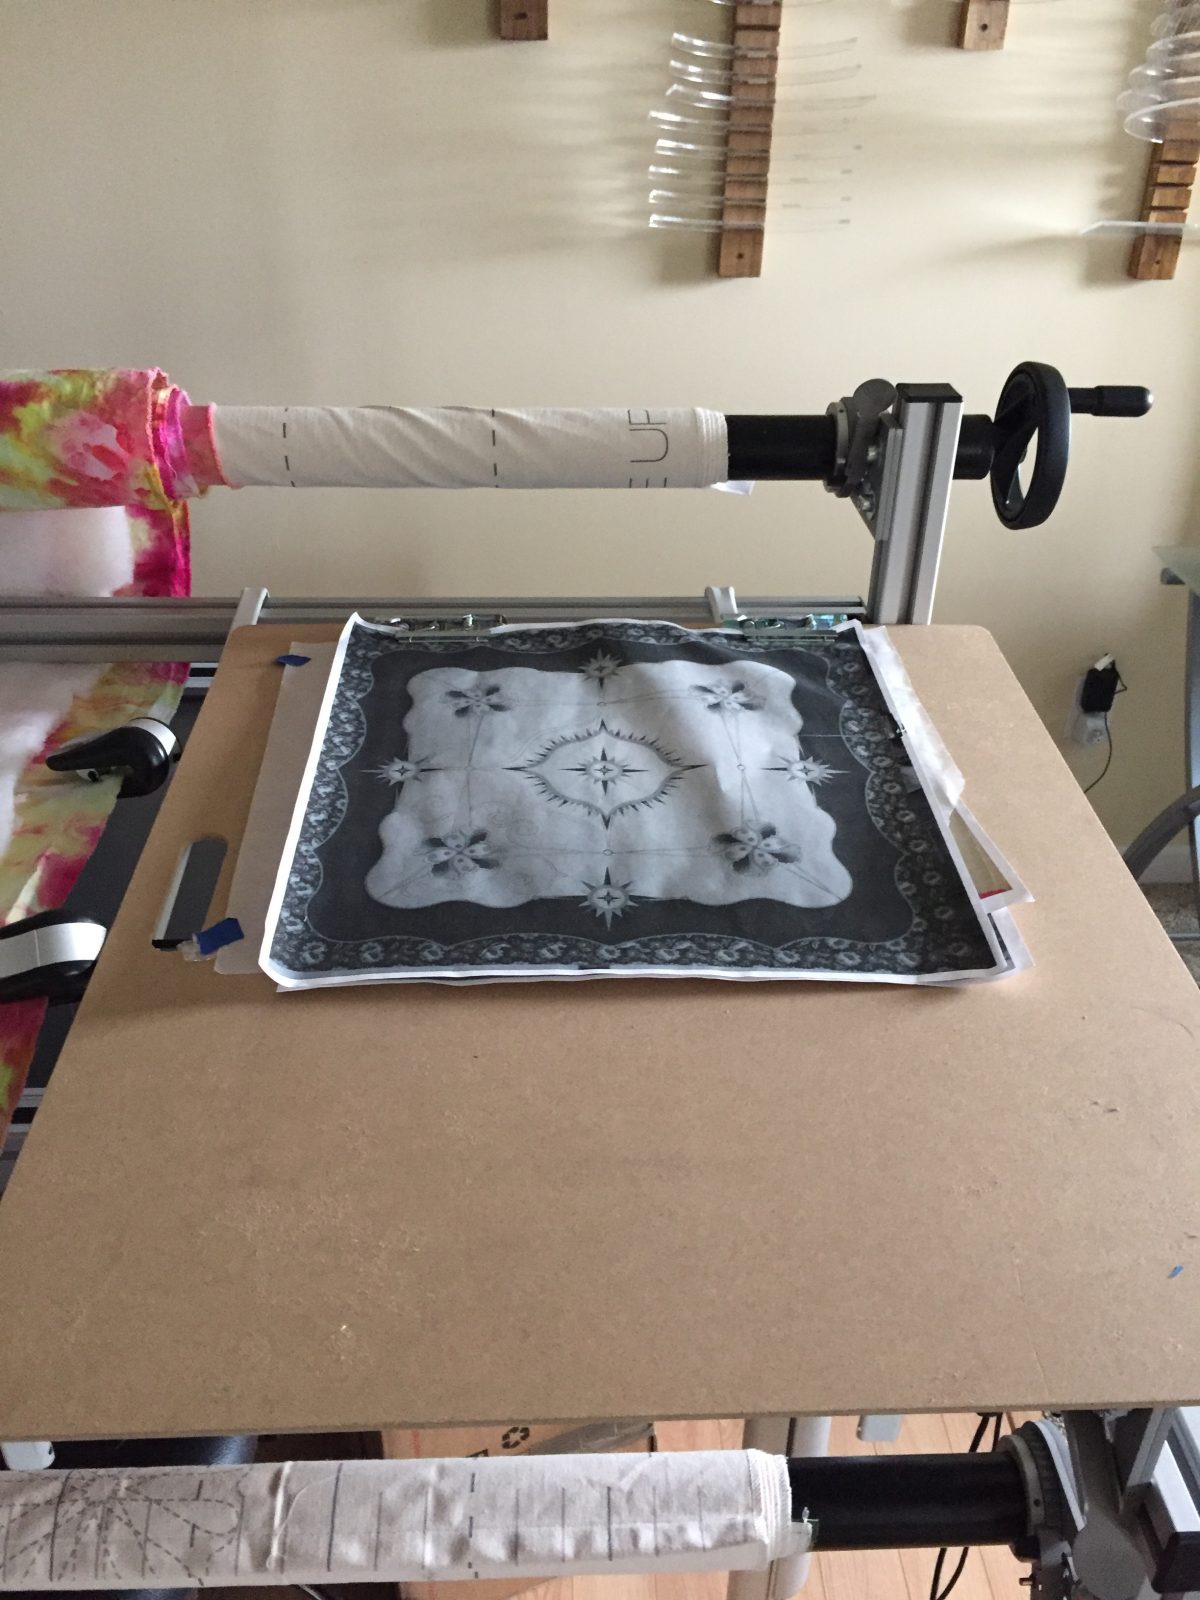
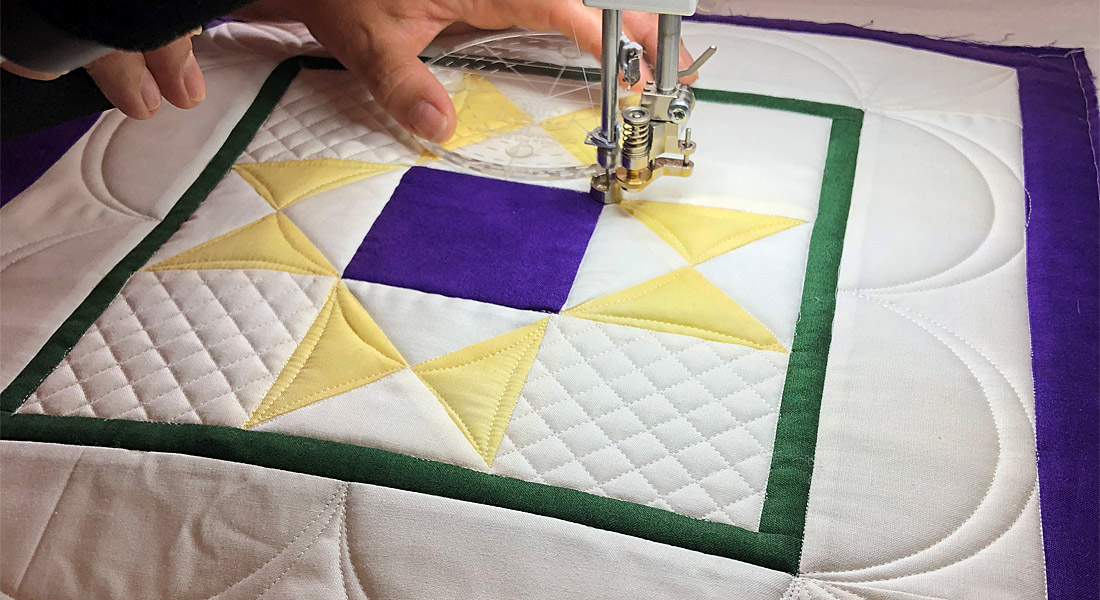
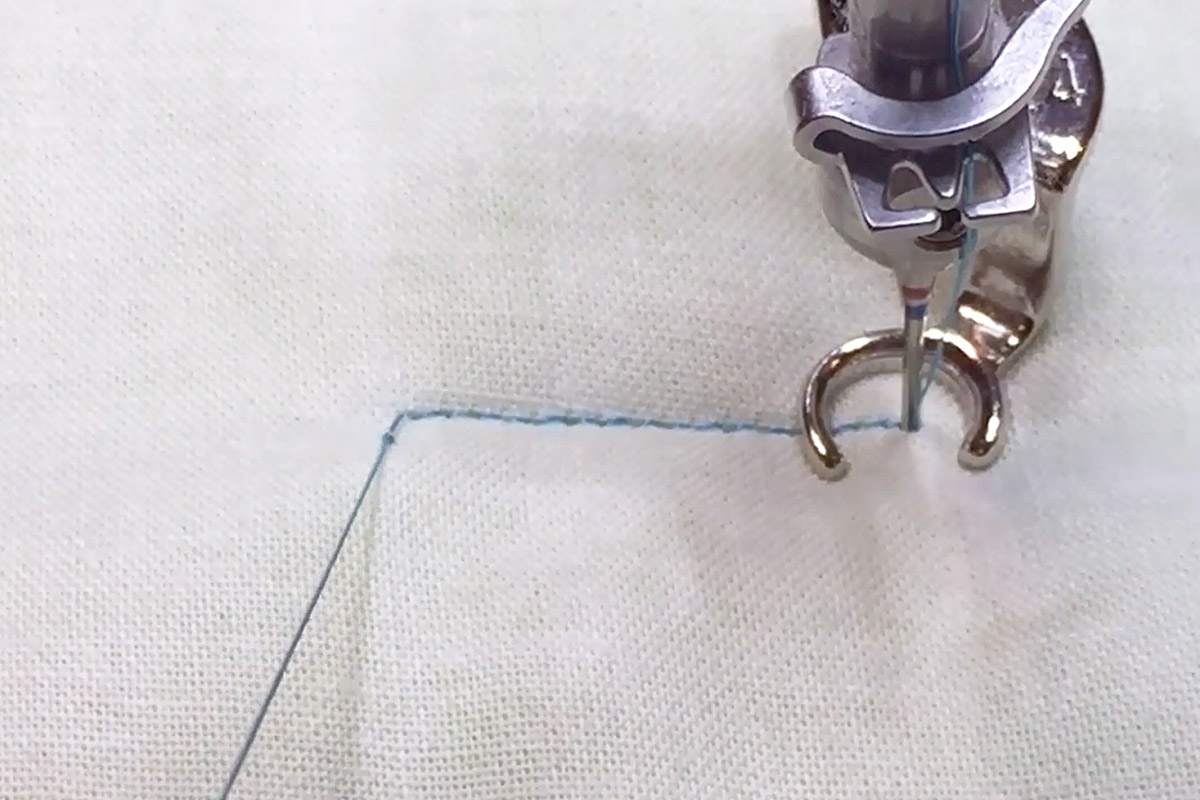
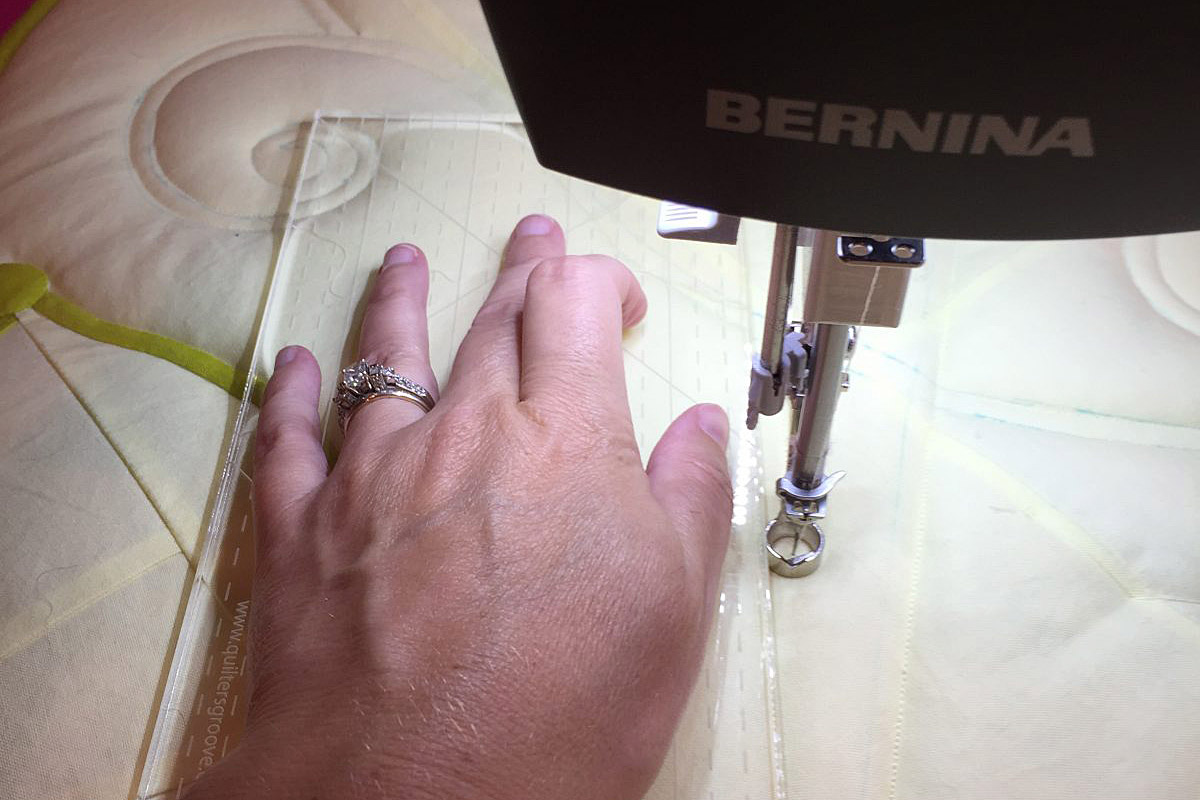
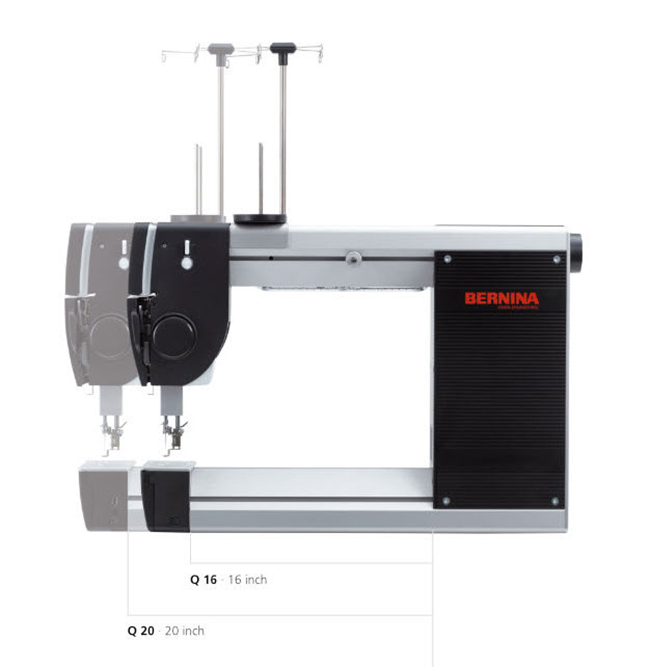
Now, if you aren’t familiar with longarms, you might be wondering what is a ruler base and why do I need one? Unlike a domestic machine which comes with a flat surface for piecing/quilting or might sit in a cabinet, the longarm only has a small area around the needle. This makes trying to balance a ruler AND move the machine a challenge. Here are some illustrations to show what it looks like with and without the base. I do NOT suggest trying to do ruler work without a base.
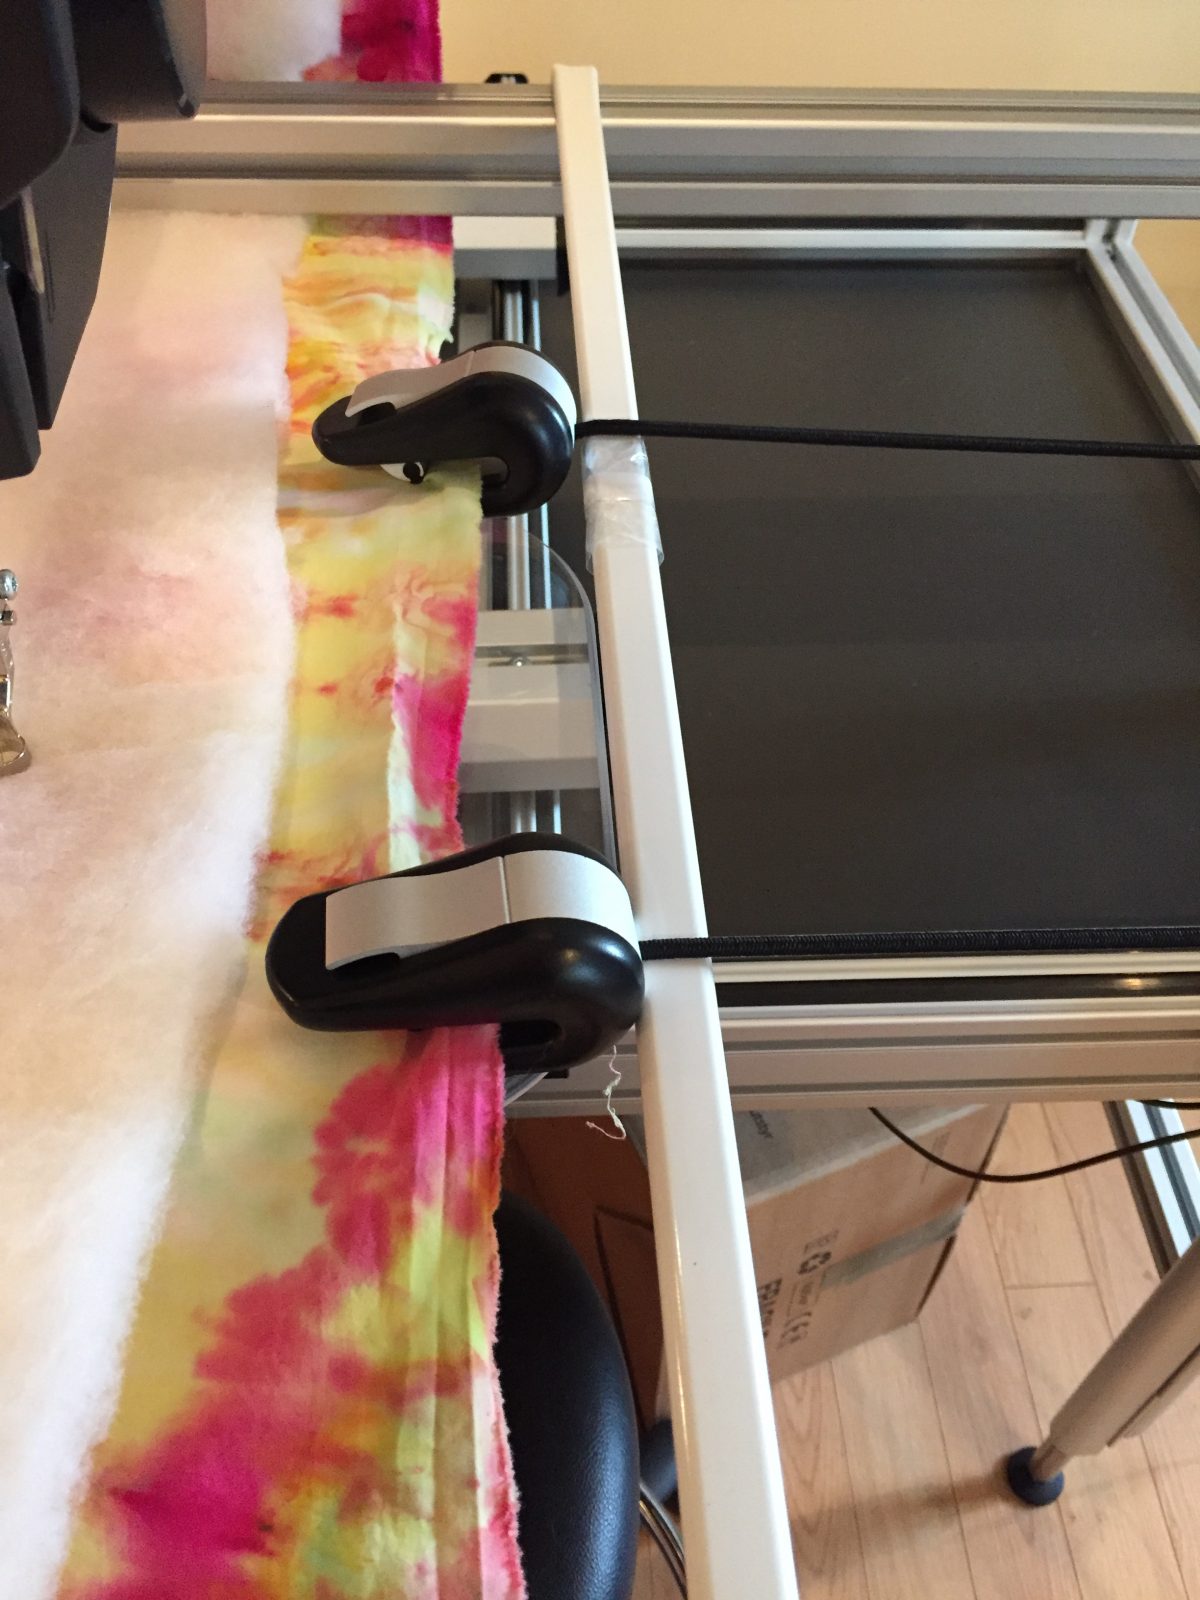
You are in quilting Nirvana and the quilting process is going along without a hitch and then…BANG! You have managed to run into the side clamps with the extended base. Basically a motor vehicle accident on your Q20 or Q24 has just occurred. And just like that your smooth ride has now come to a complete halt. In order to get up and moving again it is now evident that you will have to rip out stitches. There is no way in heck your super-duper special quilt is going to have a nice big bump in the middle of a straight line.
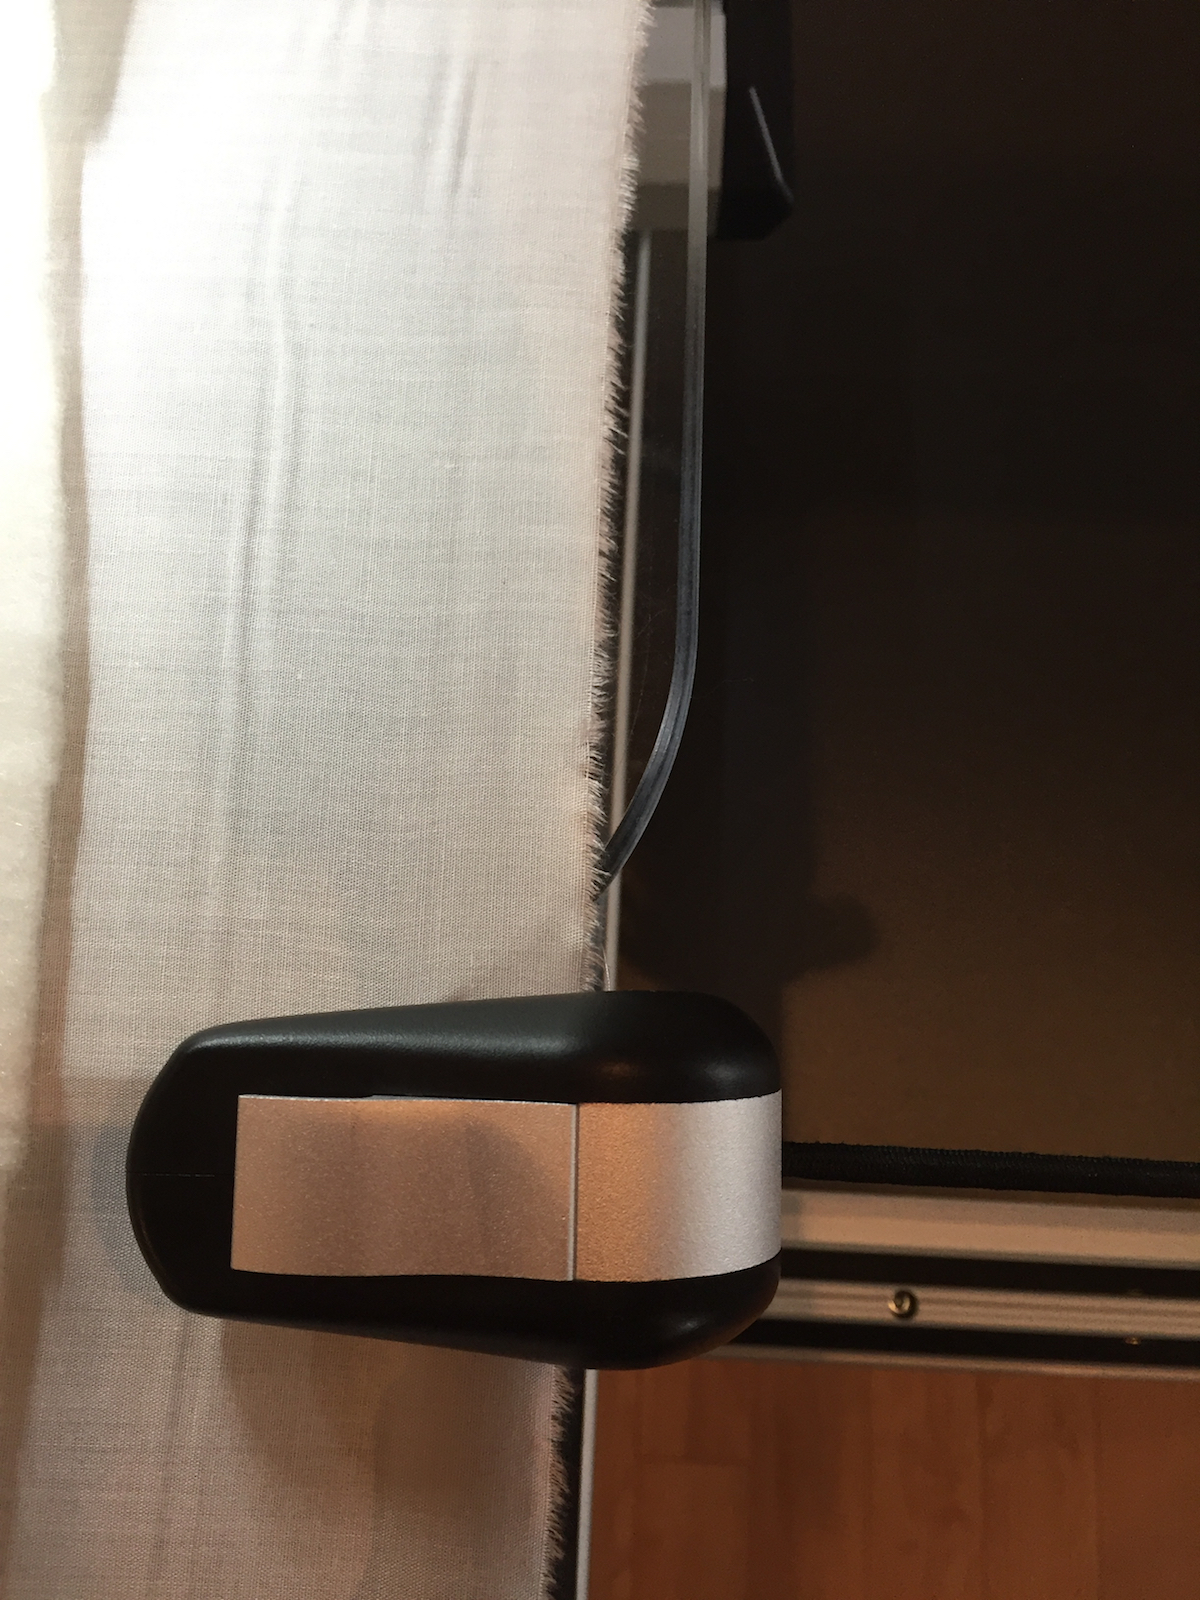
So what’s the solution? Well, first thing’s first, we have established you must use an extended base for ruler work so do not be tempted to forgo using them. Those lovely clamps also have a significant purpose so don’t even consider casting them aside. Do you want your quilt nice and straight? Then you better make sure you are using the clamps. Now that we understand that the clamps are a must but must NOT be in our way here are some options that I have used and they all work great! Best of all both are very low tech and cost very little, however they are extremely effective!
Option 1:
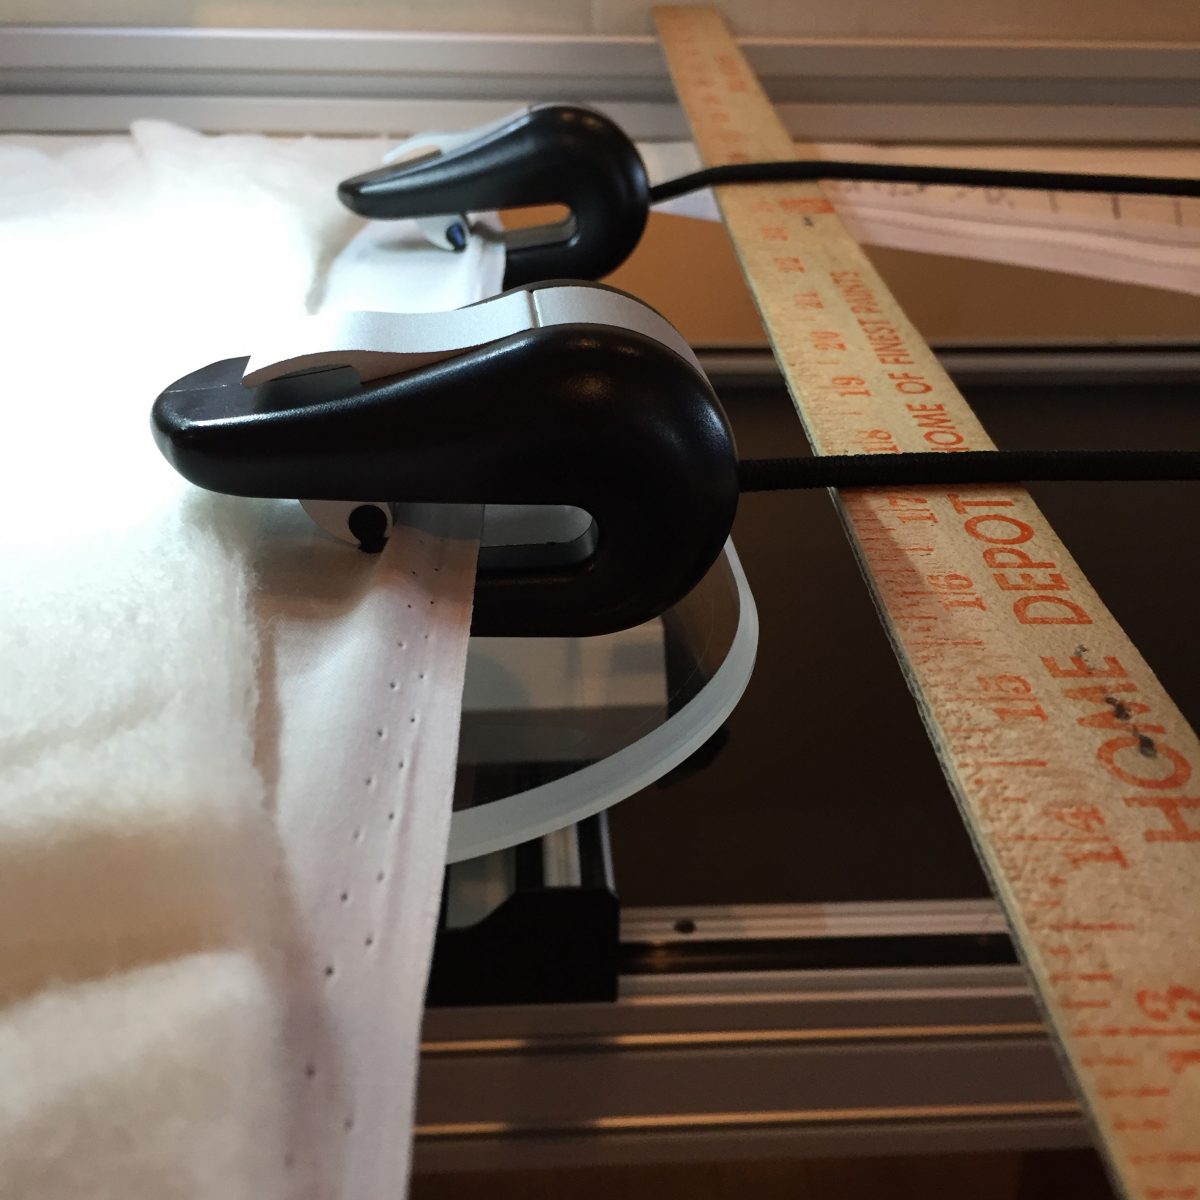
The first is a yardstick. No, you didn’t hear me wrong. I did say “yardstick.” Quilters and yard sticks aren’t often found hanging out with each other but unfortunately a tape measure doesn’t do the trick. So get a yard stick and give it some love, obviously my yardstick is very well-loved. I suggest you slide the yard stick up close to the clamps so that they are lifted up and away from the extended base. In addition it is a good idea to move your machine over just to make sure you really won’t hit the clamps. Better safe than sorry, or ripping out stitches….
Option 2:
The second option is a curtain rod. Oh how I love finding multiple purpose items. The glorious thing about using a curtain rod is that it hooks right on the bars of the machine. A quick tip: You will want to tape the two metal pieces of the rod together. This will prevent the rod from coming apart when you advance the quilt. I like to use two curtain rods on one side of my quilt as I like to put my drawing board with my “quilting plan” on it. It can also hold whatever ruler I might be using at the time.
Option 3:
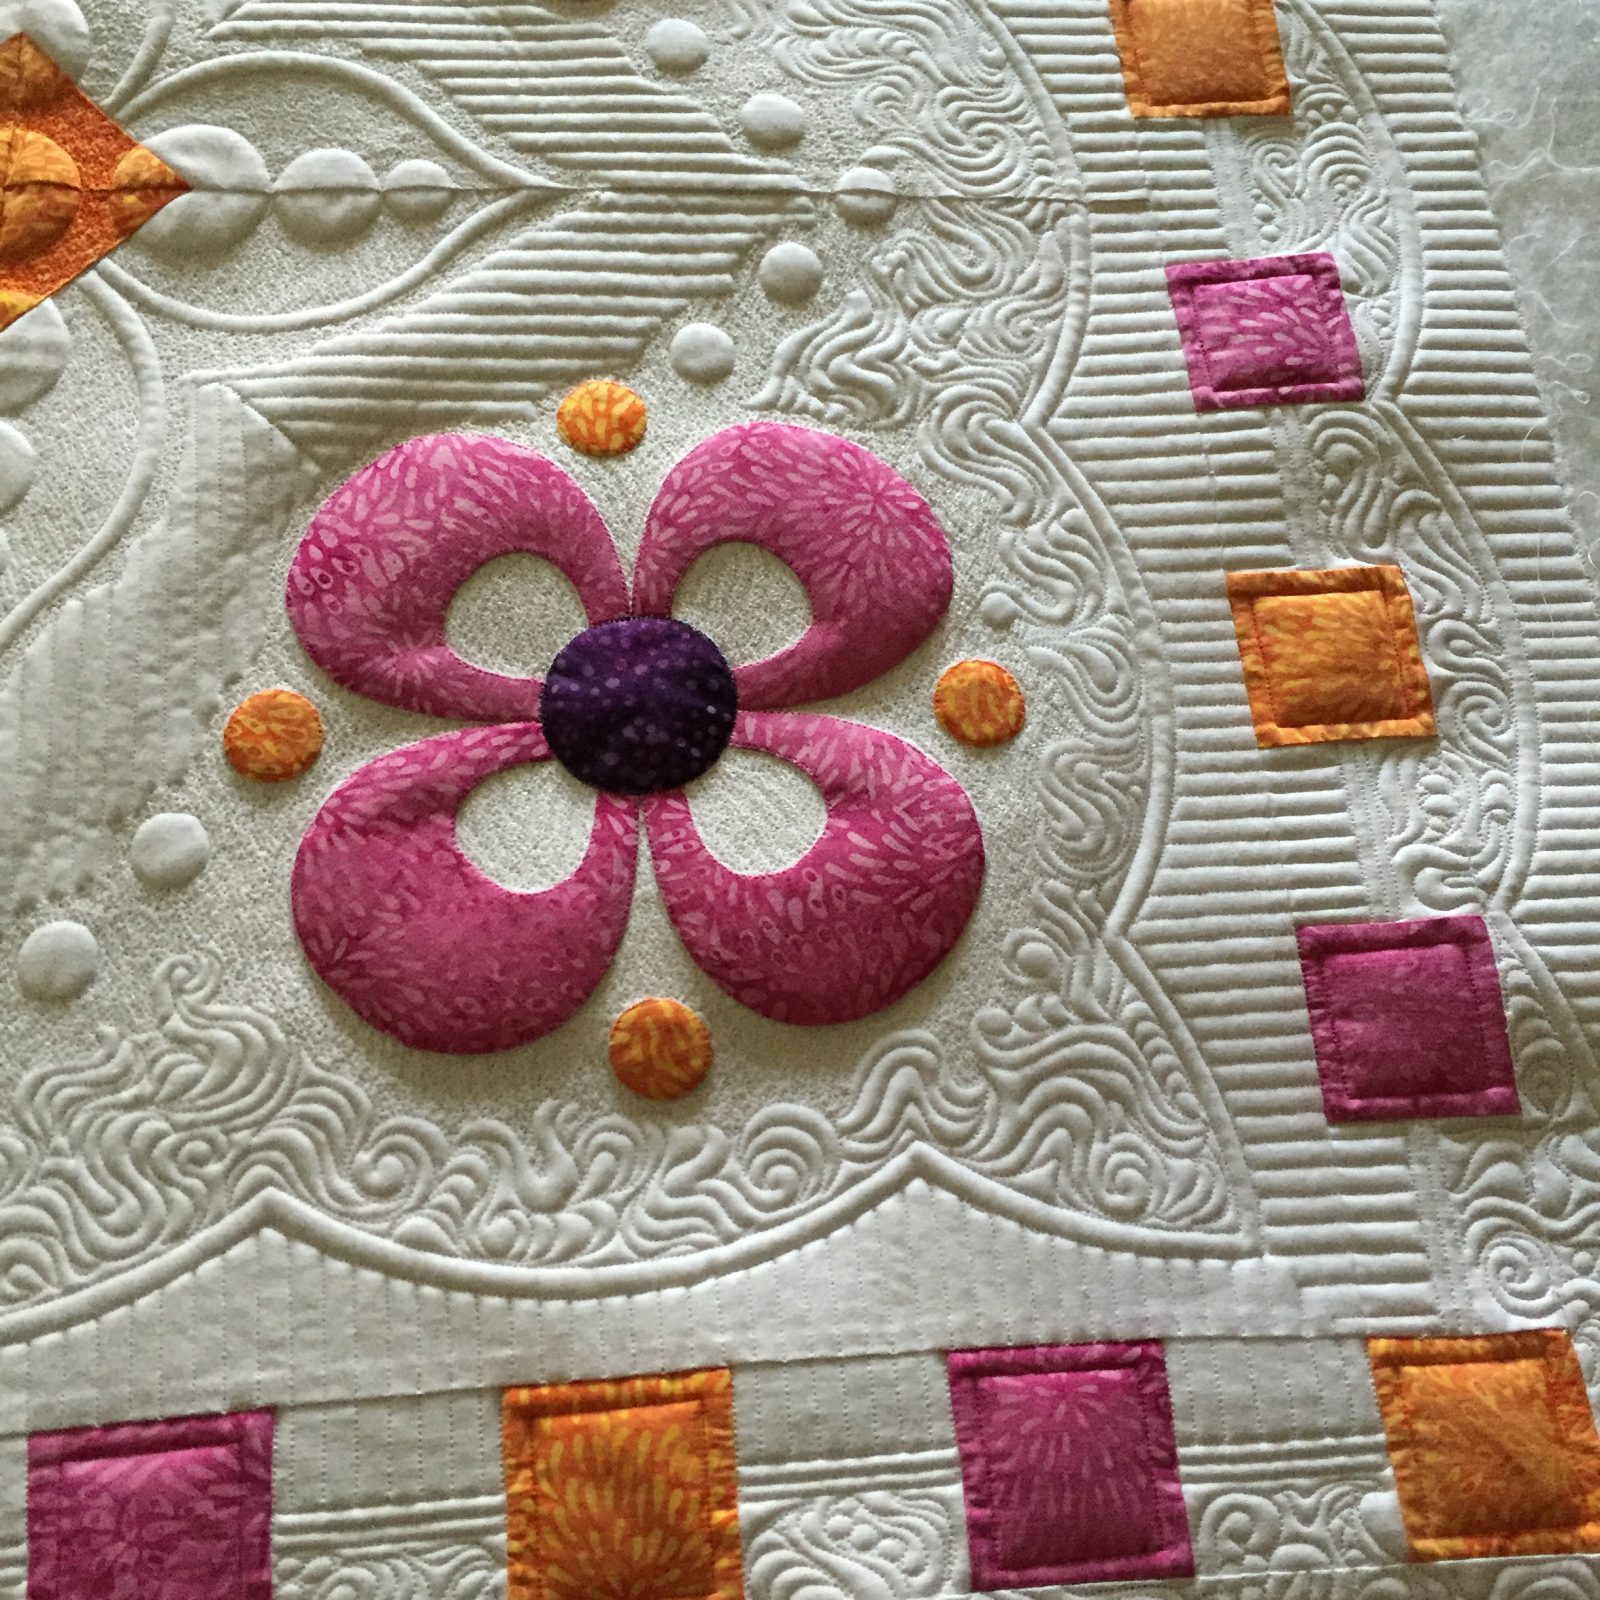
There is a third option but it is a little more costly. Simply choose to use more fabric! No eye rolling! Yes, this is an easy solution but with the price of fabric around $11/yd, my wallet says OUCH! My budget definitely finds the yard stick or the curtain rod much more appealing AND economically more feasible! I did however splurge when working on the Ruler Panel by Amanda Murphy of Benartex. I probably didn’t really need the yardsticks for this one but old habits die hard.
New and exciting ruler kit purchased and in possession=✔︎
Options to will prevent future extended base fender benders=✔︎ ✔︎
Green light to jump in and have fun with rulers/templates=✔︎✔︎✔︎
ENJOY!!!!
Used Products


What you might also like


4 comments on “Longarm Quilting Tip: Watch Those Side Clamps!”
-
-
I have been using the Yard stick method for a while. It does work, but I do suggest, even though it costs, extra material along the sides. muslin is cheap in some low stitch count form. If nothing else, it gives you the much needed stitch check area after each bobbin change. Plus there is always, always those days ladies. You know….when things just go wrong and the yard stick gets nudged by the hip and you have this extra fail safe. But then Murphy was a relative of mine so I always have a back up! Happy Sewing =)
-
You are correct. I normally have between 3-5″ extra backing around the entire quilt. When i was doing customer quilts and the client didn’t have enough, she would say, I’ll just piece some on the sides… caution: when doing this, it must be pieced like a border or you can find that it sags or worse the quilt sags.
-
-
I have had a tool table on my HQ16 for nine years, always learning and playing with templates. Lots of new templates.This idea is great until you have king size. The extra fabric can often become the binding or used in another quilt. I made Bonnie Hunter 2016 Fall Mystery using left overs from backing. So no waste. I have also done a table runner on the extra end fabric.
Leave a Reply
You must be logged in to post a comment.

I really enjoy these newsy, informative, articles. Even though I’m not longarmer, I AM a person learning lots on ruler work, have a Craftsy class on it so I’m more than passing in my interest. It accomplished some impressive quilting, that’s for sure.