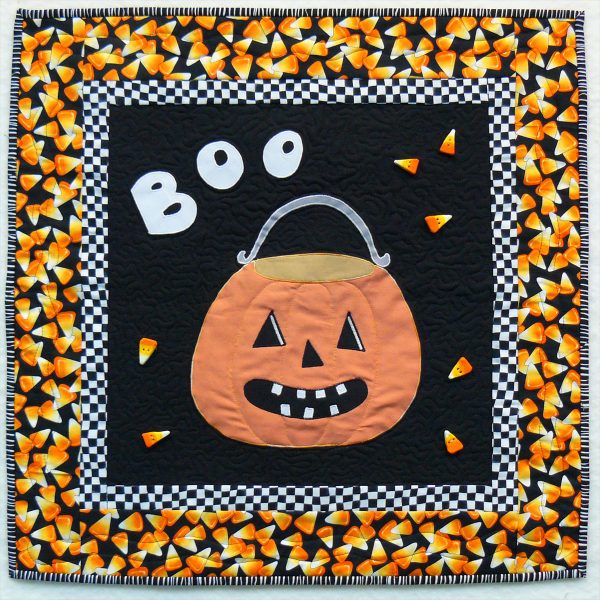
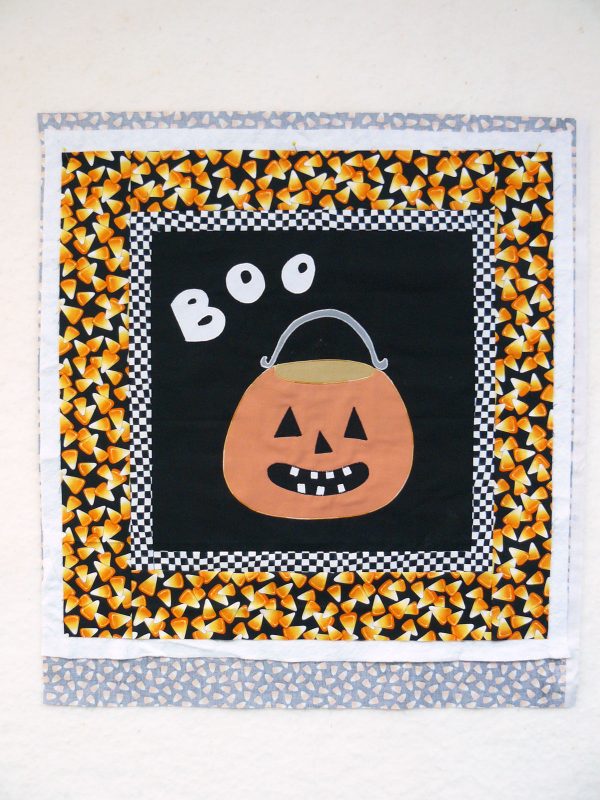
How to Make a Pumpkin Mini Quilt
Quilt Artist and Instructor Pat Delaney shows you all the steps to create this fun Pumpkin Mini Quilt, perfect for decorating a wall or front door during Halloween.
Materials to make a Pumpkin Mini Quilt:
½ yard black fabric for background cut one 16″ square
¼ yard black and white check fabric for narrow border cut two 1 ½” x WOF strips (width of fabric)
½ yard Halloween print fabric for wide border cut two 3½” x WOF strips
1 yard backing fabric
36″ x 36″ batting
¼ yard orange fabric for binding cut three 2″ x WOF strips
1 yellow-orange fat quarter for pumpkin
Various scraps, white for teeth and lettering, grey for handle, black for pumpkin features, tan for inner pumpkin
½ yard fusible web
Pumpkin Mini Quilt pattern
Instructions to make Pumpkin Mini Quilt:
Trace patterns onto paper side of web and cut roughly leaving about ¼” outside line.
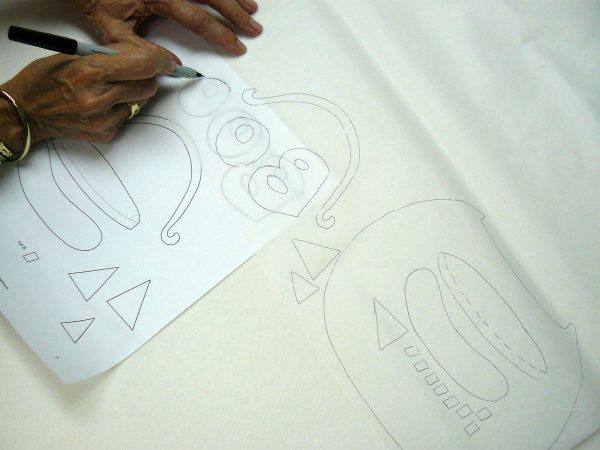
To keep the large area of the pumpkin from being too stiff, cut out the center of the web leaving ¼” inside line. This forms a ring of web to fuse to the orange fabric.
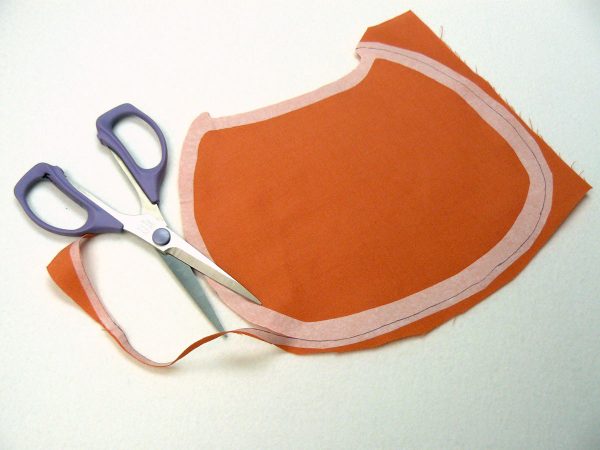
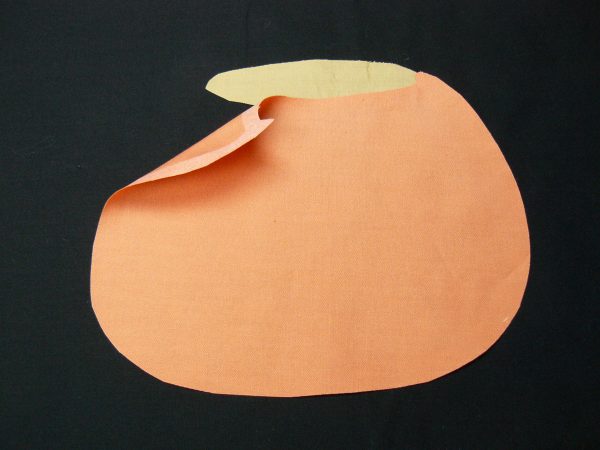
Fuse and cut out on the exact line. Fuse to background fabric after arranging tan inner pumpkin under the lip of the pumpkin.
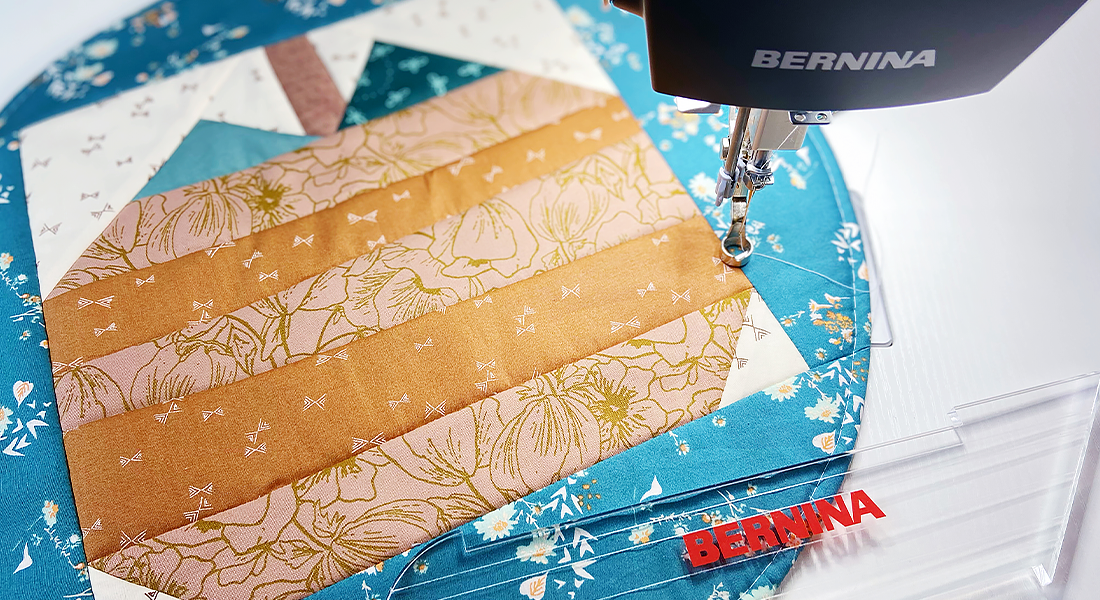
Edge stitch these pieces with your choice of finish. I am sewing on a new BERNINA 790, and find the Free-Hand System (knee lift) a great help in machine applique.
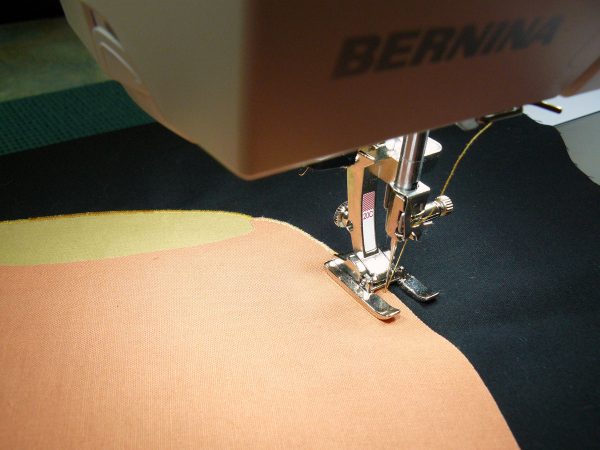
You might like a piece of stabilizer under the stitching to prevent “tunneling.” I use a narrow satin stitch and for that I use a zig zag stitch #2 with a stitch length of 0.30mm and a width of 2.2mm. A small blanket stitch would also work with stitch #1330, using a stitch length of 2.80mm and a width of 2.3mm. I like the Open embroidery foot #20/#20C/#20D foot, the 9mm Stitch plate, and using the needle-down feature. I use a 50-weight thread, but if you use something heavier, you may need to adjust the length setting a bit.
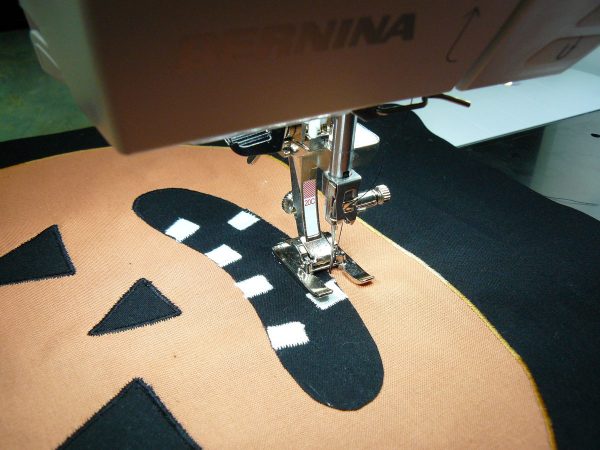
Add handle, features, and “Boo” lettering, and edge-stitch everything down.

I put the teeth on and edge in white and then outline the mouth with black.
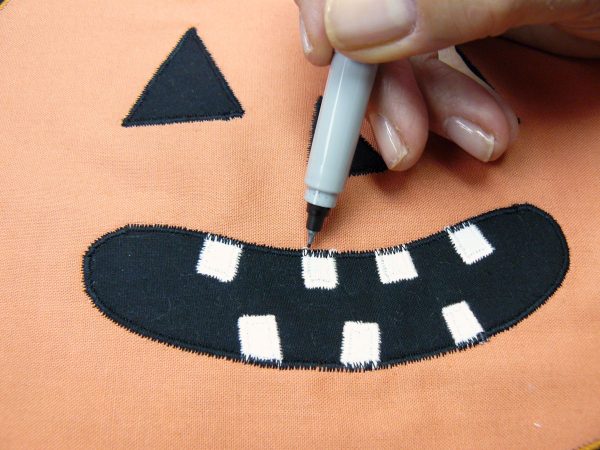
*Hint: Peel paper off group of teeth before you cut them apart. Hold the two layers together to cut out and separate. Any small spots of white showing through can be touched up with a permanent black pen. A row of white wider satin stitch inside the eyes gives a little dimension.
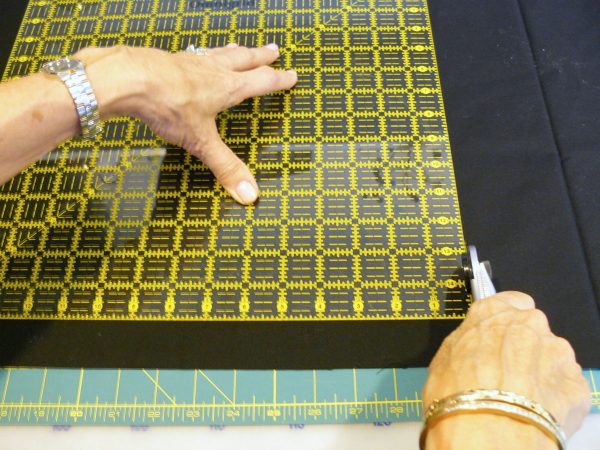
Trim background to 15″ x 15″.
Add narrow strips top and bottom and then both sides. My Patchwork foot with guide #57/#57D foot or the Patchwork foot #97/#97D works well with the Dual Feed Foot engaged and gives a nice quarter-inch seam.
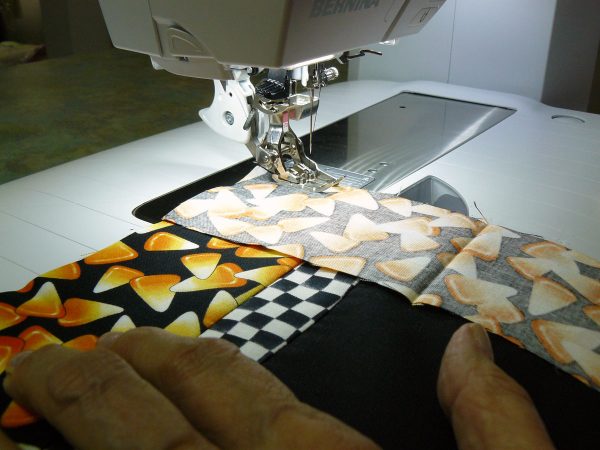
Cut large 3″ borders. Join top and bottom then both sides.
Trim to square.
Layer with batting and backing.
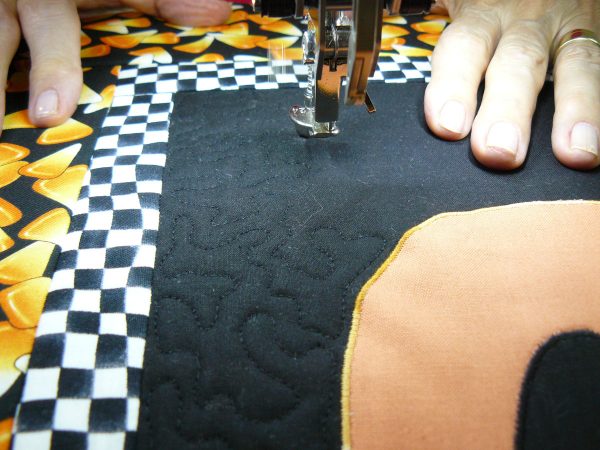
Quilt as desired. I did a medium meander for the black background and a simple double-wave line in the outer border. A few curved lines on the pumpkin add roundness. Add binding and buttons. You can find novelty ones in the fabric stores.