Mini Ironing Board Cover Tutorial
Every Sunday afternoon (almost without fail) my aunt pours herself a glass of wine, cues up a movie, sets up her ironing board in her living room, and sets in for a few hours of ironing… HER SHEETS! The first time she told me about this routine of hers I wondered why on earth anyone would waste their precious time ironing their sheets! I have a rule that I won’t buy any clothing that requires ironing, THAT’S how much I hate ironing. But here my aunt was opting to spend her time ironing something that no one would even see (aside from her).
Then she explained that the reason why she does it is because slipping into freshly ironed sheets makes her feel luxurious and who wouldn’t want to go to bed Sunday night with Monday morning looming in the near future while feeling luxurious? Even though I finally understand her whole “sheet-ironing-obsession” I don’t see myself adding her habit to my repertoire anytime soon.
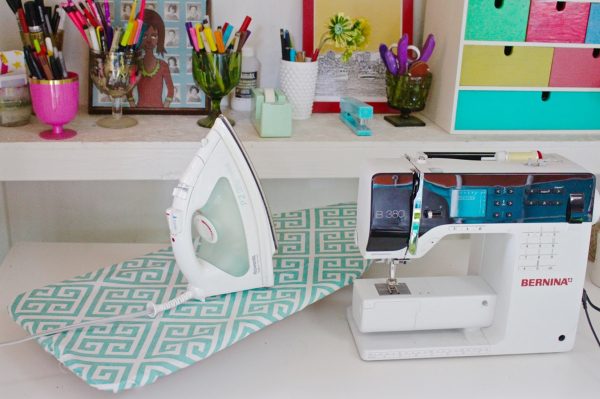
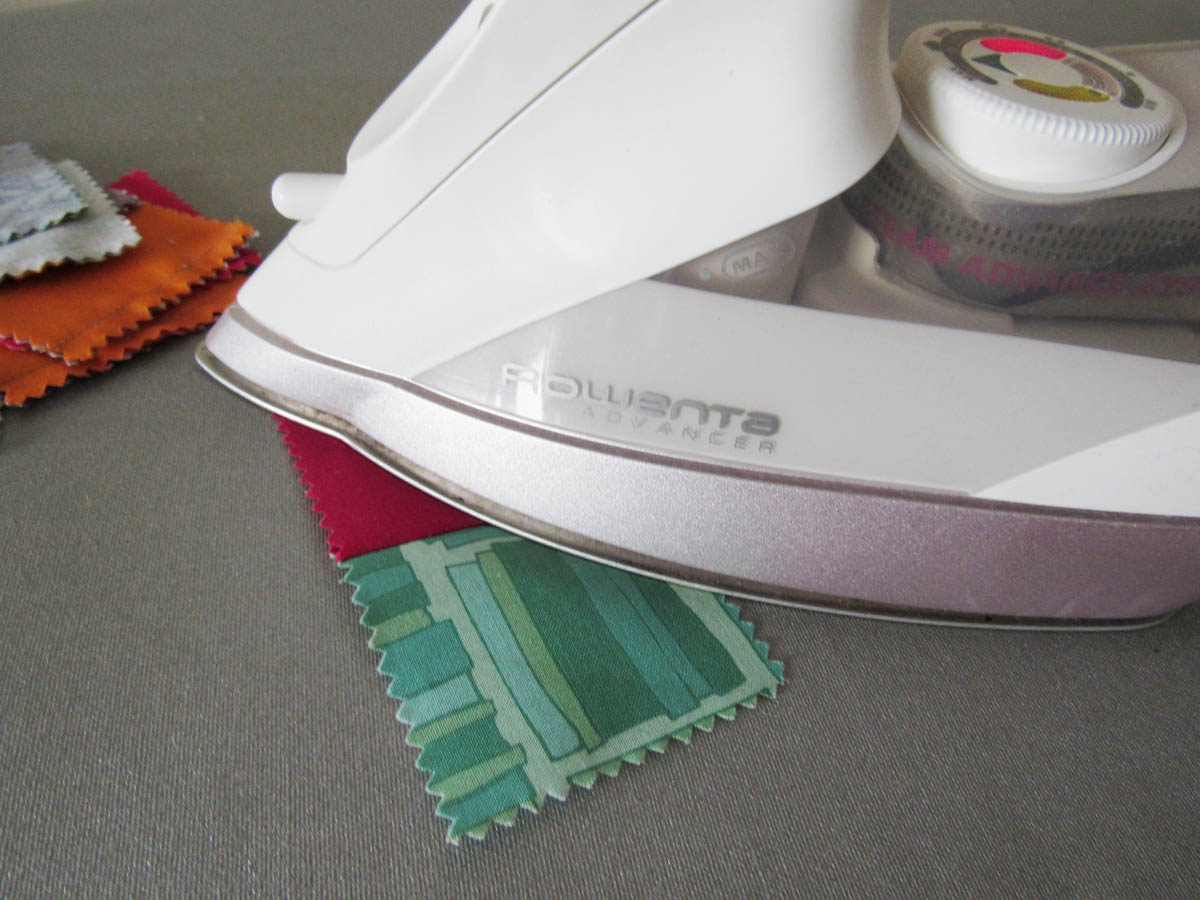
However as a crafty sewer I do have the need to iron for projects. I’ve been using a mini ironing board I picked up at a garage sale several years ago. The cover was stained by burns and it was looking beyond shabby. So… I created a brand new cover for it! This project took under an hour and is perfect for beginning sewers. If you’d like a bit of cushion between the board and what you’re ironing you can also add a thin piece of quilting batting under the cover.
Materials to Make a Mini Ironing Board Cover:
- Sewing machine (I used my BERNINA 380)
- Mini ironing board
- Fabric (the size depends on how large your mini ironing board is)
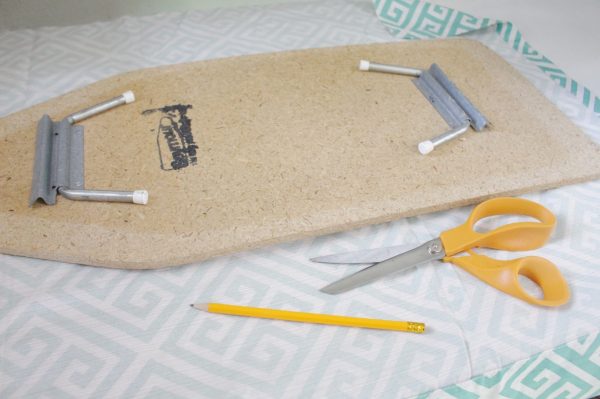
- Scissors
- Pencil
- Tape measure
- Thread
- Twine or ribbon (the length of the edge of your ironing board cover)
- Iron
- Bobby pin
Instructions to Make a Mini Ironing Board Cover:
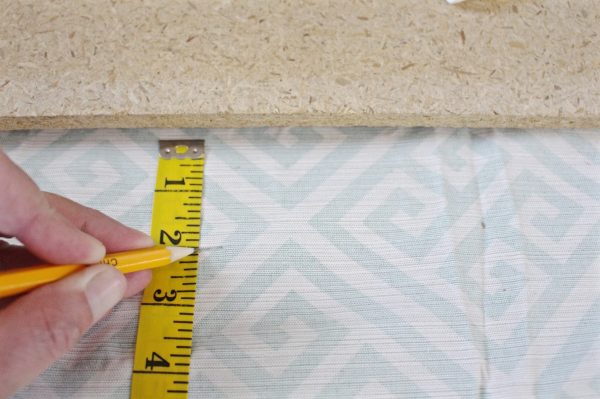
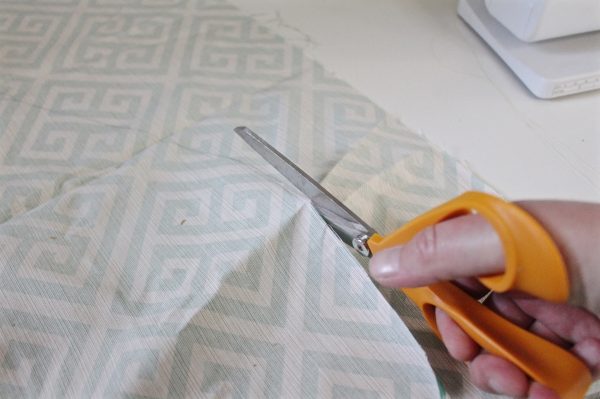
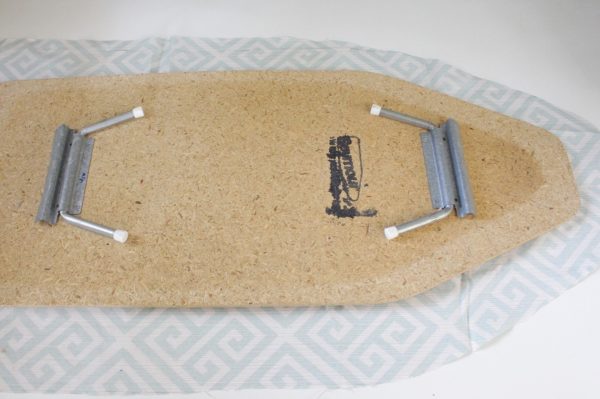
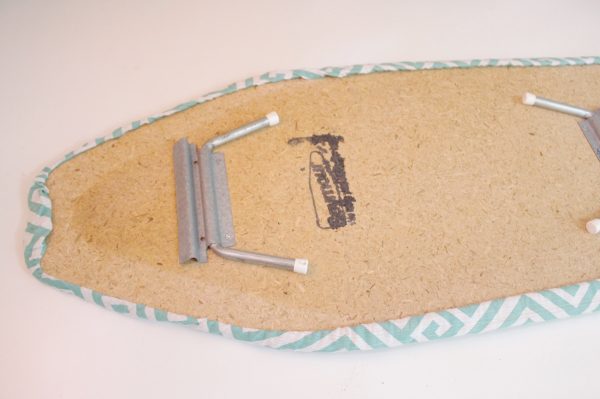
1. Lay your ironing board down on the wrong (un-printed) side of your fabric, then use your tape measure and a pencil to make marks about two inches from the edge of the ironing board on the fabric. Then connect the dots to create a line.
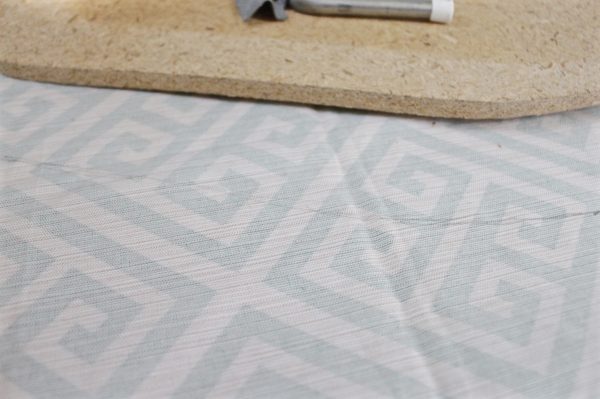
2. Cut the fabric on the line you drew.
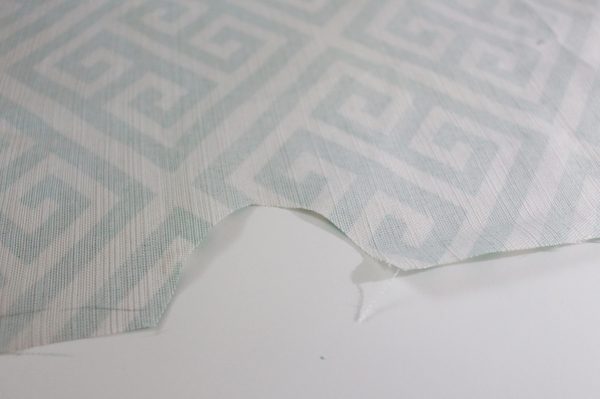
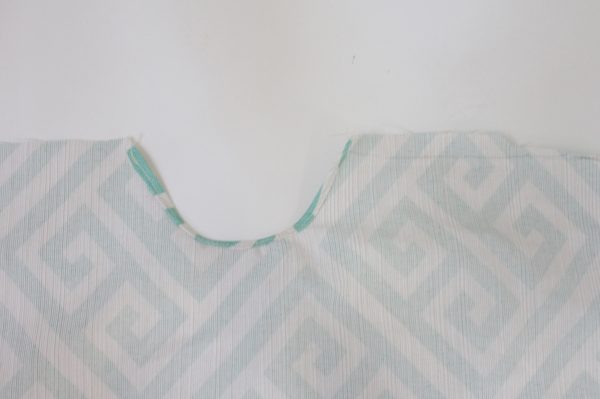
3. On the straight side of the fabric (i.e.: the back of the board, the side that will go opposite the pointed side of the ironing board) cut a half-circle notch about two inches at the center.
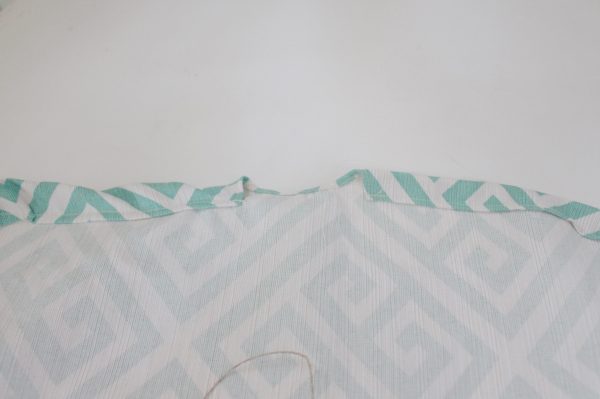
4. Fold over the edge of the half-circle about 1/8th of an inch then do it again. Iron the fold to keep it in place.
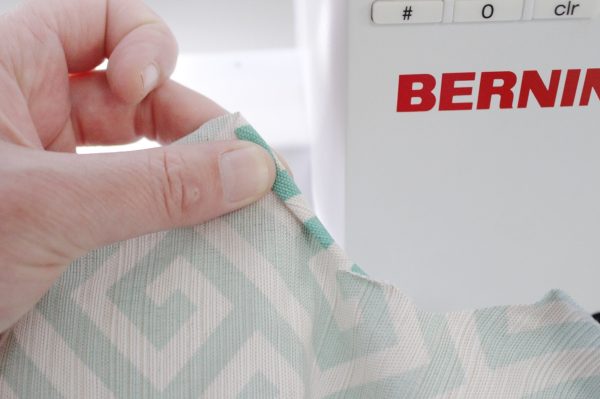
5. Sew the ‘hem’ you just made down with a straight stitch.
6. Fold the edge of the ironing board cover fabric down about ¼ of an inch all the way around, then iron. This works best in sections. Once you finish the length of the fabric, fold it over one more time (1/4 of an inch again) and iron it down.

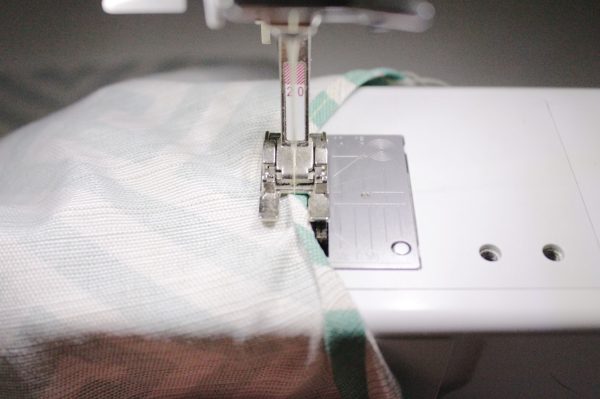
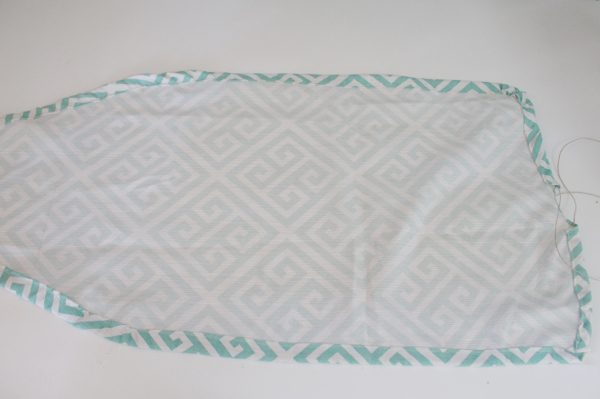
7. Sew along the length of the ‘hem’ you made in the last step using a straight stitch.
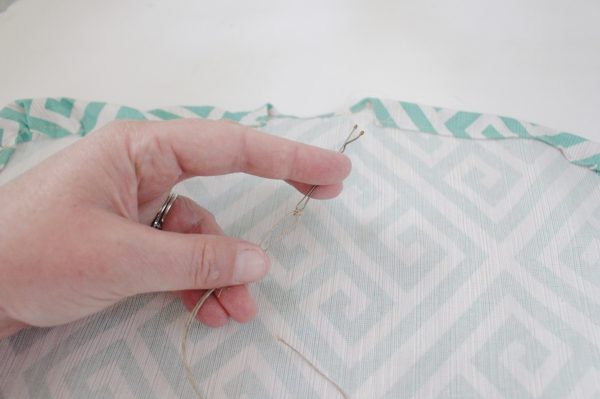
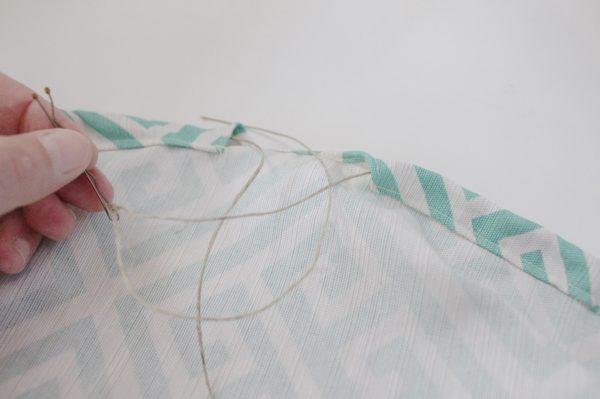
8. Tie your twine or thin ribbon to a bobby pin. Then push the bobby pin through one of the open sides of the channel you created around the edge of the fabric. Pull the bobby pin (and attached twine or ribbon) through the entire length of the channel.
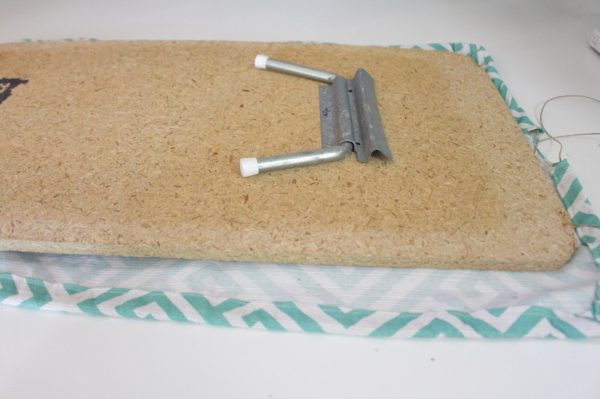
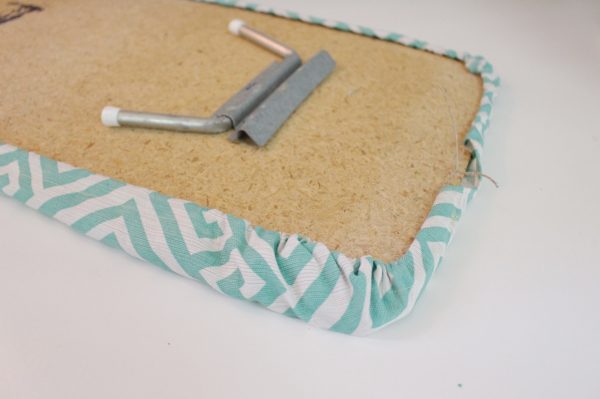
9. Place your ironing board on the inside of the cover you just made and fold the edges of the fabric over the backside of the board. Then pull the twine or ribbon tight to secure the cover on the board and tie the ends in a bow or knot.
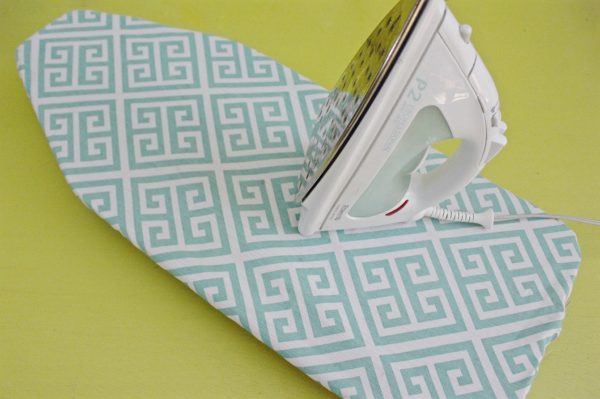
Enjoy your “new” ironing board!
What you might also like


5 comments on “Mini Ironing Board Cover Tutorial”
-
-
Oh! My! Brilliant! My board looks exactly like yours (but I have no idea where I got it – may have been given to me) and the teflon-like cover is starting to rip/disintegrate before my eyes! I have the PERFECT fabric (sewing theme) to re-cover the board, and your instructions look very simple! THANK YOU!!!! Linda from Maine
-
Update! I actually made 3 new covers today…. two for the collapsible sleeve ironing board my Mom used when sewing our clothes some 60+ years ago, and one for my board which looks identical to yours. All three covers came out wonderfully! Thank you again for such a great tutorial! Linda from Maine
-
-
Except for the wine, I must confess, I do the exact same thing as your aunt. I love the feel of just ironed sheets, plus, I find ironing relaxing, so I do all my ironing for the week. Yes I know, I’m an oddity!?
But I do thank you for the ironing board tutorial. The maker of my mini ironing board has retired and I have no way to purchase new covers now. I also have some padded teflon fabric which I think would make a great cover.
Thank you again for sharing your tutorial with us!
-
You have all been missing a very nice Feel Good luxury! Ironed scented or starched sheets are a MUST.
Mist your sheets with scented water (lavender is my fav} and It will lull you to a great sleep.But plain ironed sheets are a MUST do!
Leave a Reply
You must be logged in to post a comment.

This tutorial could also be used for any size board: a mini board, a full size or sleeve board. Mine all need recovering. I myself like to include the batting to give the extra cushion. I have saved this to my Sewing Spaces Pinterest board: https://www.pinterest.com/thelostapron/sewing-spaces/