Nursing Pillow Cover Tutorial
Always have an extra cover handy for your nursing pillow with Sarah Gustason’s Nursing Pillow Cover Tutorial.
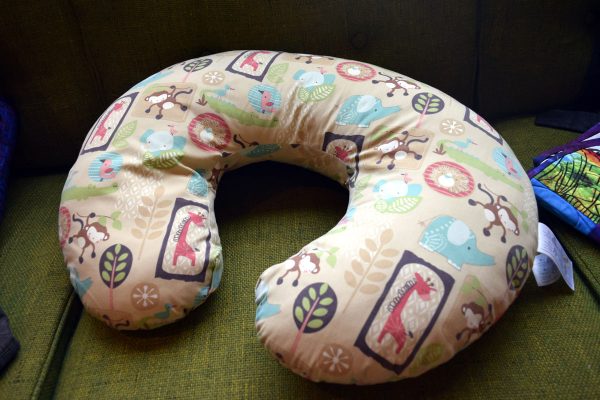
One of the greatest helps for a new mom is a nursing pillow. These U-shaped pillows are great for feeding time, breast or bottle, propping the baby up, tummy time and even supporting a infant as they are leaning to sit up. With all the use they get having an extra cover or two is invaluable.
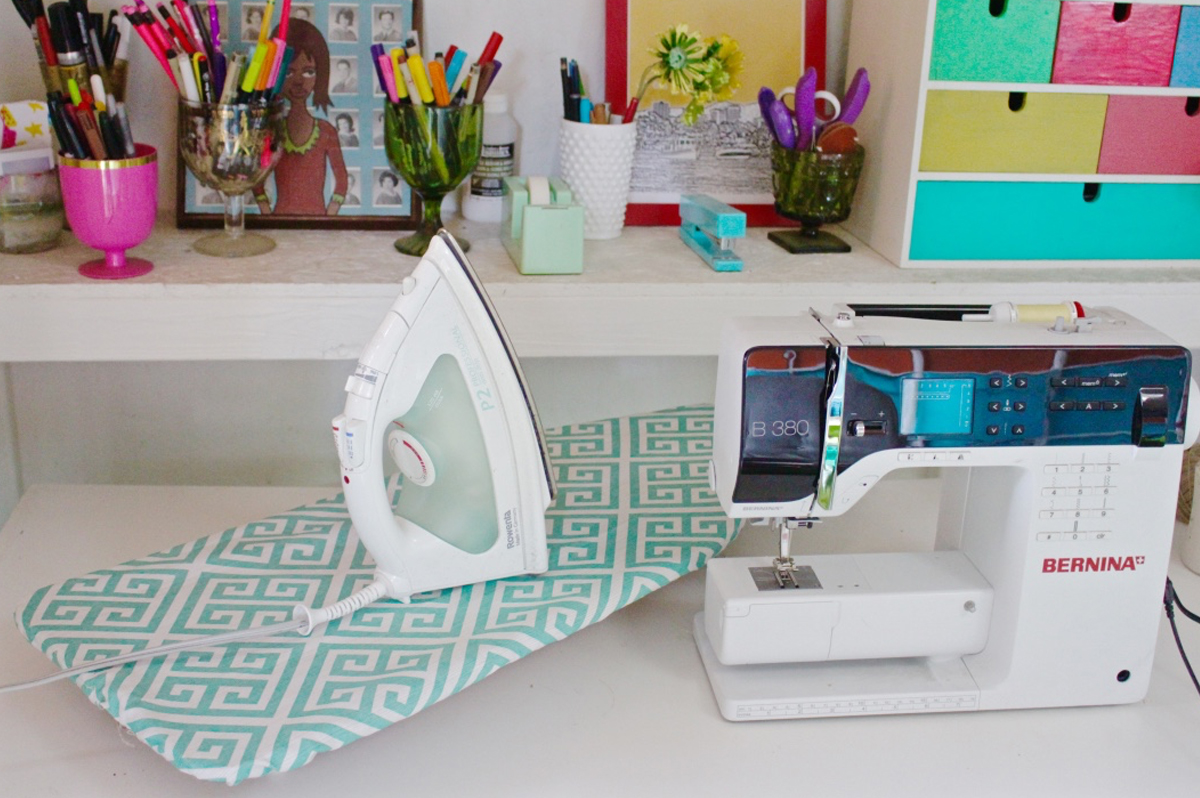
The original pillow cover has a flap on the bottom side to cover the zipper. Our nursing pillow cover takes advantage of the ease at which you can put an invisible zipper in with the BERNINA Invisible-zipper foot #35.
Materials to make the Nursing Pillow Cover:
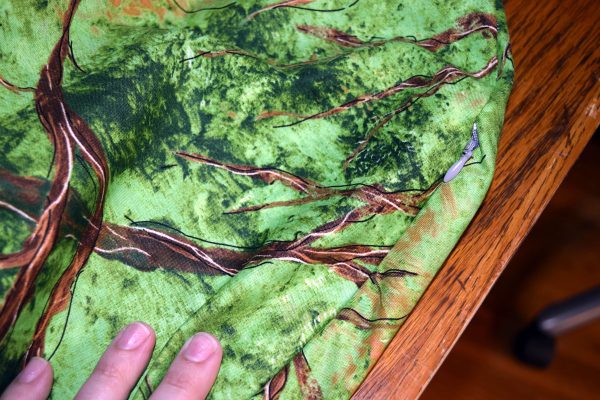
- 2 yards of fabric (Treetops Nature from our new Backyard Nature Study collection shown)
- 1 yard tracing material (large piece of paper, Pattern Ease or Easy-Pattern)
- 53″ x 24″ strip of fusible knit interfacing
- Rotary cutter and scissors
- 24″ ruler
- 40 weight thread to coordinate with fabric
- 22″ invisible zipper
- BERNINA Invisible-zipper foot #35
Step 1

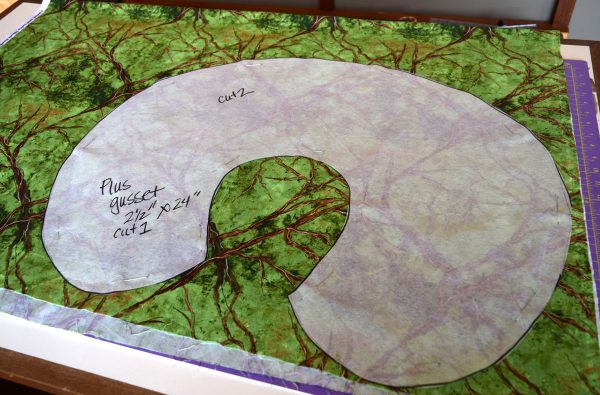
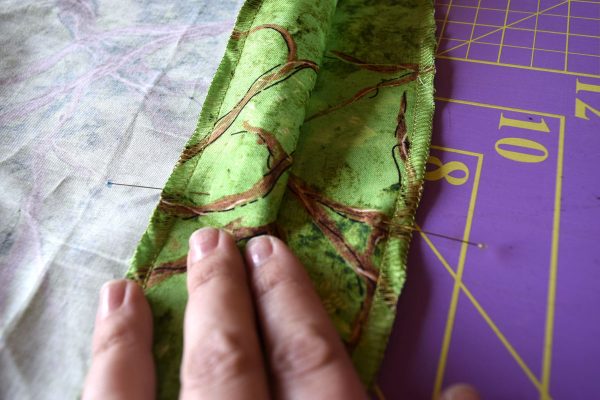
We need to create our pattern. Remove the cover from your pillow and turn it inside out. Make sure to fold the gusset to the inside so you have the overcast edge running all around the cover. Lay your pillow cover down on top of your tracing medium, I use Pattern Ease Tracing Material but whatever paper you have large enough will work fine.
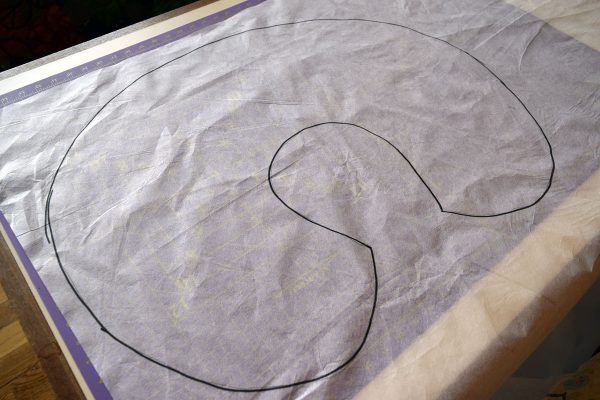
Using a pencil trace all the way around the pillow cover. The great thing is the seam allowance is already included so you don’t even have to think about that.
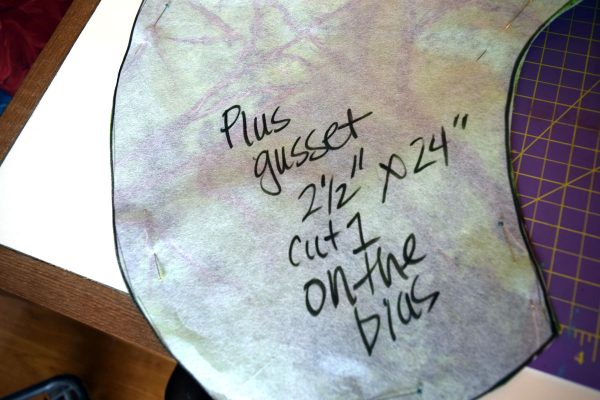
The pillow cover also has a gusset on the inside curve. I measured mine and recorded on the pattern piece that I needed to cut a strip on the bias that measured 2 1/2″ x 24″.
Step 2
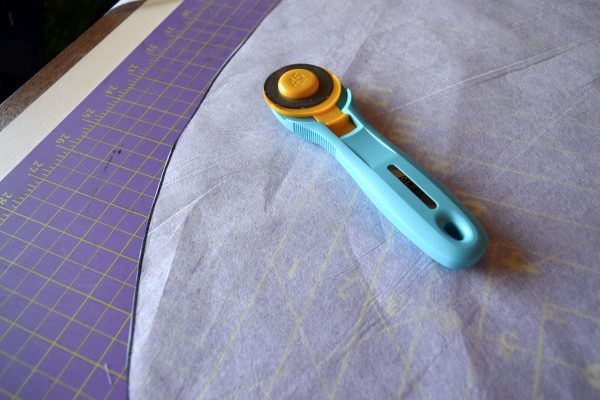
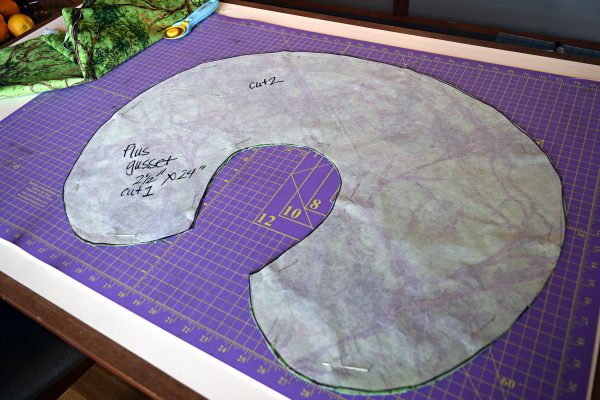
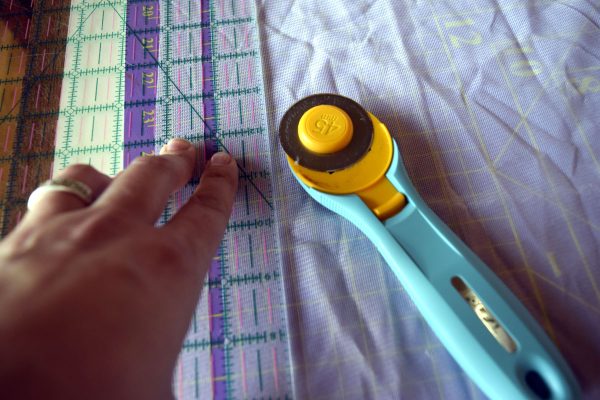
Once your pattern is traced you want to cut it out. I find that no matter what I am making if I cut the pattern out on the line when I’m cutting out the pieces they are more accurate because there is less shifting. I also prefer to cut everything out with a rotary cutter, again for accuracy. They come in a variety of sizes, I prefer the 45mm for most things but go down to the 28mm or even 18mm for tight curves.
Step 3
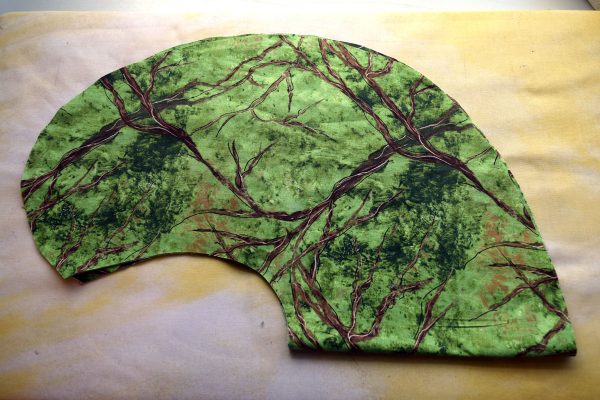
Open your fabric up all the way and fold in half lengthwise, wrong sides together so the selvage edges are parallel. So it should measure 36″ x 42″ with selvages on either side. Lay your pattern piece down on top and pin.
Using your rotary cutter, cut out the two layers. Cutting it this way ensures that the two pieces are the exact same size.
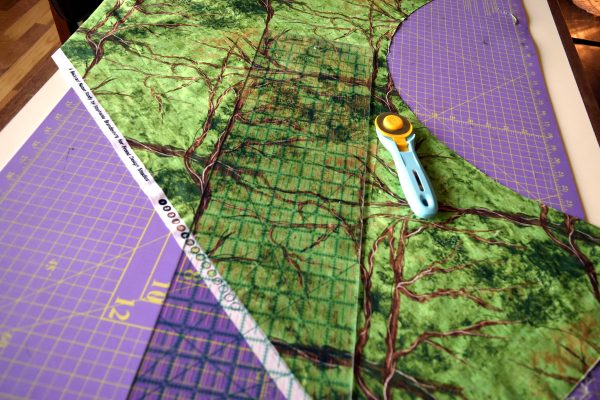
Now we need to cut the bias strip for the gusset. Using a single layer of fabric line up the 45 degree line along the edge of your fabric and cut along the edge of your ruler.
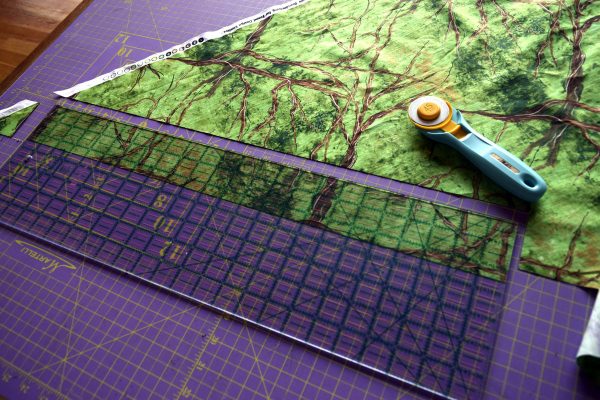
From this cut edge measure over 2 1/2″ and cut again. Square off the ends.
Step 4
Cut 2 1″ x 24″ strips of fusible knit interfacing.
Fold your pillow cover pieces in half to find the center back.
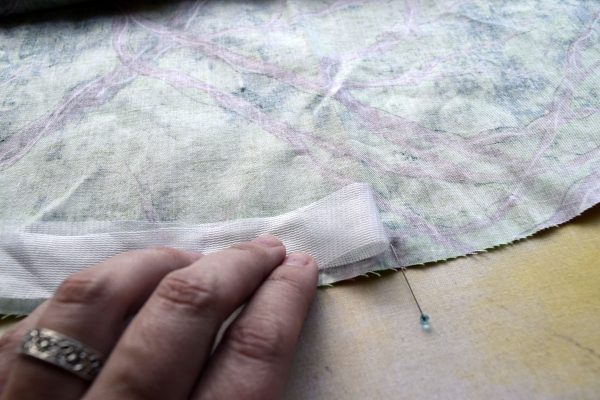
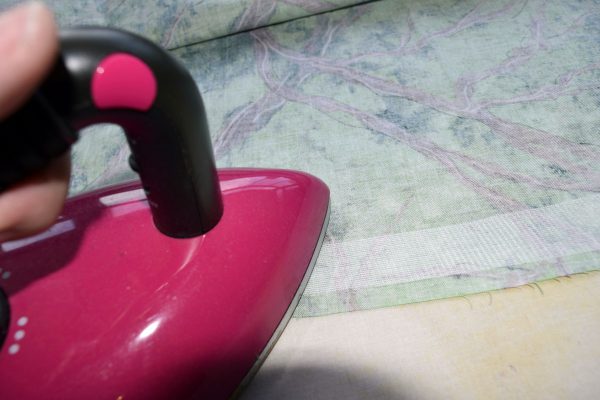
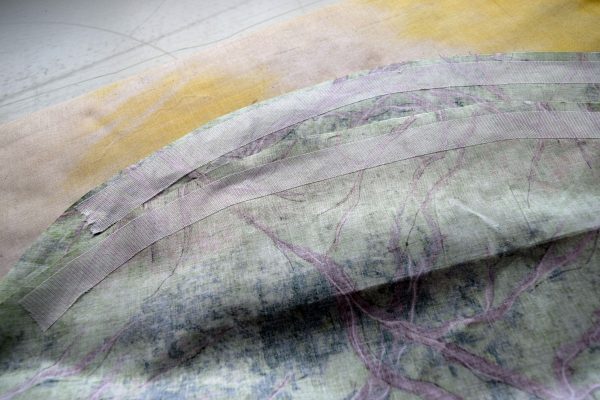
Center your strip of interfacing along the edge of the fabric and fuse. Do this to both pieces.
Step 5
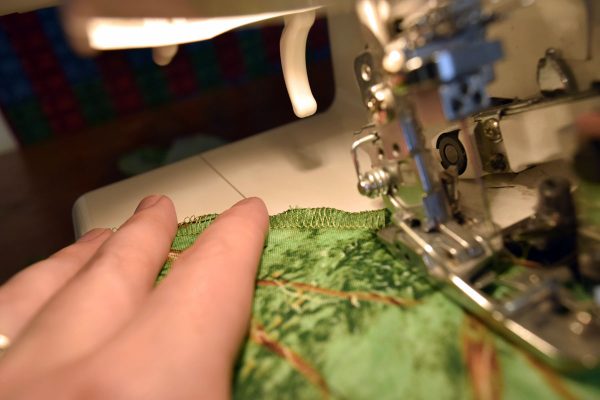
Use your serger or sewing machine to overcast the raw edges. Be careful not to stretch the fabric, especially the gusset since it is cut on the bias.
Step 6
To sew the gusset, fold the gusset in half lengthwise and use a pin to mark the center point on either side. Fold in half again and place pins to quarter the strip.
Do the same to the inner curve of the pillow form.
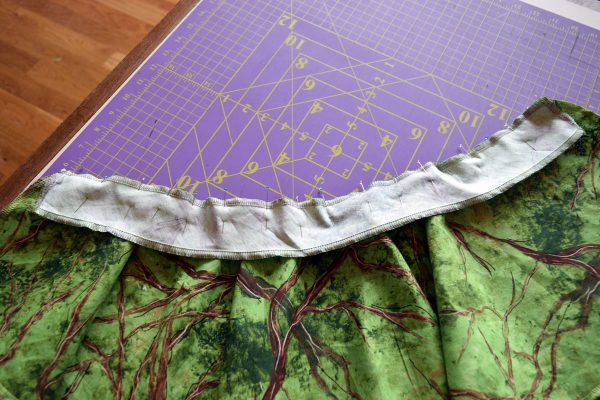
Pin the two pieces together matching up your pins.
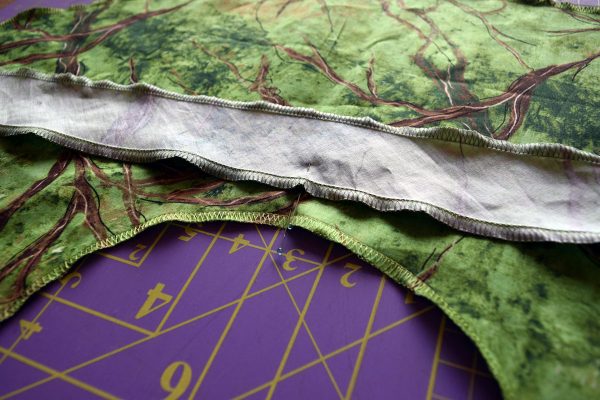
Step 7
Using the Reverse pattern foot #1/#1C/#1D sew edges together with a 5/8″ seam, engaging the Dual Feed feature with the #1D foot if you have it available. The dual feed is fabulous for keeping the bias edge from stretching. A walking foot would work well too! I also like to use an awl to keep my fabric edges together.
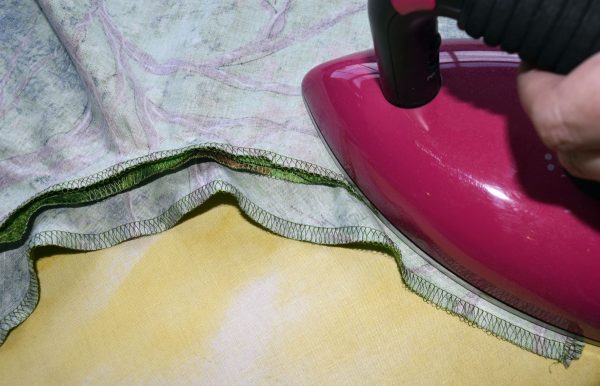
The BERNINA Free Hand System is also a great asset when sewing these inner curves, so adjust your fabric as necessary. Press the seam towards the gusset, again, careful not to stretch the fabric.

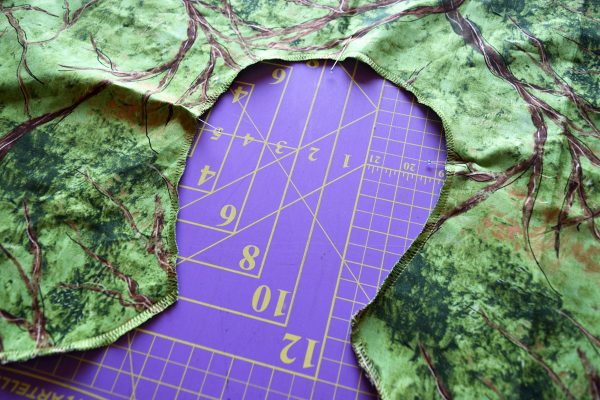
Repeat the pinning and sewing process with the other side of the pillow cover.
Step 8
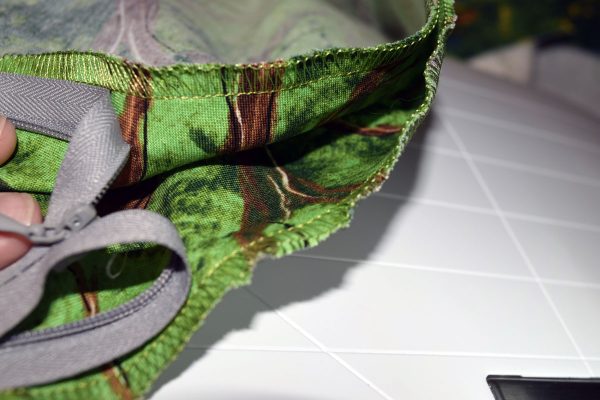
Insert the invisible zipper by placing the wrong sides of your cover together and again fold to find the center of the outside curve.
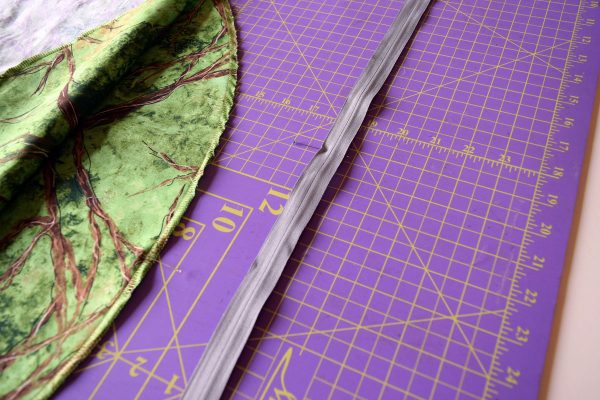
Fold your invisible zipper in half as well.
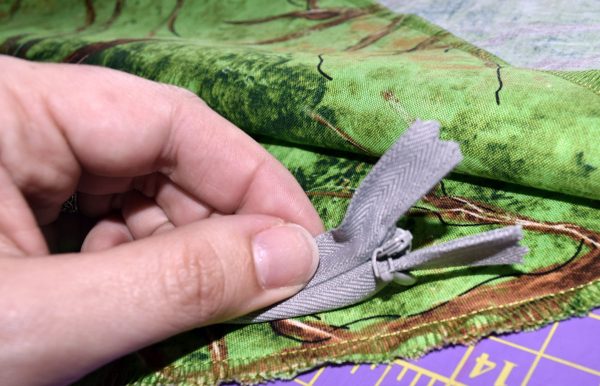
Unzip your zipper and matching up center marks pin the zipper to the fabric, right sides together.
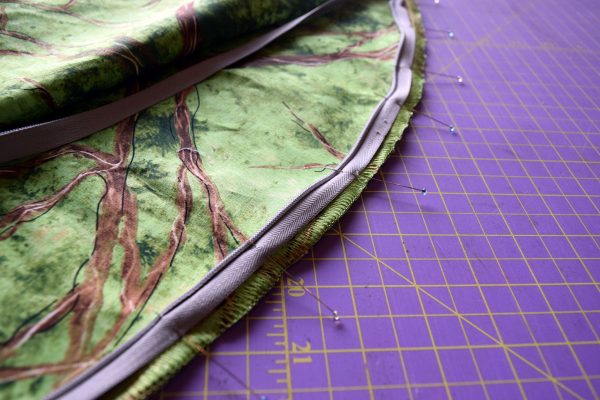
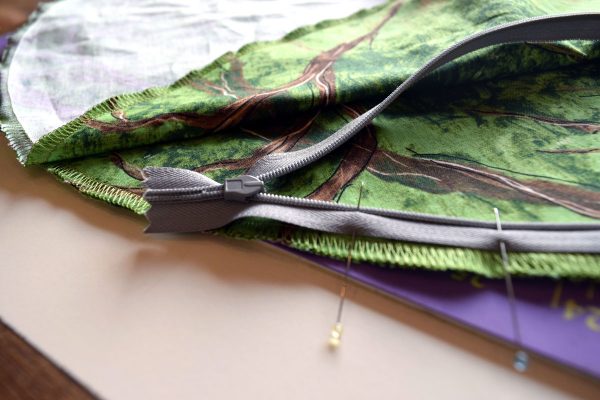
When you pin, rather than pinning the zipper to the raw edge, move the zipper in a little and line the zipper tape up with the inside of your overcast stitch, so we are stitching a 5/8″ seam.
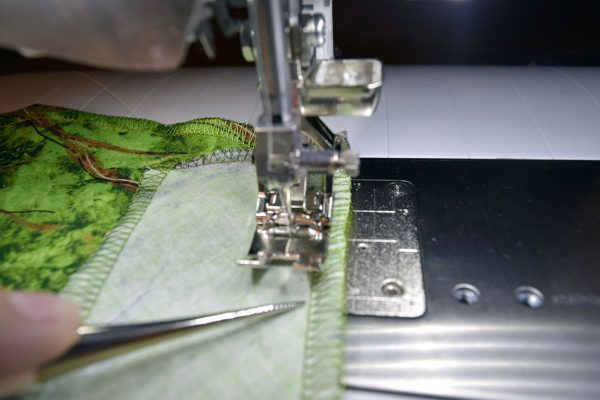
Step 9
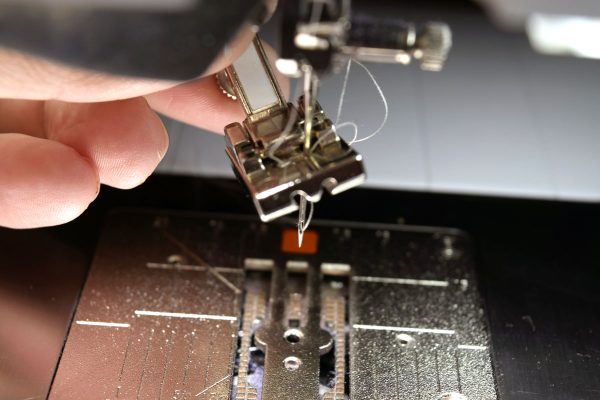
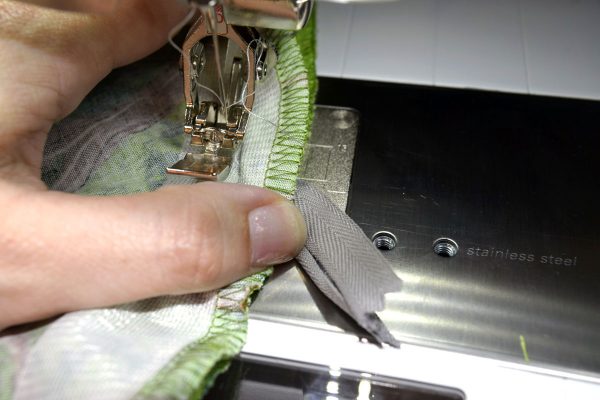
Install the Invisible-zipper foot #35. Since the #35 foot doesn’t have a slit to allow you to pull your thread to the back we are going to “thread the foot” before attaching it to the machine. Slide the foot up the needle and pull the top thread through the foot, then attach the foot to the machine.
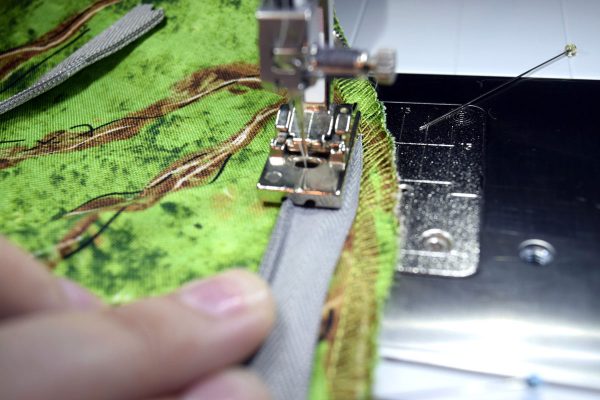
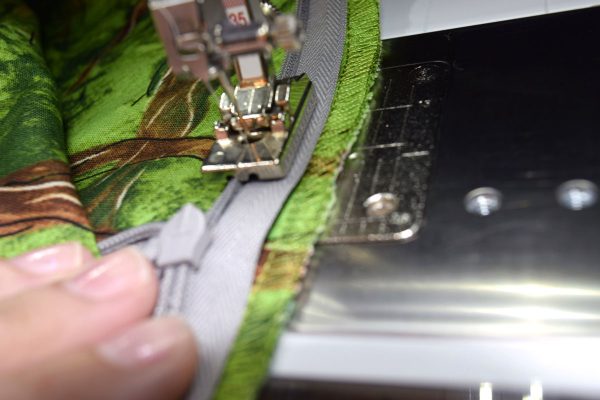
Slide the teeth of the zipper into the left groove of the foot and stitch until you are approximately 2″ away from the end of the zipper.
Repeat the process, sewing the zipper to the other side of the pillow cover.
Step 10
Now that we have the zipper installed we are going to sew the seam on either side of the zipper. Pin the edges of the remaining edges, and trade your #35 for the Zipper foot #4/#4D foot, be sure to move your needle position to the right to avoid hitting the presser foot.
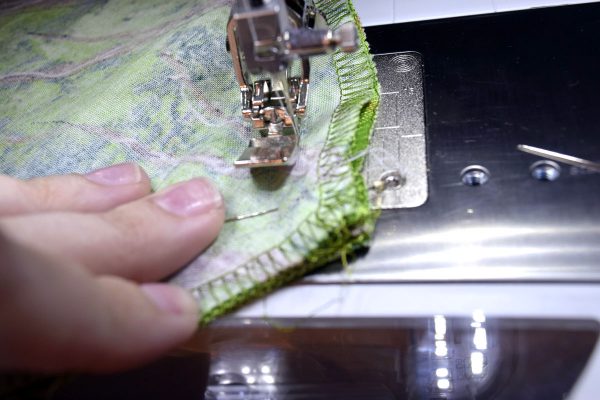
If you usually sew with the single hole stitch plate make sure you switch it out to the 5mm or 9mm. Luckily the BERNINA 880 has an alarm to remind me. Starting at the base of the zipper, start sewing where your stitches from the zipper installation stopped, moving the remaining zipper to the right, out of the way. Sew the rest of the way to the bottom of the pillow. When you reach the bottom where the gusset is, simply fold it in on itself so the top and bottom of the pillow line up and sew over it.
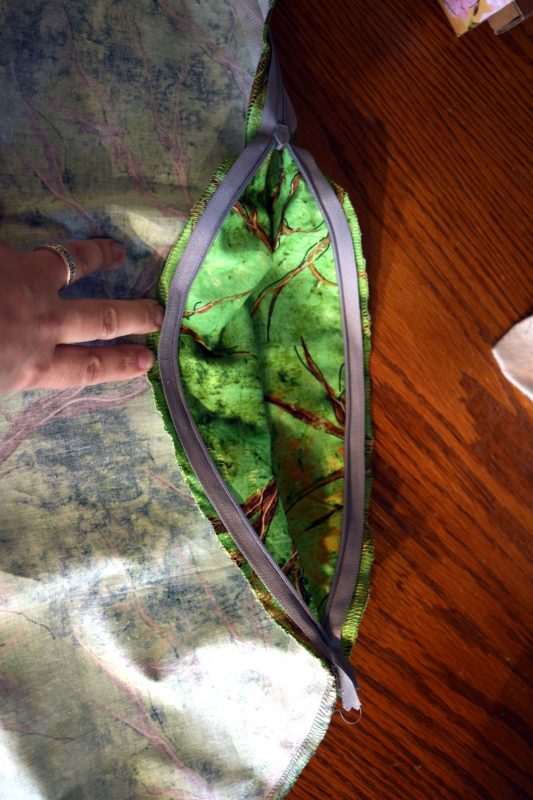
Make sure the zipper is unzipped and repeat the process on the other half of the pillow.
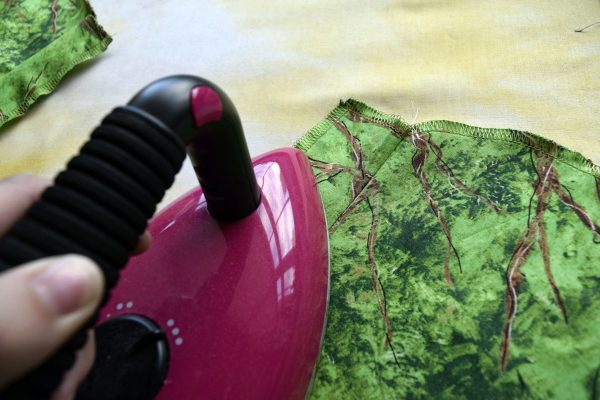
Step 11
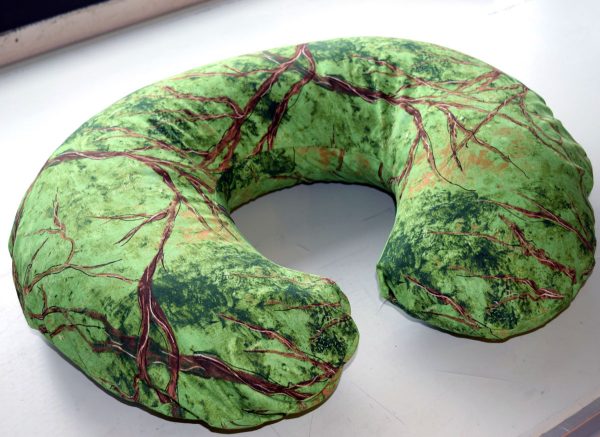
Turn right side out, press and insert your pillow form.