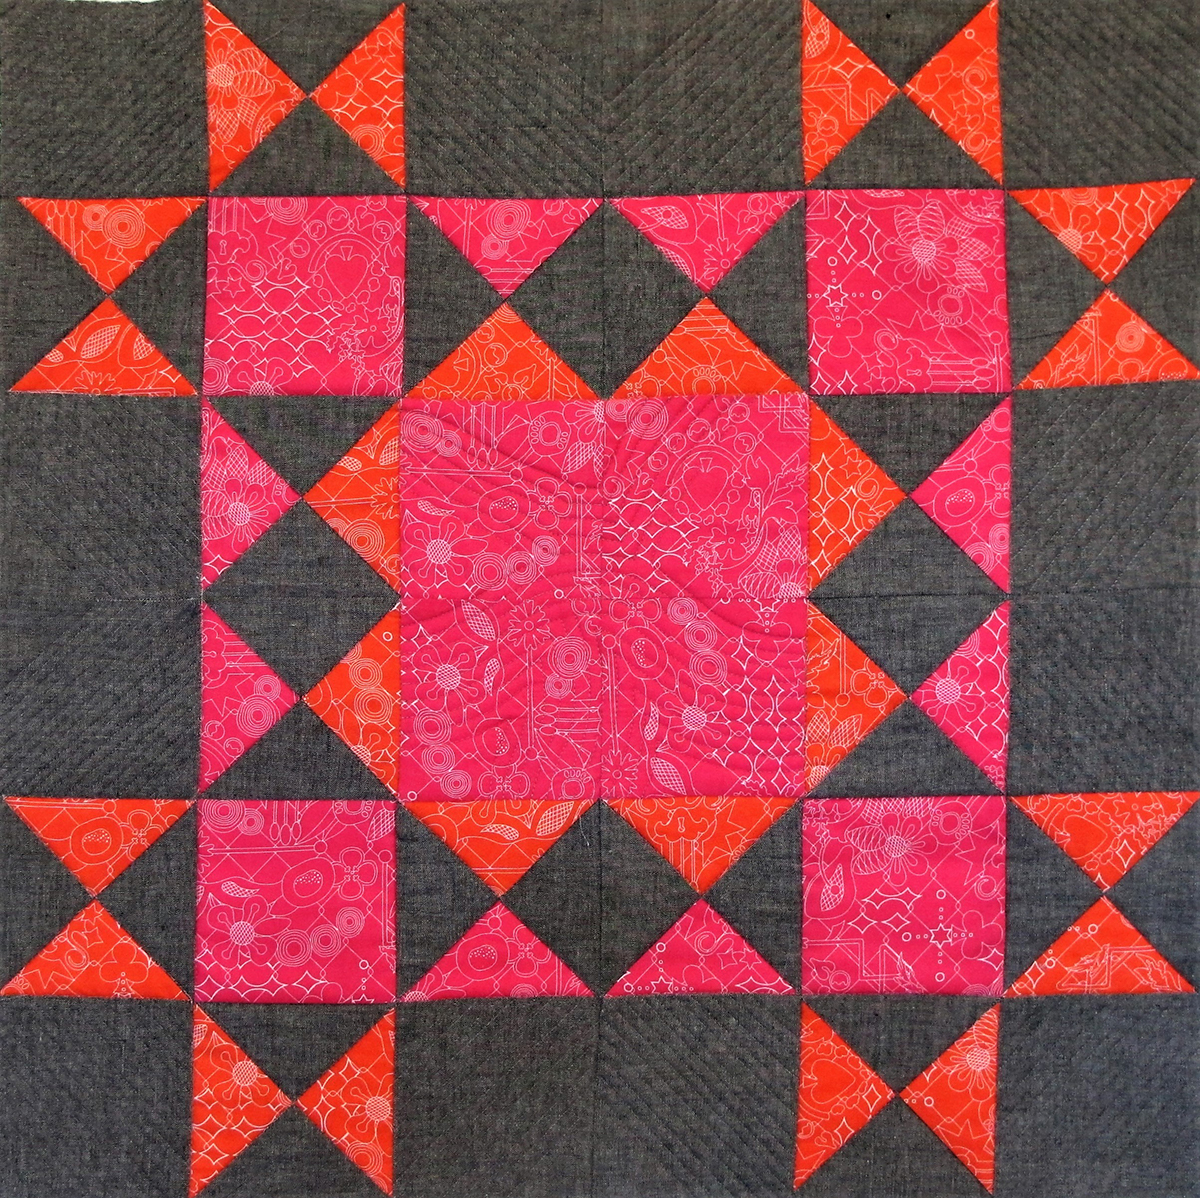
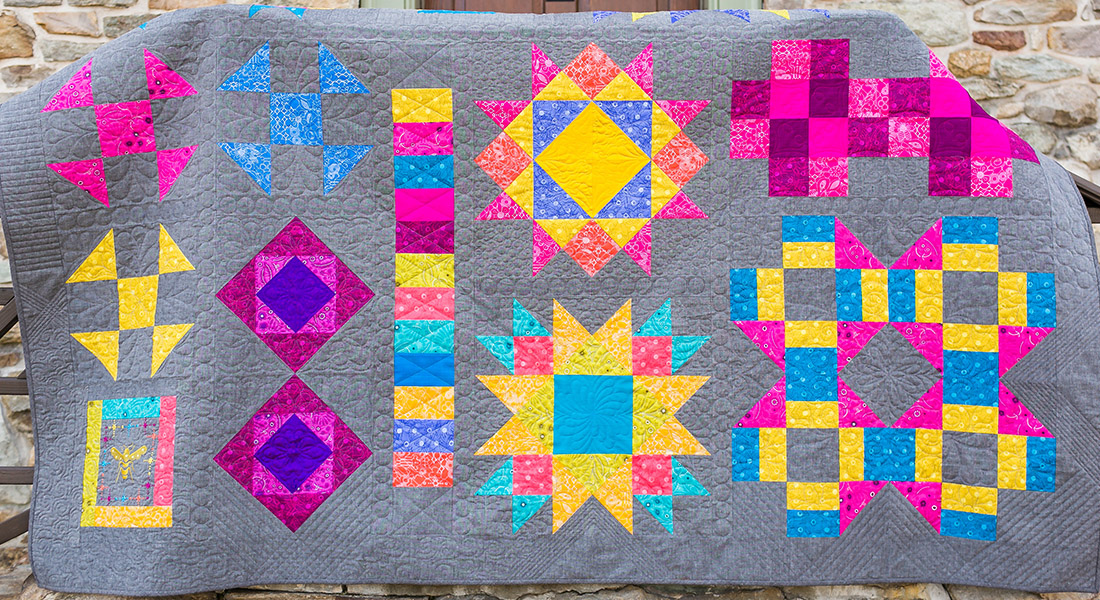
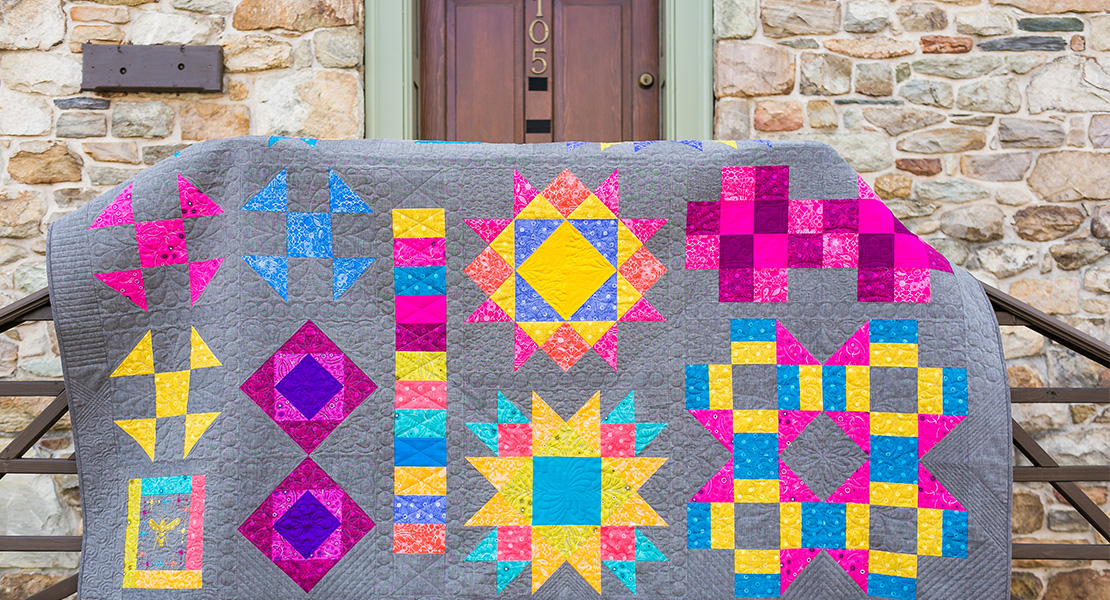
Ohio Star Variation Block
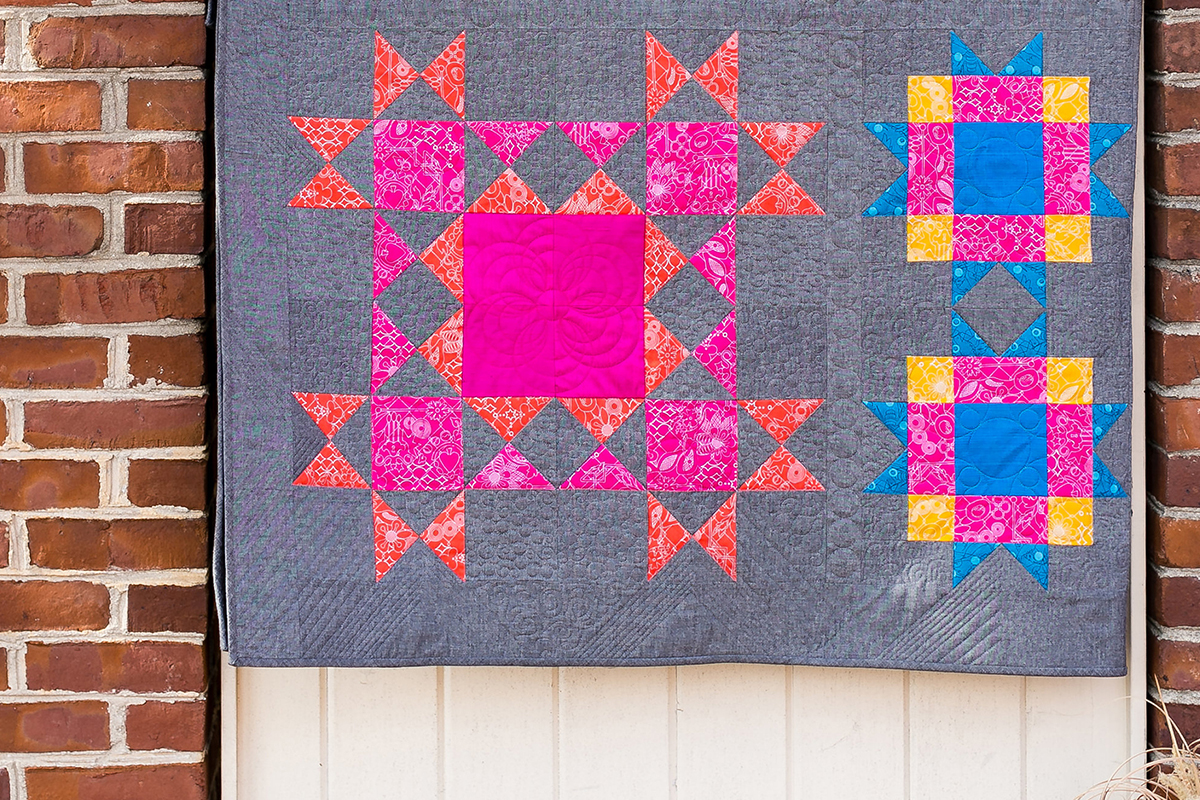
This month’s block in the BERNINA Block of the Month Series is the Ohio Star Variation Block! For Block 6, this month we will be making four 12” Ohio Star variation blocks and seaming them together to form a large 24″ block. I love this traditional block and all its variations!

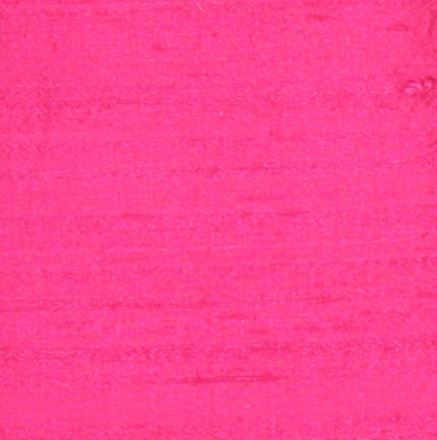
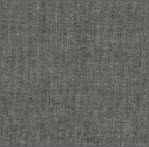
If you are buying fabric for each block on a monthly basis, you will need three fabrics for this block; an orange, a pink and the gray background fabric. If you would like the center of the block to be a different fabric, such as a silk dupioni to add texture, you will need a pink piece 6″ X 20″.
Please see more details about fabric requirements here. You will follow the Alternate Cutting Instructions below if you are cutting from a kit.
Please also download the BERNINA Block Party Fabric Chart.
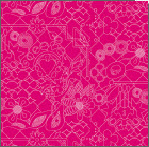
If you are using the Sun Print 2017 Andover fabric line by Alison Glass, the specific colors are listed in bold:
Fabrics
Fabric A Orange A-8482-O Fat Quarter

Fabric B Pink A-8482-E Fat Quarter
Optional: If you want a contrast fabric such as a silk for the four center squares, you will need a second pink, cut 6″ X 20″. This is totally optional.
Fabric C Black A-C-Black ½ yard
Supplies
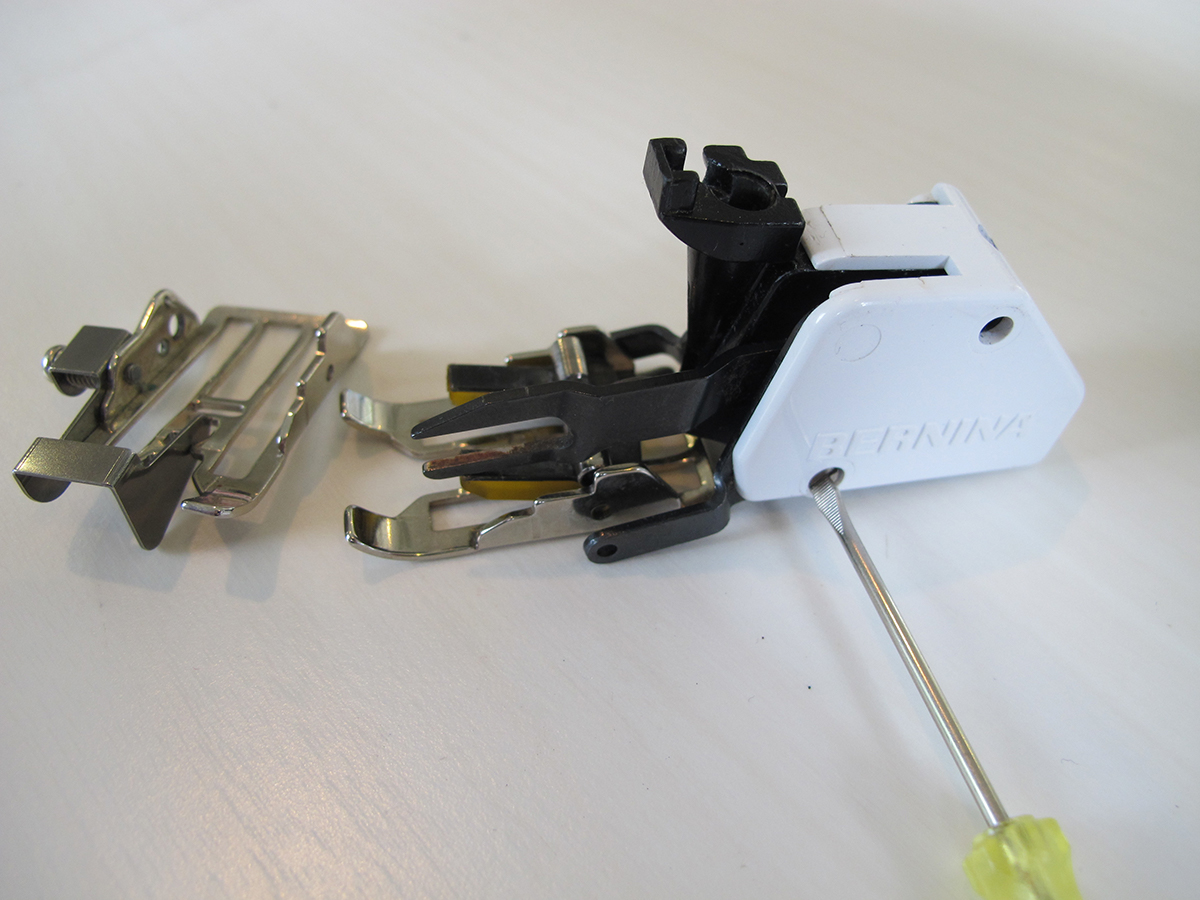
Patchwork Foot #37/37D or #57/57D or #97/97D
Walking Foot #50 or Edgestitch Foot #10D for machines with Dual Feed
Adjustable Ruler Foot #72 if using domestic machines
Ruler Foot #96 if using the Q 20 Sit-Down Machine or the Q 24 Longarm Machine (Note: you will also need the Rulerwork Kit for Frame if using either the Q 24 or Q 20 Longarm Machines on a frame)
BERNINA Straight Quilting Ruler
- Included in BERNINA Ruler Kit for Sit Down Machines (Domestic Machines and B 20 Sit-down Model) includes Mini Straight Line Tool, Squiggle Template, Nested Mini Ovals, Nested Mini Circles, Mini 4-in-1)
- Included in the BERNINA Ruler Work Kit for Frame
Cutting Instructions
Fabric A:
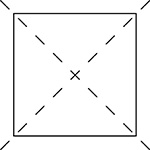
Cut 6 squares 5 1/4″; cut each square into quarters diagonally making a total of 24 triangles.
Fabric B:
Cut *8 squares 4 1/2″.
Cut 2 squares 5 1/4″; cut each square into quarters diagonally making a total of 8 triangles.
*If using a contrast fabric for the four center squares, cut 4 squares from fabric B and 4 squares from the contrast pink fabric.
Fabric C:
Cut 12 squares 4 1/2″.
Cut 8 Squares 5 1/4″; cut each square into quarters diagonally making a total of 32 triangles.
Alternate Cutting Instructions if Cutting from Kit
Fabric A:
Cut a 5 1/4″ strip; cut into 6 squares 5 1/4″. 11″ of the length will remain.
Fabric B:
Cut a 5 3/4″ strip; cut 2 squares 5 1/4″ 32″ remain of this wider 5 3/4″ strip for later use.
Cut a 4 1/2″ strip from Fabric B; cut 8 squares 4 ½″ (NOTE: if you are using the contrast fabric, cut only 4 squares 4 ½″ of Fabric B, and cut an additional 4 squares 4 ½″ of the contrast fabric.)
Fabric C:
Cut two 4 1/2″ strips; cut 12 squares 4 ½″. 29″ of this length will remain.
Cut a 5 1/4″ strip; cut 8 squares 5 ¼″.
Piecing
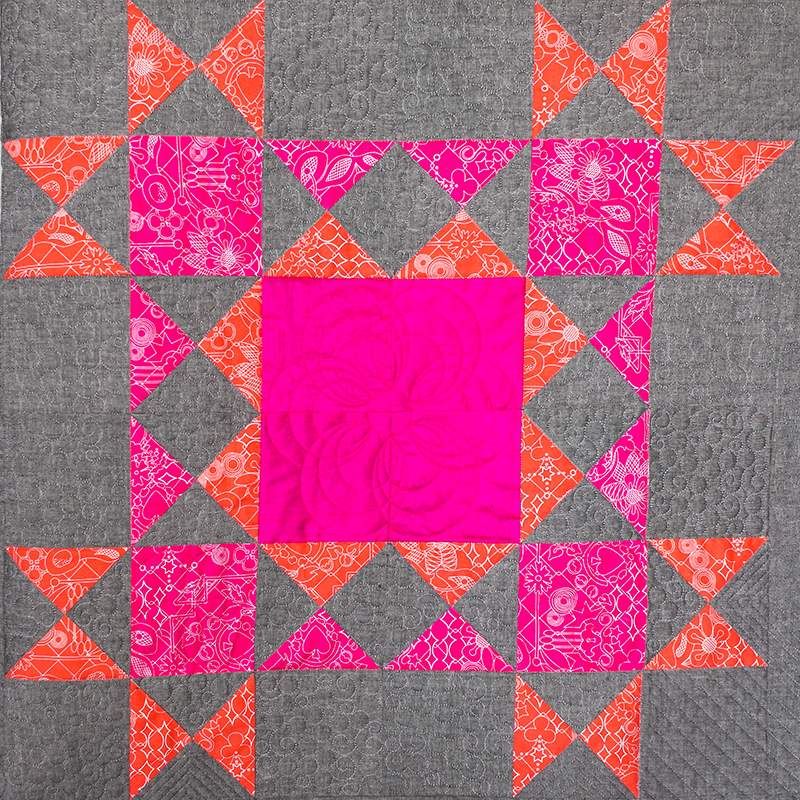
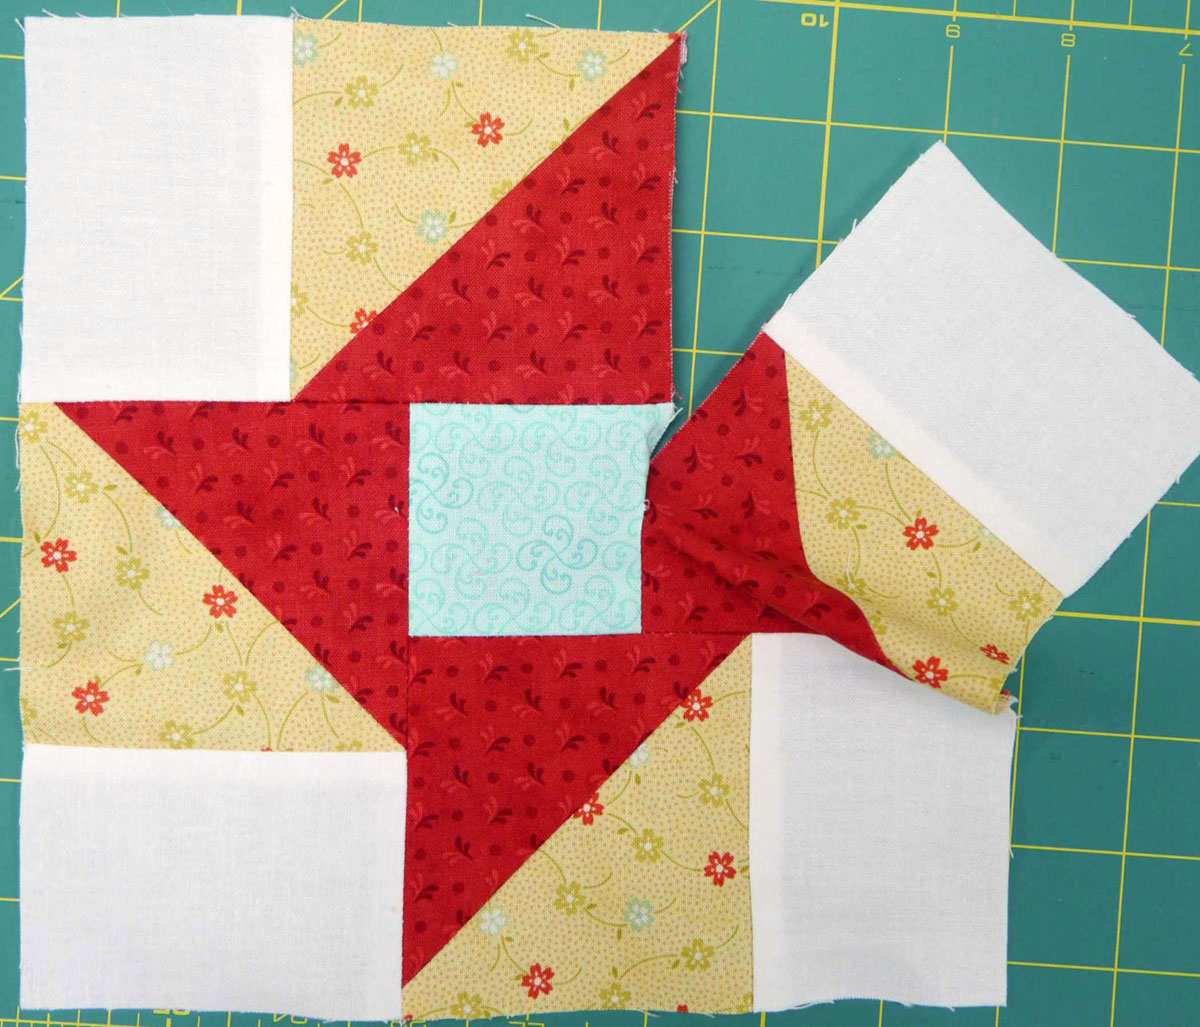
Four Ohio Star blocks make up this one-block unit. Each of the four blocks is a 12 ½″ square.
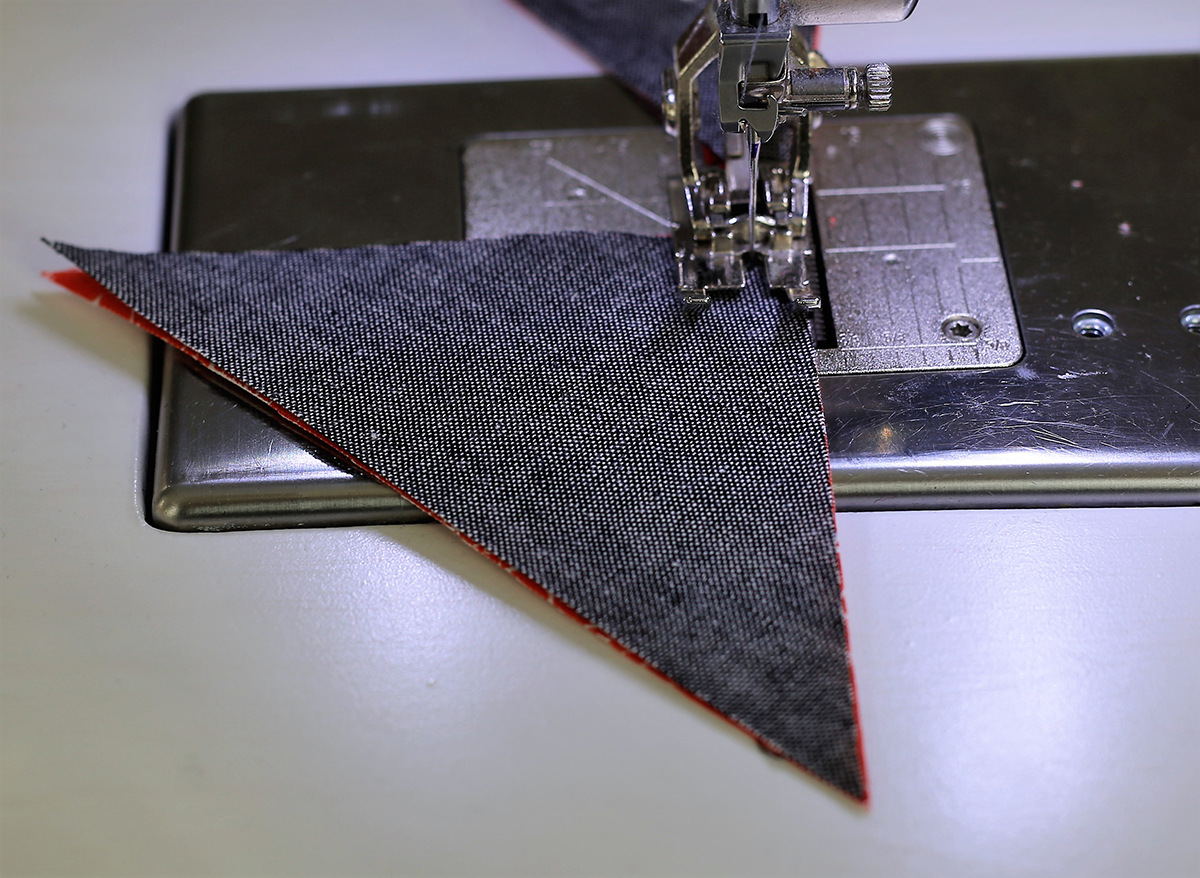
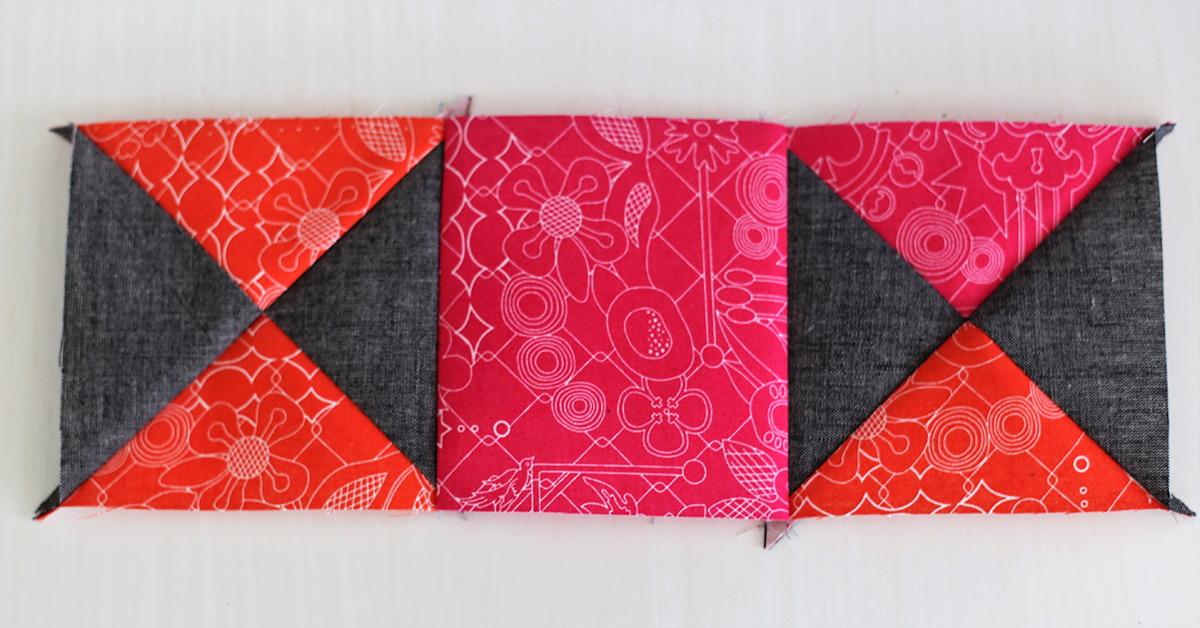
Stitch together the Fabric A triangles to the Fabric C triangles. Begin sewing on the straight edge, not the point of the triangle. Make 24 units.
Stitch together the Fabric B triangles to the Fabric C triangles. Begin sewing on the straight edge, not the point of the triangle. Make 8 units.
Seam the triangle sections together as shown below to create 4 1/2″ squares. You will then have 24 orange and gray squares, and 8 orange, pink and gray squares.
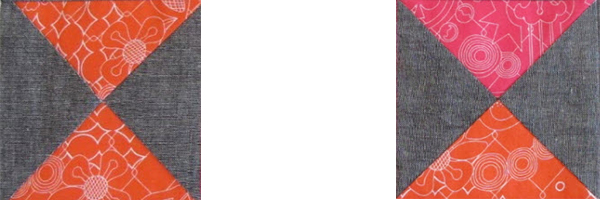
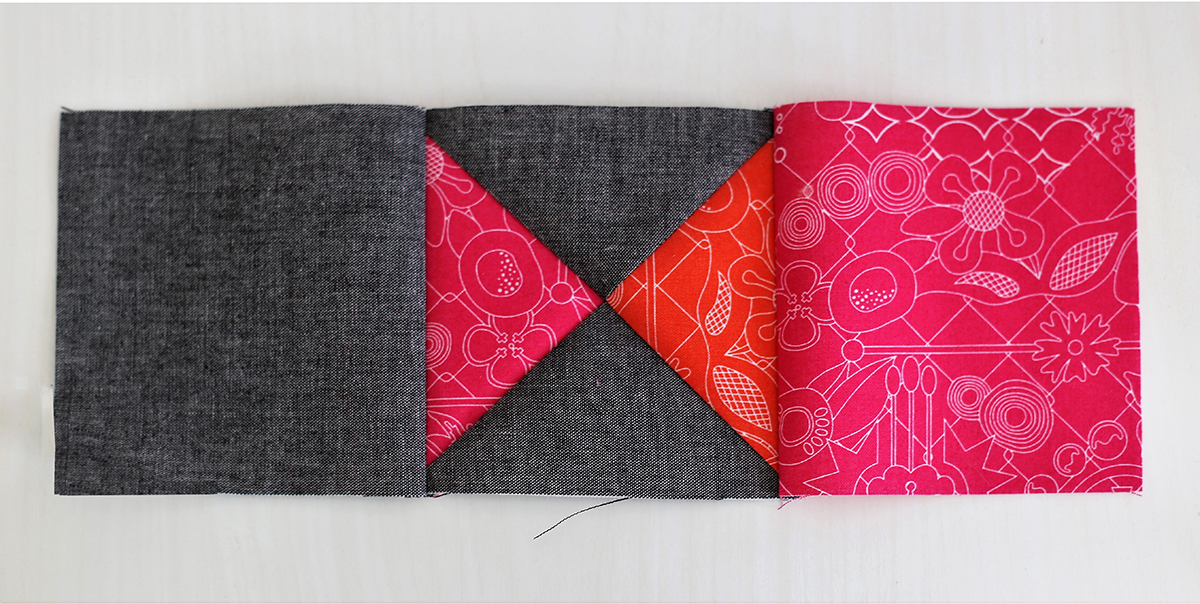
Seam 2 gray background squares to each side of 4 orange and gray square units. You will have 4 of these units.

Seam an orange and gray square unit to a pink square; then seam the pink square to an orange, pink and gray square unit. Pay attention to the orientation of the pink and orange triangles. You will then have 4 of these units.
Seam a gray square to an orange, pink and gray square unit and then this unit to a pink square. Note: the pink square would be from the contrast pink fabric if you chose to use the contrast fabric.
You will now have 4 of these units.
Seam these 3 strips together to form a block. Repeat for 4 blocks.
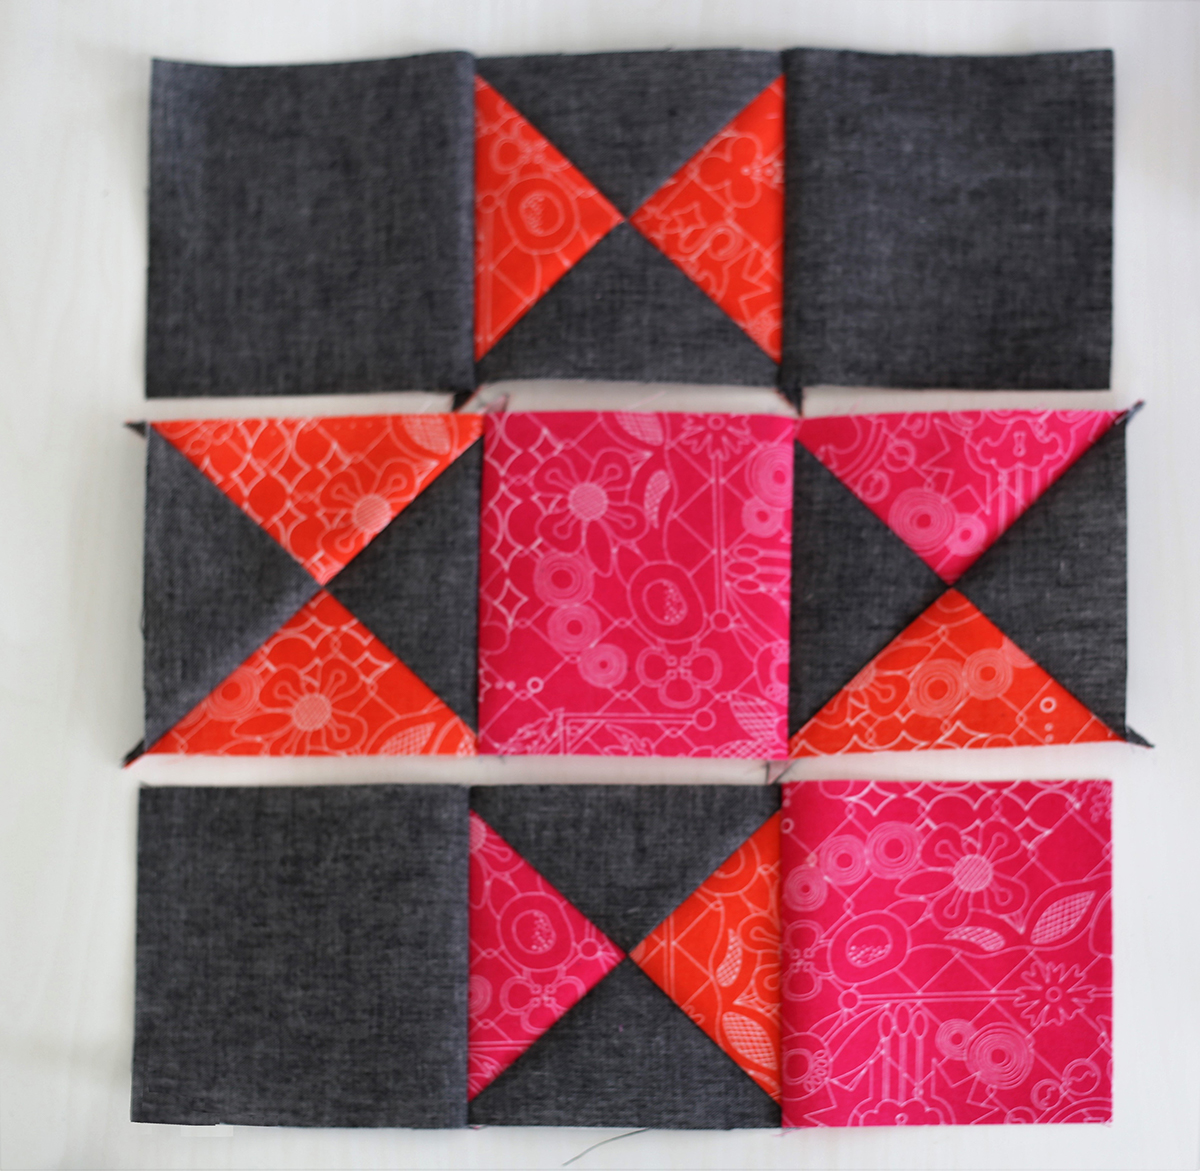
Seam the four blocks together with the pink corner square facing the center of the large 24 ½″ square.
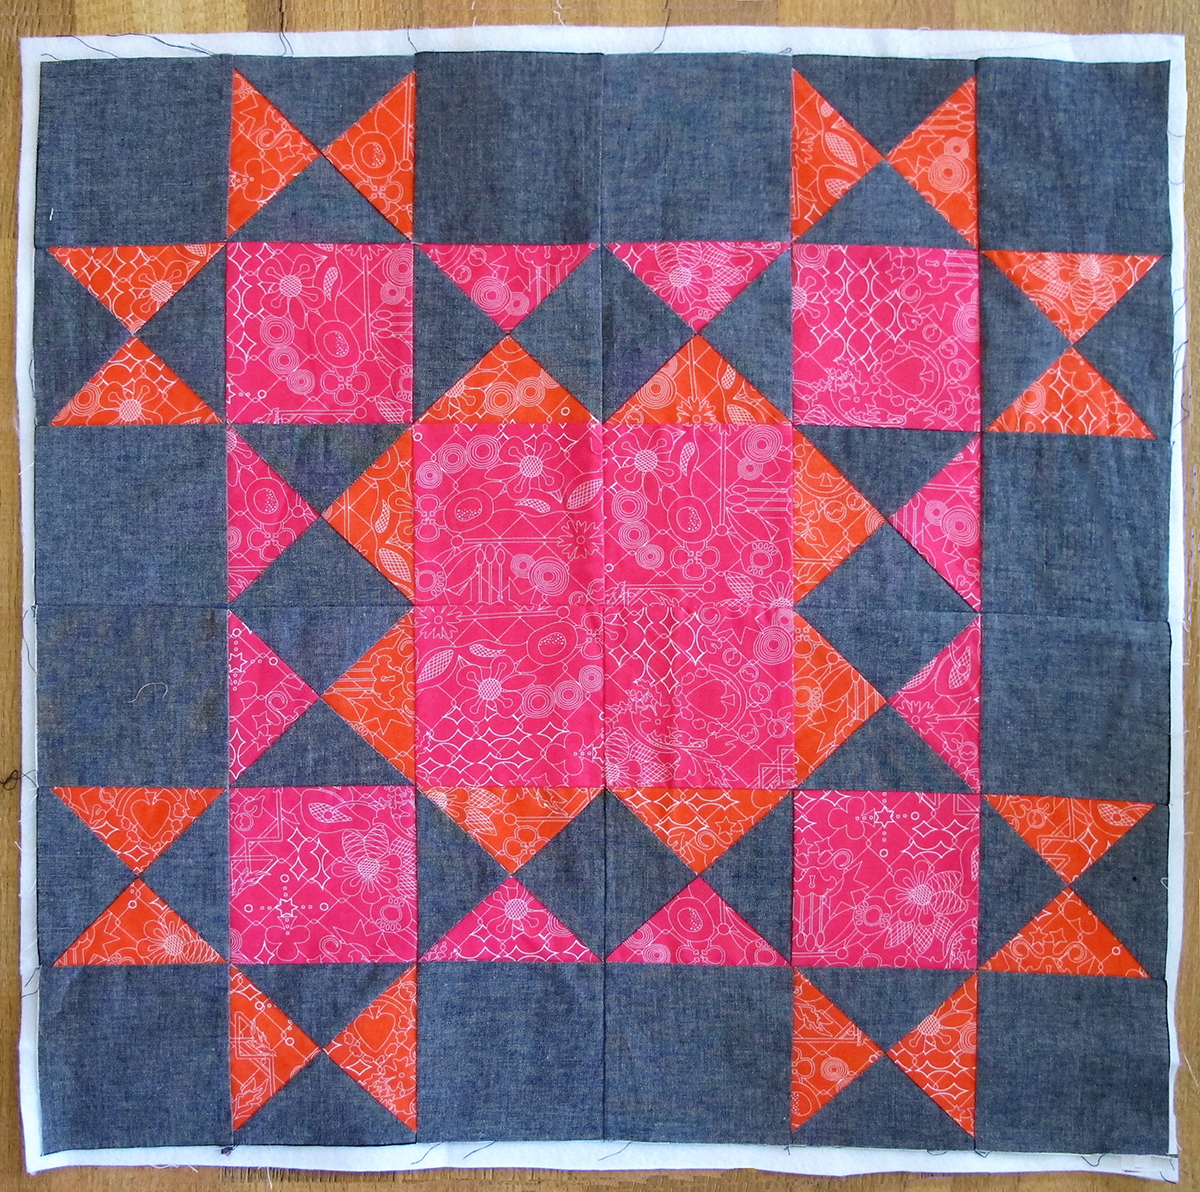
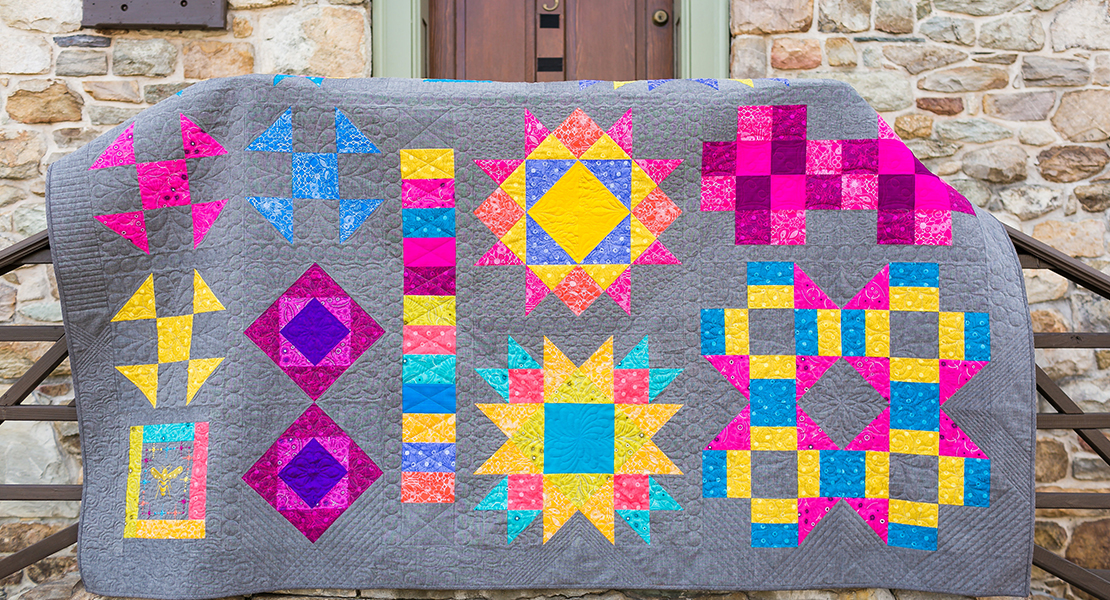
If you are going to make the entire quilt from the Block of the Month Series, set this large block aside for now. The instructions for the piecing together all the blocks will come at the end of the series.
Each month, I also give you instructions for a different quilting technique so that you can experiment with different techniques. When it comes time for the final quilting, you will be ready to decide which quilting techniques you like best.
Remember to join Denise Jones this month. She has a fabulous project using the large block that we created and the techniques in the quilting lesson. That project will post on September 18.
Stitch-in-the-Ditch, Leather Roller Foot and Ruler Work Quilting: A Quilting Lesson
For the practice block this month, I chose to do something a bit different than I did for this block on my finished block.
The first quilting technique will be to stitch in the “ditch” of the seams. If you have a machine with dual feed, you may choose to use the Edgestitch Foot #10D.
However, I prefer to use the Walking Foot #50 for quilting. Because the quilting will be “in the ditch”, the sole with central guide needs to be attached to the Walking Foot. Do this by loosening the screw on the side of the foot to remove the standard sole, and then tighten the screw to secure the new sole. Refer to the instructions that came with the foot for detailed instructions.
Let the guide on the sole ride in the seam and stitch.

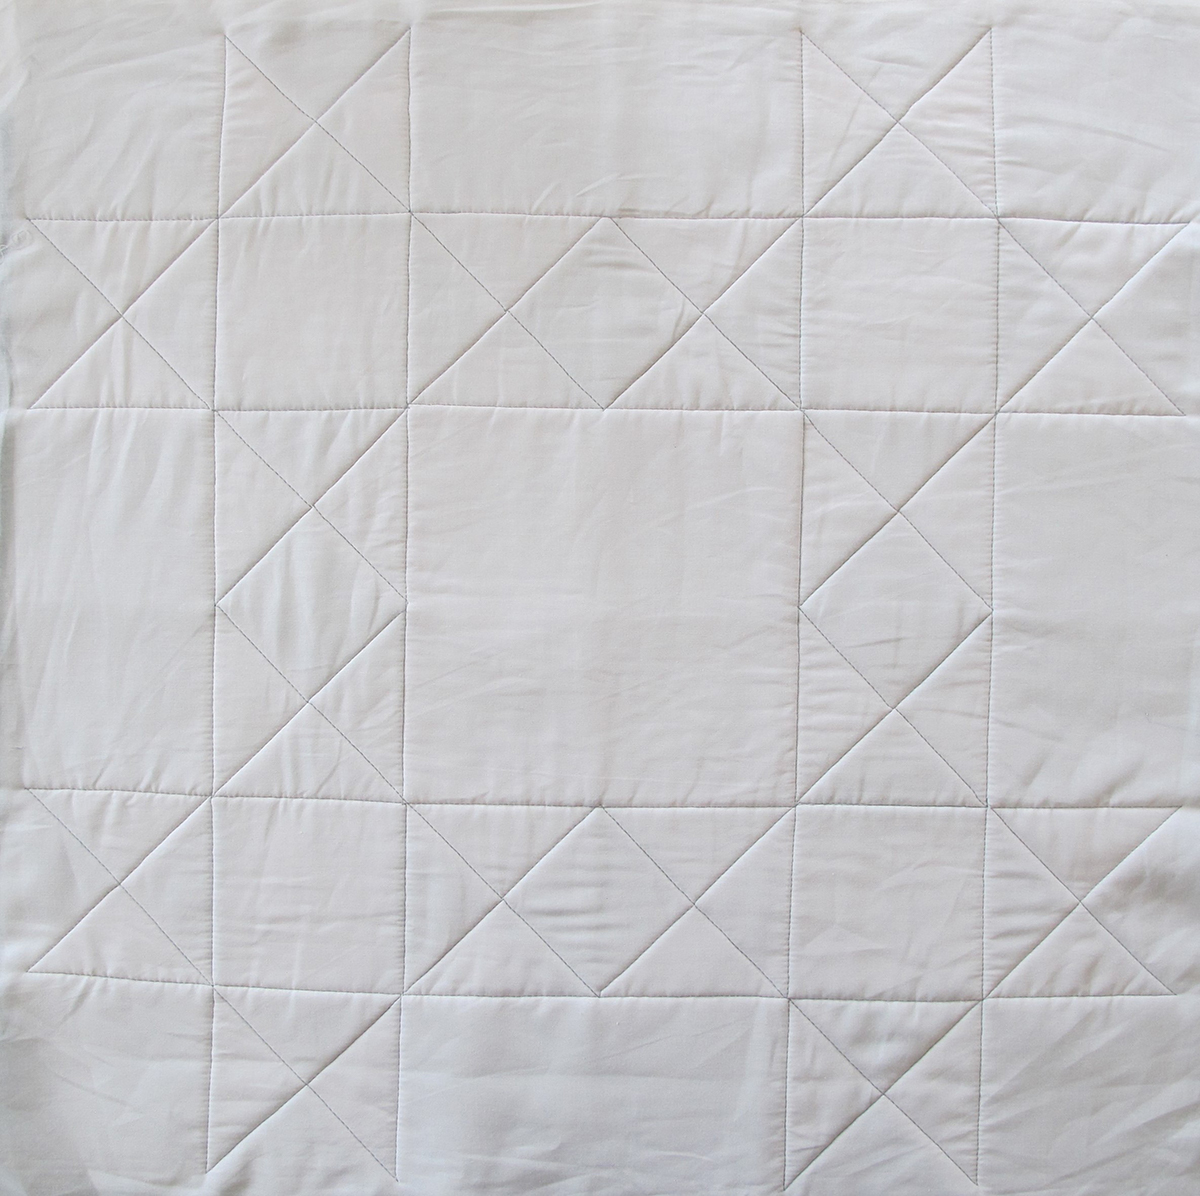
From the back of the block, you can see where it has been quilted in the ditch.
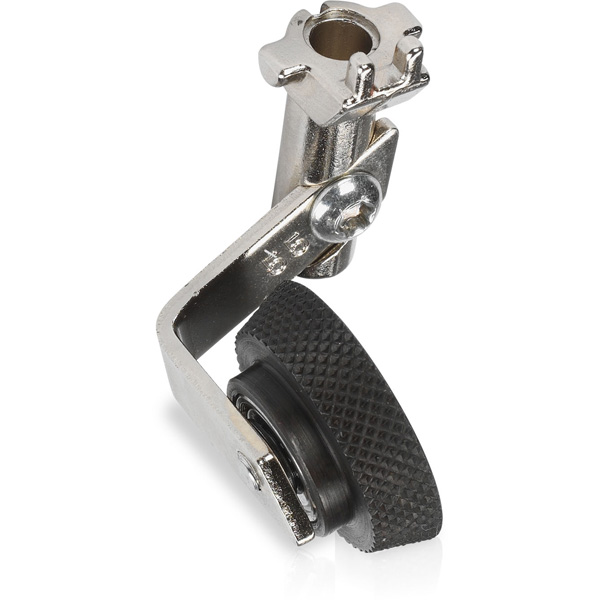
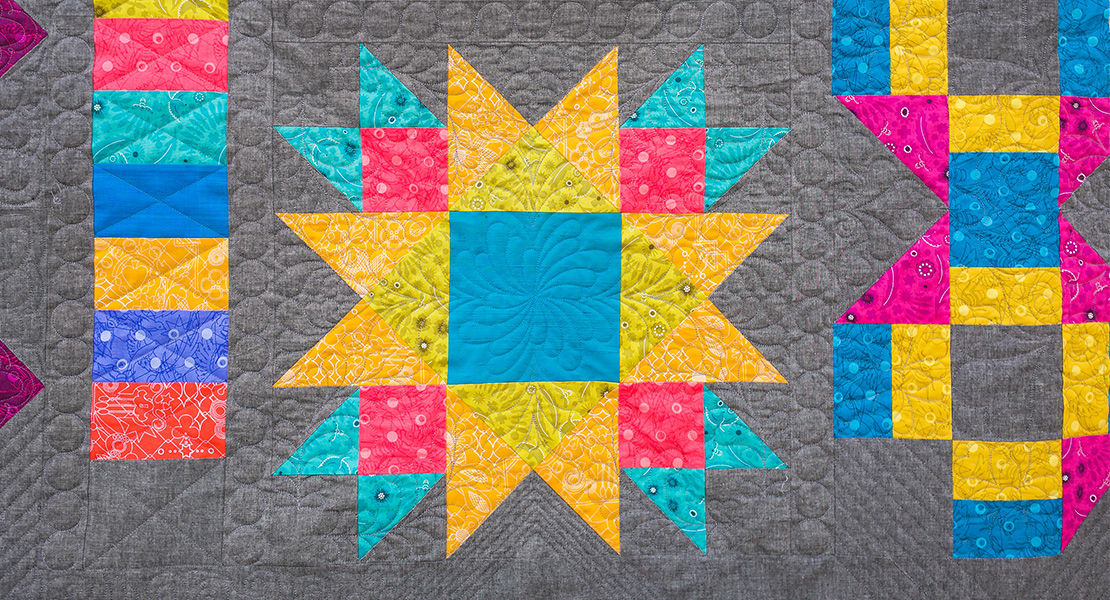
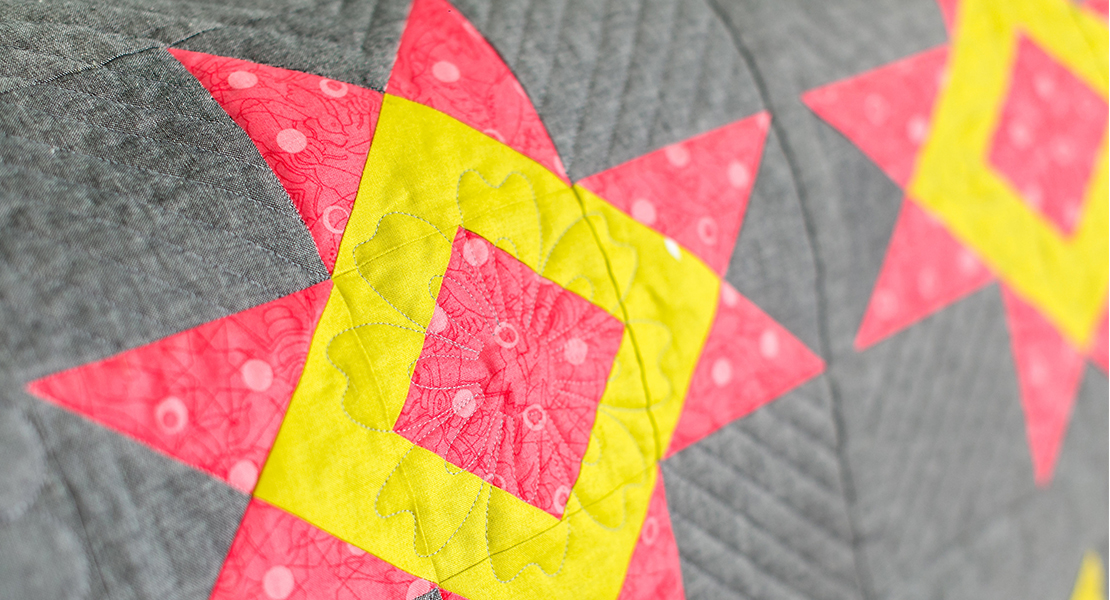
The next step will be to quilt the center of the block. This is done with the Leather Roller Foot #55. The wheel on the foot allows for easy curves while still having the feed dogs engaged. Attach the foot to the machine. If you have a Presser Foot Recognition Program, select the #55 foot from the foot menu. Move the needle position as far to the left as possible.
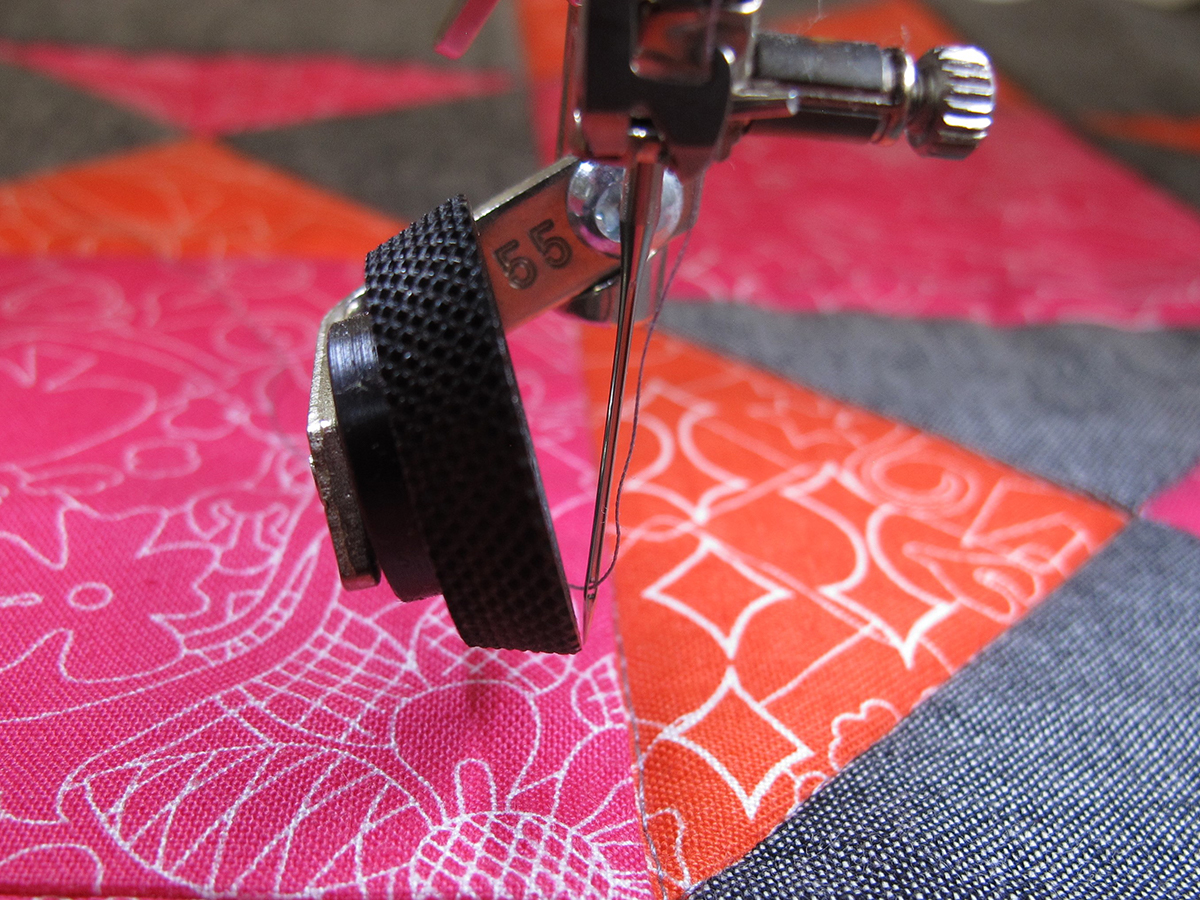
Begin by stitching a free-form curved line across the center square of the block. (The center square is formed by the four pink squares.) Echo the curved line by placing the left edge of the textured wheel on the stitched line.
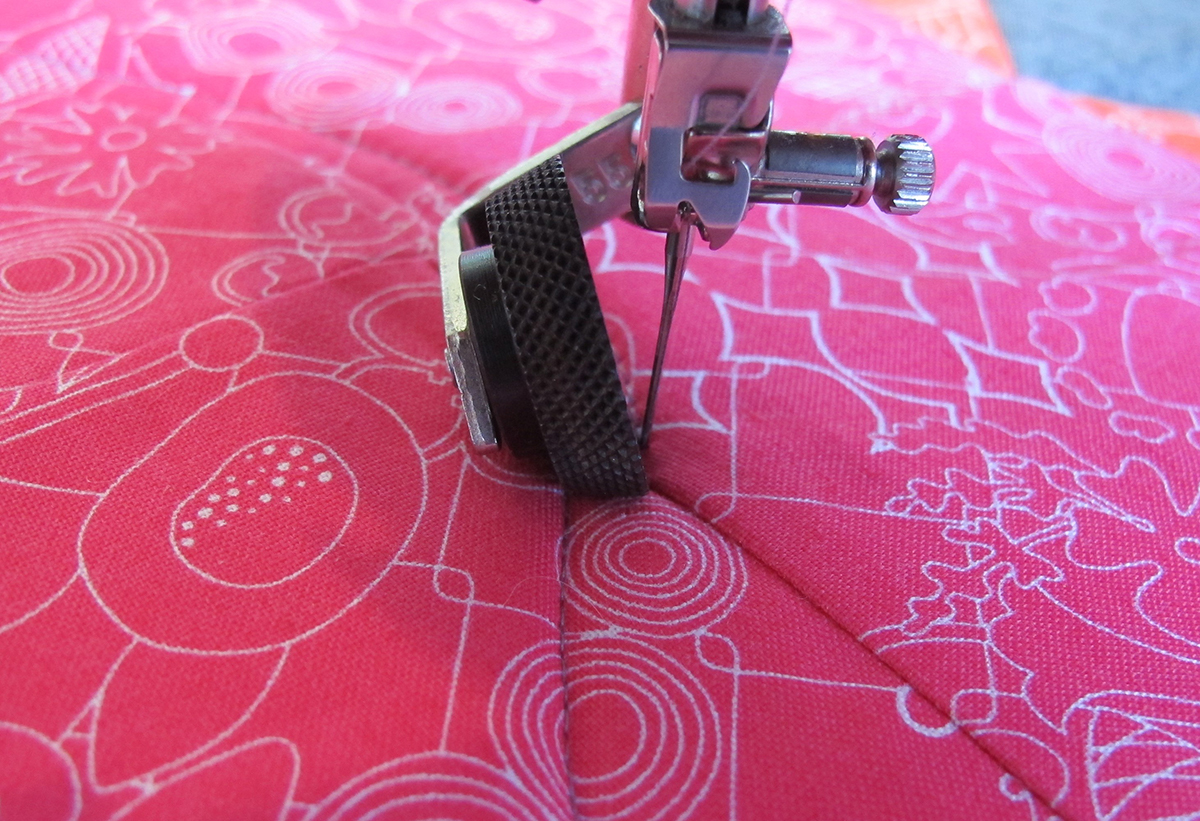
Echo the original quilting line two or three times. Then change direction half way through the next stitching line to add interest, as seen in the photo of the backside of the square.
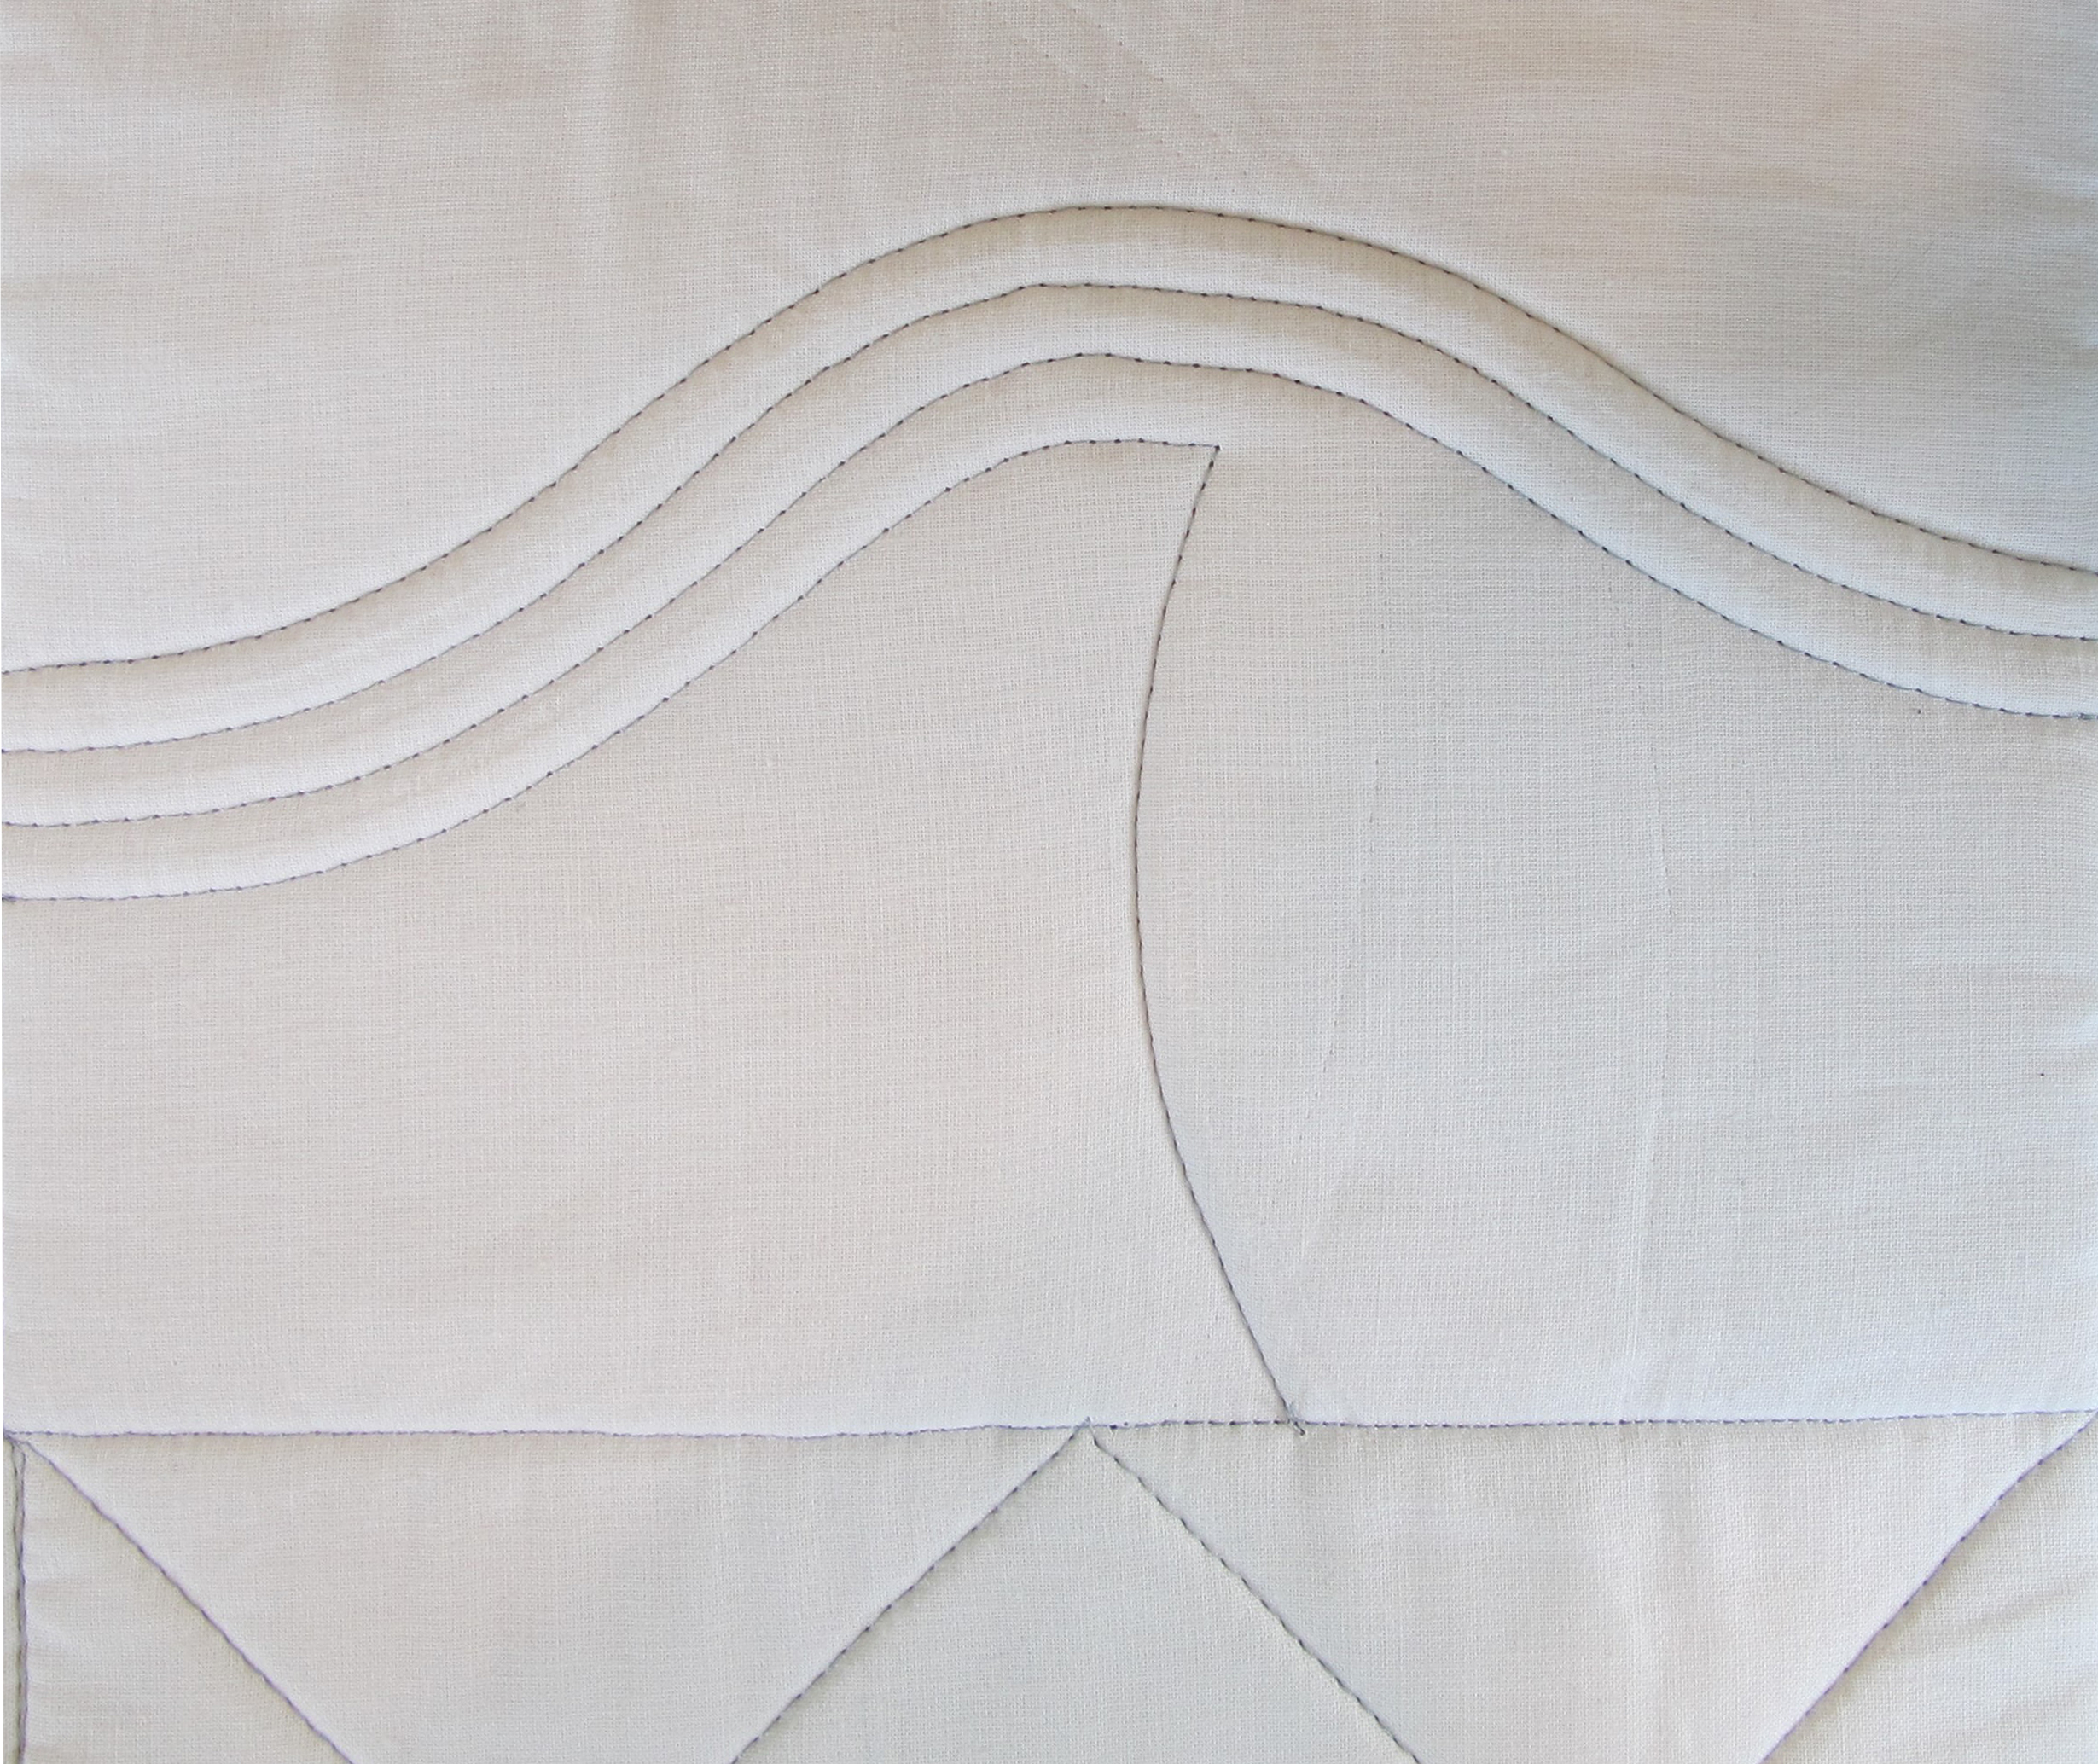
Now you have created two additional regions to fill in. This will add interest to the quilting. Continue to echo the lines and fill in the spaces. You will then move to the other side of the original stitching line. Continue to create areas to fill in.
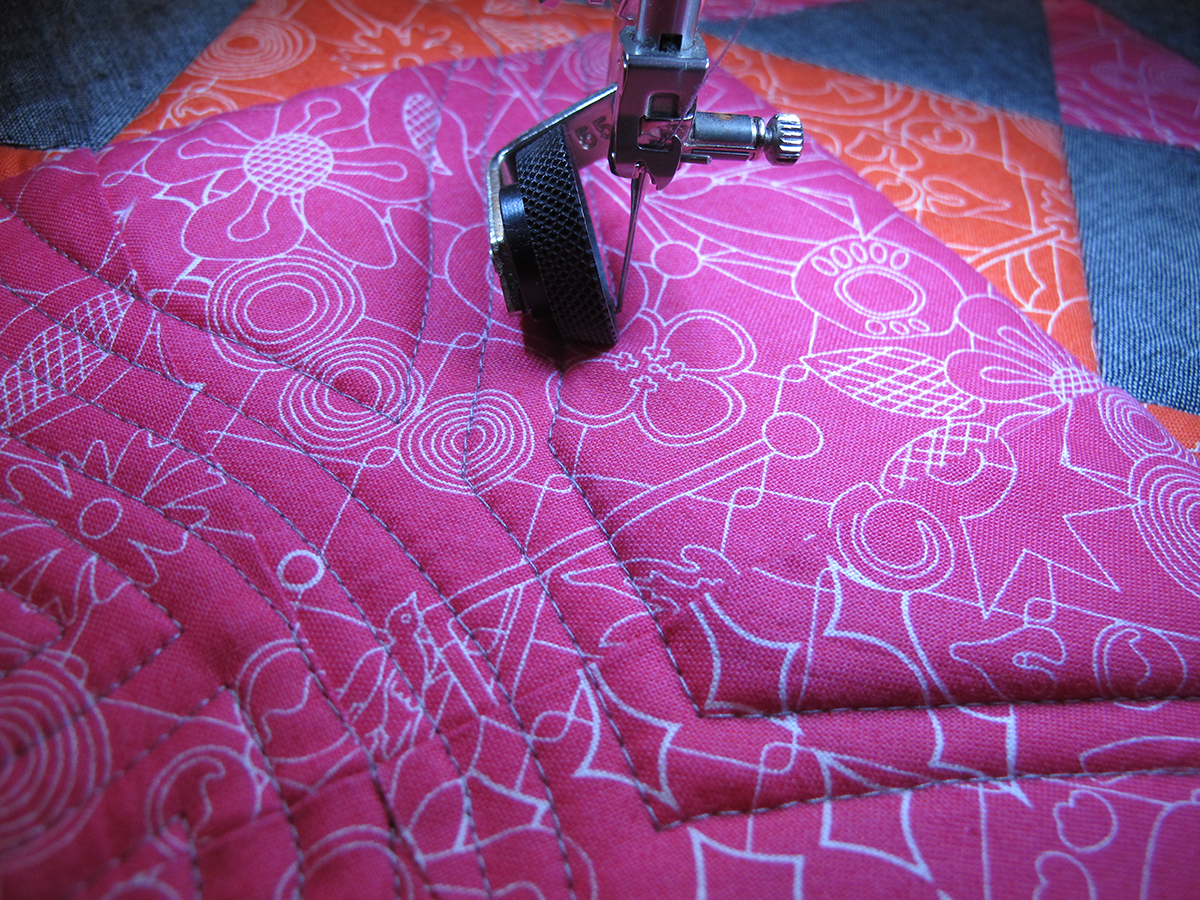

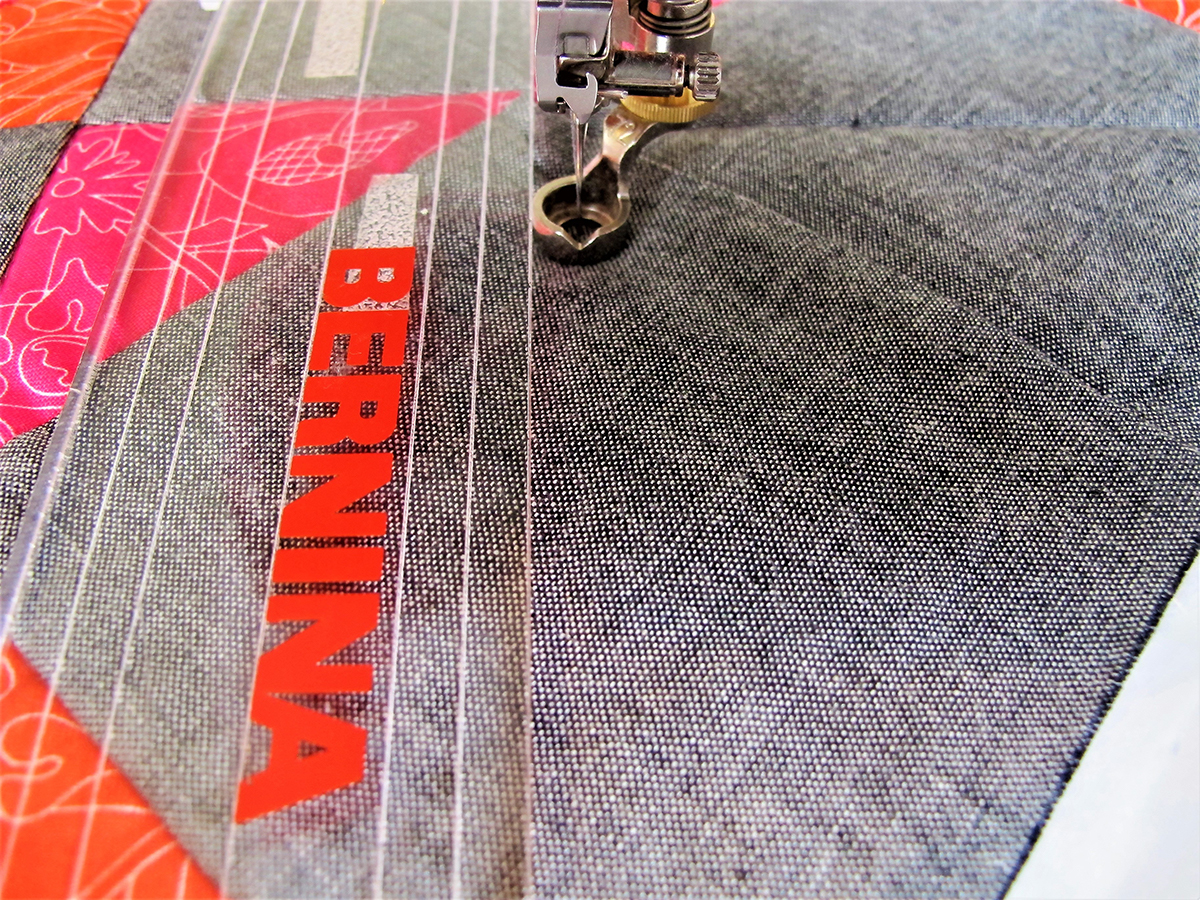
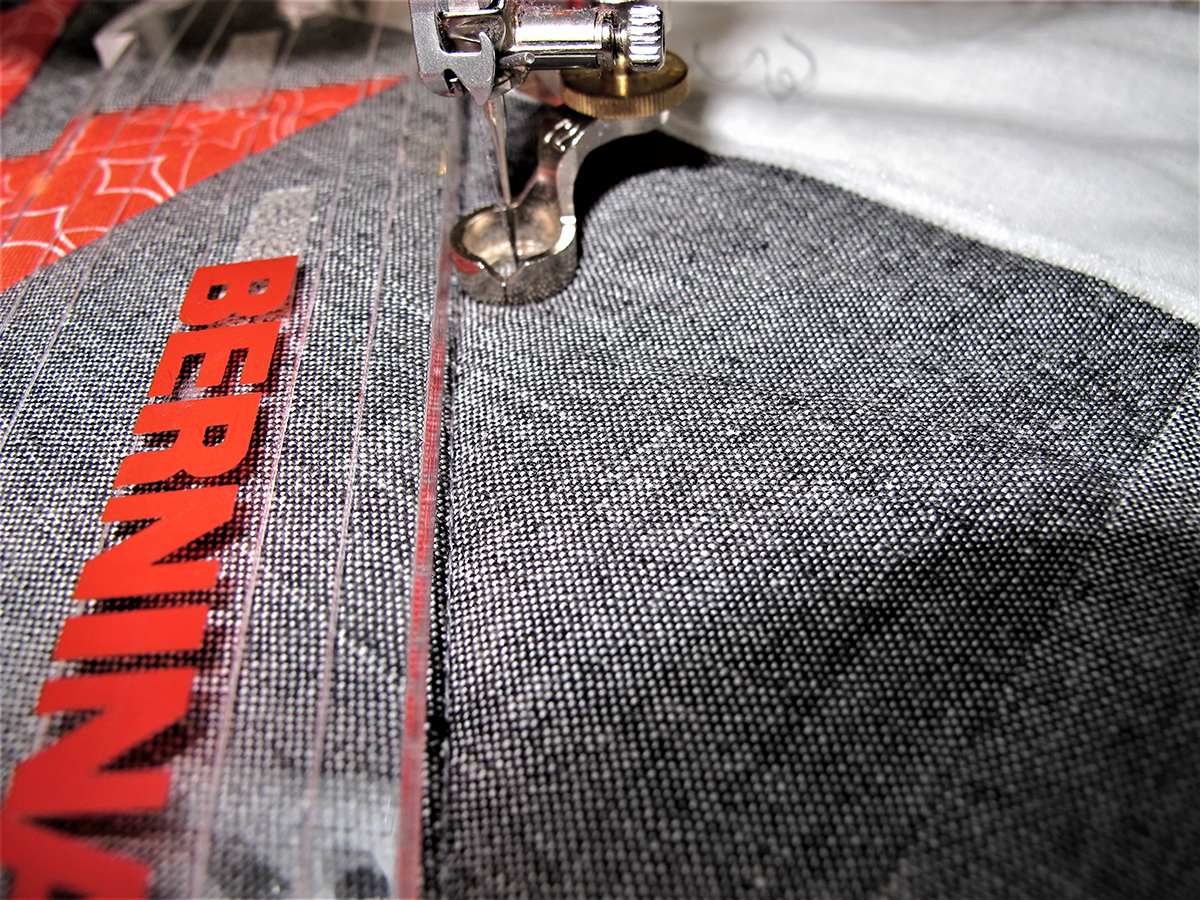
The remainder of the block is quilted with a ruler. Attach the Adjustable Ruler Foot #72 if using a domestic sewing machine. Lower the feed dogs if they do not automatically lower when the correct foot is selected in the Presser Foot Recognition Menu (available on some models).
If using the Q 20 or Q 24 Longarm machines, attach the Ruler Foot #96. If the Longarm is on the frame, attach the ruler table from the Rulerwork Kit for Frame to the machine.
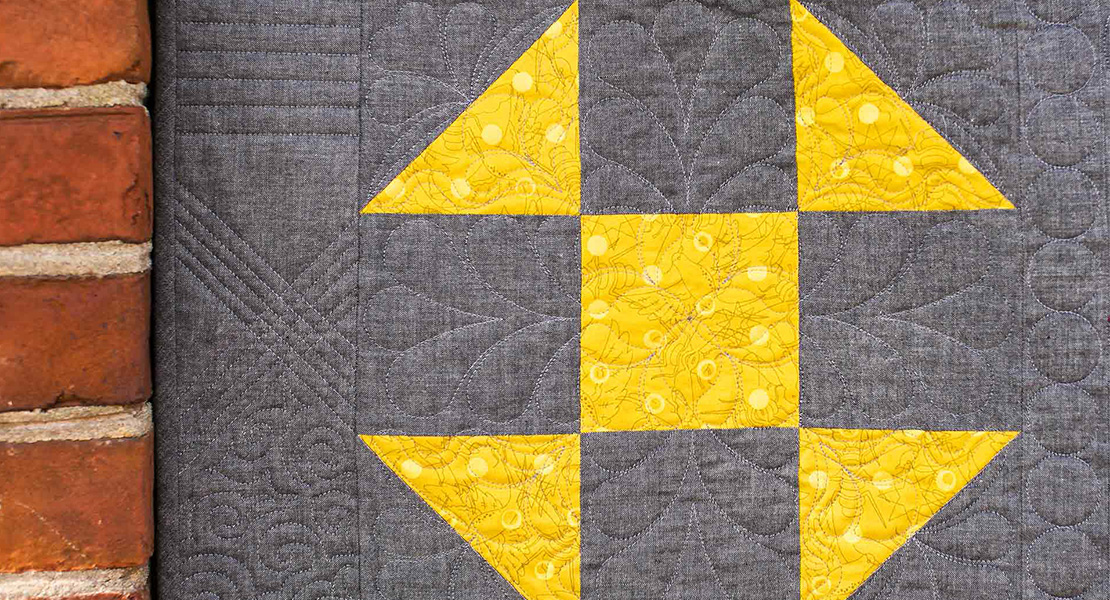
Straight line diagonal quilting was done in the four gray background corner squares of the large block. Adjust the foot so that it is at the right height for the machine and the batting. The foot should just glide over the fabric when lowered.
Lower the needle into the corner of a background square, lower the foot and place the ruler along the edge of the foot. Using the ruler as a guide, stitch a diagonal straight line from corner to corner.
When quilting the side rectangles formed by the two adjacent gray squares, stitch from an outer corner to the center bottom seam line, pivot and quilt to the opposite outer corner forming a V.
Continue to echo the straight lines by moving the ruler so the edge of the ruler is on the previous stitching line.
Continue quilting until you have filled the outer background squares with echoed lines.
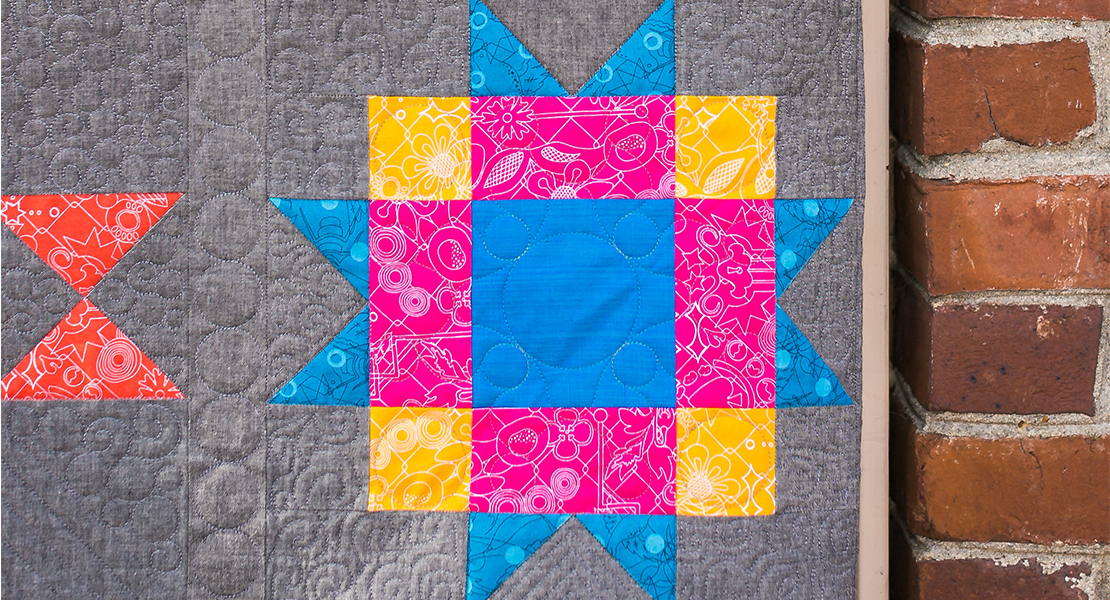
Tutorial List of the BERNINA Block of the Month Series
Block 1: Antique Mosaic Block
Block 2: Shoofly Block
Block 3: Square in a Square Block
Block 4: Magic Circle
Block 5: Card Basket Variation Block
Block 6: Ohio Star Variation Block
Block 7: Maple Star Block
Block 8: Grecian Square Block
Block 9: Union Square Block
Block 10: A Girl’s Favorite


So am I the only one that got totally lost when making this block? I found the cutting instructions to be really confusing and/or wrong and when I made adjustments (there were many) I ended up with a block that was 30-1/2 inches unfinished. I even tried remaking the block and again had the same exact problems. Are the instructions even right???
I find it totally confusing when there are two separate cutting instructions (one for if you bought the kit and one for when you were using your own fabrics).
I guess I will have to wait until the final month to see if I can just change the sizes of the sashings to join the blocks together.
I am not definitely not a beginner quilter but this was the hardest block out of all of them to make for me. And it still came out all wrong.
Help me Bernina, help help me Bernina (please).