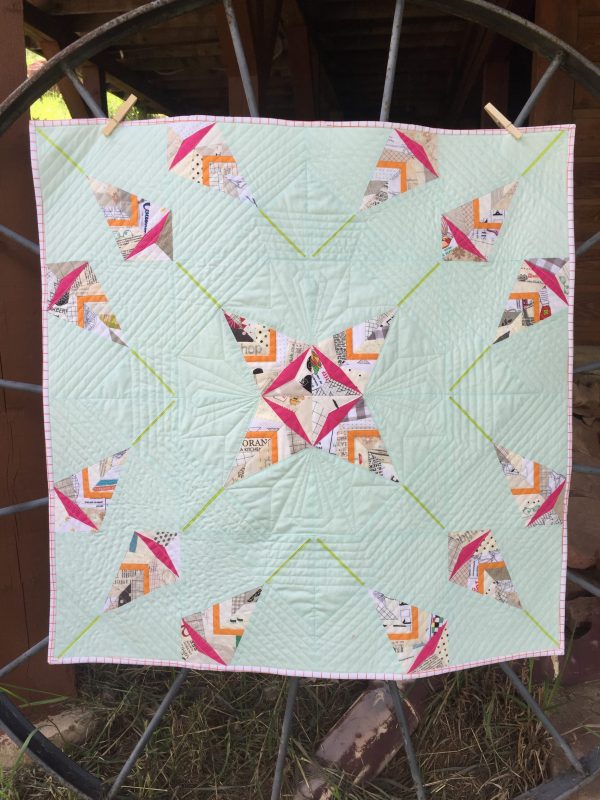
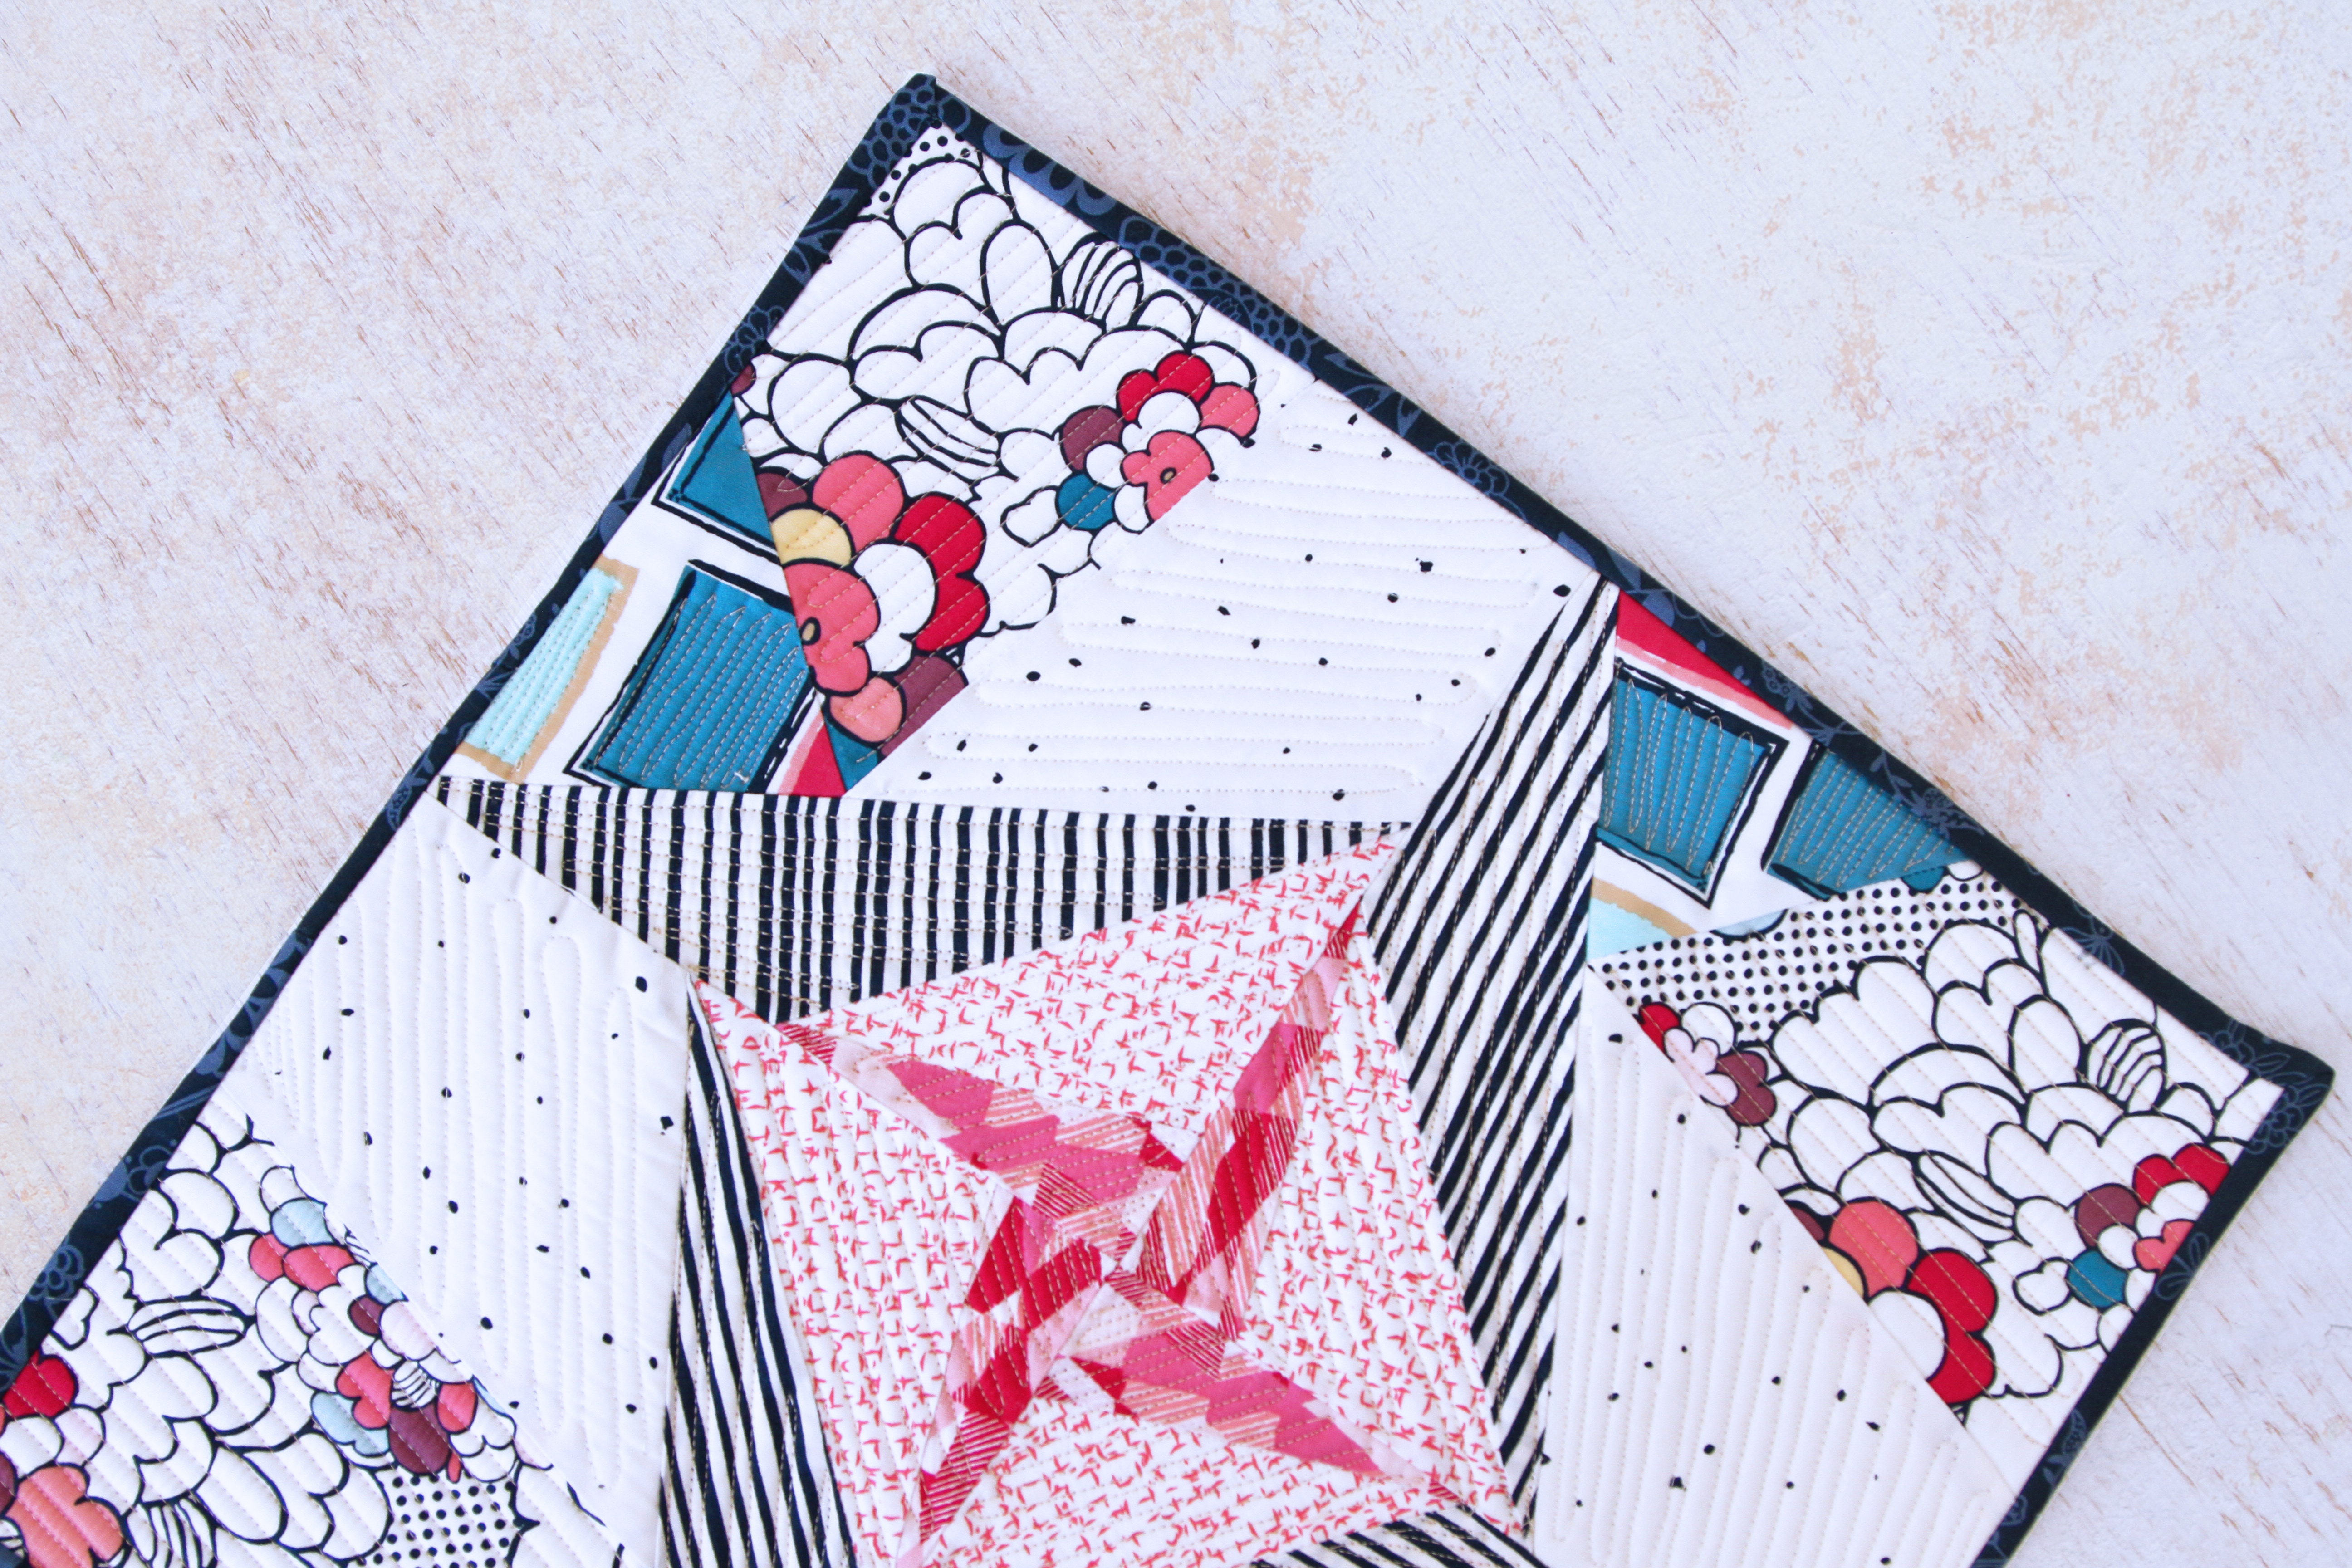
Paper Pieced Scandinavian Leaf
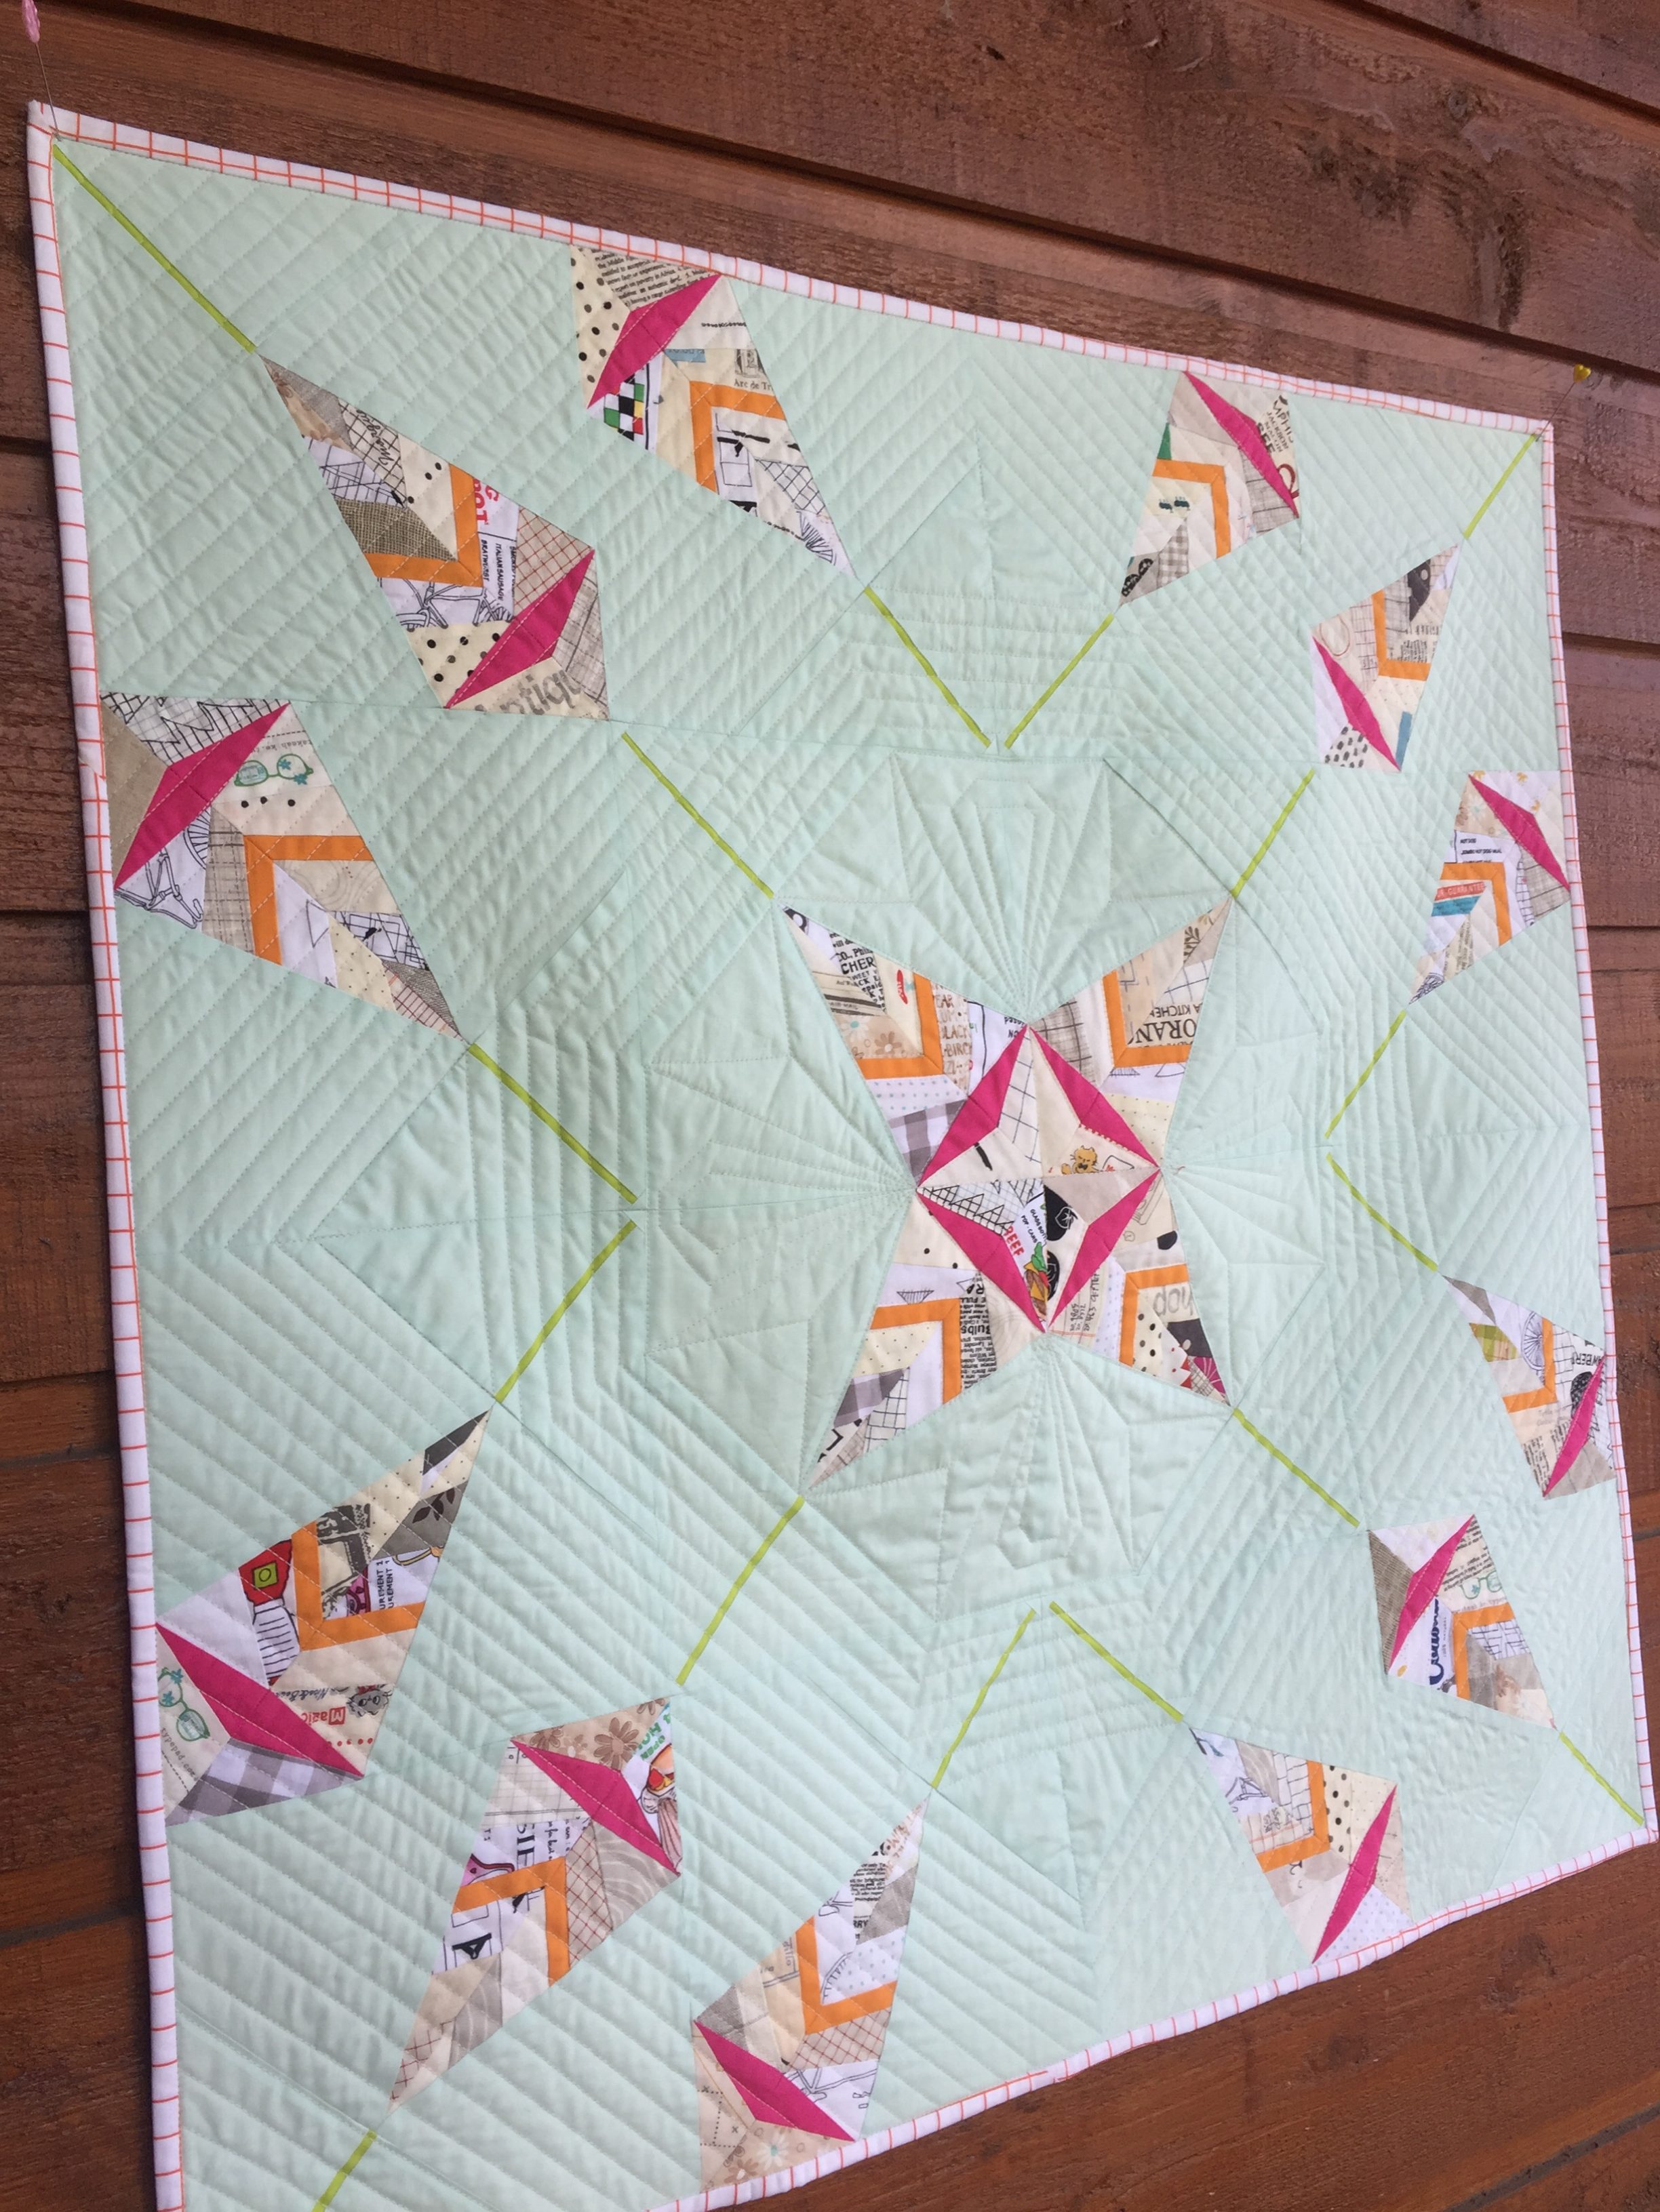
Recently, I have been very drawn to the simplicity of Scandinavian designs. I feel so inspired by their sometimes minimalist design and use of color. The Scandinavian Leaf block is no exception and one of the bonuses of this design is your ability to use those smaller scraps of fabric leftover from previous projects. I love it when I can do that! The finished size of this quilt is 32 ½” square, making it a great size for a baby quilt or a wall hanging.
Before starting your quilt, check out my paper piecing tips posts here, here and here. These posts will give you a greater understanding of paper piecing and the supplies/tools I’ve recommended!
Materials to make a paper pieced Scandinavian block:
- Printed pattern: Scandinavian Leaf Pattern
- 16 printed blocks (on computer paper or specialty foundation piecing paper)
- Seam ripper
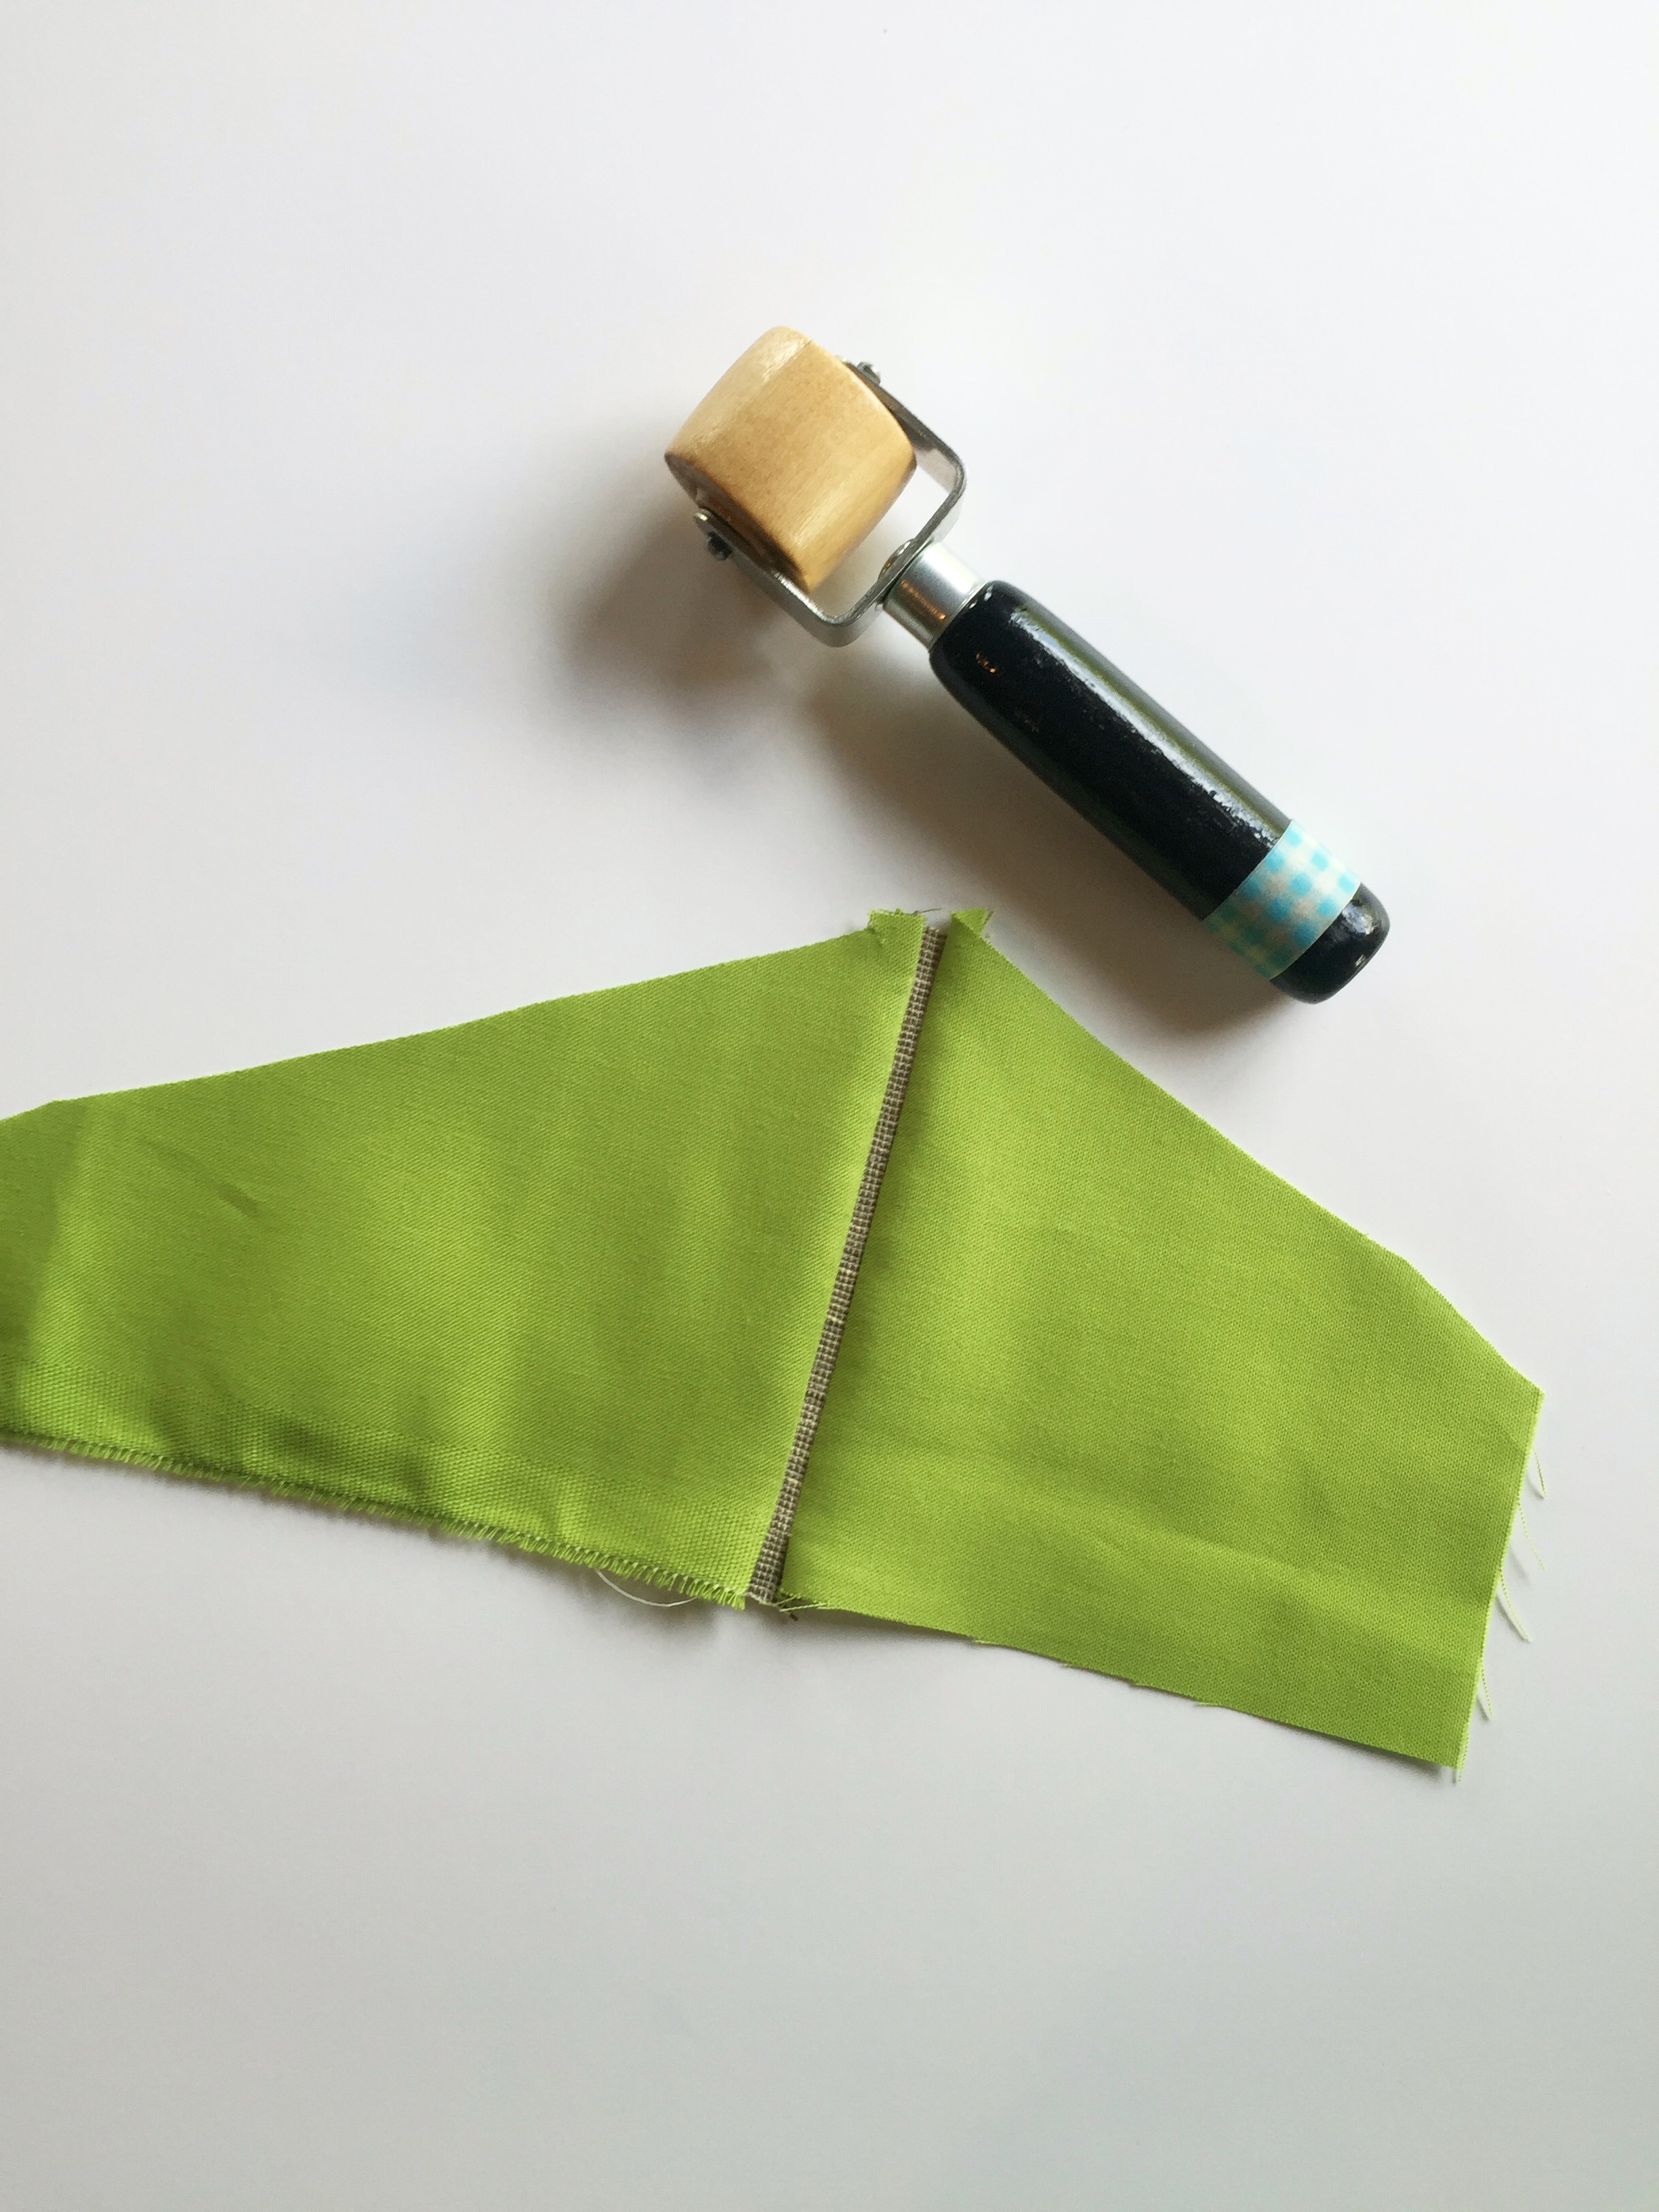
- Seam roller
- Printed pattern
- Rotary cutter
- 1″ wide acrylic ruler
- Cutting mat
- Straight pins and fork pins
- Iron and spray starch
- The Binding Tool
- Patchwork foot #57/#57D or #97/#97D
- Walking foot #50
- Several white/off white fabric scraps
- 2 yards of solid mint green background fabric
- 1/8 yard solid orange fabric
- 1/8 yard solid magenta fabric
- 1/8 yard solid chartreuse fabric for stems
- 40″ x width-of-fabric for backing
- 40″ square batting
- 150″ of 2 1/4″ or 2 1/2″ wide binding fabric
Notes
Whenever I paper piece with solids, my first choice is to use Art Gallery Fabrics solids. They are soft and smooth and crease easily, making them a dream to paper piece with!
All seam allowances are ¼” unless noted.
I like the slightly thinner look of 2 1/4″ binding, so I use this instead of the normally recommended 2 1/2″.
I sew on a BERNINA 740 and use the 1/4″ foot with a guide as I paper piece.
Instructions to make a paper pieced Scandinavian block
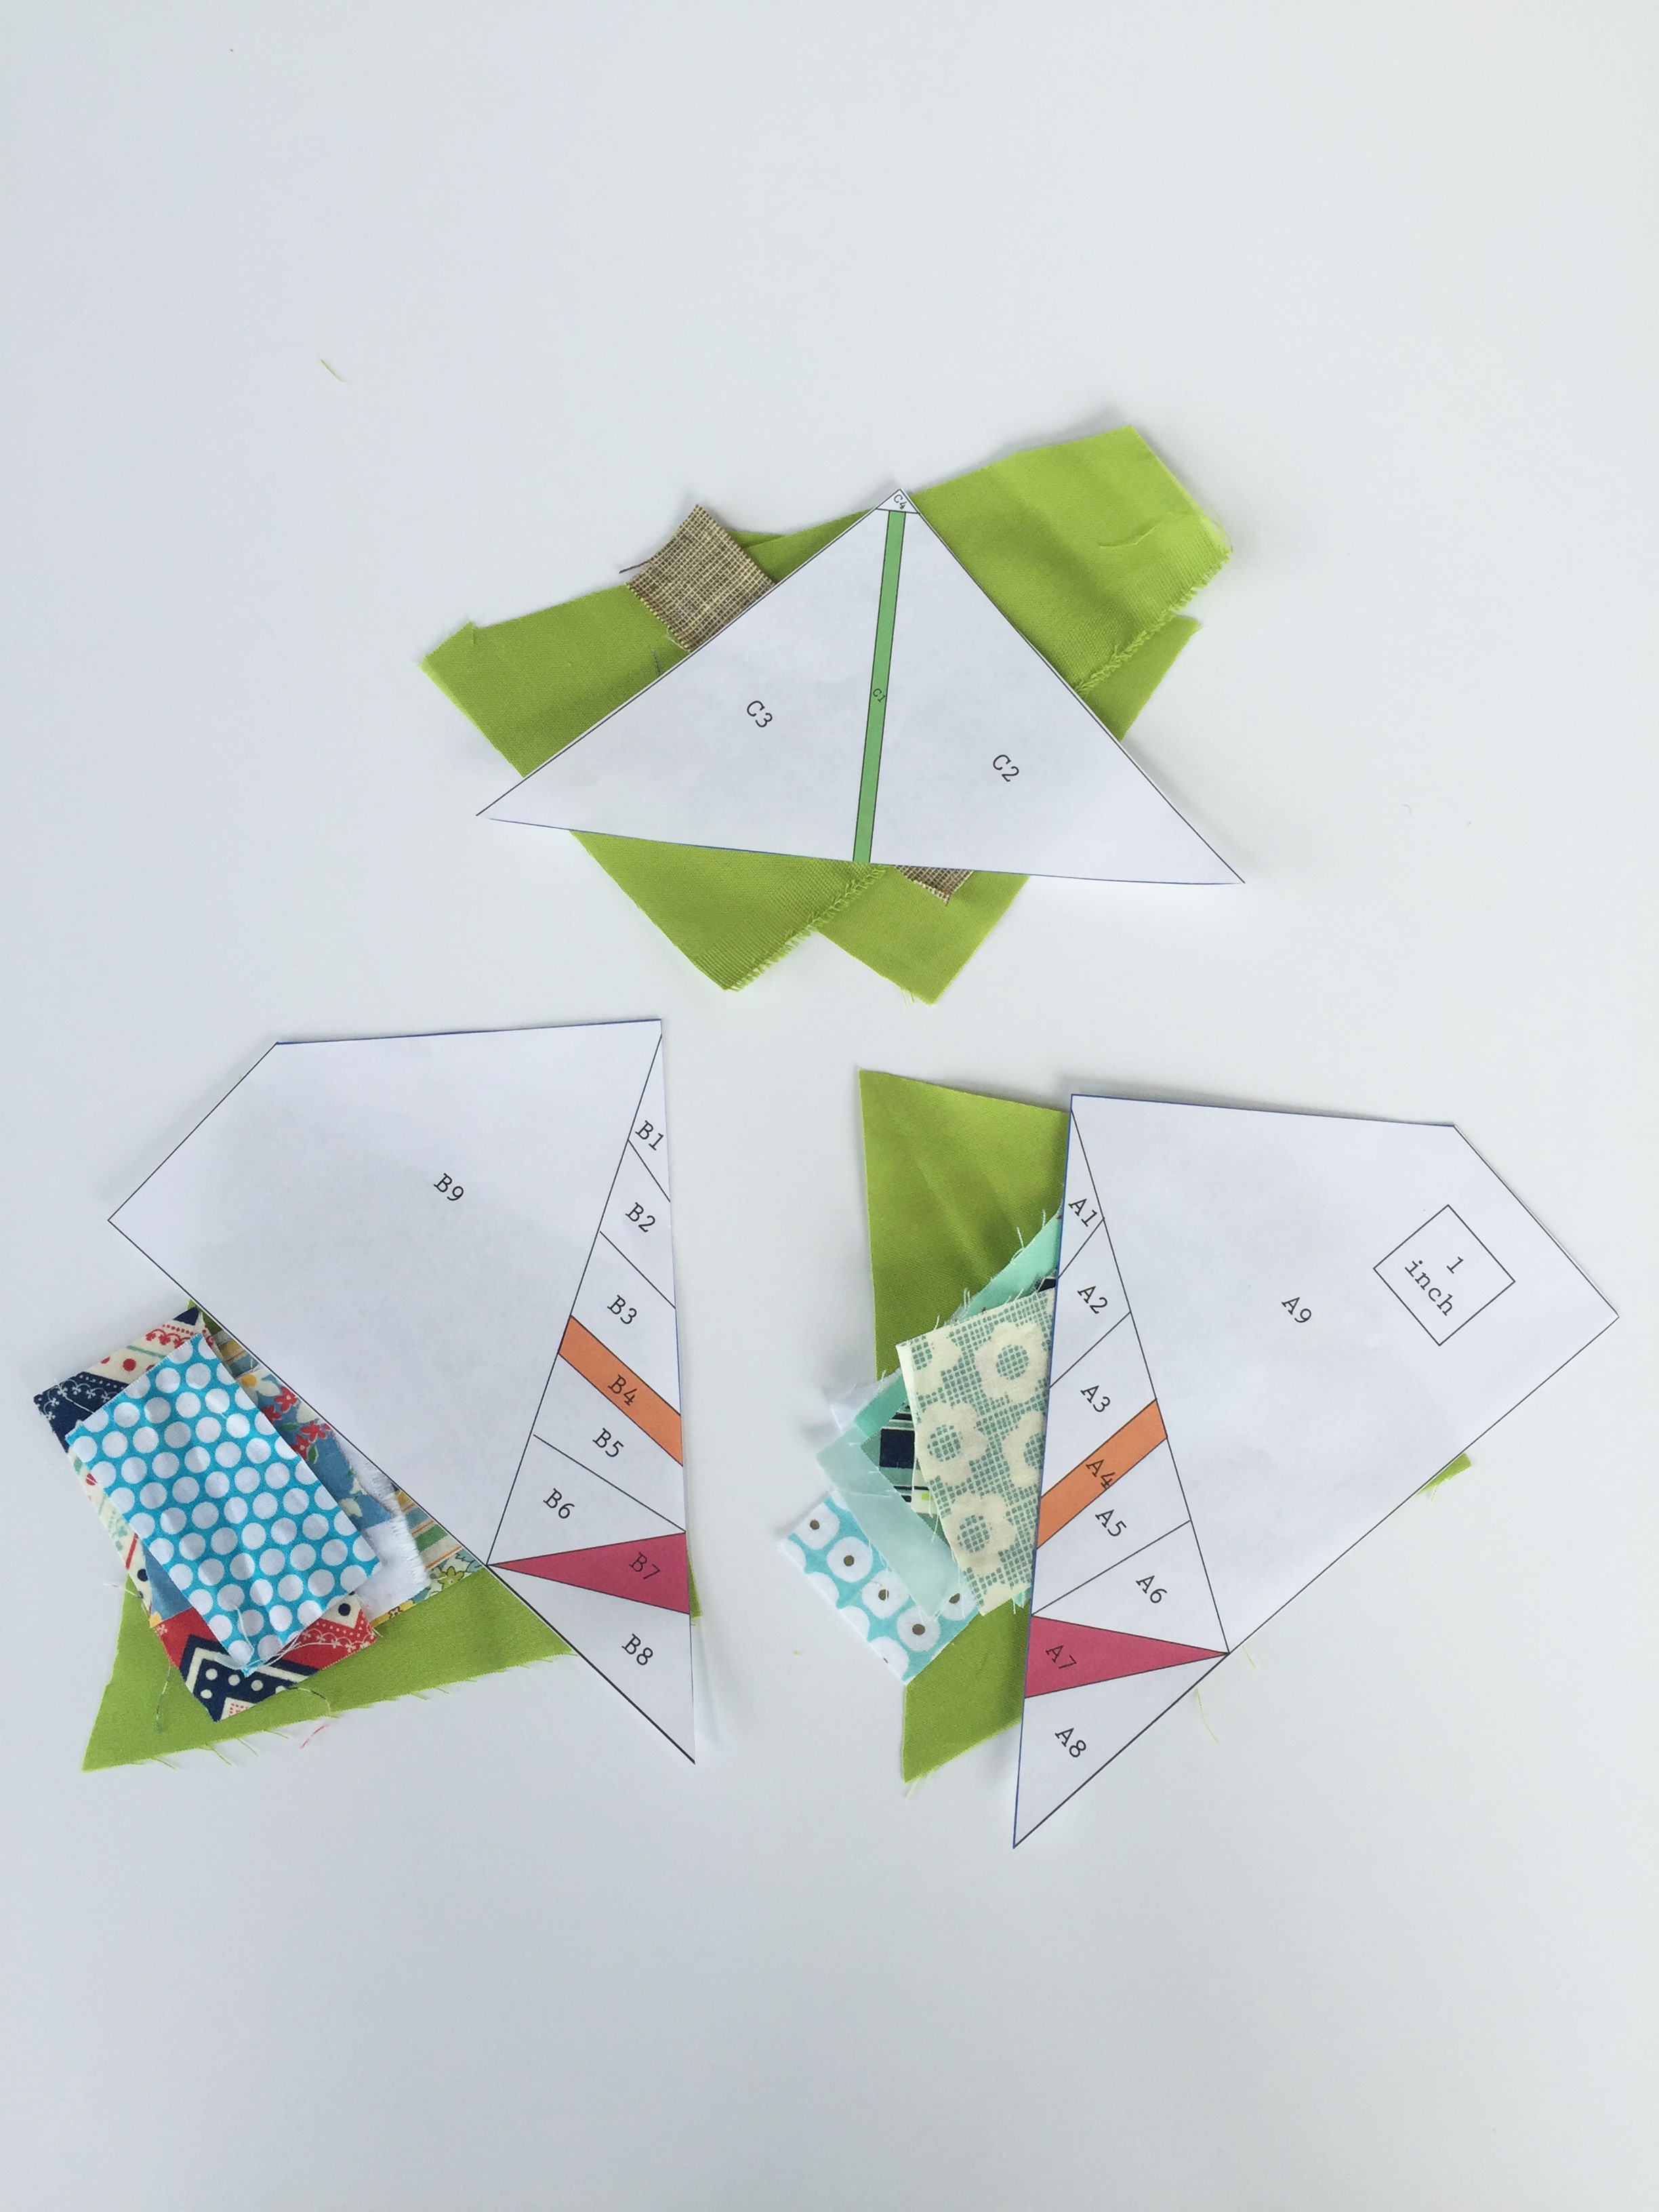
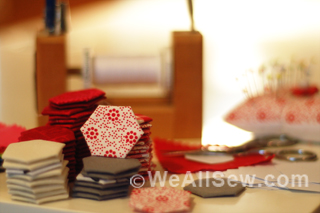
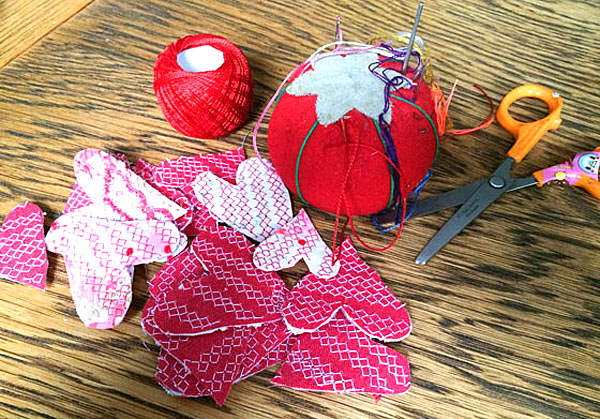
Piece your blocks (make 16)
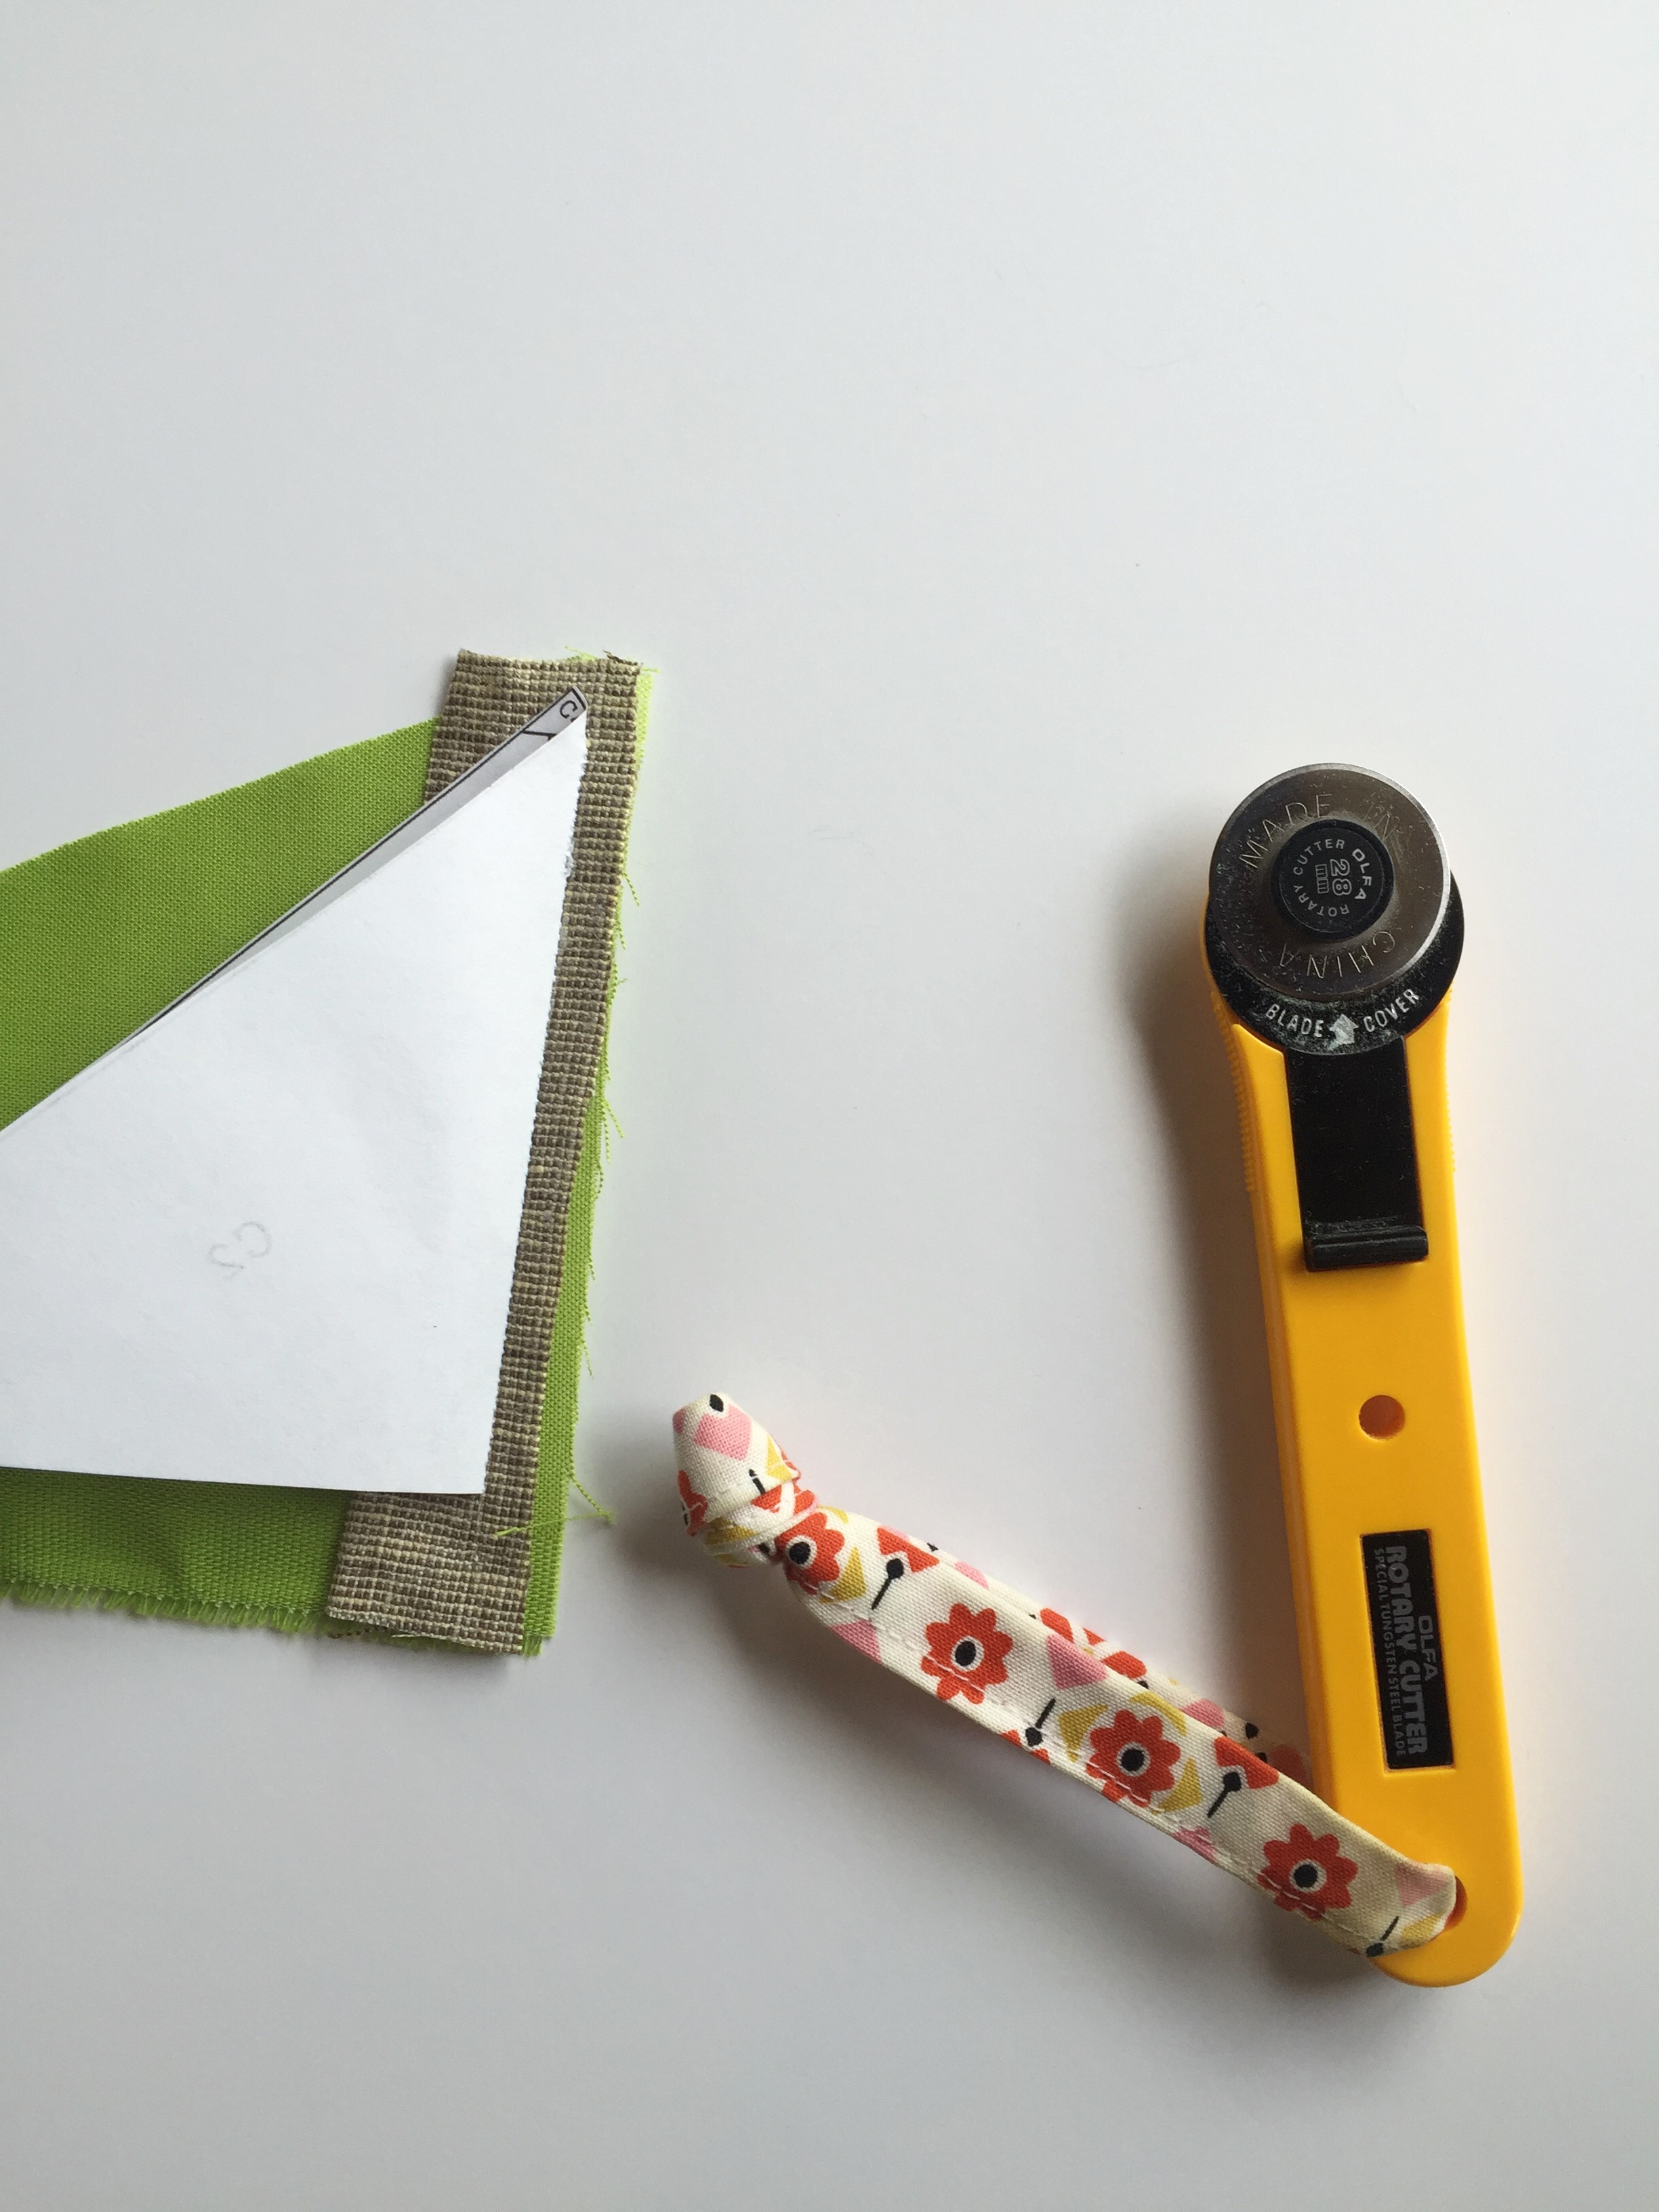
- Cut out block pattern close to outside edge.

2. Cut the pattern into sections on the blue lines. Cut fabric for each area of each section and stack in order of use. This step will save loads of time as you start piecing. Make sure the fabric extends at least 1/4″ past the area it will be filling. I like to err on the side of too big to reduce frustration.
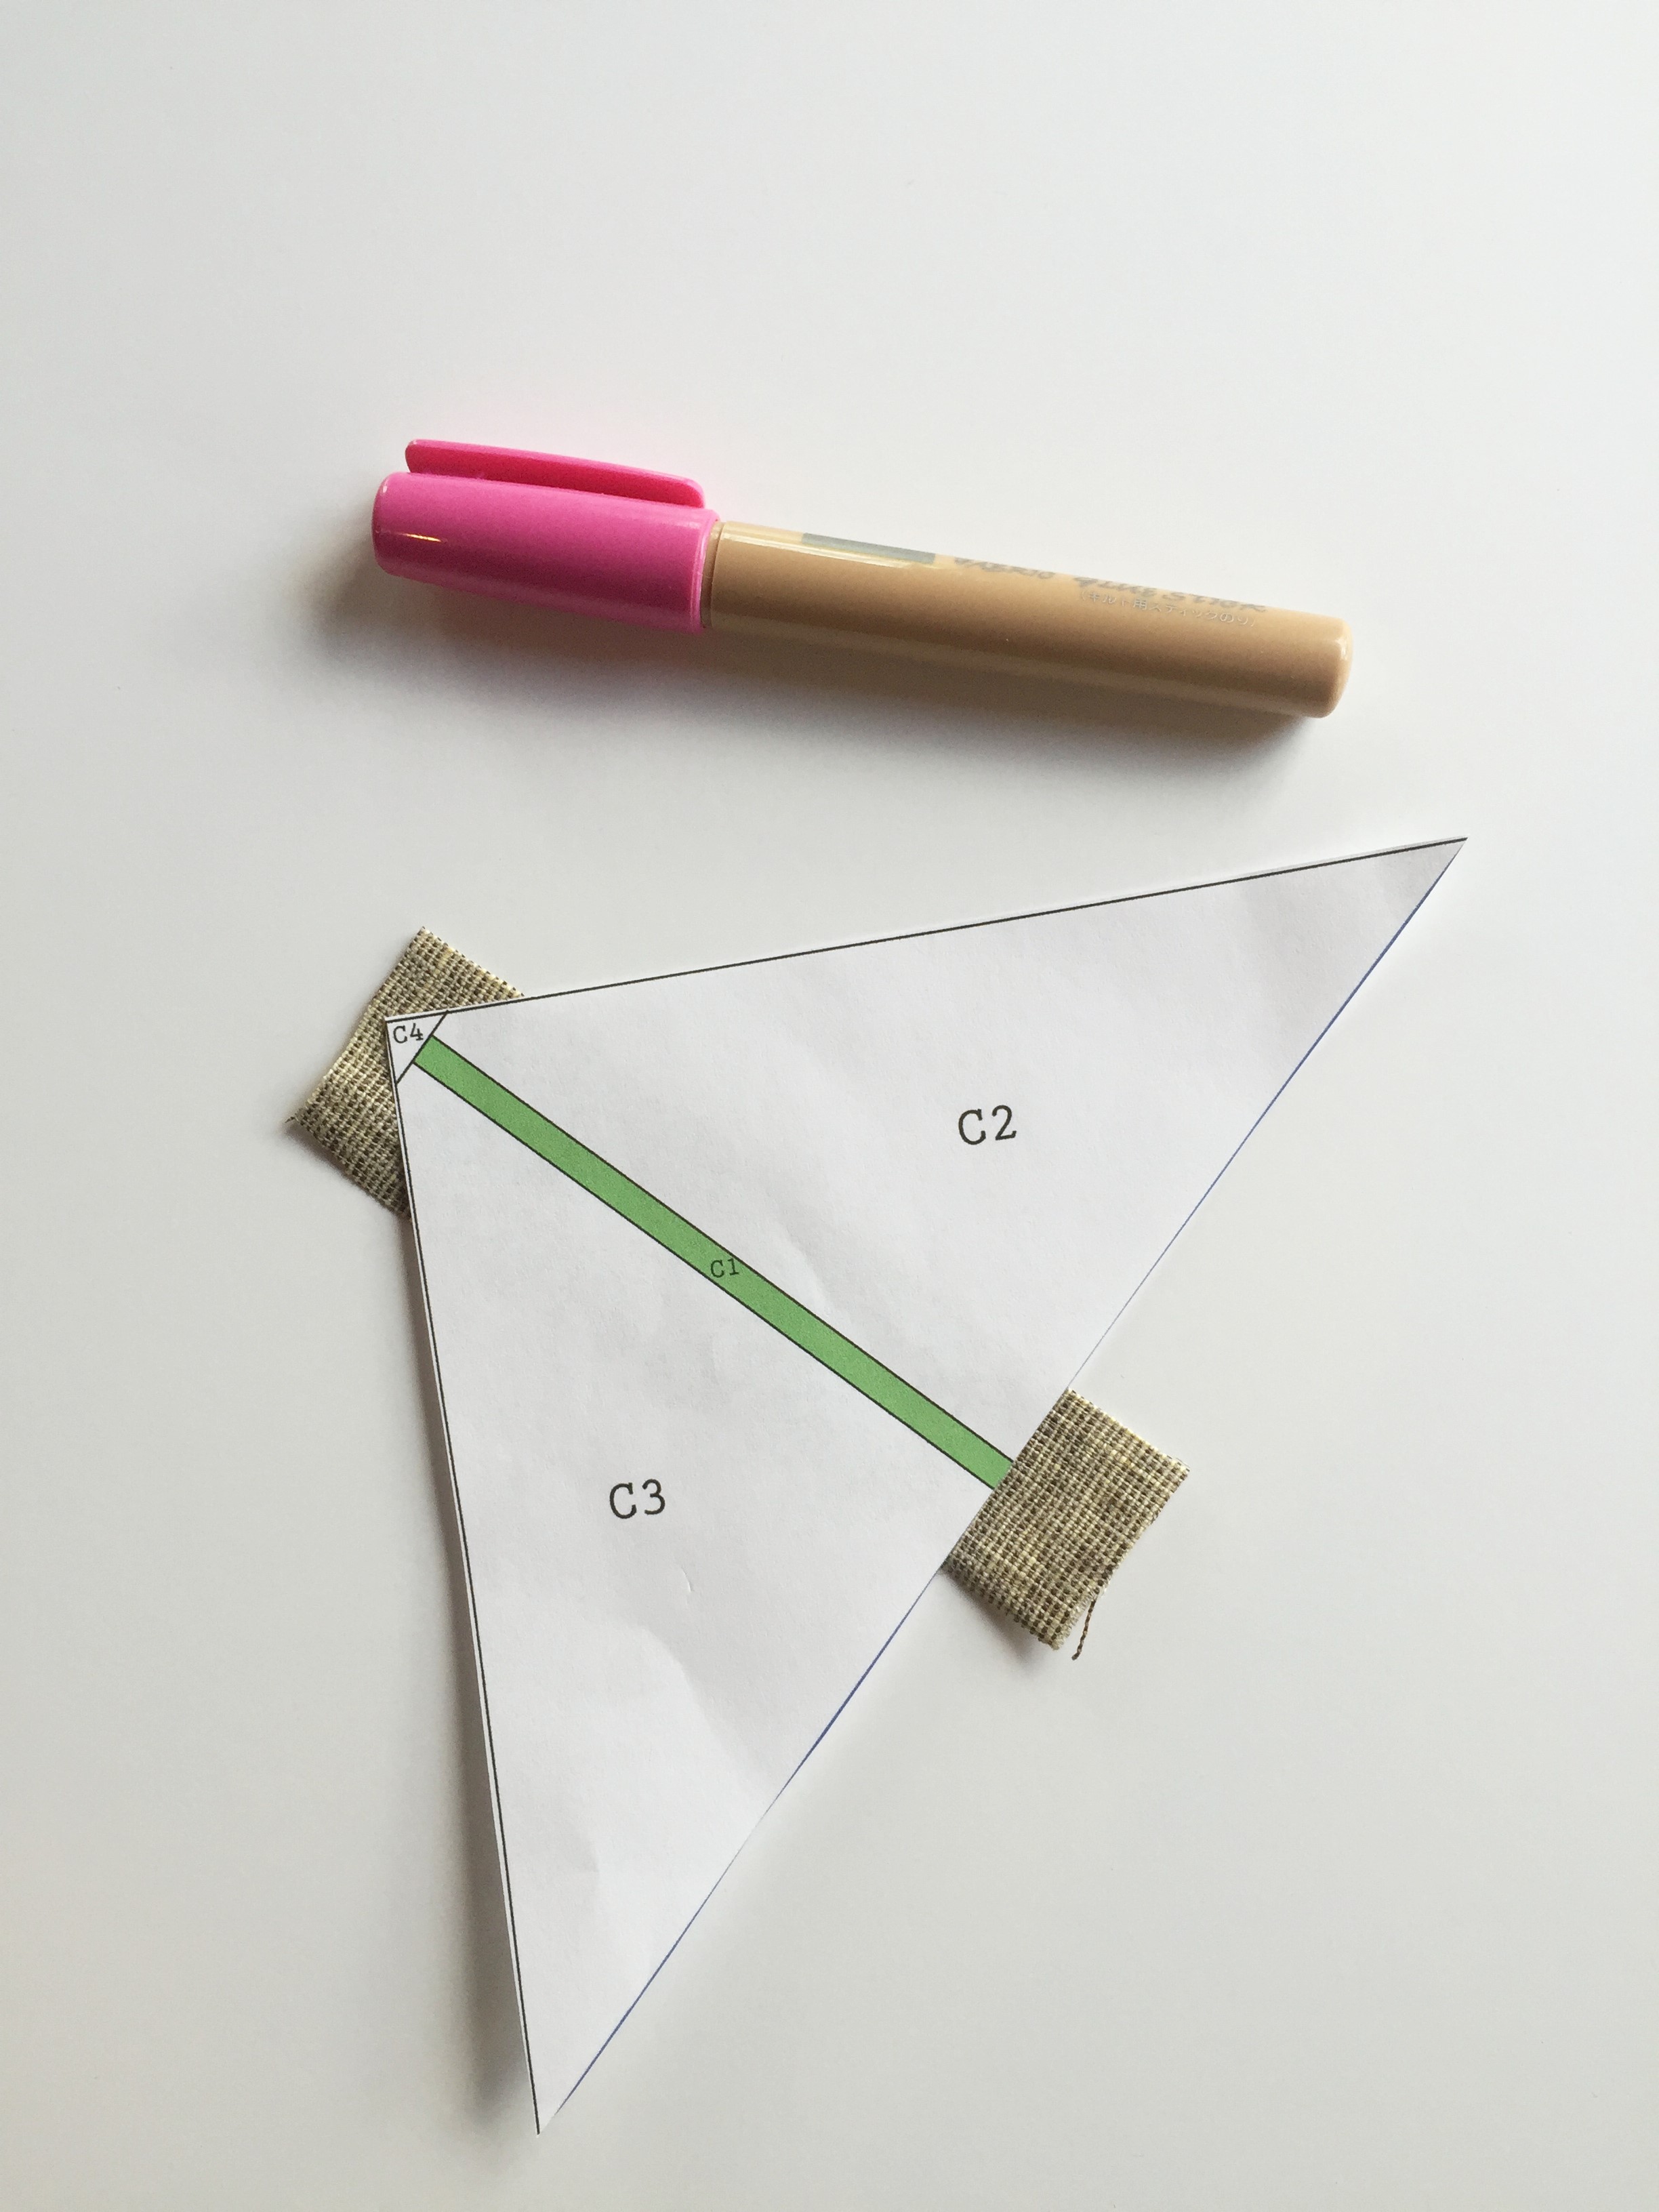
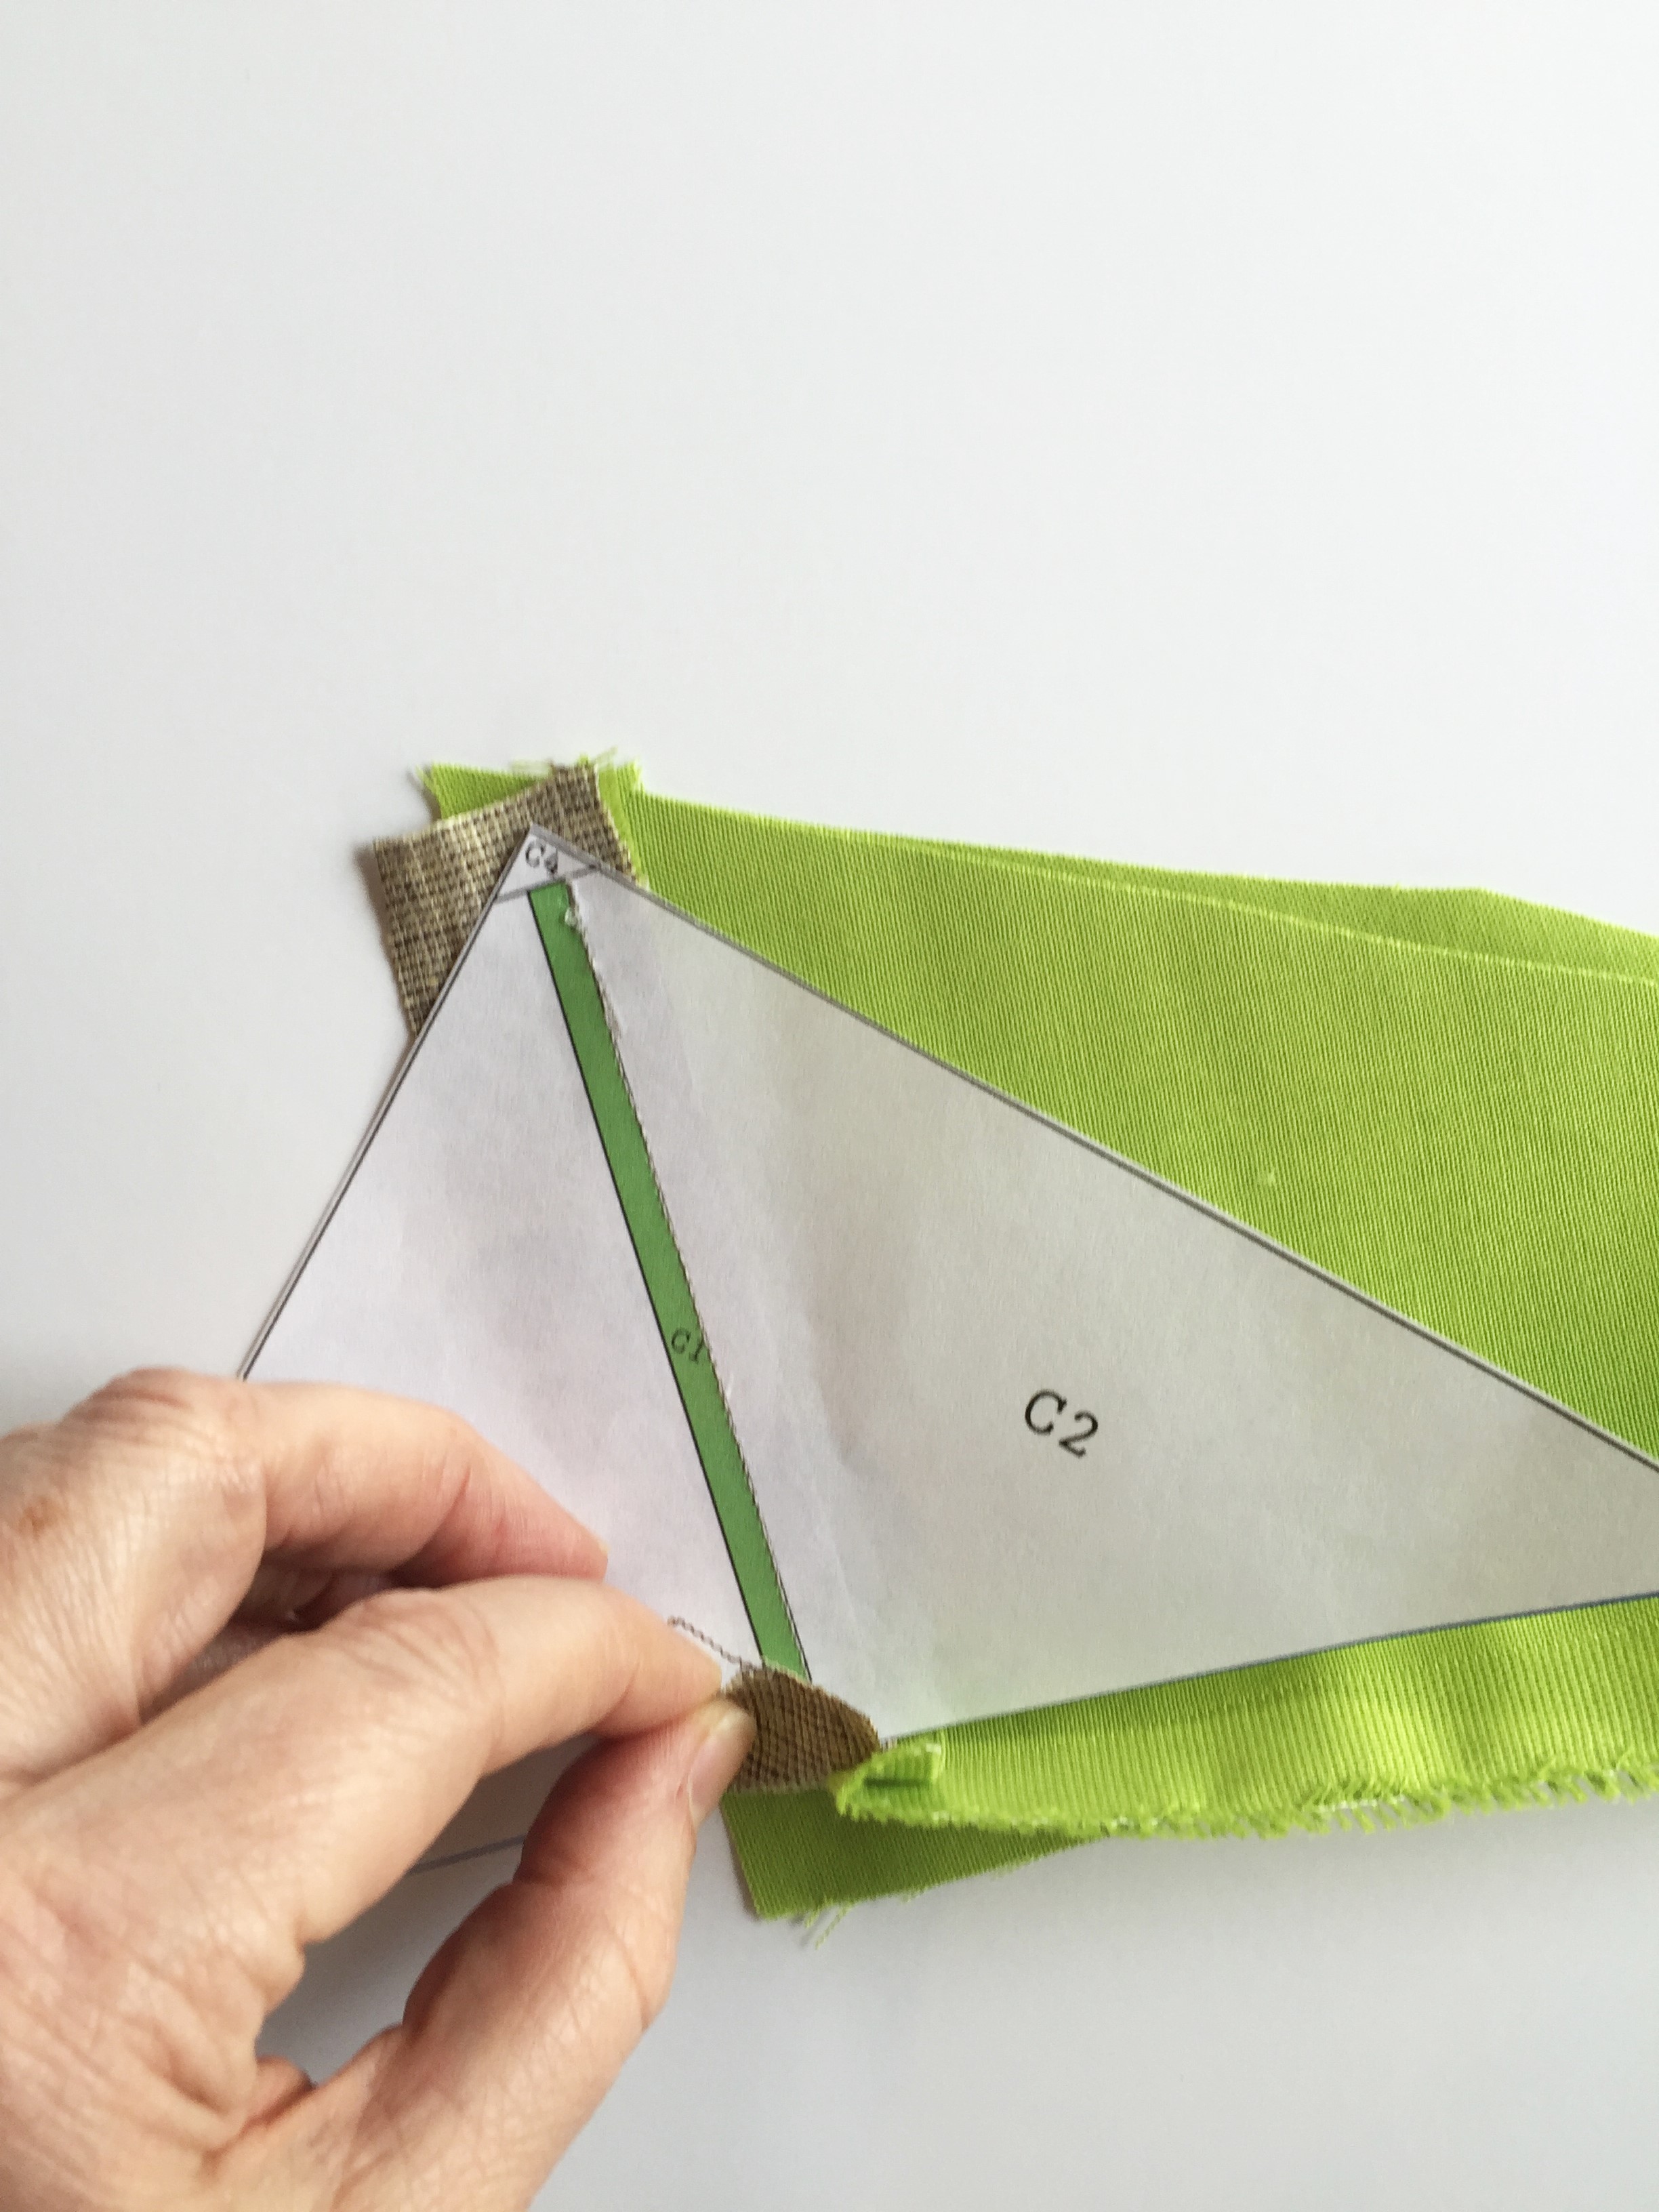
3. Use a swipe of your glue stick on the unprinted side of the paper pattern (section C for this example) in area C1 and arrange your first piece of fabric so it extends 1/4″ past all edges of the C1 area.
4. With fabrics right side together, line up the second piece of fabric with the first fabric so the edge of the second fabric extends 1/4″ into C2. Sew along the line between C1 and C2, making sure to secure your stitch at the start of the line and keep sewing at least 1/4″ off the pattern into the fabric.

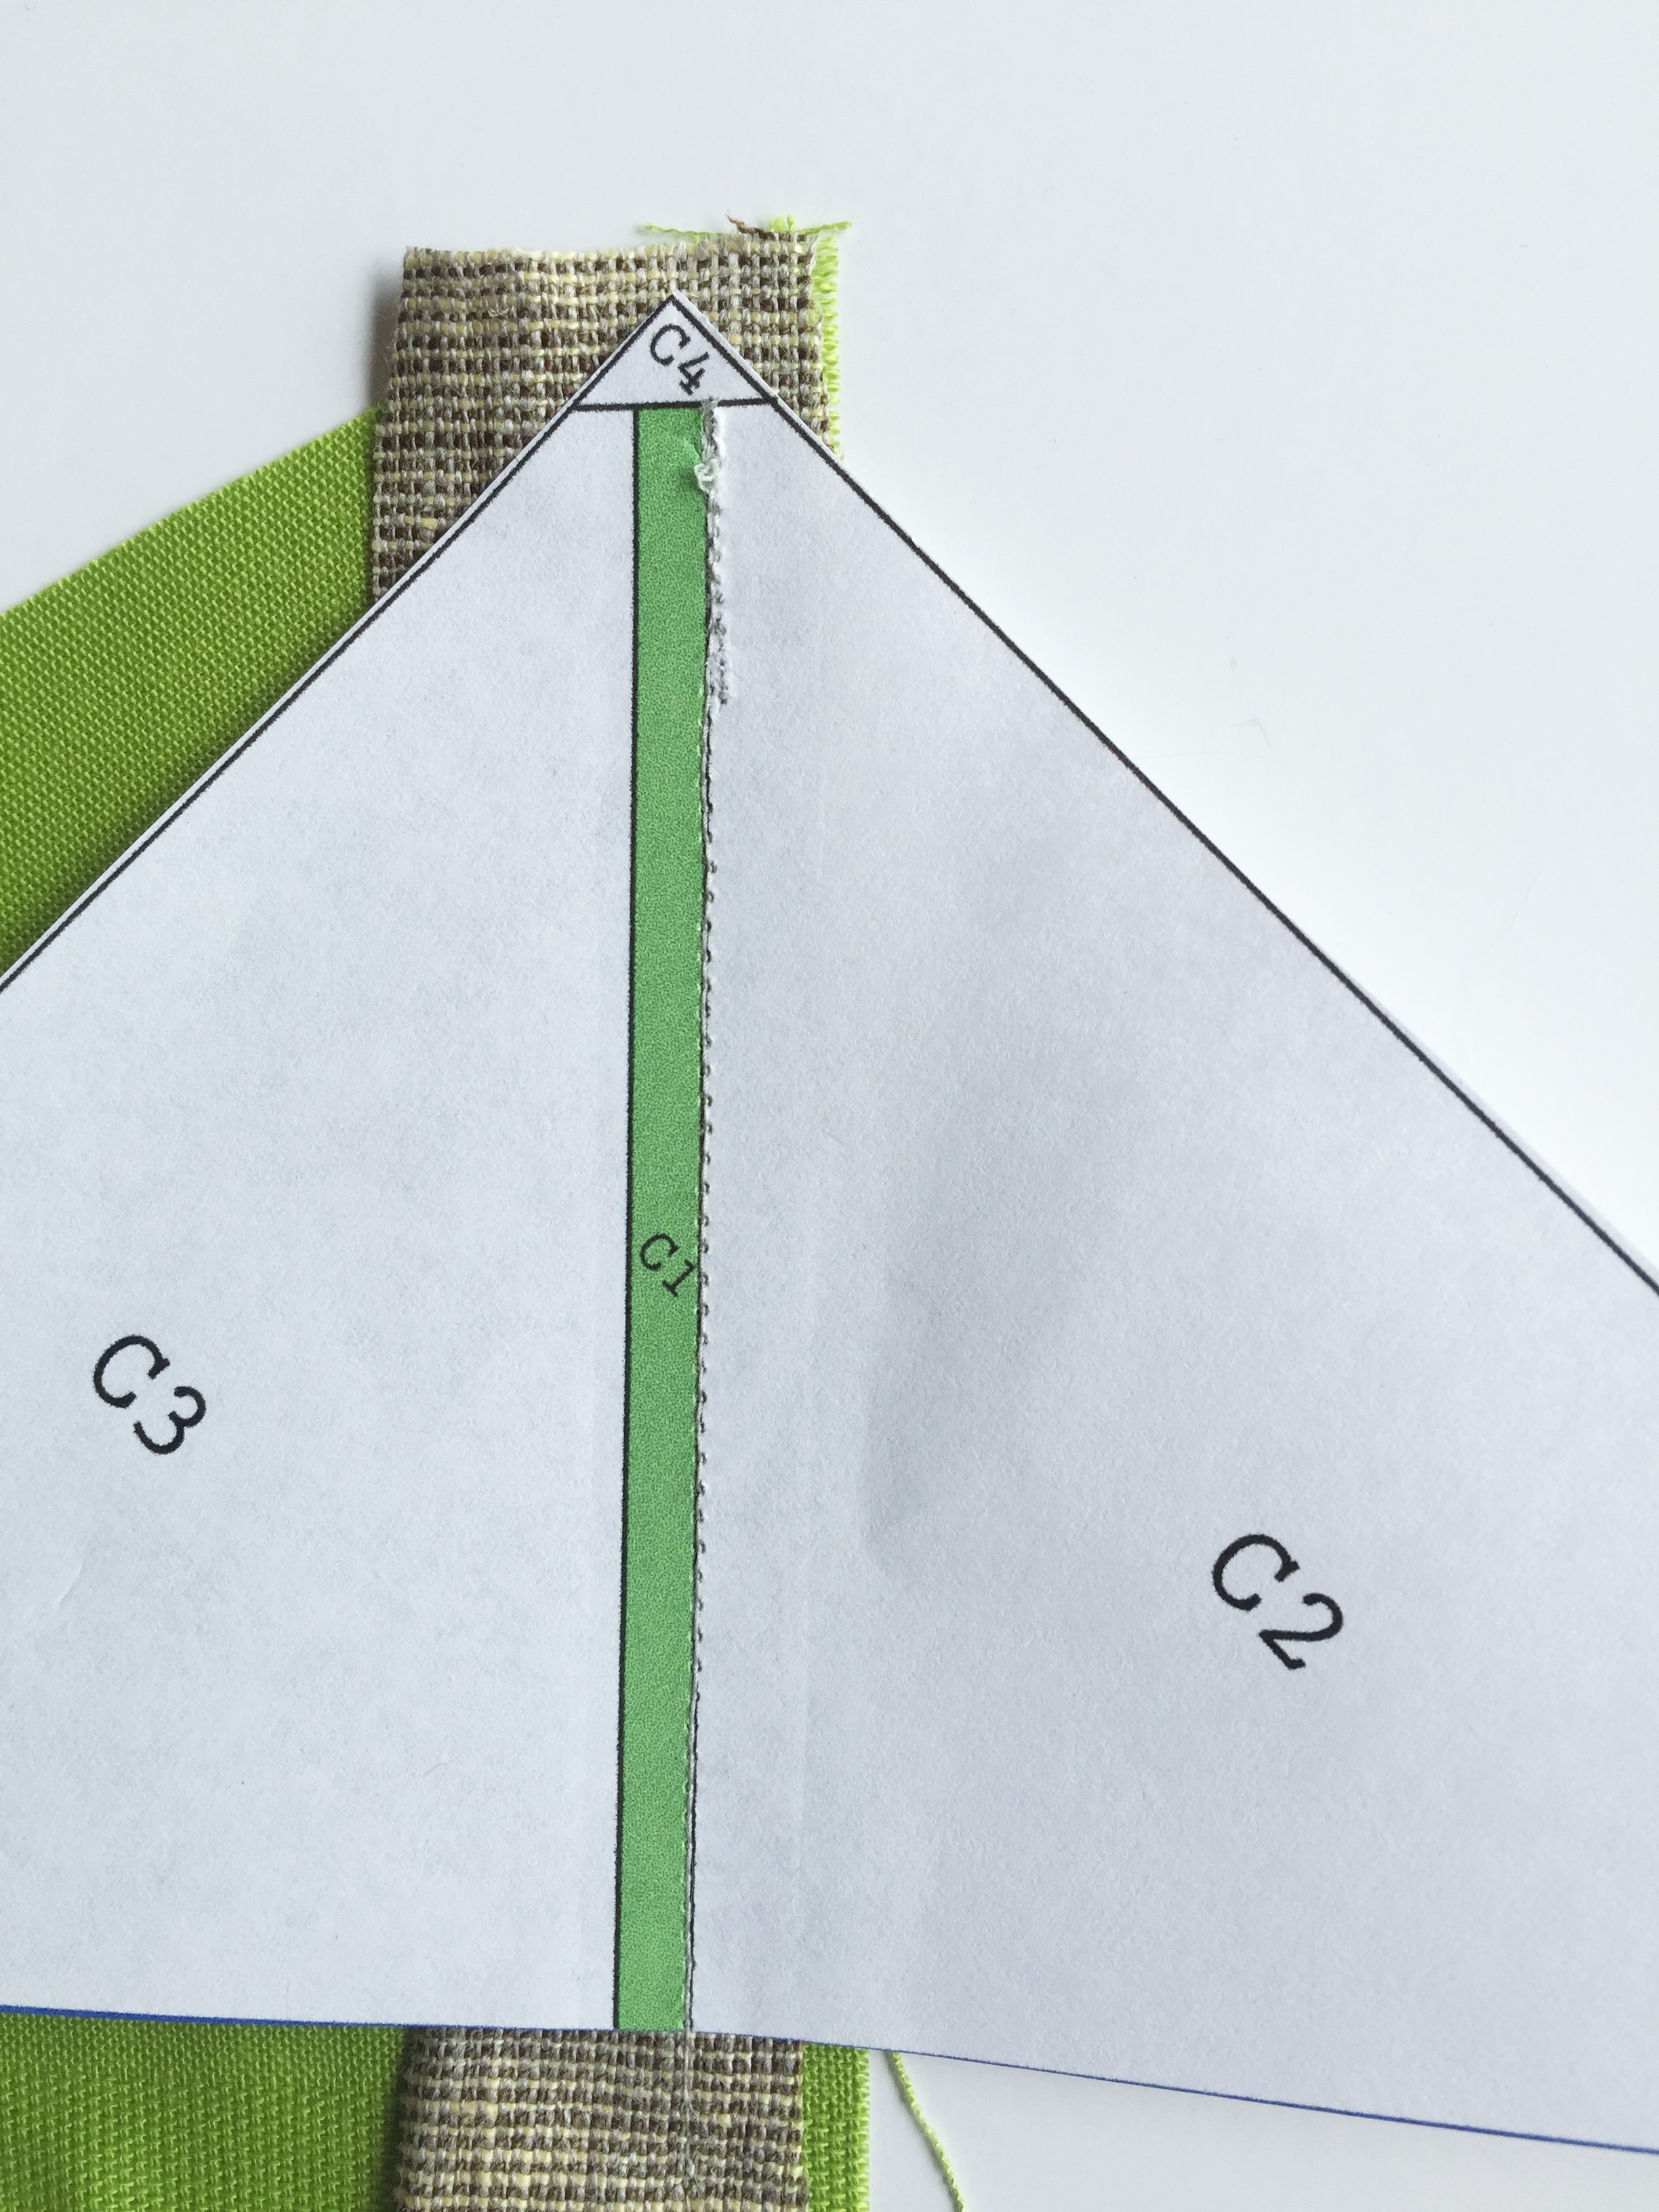
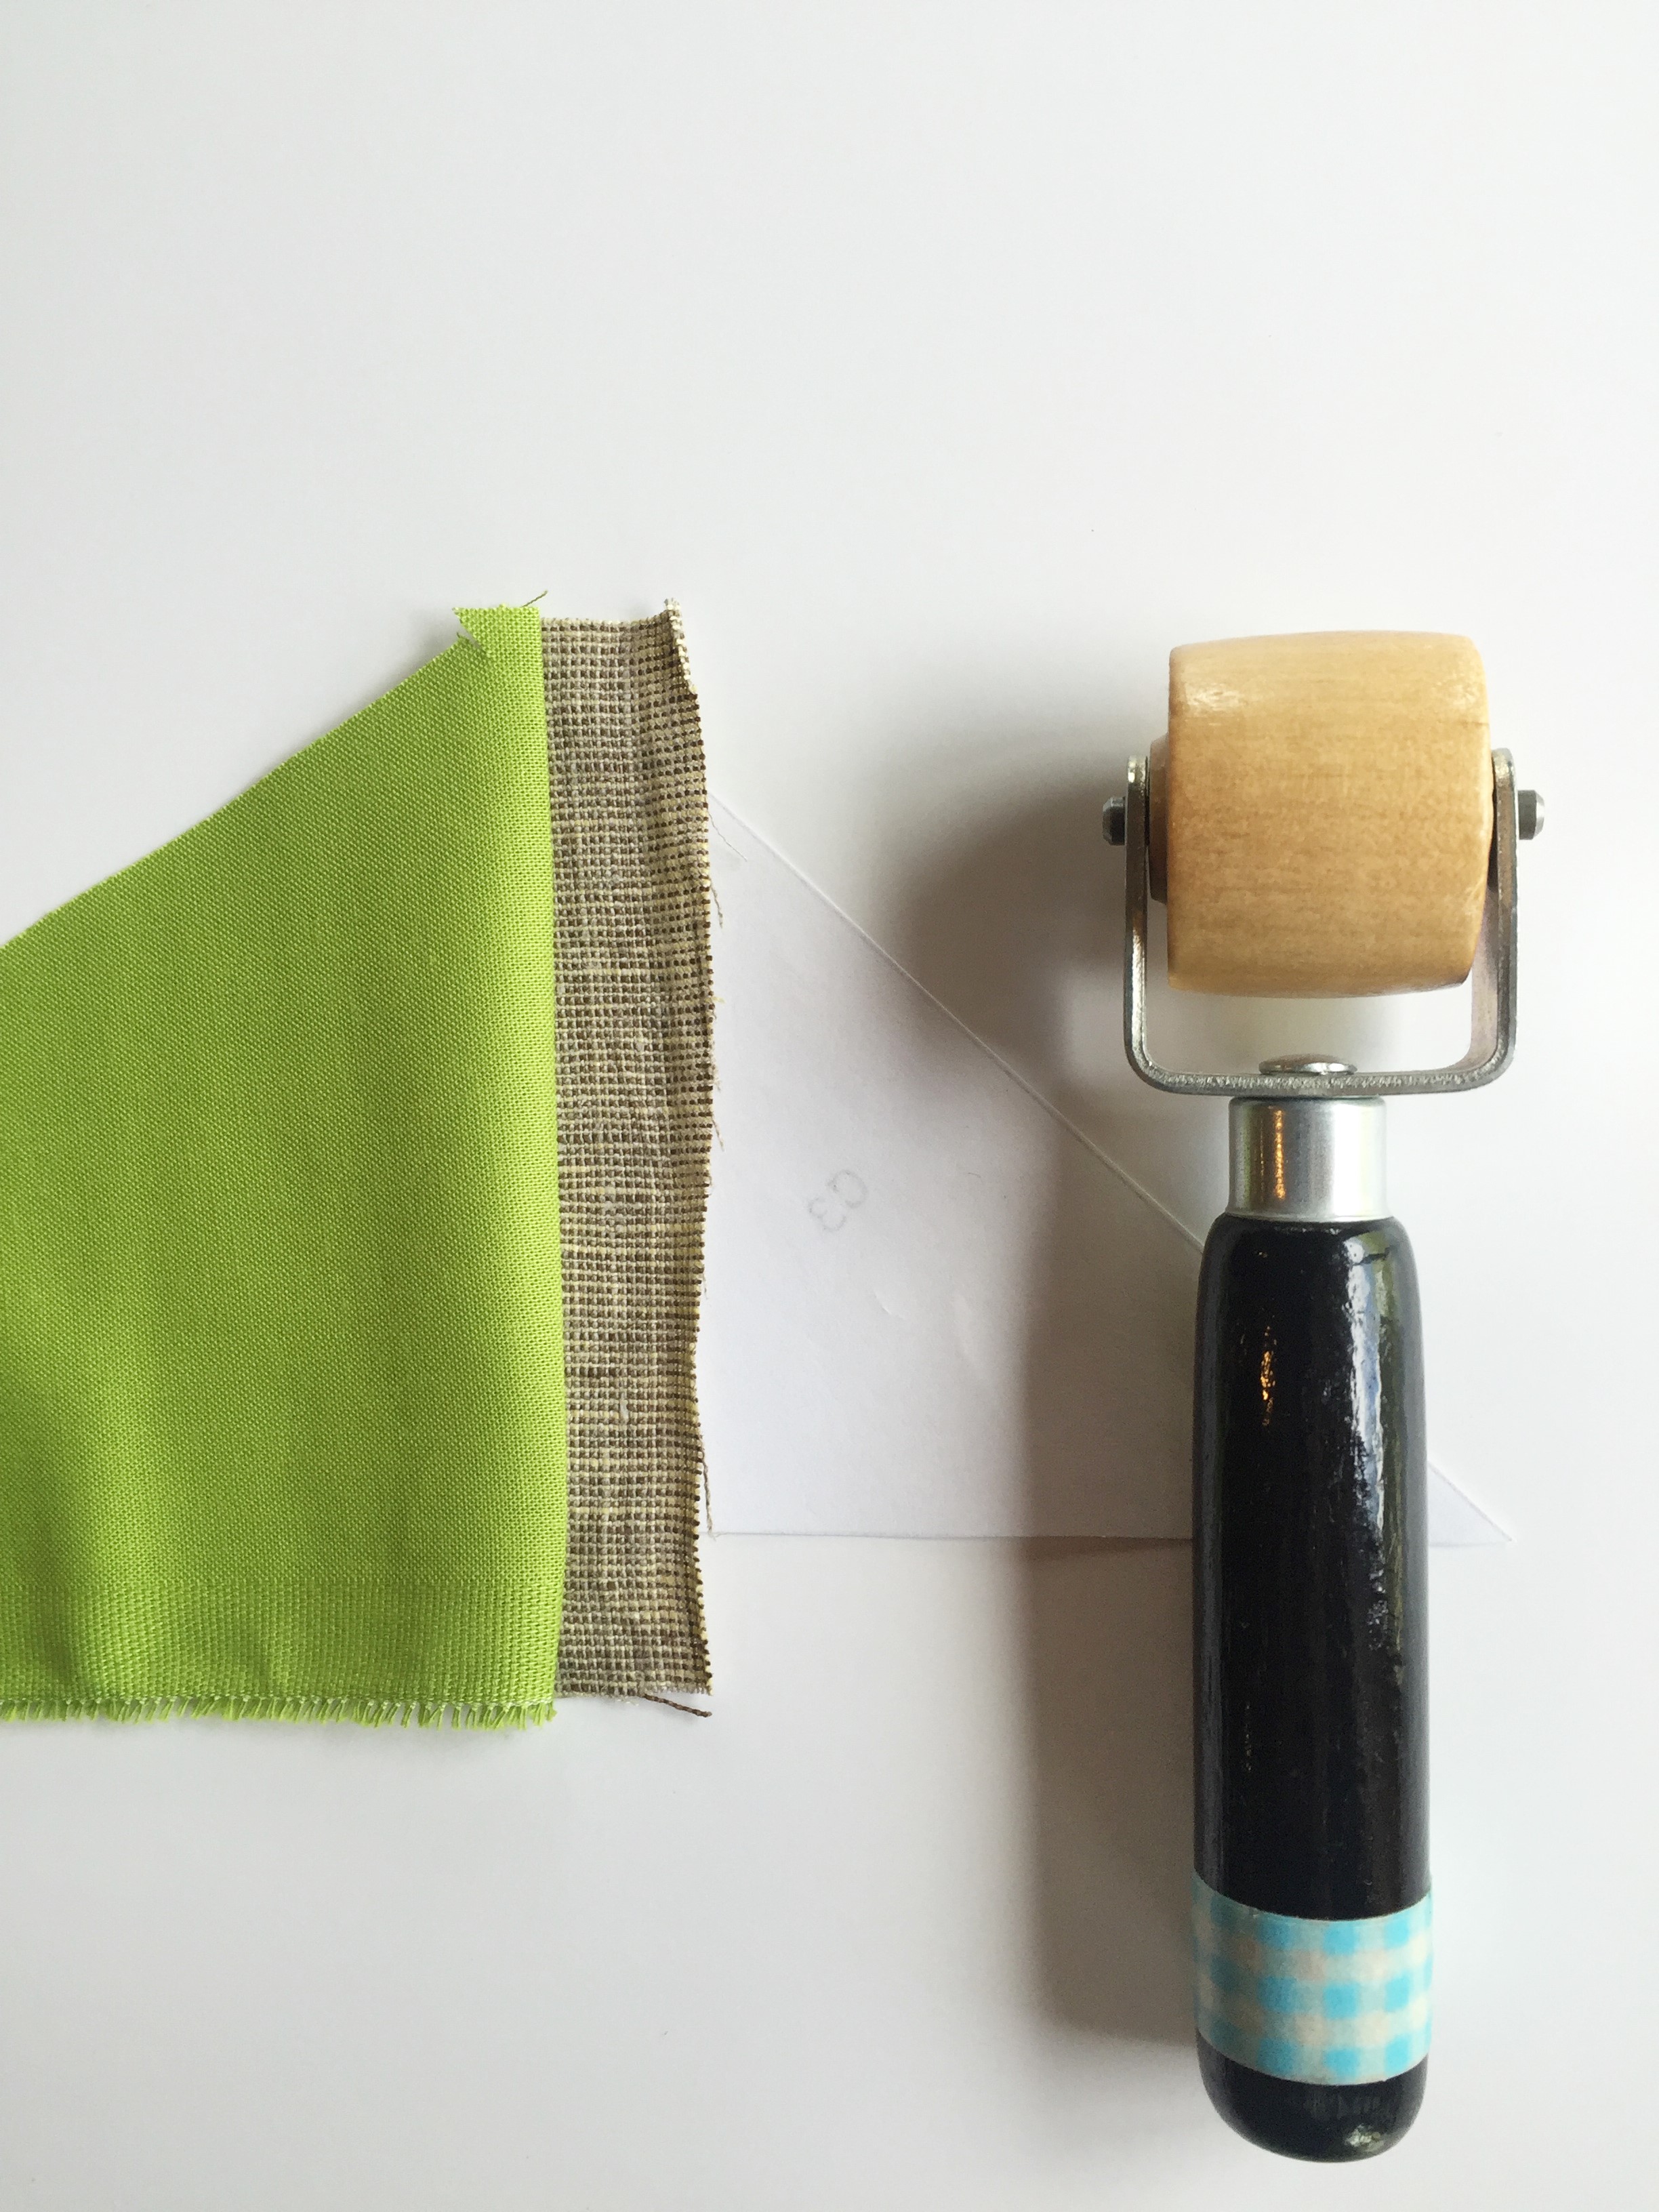
5. Fold the pattern back on the seam just sewn and trim the excess seam allowance. I use a ruler sometimes, and sometimes I don’t. It’s your choice!
6. Fold the paper pattern flat and then open the C2 fabric and use the seam roller to crease the fabric open.
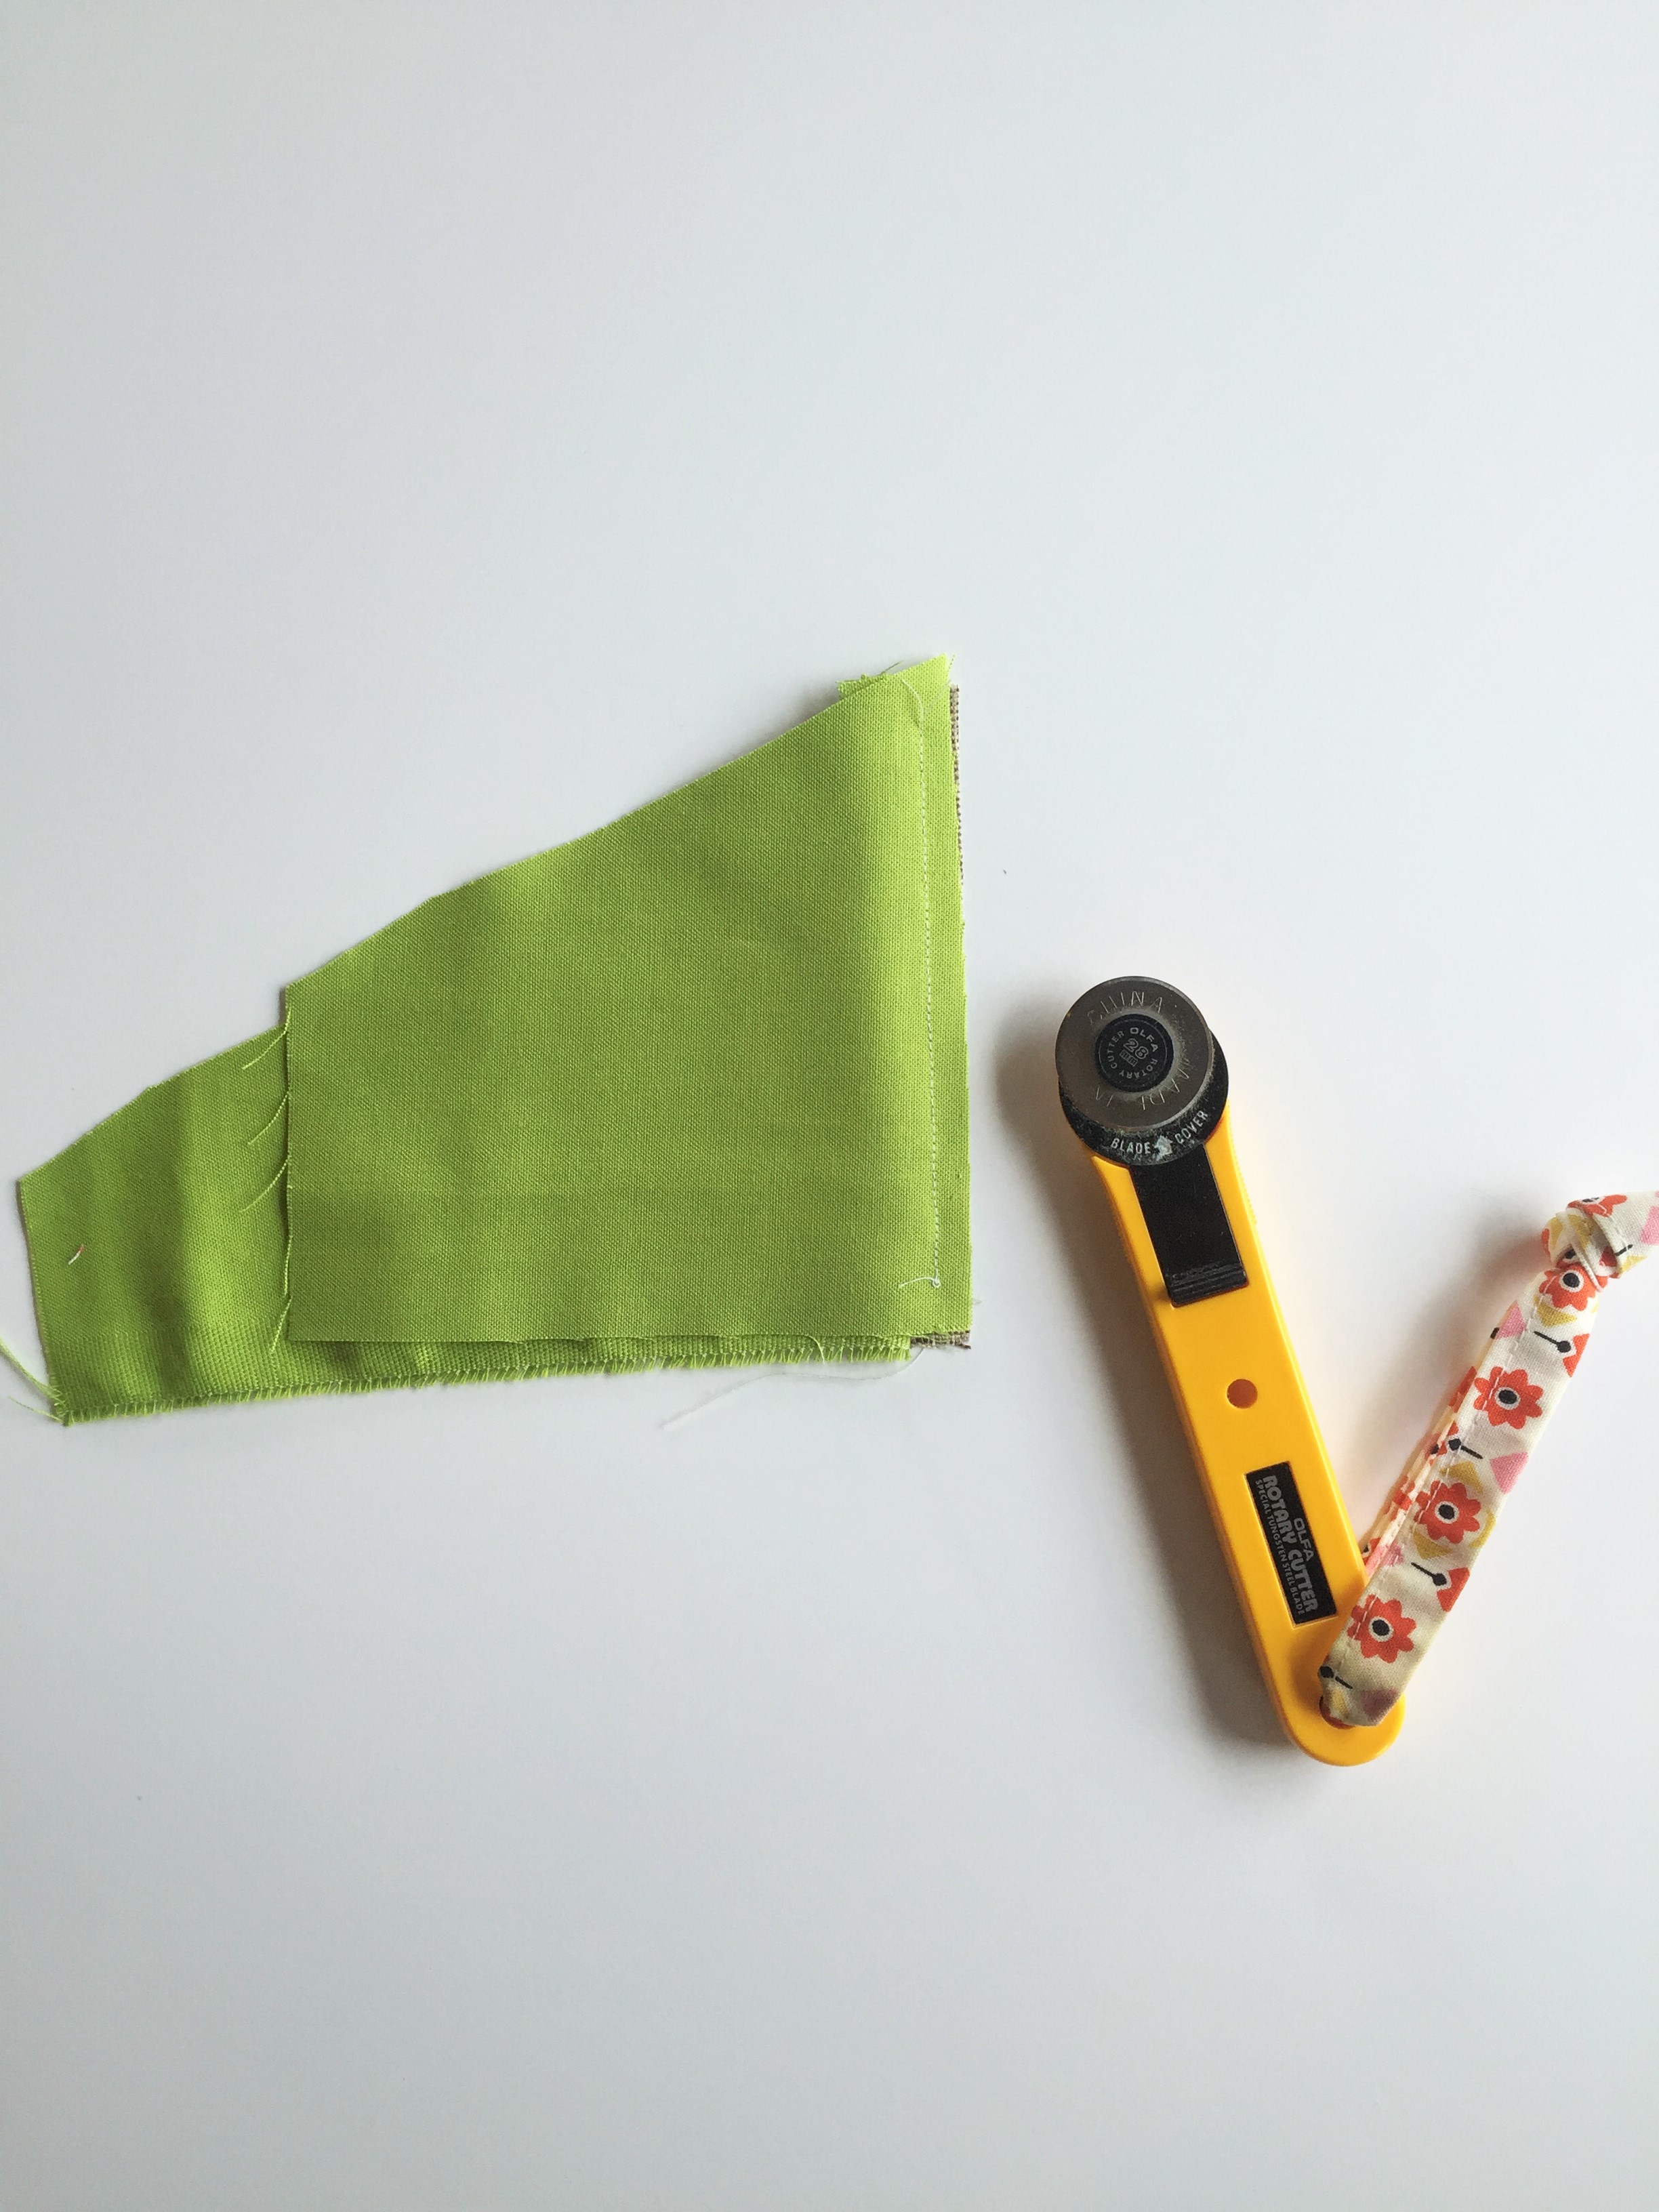
7. With fabrics right side together, line up the third piece of fabric so the edge extends at least 1/4” into C3. Sew along the line between C1 and C3, making sure to secure your stitch at the start of the line and keep sewing at least 1/4″ off the pattern into the fabric as in step 4.
8. Fold the paper pattern back onto the line you just sewed, then trim the excess seam.
9. Fold the pattern flat, open the C3 fabric, and use the seam roller to crease the fabric open.
10. With fabrics right side together, line up the fourth piece of fabric so the edge extends at least 1/4″ into C4. Sew along the line between C4 and C1,C2,C3 making sure to start and end your sewing at least 1/4″ off the pattern into the fabric.

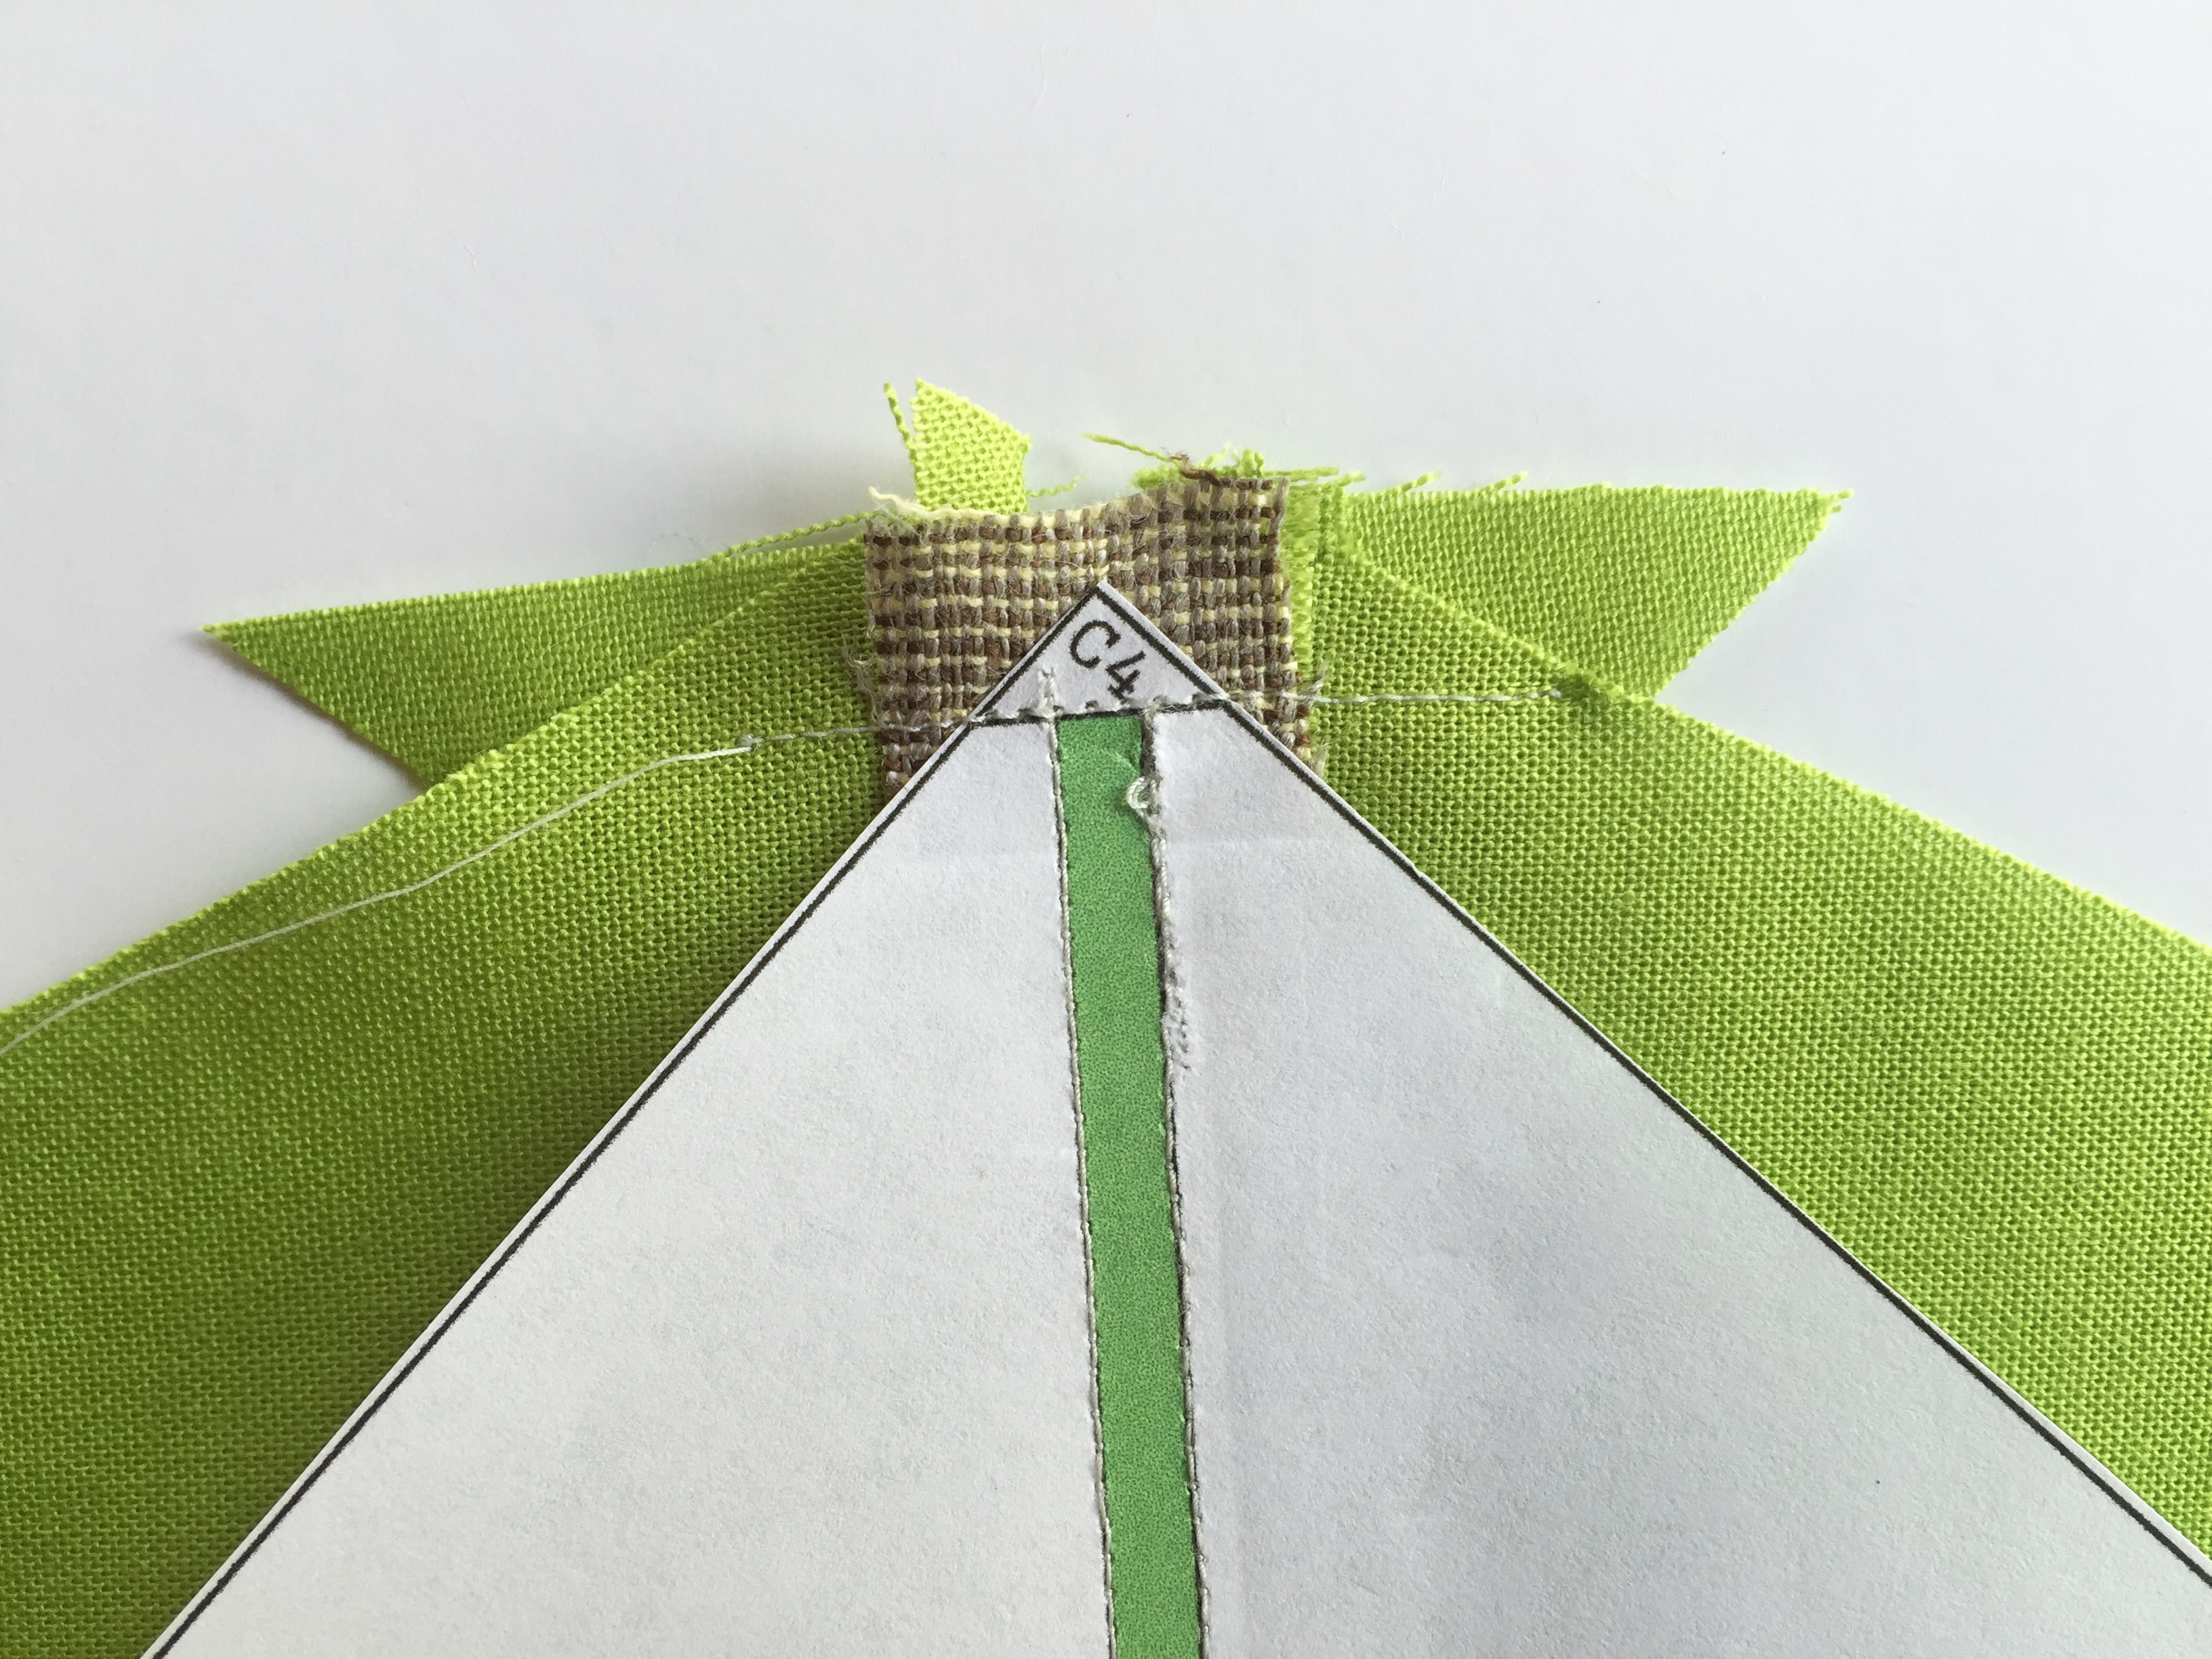
11. Fold the paper pattern back onto the line you just sewed, then trim the excess seam.
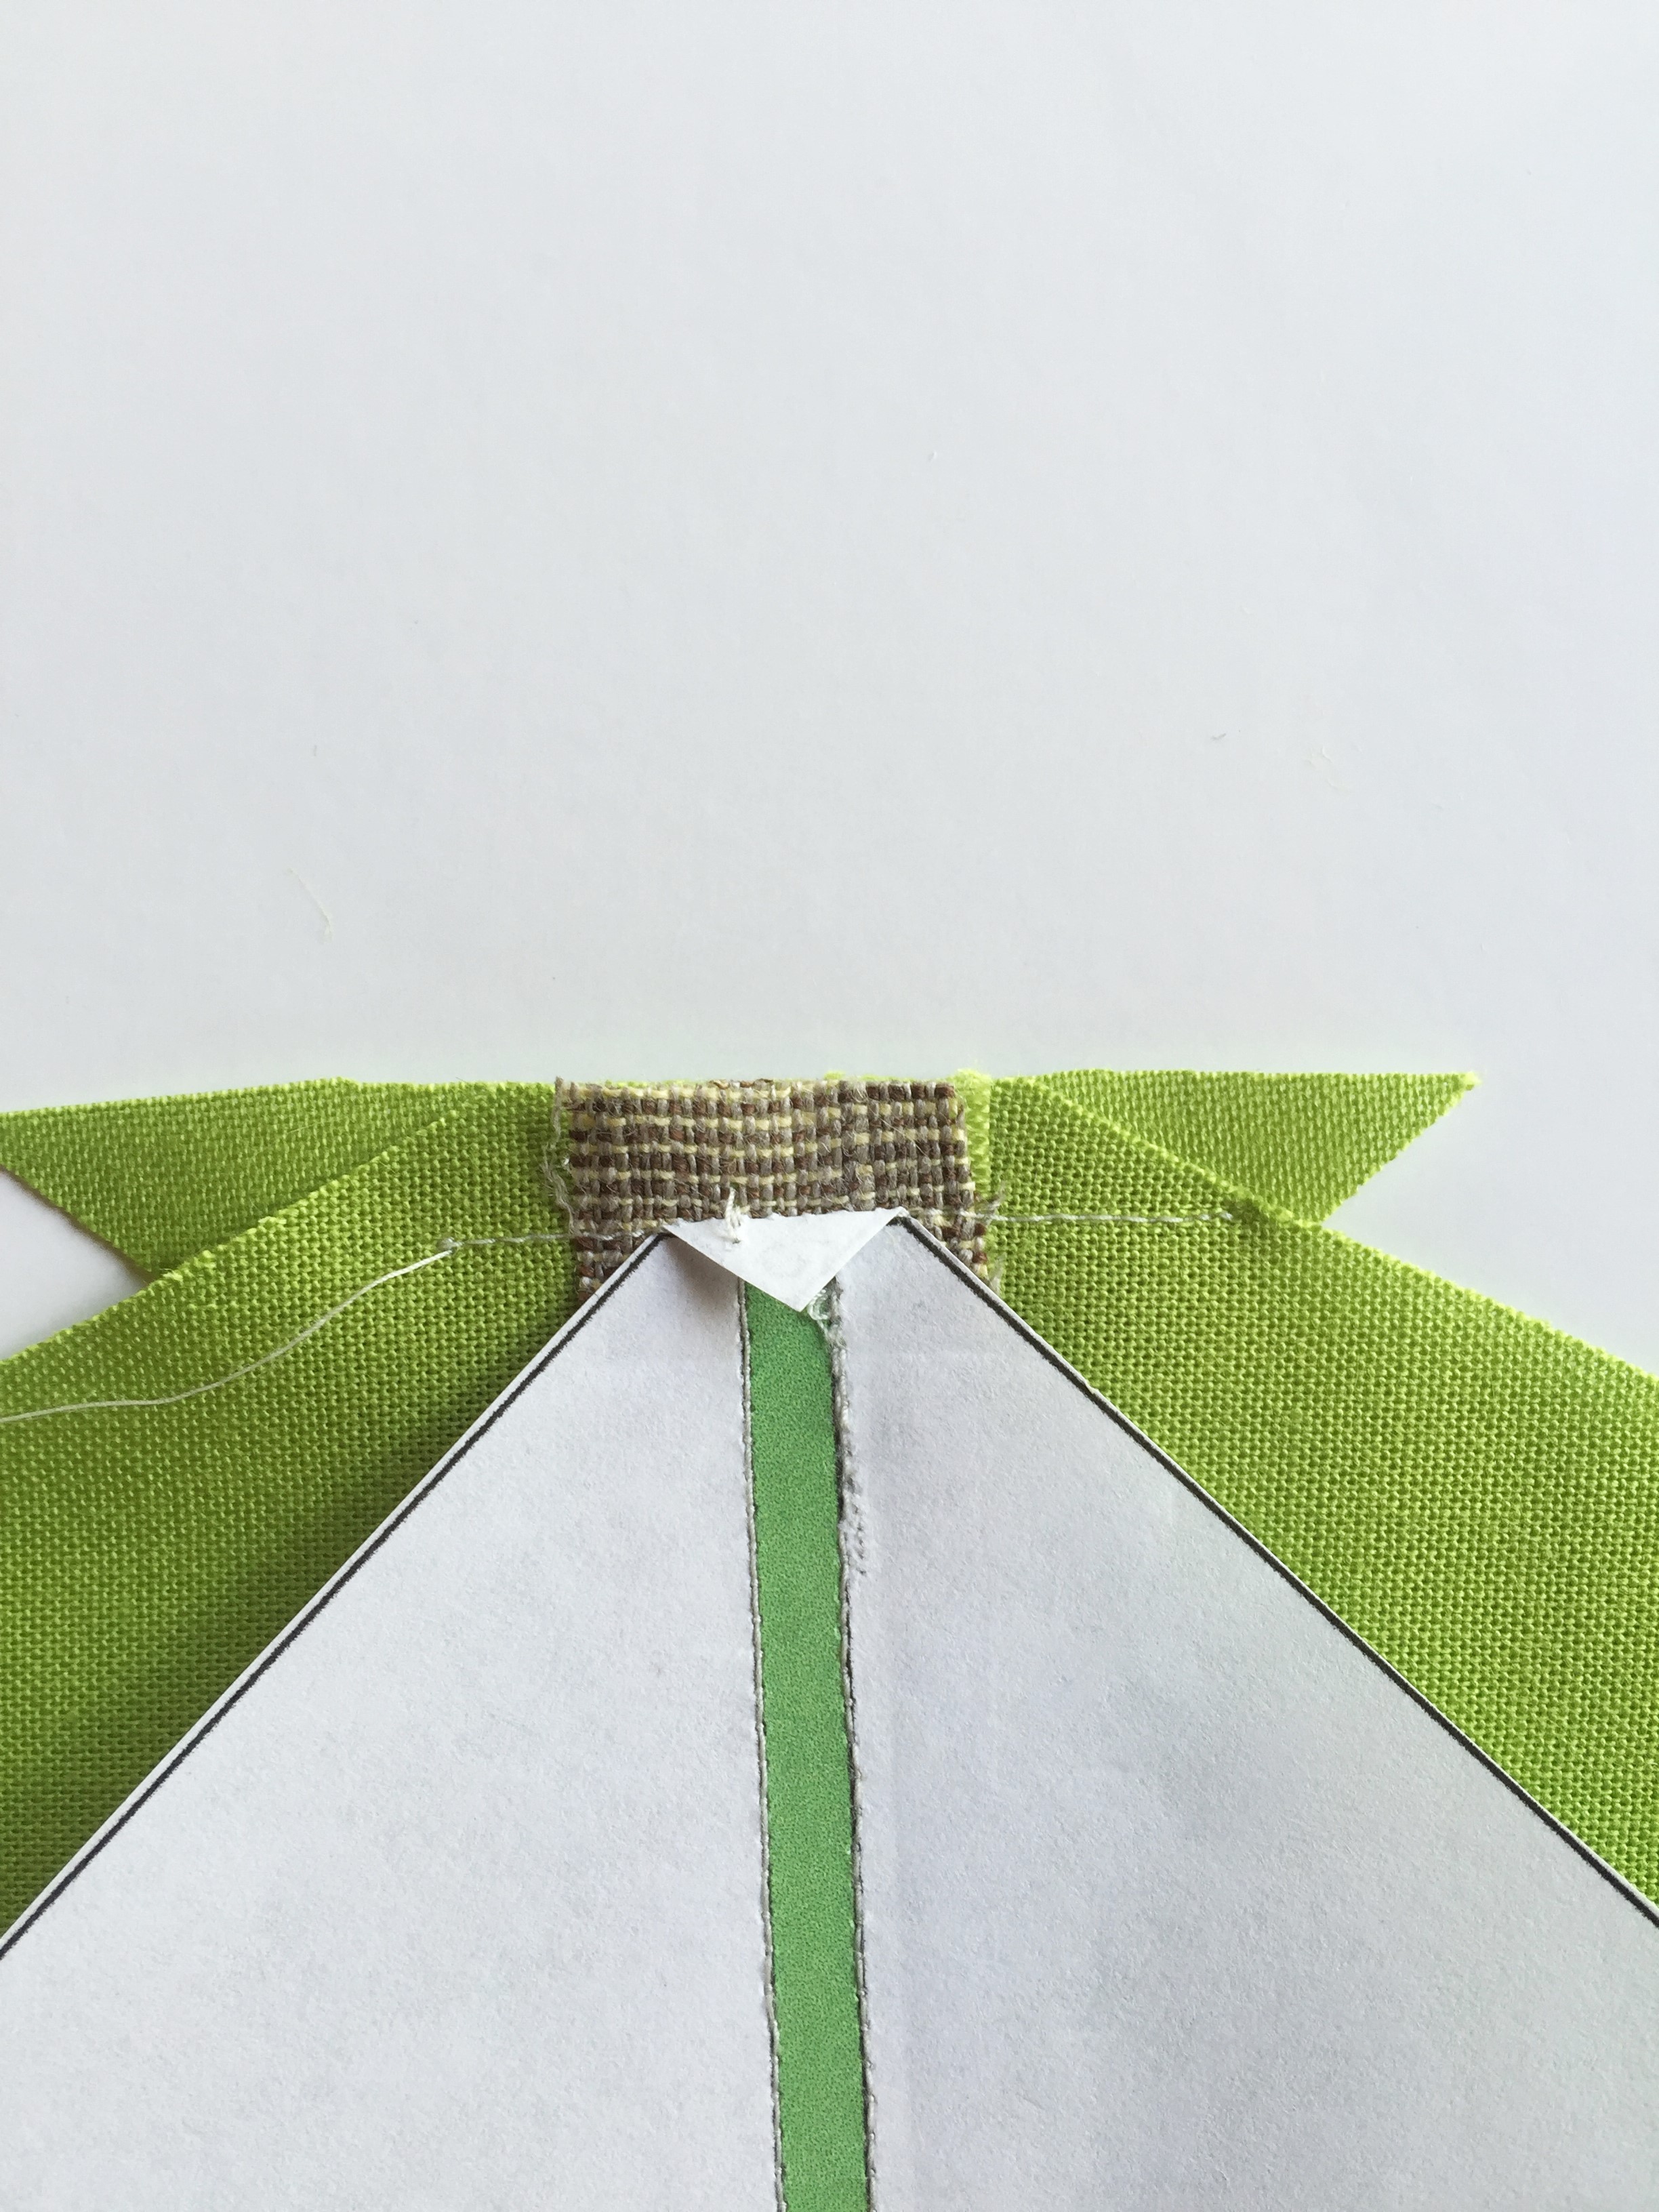
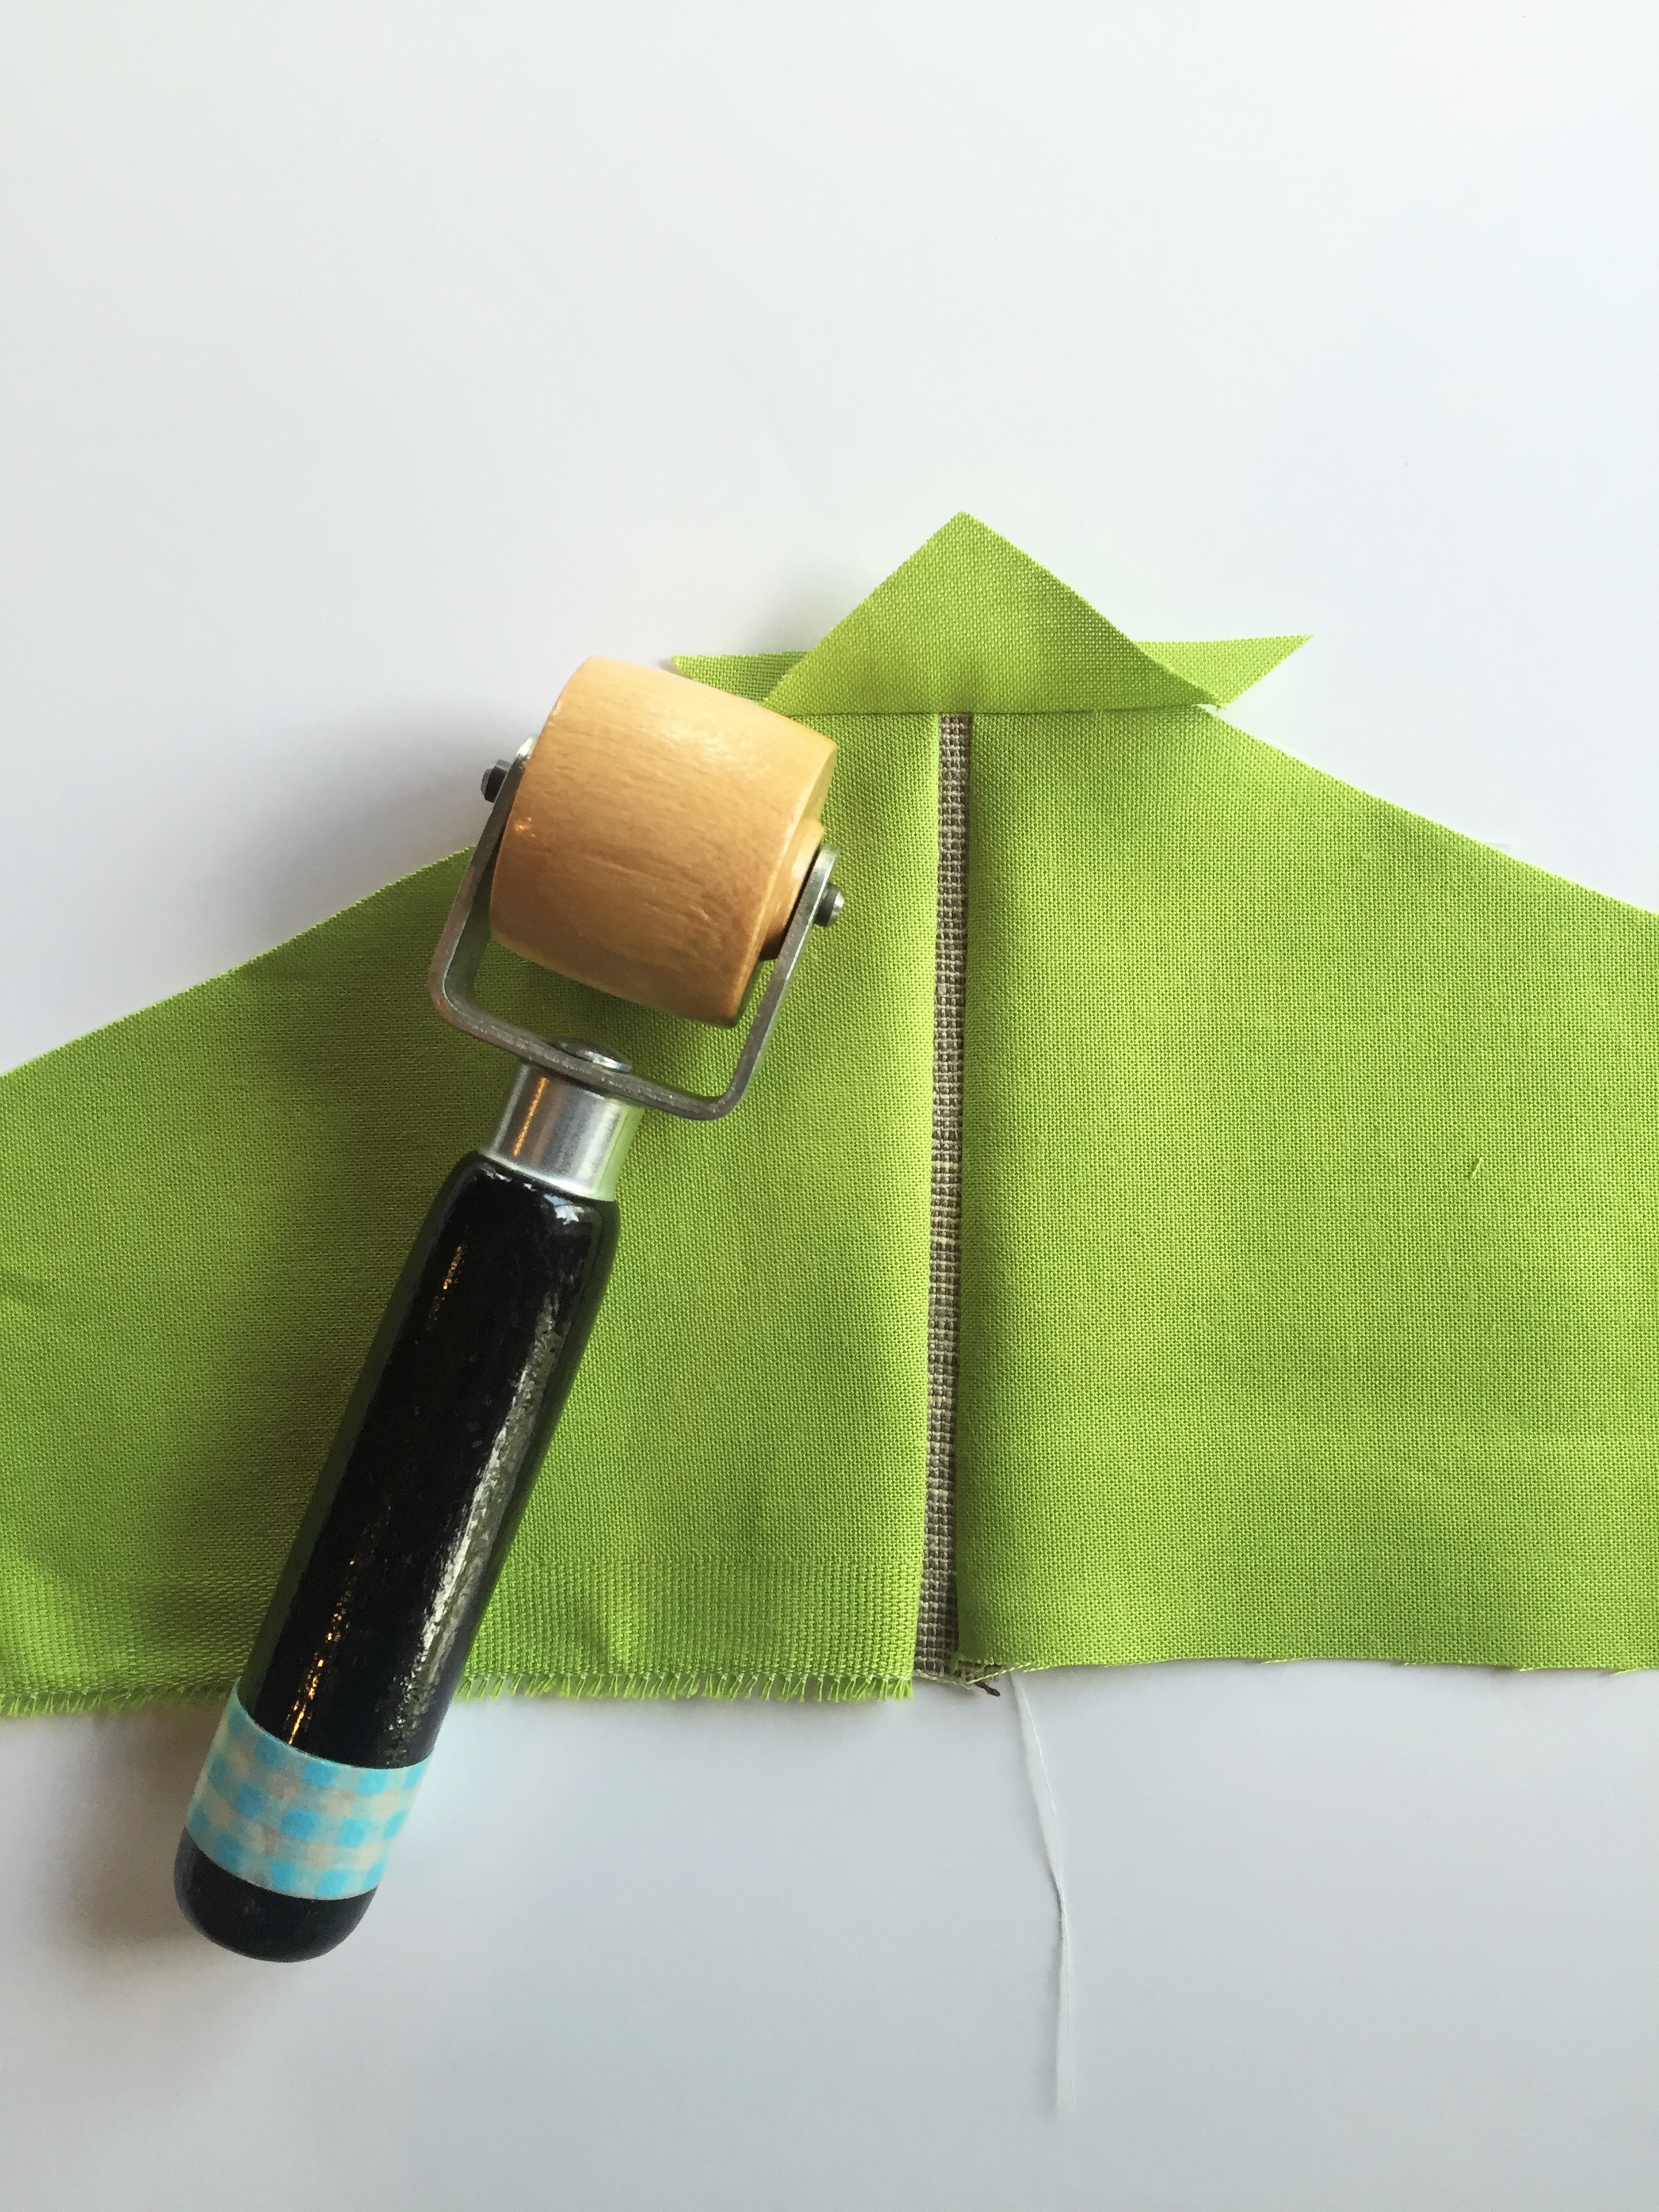
12. Fold the paper pattern flat and open the C4 fabric. Use the seam roller to crease the seam open.
13. Press section C with an iron and starch, then trim the fabric to 1/4″ past all the paper edges.

14. Follow the instructions outlined for section C to sew sections A and B.
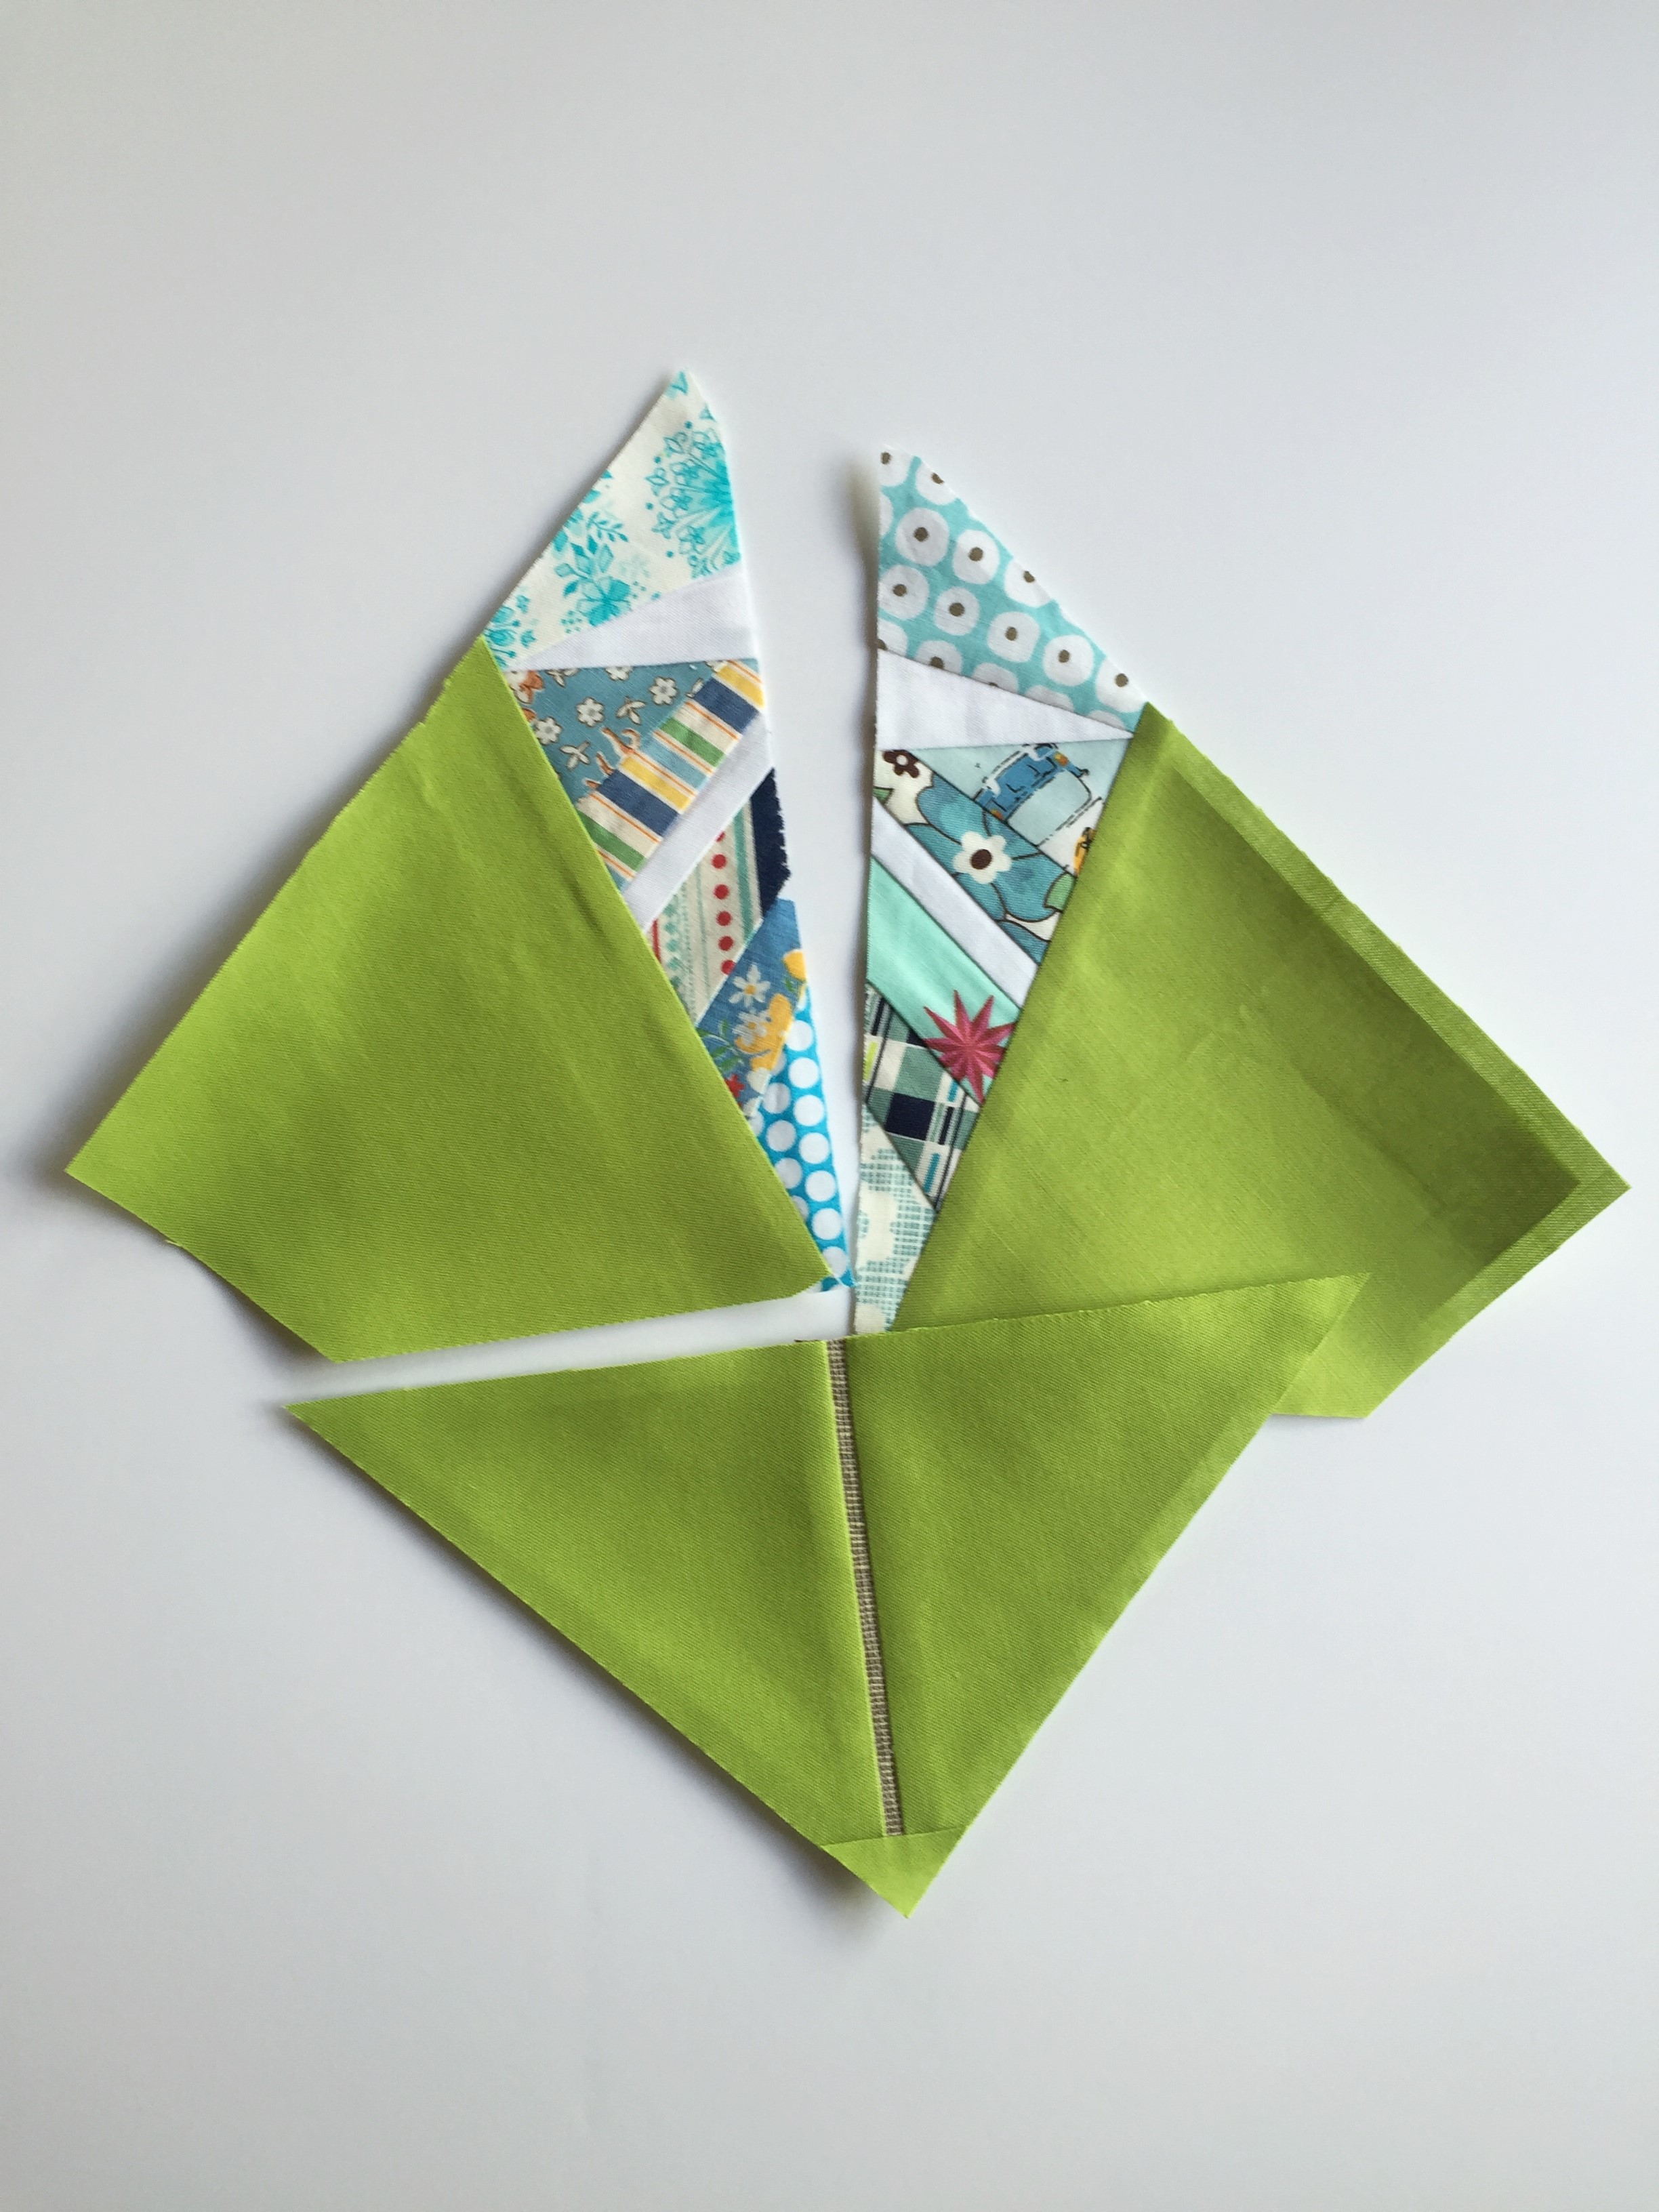
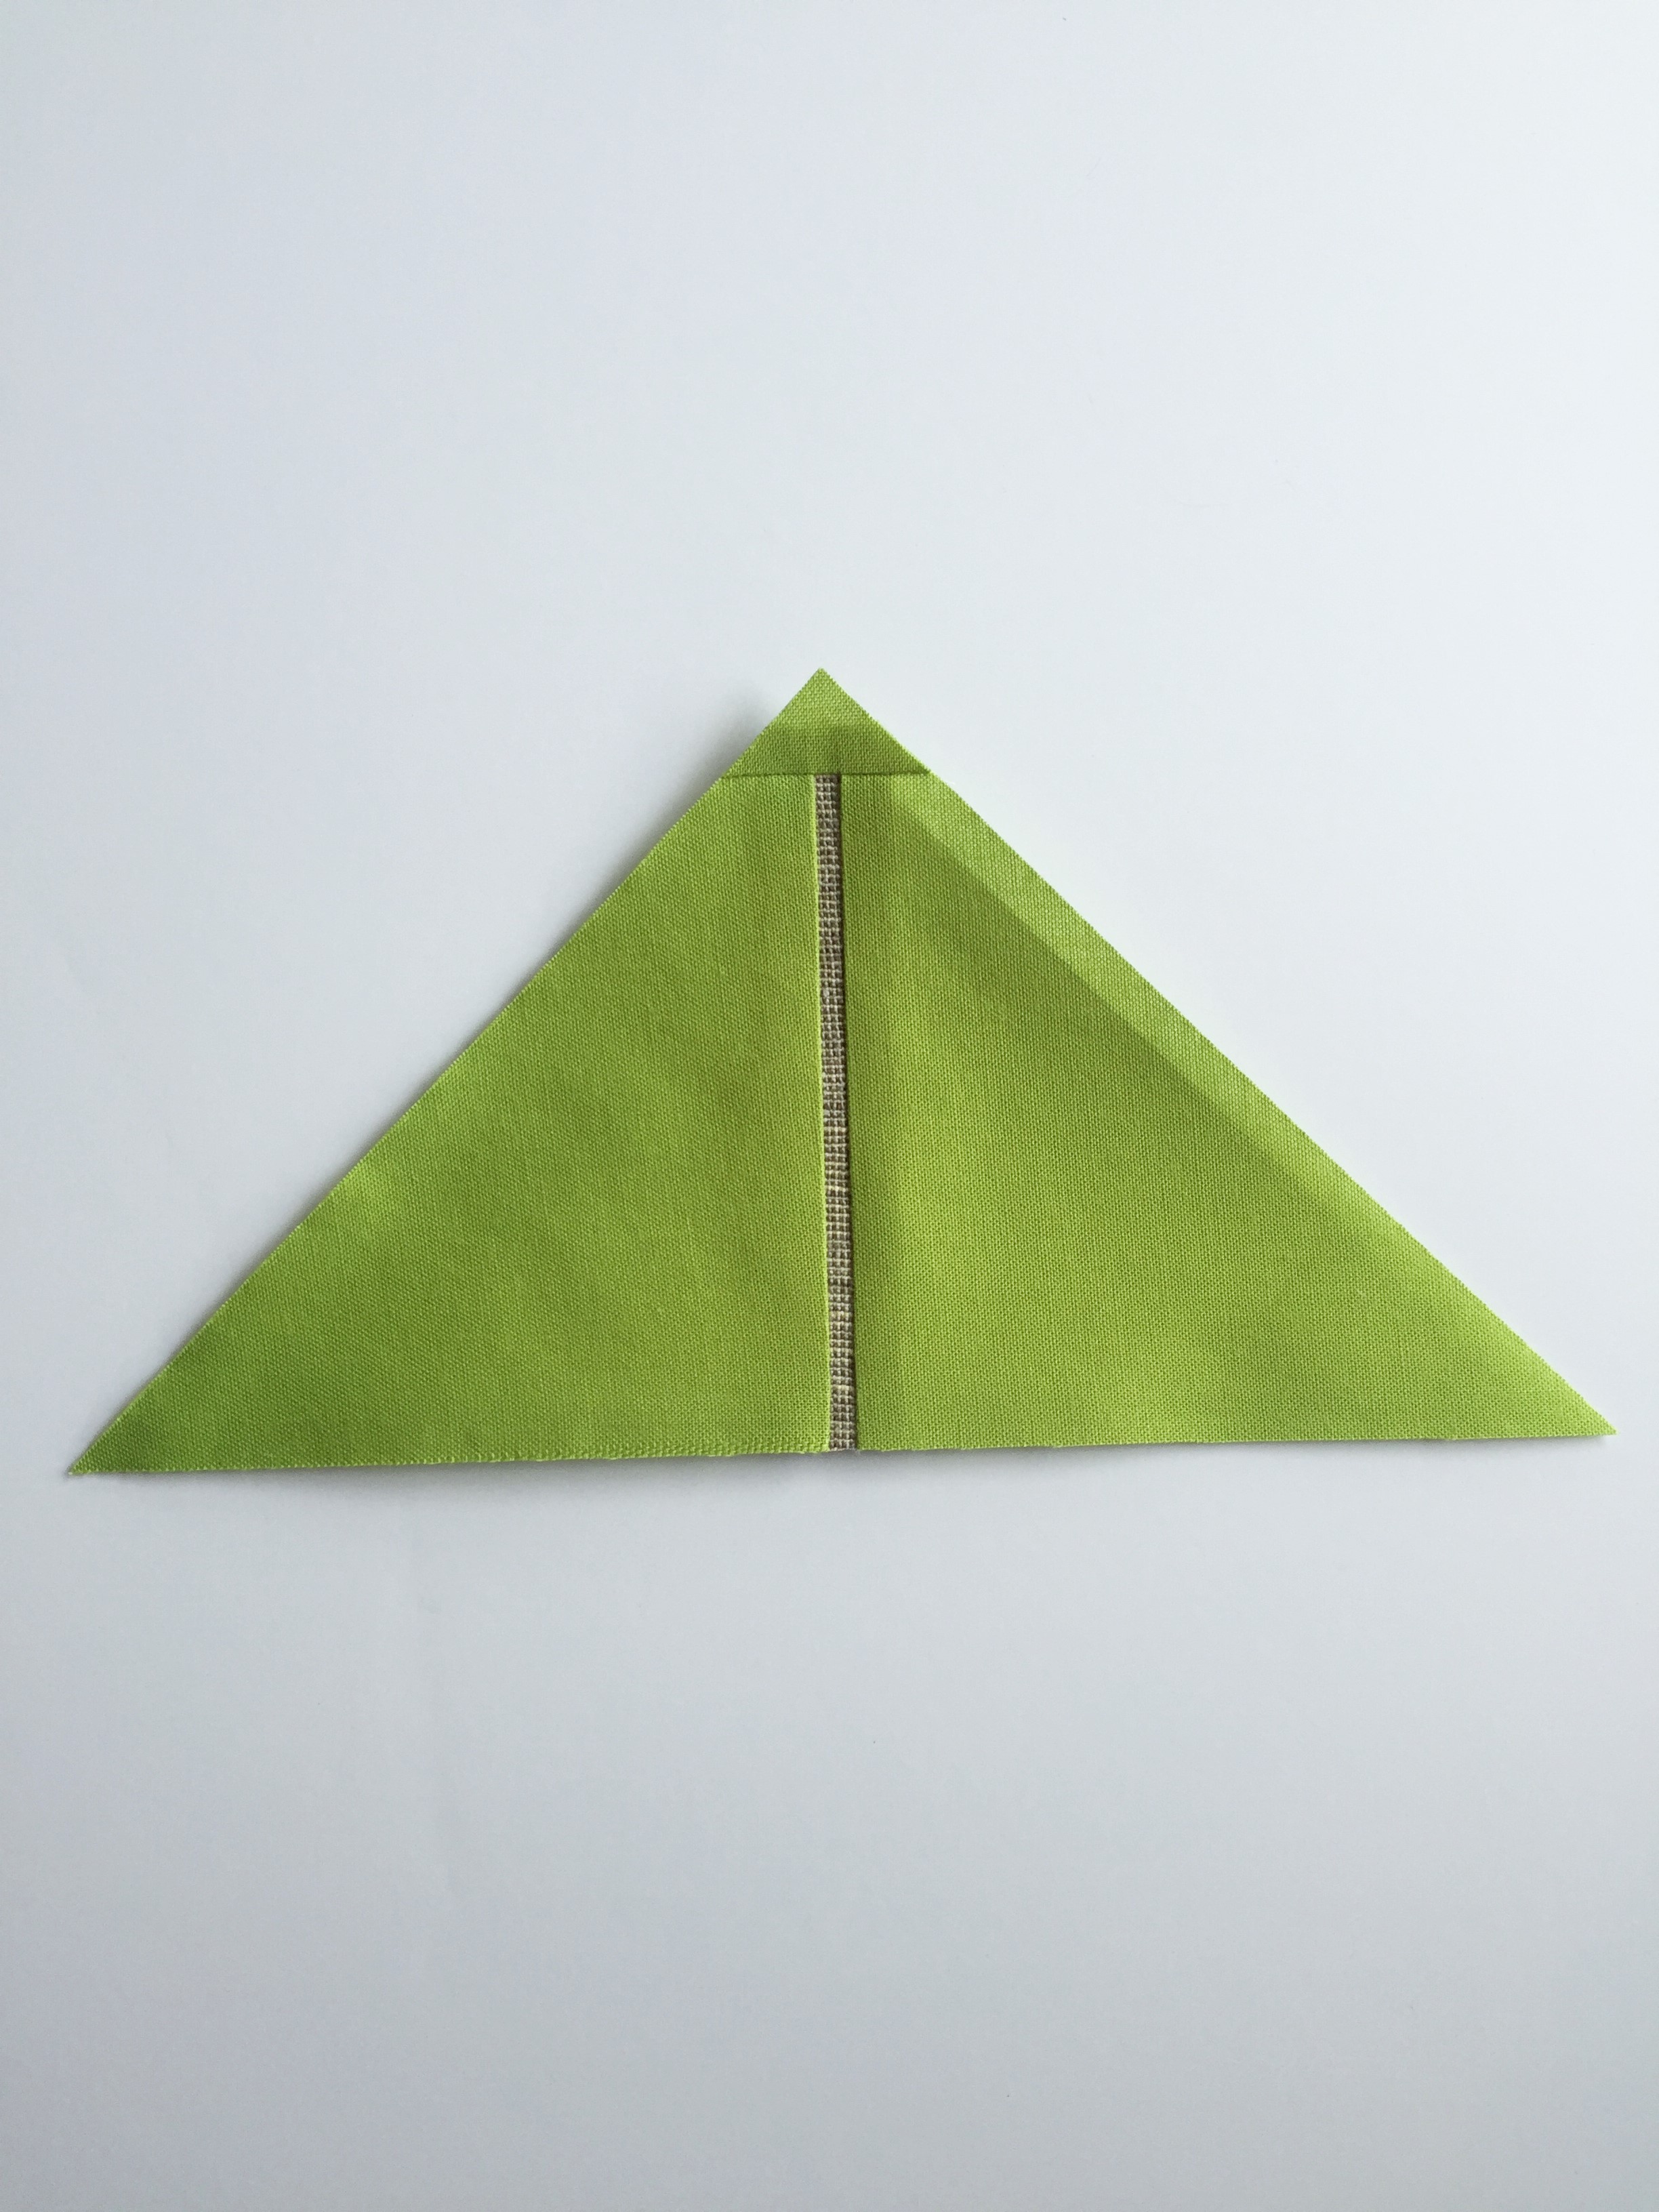
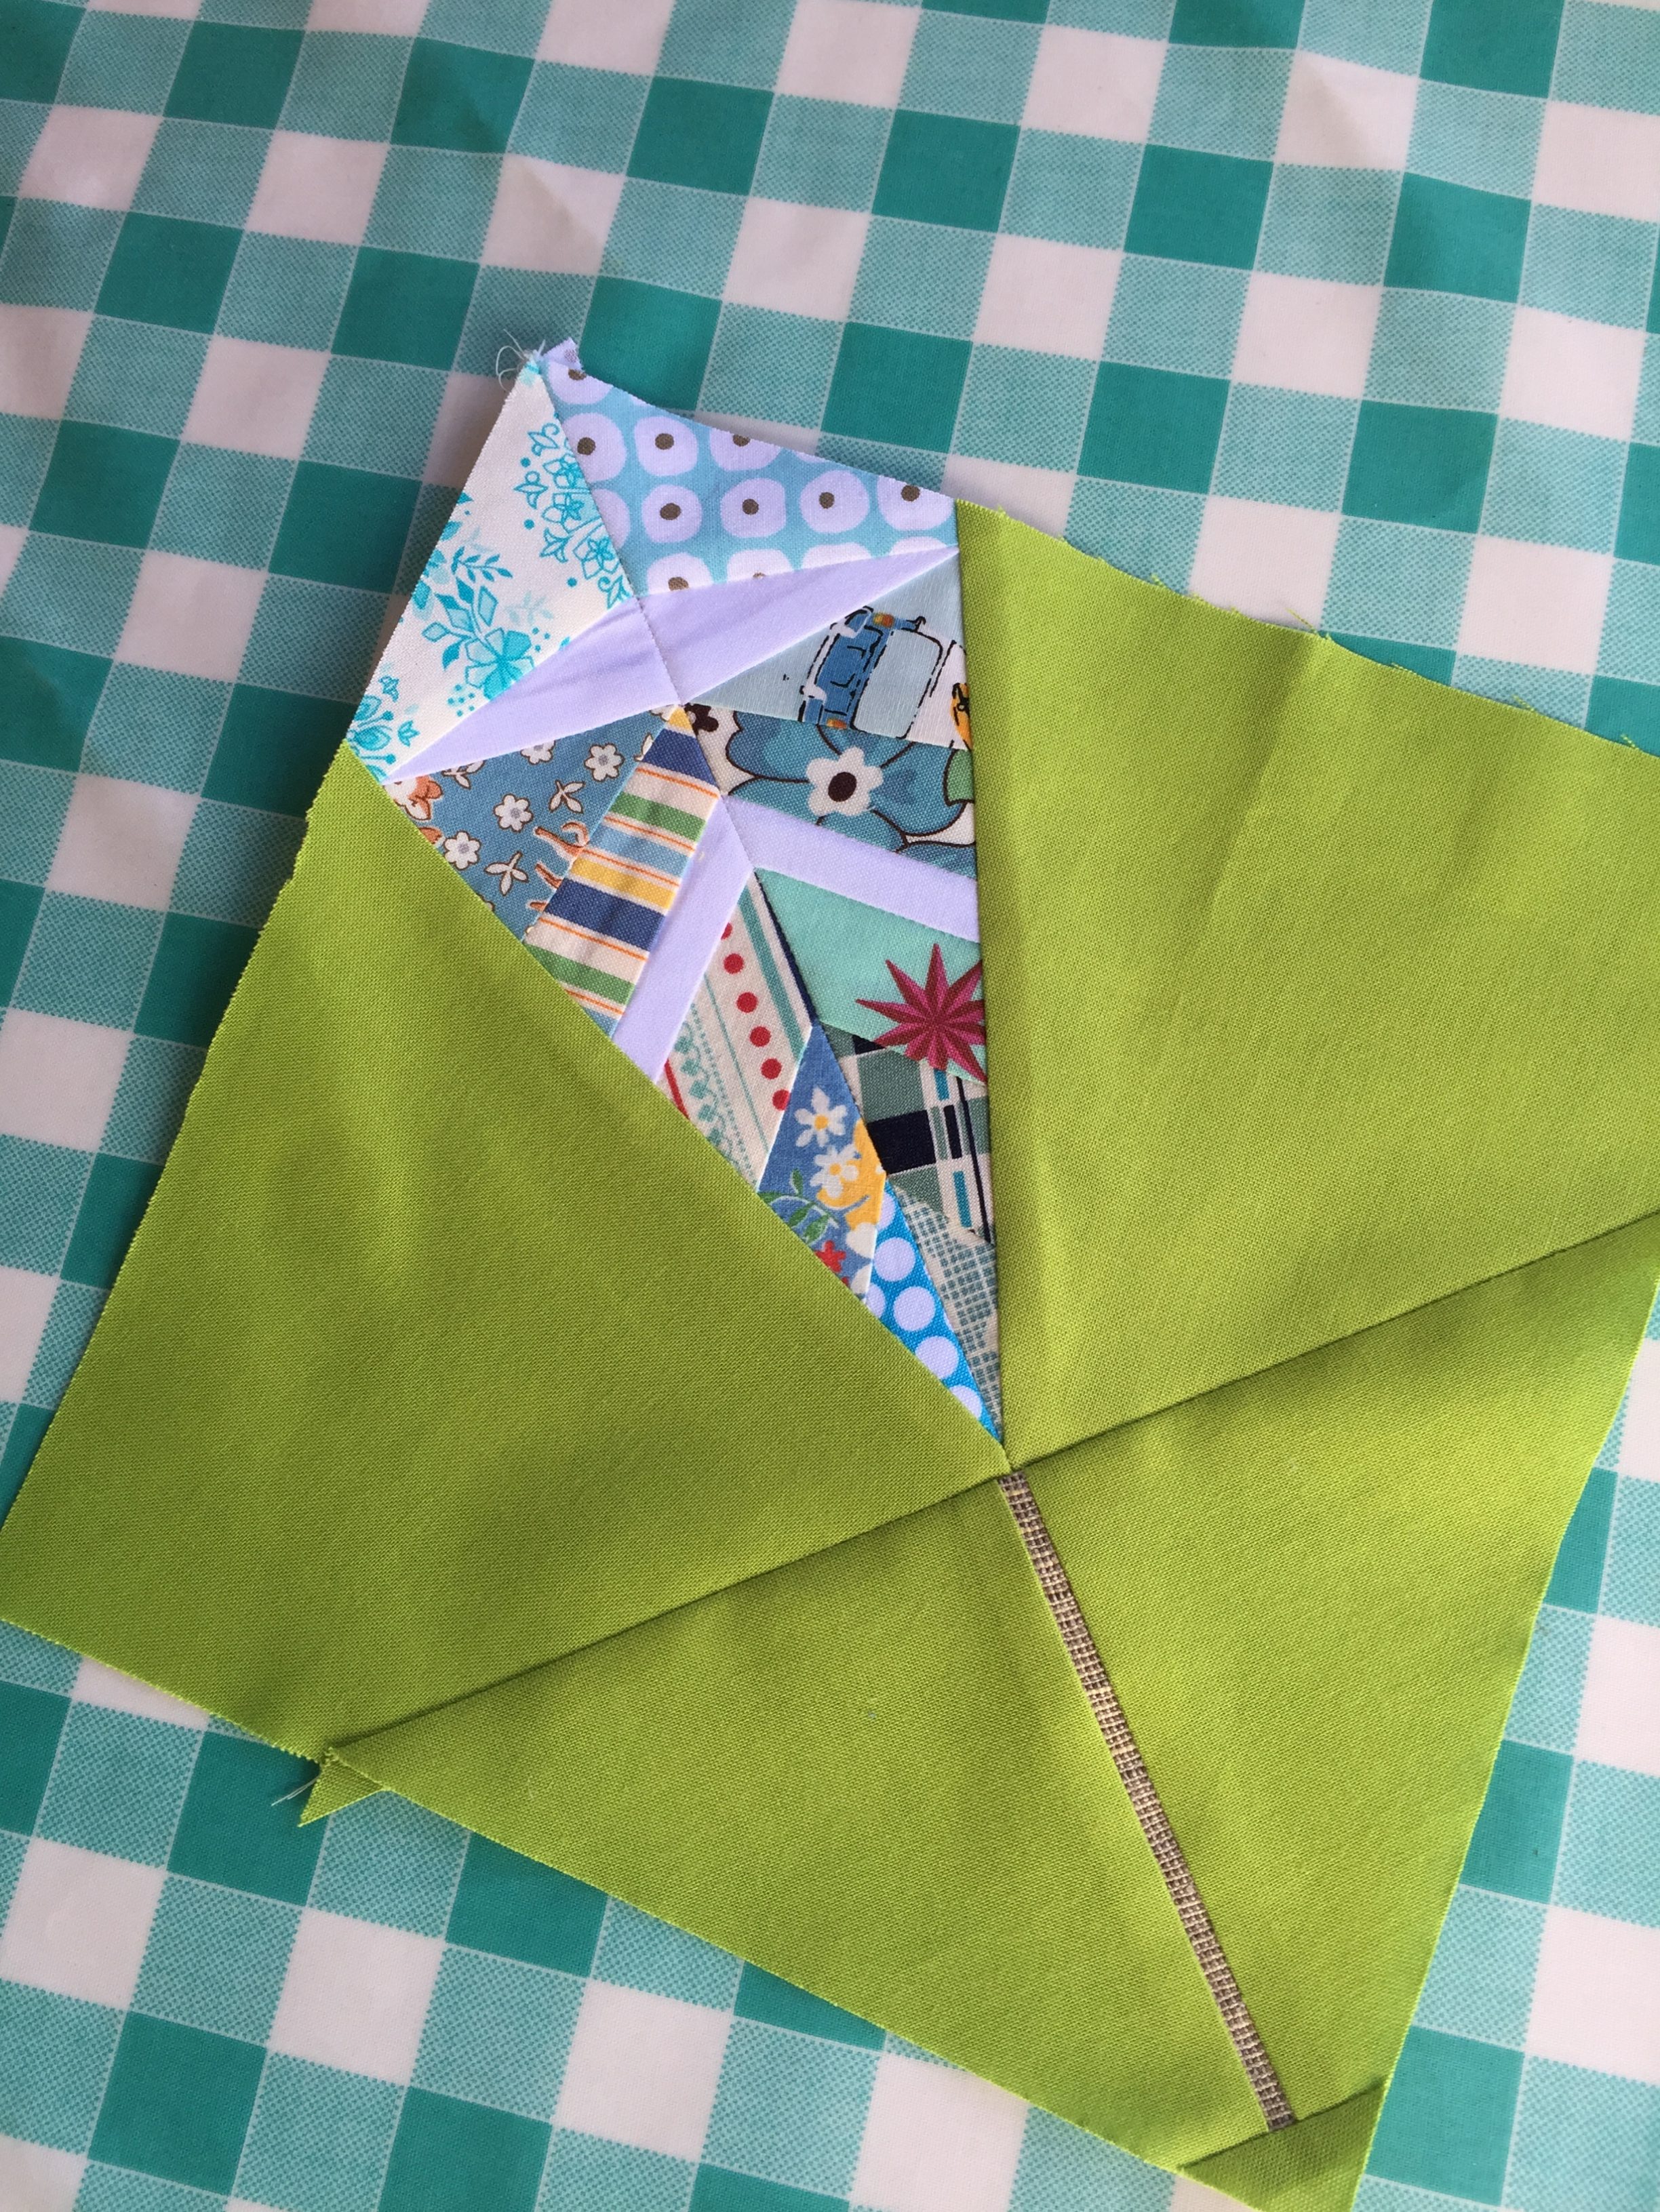
15. Sew section A to section B, matching up orange and magenta accent areas with fork pins.

16. Sew section C to AB, making sure the stem is centered with the middle seam from sewing AB together.
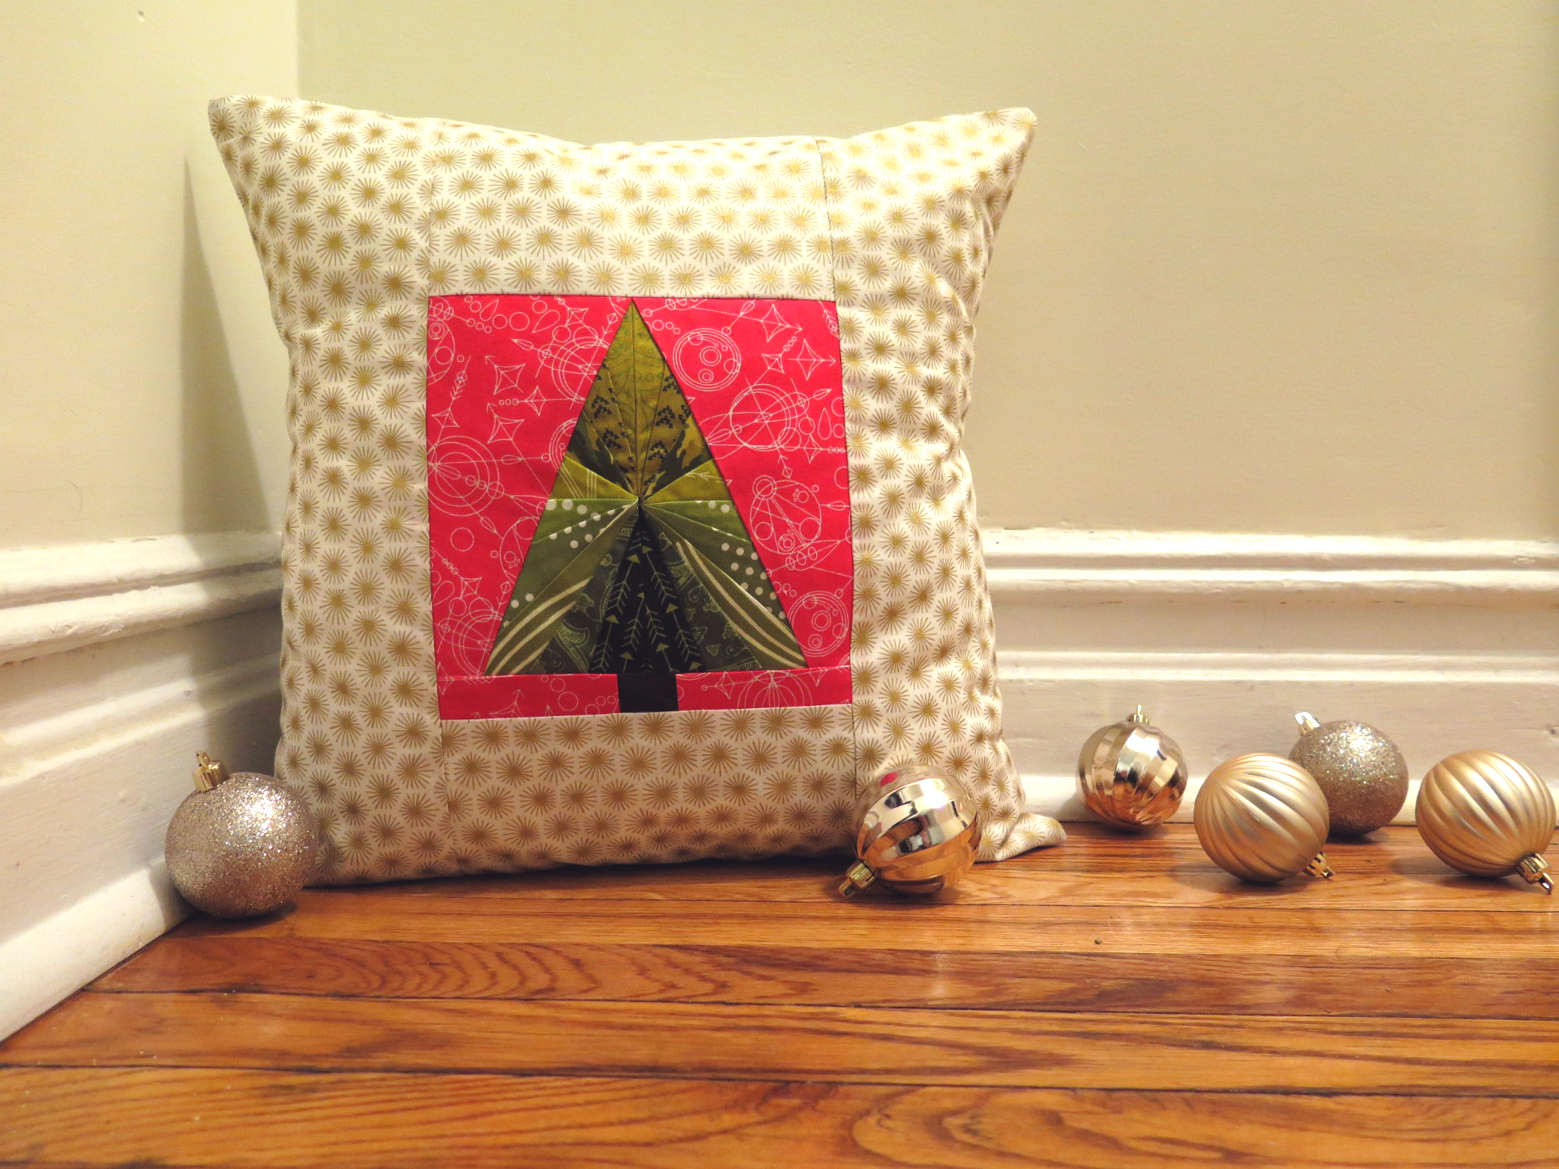
Sew the Scandinavian Leaf Quilt Top

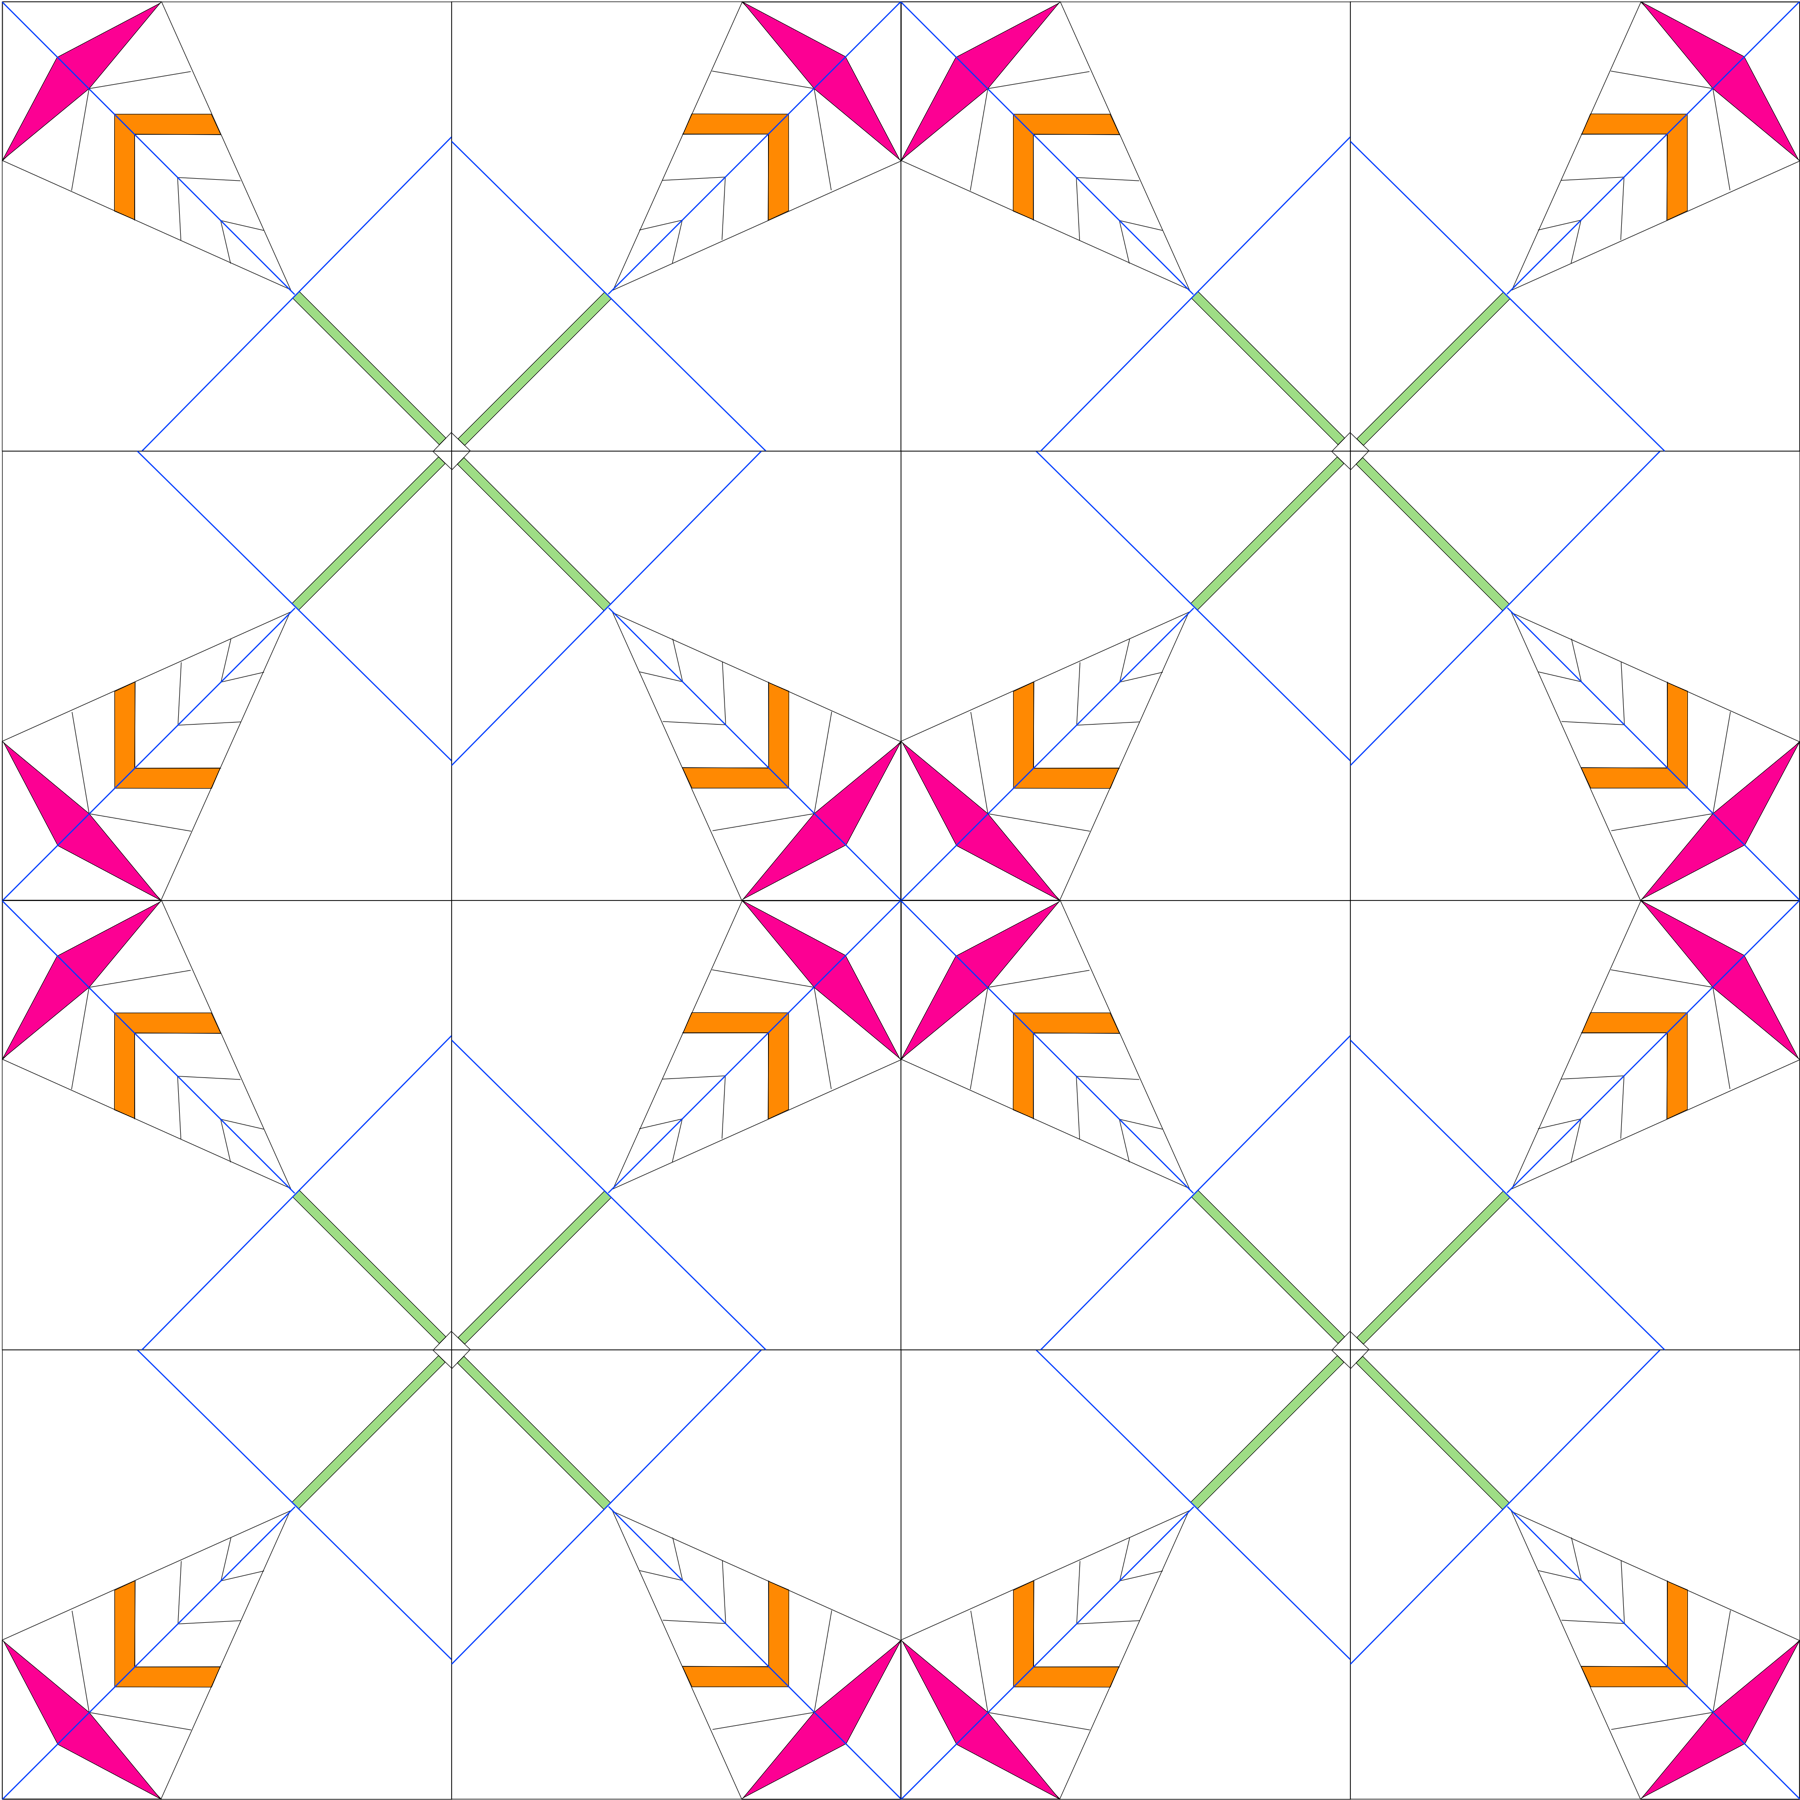
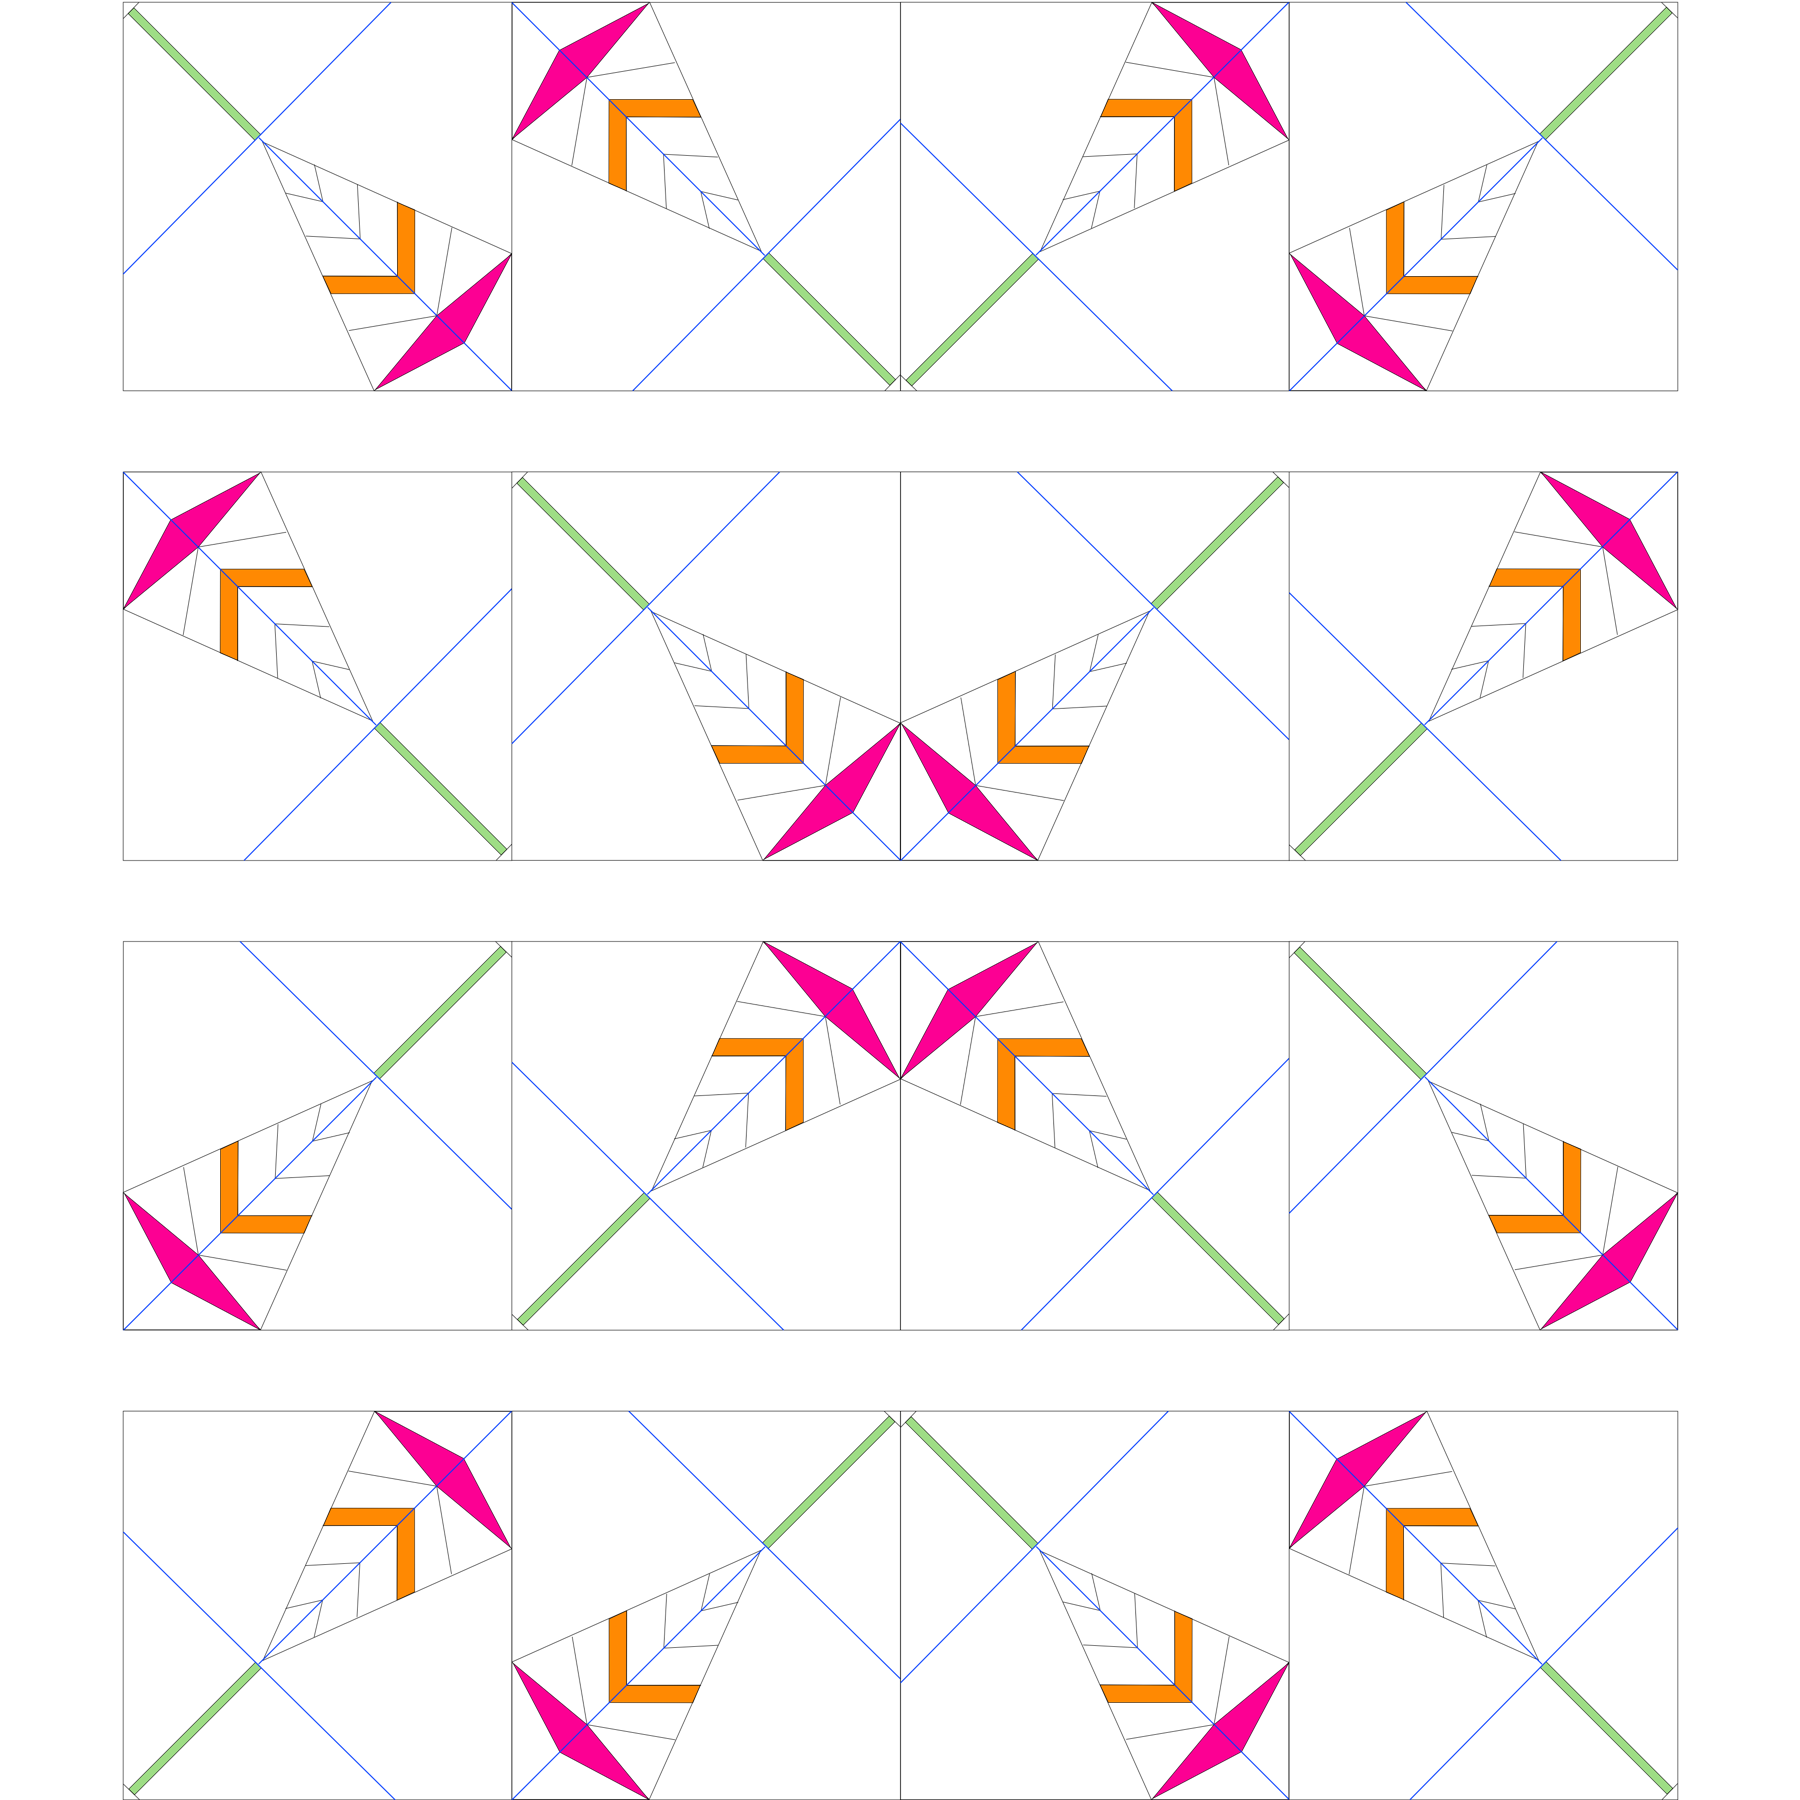
Once you have all 16 blocks made, you can either choose the layout I chose, or arrange them in a different way that suits you.
This is the layout I chose:

And here are two other possibilities:

Whichever layout you choose, sew your blocks together in rows first, then sew the rows together to make your quilt top.

Next, layer the backing right side down, then the batting, then the quilt top right side up and pin baste.

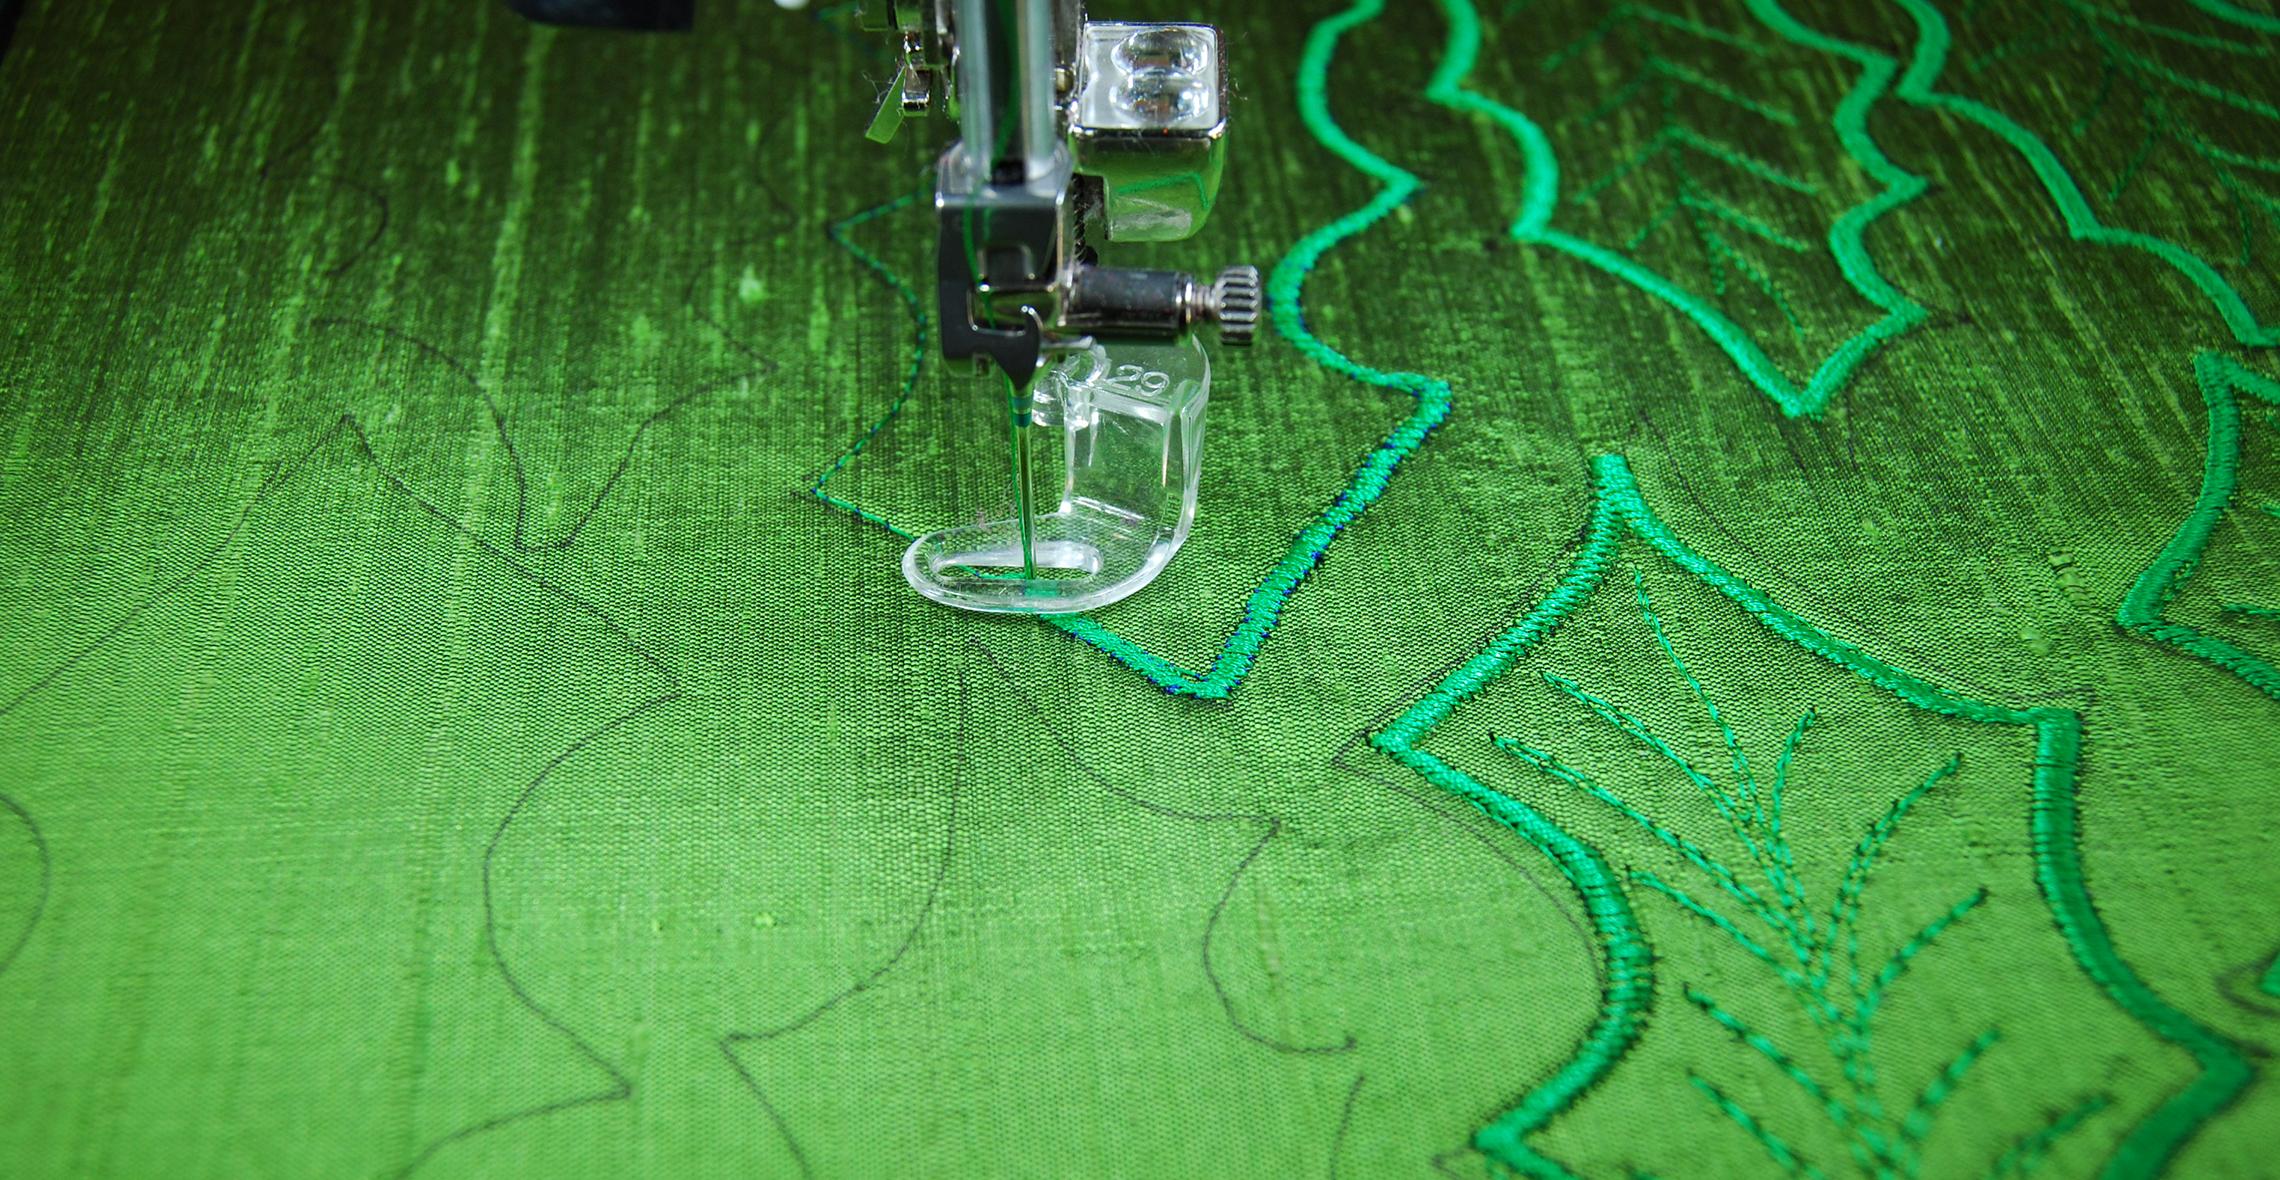
Choose your desired quilting pattern and quilt your quilt. Quite honestly, this is the part of quilting that I struggle with the most. It often takes me weeks to decide on a quilting design once I’ve basted a quilt.
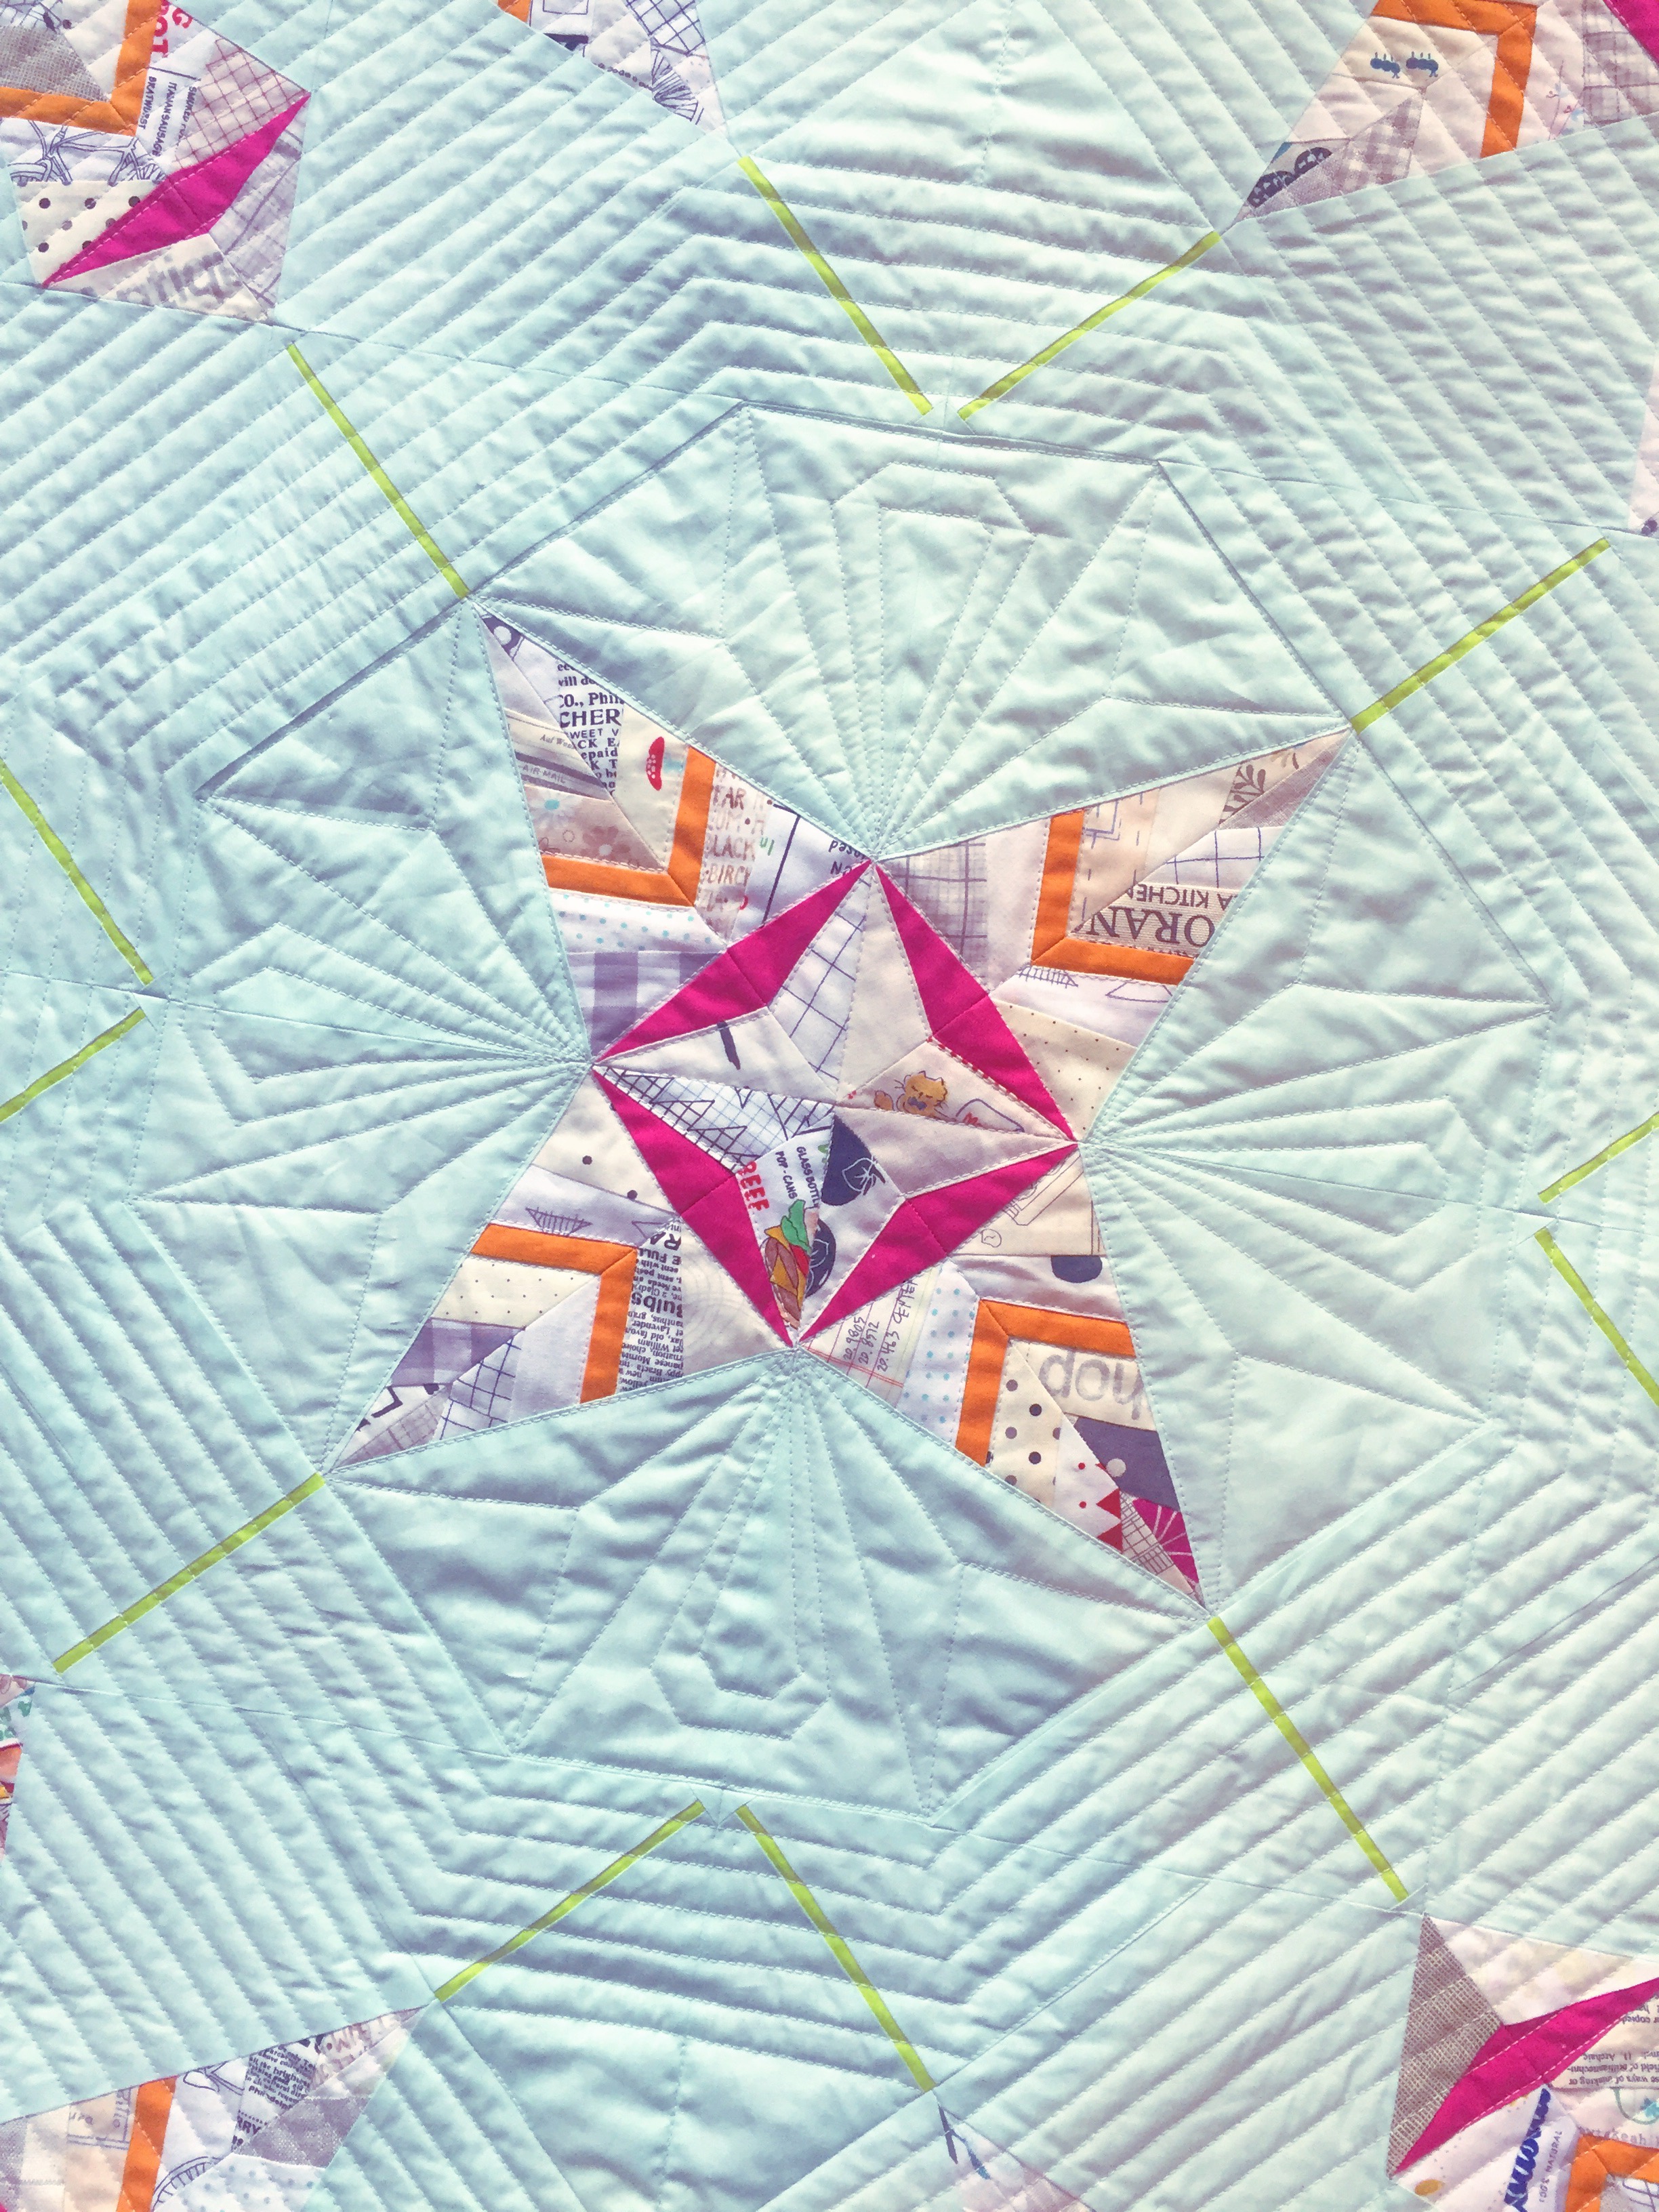
For this quilt, I started in the middle and outlined the orange and magenta accent pieces of the leaves, then moved outward and free motioned the secondary design around the center. I then started the straight line quilting around the center.
In the end, although quilting is not my strong suite, I am very pleased with how the quilting turned out and I’d love to see how you quilt your Scandinavian Leaf quilt!
Finish and Bind the Scandinavian Leaf Quilt
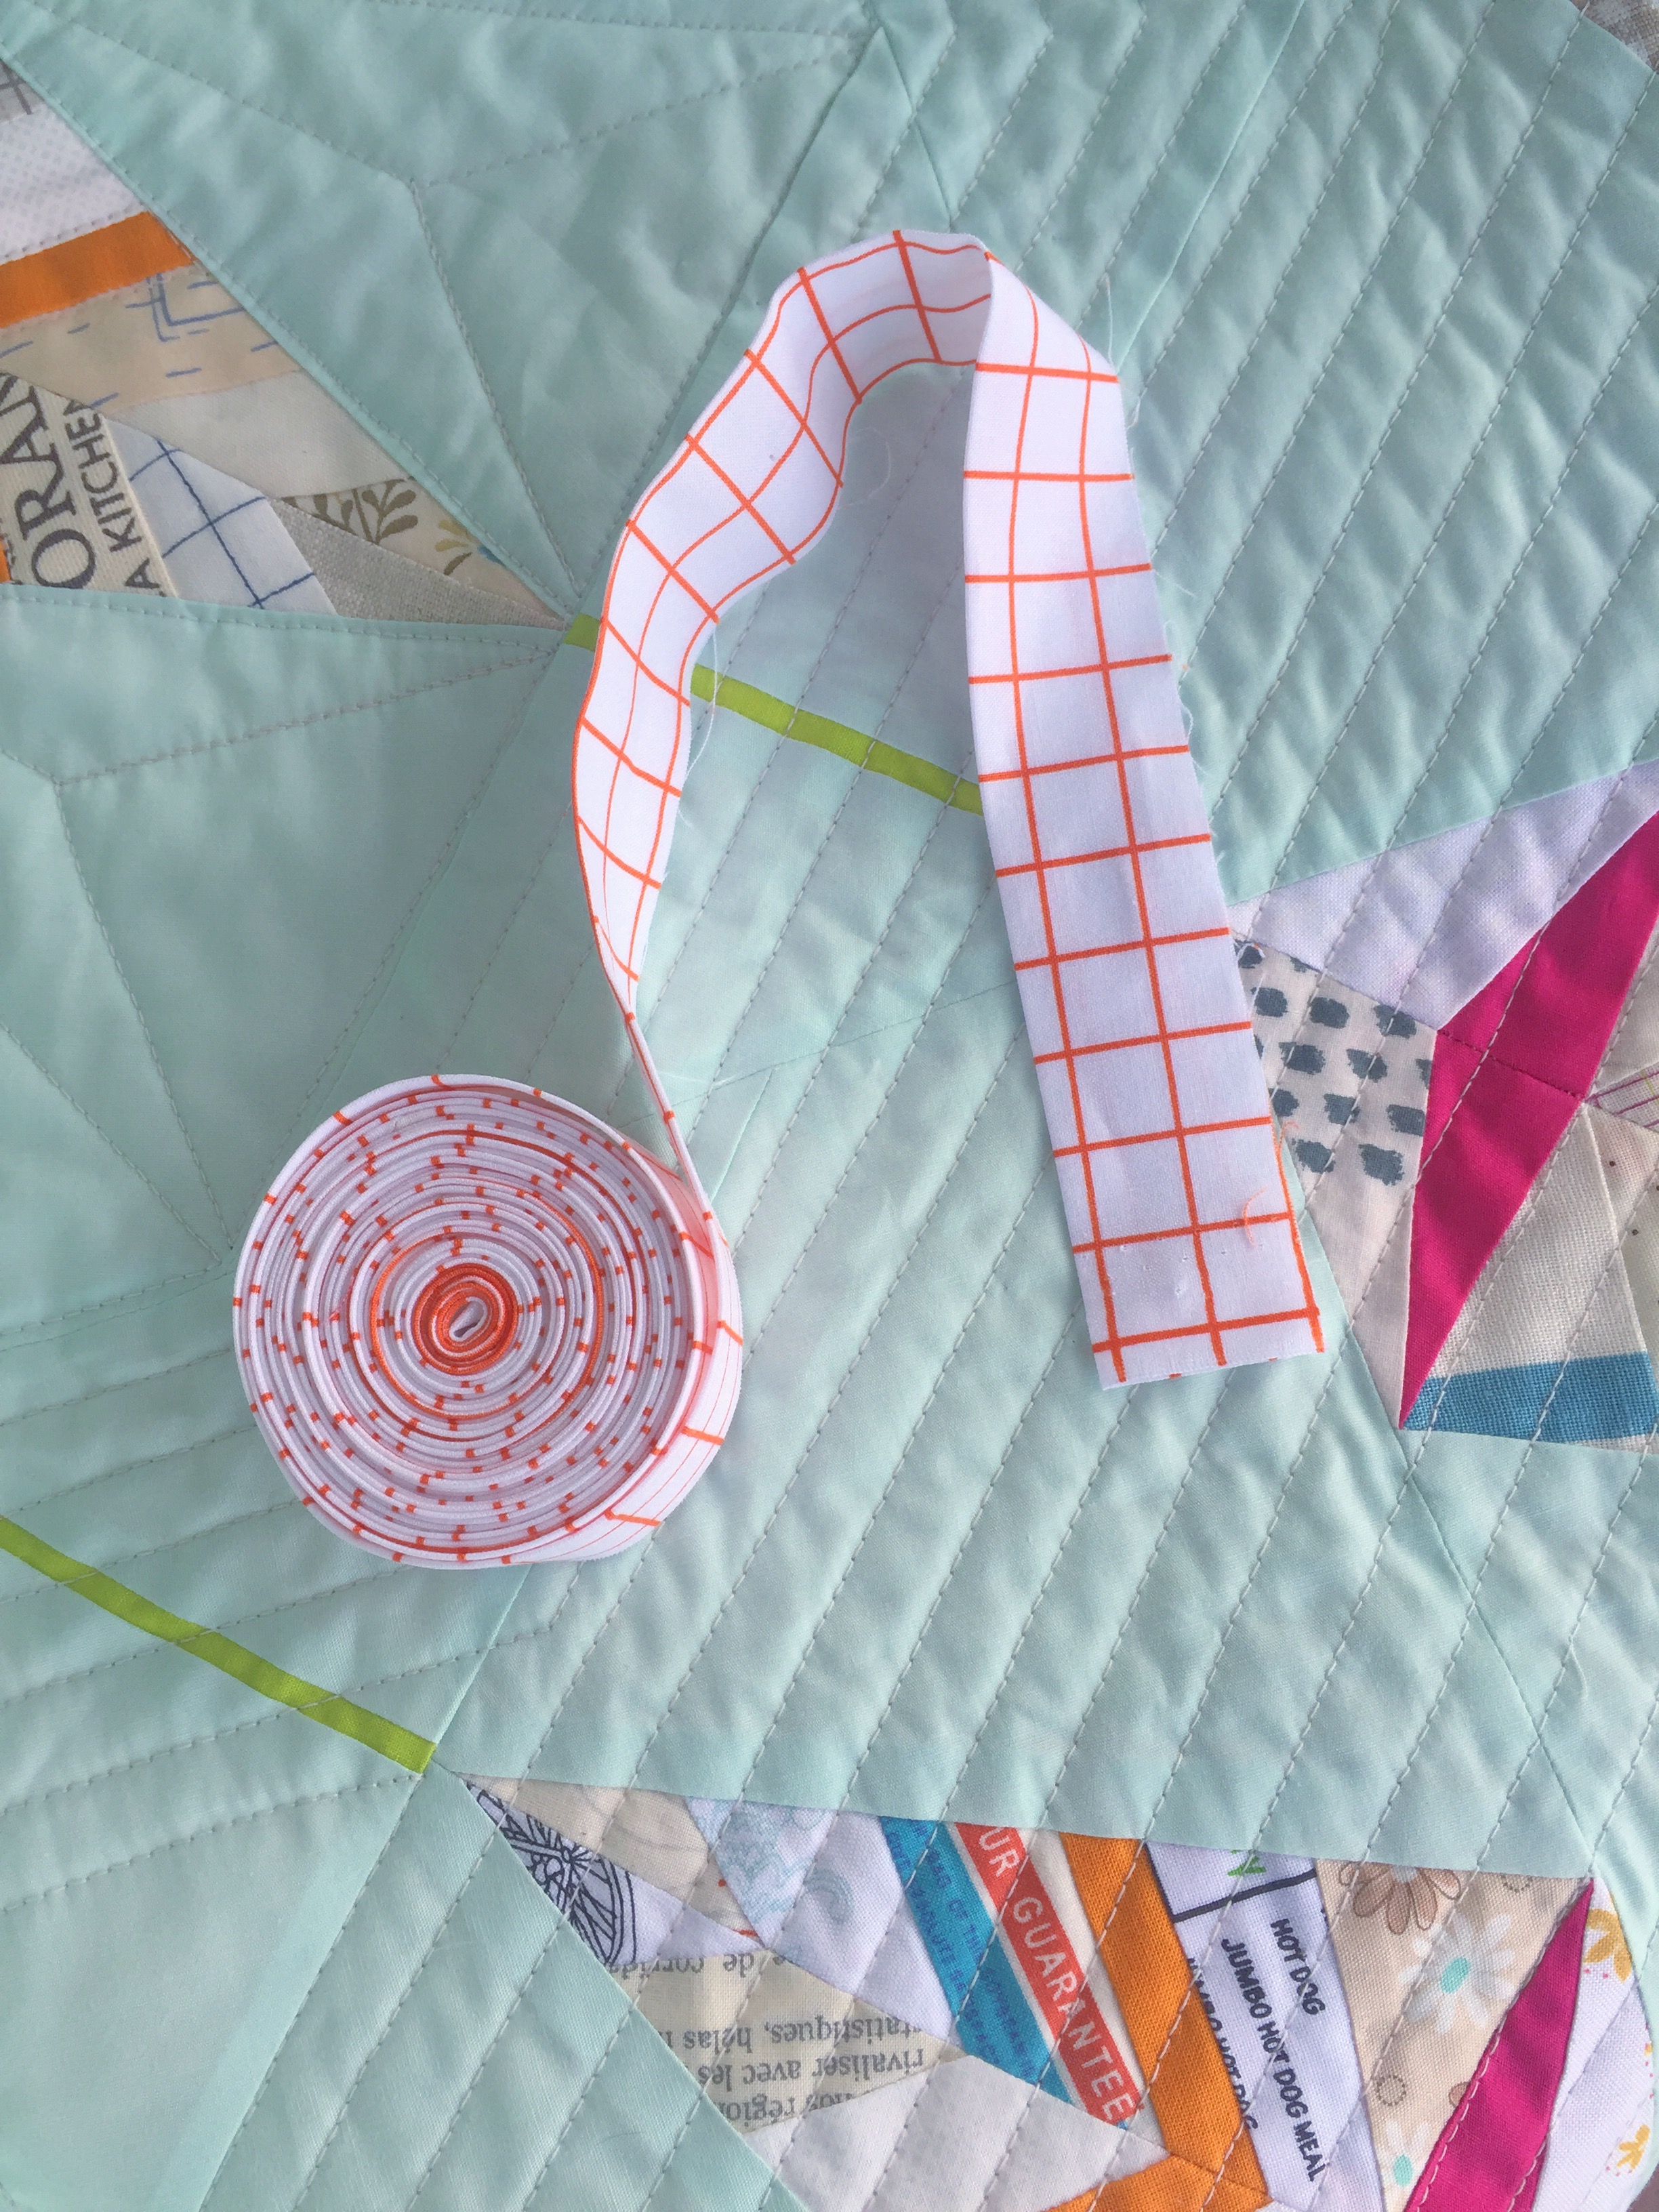
To bind your quilt, I recommend using The Binding Tool. Several people have shown me how to bind a quilt without it, however, none of their instructions stuck with me. When I found this tool, it stuck and I get perfect results every time.

You can find the directions for how to bind your quilt using The Binding Tool here.
As always, happy paperpiecing!
Penny
What you might also like


4 comments on “Paper Pieced Scandinavian Leaf”
-
-
Thank you! Yes! I can’t live without my binding tool! I’m happy to help!
-
-
Thanks! A great pattern, I have been wanting to learn to paper piece.
-
I love this pattern and printed it out. I’m in a block exchange and one person asked for leaves. This is just perfect! AND, that Penny designed it is even better ~ love her style!
Leave a Reply
You must be logged in to post a comment.

Oh, WOW! Thank you so much for sharing that binding tool tutorial! Wish I had that tool yesterday when I could not for the life of me remember how to join the ends of my quilt binding! Your Scandinavian Leaves quilt is lovely.