Perfect Embroidery Placement
I love using my BERNINA Embroidery Software 6 to plan my embroidery projects. It’s so easy to audition designs and make sure everything stitches right where I want it. Follow the steps below to see how I planned the layout for this jacket.
I started by photographing the front of my jacket, where the embroidery would be stitched.

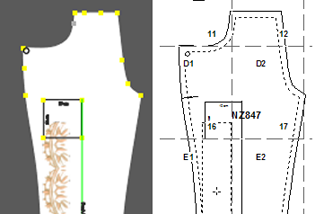
I opened my software and selected the Art Canvas tab, then used the Load Picture tool to place my jacket photo on the screen.

Then I selected the Embroidery Canvas tool to move the jacket to the embroidery screen. I used the Measurement Tool to check the size of the photo on the software screen against the jacket measurements. I resized the image on the screen until the measurements in the software approximately matched the measurements of the actual jacket.


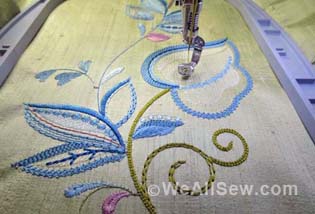
I imported the designs I wanted and previewed them directly “on” my jacket, rescaling, rotating and adjusting until I had a layout I liked.

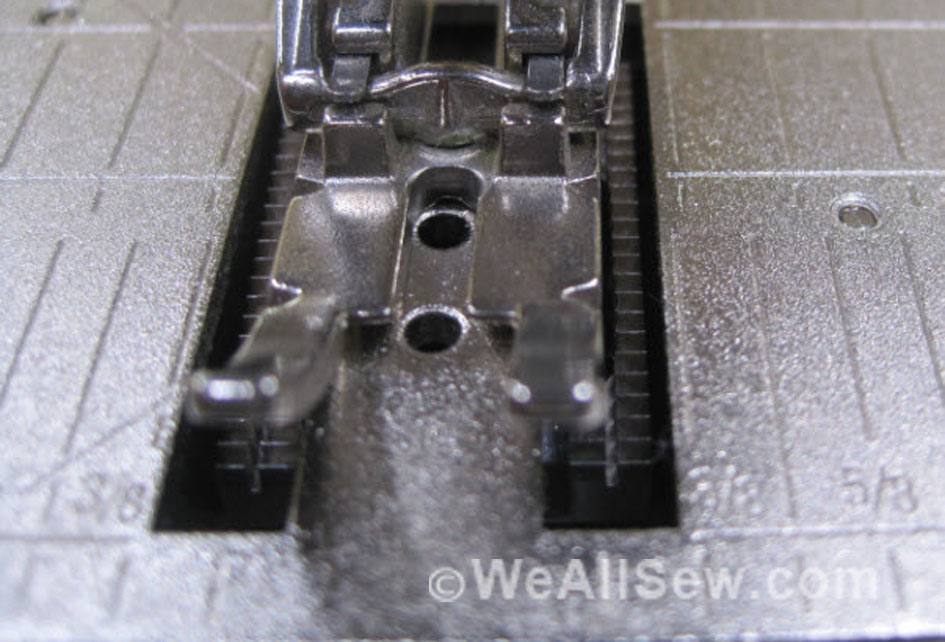
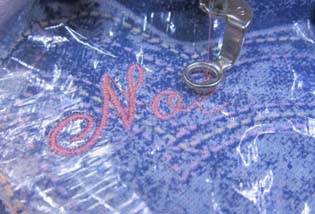
I saved the designs to be embroidered, and used my software to print templates. All that remained was to pin the templates in place, hoop, and embroider.

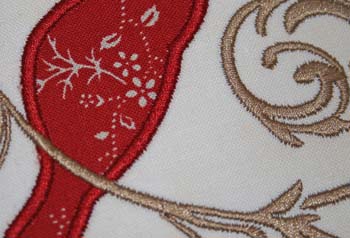
Amazing! It is hard to tell the difference between the image of the jacket in the software, and the finished jacket below!

3-template & 4 – Jacket done