Pillow-Making Tips
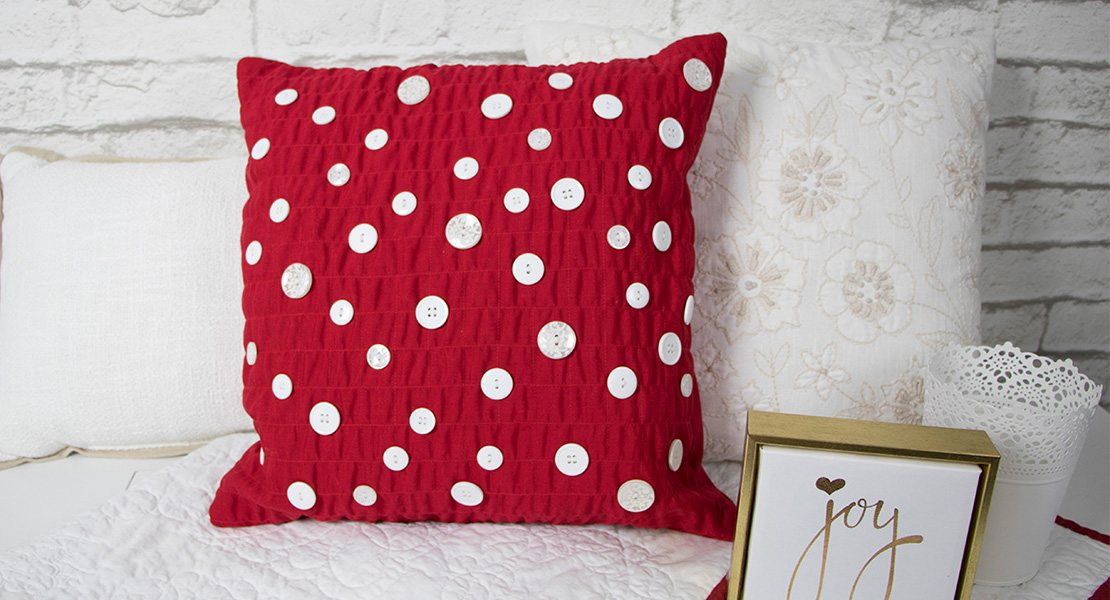
What to do with all those large print fat quarters in your stash? If you cut them into little pieces you lose the pretty picture, so why not use them for little ornamental pillows? The two shown here are 12″ and 10″ squares, covered in fabrics from the Flower Show II collection by Benartex Studios. Each one used three fat quarters—one large print for the front, and two coordinating prints for the back and the piping along the edge.
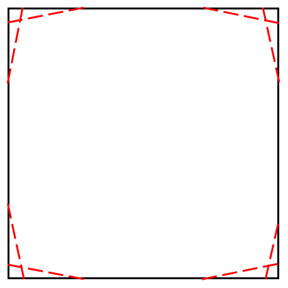
A pillow cover is just two squares of fabric, right? Well, not quite. Have you ever noticed how pointy the corners of some pillows are? That’s because there’s extra fabric at the corners that forms a “dog ear.” To see why, measure a pillow from corner to corner. Then measure from side to side, over the center of the pillow. My little pillow measures 10″ from corner to corner, but 11″ from side to side. To counteract this, I cut a bit off each corner as shown in the illustration. The amount depends on the size and fullness of the pillow, but I usually start with 1/2″ at the corner, tapering to nothing about 3″ toward the center. You can see in the photos that my corners are pretty close to square rather than pointy.
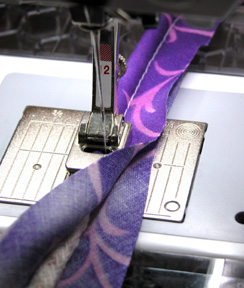
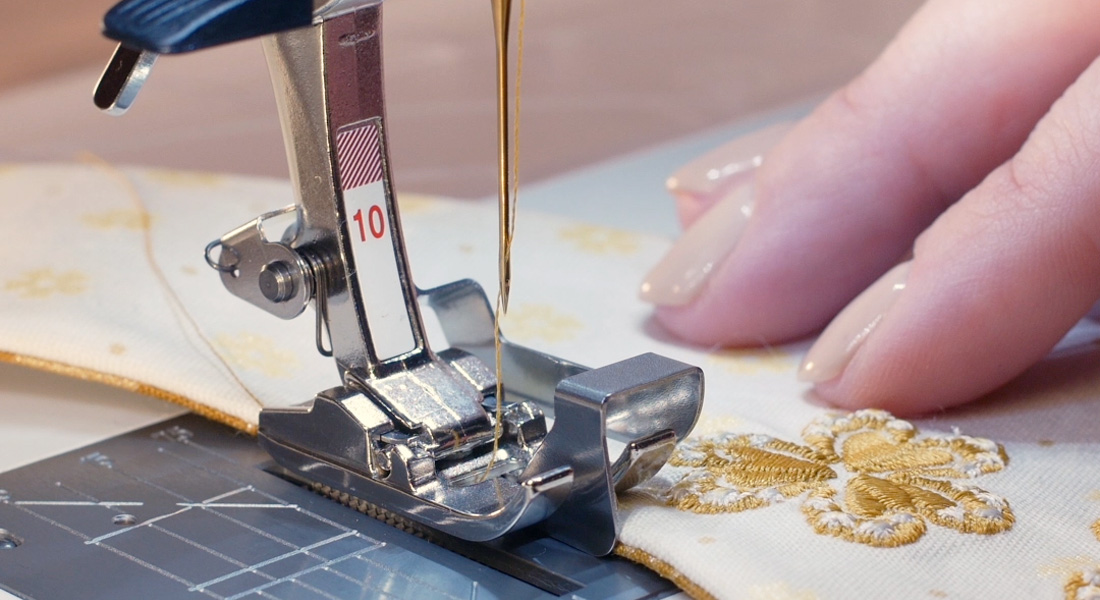
Except for joining the bias strips together, I made these pillows using just one presser foot: Bulky Overlock Foot #12. Designed for stitching sweater knits, it’s also great for making and inserting covered cording.
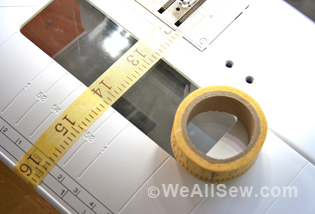
First: Cut bias strips (about 1 1/2″ for the narrow cord I used here), then wrap one end around the filler cord. Place under the presser foot so that the cord is under the “tunnel” part of the foot. Move the needle all the way to the right, and set the stitch length at 3 to 4mm. Stitch.
Second: Attach covered cord to the front of the pillow with the needle in the far right position, clipping the seam allowances at the corners. I don’t pin it in place, just place it as I sew along the sides. Just before I get to a corner I stop and clip the seam allowances a few times to help the cord around the sharp curve. On these pillows I didn’t do anything fancy where the ends met; just cross them over each other and stitched through them. With larger cord I’d unwrap and clip the filler cord to keep the join from being too bulky.
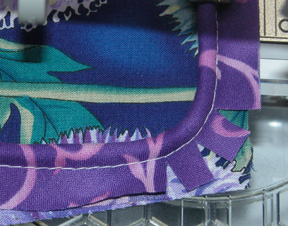
Third: Place the front to the back, right sides together, with the front on top. You’ll be able to see the stitching lines from step 2. Move the needle all the way to the right, then back one step to the left; this will place your stitching just barely inside the previous seam, hiding those stitches. Stitch around the sides, leaving an opening in the middle of one side for inserting the pillow form. I always stitch at least an inch or two from the corners toward the opening; otherwise it’s hard to get the corners to turn properly later.
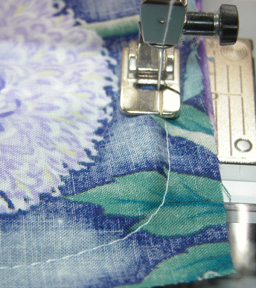
Fourth: Turn the pillow cover right side out. Because you’ve inserted piping into the edges the corners “pop” right side out—no fiddling with point turners to get the corner turned right side out. Insert the pillow form, then stitch the opening closed. I do this by hand, as it’s hard to stitch next to the bulky pillow. But, if you’re careful, it’s possible to use Zipper Foot #4 or Leather Roller Foot #55 to stitch the layers of fabric together just below the piping.
What you might also like


4 comments on “Pillow-Making Tips”
-
-
What a great idea and a wonderful tip on the corners. I might just make a pillow at that. Have avoided them till now.
-
They look fabulous!
-
Pingback: WeAllSew « https://weallsew.com
Leave a Reply
You must be logged in to post a comment.

Thanks for the reminder about the corners. I have two pillows waiting to be made and I think today is the day!