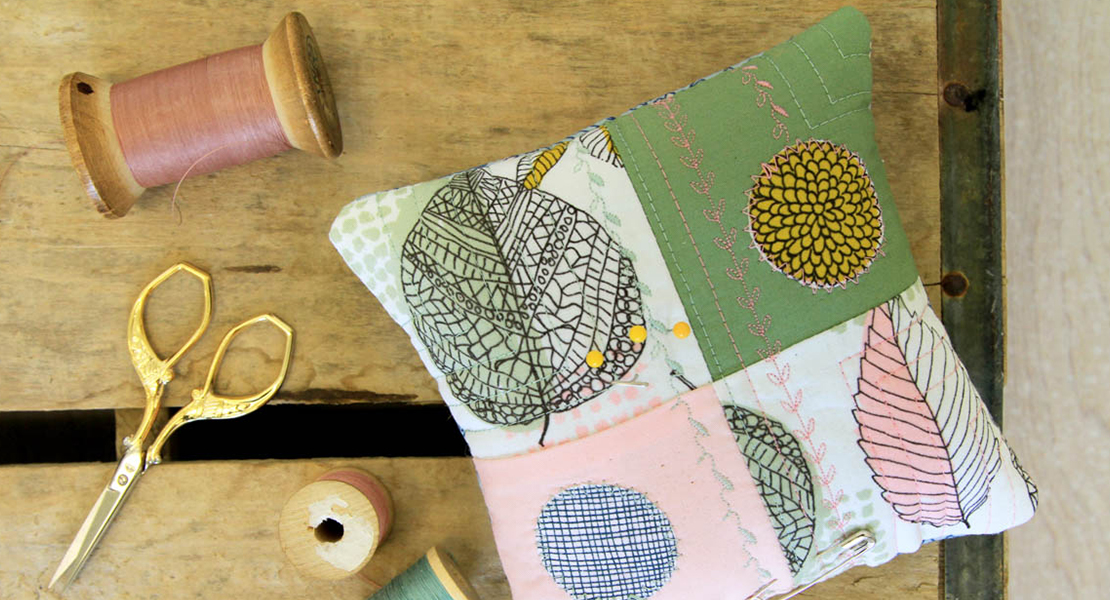
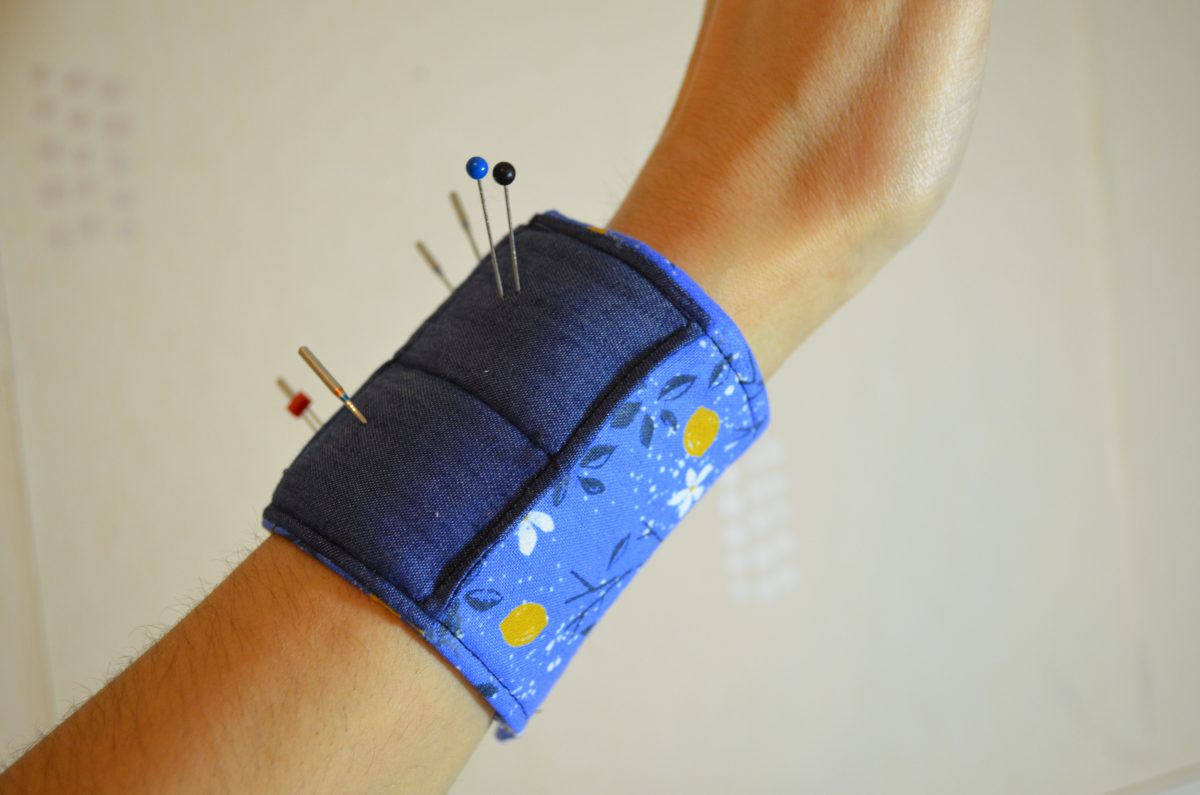
Pin Pal Frame
Don’t you just love collecting those cute little pins from your favorite quilters and vendors? I have a mug filled with favorites in my studio. This little project will let you get them out and show them off. Hi, my name is Teri Henderson Tope. I am a quilter, teacher, author, iquilt instructor and a BERNINA Ambassador from Columbus, Ohio. Come spend a little time in my studio and create your own Pin Pal.

Pin Pal measures 7-1/2″ x 9-3/4″
Materials to make a Pin Pal
- ¼ yard cut accent fabric (polka dot in sample)
- 8-1/2″ x 11″ fabric for back of Pin Pal
- 8-1/2″ x 11″ fabric for front of frame
- ¼ yard cut solid fabric (white in sample)
- 8-1/2″ x 11″ fabric for front of Pin Pal
- 8-1/2″ x 11″ fabric for lining of frame
- 8-1/2″ x 11″ rectangle Soft and Stable
- Matching threads to piece and quilt
- Pinking Shears
- Fixion Marking Pen
- Scissors
- 8″ piece of ¼” ribbon or hanging
- Basic sewing supplies
- Pin Pal Pattern
Quilting The Background
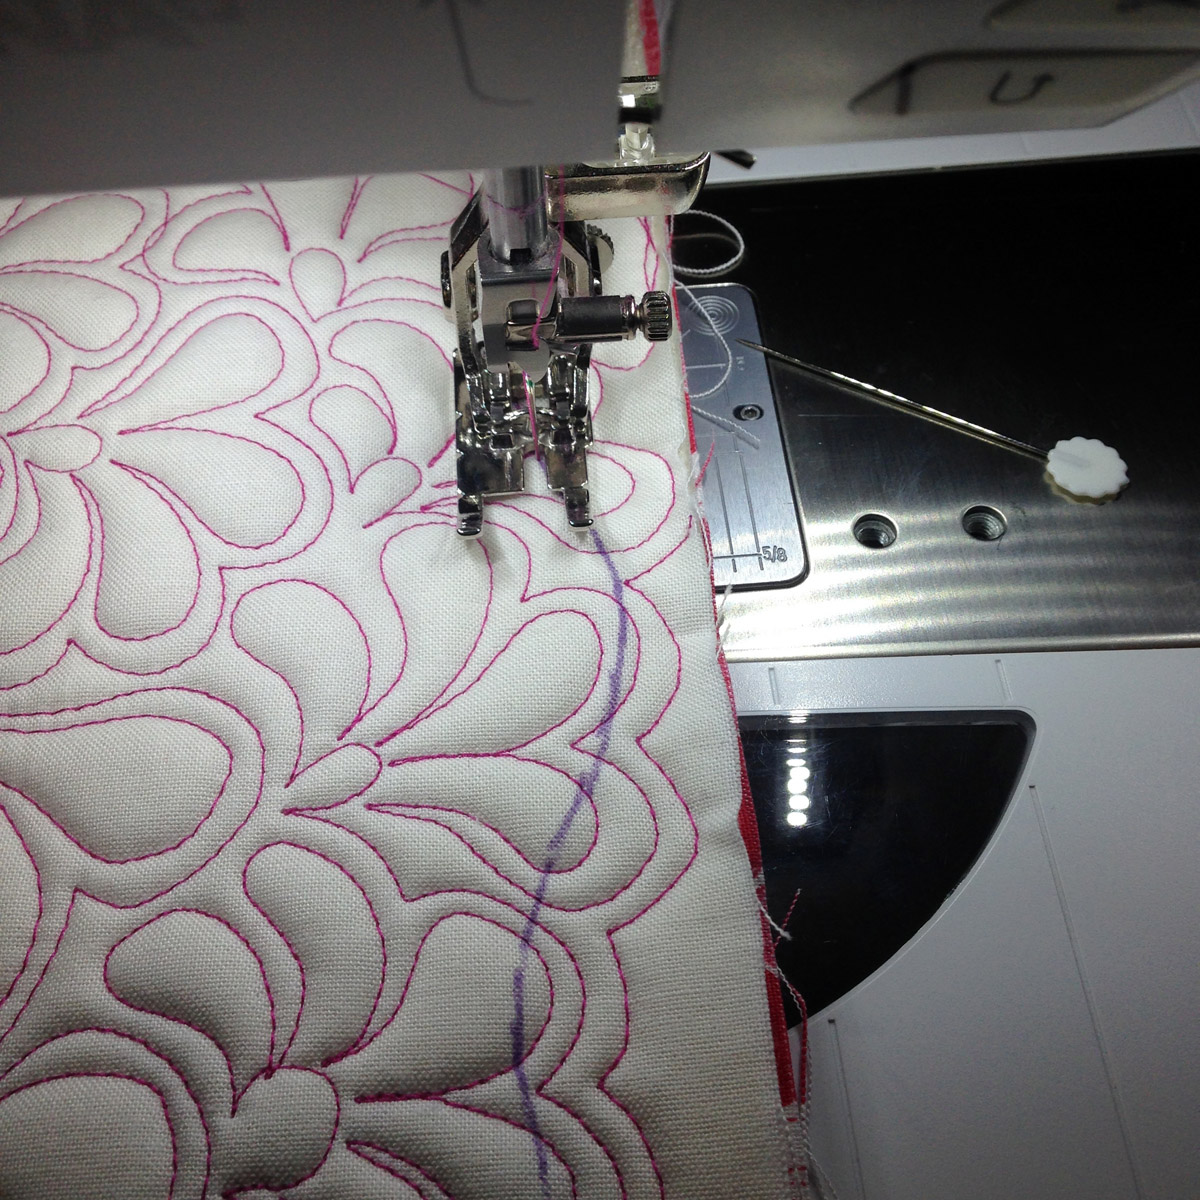
Prepare a quilt sandwich consisting of the Pin Pal backing rectangle, soft and stable and Pin Pal front rectangle.

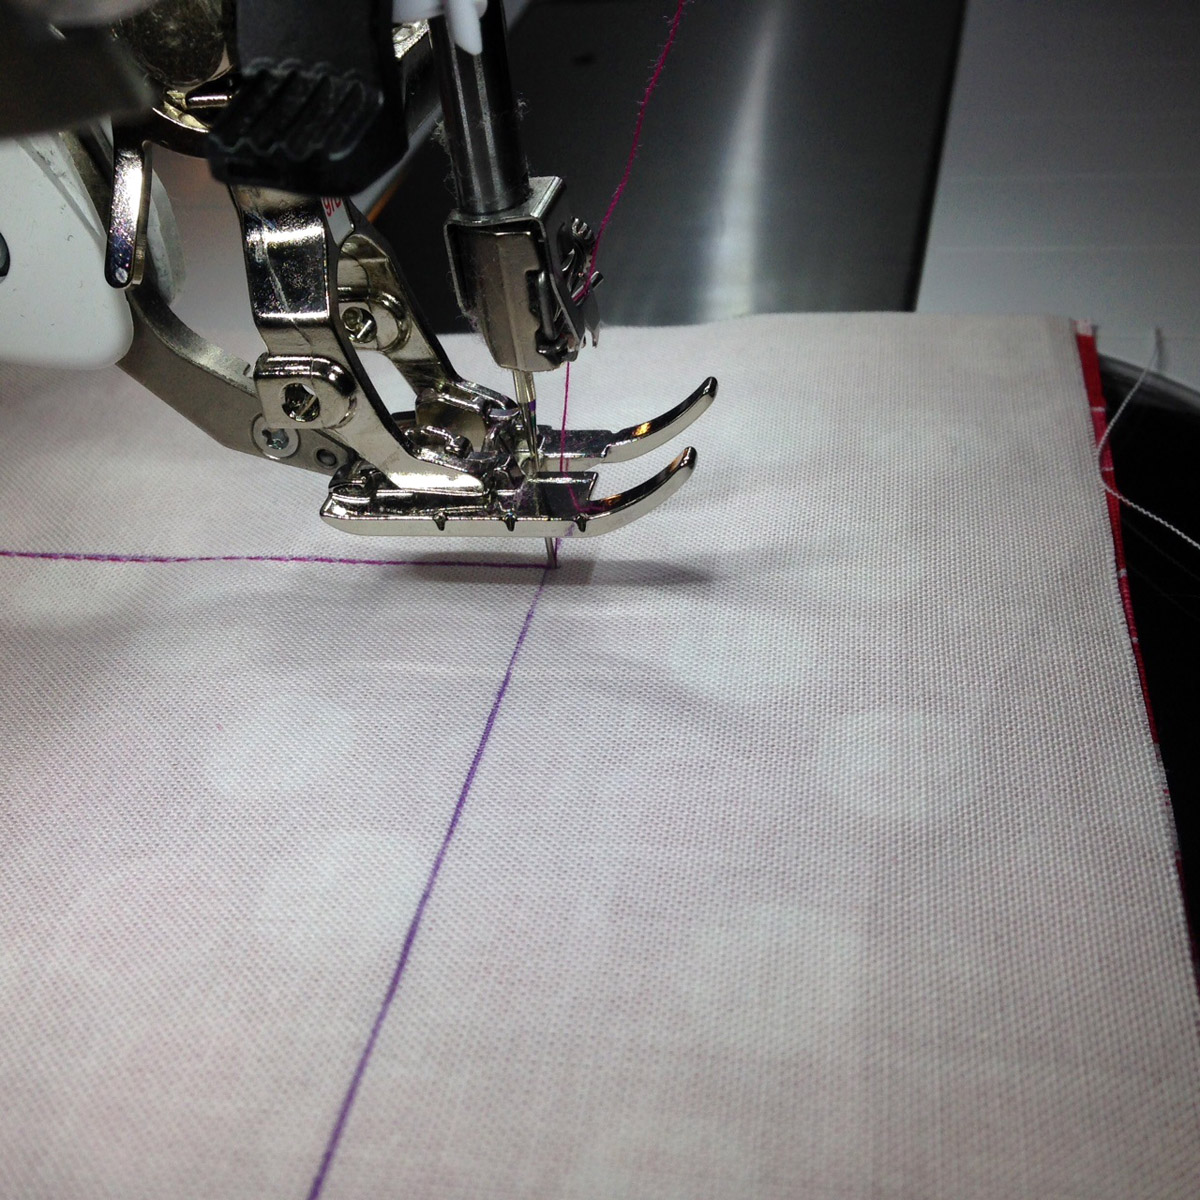
Attach your favorite free motion foot to sewing machine. Drop feed dogs and free motion quilt the sandwich. I chose to play around with some daisies.
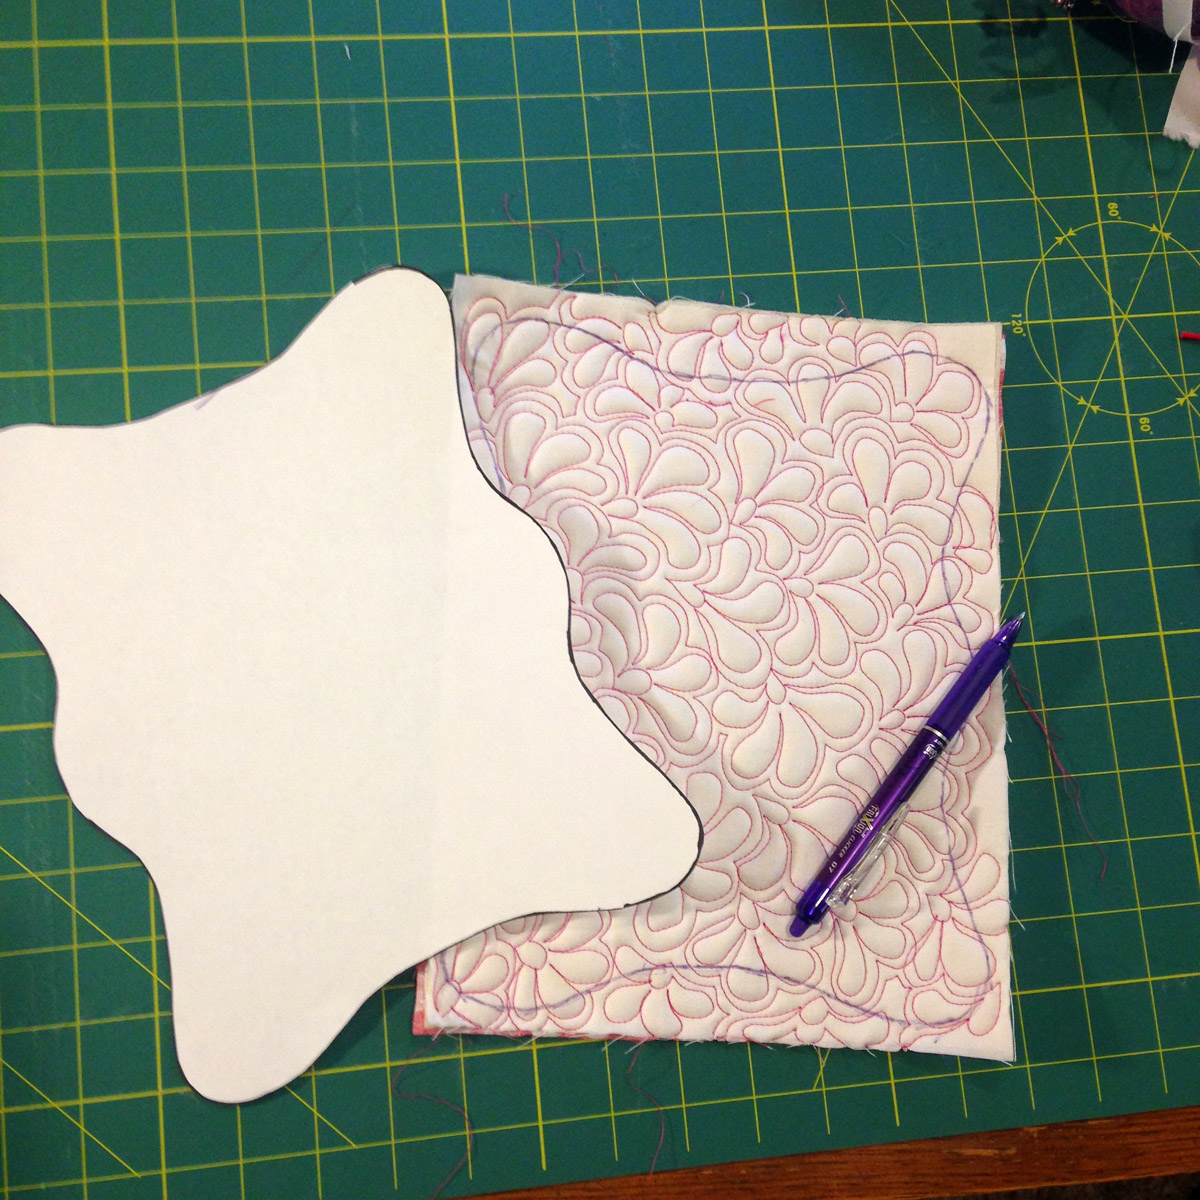
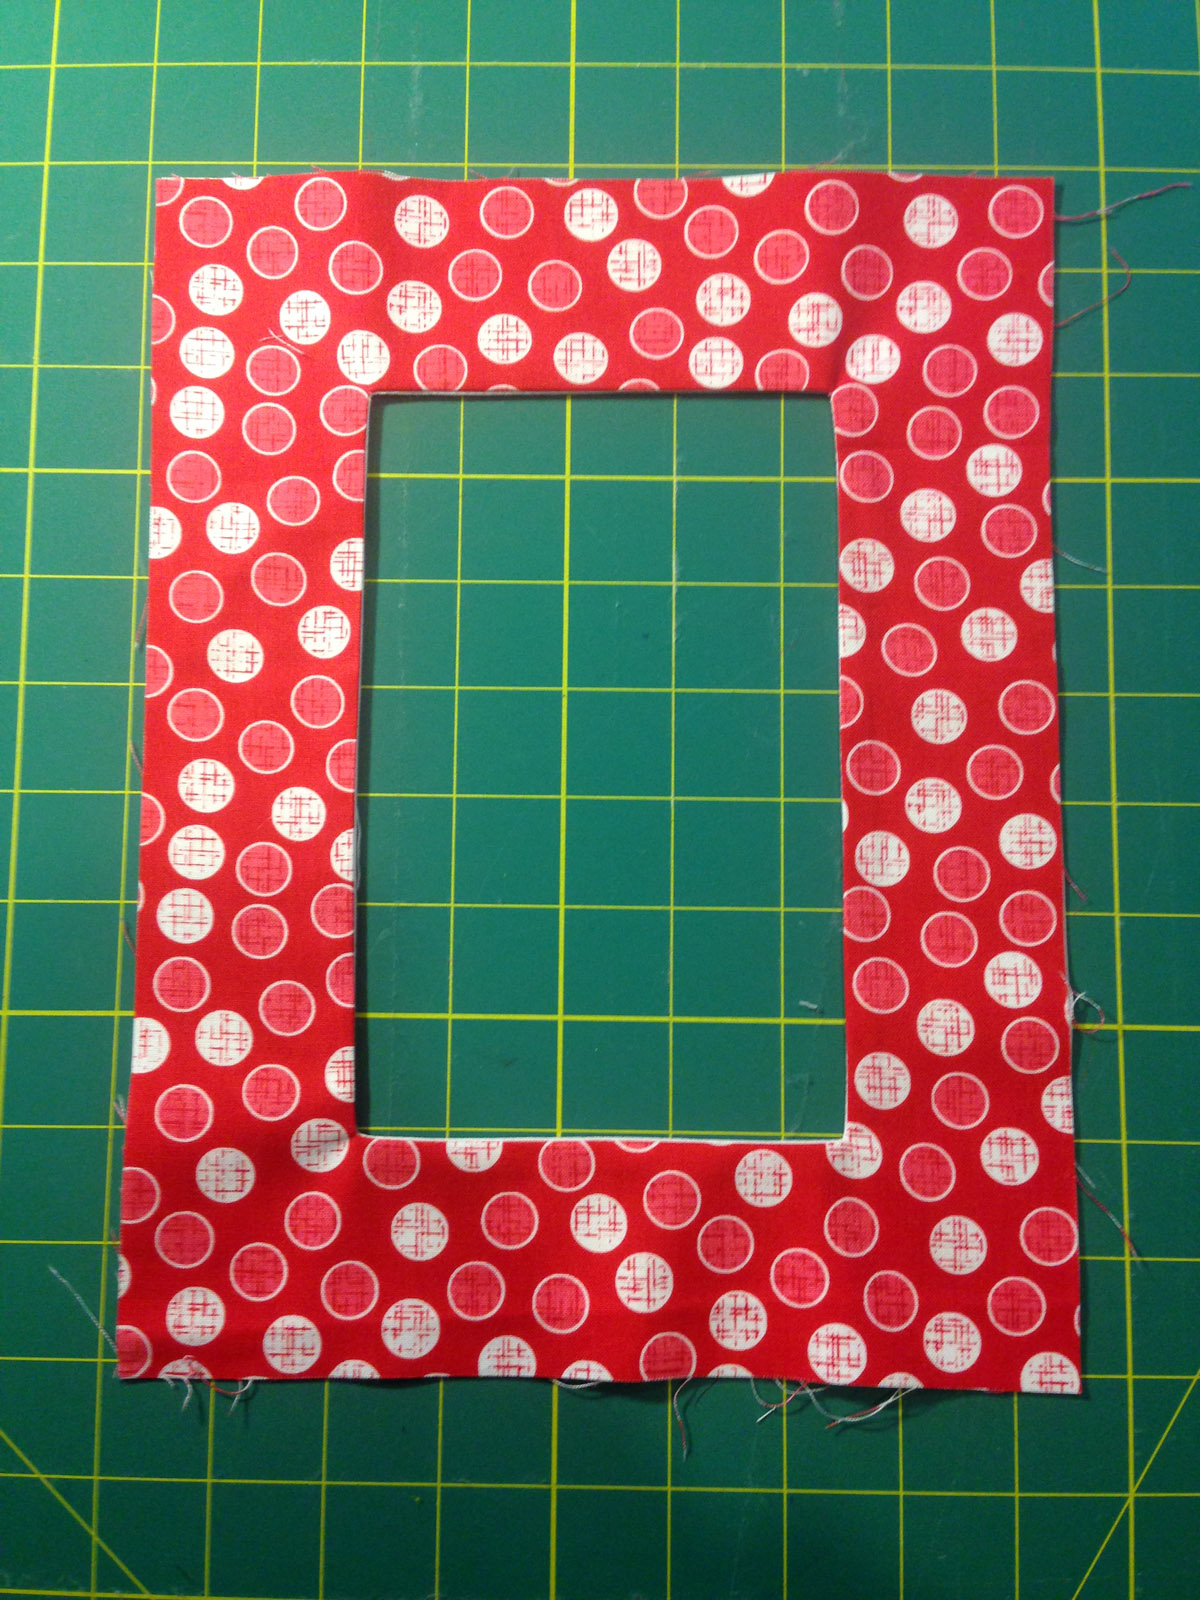
Download, printout and cut out the frame pattern. With Frixion pen, trace around frame edge on the wrong side of the quilted fabric rectangle.
Making The Frame

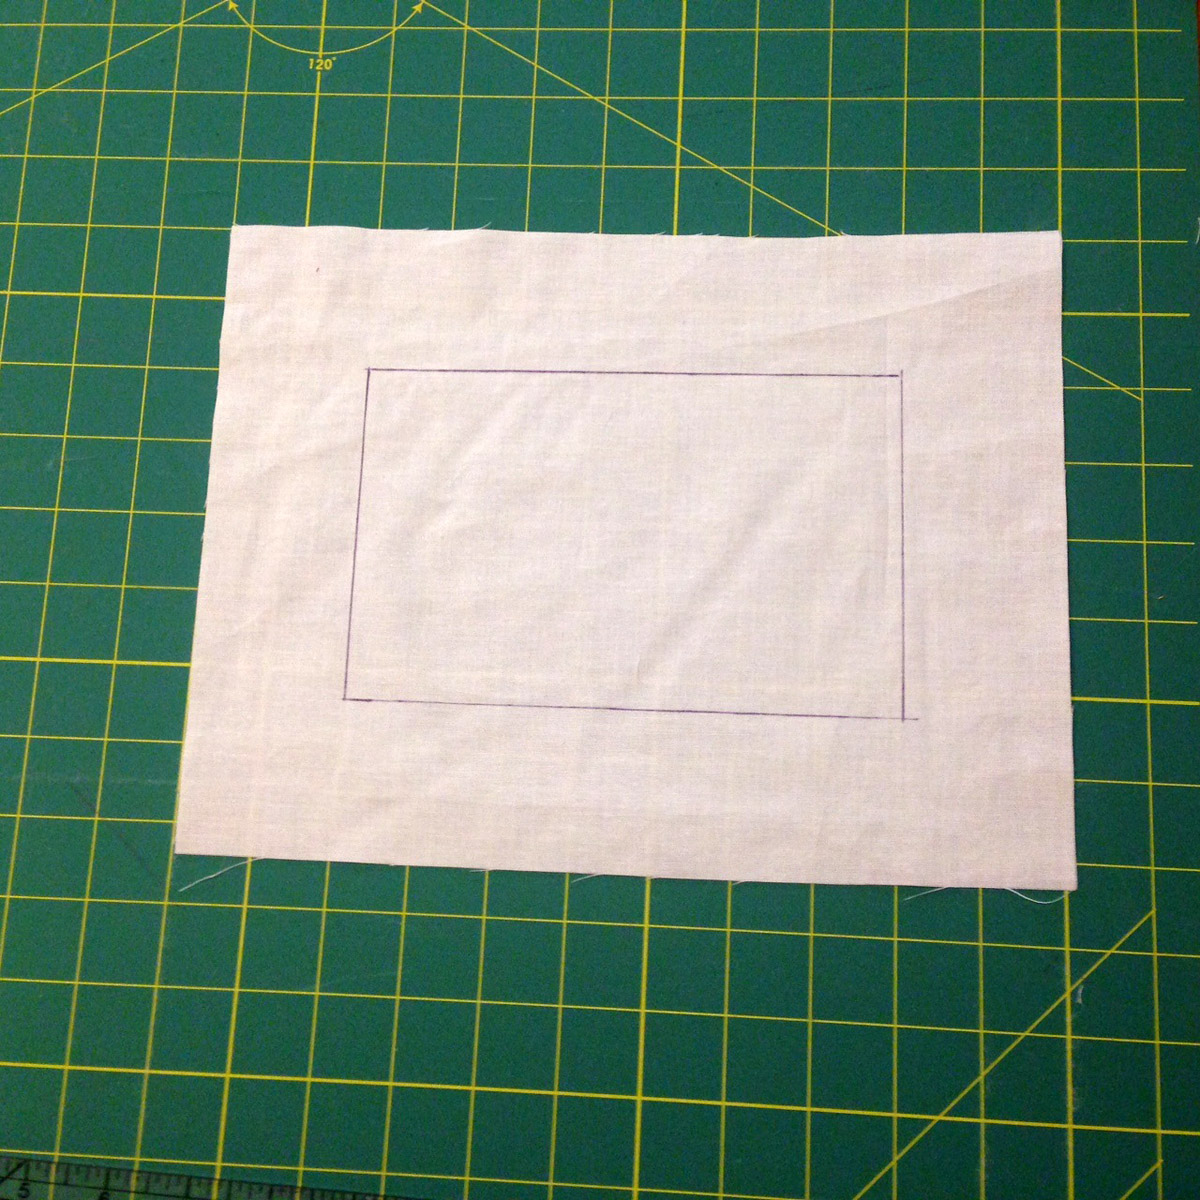
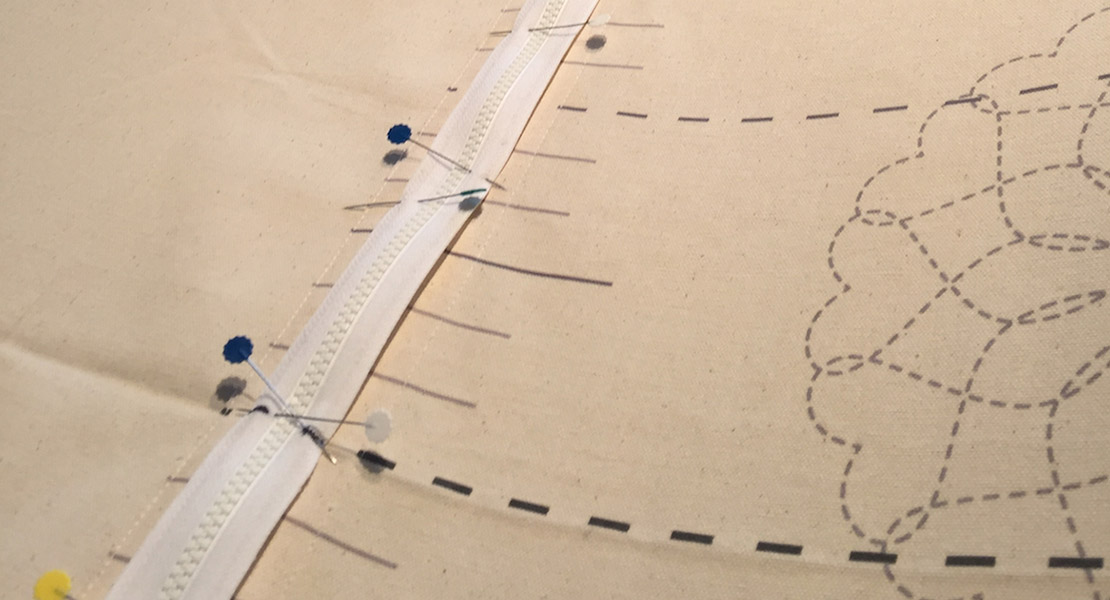
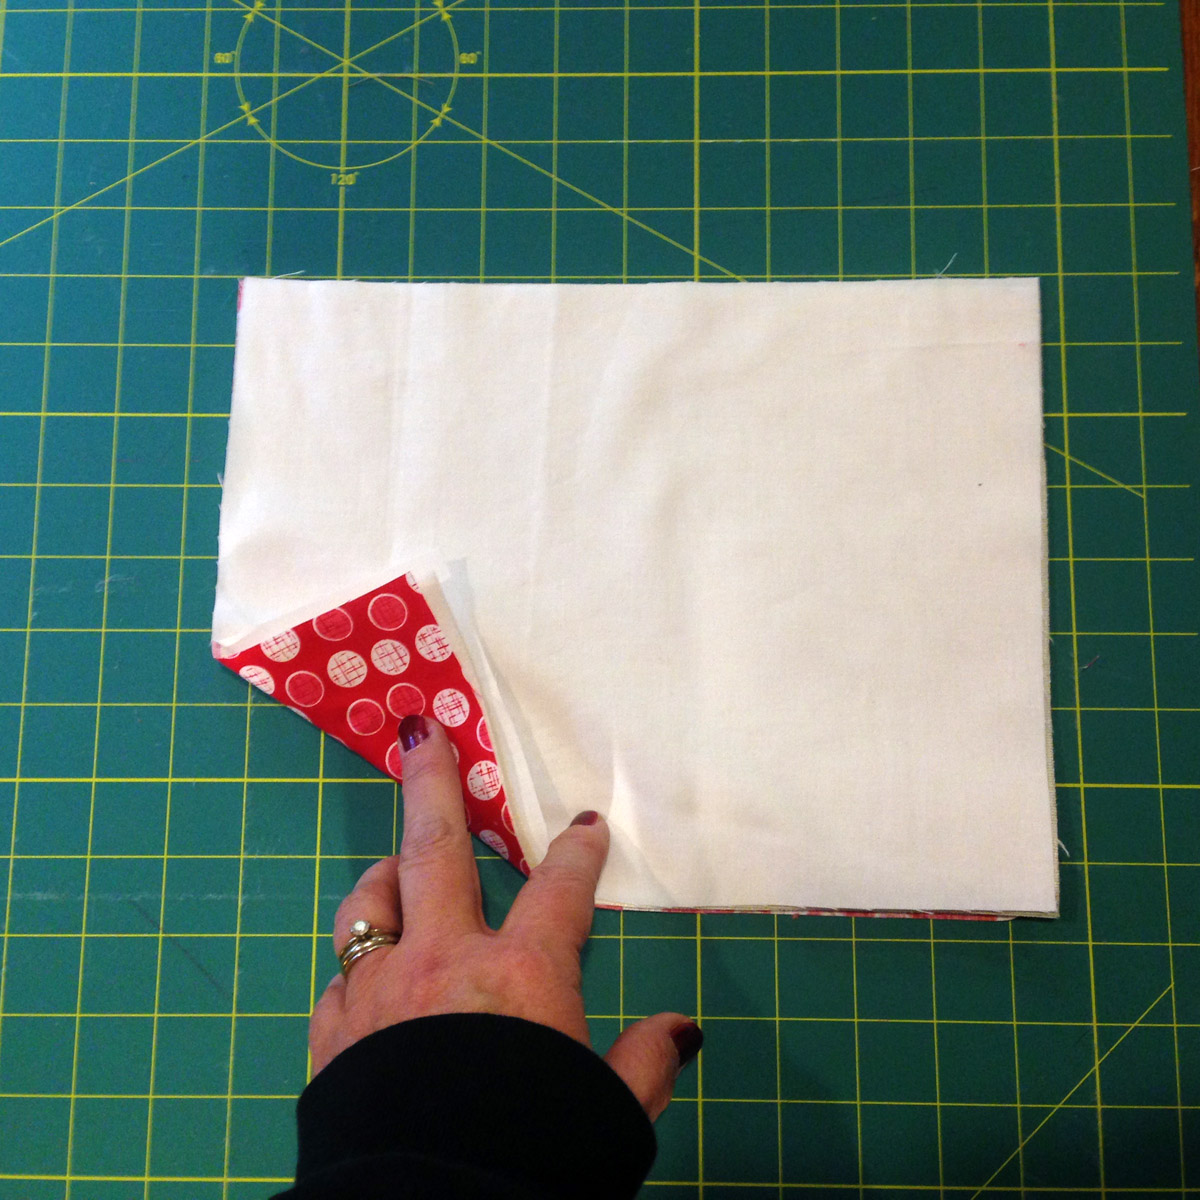
First we are going to mark a rectangle in the middle of our frame lining fabric. I use a Frixion Pen, and ruler to measure and mark 2″ in from each side of the wrong side of the frame lining fabric.
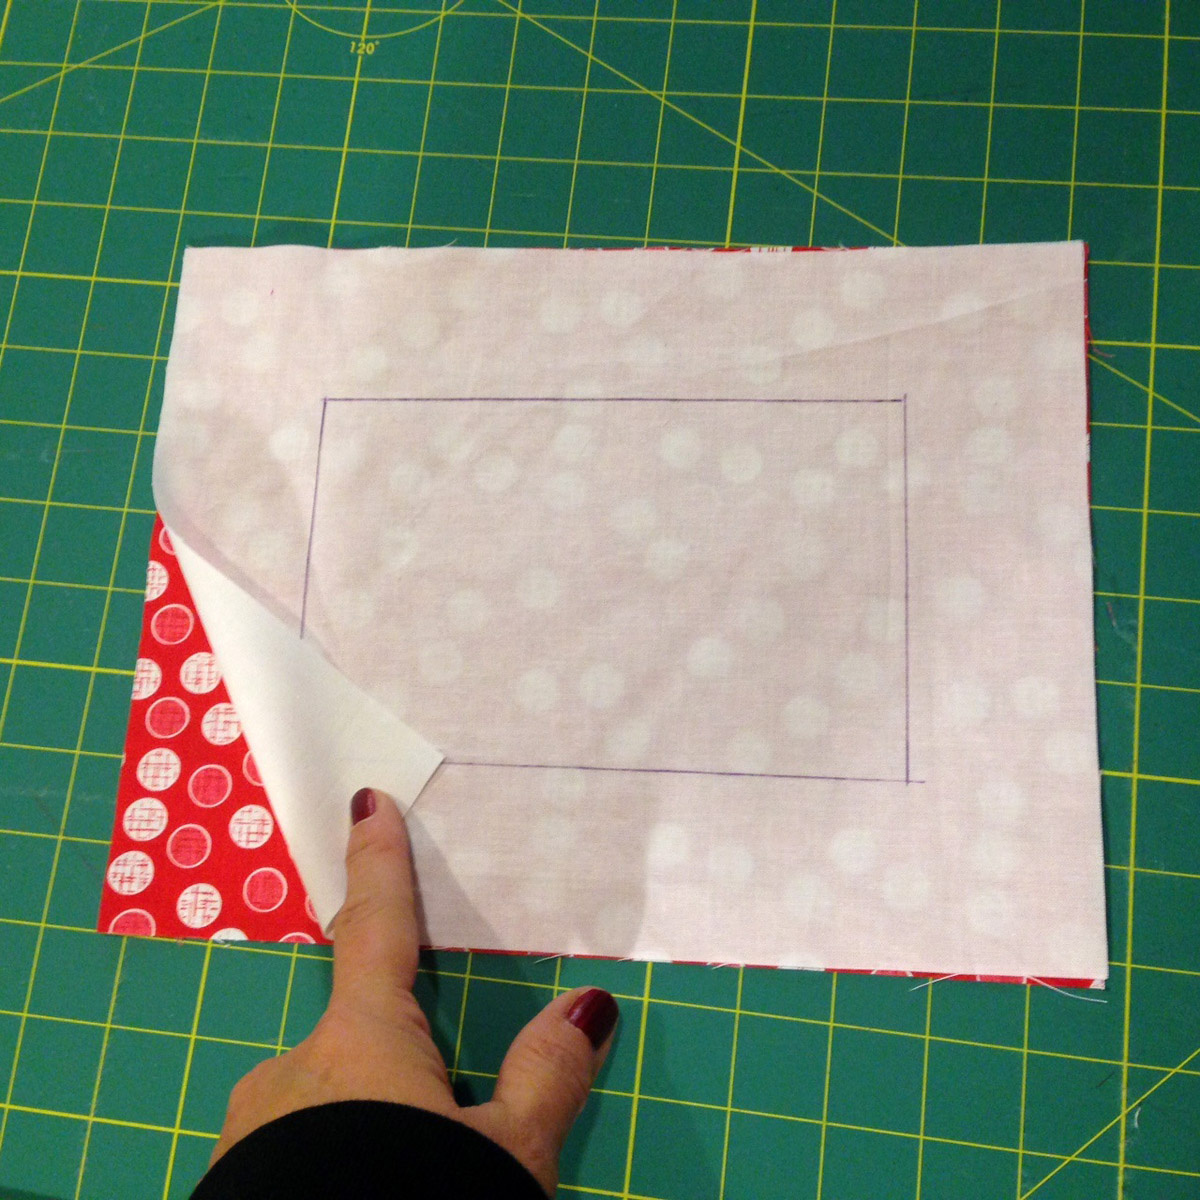
Layer the frame front rectangle and frame lining rectangle right sides together.
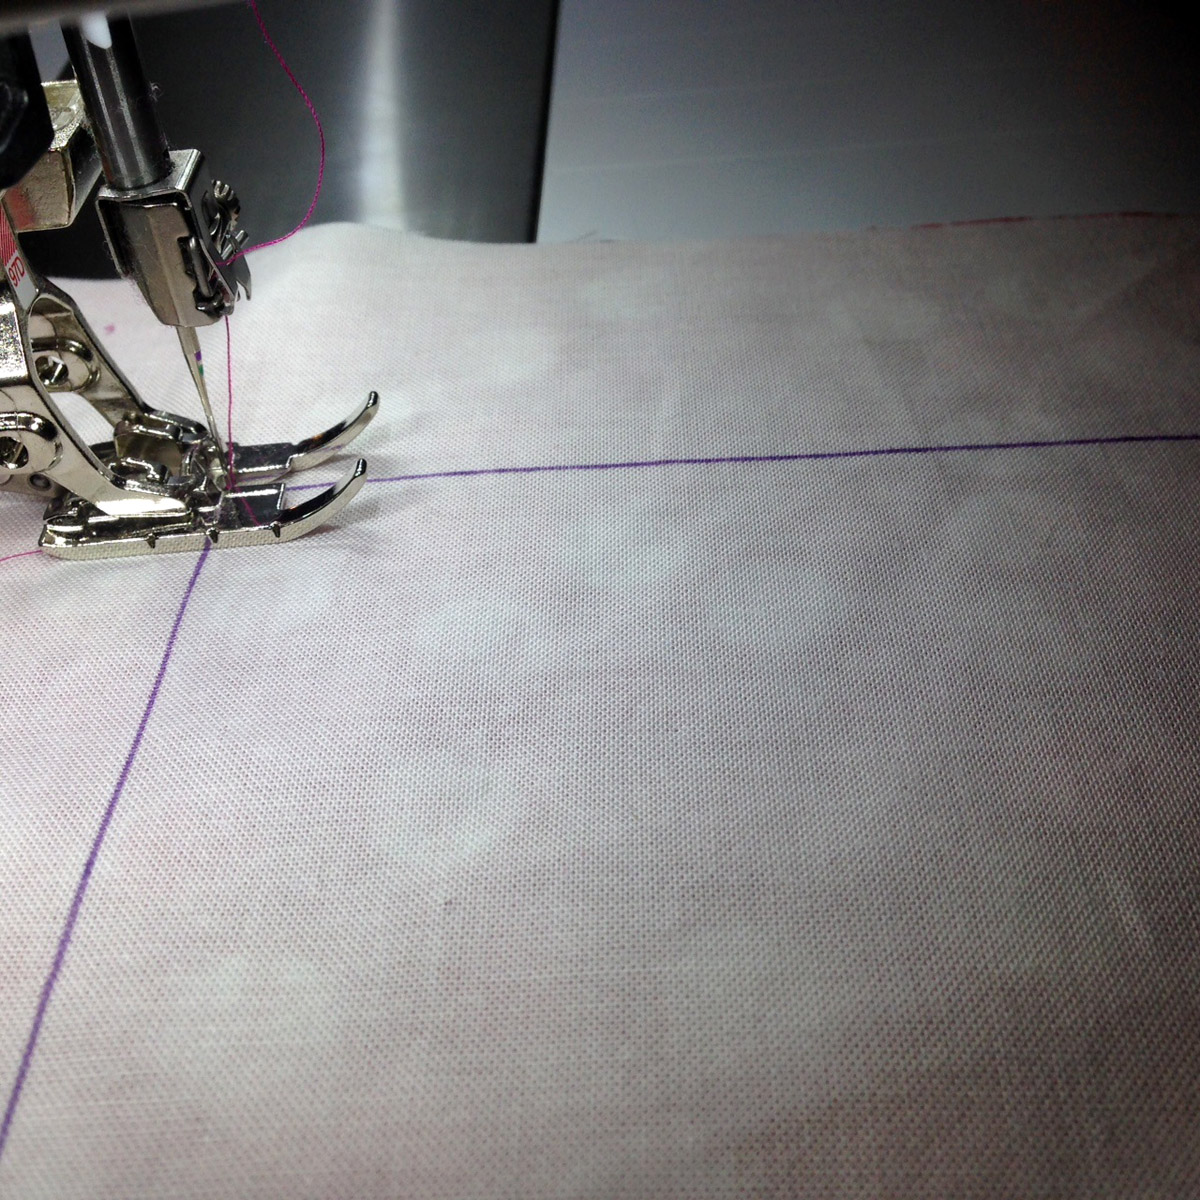
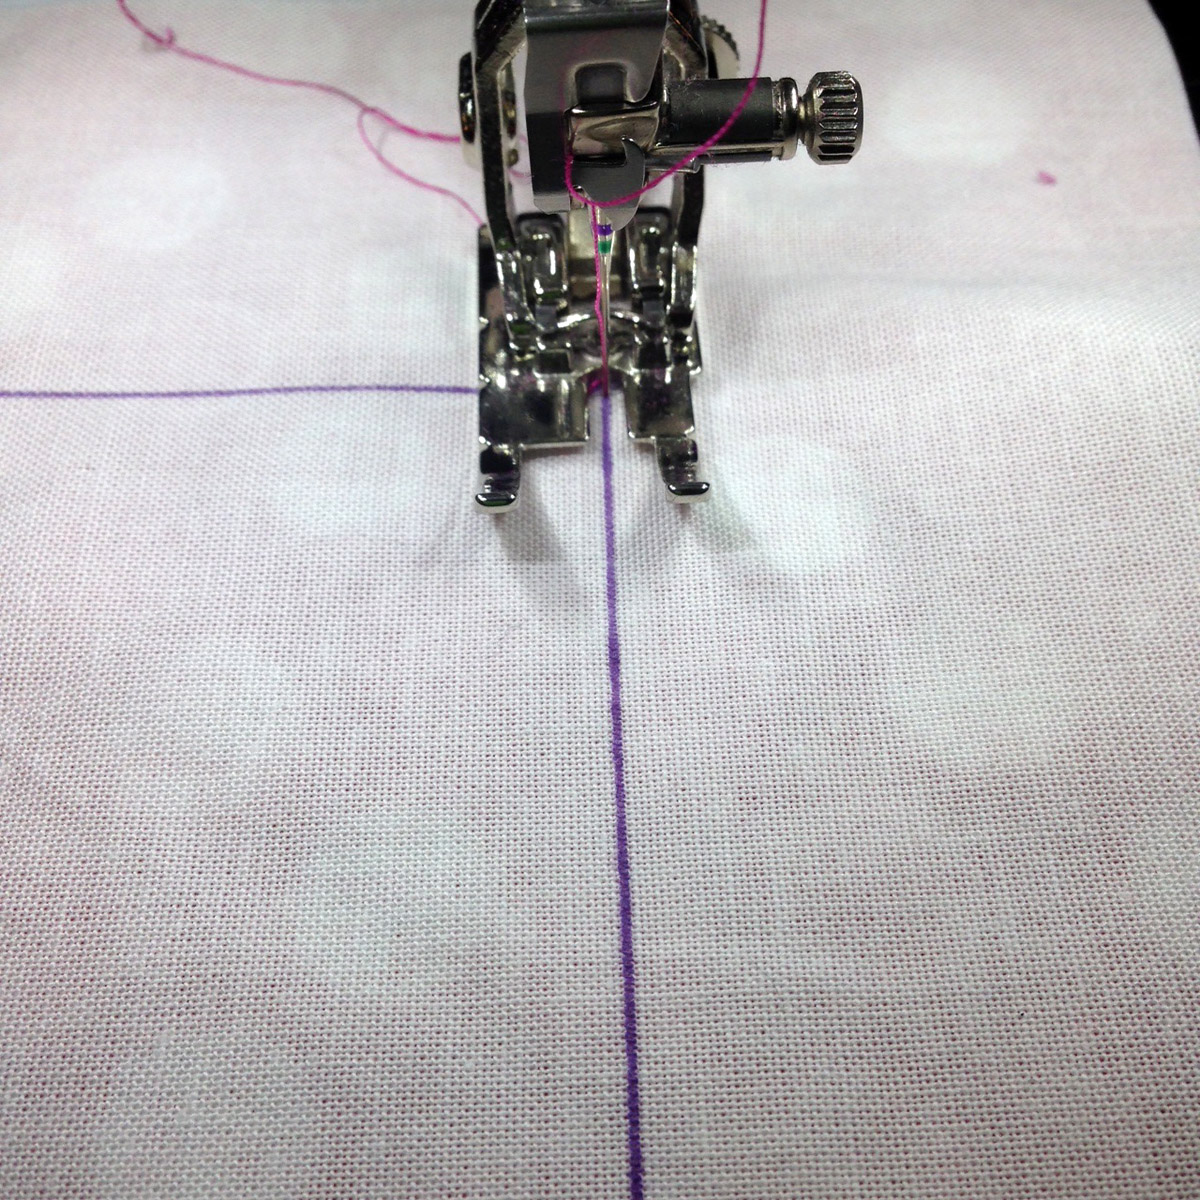
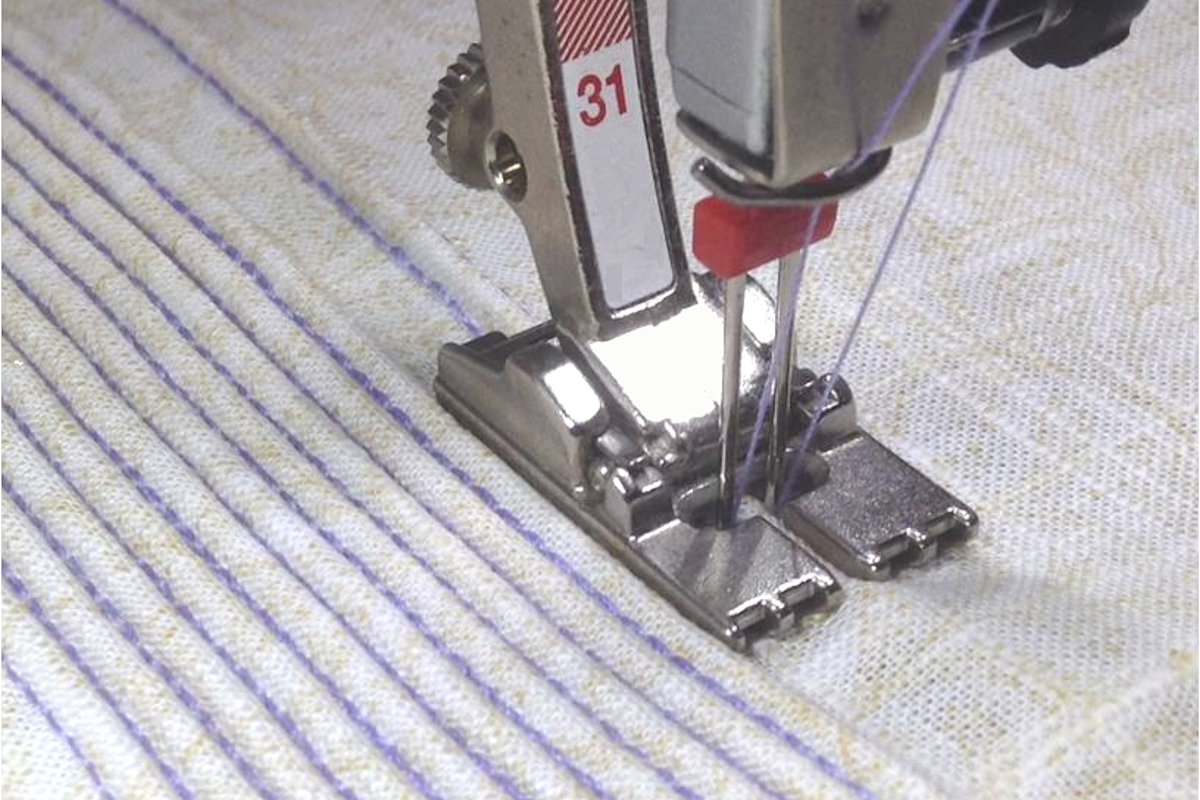
Put your patchowrk foot (Patchwork foot #37/37D, Patchwork foot with guide #57/57D or Patchwork foot #97/97D) on machine and raise the feed dogs. Stitch around marked line of the lining fabric rectangle. Engage the needle down to get nice sharp corners.
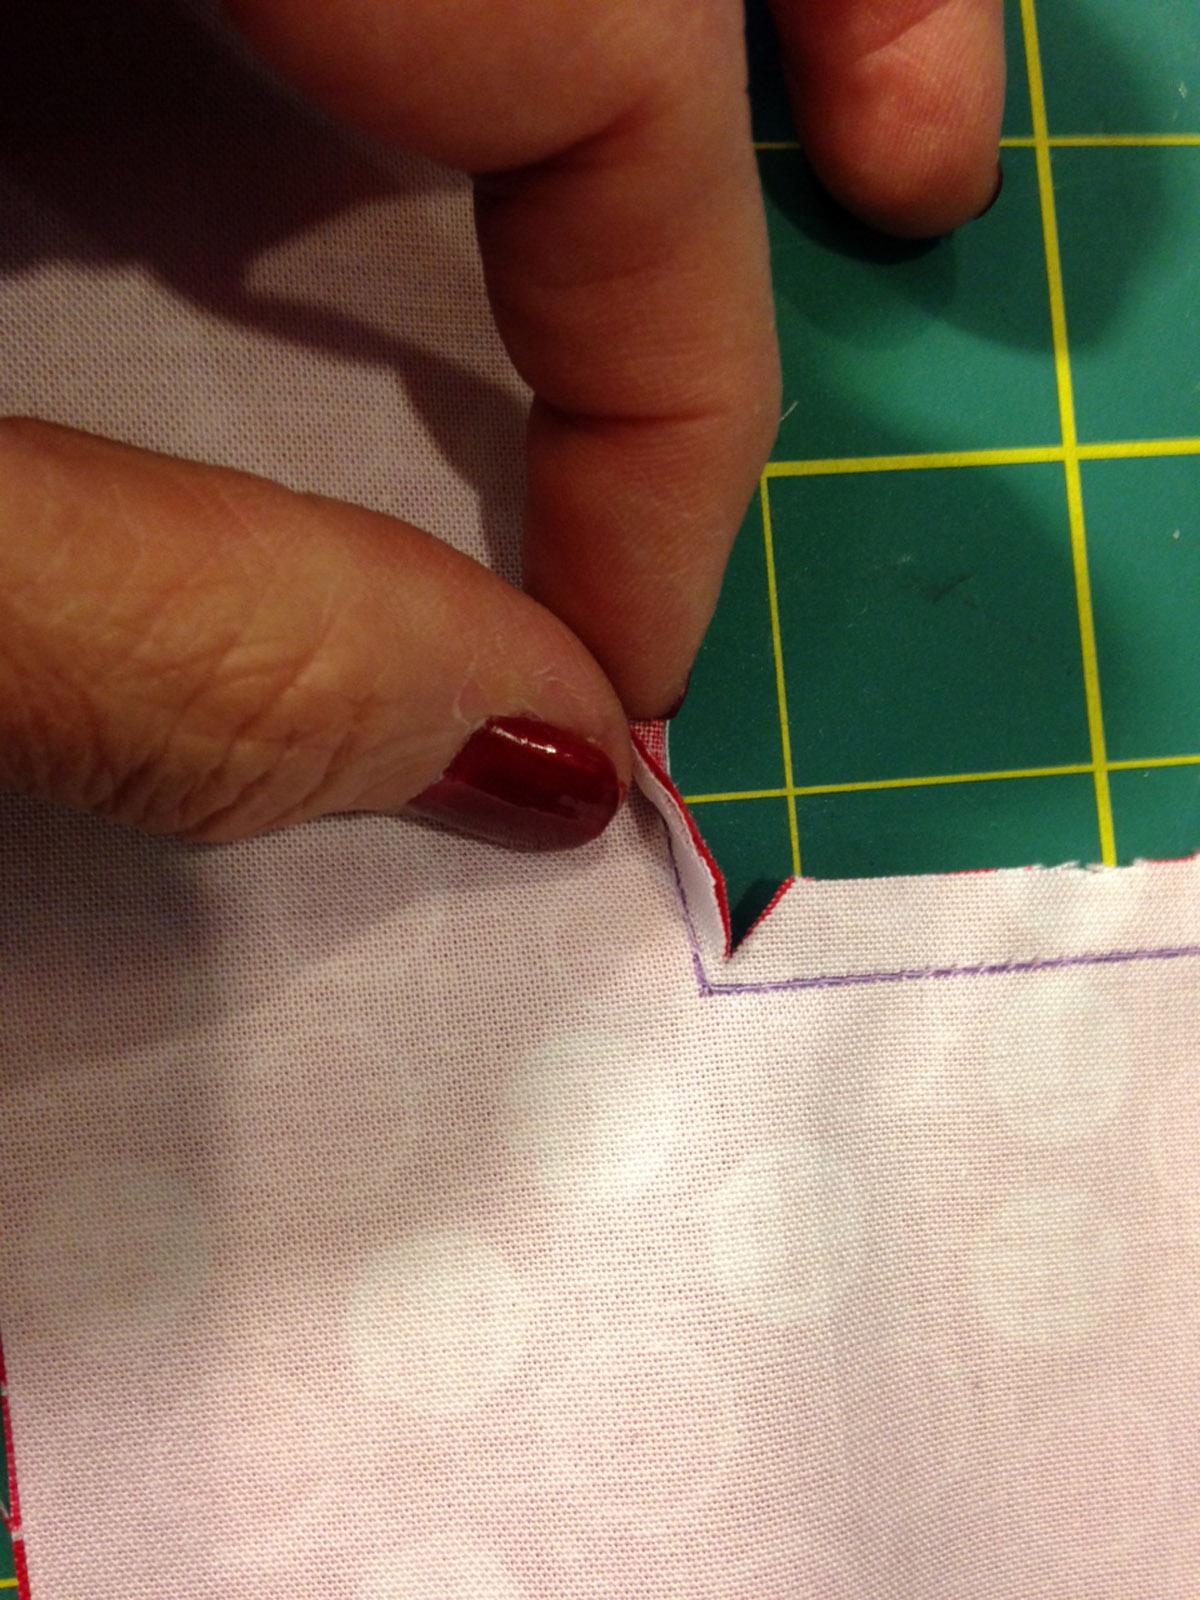
Remove interior of frame leaning a ¼” seam allowance. Clip corners.
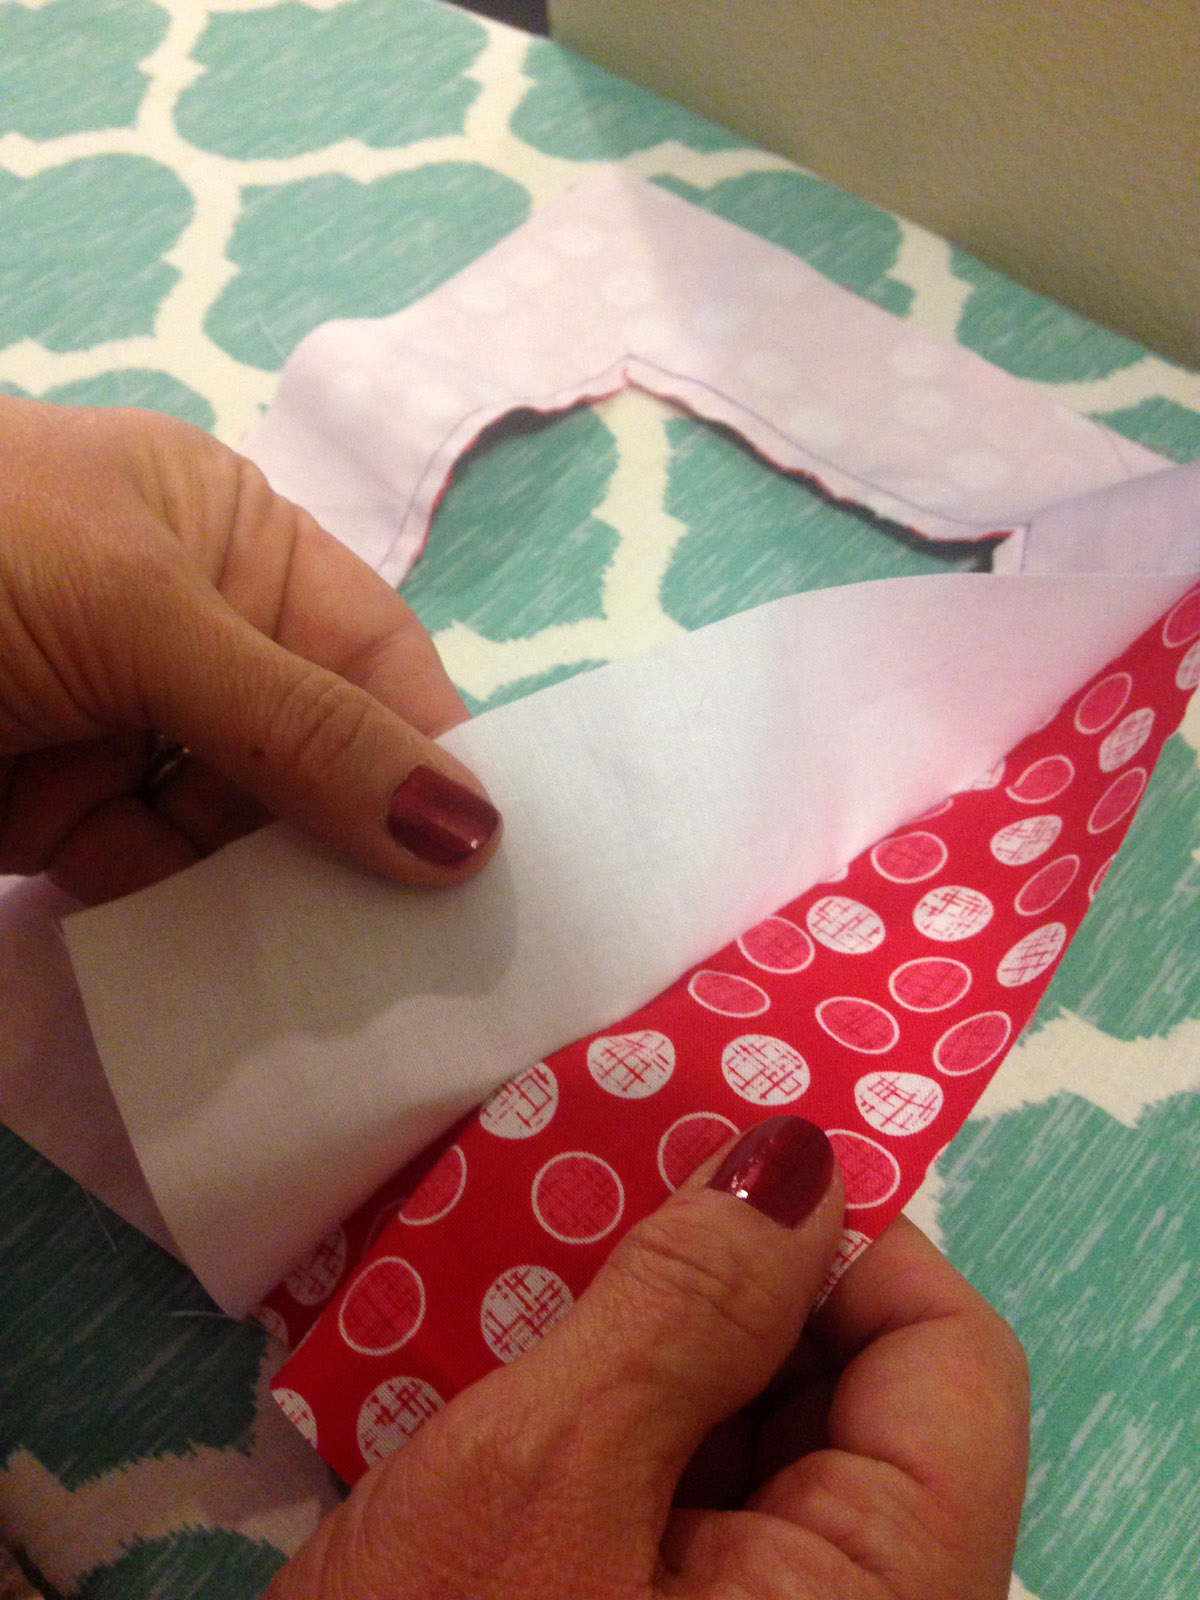
Turn frame inside out and press
Putting it all together
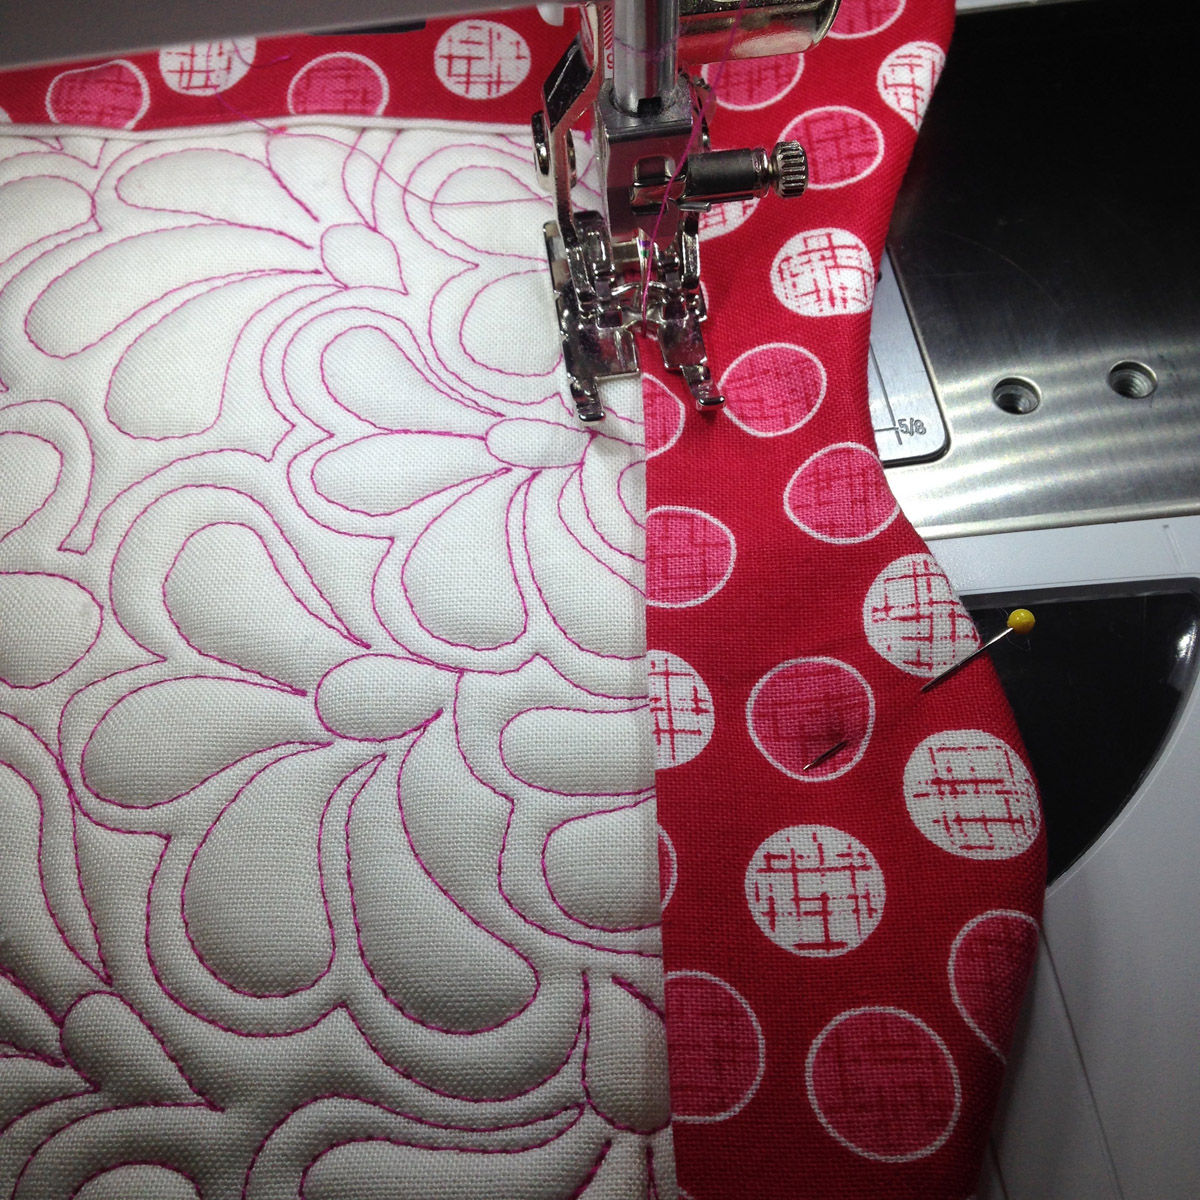
Lay frame right side up on flat surface. Place quilted background back against right side of frame, pin.
Stitch around the marked line on the background side of sandwich. Make sure the dual feed is engaged if using the Patchwork foot #97D for a smother seam.
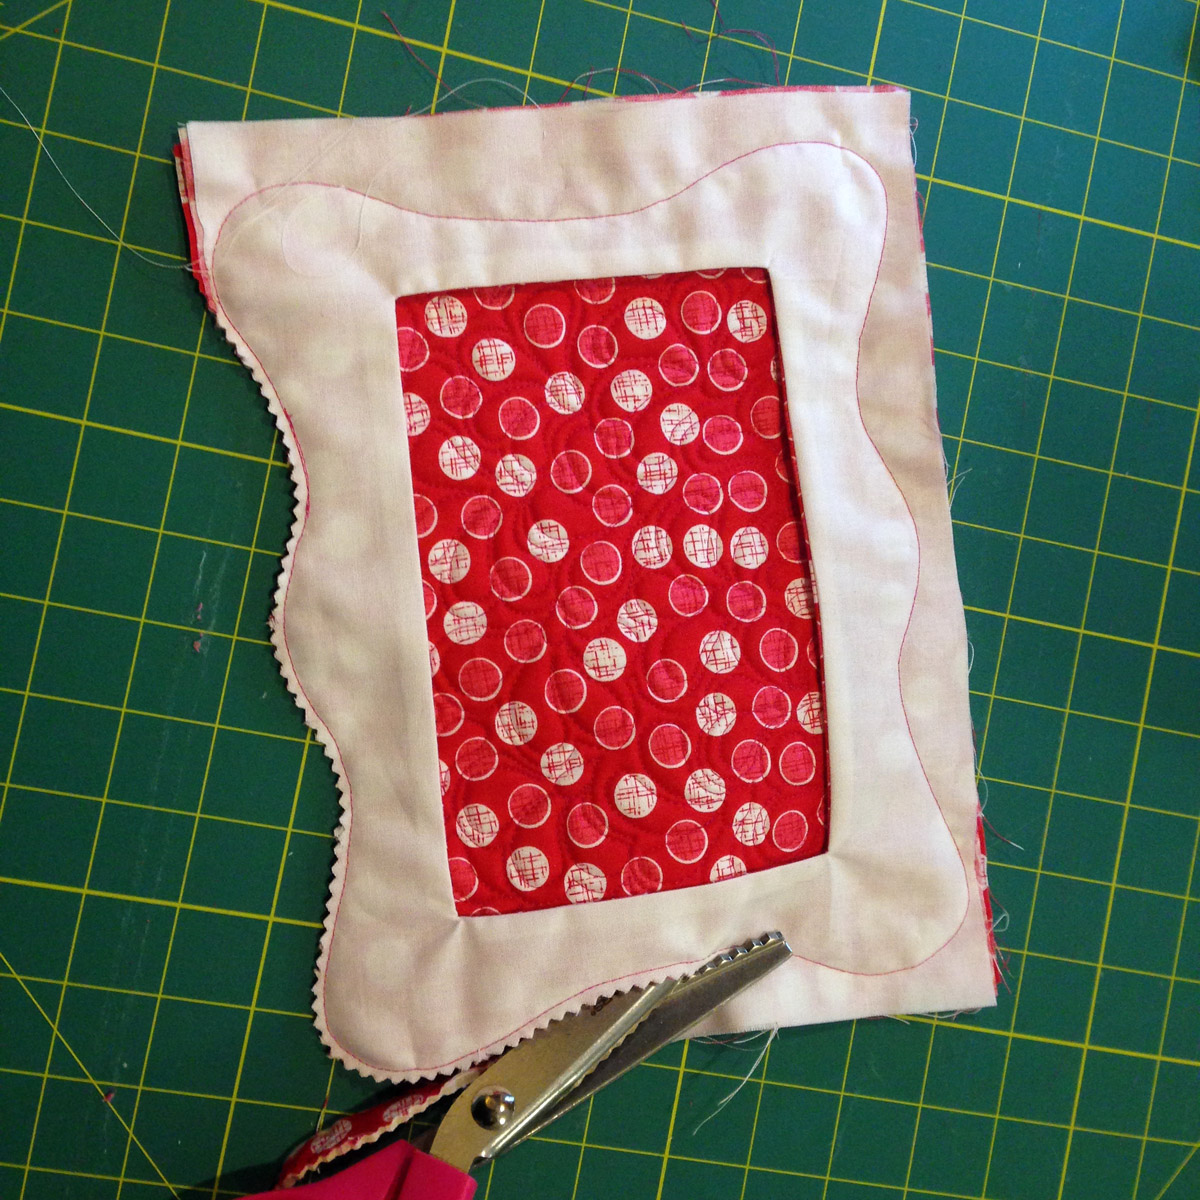
Remove excess fabric from frame with a pair of pinking shears. Pinking shears clip all the curves and result in a nice smooth edge on the finished frame.
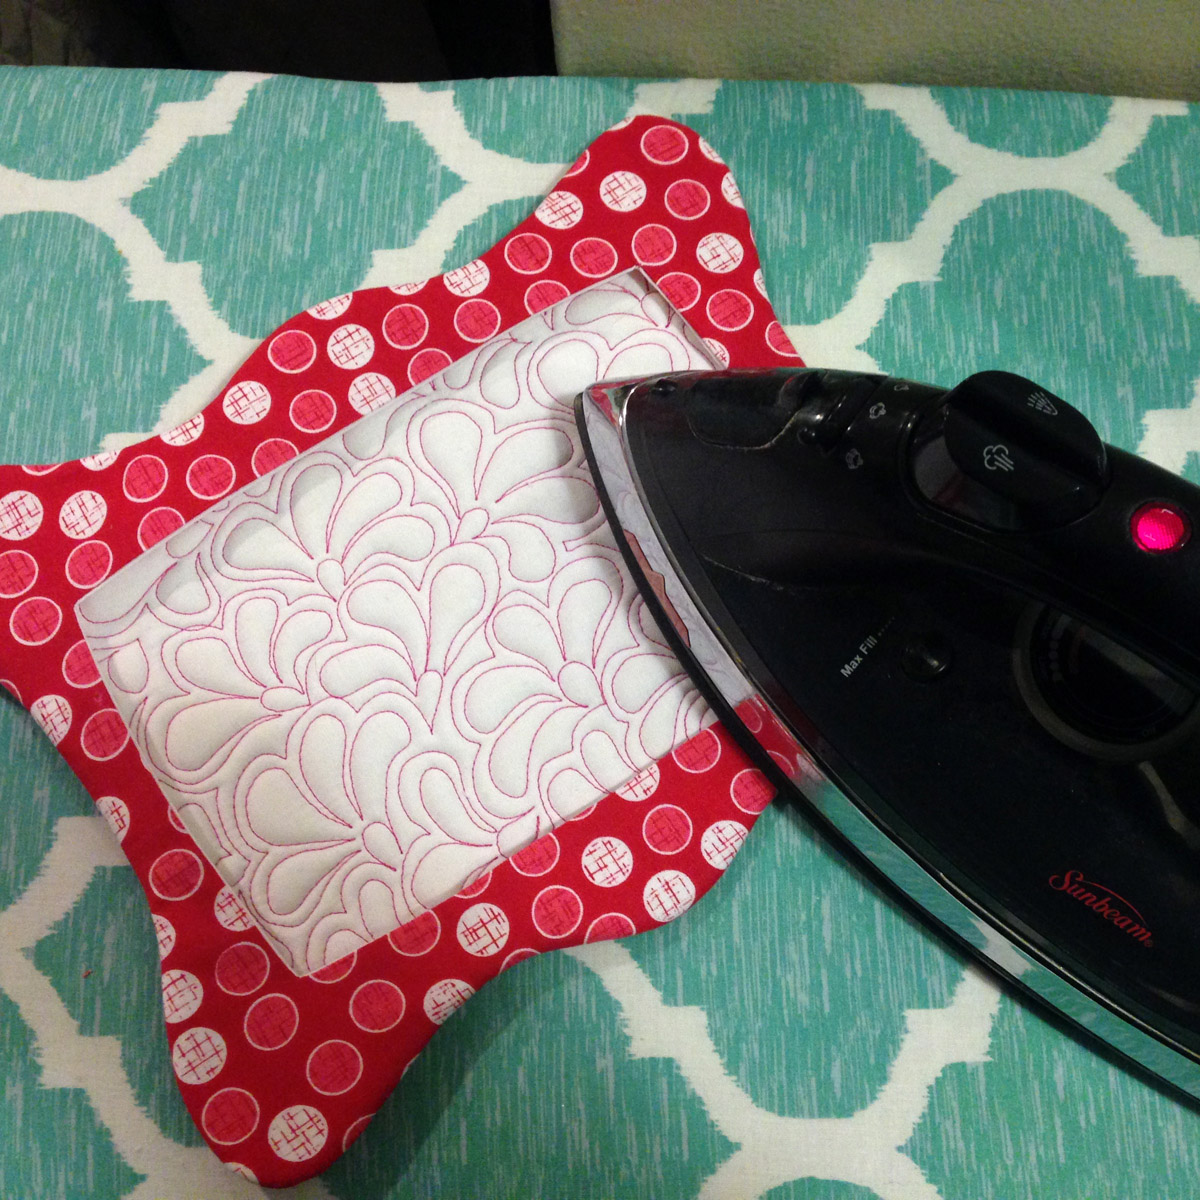
Carefully turn frame front to the front and press.
Pin edges to ensure a squareish center of your frame. (I like how it bows just a little bit; I think it adds to the quirkiness of the frame.) Top stitch 1/8″ around center opening of the Pin Pal
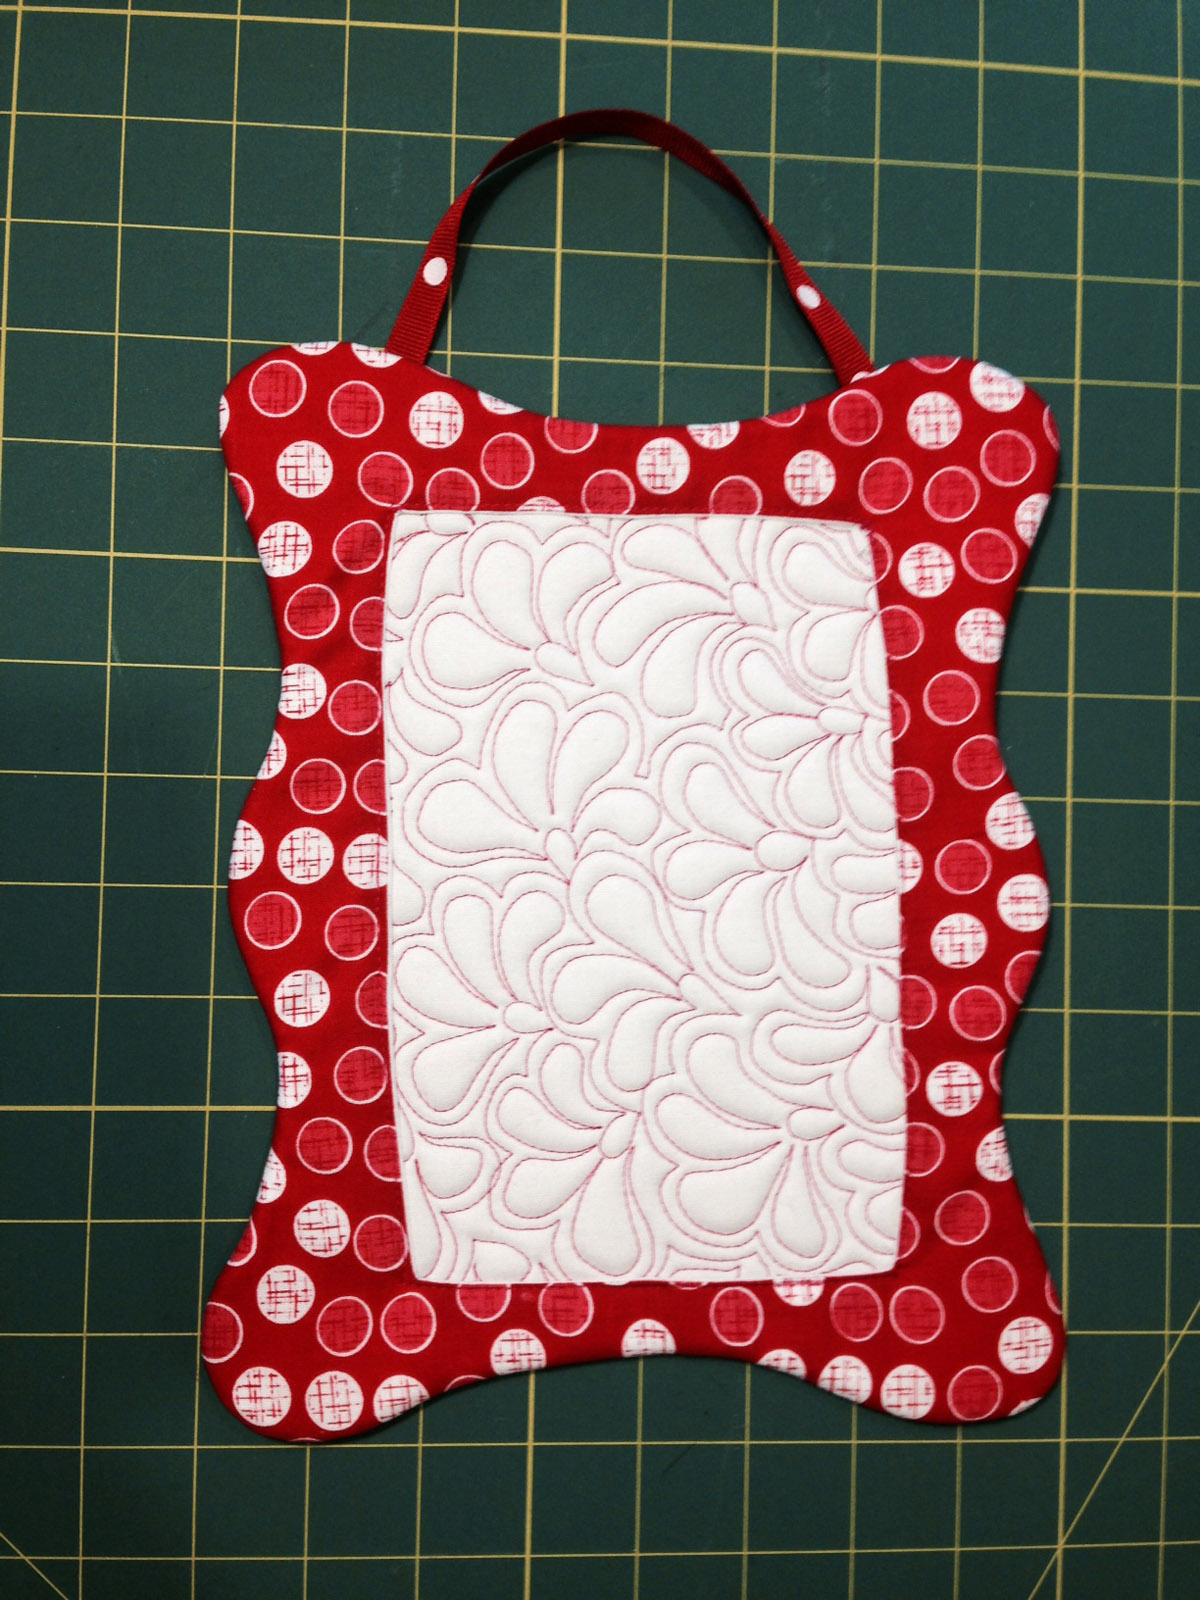
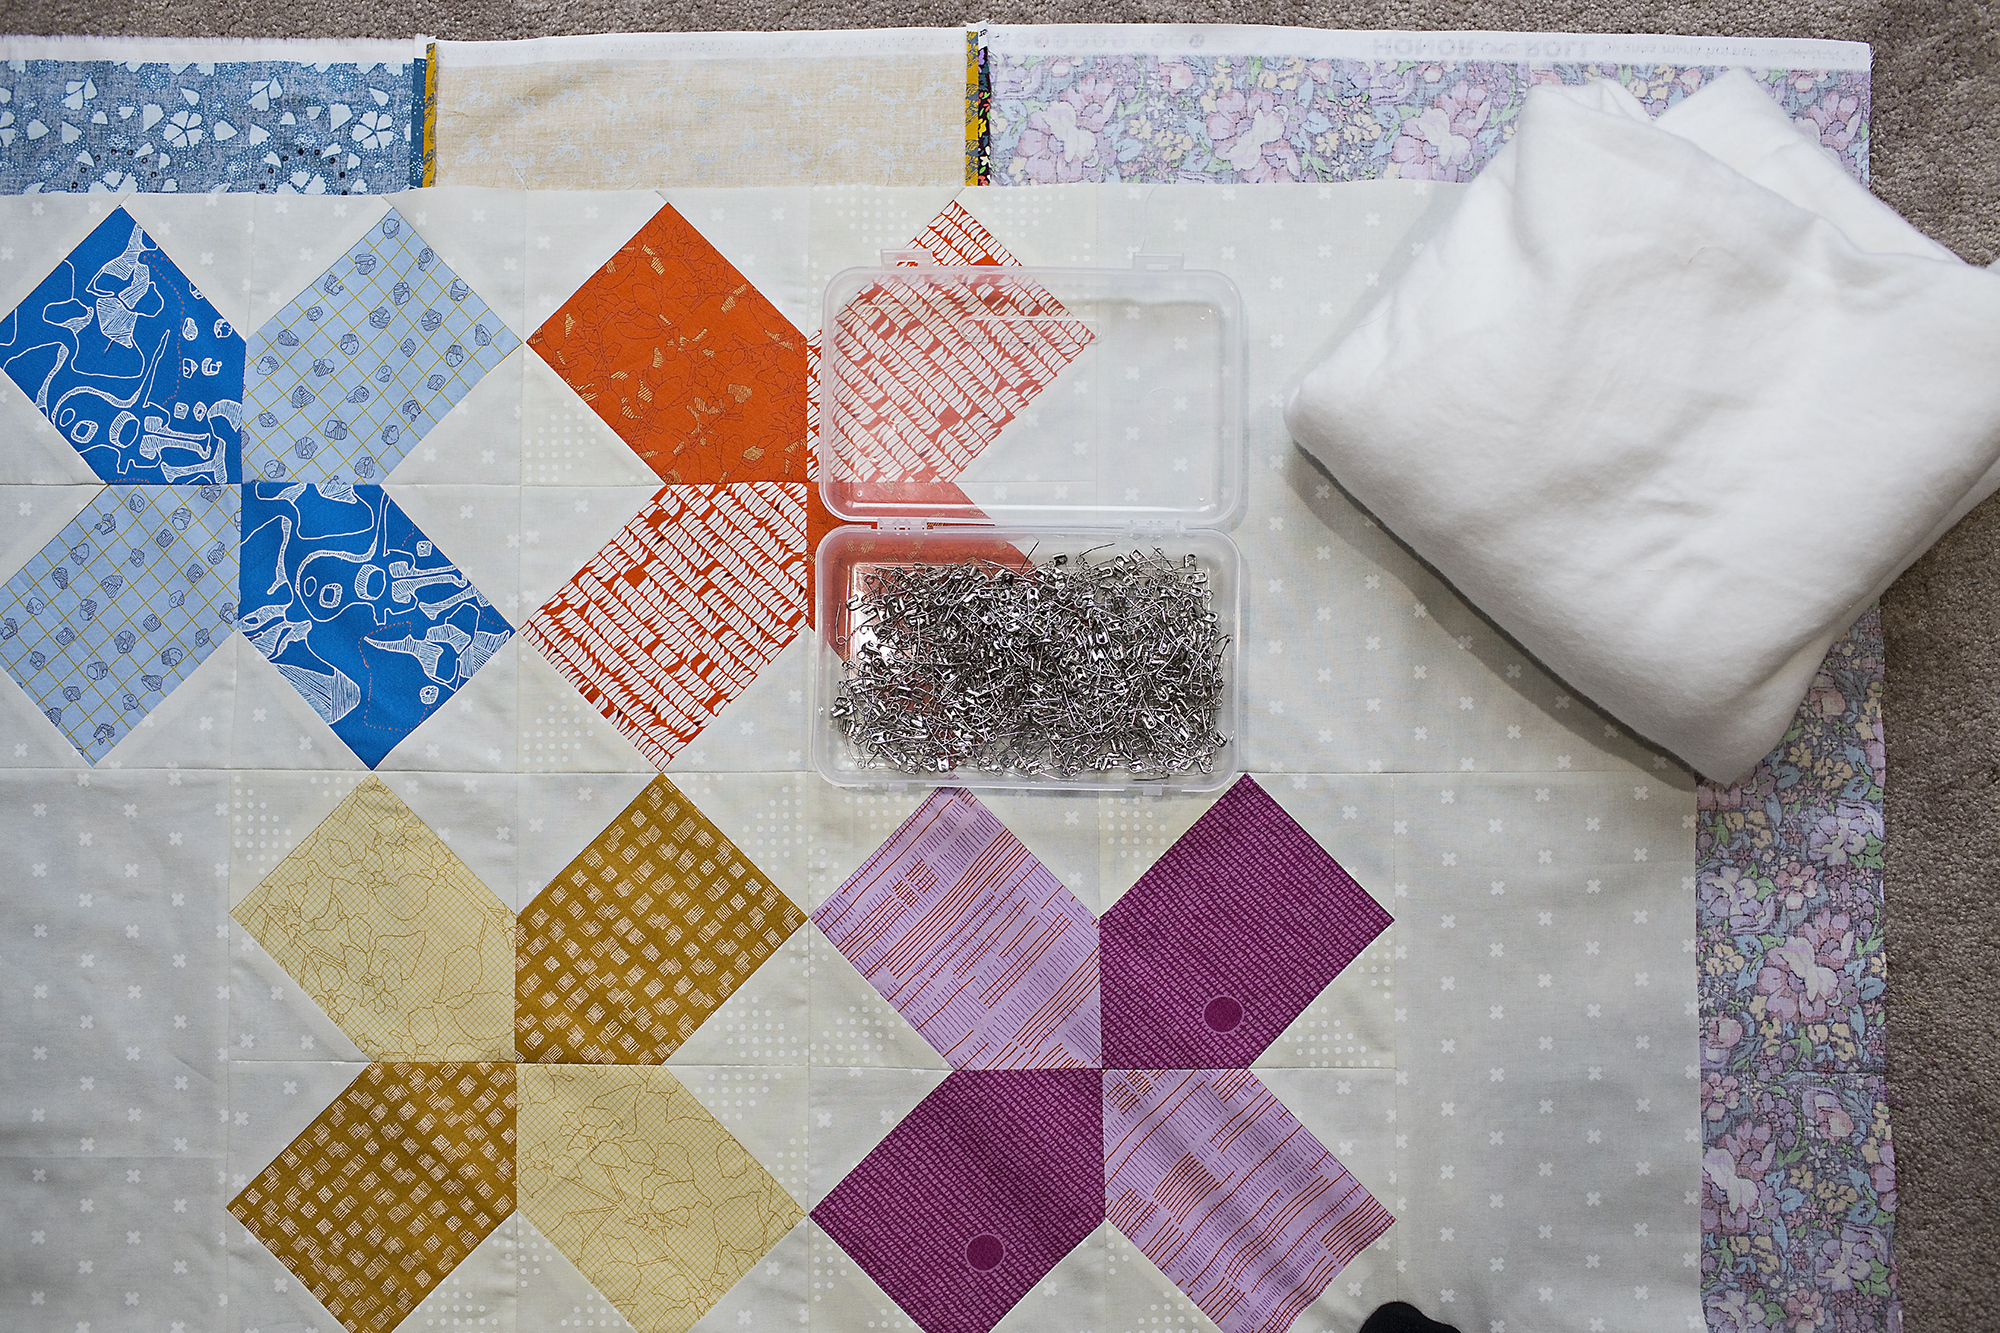
Hand stitch ribbon to back top of frame and attach all your favorite pins.