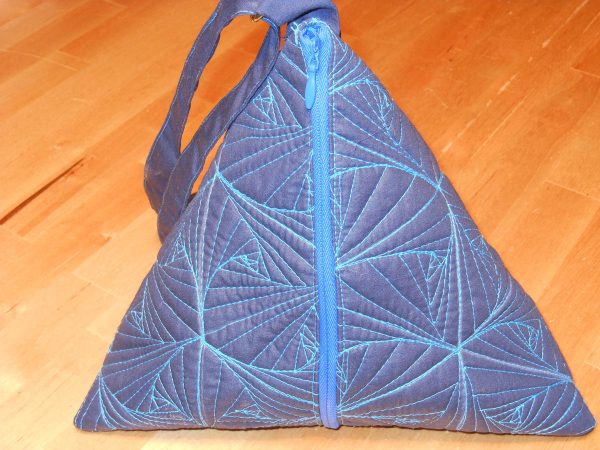
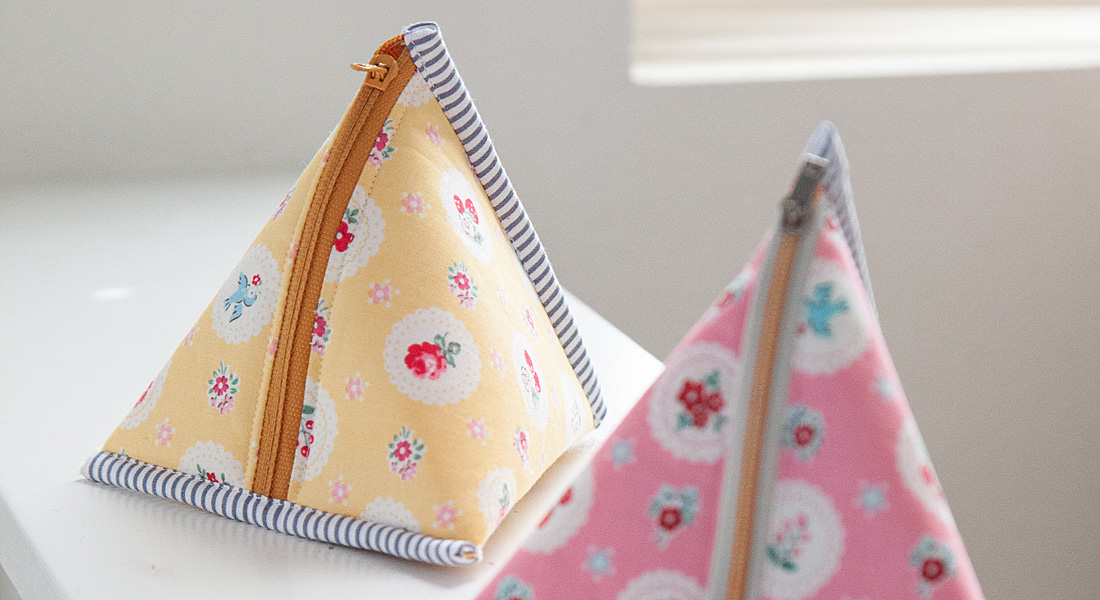
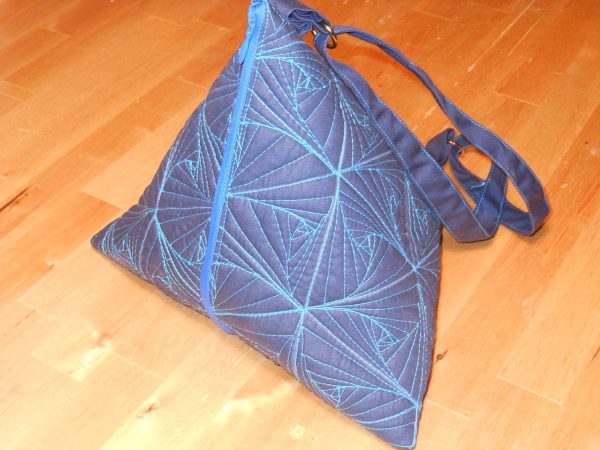
Pyramid Zipper Pouch from Free Motion Quilting Practice Squares
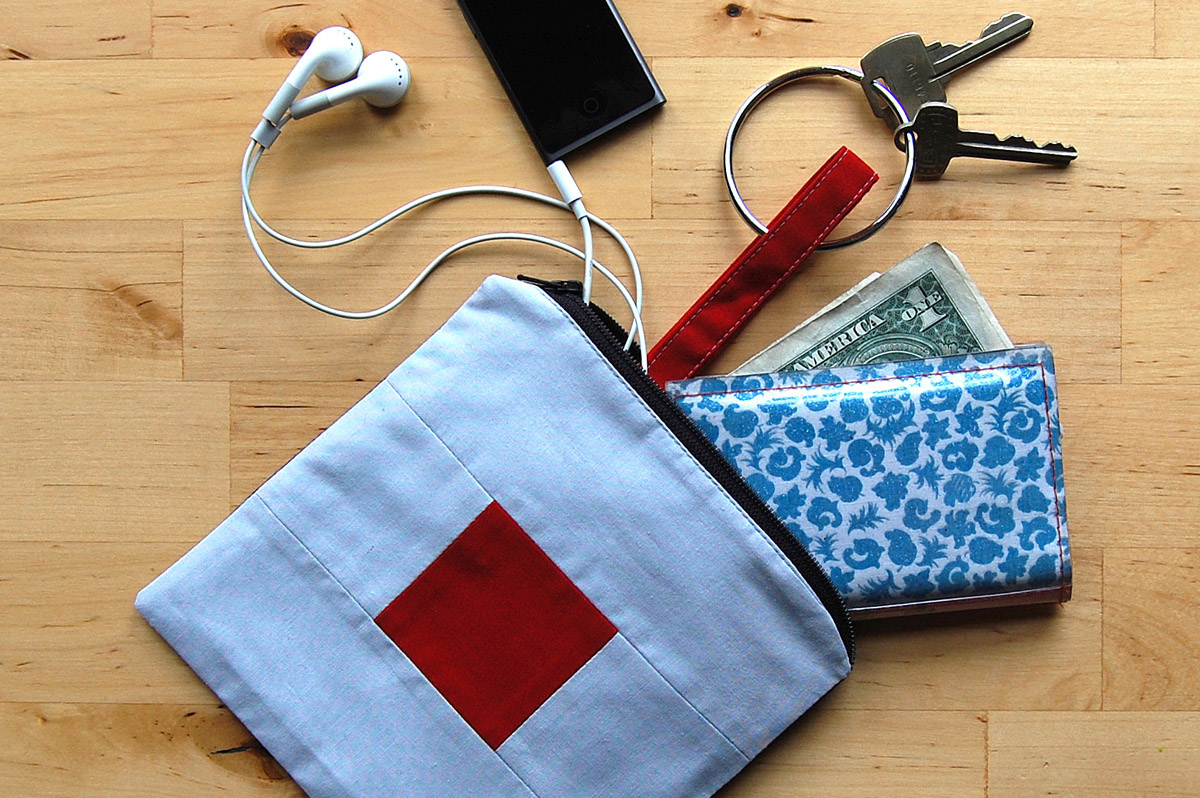
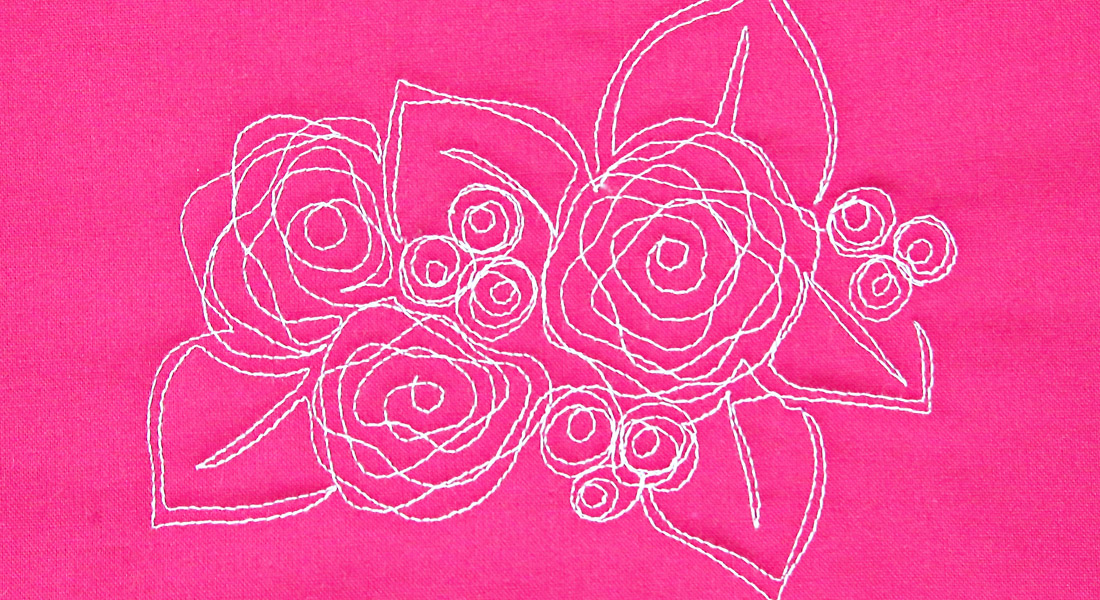
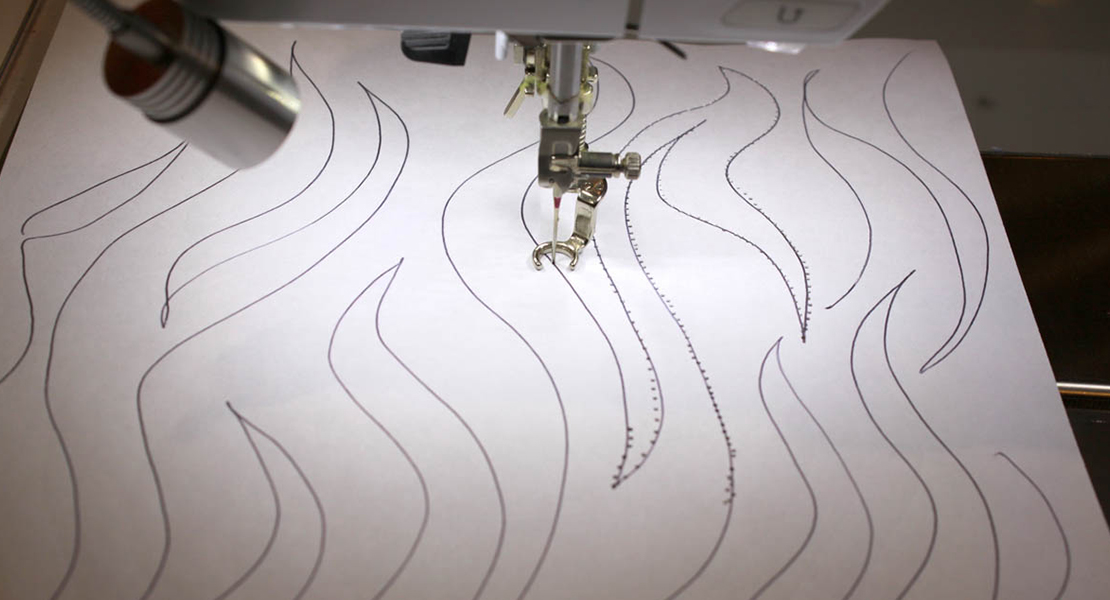
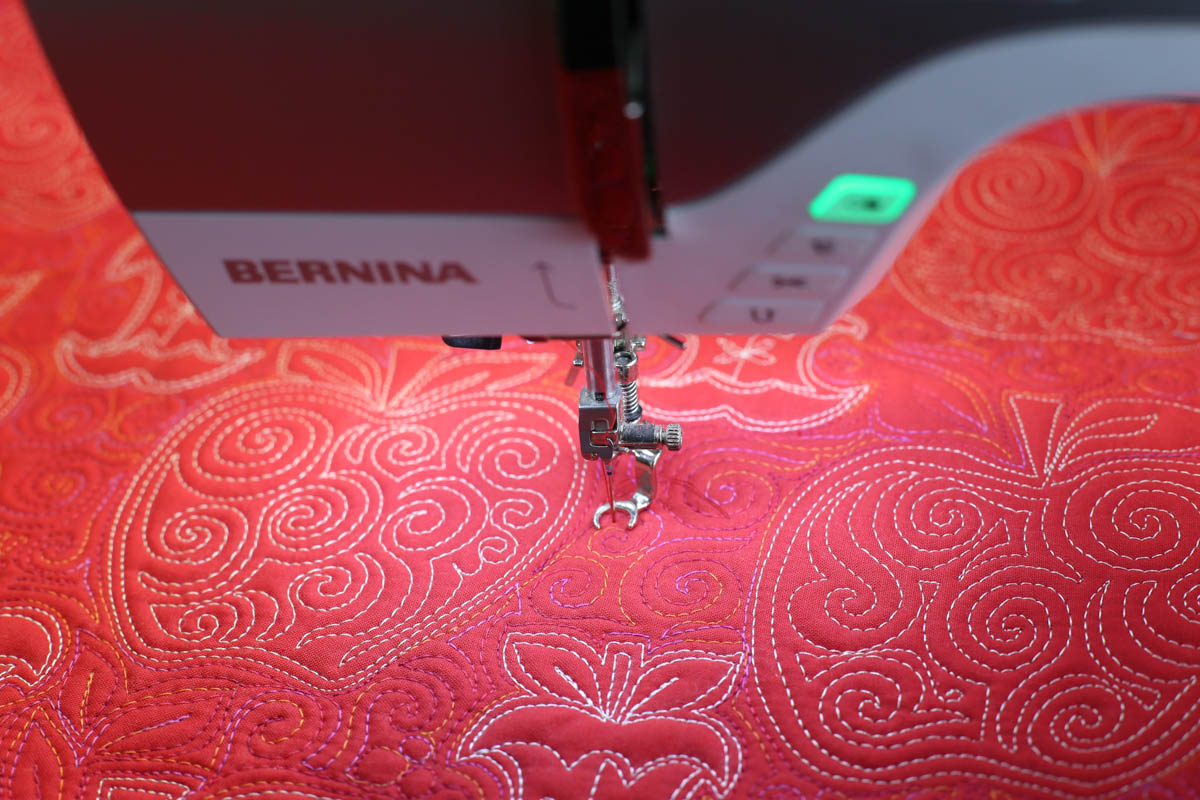
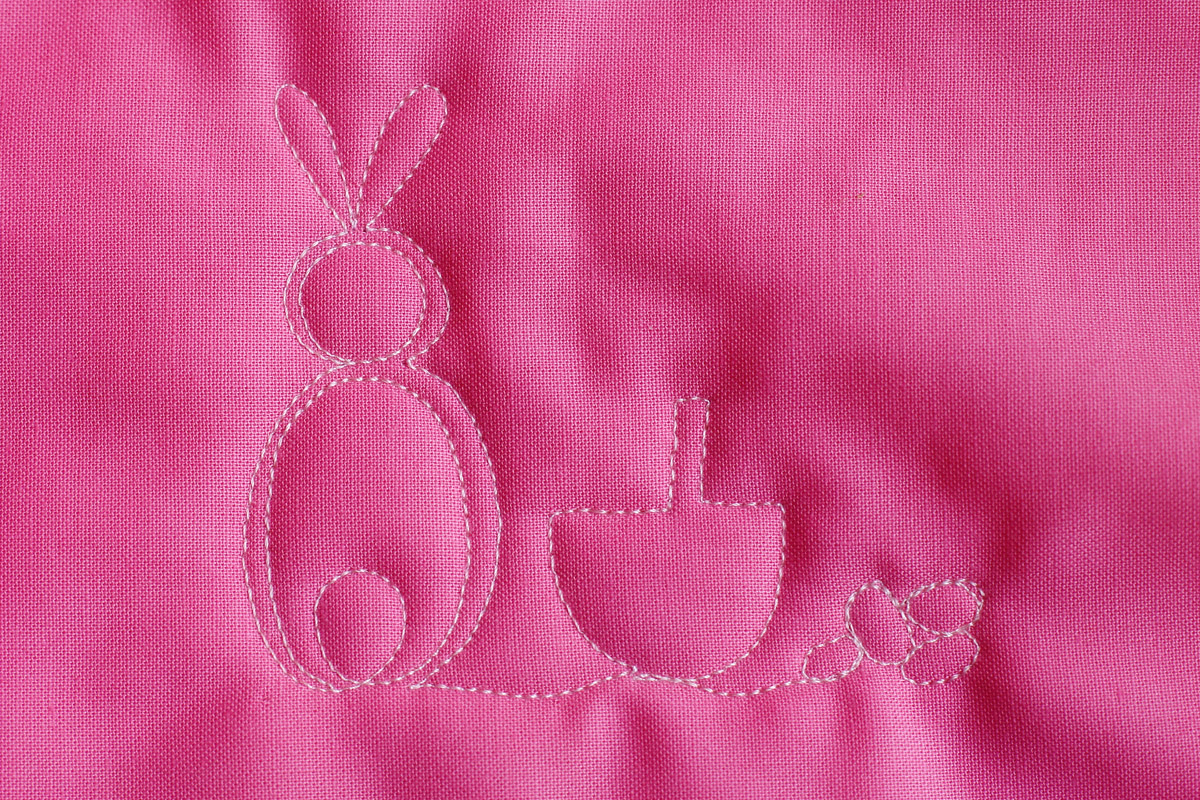
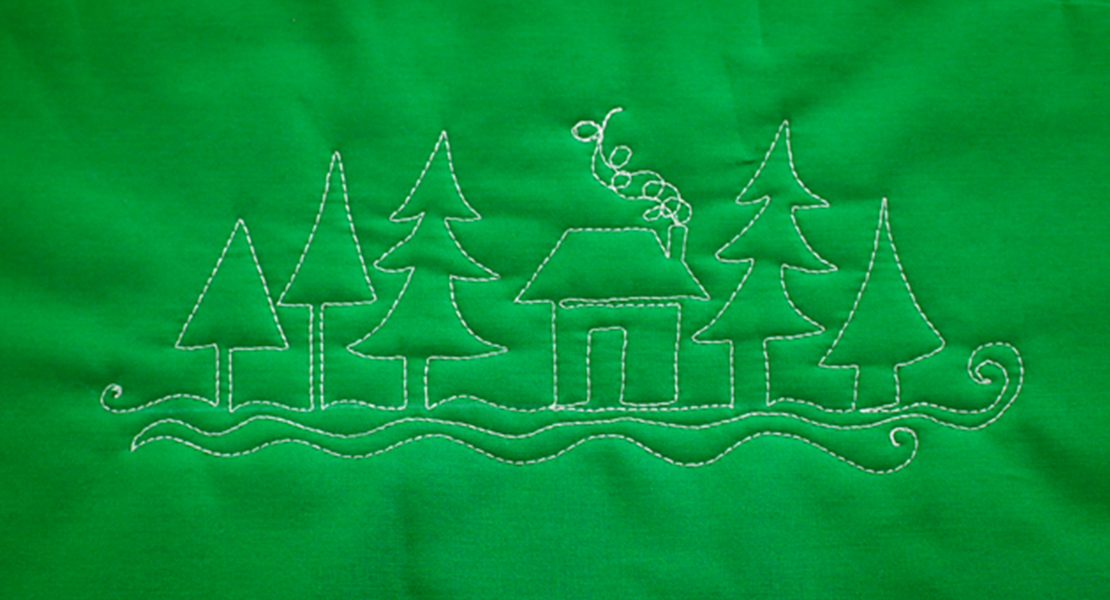
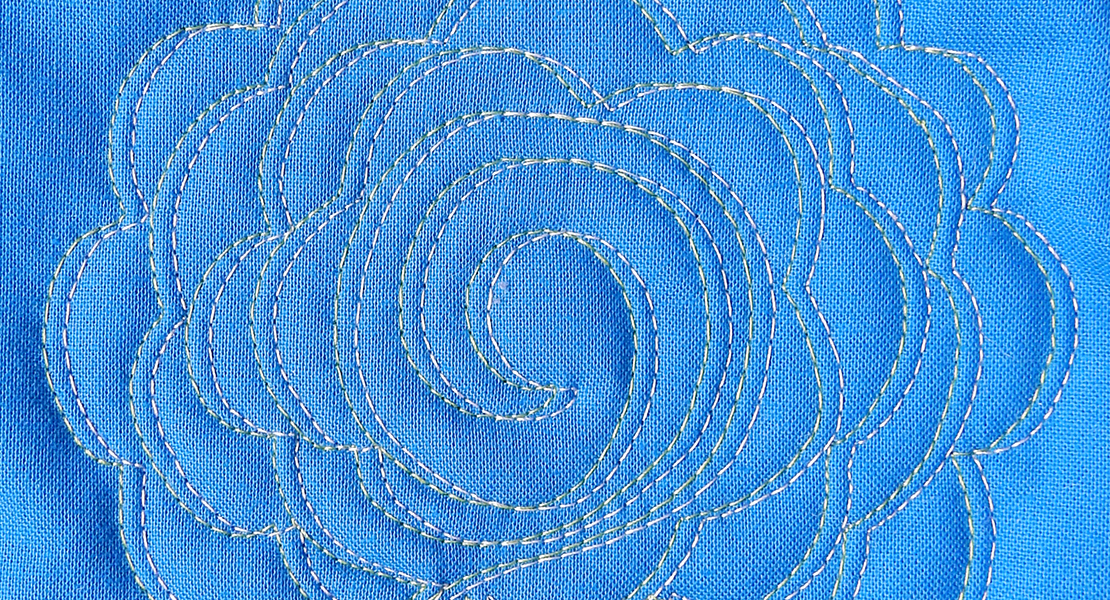
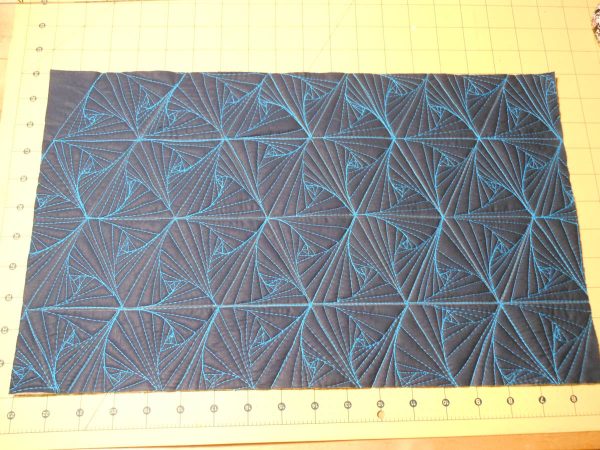
I just love free motion quilting, especially on my gorgeous BERNINA 750 QE! I like it so much that I am always trying out new quilting designs on practice squares. If you know me from my book Free Motion Quilting for Beginners then you know that I hate to waste a practice square, so I am always coming up with new small projects to use them in creative ways. My book is full of patterns that do just that, use pre quilted pieces to make something like a bag or a place-mat or even a dog bed. This pattern came from that same school of thought, as I had just taught myself to quilt this lovely design that starts out as triangles but ends up looking like fans, and I just had to do something with it. The triangle shape I had quilted over and over got me to thinking more about triangles, and after some clever folding and fussing I came up with this pyramid shaped zipper pouch that is super simple to make and so much fun. It holds lots and opens up all the way, which is very convenient. I tested its size and it will fit a DSLR camera quite nicely, I also tried out my wallet, cell phone, keys, small makeup pouch and mini sketch book/pens and it fit all that! This is a new take on the traditional zipper pouch, and it sure makes a great gift, you only need a few supplies to make it, so let’s get started and in less than a few hours start to finish you’ll have your very own!
Materials to create the pyramid zipper pouch:
- 2 Fat Quarters (one for the outside, one for the lining)
- 12 x 20″ piece of fusible fleece batting
- 20″ long zipper (or longer)
- (2) 1″ D rings
Instructions:
(*Note- if you have a big enough practice square you’ve already quilted that can be cut down to 10″ x 18″ then skip down to step 4)
Step 1
Cut top fabric to 10″ x 18″, and lining fabric 12″ x 20″
Step 2
Fuse fleece to the wrong side of the top fabric, smooth lining fabric over the back, baste as desired (I used a bit of spray baste)
Step 3
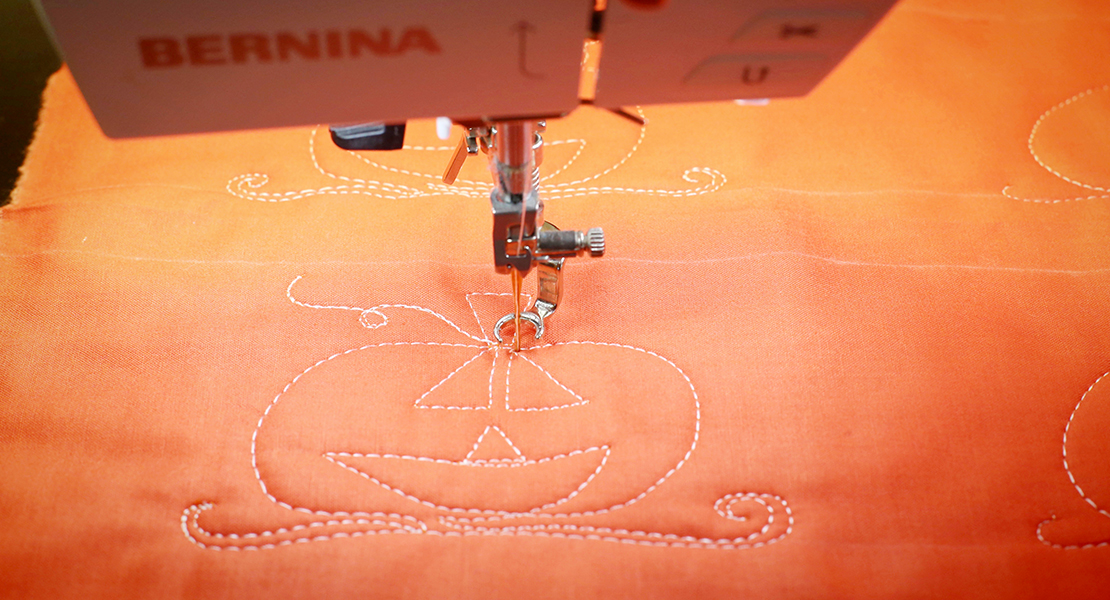
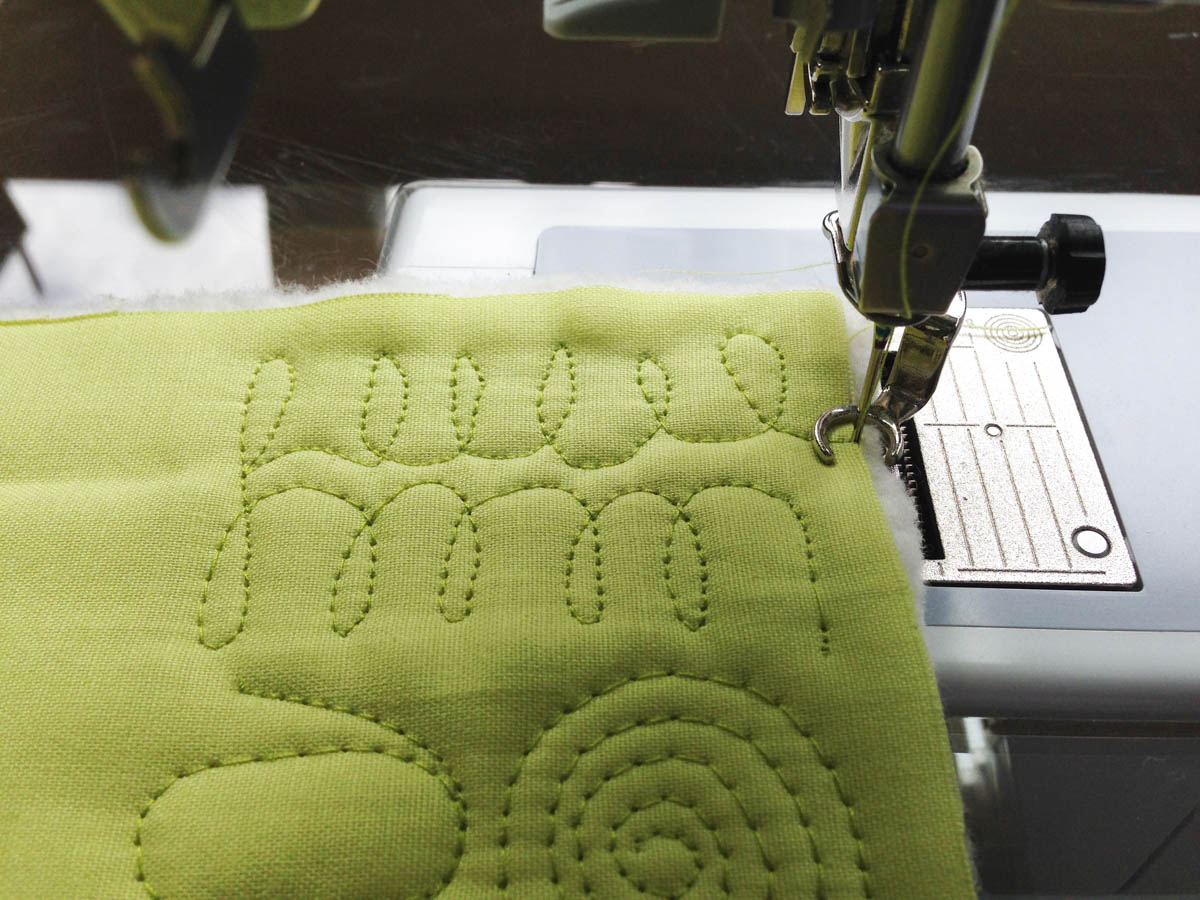
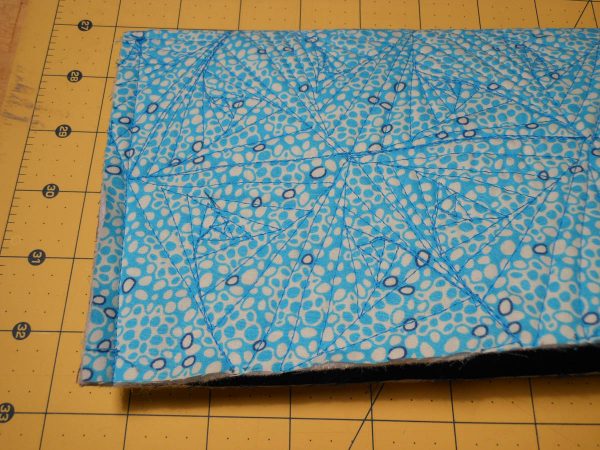
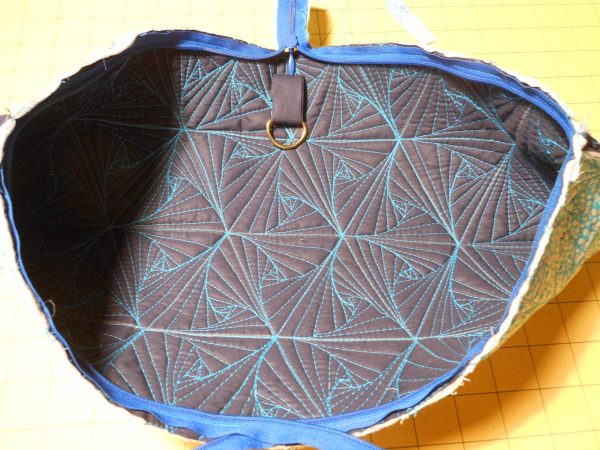
Quilt your fabric as desired, if free motion quilting isn’t for you then try quilting straight lines with a walking foot, e.g. the BERNINA Walking foot # 50. You’ll get a beautiful result either way. Once you are finished quilting trim the excess backing fabric away to make the entire piece 10″ x 18″.
Step 4
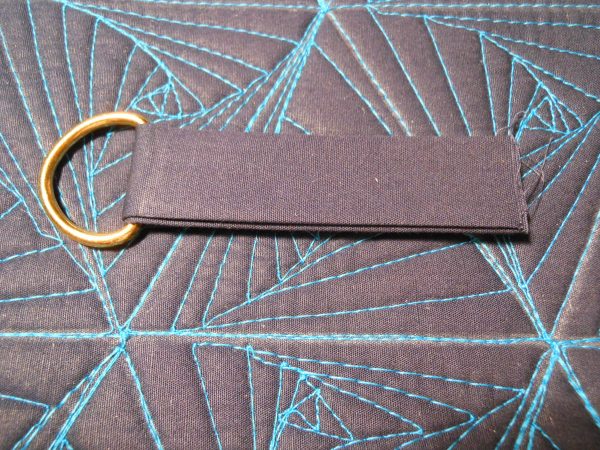
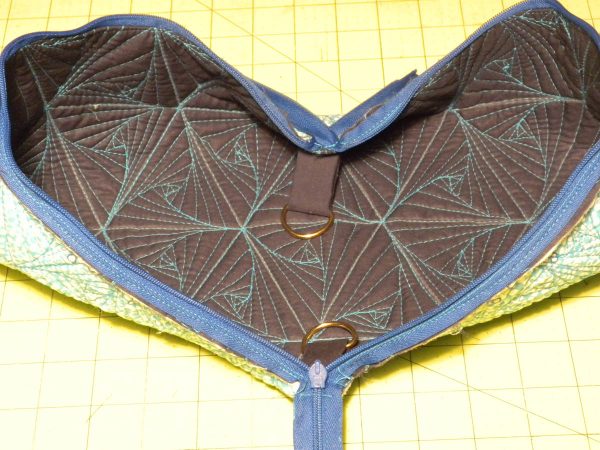
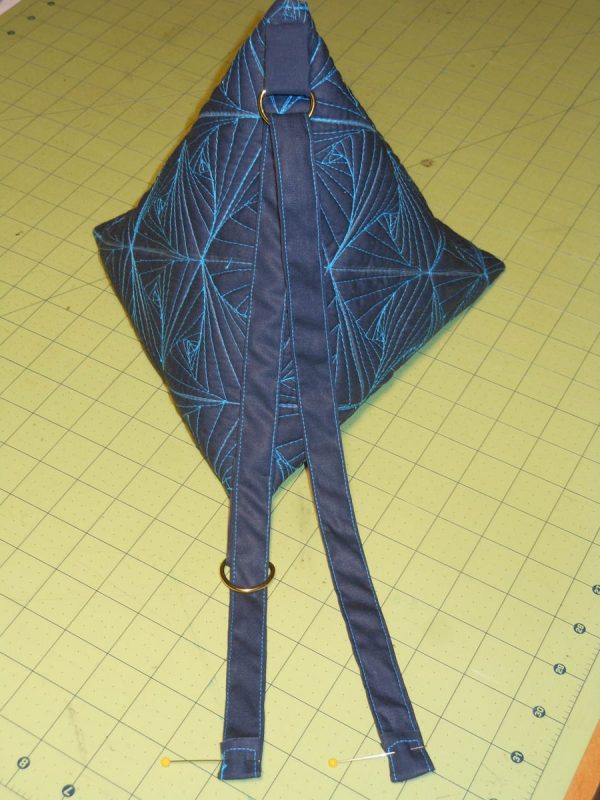
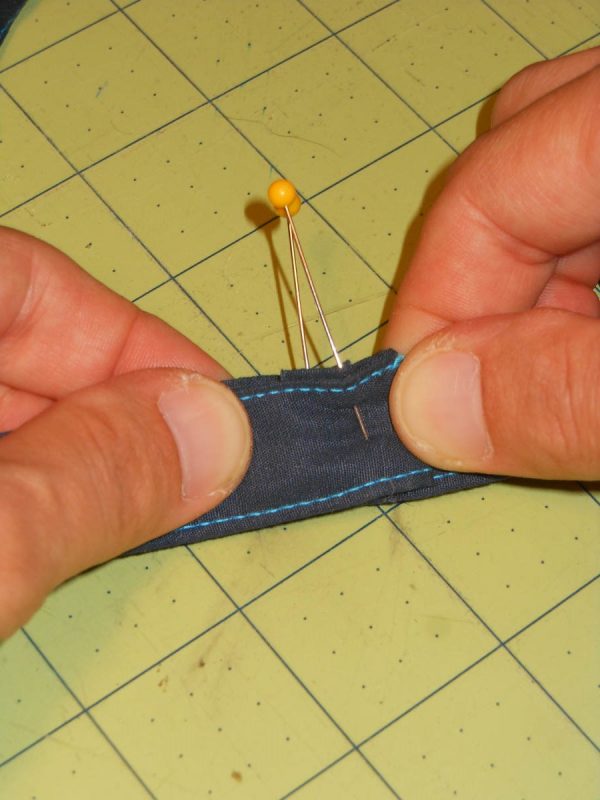
There are two (2) tabs that hold the D rings on the bag, to create them cut two (2) strips of 3″ x 6″ fabric from your remaining scraps of fat quarter fabric (either the lining fabric or the exterior fabric looks nice, I used the exterior fabric). Fold each strip in half lengthwise and then bring each edge into the middle fold, then fold in half, essentially creating a short binding strip 1″ long. Thread that through your D ring and repeat so you have two (2).
Step 5
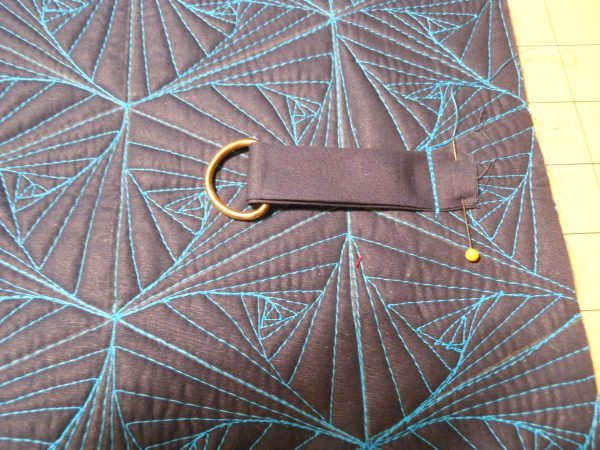
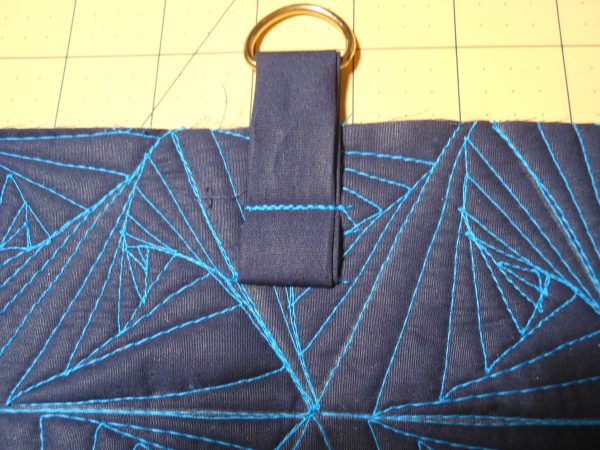
Find the center of the long sides of the quilted piece by folding it in half. Pin a tab 1.5″ in from the edge on the center fold on each side (raw edge should be at the 1.5″ mark). Sew down that edge with a half inch seam and back stitch to secure it. Fold the tab over the seam you just sewed to encase the raw edge and sew it down just beyond where it covers the raw edges. Repeat so there is a tab on either side of the middle fold line dividing the long sides.
Step 6
Next, with wrong side facing out fold in half lengthwise and sew both of the short sides with a quarter inch seam allowance.
Step 7
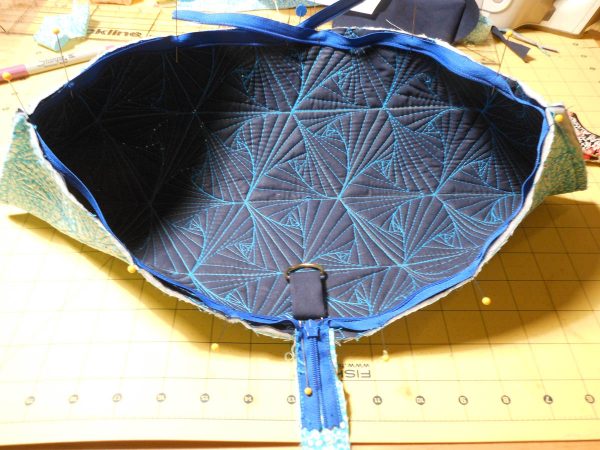
Find the center point of your zipper by folding it in half. With a marking pen make a small mark on the edge of the zipper tape right at the halfway mark on both sides of the zipper. The bag should still be wrong side out from the last step, leave it that way and find one of the side seams you just made in the last step—fully open the zipper and with the pull (right) side facing down toward the exterior fabric line up that marked center line on one side of the tape to the seam and pin, repeat for other side so zipper center is lined up with both of the side seams. This will help keep everything even, now gently ease the zipper around the rest of the bag meeting up at the tab areas—pin as you go and take your time trying to keep things as even as possible. You will notice you have a tail left on both sides (this is fine, you can trim the extra tails off later if you want), but I just left mine as they live inside the bag and don’t show.
Step 8
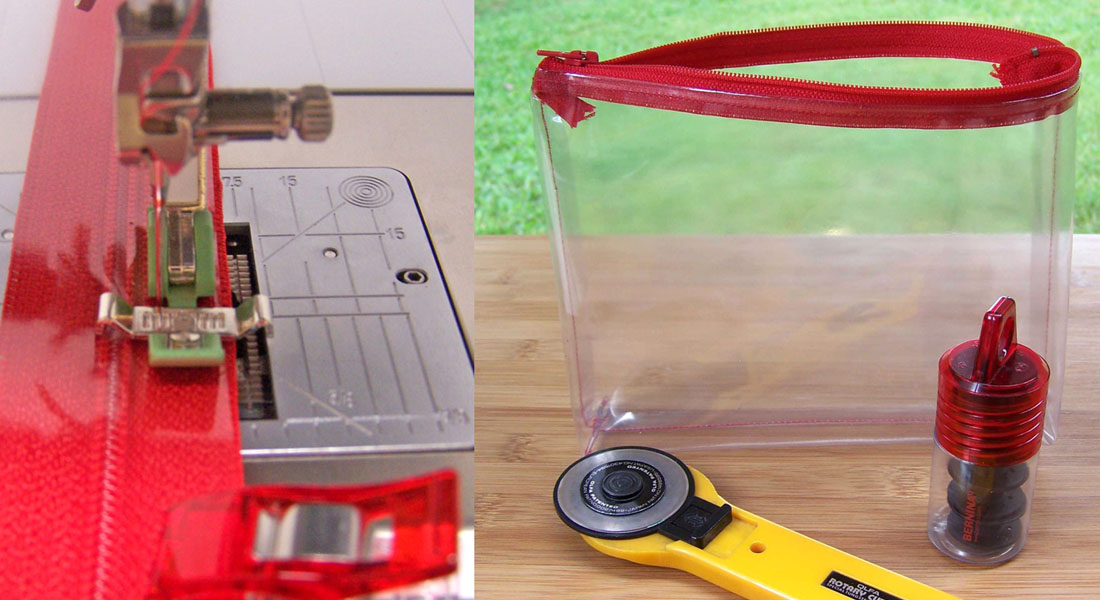
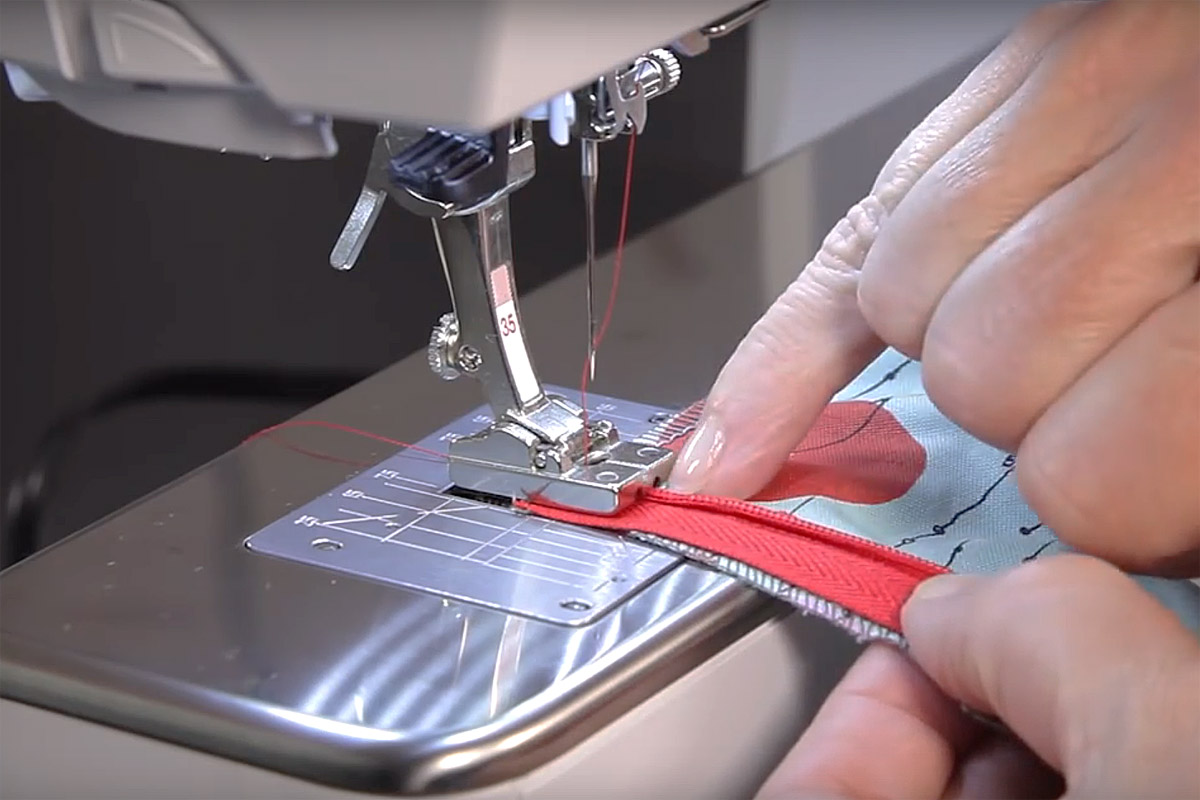
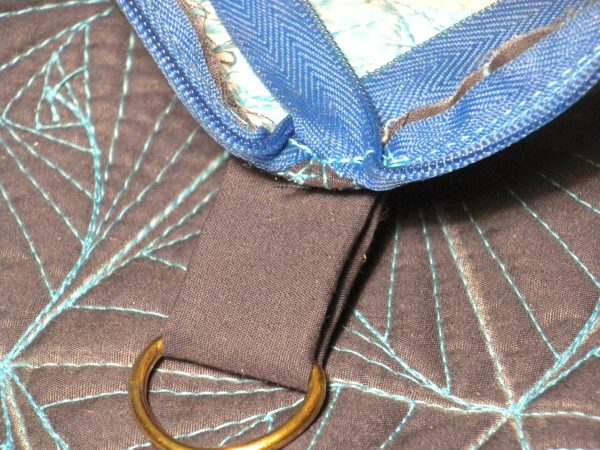
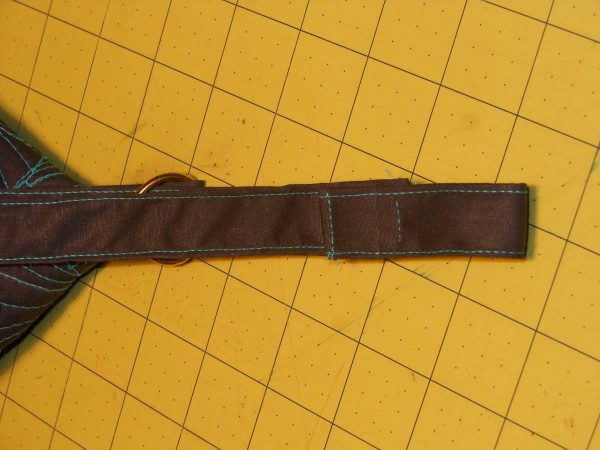
Using a BERNINA Zipper foot #4/#4D sew around the zipper on both sides taking care to backstitch when you begin and end so your seam is strong. I start at one tab and end when I get to the next one. That leaves a small area of space for the width of the zipper. When you have the zipper sewn turn the zipper edge down so the teeth are the top—pin and carefully topstitch about a quarter inch away from the seam as you see in the second picture—this will keep the fabric edges away from the zipper and make the bag look nicer. I like to increase my stitch width to three (3) when I topstitch—as I think it looks nicer.
Step 9
Whether you are trimming your end zipper tails or keeping them like I did you will want to fold them back and clean up that inch of raw edge that we left in front of the tab—do this by folding the zipper back on itself at an angle on both sides, and then folding the raw edge back about a quarter inch and in one shot sew a 1″ long seam over both folded back tails and the folded back seam. On the other side with the pull get it open as far as you can, and fold that edge back like you did for the other side—if you have space to fit it under your presser foot with the zipper pull sufficiently out of the way then sew that down as well, if not then hand sew that 1″ area so the raw edge is folded in toward the lining like the other side.
Step 10
Flip the bag right side out and zip it up—admire your work so far—all that is needed now is a strap. To make the strap go to your remaining FQ scrap for the exterior of the bag and cut a 3″ x 22″ piece of fabric. Fold and press just like in step 4 (the same way you made the tabs) and sew an eighth inch inside the edges of the strap on both long sides. Thread the strap through both D rings and making sure it isn’t twisted fold one of the raw edges under and the other fold it over so when you lay them on top of each other overlapping by 1″ both raw edges are encased inside that overlapped inch. See pics below for a clearer idea as it is a simple concept that is hard to describe.
Step 11
Now you have a finished bag- time to fill it up with stuff! Hope you enjoyed this tutorial and if you are interested in learning how I quilted this quilting design please follow along with my blog as am working on a video tutorial and will have it up soon!