Quilt Binding With Words
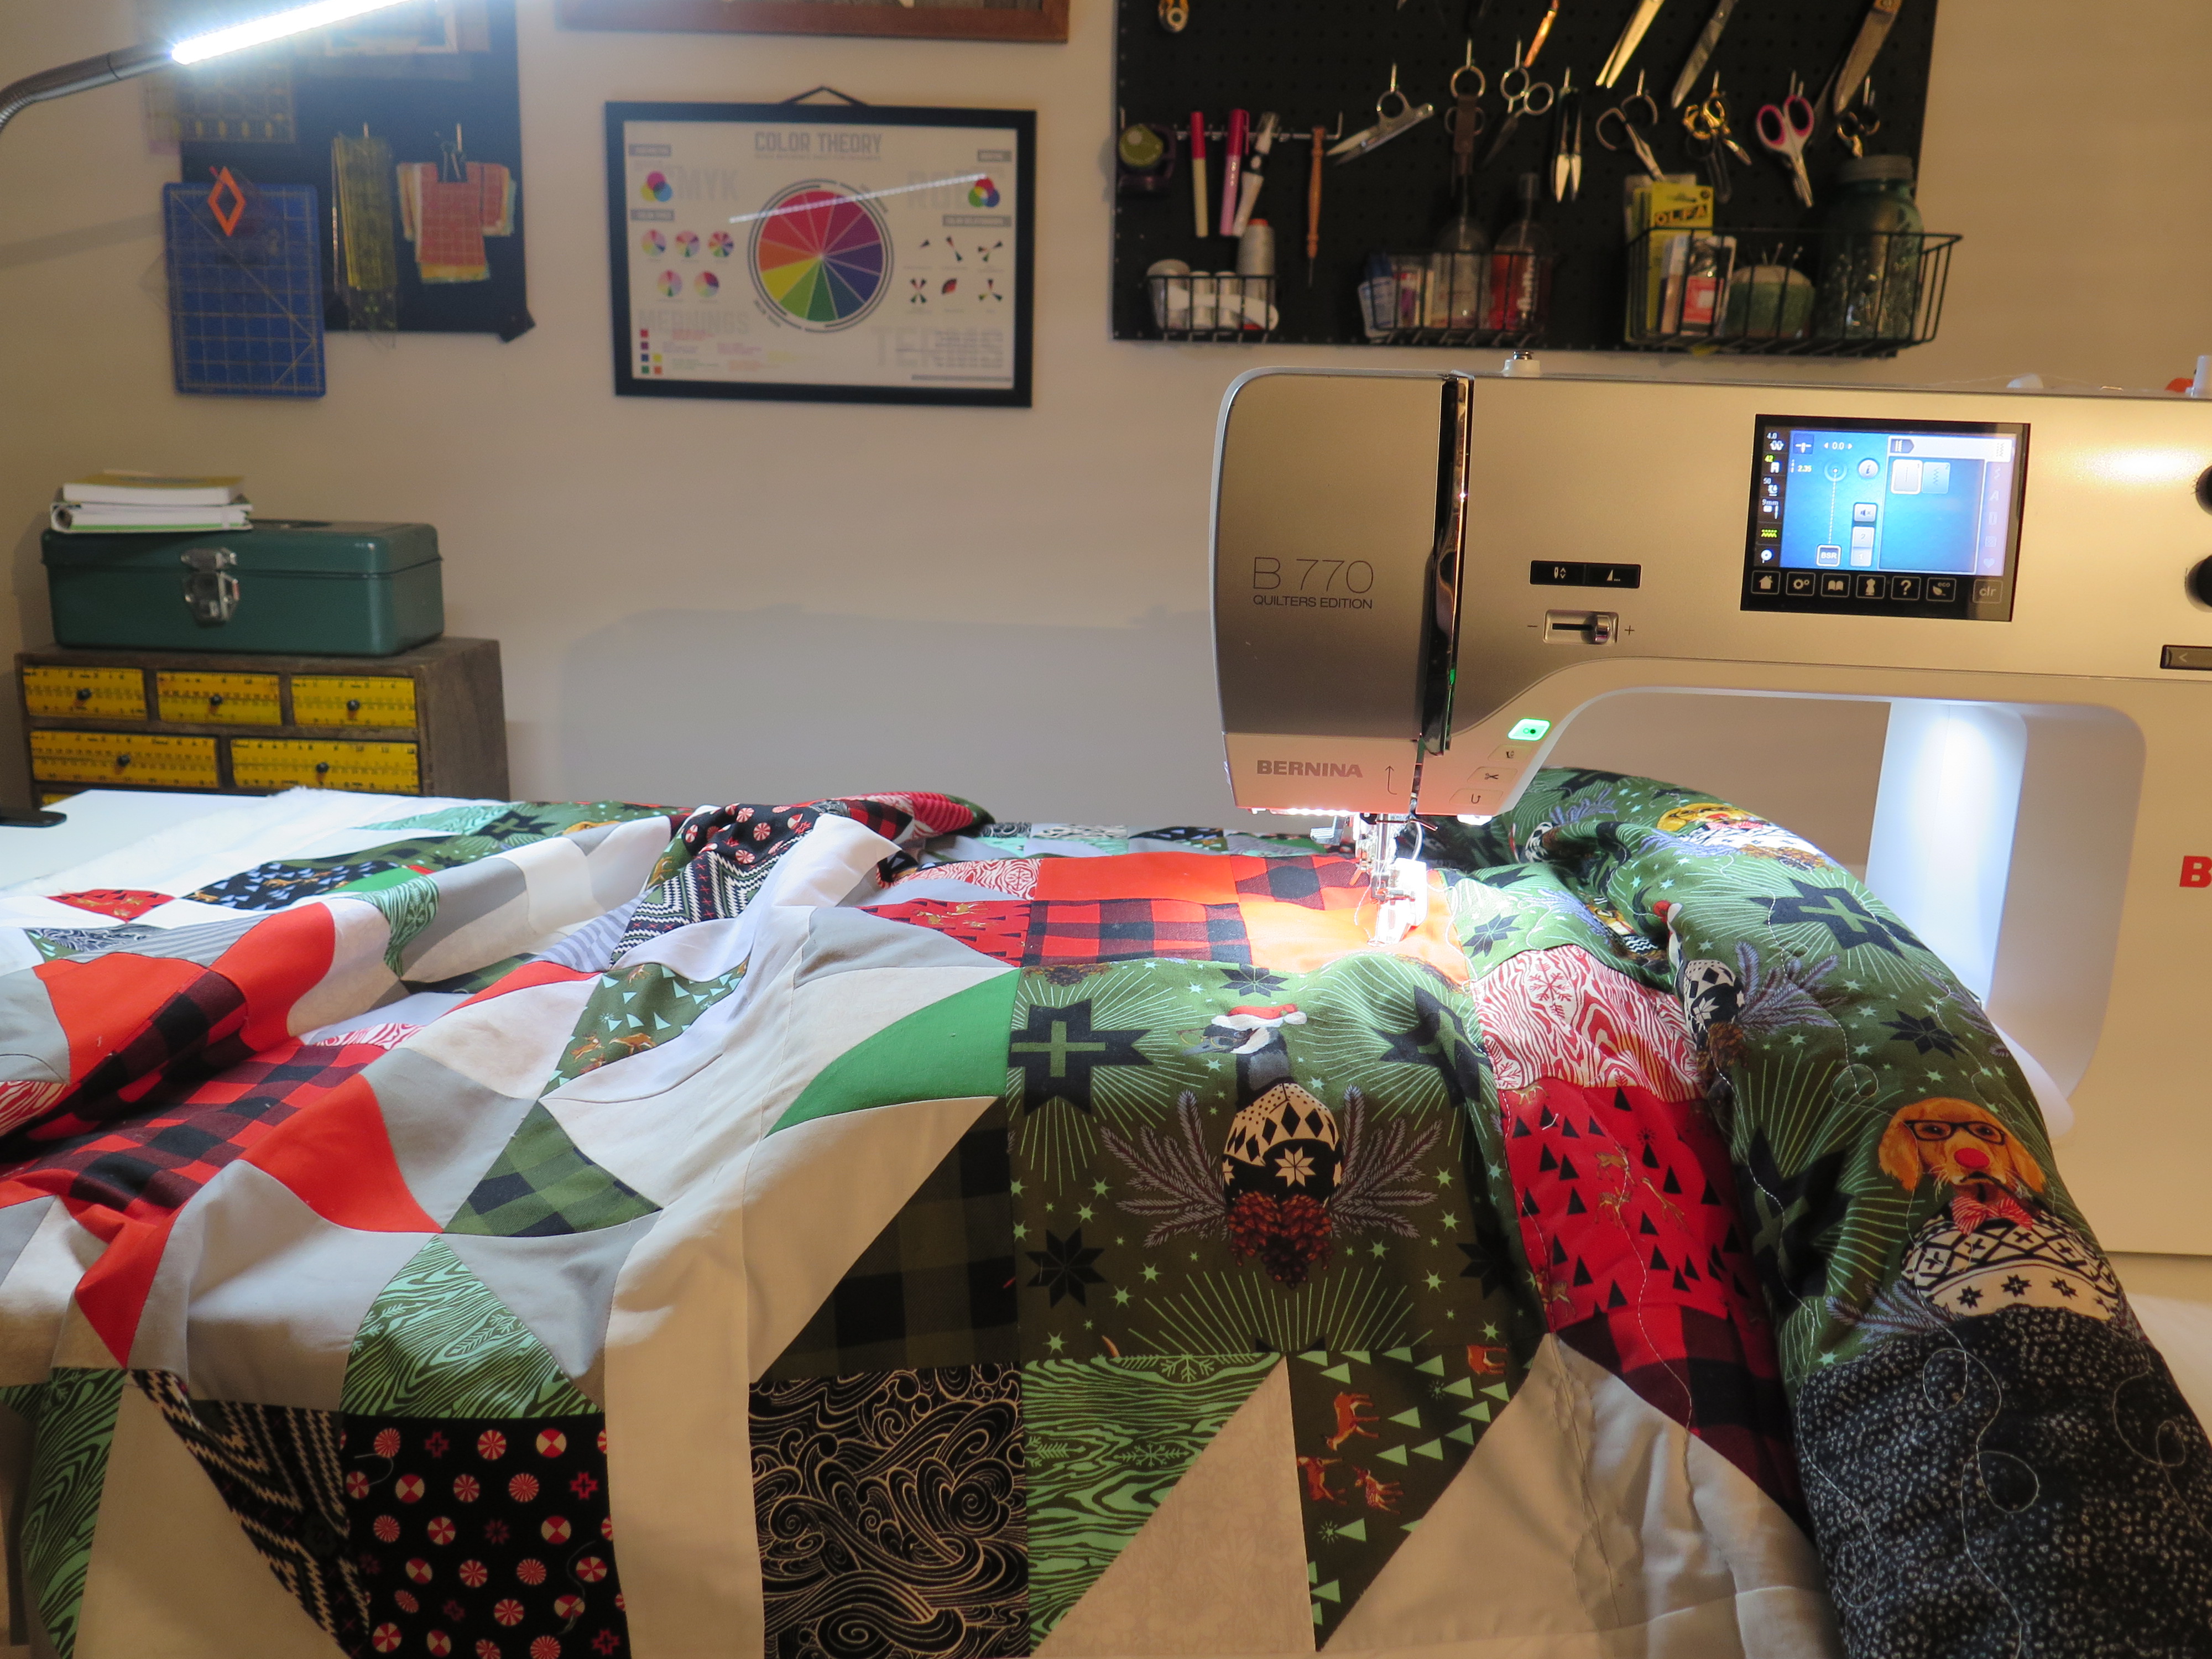
Hello! My name is Mandy Leins of Mandalei Quilts, and I am a longarmer, pattern designer, and book author. While I almost always label my quilts, this last year was so busy that I didn’t get to attaching information to everything. That got me thinking about the ways we label our quilts, and I wanted to try something a little different. This tutorial is how I used the built-in alphabets on my BERNINA 790 to add text to the binding itself. Because my BERNINA is capable of a 9mm stitch width, I have provided the cutting instructions I used. Machines with a narrow stitch width may be able to use strips cut slightly less wide.
Materials:
- Strips for binding cut 2 3/4″ x Width of Fabric (enough to cover your quilt edges plus extra for overlapping)
- glue stick
- iron
- Tear away stabilizer, such as Ultra Clean and Tear
- 50 wt cotton thread (I used Aurifil)
- Open embroidery foot #20/20C/20D
- appropriate stitch plate for zigzag
Instructions for making binding with words
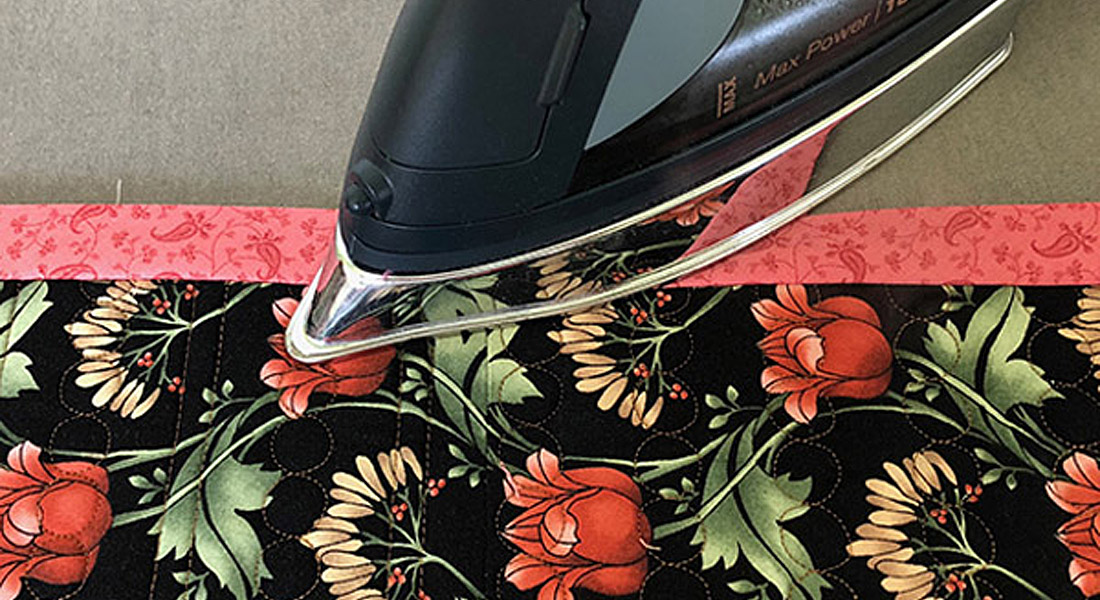
Cut your binding strips 2 3/4″, fold one strip in half lengthwise and press, as you would for regular binding strips. You will stitch out your words before you sew the strips together, so set the remaining strips to the side.

Cut a strip of stabilizer longer and slightly wider than your binding strip that has been folded in half. Open up your binding strip so that the crease runs down the center. With a light hand, draw a stripe of glue with your glue stick along the length of your stabilizer, and then gently place the left side of your binding strip, wrong side down, over the glue. When you are satisfied that the area is covered, heat set with an iron.

I like to situate the text around the middle of the strip so that it’s not too near any potential seam lines, or the beginning and ending of the binding process. This is an important consideration and will have an impact on your choices coming up, so plan carefully.
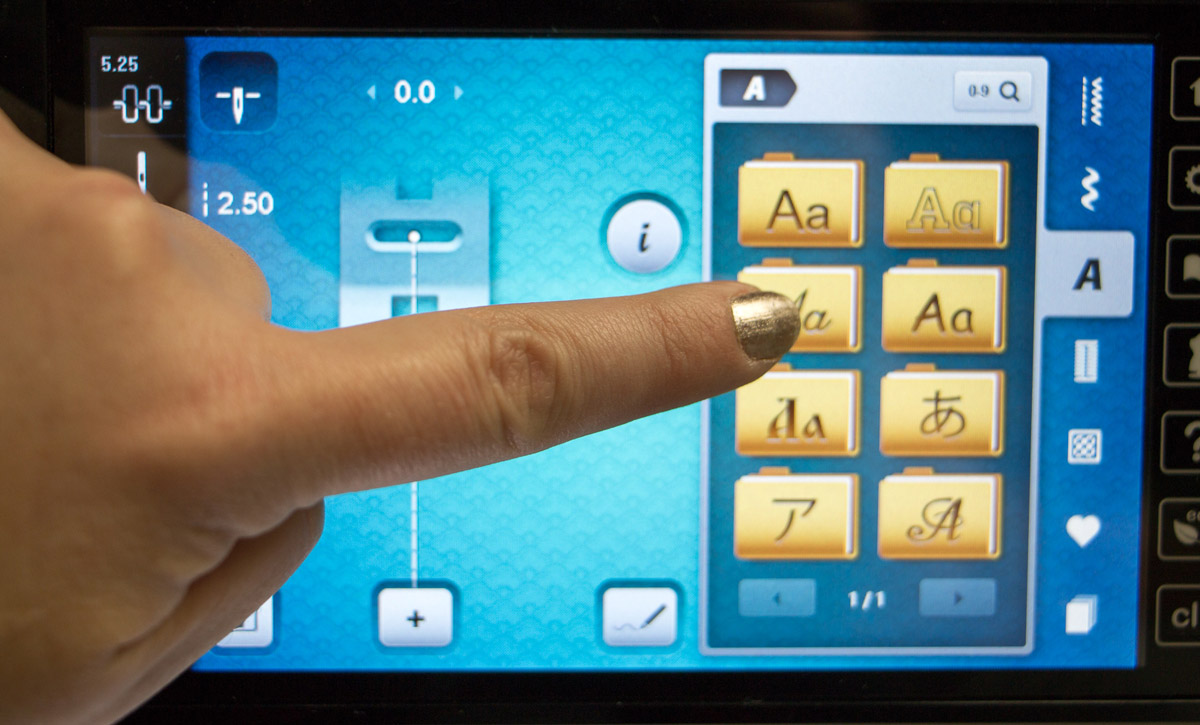
To add the letters, use your finger or stylus to select the alphabet style you want from the Alphabet folders.

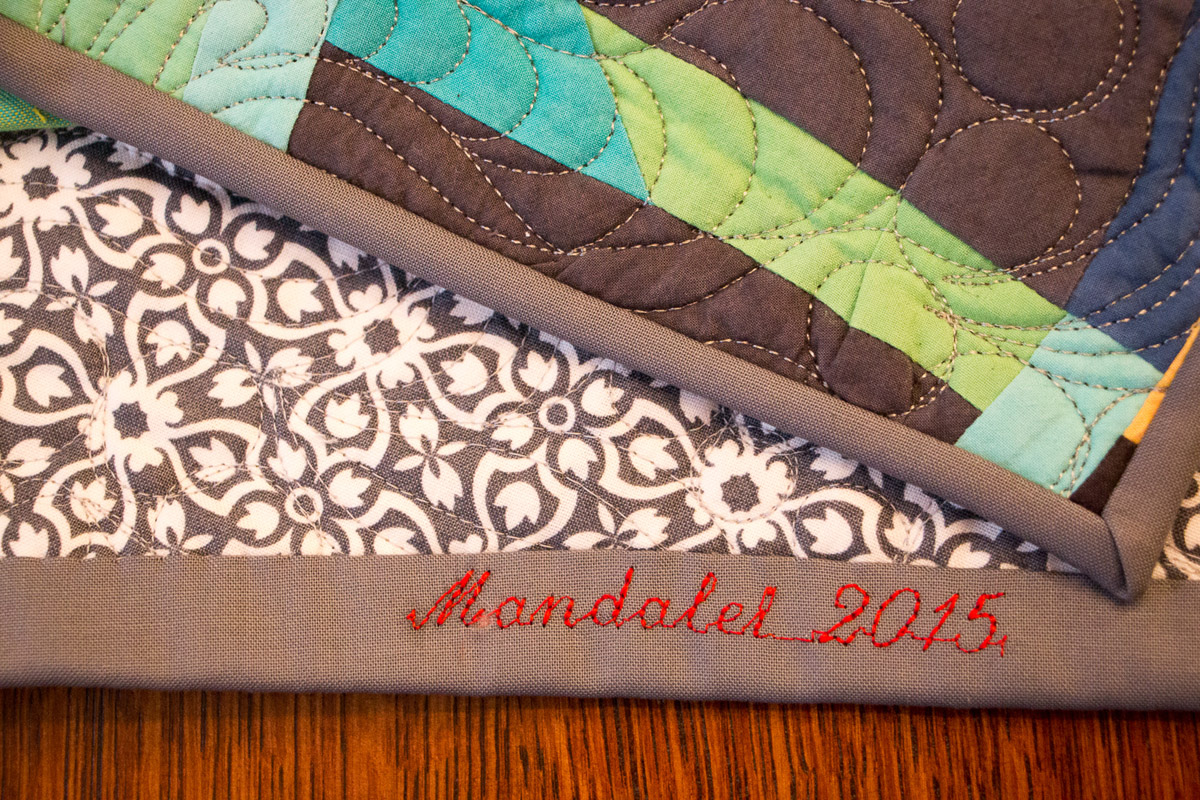
Select the alphabet font you wish using the folders you have available. In this tutorial, I chose the script, and chose to give my company name and the year the quilt was made, “Mandalei 2015”.
Then touch the “+” icon underneath the image of the presser foot. This will allow you to add a series of letters to spell out what you wish.
Select the letters you want. I used an underscore to create space between “Mandalei” and “2015”. If you make a mistake, simply press the icon for information (located in the middle between the image of the stitches on the left and the folders on the right).

The next screen gives you a number of options for altering the letters (including mirroring, adjusting sizes, and more), and also gives you the option for deleting a mistake. You can see I have two “a” characters, and want to remove the last one! If it is the last thing you entered, simply touch the trash can and the last character you entered will be removed.
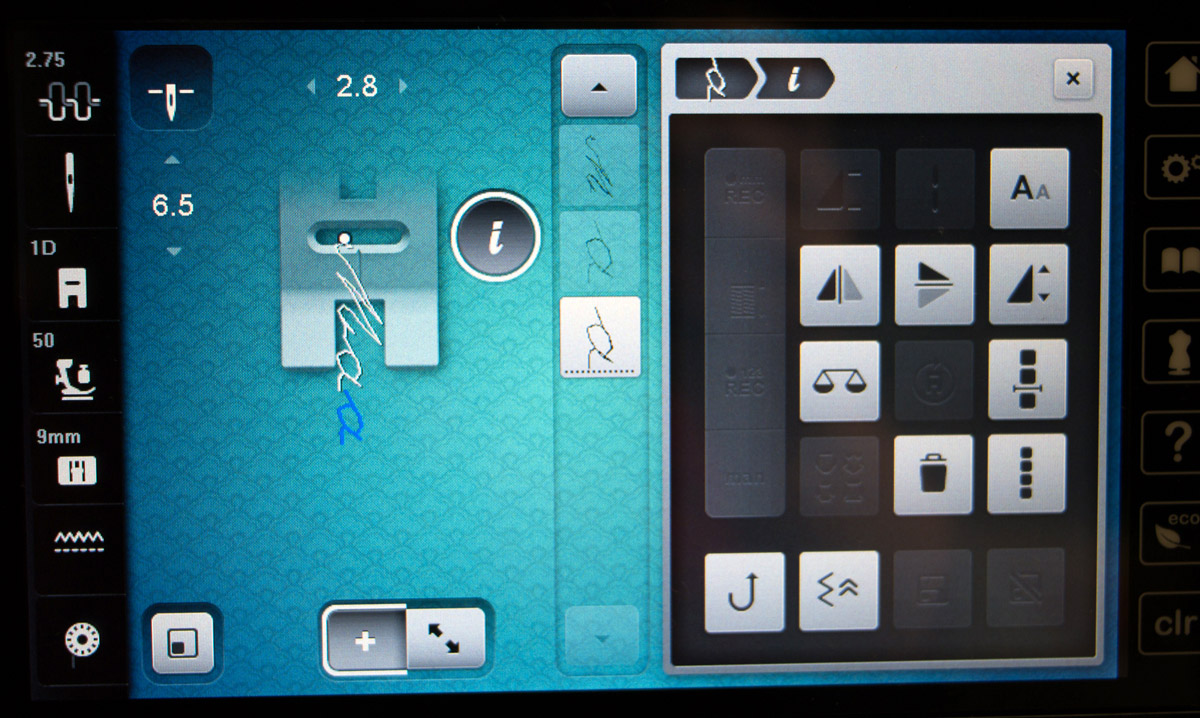
Press the “i” button again to get back to the previous screen, and continue to enter in the characters you want.
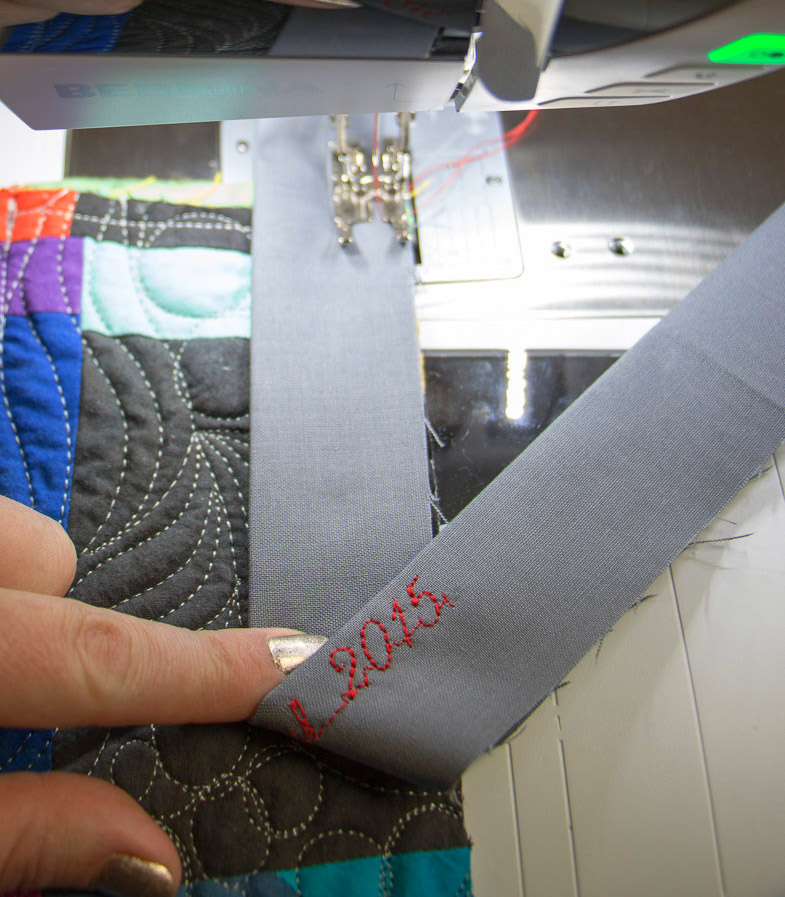
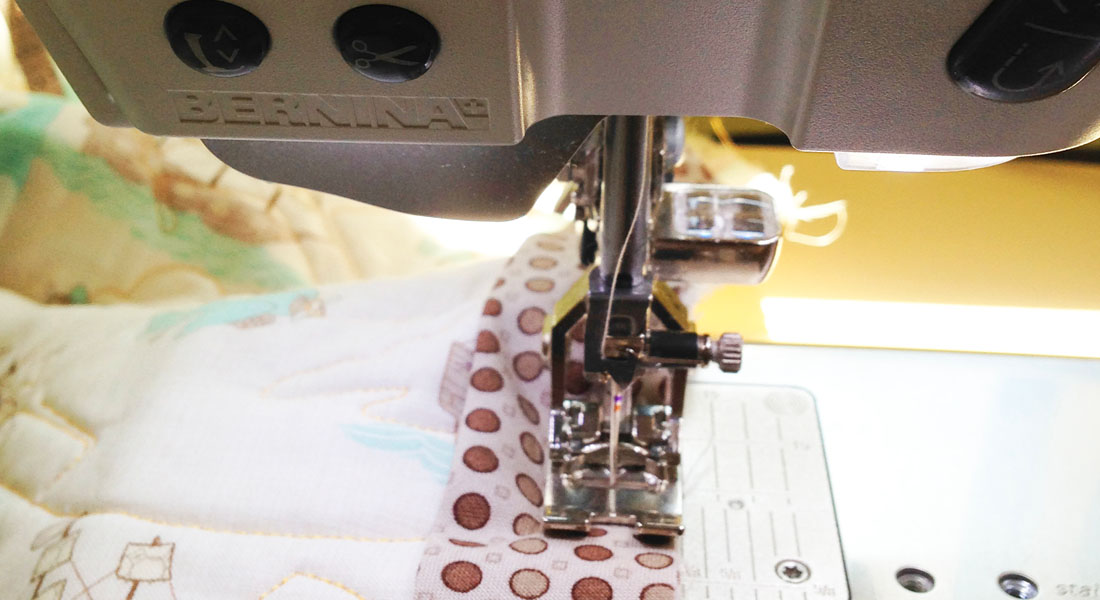
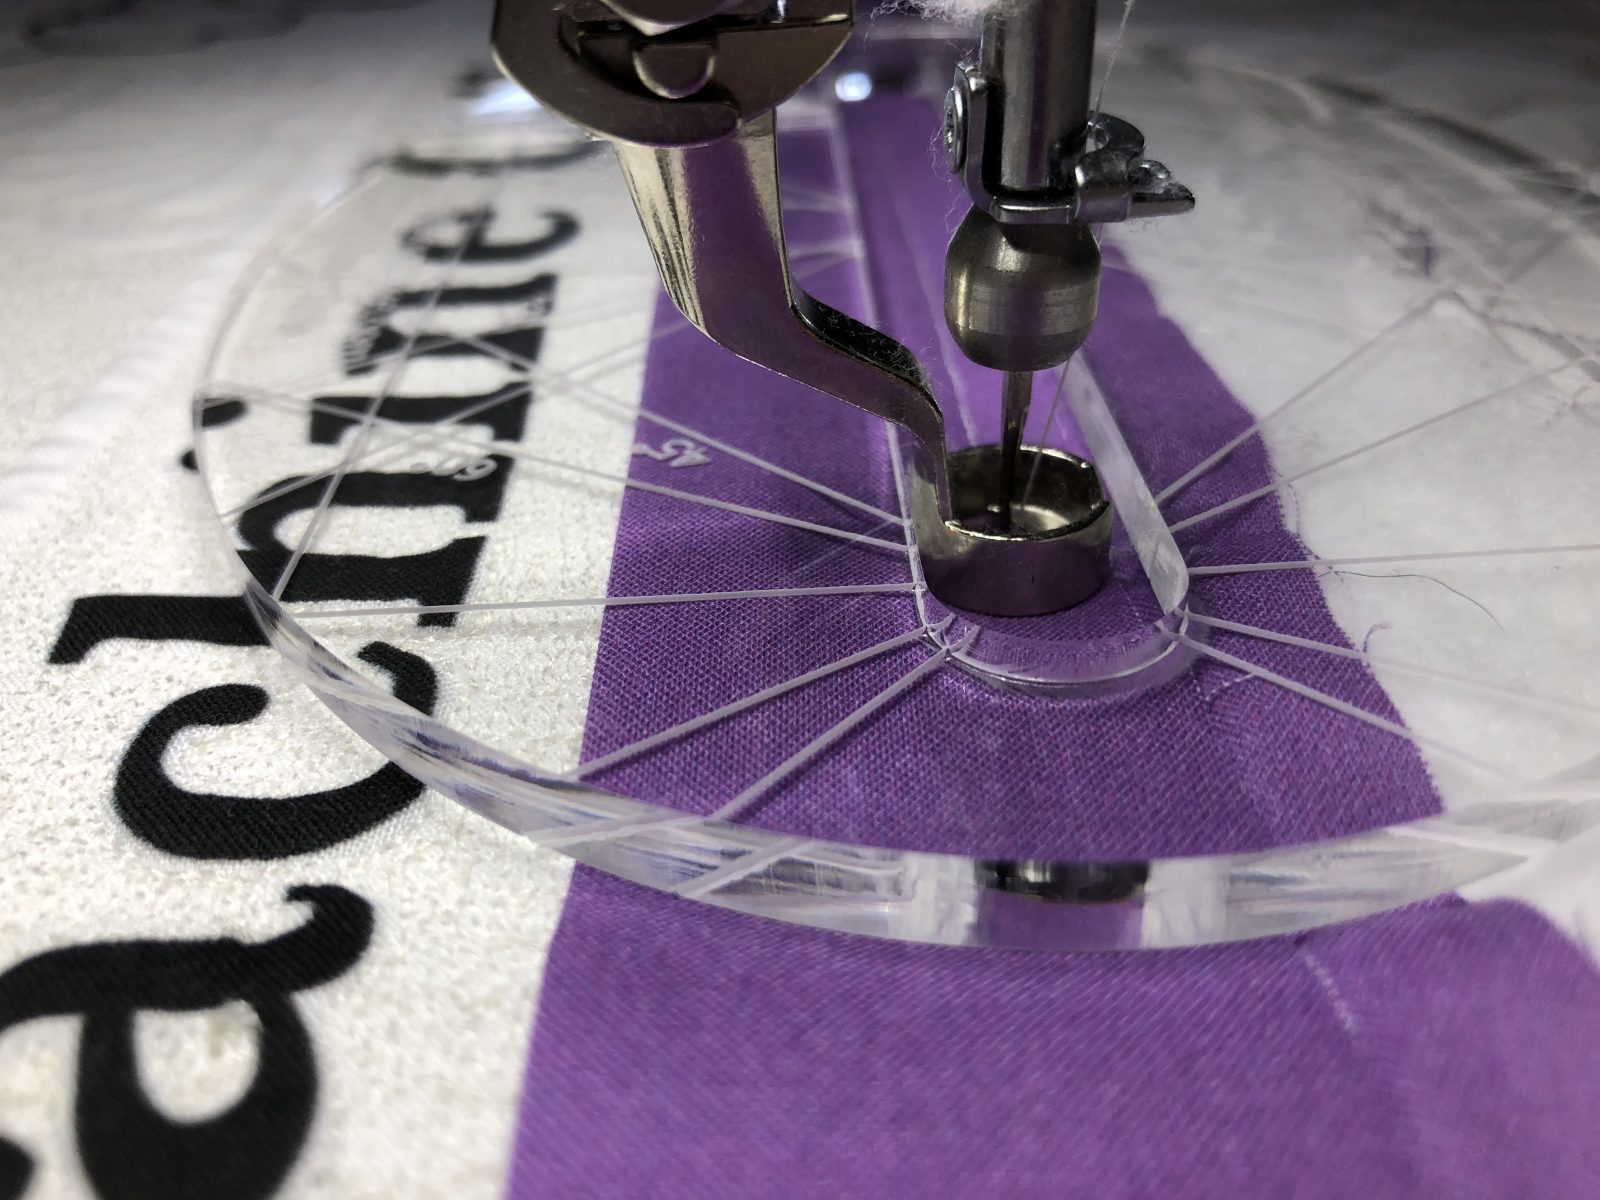
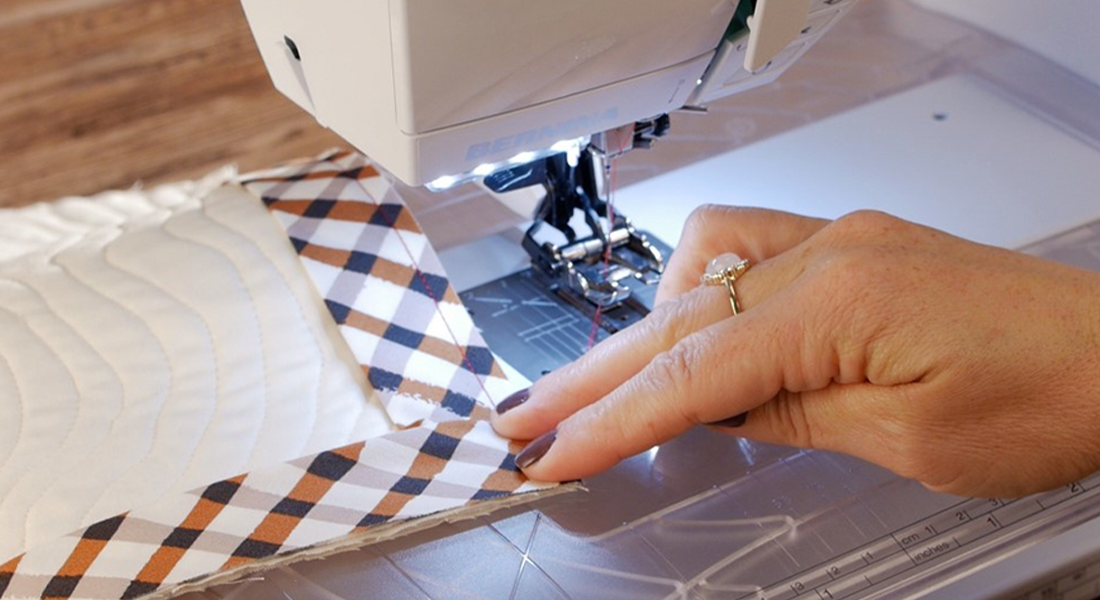
Before you begin stitching, line up the crease of the fold under the middle of the right toe of your presser foot. Use the same thread for your top thread and your bobbin, and slowly begin stitching out your phrase. Using your screen, keep an eye on where your stitch path is and be prepared to stop when you reach the end, or your phrase will repeat itself.
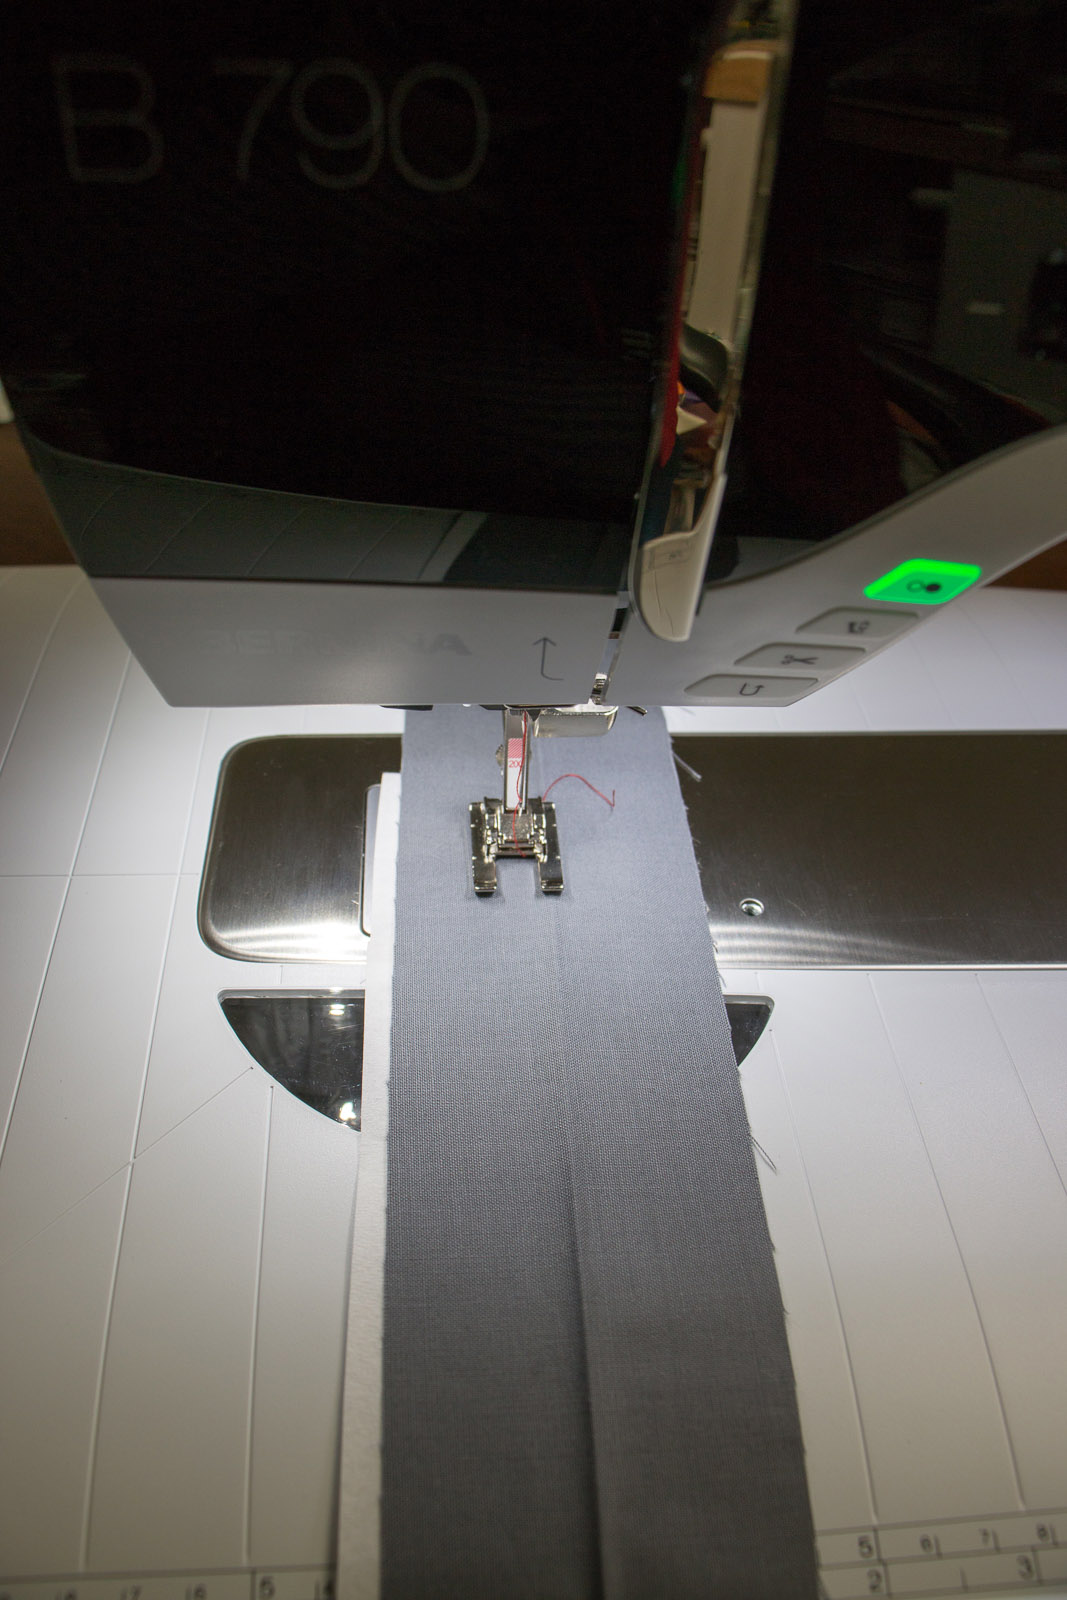
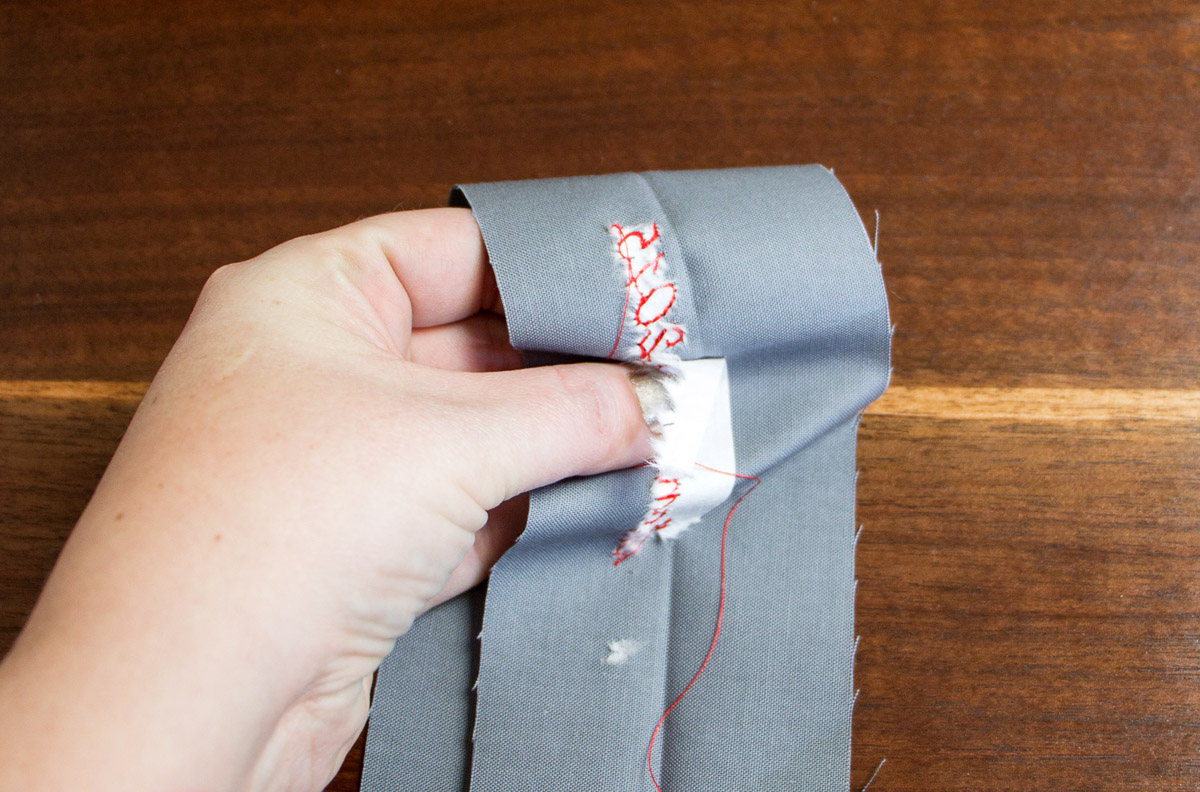
Remove your binding strip and clip your threads. Remove the stabilizer as well as you can. Because this is going to be inside the binding, and because the stabilizer softens in water, you can be a little less strict about removing all of it!
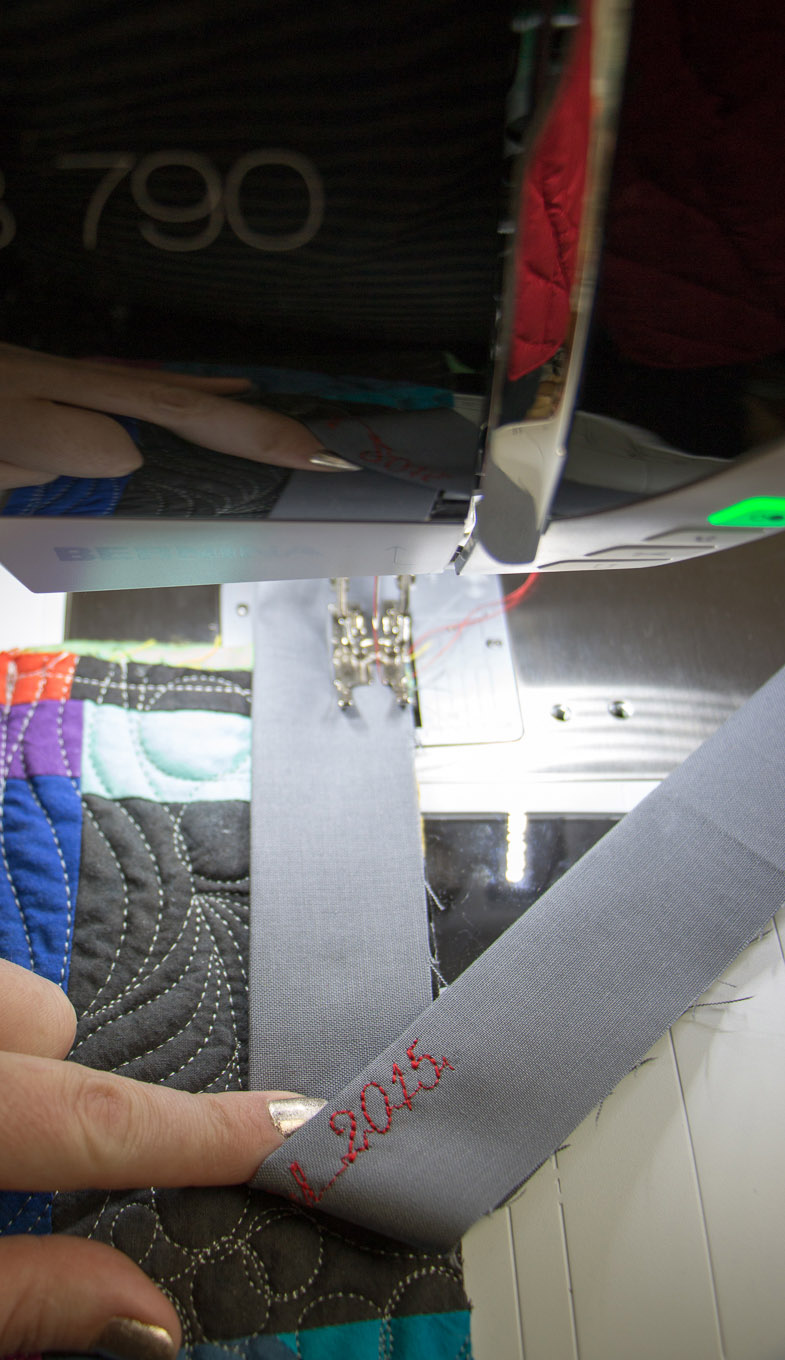
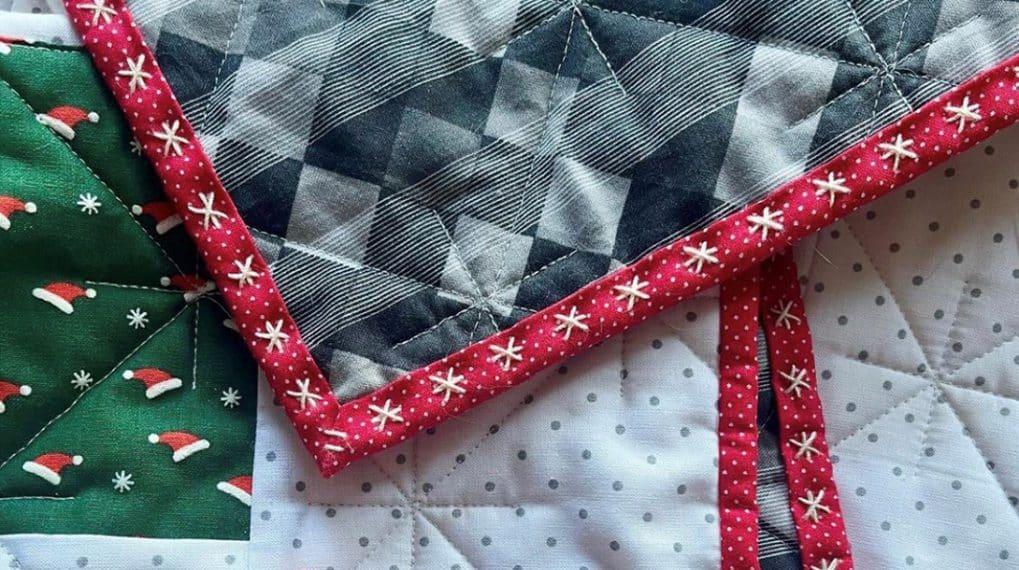
Sew your binding strips together as you normally would, but with the strip you just stitched out first in the series. Figure out where you want this to be situated on your quilt (it won’t be visible from the front, so I am not super picky, being more thoughtful about where the seams and corners fall). Attach your binding as usual, with the text against the top of your quilt, as shown.
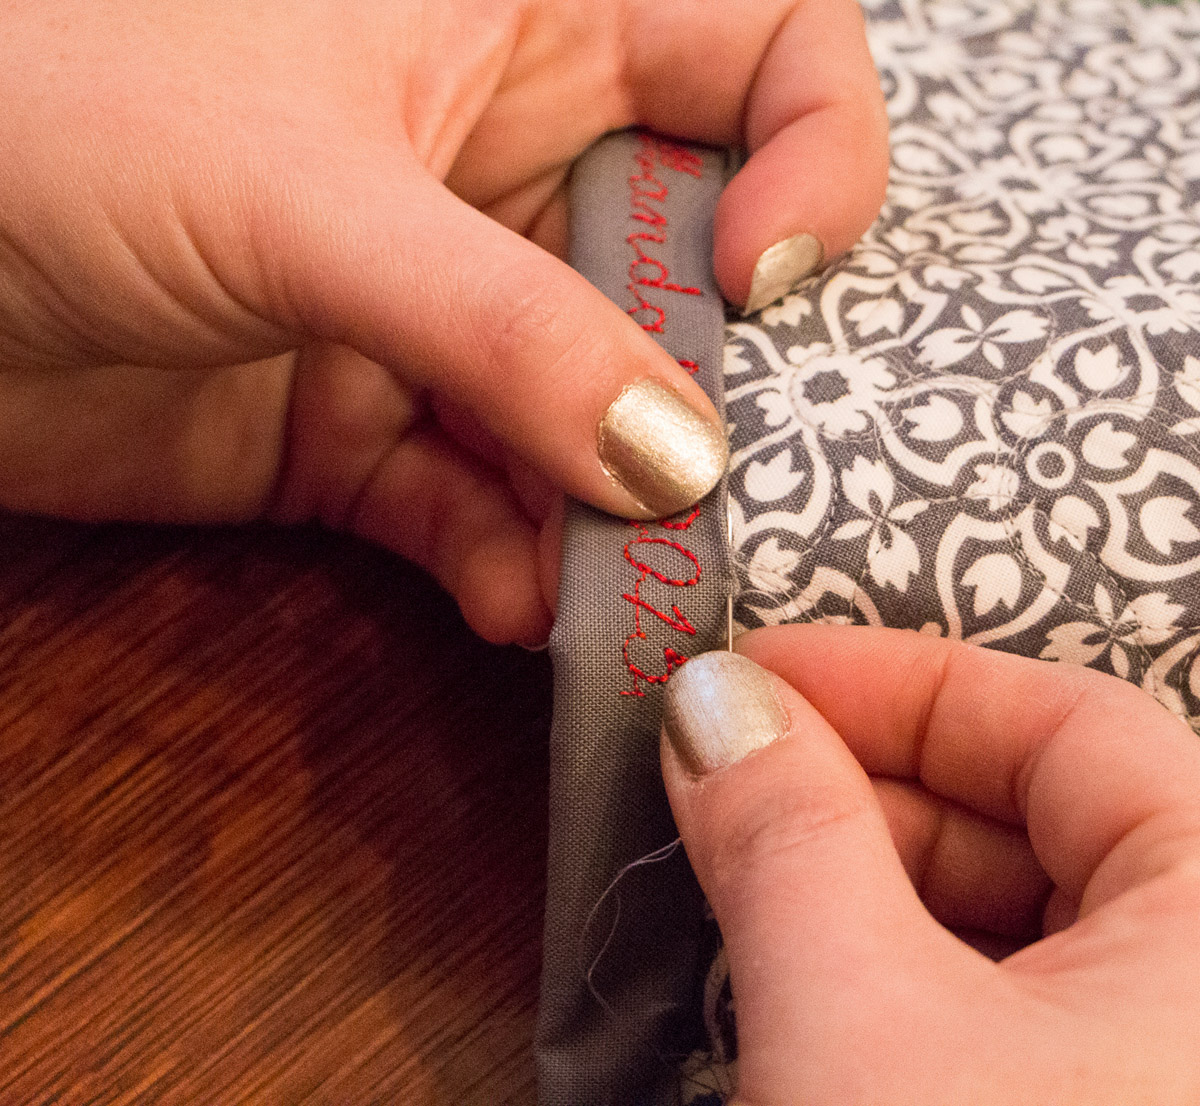
This binding requires hand stitching it to the back, and I like to use the ladder stitch but you can do whatever you wish!
I like this technique because it is also much harder to remove than a quilt label. While I wouldn’t use it for a show quilt, I think it adds a nice touch for special quilts made for others, or for quilts that need more permanent information applied. Happy quilting!
What you might also like


18 comments on “Quilt Binding With Words”
-
-
Great idea, I will have to try it on table runner I just made for my sister-in-law. Thank you.
-
Neat idea! Thanks for sharing it.
-
I did this for the first time on my last quilt because since having a stroke I can no longer hand-sew. Bad enough I was machine stitching on the binding, I didn’t want to have to machine-attach a big label. I just winged it though in terms of binding width etc. so its great to have these thorough instructions for next time! Thanks!
-
The craziest thing……I was just looking for a tutorial on how to do this!! Your instructions were wonderful and I will be adding binding labels to the 5 quilts waiting to be bound (I am a wee bit embarrassed to admit that they are Christmas quilts….oh well, I’ll be far ahead for Christmas 2016). Thanks!
-
This is a great idea! I have a question though. Why do you sew on only one thickness of fabric? Couldn’t you sew on the folded binding, perhaps eliminating the need for stabilizer?
-
I have done that and the results were very good.
-
Thanks for your question! If I am using a bias-cut strip or even if I haven’t starched my fabric well, I find that sometimes the binding shifts a little as I sew it to the quilt top, and I like to be able to adjust it along the way, which I can’t do if I have embroidered both sides.
That said, if I did embroider both thicknesses, I would sew that part of the binding down first, and it would take care of the shifting problem!
-
-
-
This is a great idea. I’ve had 3 quilts stolen and I’m sure they have just taken off my label and no one knows who it really belongs to or who made it. This makes it much more difficult for the thief.
-
Thanks for the tutorial. I’ve been wondering how to do this. Thanks again!
-
Sounds great. I have a 440. Want to try this curious how many characters you can do at a time?
-
Hello gaillewis, you can check in your B 440 QE manual to learn how many characters your model can hold in memory at one time, this will be the maximum amount of characters you can stitch at one time. You can also connect directly with your BERNINA Dealer store for help with questions about using the memory feature and lettering stitches on your BERNINA.
-
-
I’ve been doing this with Laundry instructions! And I’ve used dryer sheets as my stabilizer! It’s cut away! I just trim close to stitching! And it smells good!
-
I’ve been confused by the photos ever since this tutorial was published and am finally asking about it. The photo that shows how to line up the right side of the foot next to the center crease looks like you are stitching on the inside of the binding, not on the side of the binding that will show when the binding is folded over. It also appears that the stabilizer is on side of the binding that will be on the outside. However, the next photo is the opposite. What am I missing here? Thanks for the great idea and tutorial though.
-
I have been doing this for years because the hand made drawn labels wear quickly. I free hand and I add messages some go around my quilt especially a baptism or college quilt where I will add parents names, godparents, grandparents, birth dates, baptism date and if it is “ off to college”, I add the high school graduation, etc. looks nice and they will always remember.
-
What a great idea!! Thank you
-
I did this several years ago on some placemats I made for a couple’s wedding gift. I sewed through the folded binding. No interfacing needed.
-
That’s such a wonderful idea. So much quicker than putting a label on when I have no idea what to call my quilt. I do like to have a name for some reason. But I like this idea so people can actually search for it. Thank you
Leave a Reply
You must be logged in to post a comment.

Good idea!