Quilting Kari Carr’s “Straight & Narrow” Quilt
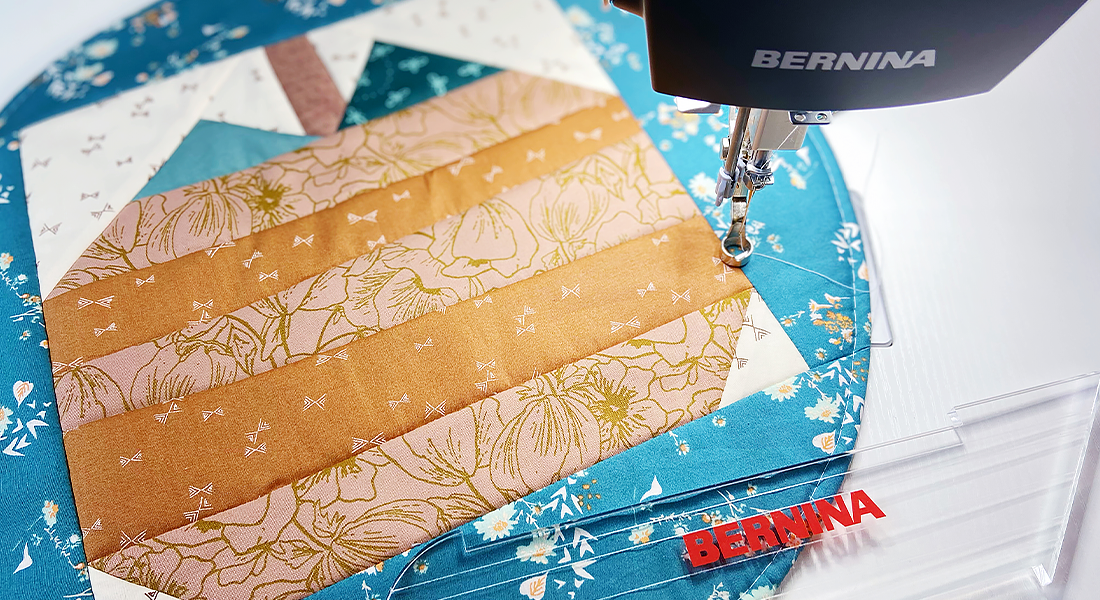
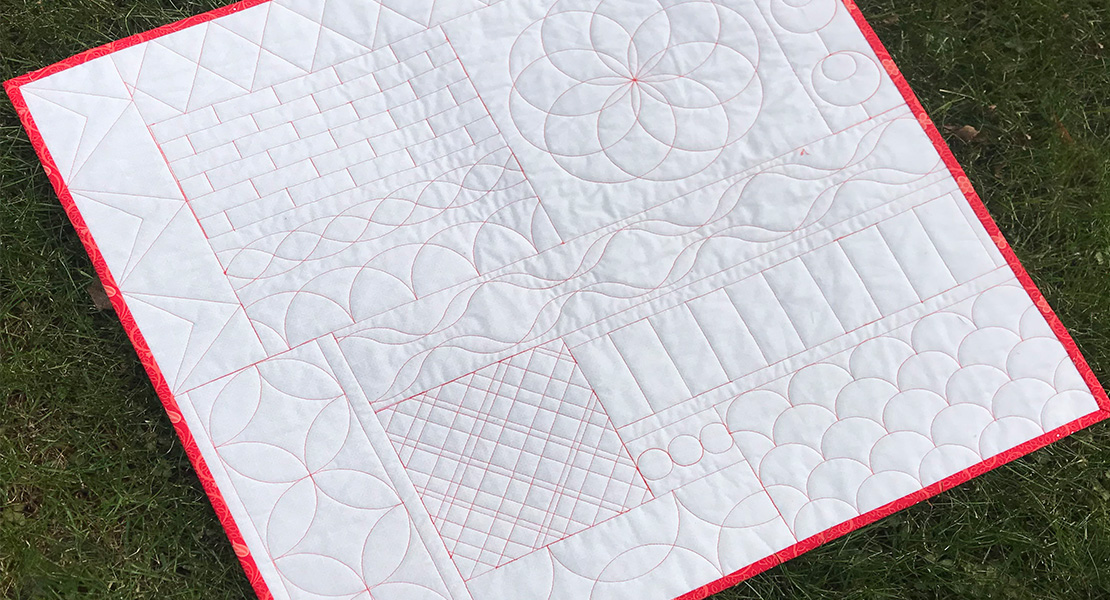
Were you inspired by Erika’s Sunrise Baby Quilt? Then I think you’ll like this “Straight & Narrow” quilt as well. Kari Carr of New Leaf Stitches provides a free quilt pattern and shows us how to combine stitches on the BERNINA 550 QE and use them for a nifty variation on traditional straight-line quilting. Jo
Do you have a small quilt project that needs to be quilted and you either don’t want to spend the money to have it quilted or you are uncomfortable doing free-motion quilting? Don’t fret any longer! Take advantage of the various stitches your sewing machine has to offer and just stitch away.

The pattern, Straight & Narrow is provided by Kari. Just click on this link.

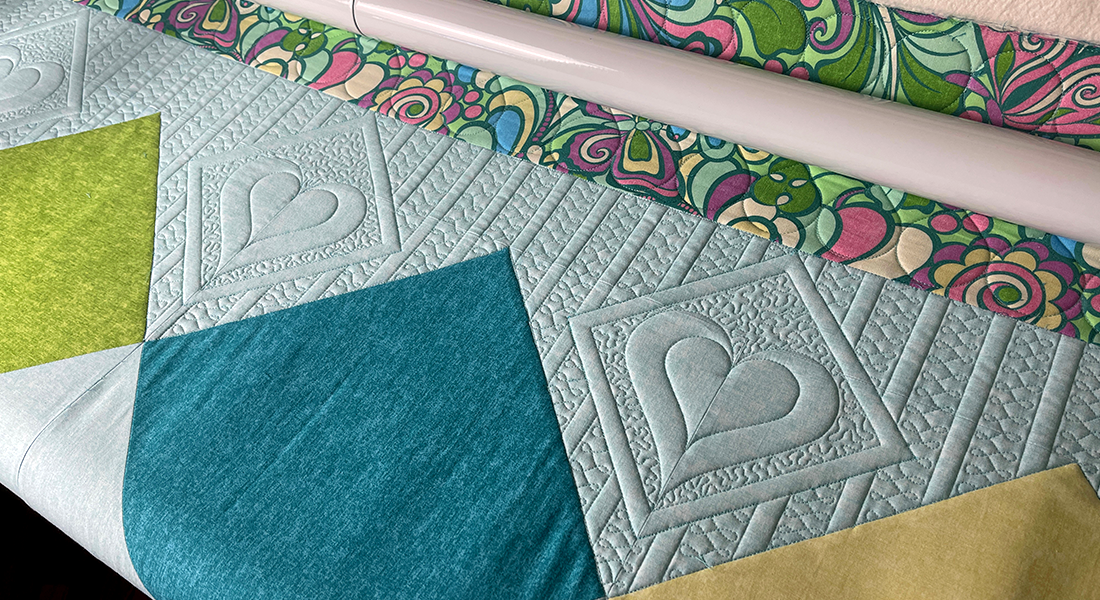
Once your piecing is done and the “quilt sandwich” is made, draw a line down the center of your rows with a marking pencil as your stitching line.
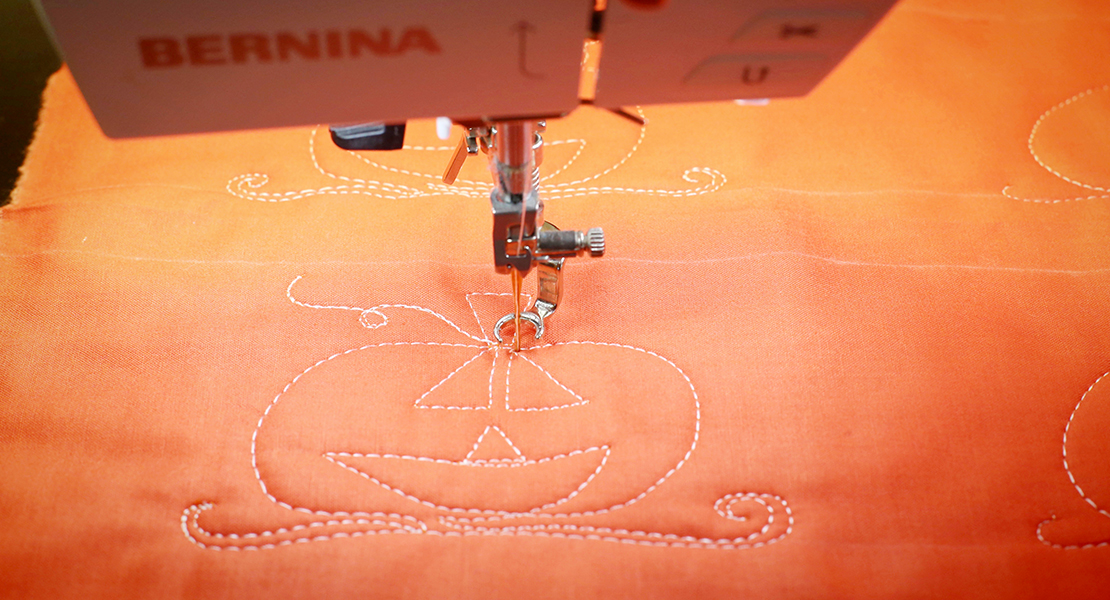
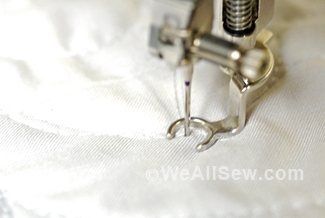
Using Open Embroidery Foot #20, select the combination of stitches you would like to use. “Straight & Narrow” used two different combinations, alternating them in each strip.
Let’s walk you through the steps from creating the combinations to quilting your project.
Begin at the Home screen and choose the Combi mode icon followed by OK.
![]()
![]()
![]() Now you will want to choose the Stitch icon, which looks like a satin stitched zig-zag, again followed by OK.
Now you will want to choose the Stitch icon, which looks like a satin stitched zig-zag, again followed by OK.
![]()
Scroll through until stitch #738 is highlighted. Press OK and you will see the selected stitch on the top of the display. Press OK two more times for a sequence of three. Next find and highlight stitch #709. Press OK ten times.
![]()
![]()

Now that you have the combination completed, press the Back arrow two times. You are now ready to stitch, but you must tell the machine this, so select the Needle icon followed by OK.
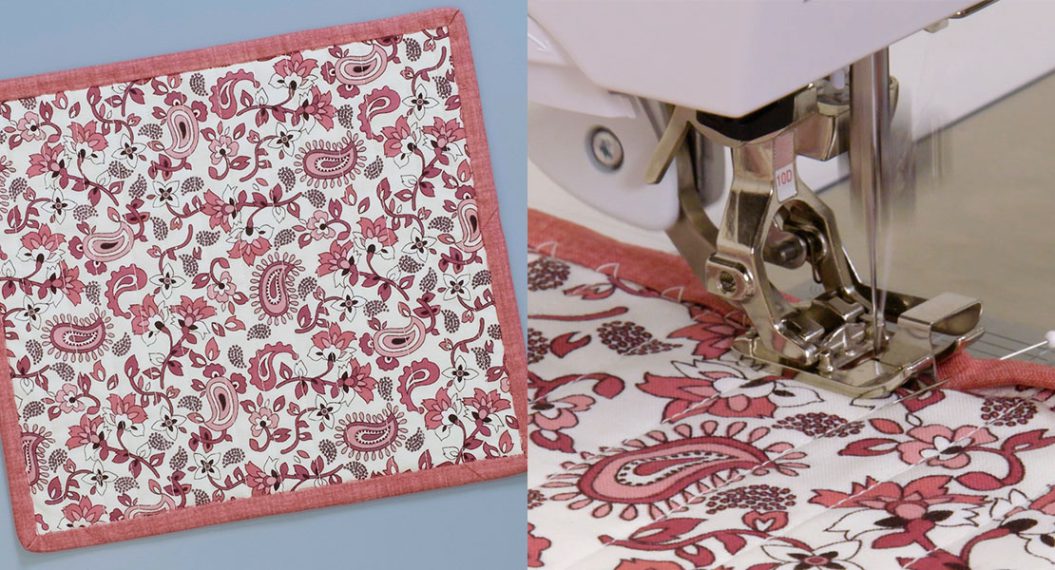
You will notice that the display tells you that there are thirteen stitches in the combination, filling 13 of the 100 available spaces(13/100). Begin stitching on the center row of the quilt. As you progress thru the combination, the machine shows which stitch is being sewn. Repeat this quilting combination on the two outside strips.

To change it up a little, change the combination for the other two rows. Clear the previously selected stitches and enter this combination: Stitch #439 (5x) and stitch #738 (2x). Stitch the remaining two rows of the quilt.
![]()
![]()

There you have it! Easy and stress free! The most fun (and time-consuming) is playing with all of the stitch combinations! Want to change it up a bit? Draw different grid patterns on the quilt top. How about trying different weights of thread? The options are endless. Enjoy!
[See Kari’s Clearly Perfect Angles technique for cutting and stitching half-square triangles in her YouTube video by clicking this link. Jo]
Used Products


What you might also like


7 comments on “Quilting Kari Carr’s “Straight & Narrow” Quilt”
-
-
I’ll contact Kari and find out what she used. I use Mettler Silk Finish Cotton for most of my sewing, including satin stitch applique, and I think it would work well for decorative stitch quilting as well. If I were making this project, I’d probably use my all-time favorite decorative thread – Superior Threads’ King Tut . This variegated cotton thread comes in luscious color combinations which change gradually as the stitches form. I like it for quilting, as it adds color and interest without being flashy. Cotton thread is always pretty for satin-type stitches, as the fibers sort of “smoosh” together for a smooth surface.
-
Thanks so much. That helps!!
-
-
-
For this project I used Aurifil’s 50 wt. cotton. I, too, like the cotton for these type of stitches. I think the results would have been really nice with a heavier weight thread too. I would suggest practicing using the same thickness as your project (that does make a difference!) Remember that you may need to adjust your tension and use a larger needle. Enjoy the project! Kari
-
Thank you Kari (for ALL your help).
-
Pingback: Straight & Narrow | Pieceful Chitchat
Leave a Reply
You must be logged in to post a comment.

May I ask please what thread do you use? Could I use embroidery thread? My decorative stitches don’t seem to show as much as yours even with contrasting thread. Thanks so much.