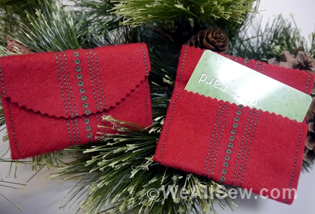
Santa Pants Gift Card Holder
The Santa Pants Gift Card Holder was designed exclusively for BERNINA by Lisa Archer, BERNINA Spokesperson & Ambassador, and owner of Pickle Pie Designs.
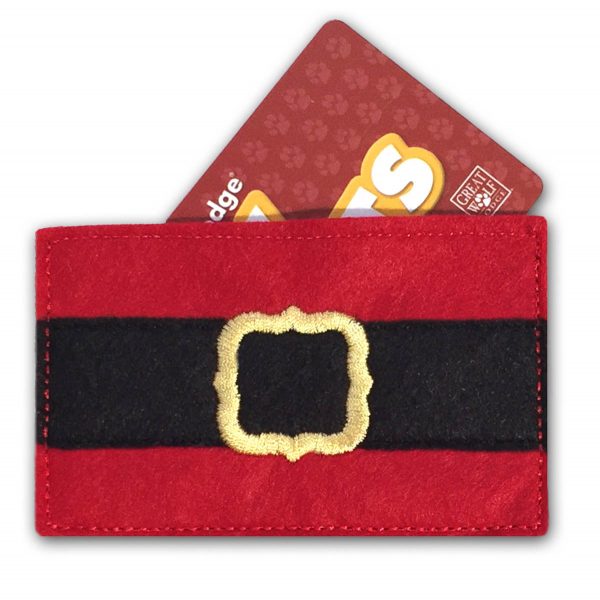
Tuck a gift card into this adorable little pocket for the perfect gift for everyone on your list! This fast and easy ‘in the hoop’ embroidery project features wool-blend felt which gives your projects a rich look and feel. If you can’t get wool-blend felt, feel free to substitute with polyester felt.
Supplies to sew the gift card holder:
- “Santa Pants Gift Card Holder” embroidery design—download the free design here: Santa Pants Gift Card Holder Design
- Medium or larger embroidery hoop
- 2 pieces of red felt, cut to 4.5″ x 3″
- 1 piece of black felt, cut to 4.5″ x 2″
- Tearaway Stabilizer
Red, black, and gold thread - Bobbin loaded with red thread
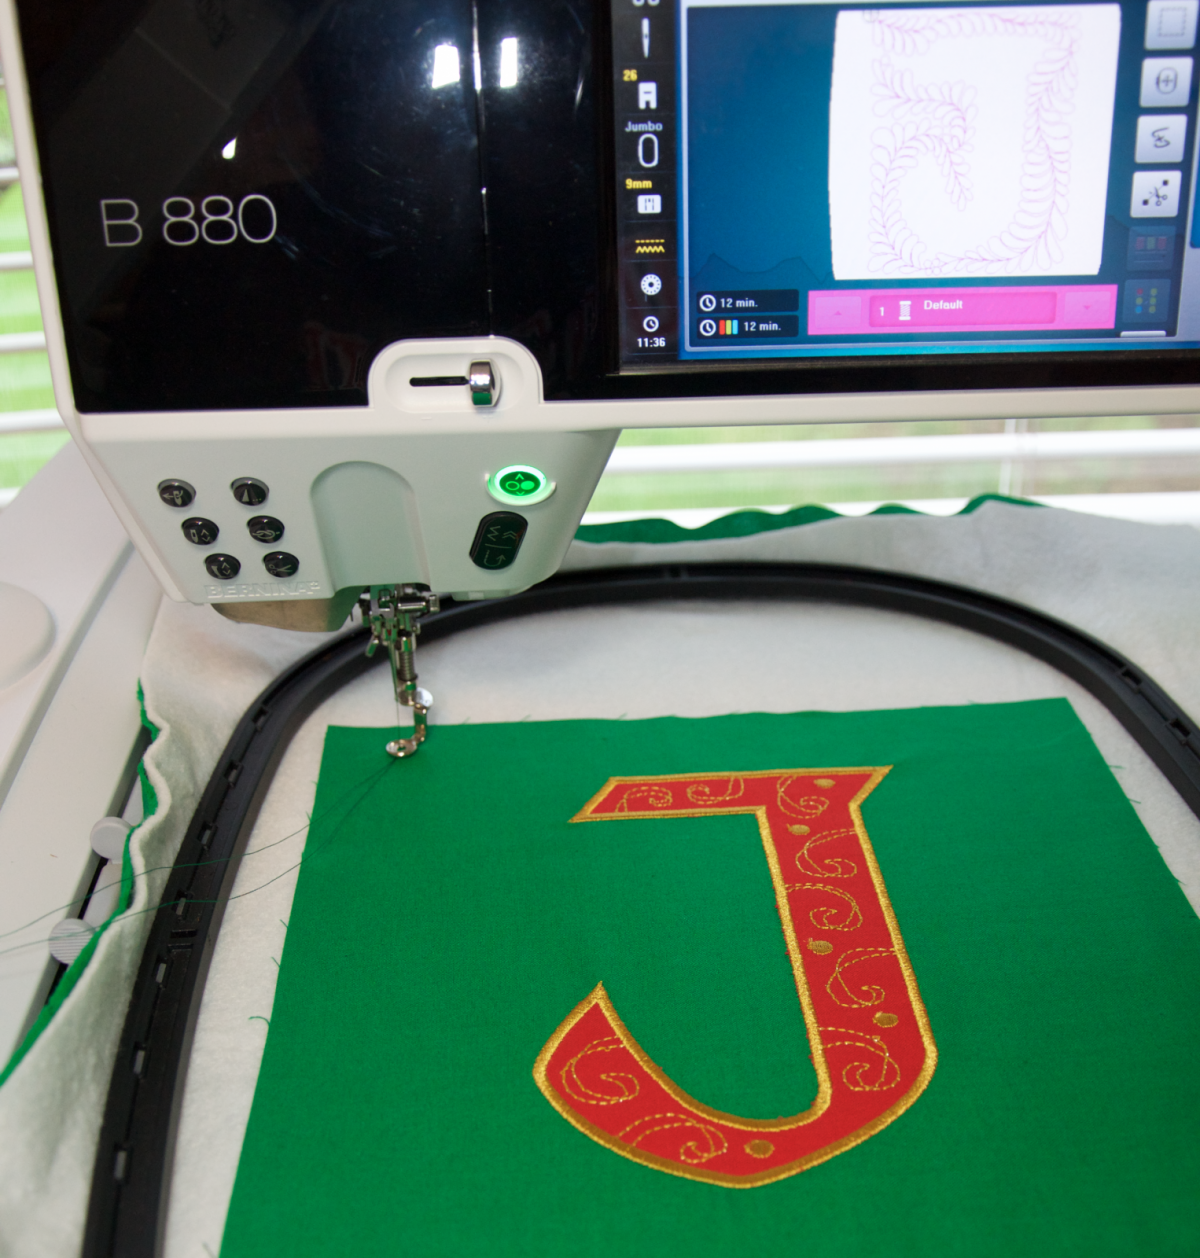
- Sewing machine with embroidery capabilities, I sew on a BERNINA 880
Instructions to sew the gift card holder:
Step 1
Hoop a piece of tearaway stabilizer.
Step 2
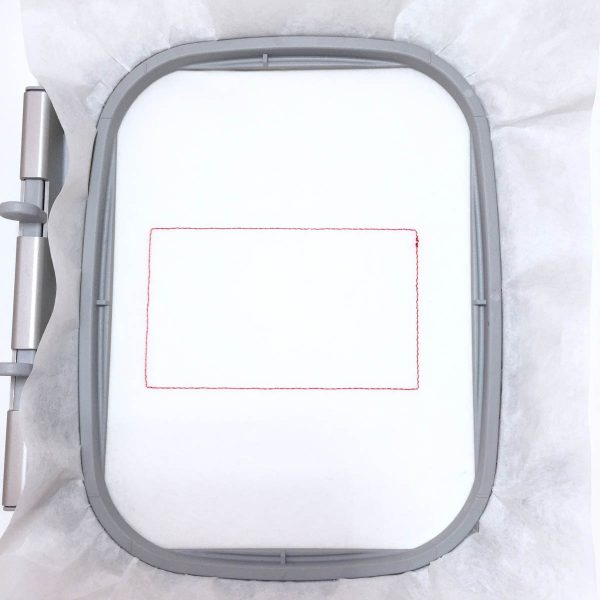
Thread your machine with red thread. Sew Stitch Sequence 1 to create a placement line.
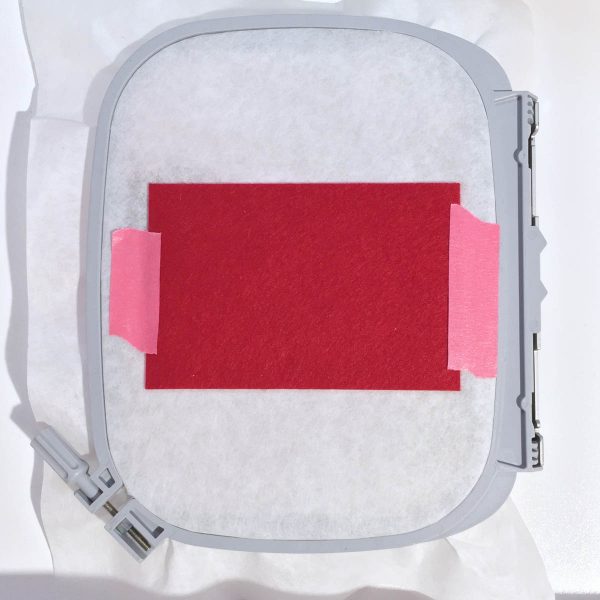
Step 3
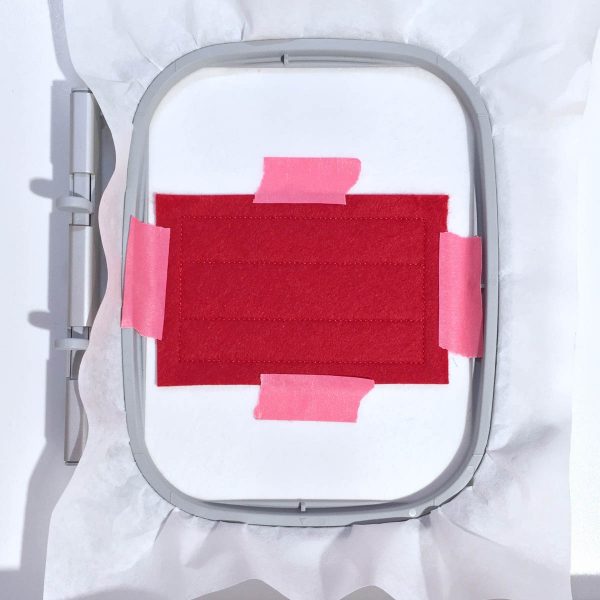
Center one piece of red felt over the placement line. Tape in place. Sew Stitch Sequence 2 to tack the felt in place and create a placement line for the black felt.
Step 4
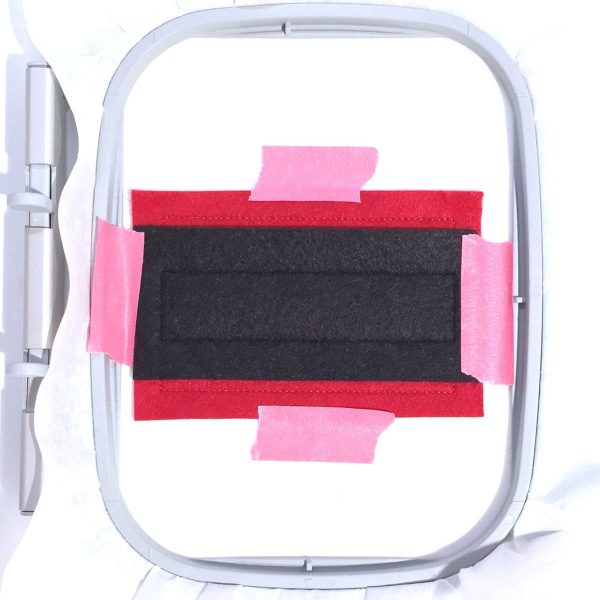
Thread your machine with black thread. Place the black felt over the center placement lines. Tape in place along the sides. Sew Stitch Sequence 3 to tack down the black felt.
Step 5
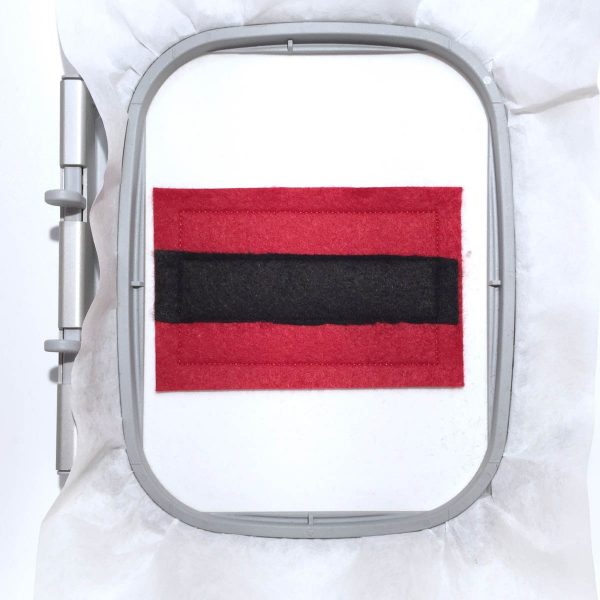
Remove the hoop from your machine. Trim off the top and bottom of the black felt, cutting right up to the stitch lines.
Step 6
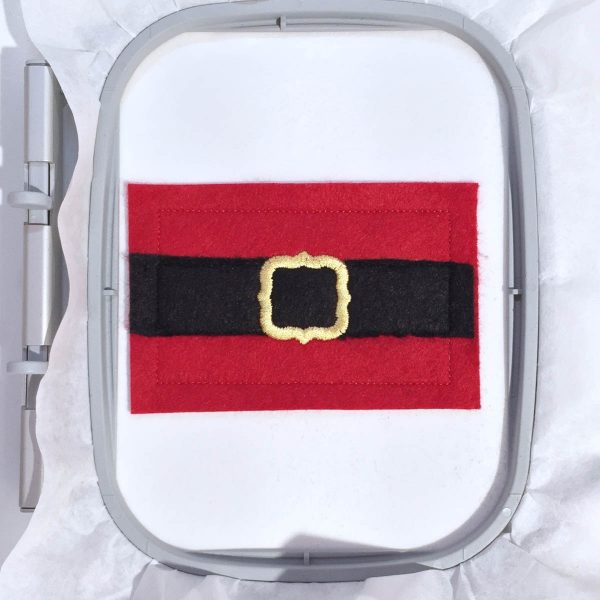
Replace the hoop on your machine. Thread your machine with gold thread. Sew Stitch Sequence 4 to create the belt buckle.
Step 7
Remove the hoop from your machine and turn it over to the back. Place the final piece of red felt over the outer placement line. Tape in place well so it won’t shift when you put the hoop back on your machine.
Step 8
Replace the hoop on your machine and sew Stitch Sequence 5 to tack the layers together along the sides and bottom, creating the pocket.
Step 9
Remove the hoop from your machine. Remove the project from the hoop and tearaway the excess stabilizer.
Step 10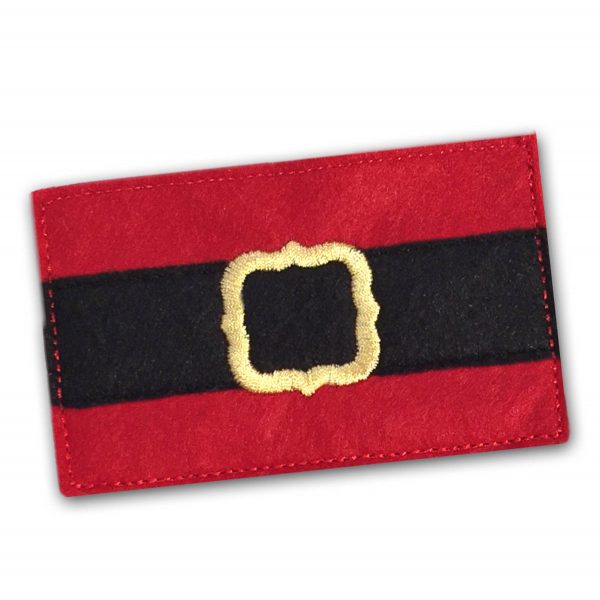 Trim around the outside of the gift card pocket to complete.
You’re done! Tuck a gift card in the pocket and check a gift off your list!
Our December 12 Gift For You
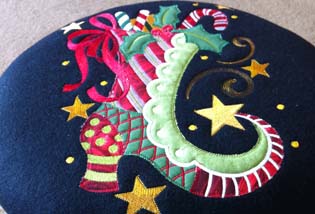
Today’s gift is one embroidery design from the Twelve Days of Christmas embroidery collection from OESD to all of our awesome WeAllSew fans!
Please download your free embroidery design “Twelve Drummers Drumming” here: Twelve Drummers Drumming #12524-35
Enjoy!
What you might also like


32 comments on “Santa Pants Gift Card Holder”
-
-
Here it is Saturday morning and I am making fabric boxes and now a wonderful afternoon project. This is perfect for the gift cards I bought just yesterday without any idea of how I was going to gift them. Thank you.
-
Thank you. What a great design gift.
-
I sew on a B530 but I still want to try this!! Looks super easy on an embroidery machine!!
-
This is a cute idea! Thanks for the free design 🙂
-
love it! thanks. I am always looking for different / unique ways to give gift tags & money.
-
Thanks for the design! The gift card envelopes are a great idea.
-
awesome! will be doing some gift card holders very soon! thanks
-
I am heading to my Bernina right now. I so needed this pattern before Christmas, and I LOVE that it is done in the hoop!!
-
Oh this is the cutest card holder. Thank you. Hope the machine is soon to follow. Please Santa!
-
This is such a cute idea.
-
If Santa asks, I want a bernina 560 <3
-
Very clever. I think I will make one!
-
Cute project.
-
Fabulous design to stuff some money into for a Christmas stocking or card! Thank you!
-
Love the Santa gift card or money holder.
Can’t wait to go downstairs(basement) to do my sewing tonight.
Please Santa I would like a Bernina sewing machine for a less fortunate young lady(12yrs old) who wants to learn to sew. She is my giving tree angel ornament.
Happy Holiday’s!!! -
Thank you so much! Now I can see cute holders for all those money gifts I give.
-
Really cute. Thanks for the embroidery designs! Can’t wait to make it.
-
This would be neat as part of a larger Wall Hanging for mail during the holidays.
-
This is a very cute and timely project!
-
Great idea thanks
-
Thank you for the holiday designs. This has been a very fun promotion.
-
Sooo cute! Thank you!
-
Thank you!
-
Cute project! Thank you for the design.
-
Love the gift card holder – and so easy!
-
Love these designs, thank you!
-
Love this for gift cards for my older children!
-
I would never have thought of this – thank you!
-
Oh! I almost missed this one! I need to whip up a half dozen of these since my Christmas gift cards just came in the mail ?
-
Thank you for the great, practical designs. A good in the hoop project which isn’t too complex.
-
Pingback: Put on Your Santa Pants
Leave a Reply
You must be logged in to post a comment.

This is so sweet!! Maybe Santa will bring an embroidery machine : )