How to Sew a Flanged Pillow Sham

Behind every great throw pillow arrangement is a great pillow sham, right? Think about it: you need a pair of shams for every bedding ensemble you own. These crisp tailored pillow shams are a classic with their flanged edges, and so so easy to sew, it’s a shame not to make them yourself. I prefer them with envelope style openings in back so pillows can be easily inserted and taken out for cleaning.

I’ll teach the simple steps to sew a flanged pillow sham–a decorating staple for every bedroom in your home.
Materials for a Pair of Flanged Pillow Shams
- Standard/Queen: 2.25 yards 56-60 inch wide upholstery fabric (duck cloth, canvas, velvet, linen, tapestry, etc. in a medium weight)
- King: 2.75 yards 56-60 inch wide fabric
- Coordinating thread
- BERNINA sewing machine (I use the BERNINA 580) and Reverse pattern foot #1/#1C/#1D
How to Sew a Flanged Pillow Sham
For each pillow sham, cut out ONE piece of fabric for the pillow front measuring:
- Standard/Queen: 28″ tall x 32″ wide
- King: 28″ tall x 40″ wide
Cut out TWO pieces of fabric for the pillow back measuring:
- Standard/Queen: 28″ tall x 20″ wide
- King: 28″ tall x 26″ wide

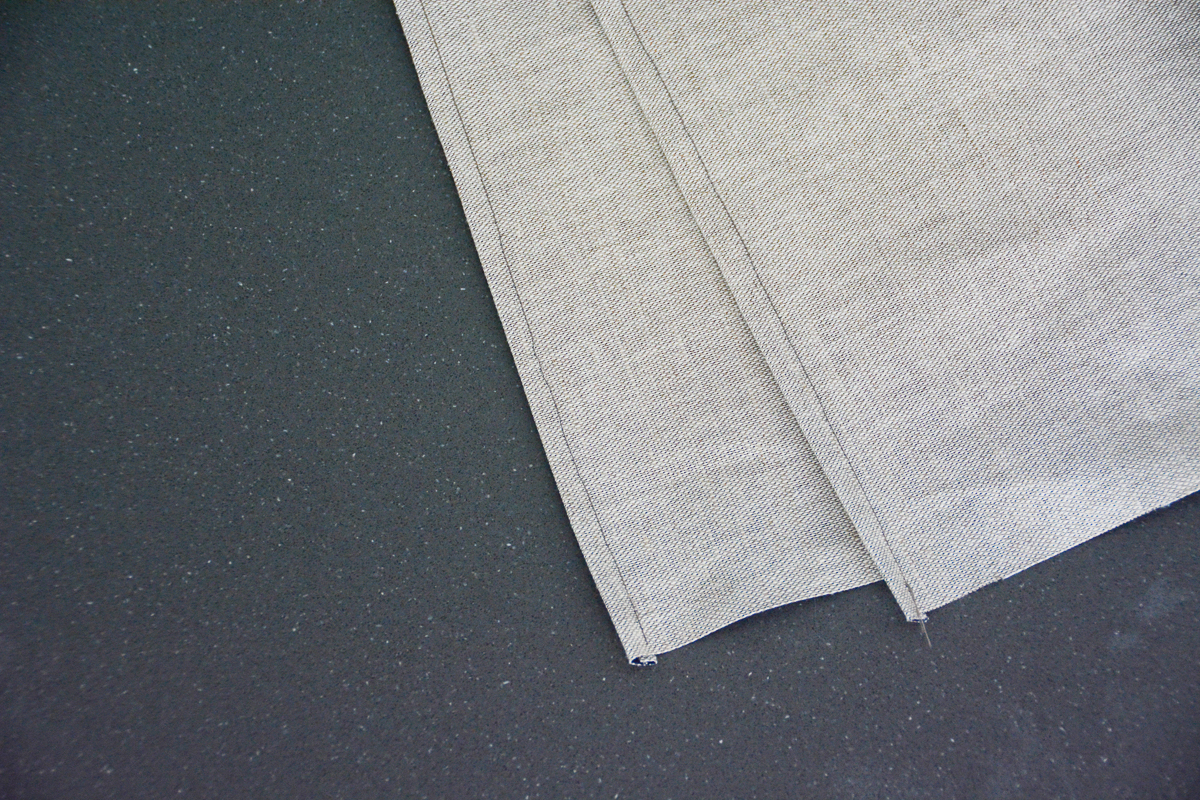
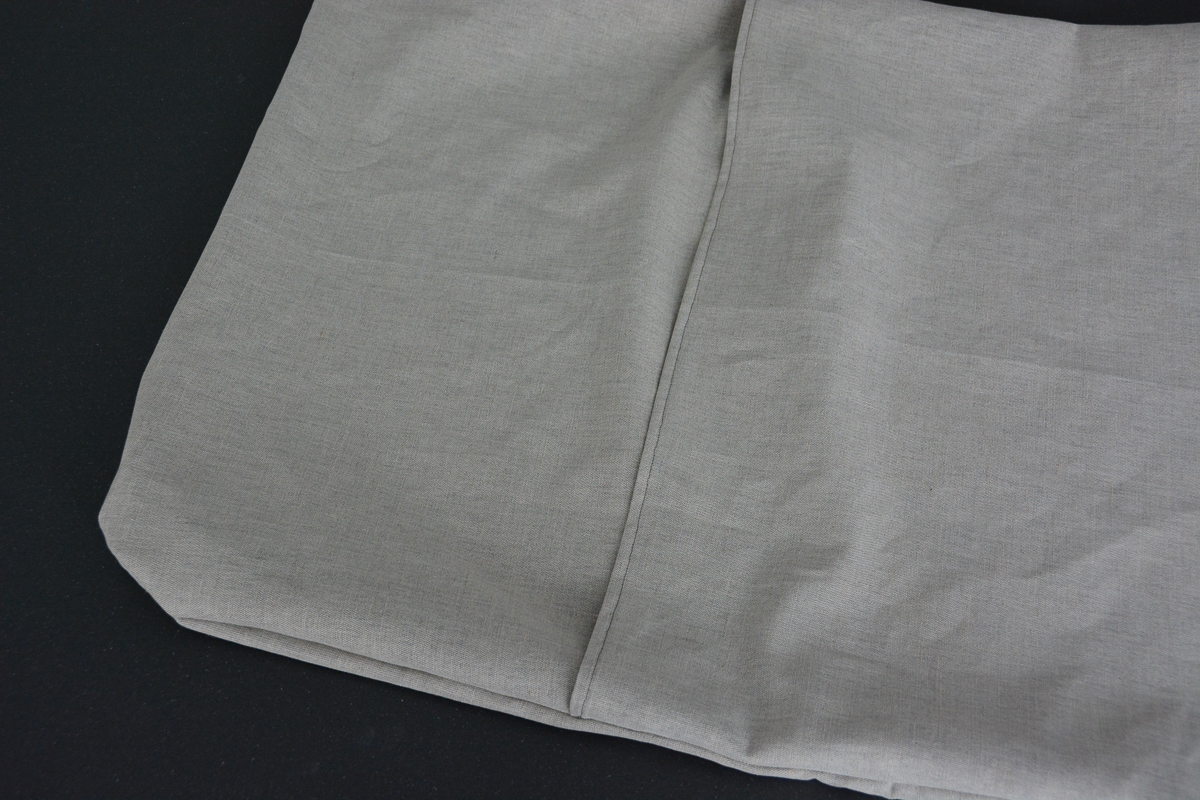
Take the two back pieces and finish one of the short edges on each end, turning under to the wrong side .25″ two times, and…

…stitching close to the inside folded edge.
Now lay the backs on the front piece, right sides together, overlapping the finished edges in the center of the pillow sham as shown below. Pin on all sides.
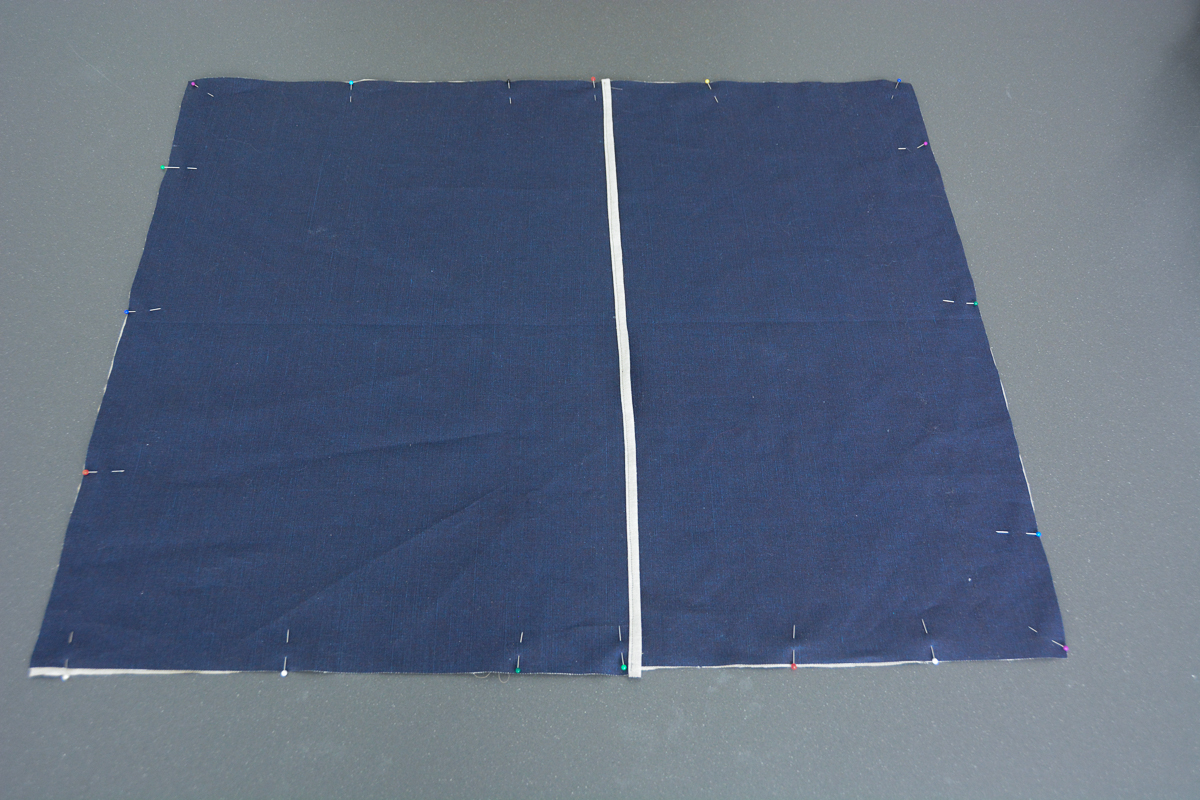
Stitch the backs to the front using a .5″ seam allowance.

Turn the pillow sham right side out.
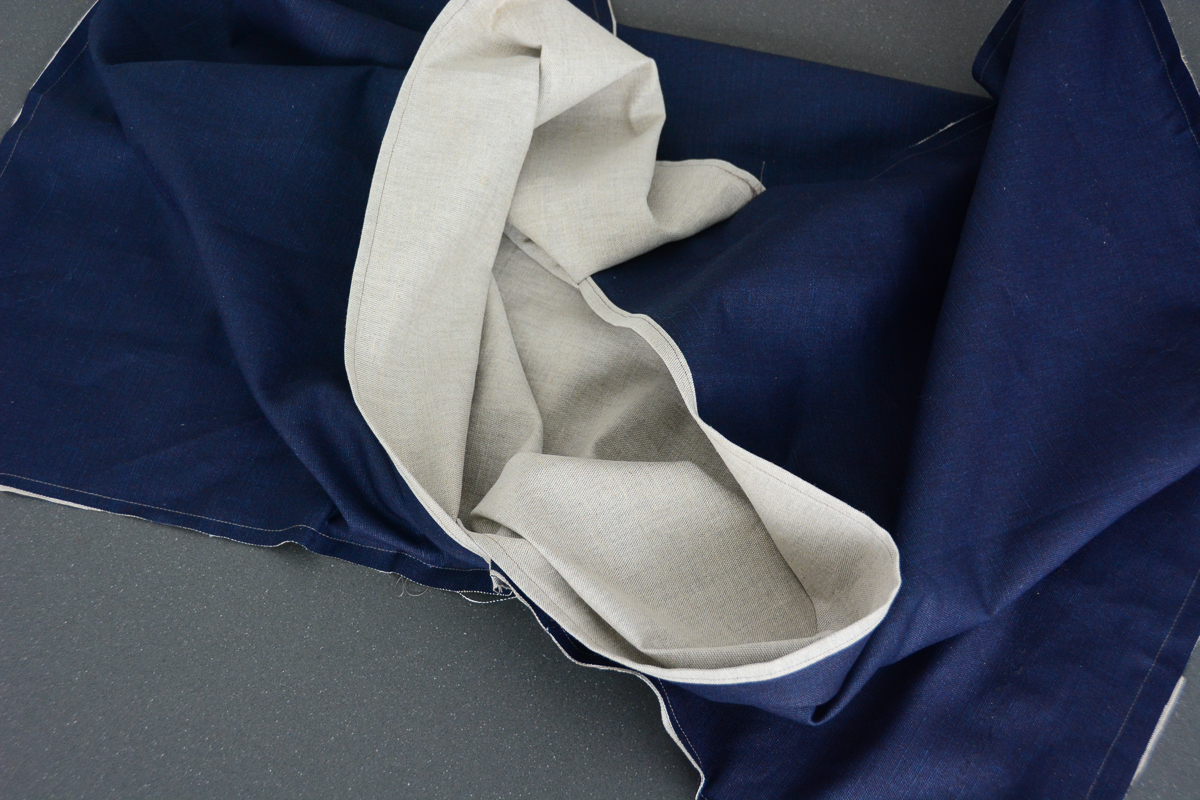
Work the corners to a nice point and press all seams.

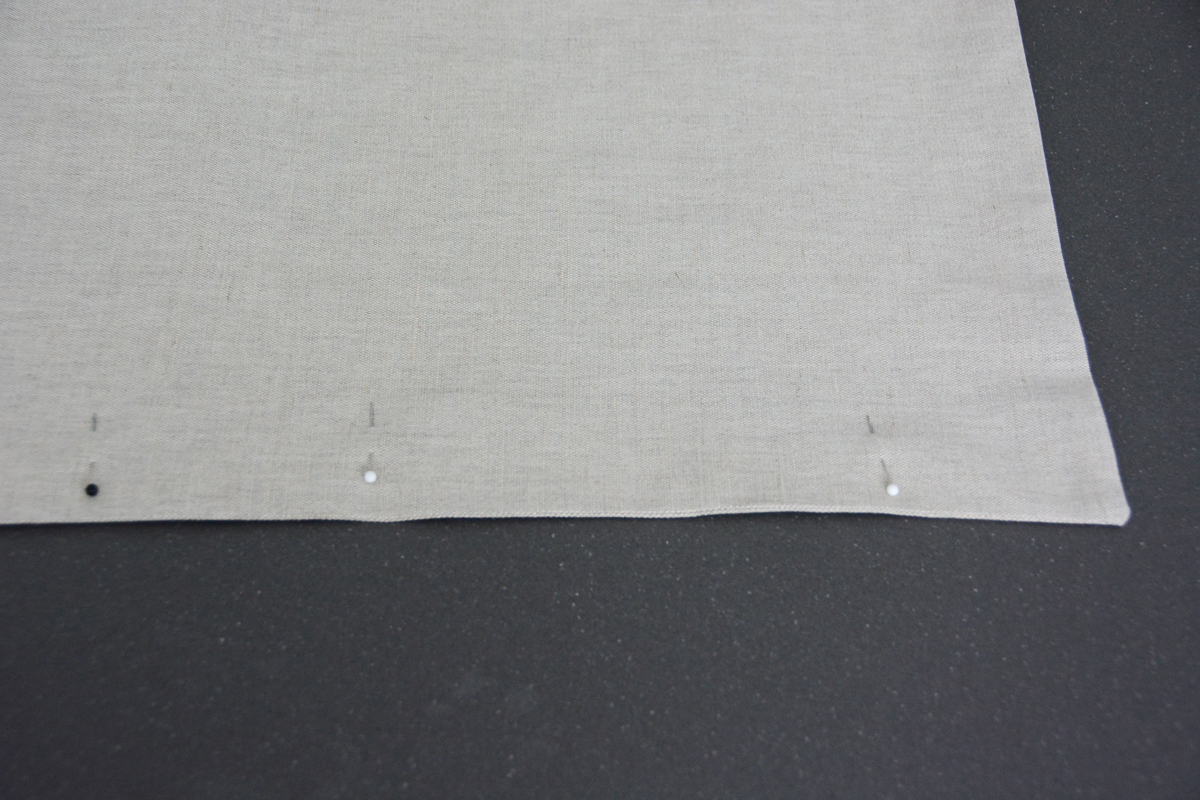
To form the flange, pin around the outside edges of the sham to keep the fabric from shifting while you’re stitching.
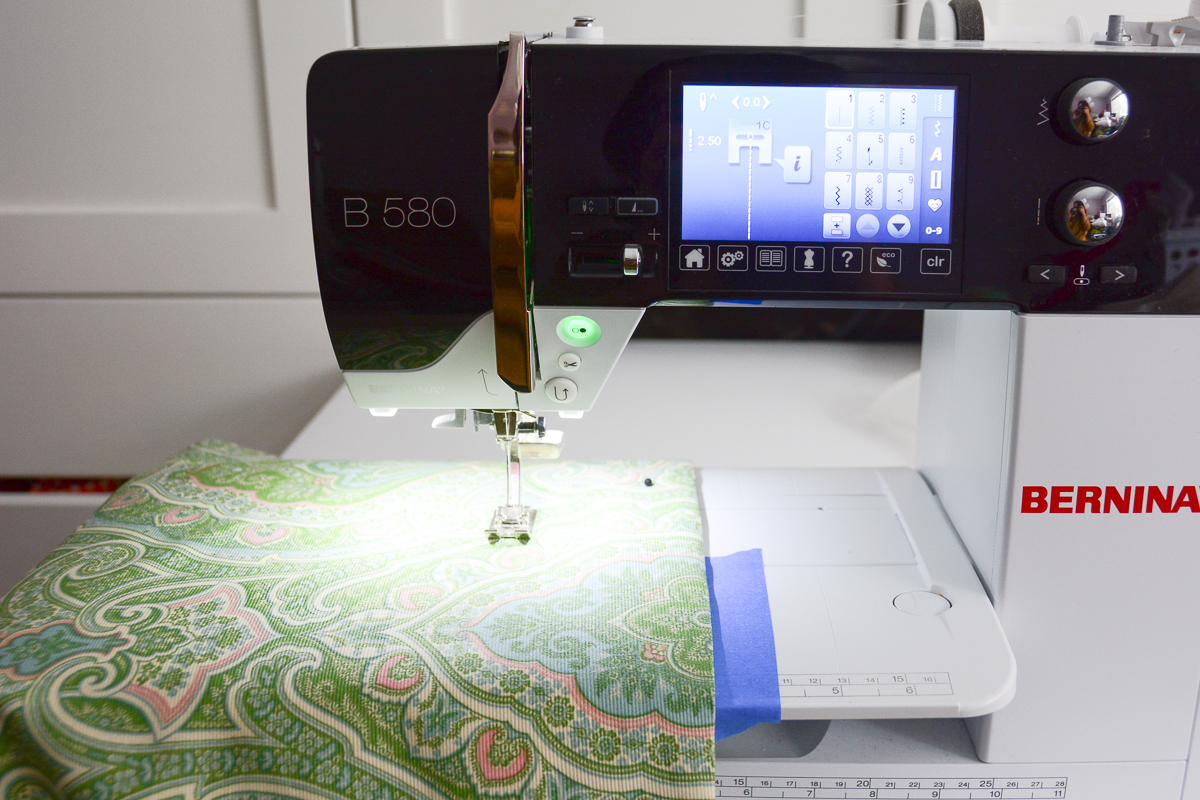
Using the ruler on your BERNINA sewing machine’s sewing table, stitch all the way around the edge of your pillow sham with a 3″ seam allowance.

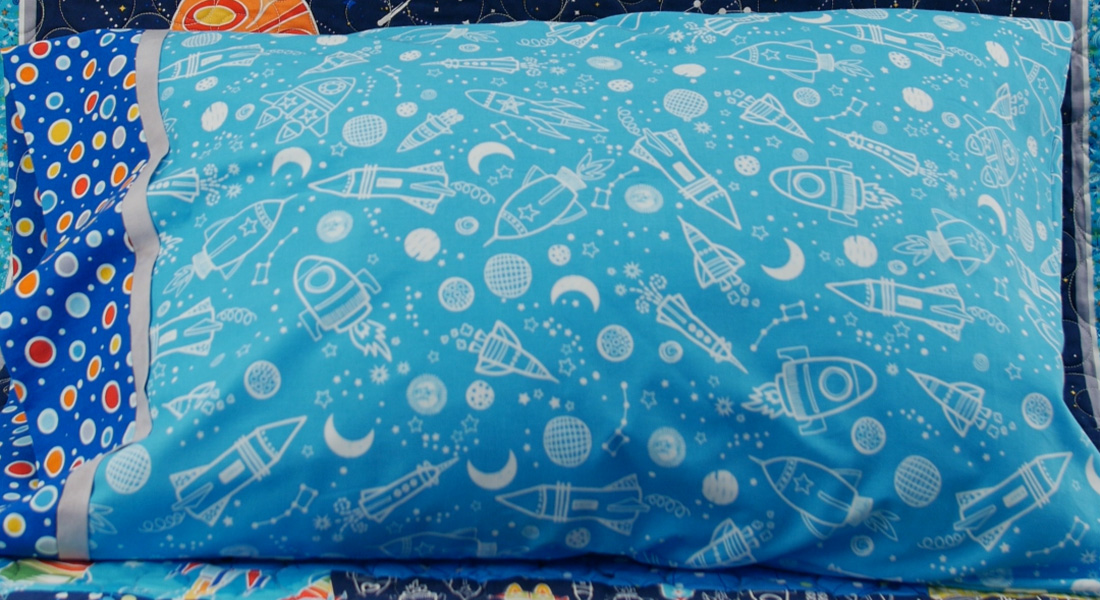
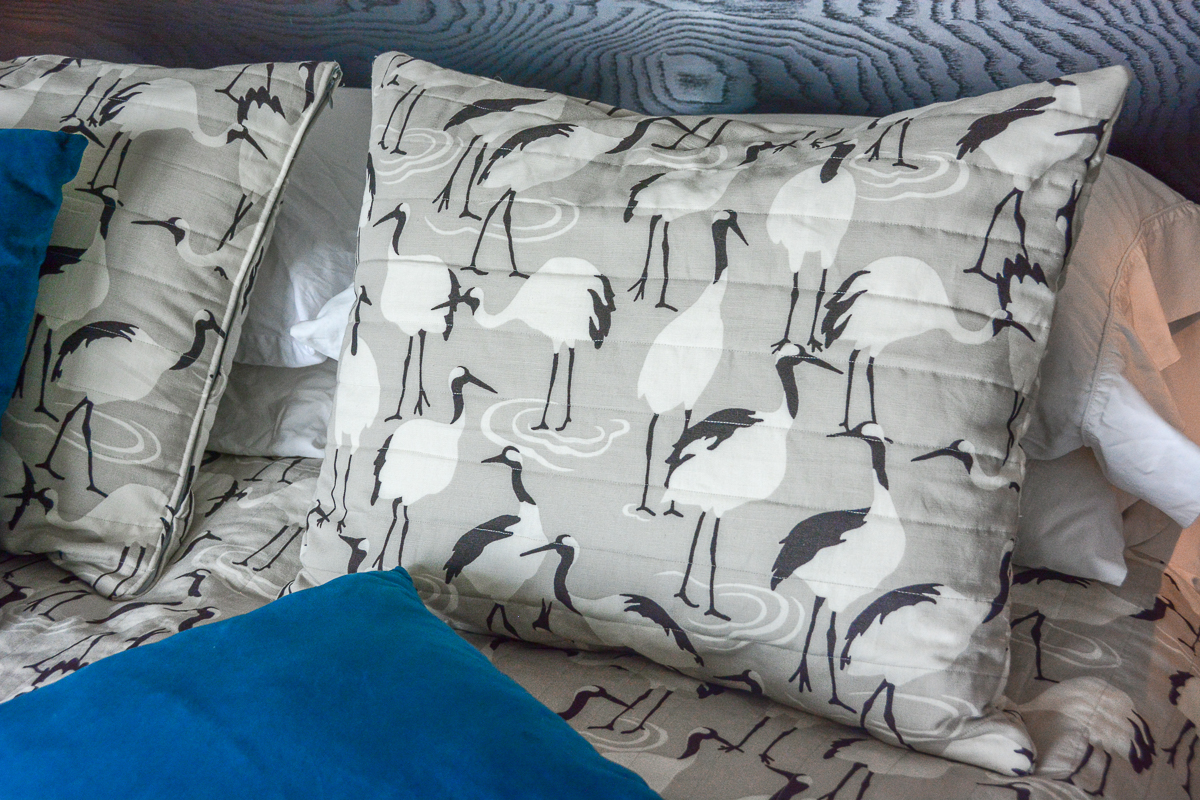
If you’d like you can use a piece of tape to mark this measurement and sew with the seamed edge of your pillow sham against it, as in the photo below where I am sewing another set of great shams!
I like to start and finish in the center of the bottom edge of the pillow so the backstitching won’t be noticeable once the shams are arranged on your bedding.
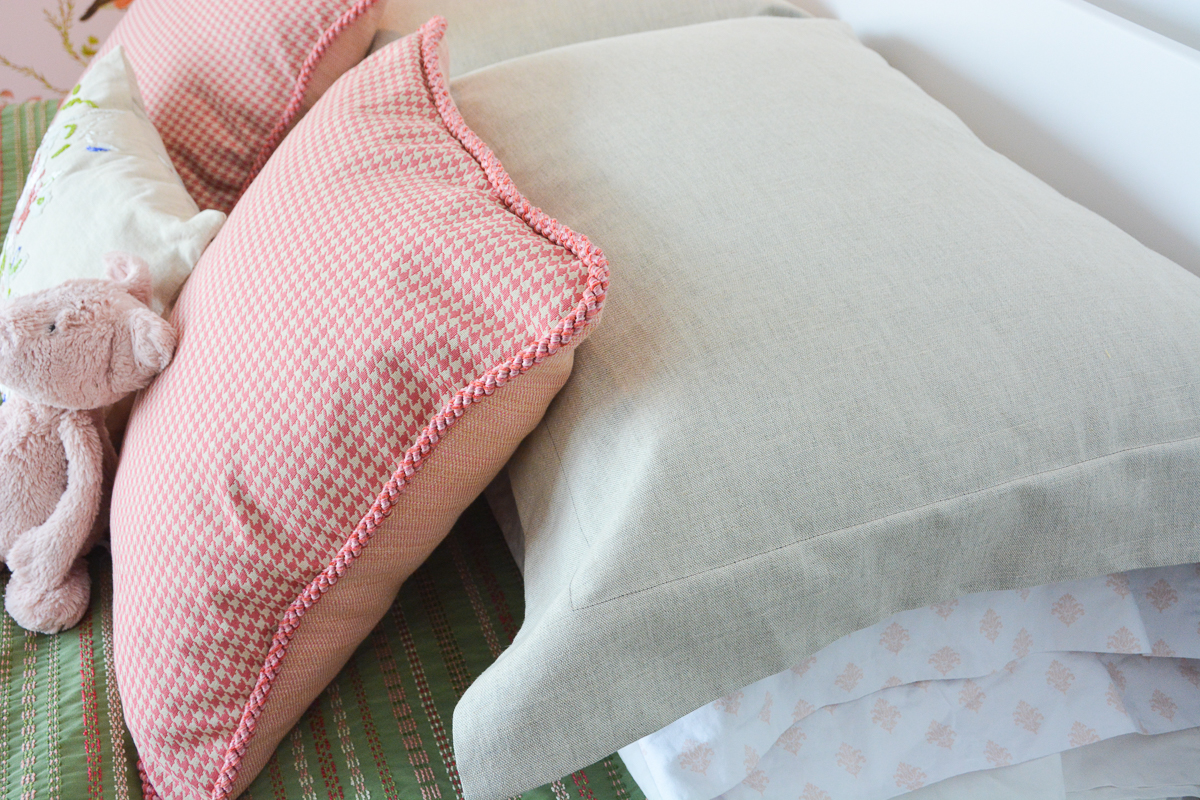
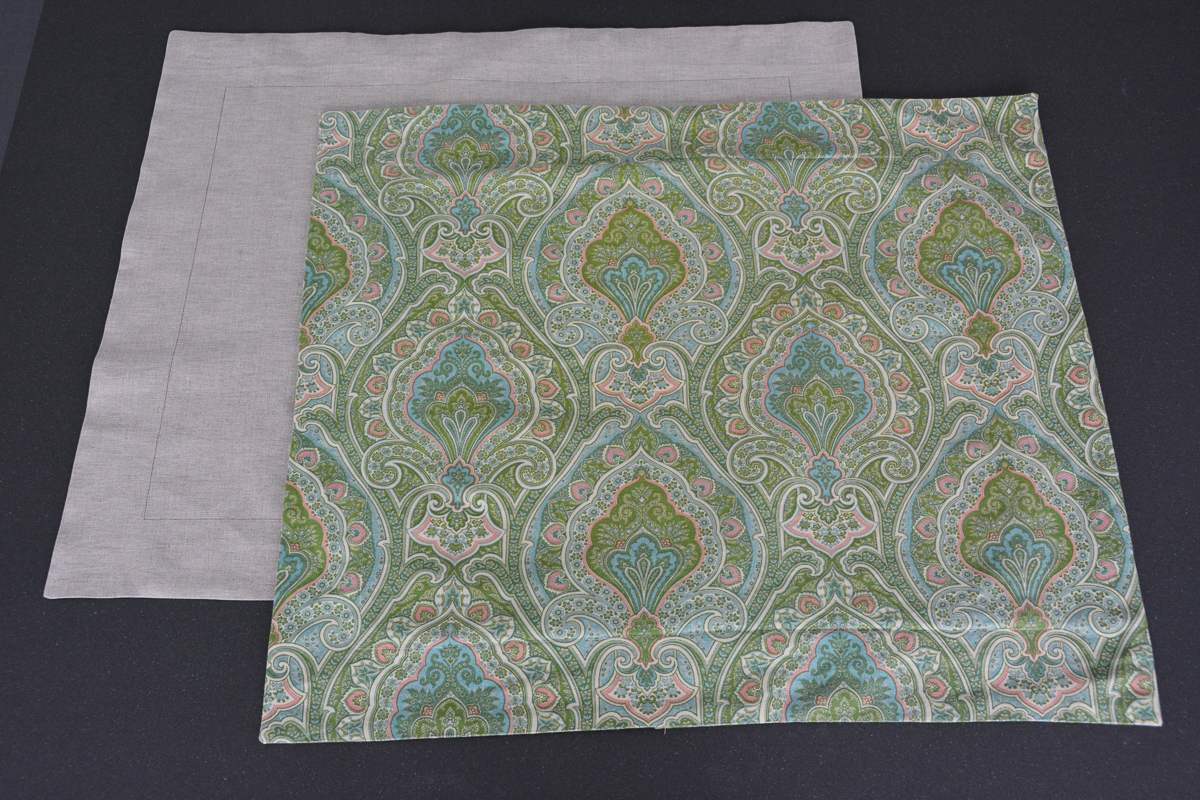
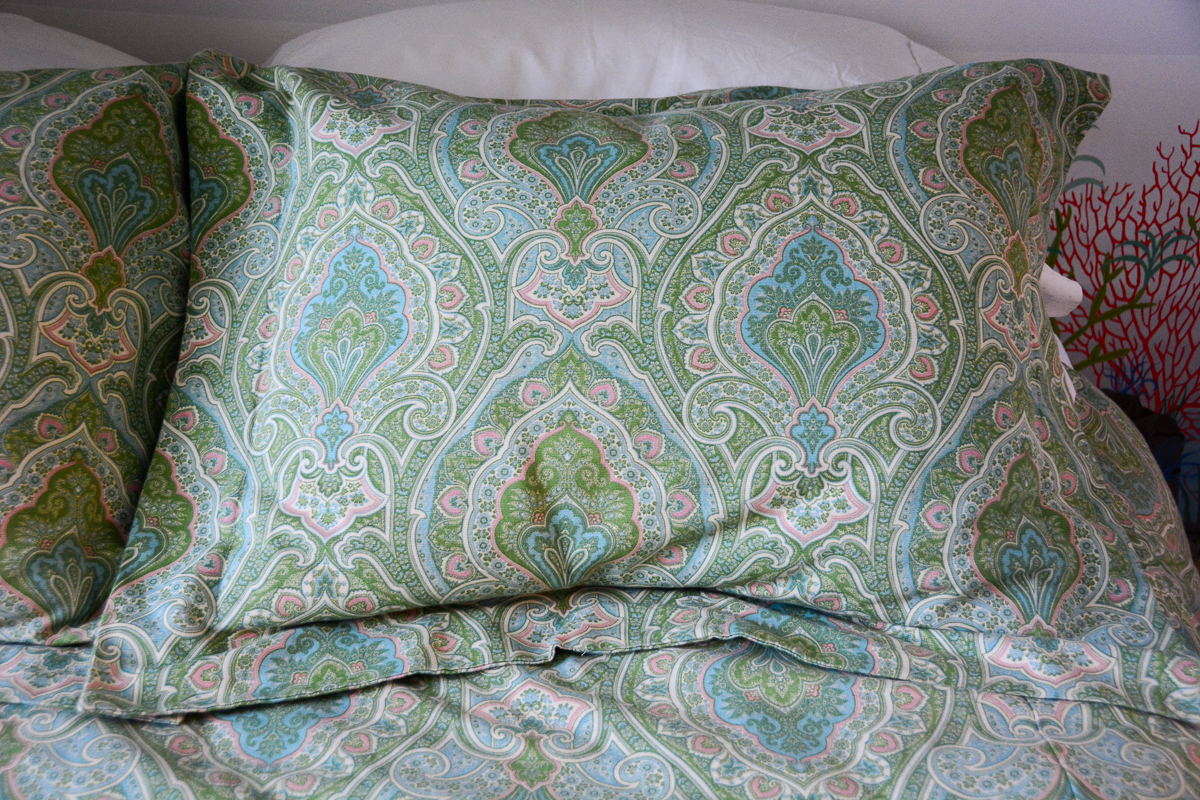
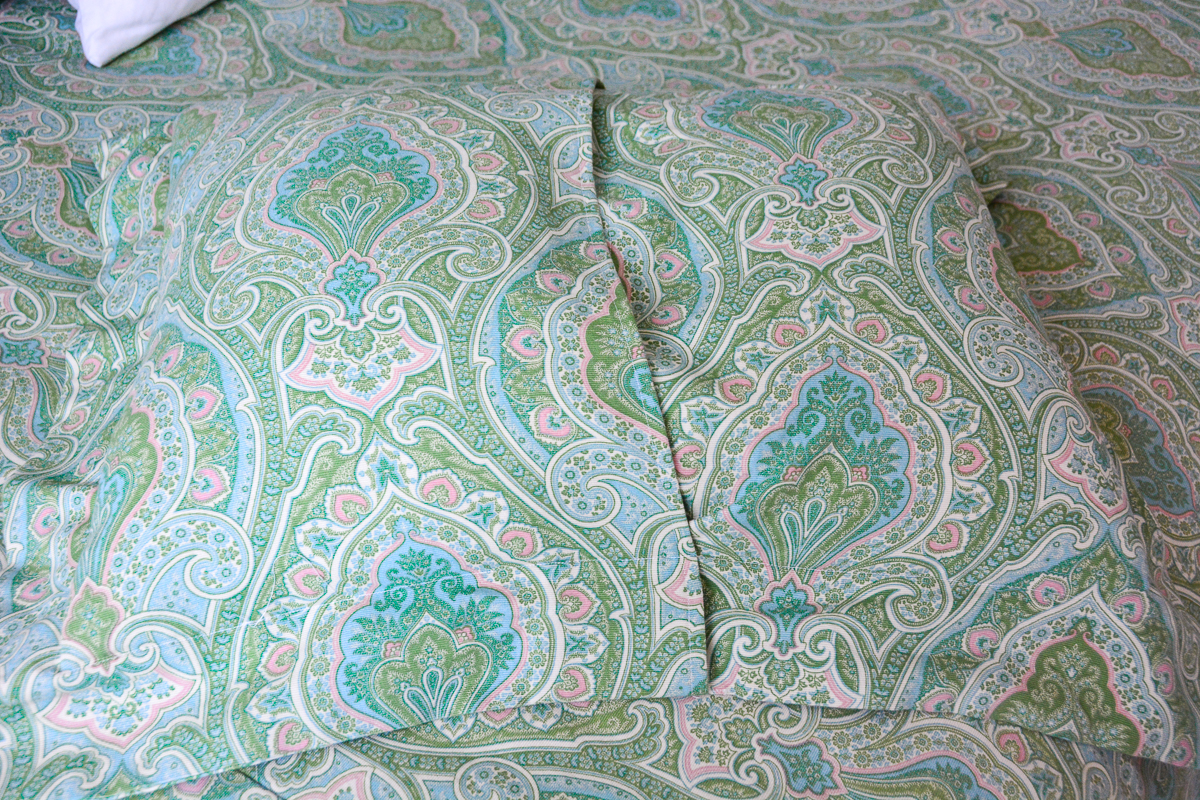
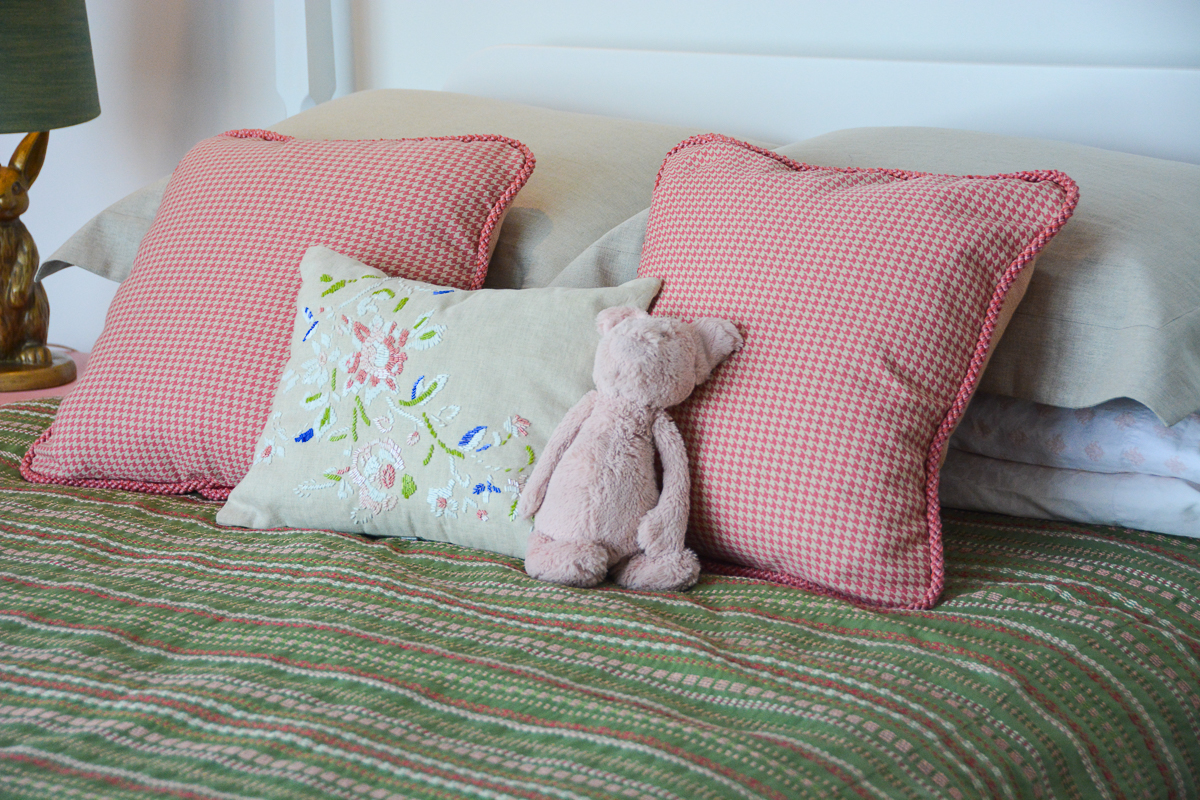
Your finished flanged shams should look like this.

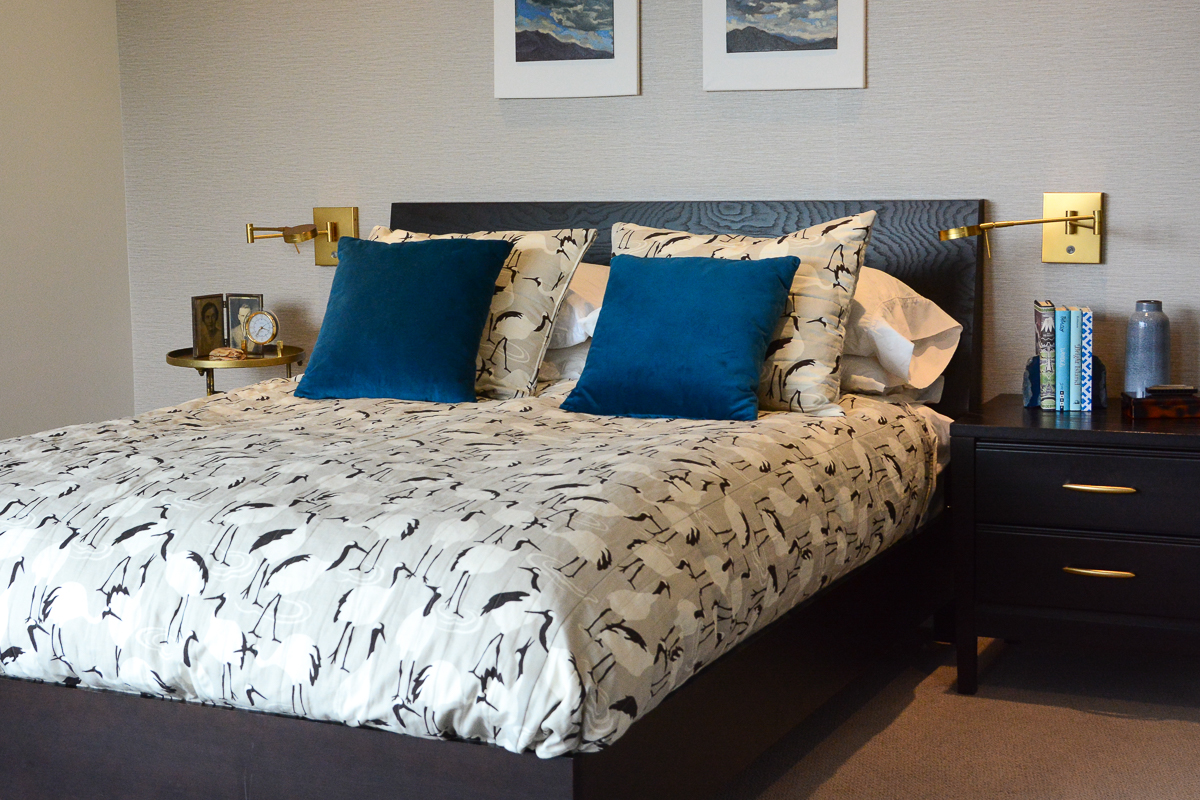
Ready to finish your bedding set or serve as a backdrop for a collection of throw pillows.
Within the next two weeks I will share a post on how to sew a simple duvet cover and corded pillow cover in this bedroom home decoration series.
What you might also like

One comment on “How to Sew a Flanged Pillow Sham”
Leave a Reply
You must be logged in to post a comment.

Great instructions! Can this be modified to make a quilted front to the sham and still have the flange?