Sewing Travel Kit made from a Clutch
Learn how you can quickly convert a clutch into a really sweet sewing travel kit by Amanda Leins at Mandalei Quilts. A great last minute gift idea for the Holidays.
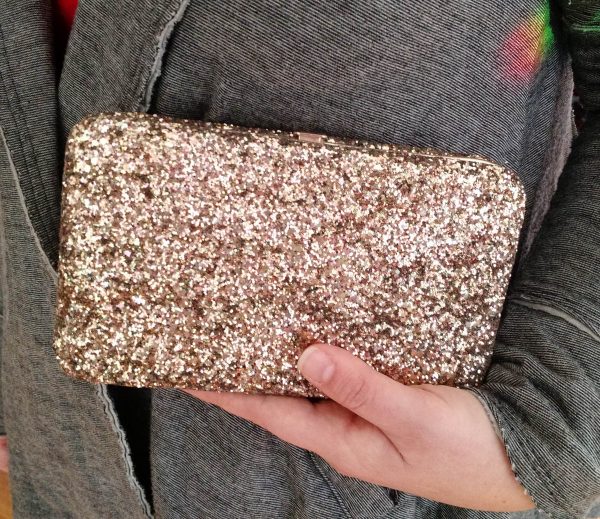
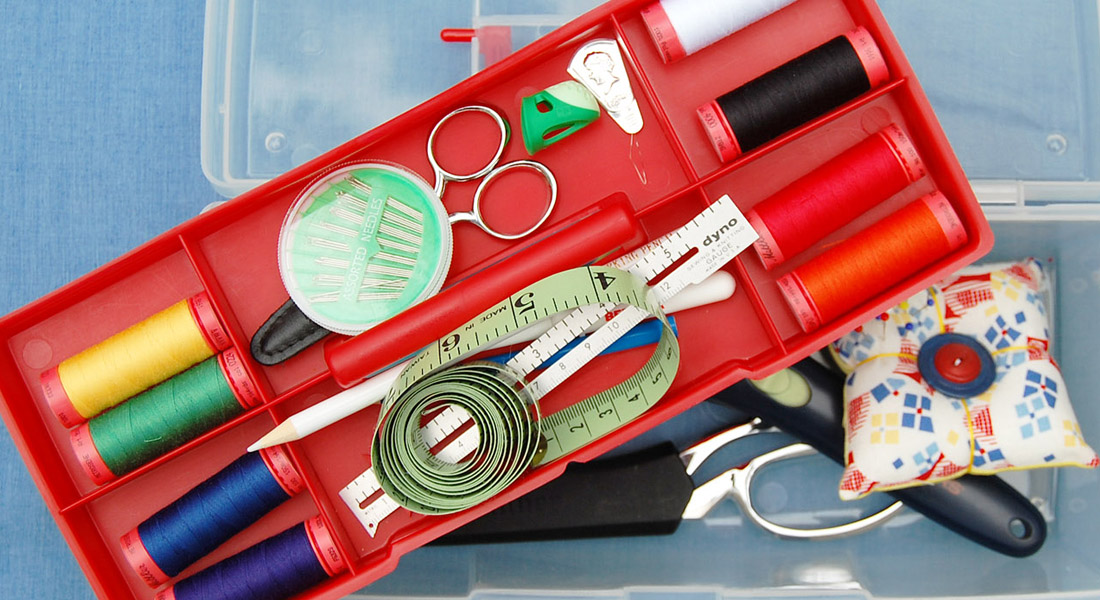
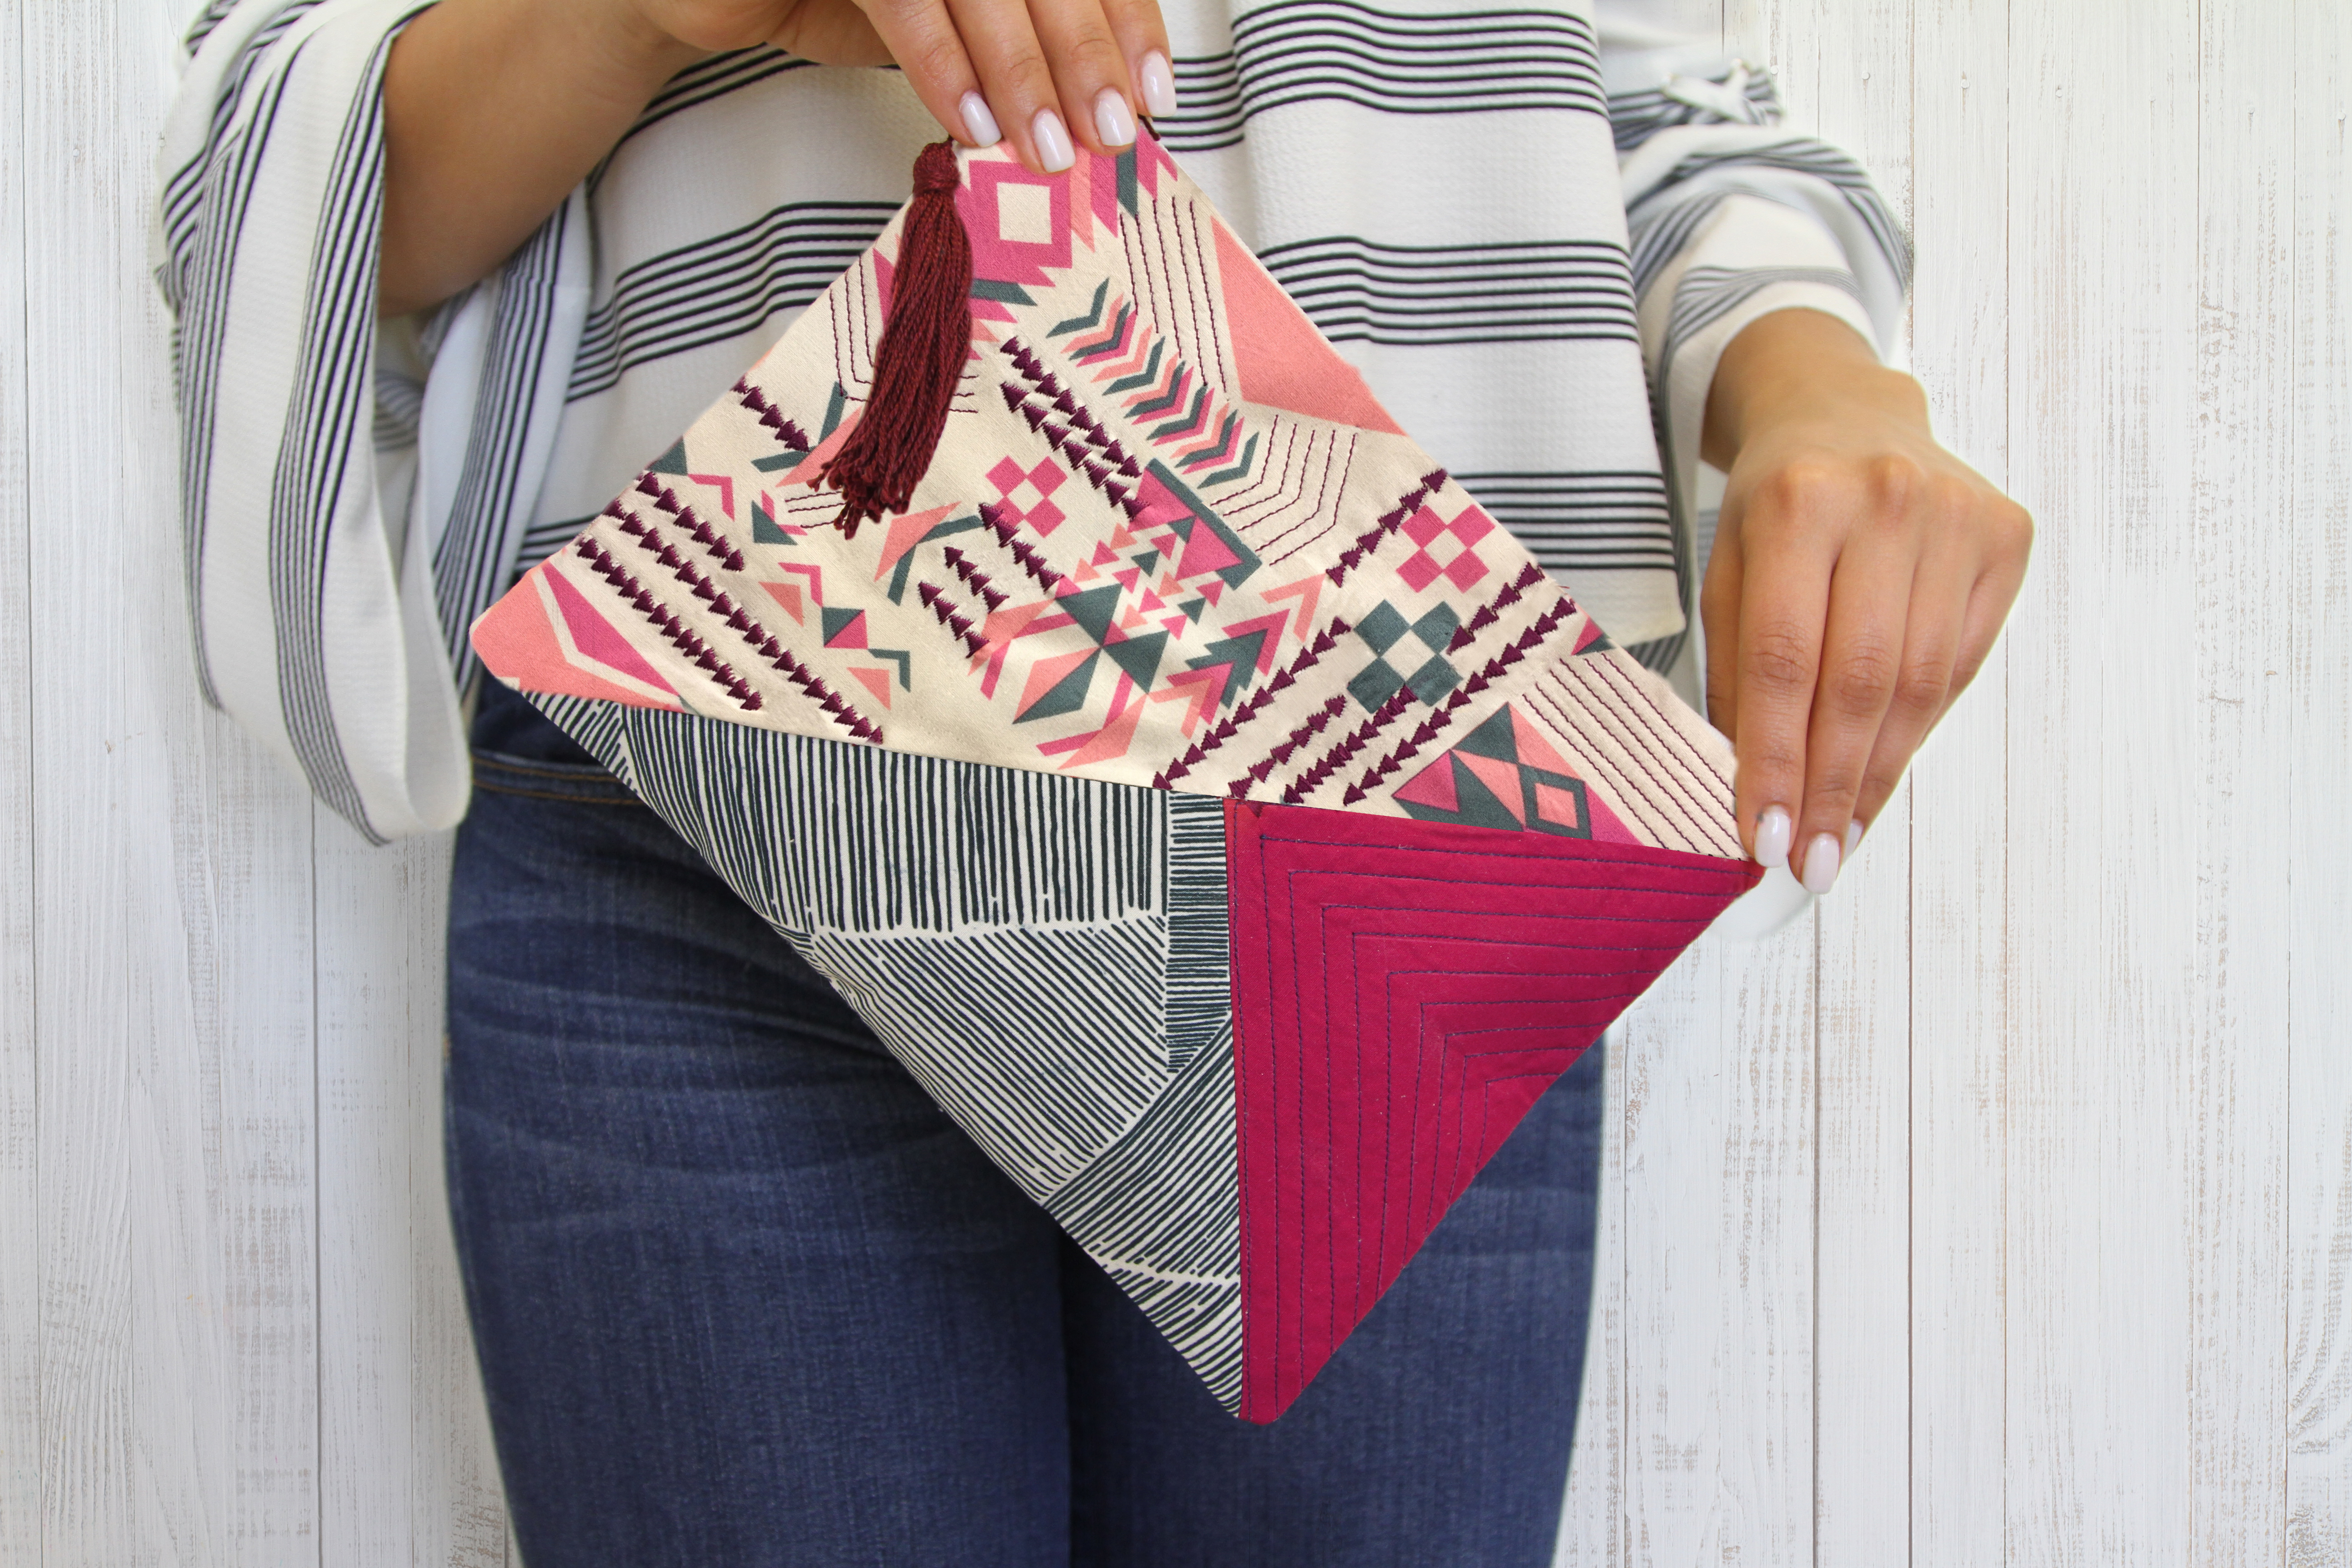
With all the parties and fancy dress events, this time of year is perfect for finding the supplies to make a really sweet sewing travel kit! Stores tend to stock fancy little clutches that are a bit oversized, which means you can fit an astonishingly useful set of supplies inside.
In this tutorial, I will show you two versions: the simple one, where I stuff it full of goodies and call it done, and the more elaborate version, where I do some cutting to the interior and add some handmade bits. This tutorial is dependent on the clutch I found to use, but you can adapt it to whatever you are able to find!
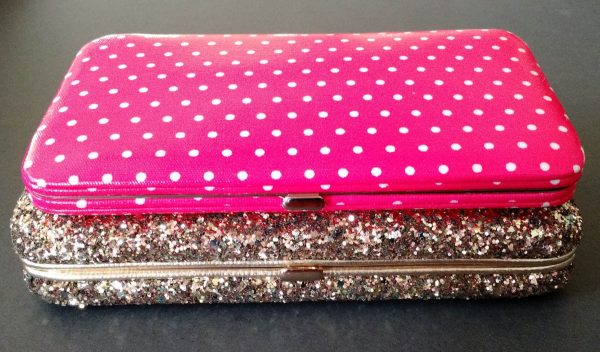
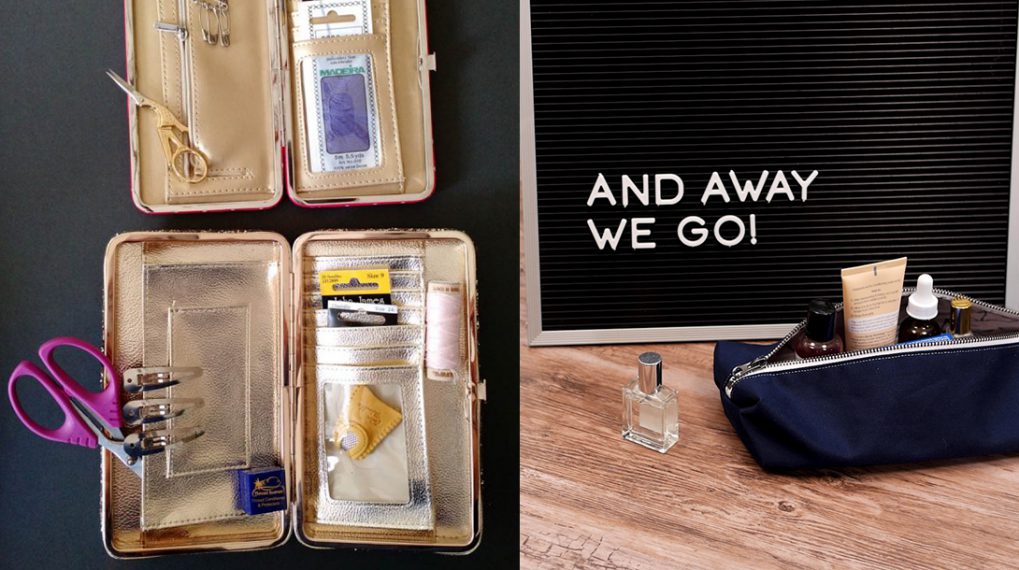
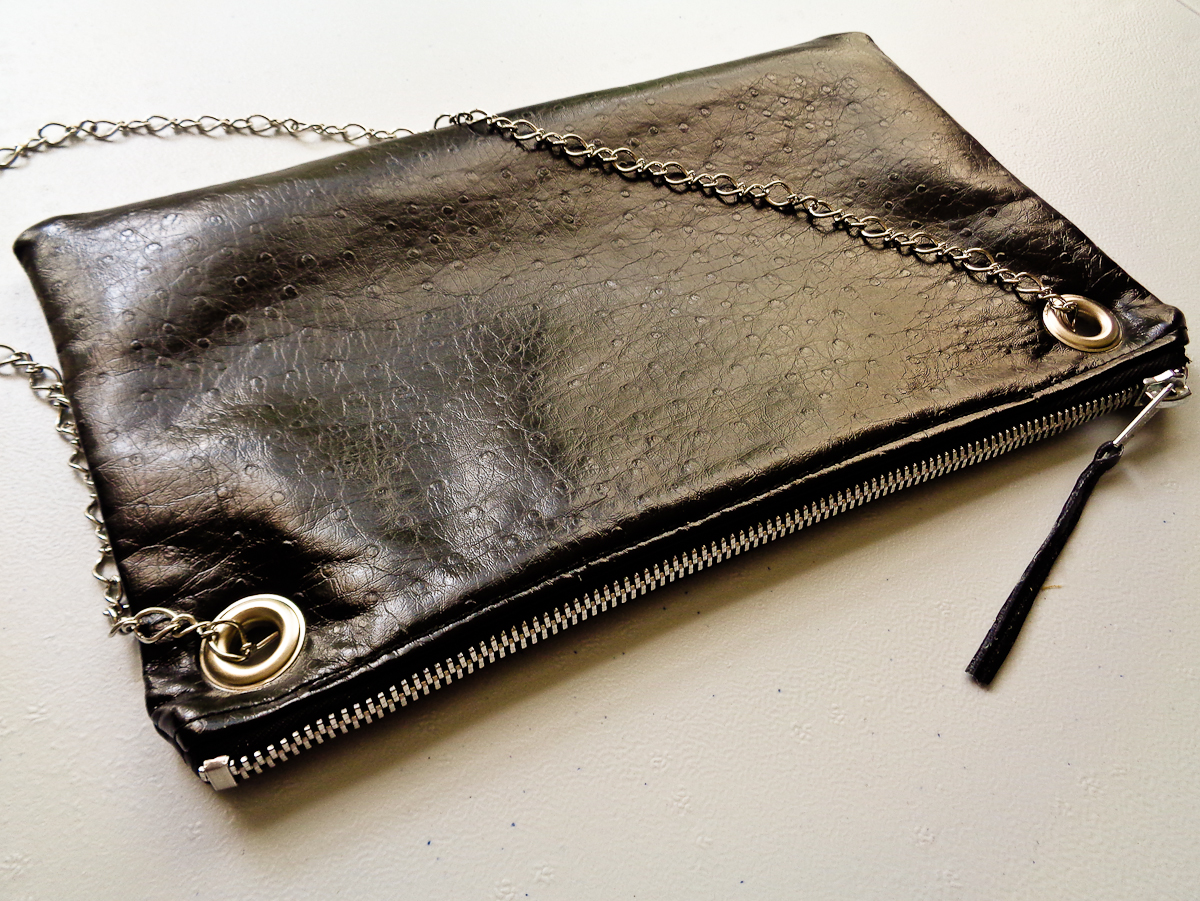
You can use the skinny versions for smaller and flatter objects (the pink polka dot on top), but I really love the clutches that are a little bit taller, like the gold one on the bottom! These bigger clutches are often seasonal items, I’ve found, so be on the lookout. The smaller clutches make great gifts for wedding parties that may need a mini sewing kit on hand.
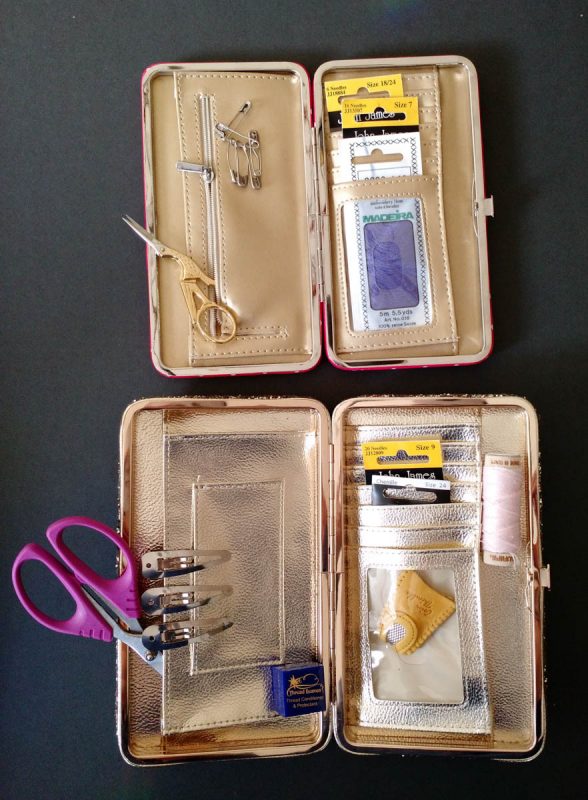
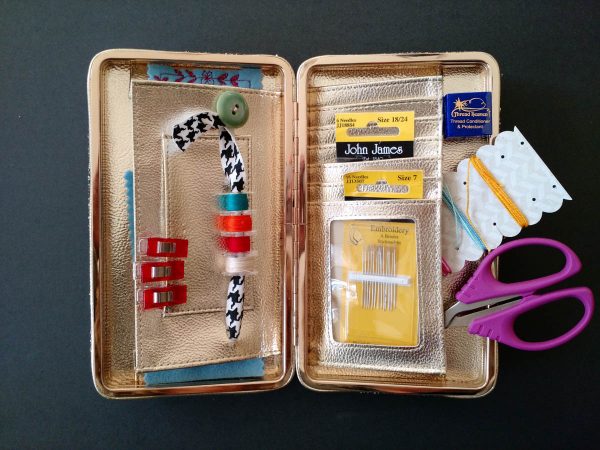
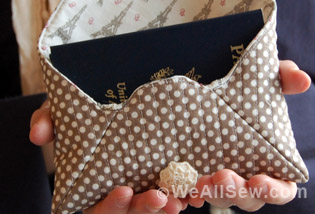
As these come, the inside on its own can already be put to good use. The slots for credit cards make handy holders for needle packs and thread floss, and the pocket for cash has enough room for a decent pair of scissors. When giving this as a gift, you can tailor the items you include to the person who’s receiving it. If it’s for someone who uses perle cottons or floss, you can also add Alison Glass’s beautiful thread winders, which are a super special touch or make your own. A tiny mini quilt can be slipped in to hold threaded needles, and to make the gift more personal.
If you want to go a little further, though, you can perform a little surgery on the inside of the clutch to customize it even more. In this version, I cut the sides out from one of the pockets to create a flap and left enough of the material at top and bottom left over to sew three wool felt panels for needles and pins. To cut these, I first used scissors to cut the pocket, then a razor to trim the excess material. Be very careful of your fingers!
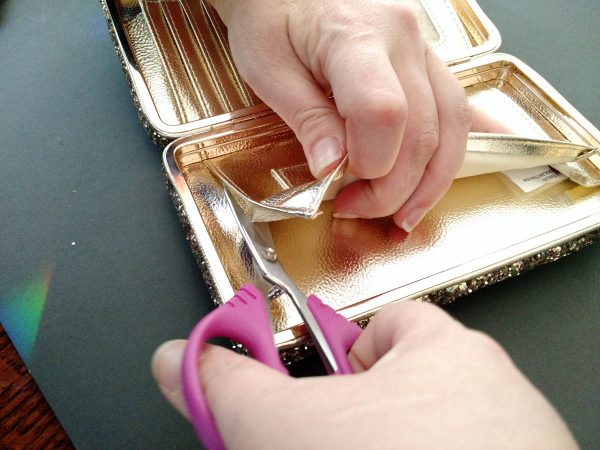
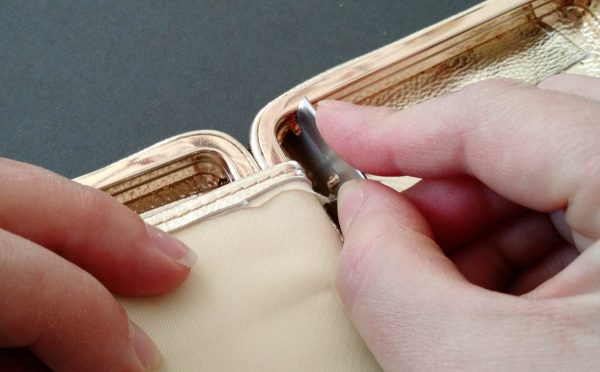
Never cut directly toward your body and keep your hands and fingers out of the way. In this, it’s like using a rotary cutter.
If you’re adding a sewn-in panel for needles to this side, as I am, make sure you leave enough leftover material from the credit card slots to work with!
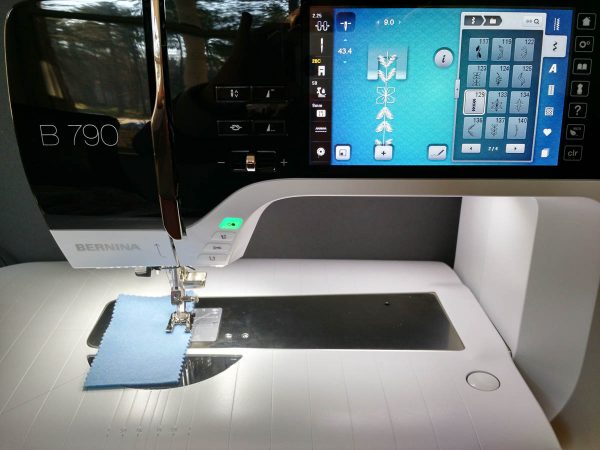
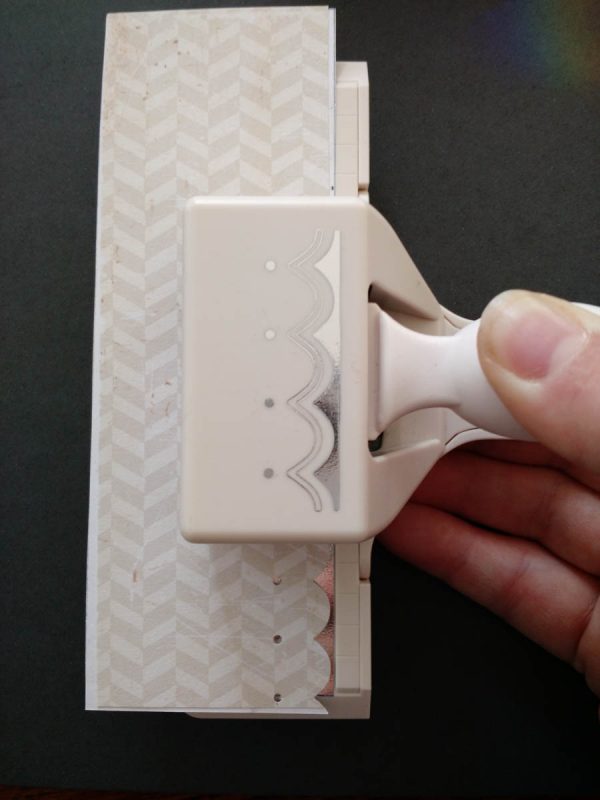
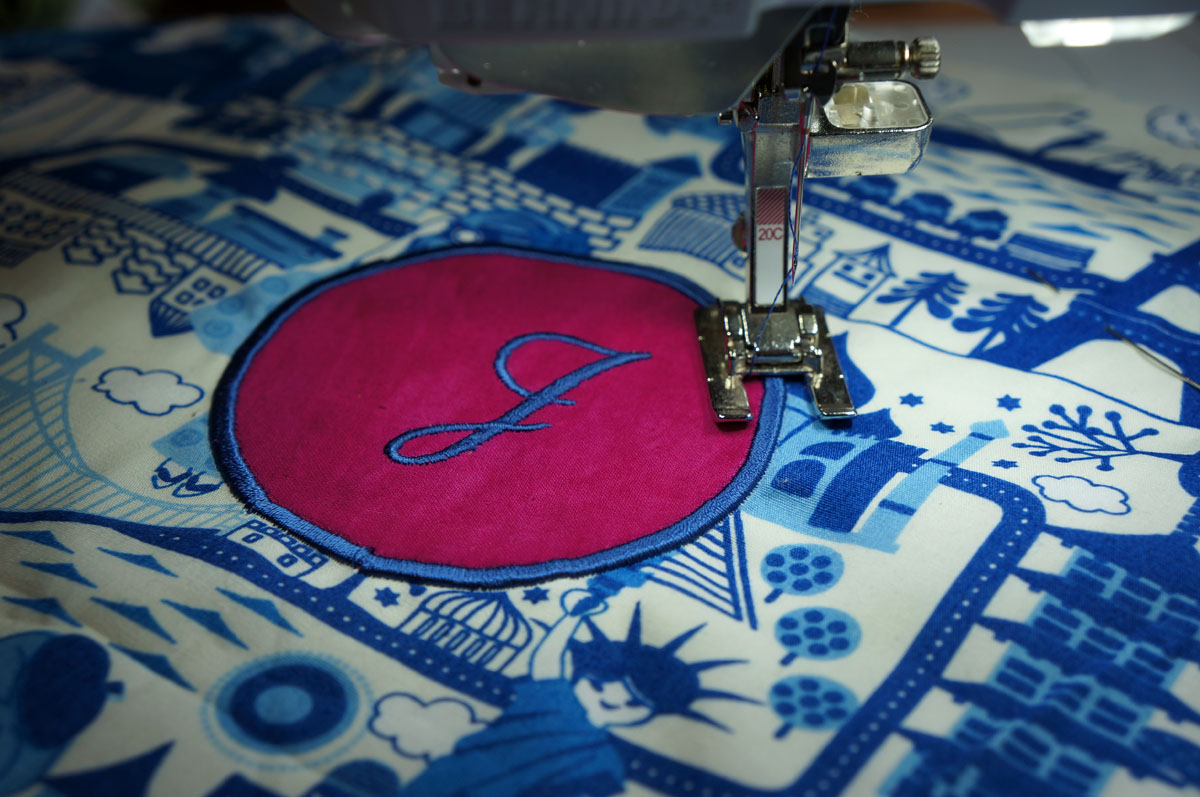
I measured the interior and decided how big I wanted to make my insert. For this clutch, I chose to make it 2″ x 6″. It would be fun to make a little quilted pad, but I chose to use felt for this version so I could have two layers on one side, and a third on the opposite side to make leaves like a book. You can use pinking shears or other fun scissors to trim the edges. It’s also a chance to pick colors the recipient might like, and maybe even add a special touch at the bottom using the decorative stitches on your sewing machine. I sew on a BERNINA 790.
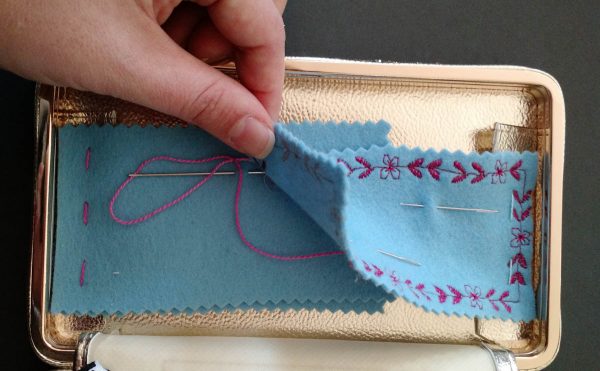
This will be a slightly finicky sewing job. You may even want to use an awl to punch holes and then sew through the holes, as you might with leather. I punched hole every 1/4″, and used a # 24 chenille needle and perle cotton to sew my insert in place through the holes I’ve punched. I knot it securely by tying the ends together in the back using a square knot.
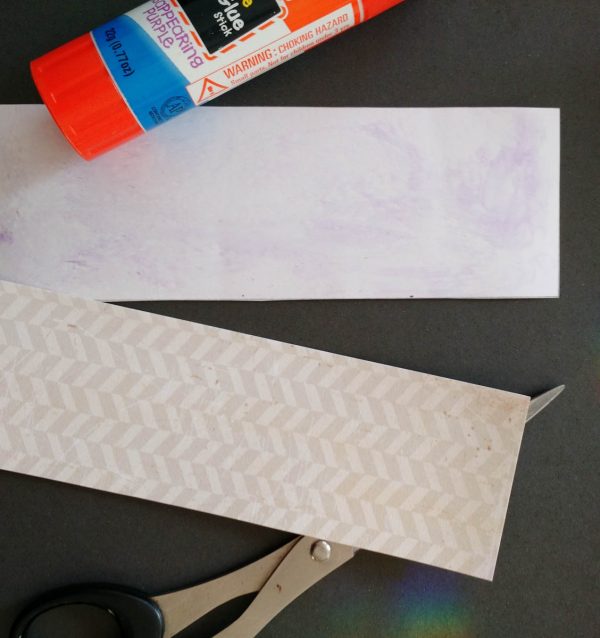
It is also easy to make a decorative winder with paper, by gluing two pieces of scrapbook paper together, and then trimming the edges with a punch.

If I am not using Alison’s floss winders, I like to include the option of a loop for holding L-class bobbins. Winding thread on these such as Aurifil or silk allows me (or, ahem, my recipient) to load up a bunch of options for hand piecing or applique. To do this, I used a wide hair band elastic. I cut the band open, and using my razor, cut a slot just wide enough for the ribbon to pass through, which I knotted in the back. On the opposite side, I punched two holes the width of my button holes, and attached a large vintage button. After threading my bobbins through, simply wind the elastic around the button a couple of times.
If you choose to add the bobbins, be aware that it may be a bit bulky to have them AND the card slots filled completely at the same time, and you might want to audition them first. It will be easier to close if the bobbins are as close to the base as possible, which I did not do for this clutch.
At this point, I call my sewing kit pretty much done! Use your creativity to run with your ideas, and I’d love to see what you come up with! I hope you share them with me @mandaleiquilts and @berninausa on instagram using the hashtag #berninausa and #berninaholidays!
Our December 14 Gift For You
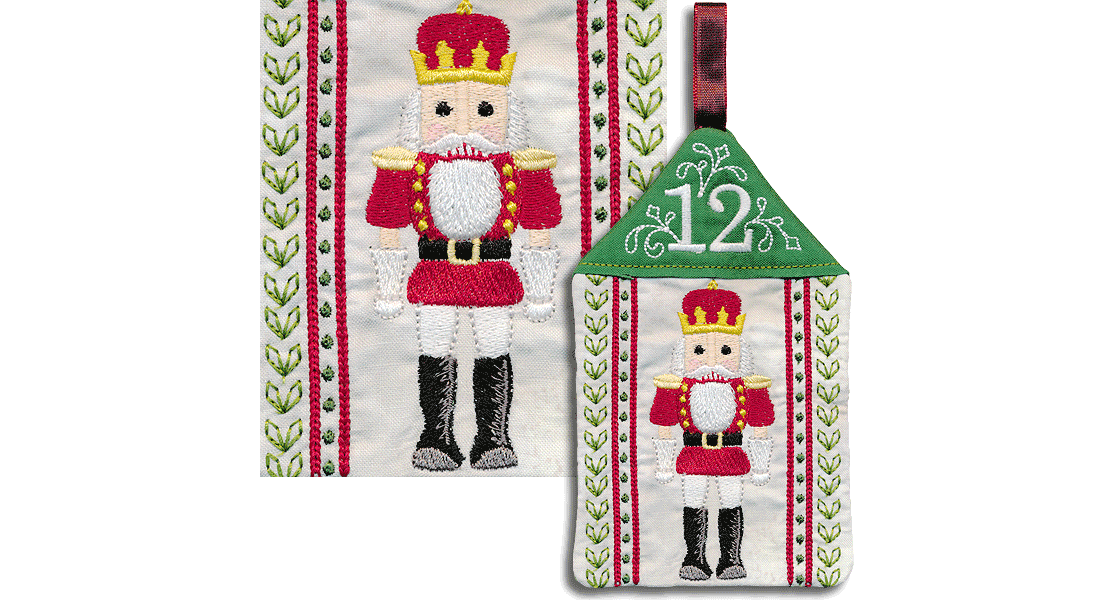
Today’s gift is the design CD with the entire Twelve Days of Christmas embroidery collection from OESD including a set of matching embroidery thread to one of our awesome WeAllSew fans!
All you have to do is post a comment below answering the following question:
What would your travel sewing kit include?
Enjoy!
Congratulations to our WeAllSew reader “ses1234”, the winner of the December 14 gift. Enjoy!
What you might also like


95 comments on “Sewing Travel Kit made from a Clutch”
-
-
Needles, several colors of thread, safety pins, and tape for quick seam repairs.
-
I’d put a small flashlight in, for when I drop my needle
-
I would also have to Include a needle threader….in my ” old age” my eyes aren’t as good as they used to be so I would have to include a needle threader!
-
-
I would definitely have my scissors, needle and thimble. This is a real neat idea for a quilter or anyone that sews. Thanks for sharing.
-
I would be sure to tuck a Band-aid or two. All the other items you show are those I would also use. I love this idea and plan to make one sometime during the long Maine winter.
-
cool for the traveling sewer
-
-
My kit would include items to hand quilt blocks.
-
I would be doing hand sewing on a quilt so needles thread and scissors
-
This is really clever, you could use a new wallet, vintage or thrift shop find.
-
I would make two, one with needles, embroidery scissors thread and a needle threader. Another one I would fill with band-aides, wipes, ointment packets and individual eye wash.
-
-
Definitely some basic thread colors and needles, a couple of safety pins, maybe even some narrow fusible web for emergency hem repairs. Scissors, of course!
-
Needle, threads, safety pins, double sided hem tape (pressure sensitive, not iron-on), small scissors, couple sizes of buttons, and a few clips of some kind.. By the way, this is such a cool recycled gift! Thank you.
-
My traveling kit would include a really good pair of scissors. Great tutorial.
-
Needle, thread and a spare button
-
Great idea for a sewing kit that can hold quality scissors, needles, thread. I would also add my favorite leather thimble and possibly a crochet hook and safety pins!
-
All of the above and my Bernina Swiss Army knife.
-
I would try and find a Christmas themed clutch and stock it with needle, thread, scissors and the bits and bobs that I need to finish the Christmas ornaments I make every year.
-
I love this idea. My sewing kit would include needles, scissors, thread, tape measure, safety pins, iron-on-patchs, few spare buttons & some clips.
I made a couple of sewing kits a few years ago for my two sons. They were not this cute but I think both boys appreciated the kits so they could sew on a button etc if the need arose. -
I’d have to have the basic scissors, needle and threads. But, I would also include a bit of lace trim and ribbons. You never know when you will need to add a decorative accent to an outfit!
-
What a super idea. I would pack the usual things- small scissors, needle, thimble, thread, a couple of buttons, Velcro pieces, small length of ribbon, safety pins, measuring tape, post-it notes, pen and a UBS stick.
-
Folding scissors, needles, needle threader, buttons, pre-waxed thread and safety pins.
-
I have often thought about re-engineering a clutch to use for other purposes and, Voila!, someone has figured it out with excellent illustrations. Today I happen to be in the nearest big town with good fabric/notion stores (160 miles from home) so will be on the lookout for sales on clutches. Thank You.
-
Definitely a little sewing kit but I also would have a space for a few earrings, lip balm, mirror, lipstick, and some hand sanitizer or wipes.
-
I would put my current “sewing kit” things in it b/c it is so cute.
scissors, thread, thimble, pins, needle, safety pins, template for whatever project I am making, small pieces of quilt I am hand sewing together. – Recipe for happiness. 🙂 -
I love this idea….so clever! I’m working on a hand beaded jacket so I would include my beads and my glasses 🙂
-
I would use it for my embroidery notions. Thanks for the great idea!
-
A small pair of scissors, a small array of various thread colors, a couple of shirt buttons, needles, and a thimble would do just fine for me. Cute idea to use a clutch!
-
Love the idea of this sewing Kit. In my sewing kit I would have needles, thread, snips, a couple buttons ,iron on tape maybe a thimble, a short measuring tape. If I could figure out a way to put my embroidery machine in that. Well, Woo hoo!!! Thanks for the tutorial and another opportunity to have a Bernina.
-
Love this idea! Now we all be on the lookout for some neat clutch purses. I would add to the items you already listed a small pull out tape measure and my favorite little 7 in metal seam gauge,
-
I would put scissors, threads, needles and bandaids. This would be a great gift-y type item
-
I guess it would depend on what project I was working on when I travel. If it was for for general emergencies I would have pins, needles, thread, scissors, safety pins, buttons and something for quick hem repairs! Thanks for the chance to play : )
-
My travel kit will include some hexies and all the supplies for them.
-
This is an excellent and creative idea! I’d love to make one and include sewing needles, pins, threaded bobbins, and tweezers to carry.
-
I would include, besides what is already shown, some iron on patchs in different colors to quickly
mend a hole or tear in something. -
I often travel with several bobbins, a needle kit, small scissors that are airline worthy, and whatever project I am working on: embroidery: hoop, thread, project, or hexies with my hexie forms, fabric, etc. What a great idea making it from a clutch!
-
I love the thread wrap. It takes so little space and allows a nice variety of thread colors from which you choose. I LOVE the idea of pre-threaded needles or including a simple needle threader since my vision ain’t what it used to be ? ??
-
Thank your for the great idea. My travel kit would hold thread, needles, small scissors and whatever small sewing project I was working on – English paper piecing or more yo-yos for that quilt I am planning to make someday. Thanks for the great giveaway.
-
a tape measurer, a small embroidery scissors, needles, thread/ thread wrap, 2 gb
jump drive that can be used for whatever designs the recipient’s desires. -
For those of us who like to bead some of our projects, one could stash some beads, beading needles, and bead thread in the kit.
-
My travelling kit would include small sharp scissors, neutral colored thread, hand needles, and any supplies needed for handwork I am taking along
-
I would need a small pair of scissors, 2 neutral threads, needles and a needle threaded. Then I would need one specific for hexies
-
Needles, thread, scissors, small ruler, pins and wonder clips!
-
I would put in the usual thread as well as a seam ripper, small scissors, some bobbins, a couple of fat quarters and some straight pins. It would also be handy to put in a miniature USB flash drive and a small knife.
-
This sewing kit is a great gift idea. I would be sure to include small scissors, small safety pins, a button or two,
black and white threads on a card, a band aids and a package of hand sanitizer. I will be making a kit for our R.V. to take camping. -
My sewing kit would include my favorite tiny scissors, utility thread and a needle
-
My travel kit would include some safety pins, a tape measure, a rotary cutter, a couple of pairs of scissors, rubber bands, and a roll of electrical or washi tape, and a couple of common sizes of crochet hooks. I always have small crochet projects with me to work on while I wait, so this kit would be a great place to put some of the items that are floating around the bottom of my purse. lisajcowell(at)cs(dot)com
-
I would keep all the basics for sewing. Needles, thread, seam ripper, blunt scissors for air travel.
-
I would put needles of various sizes and types, a needle threader, small scissors, seam ripper, pins, clips, a friction pen, thimble, and thread
-
thread, snippers, and safety pins!
-
I would fill it with needles, threads, pins, small scissors and a must have thimble! My grandmother taught me to sew with a thimble and can’t sew without one! I’m certain I will find some other needed notions to stock, too.
-
neutral thread, scissors, straight and safety pins and tape for quick hem
-
I would put needle, thread, clips, scissors, repair tape, all the usual sewing kit items.
Plus I would keep in it some first aid supplies.
Great tutorial.
Thanks
Happy Holiday’s -
What a great idea for several purposes. Sewing, first aid, writing supplies (notecards, stamps & pen). Would easily into travel bag.
-
I always take a repair kit with me that includes buttons, thread, needle and scissors.
-
I would include some cheap scissors for cutting open the individual coffee packs in my hotel room.
-
Yours looked pretty well stocked, the only thing I add is a thimble.
-
Thread, scissors, small ruler, safety pins, needles and felt to hold needles/pins.
-
I would include thread, pins, needles, a thimble, scissors, Jinny Beyer’s perfect piecer, a marking tool, and a few quilt pieces that I am working on.
-
What a great idea! I have a few of these clutches in my closet to get me started. I’d include the scissors, pre threaded needles in basic colors and them different colored thread and bare needles, wax, A tape measure, some iron on repair tape, fray check, safety pins and a little magnifying glass.
-
I would have needle, thread, scissors, seam ripper, and glue.
-
Great idea. Would have to include a needle threader.
-
All the usual items – needles, thread, snipper, threader, pins, safety pins, tape measure, thimble, pen and pencil!
-
I would put in a small set of scissors, 6 sewing needles with 24 inches of thread for each with basic colors: red, blue, brown, black, white and beige. I would also have a small measuring tape, a few buttons, pins and a small pin cushion. Also a small snack that is non perishable like peanuts, pretzels, or mints 🙂
-
The usual sewing things, plus some candy. Don’t judge.
-
A needle and thread in basic colors and a small clipper.
-
I would add some safety pins to the regular sewing items mentioned in the project.
-
I would put a needle threader for sure. Always nice to have 2 needles in case you drop one and can’t find it. Also some small snippers, thread, a few pins,neutral threads, small seam ripper. Usual things needed.
-
I would put needles, safety pins, small scissors, some self adhesive to tack up a hem. I’m sure I’ll think of more items that I can use.
-
Probably needles prethreaded with most used colors for quick repairs
-
Cute idea! I would include small pointy scissors, thread in neutral colors, safety pins in several sizes, snaps, hooks & eyes, buttons, iron on tape, straight pins
-
Love this idea! I would include a small flashlight and needle threader, a could of bandaids and a bit of fusible hem tape would be good, too. This is a winner!
-
Pre-threaded needles in a variety of colors for the project I might be working on. Small embroidery scissors, fusible tape, safety pins in a variety of sizes.
-
My little travel kit would include small scissors, needles, neutral thread , my favorite clips, and small circles of fabric to make yo yos for little projects.
-
I already have a travel sewing kit that I use in the car, but it’s only for in the car. To take into the hotel or wherever this is a brilliant idea!! I’d add my “thimble” pencil sharpener. I use pencils occasionally while sewing, but they’re difficult to use without a point!! 🙂
-
I would also put some money in. A safe place in an emergency
-
I would include my favorite “kindergarden” scizzors; thread and needles for the project I am working on; beeswax; a thimble; and a small magnet in case I drop my needle.
-
-
I’d be sure to put some BandAids in it, because if I had to hand sew, I would certainly end up using my fingers as pincushions.
-
I would include double sided emergency tape, BandAids, and my pocket scissors (round tips) in with the other sewing notions.
-
Mine would include my pair of pink flamingo scissors along with my valdani threads for working on my wool applique.
-
My travel bag has a small scissor, safety pins, a couple of bobbins with basic colors of thread, and a sewing needle. I like to paper piece. It also has come in handy for repairs a couple of times .
-
I would certainly include all your listed items as well as a small beeswax to make the sewing easier
-
My travel sewing kit is four fold handmade fabric binder, holds my embroidery floss, has a sewn in pincushion,with scissor holder and small ruler holder plus a needle threader. I sew wool crazy blocks while traveling.
-
-
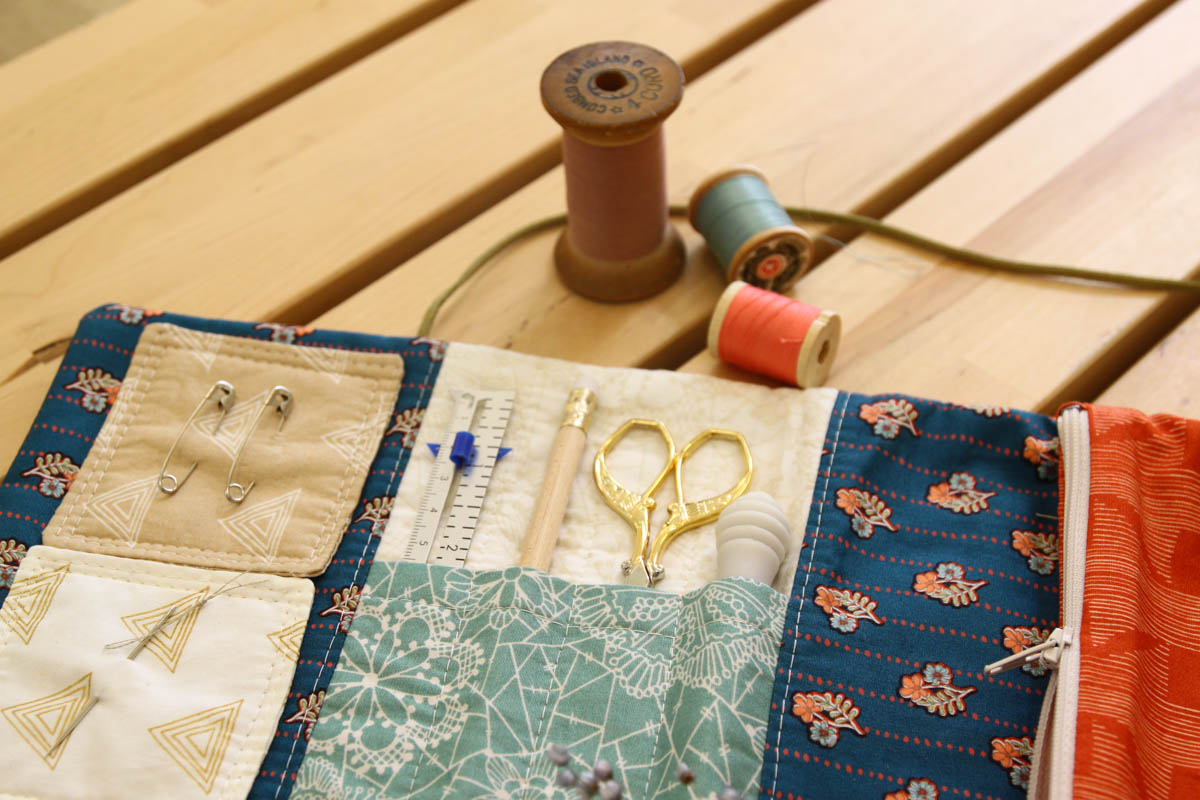
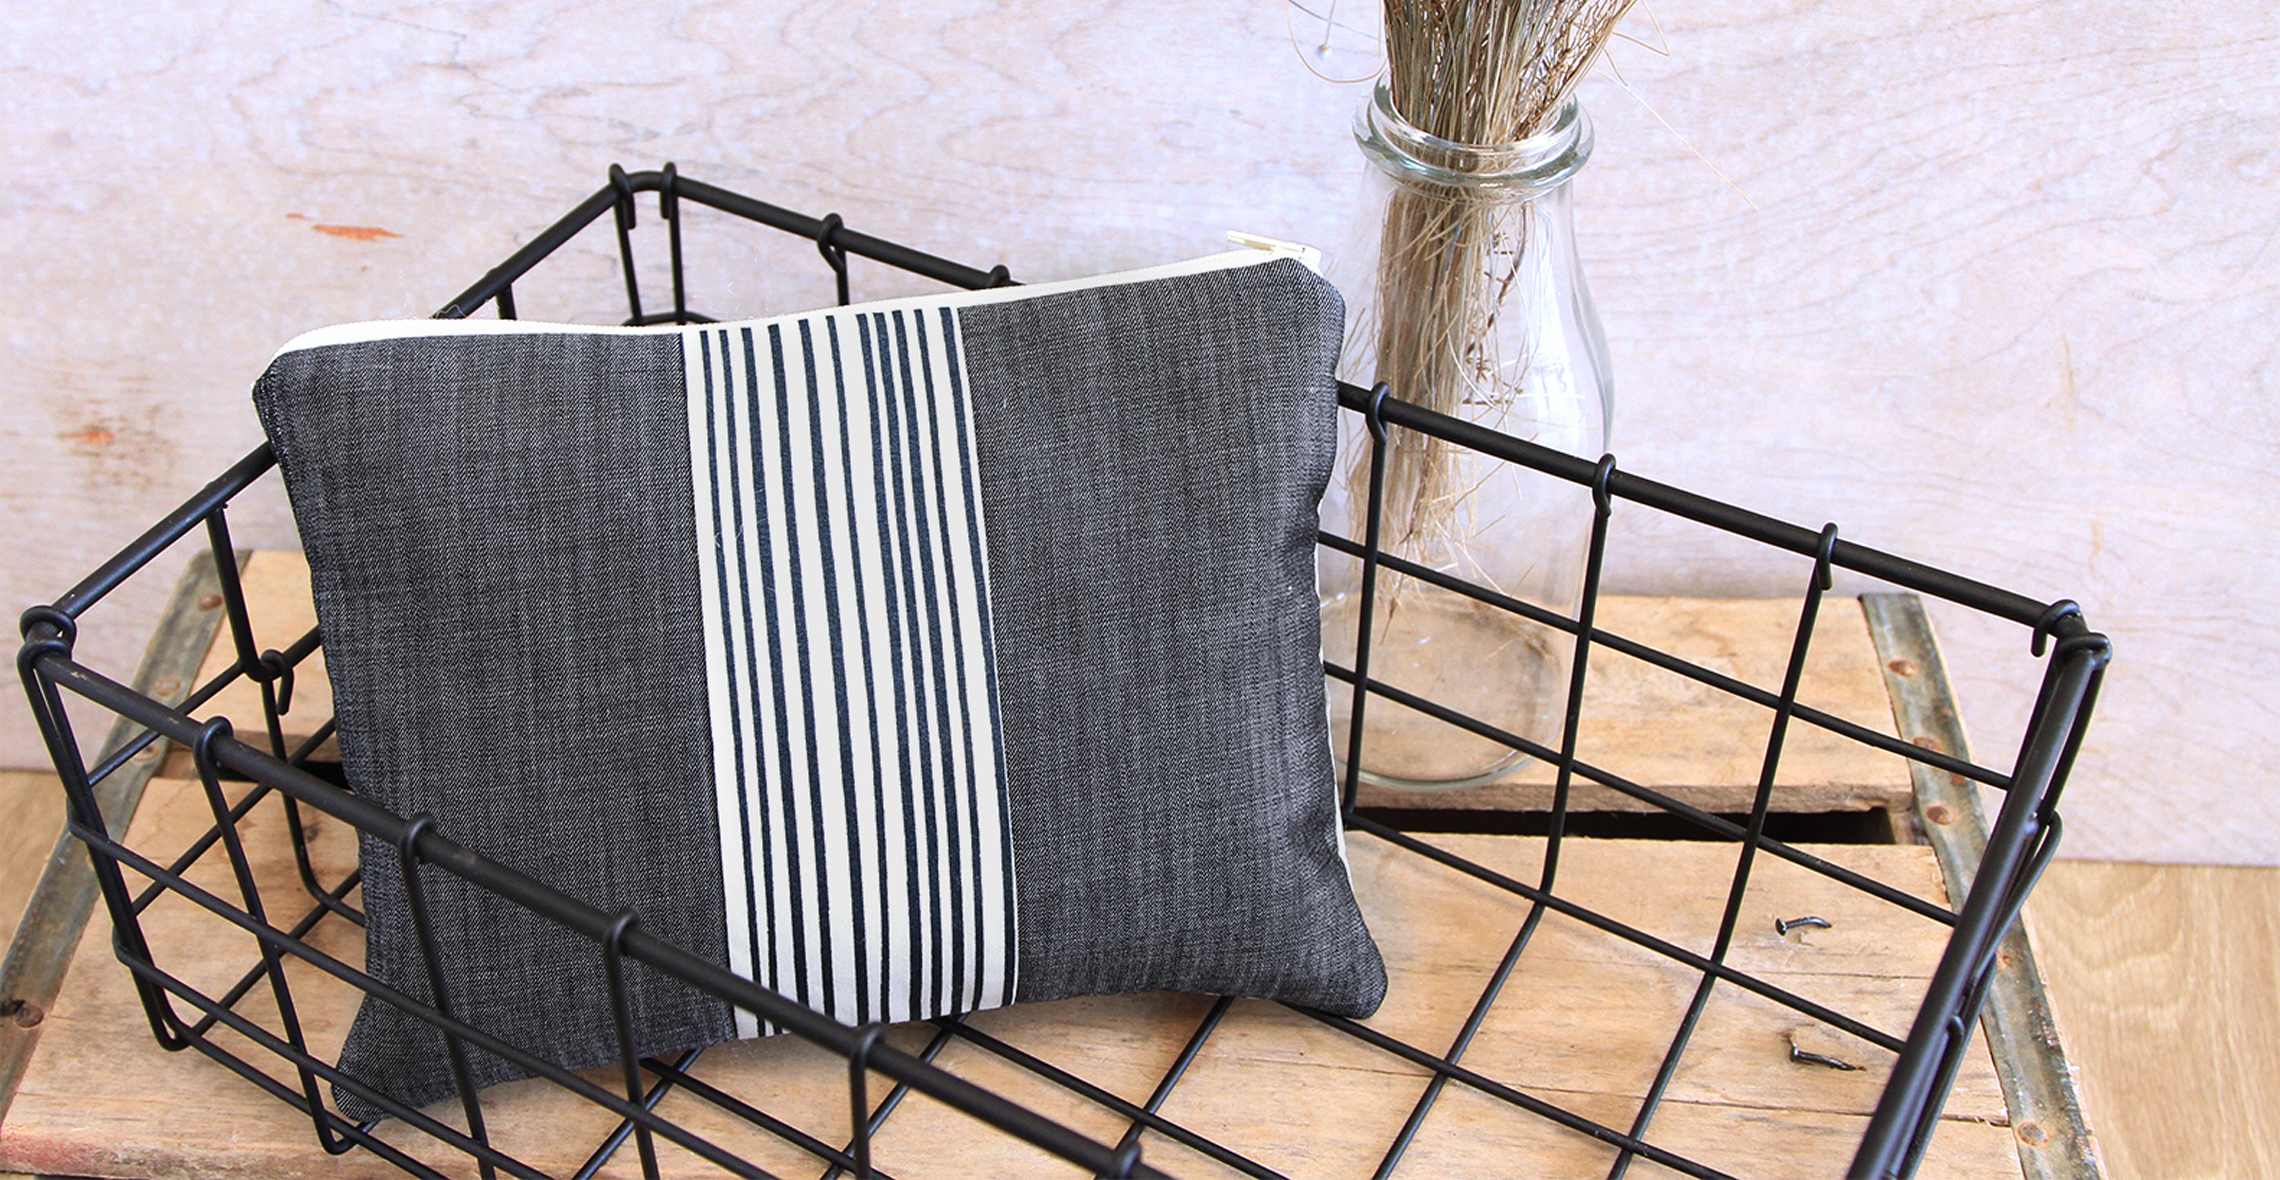
Good idea and lovely gift. The bag in the next section would also work well for the sewing kit. My kit would include a crochet needle for whatever project I brought along. These kits would have to be packed in the suitcase I think if flying, or some of it might be confiscated, ie the scissors.
-
Thanks for your project. I would include a threader so that I could thread the needle in places which do not have bright lighting.
-
Because I sew at home I don’t get a lot of time for hand embroidery so I would kit it out with crewel needles, tapestry needles, embroidery floss cards, scissors and a tiny hoop for a small take with me cross stitch
-
My travel sewing kit is four fold handmade fabric binder, holds my embroidery floss, has a sewn in pincushion,with scissor holder and small ruler holder plus a needle threader. I sew wool crazy blocks while traveling.
-
I love the idea of making up these clutches as a gift for wedding parties to use. I’ve never seen one that didn’t need to stitch SOMEthing up at the last minute! Along with all the sewing necessities, I would include a couple of bandaids and aspirin for those last-minute emergencies in the Bride’s room. 🙂
-
The kit I would make for myself would include all the tools I bring to quilting classes at my local quilt shop. What a stylish and glam way to carry scissors, a seam ripper, extra machine needles and the like to a class. I would be the envy of the group!
-
I would put in extra leather dots that I use in place of thimbles for my embroidery projects.!
-
In the bag I will make I want a tape measure, a small tablet , pen and hook and eyes and a few buttons that would go with what myself or family normally wears and three sizes of a safety pins
Sam Hyer -
In the bag I will make I want a tape measure, a small tablet , pen and hook and eyes and a few buttons that would go with what myself or family normally wears and three sizes of a safety pins and band aids and headache meds.
Sam Hyer -
Take along scissors, English paper pieces. Also two inch squares of fabric.
-
My clutch sewing case would include: needles, thread, scissors, soft thimble, seam ripper, hexi papers ready to stitch, small glue stick, and bandaids!
Leave a Reply
You must be logged in to post a comment.

I travel a lot for my work so I like sewing kits a lot, I would add a piece of double backed basting tape to iron a hem in a hurry.