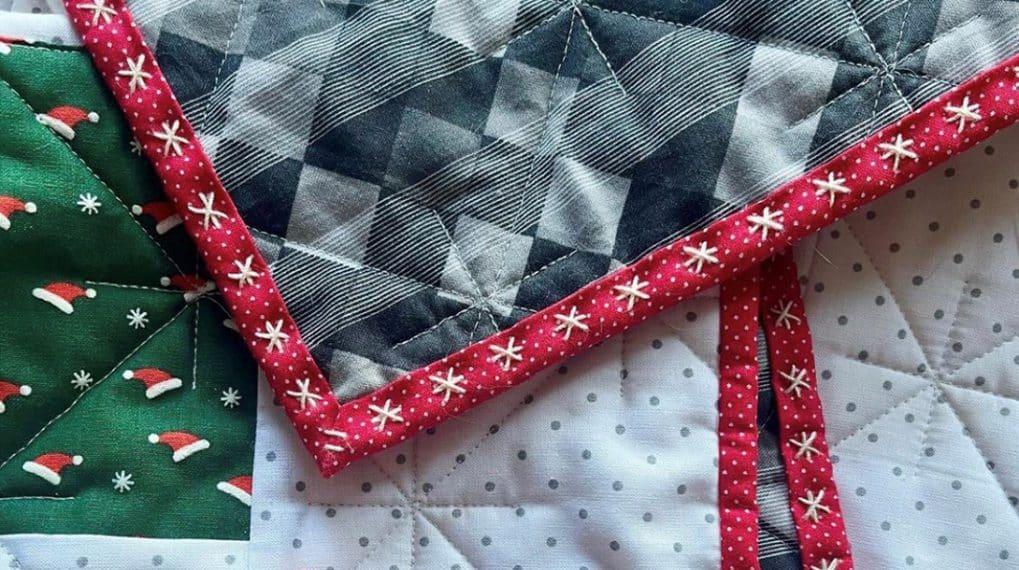
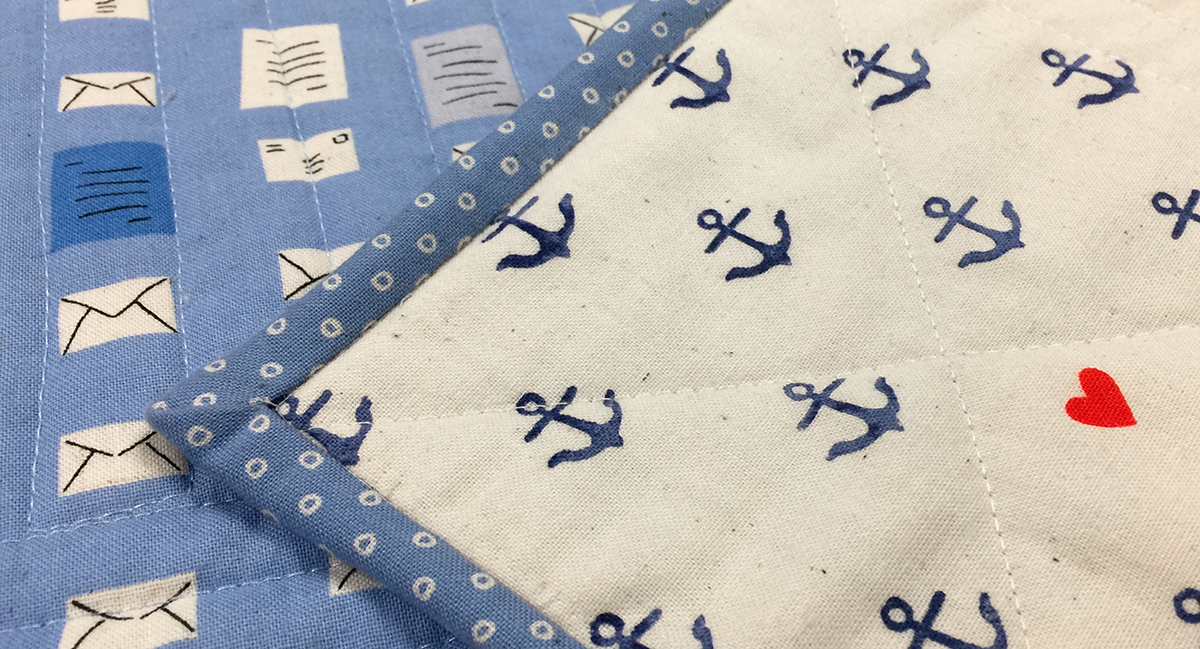
Simple Binding Basics
Getting back to binding basics by keeping it simple will help you to enjoy your binding. I’m excited to share with you my binding technique. Let’s make binding fun for you once again! I will have a few tips and tricks that will make binding a lot easier, fresh and new in your eyes. Let’s get started!
First, let’s go over how to calculate your binding.
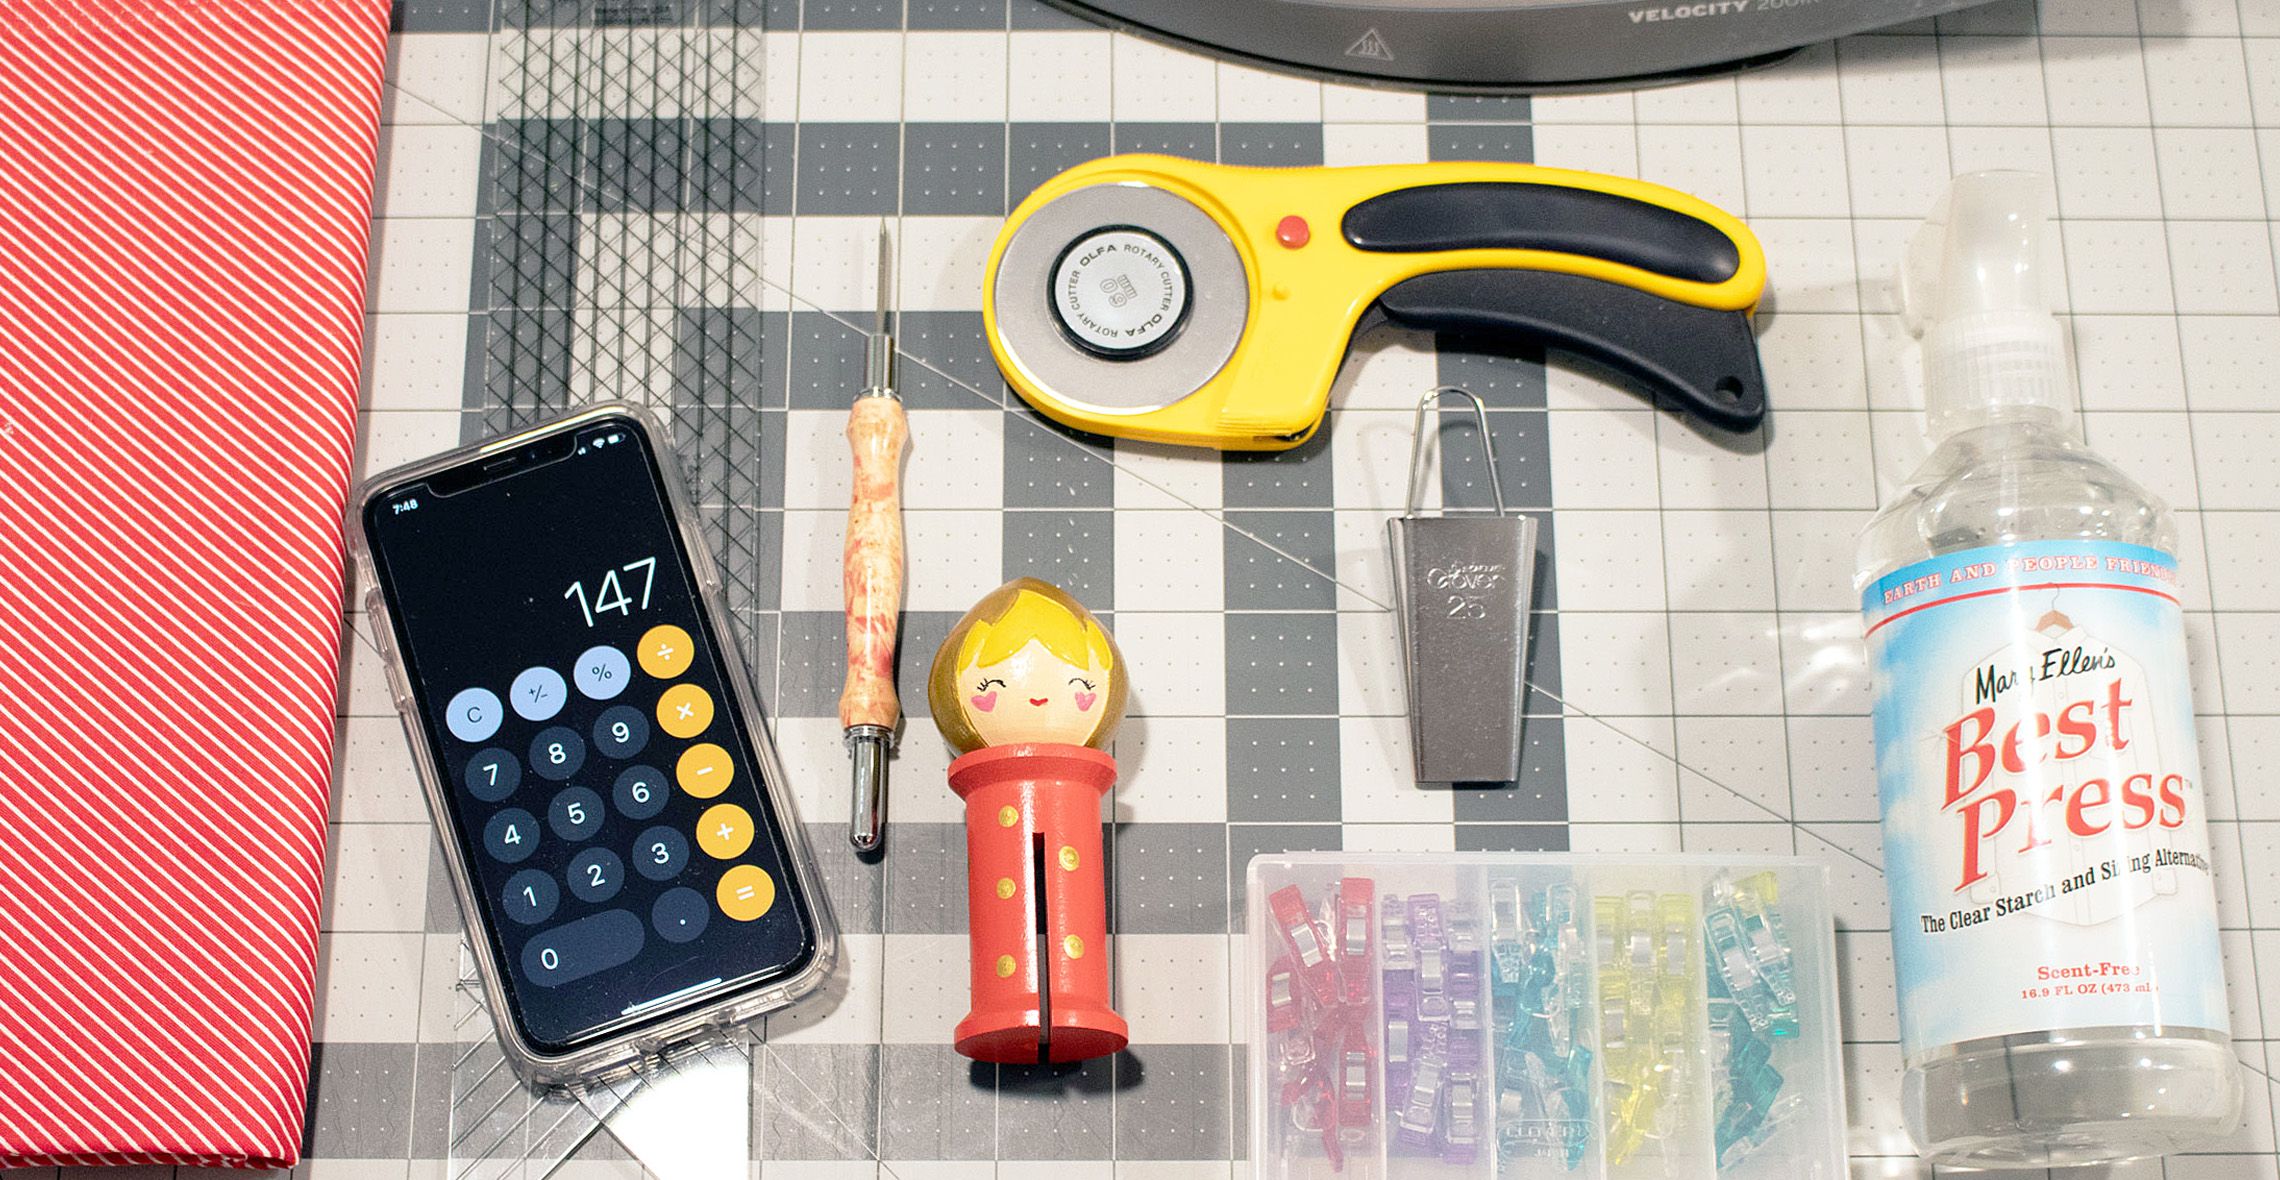
Materials to Make Binding:
- BERNINA 790 PLUS
- Calculator (use the calculator app on your mobile device)
- Quilt or Project to measure
- Iron/Mega Pressing Mat
- Spray Starch
- Rotary Cutter
- Cutting Mat
- The Bias Ruler by TQM
- Patchwork foot #97D
- Thread or White or Color to Match Fabric
- Fabric Yardage for Binding
- Binding Babies® by Doohikey Designs LLC
- Clover Wonder Clips
- Stiletto
To properly calculate your binding you will calculate it into two steps:
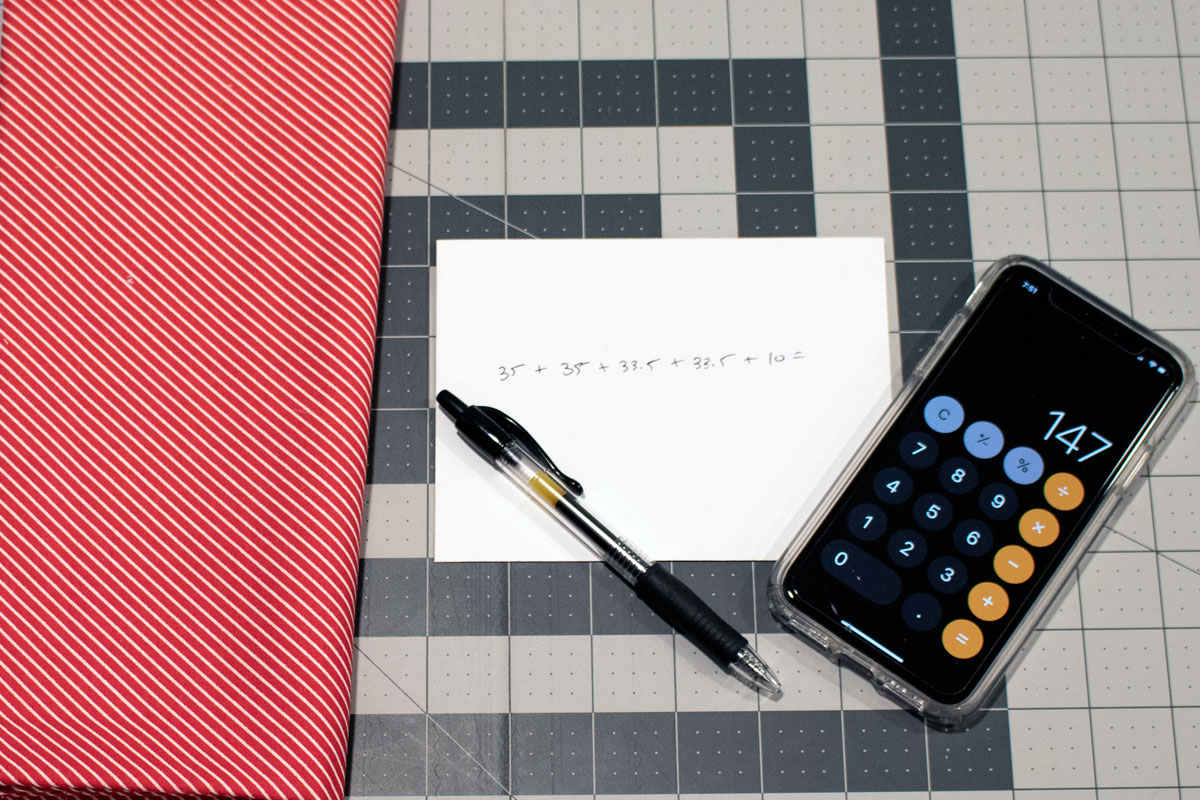
Step One, you will first add the measurements of all four sides of your quilt, then add 10 inches for seams, corners, and finishing.
Step Two, you will have your total measurements, divide by 42 inches to determine the number of strips you will need.
For example, my quilt size will be 35 x 33.5 inches. I will now add 35 +35+33.5+33.5+10 and will total to 147 total inches of required binding. Five strips of fabric will give you; 1/3 yard of fabric to cut from. How did I get this calculation? I took 5 x 2.5 inches for a total of 12.5 inches. This will give you approximately 165 inches of sewn binding, with a little bit to spare for leftover binding.
This calculation will work for both bias and regular binding.
Bonus: If you want to do scrappy bindings, remember when using many seam allowances to join smaller strips of fabric, you will need quite a bit extra. For diagonal pieced scrappy binding, count at least 4 inches of each strip being taken up in the seams. If you use 12 inches scrappy strips, only 8 inches of each strip will count towards your finished length of binding.
How to use the TQM Bias Ruler
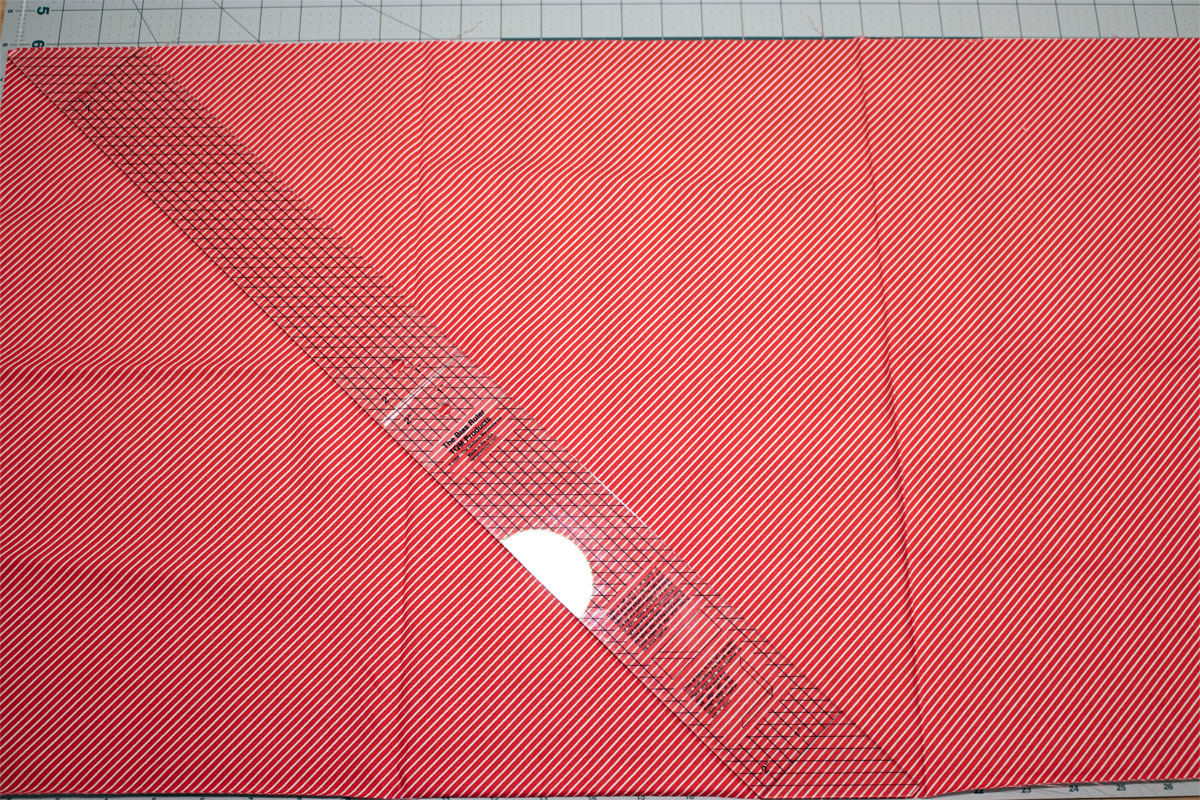
An easy way to cut your biased binding is to use the TQM Biased Ruler. You will have a 1/2 yard or fat quarter fabric to use with the ruler. Unfold the fabric to a rectangle, unfold ruler, and use both ends to cut off your strips. Line up at the top and bottom of the fabric. Cut off the right side first.
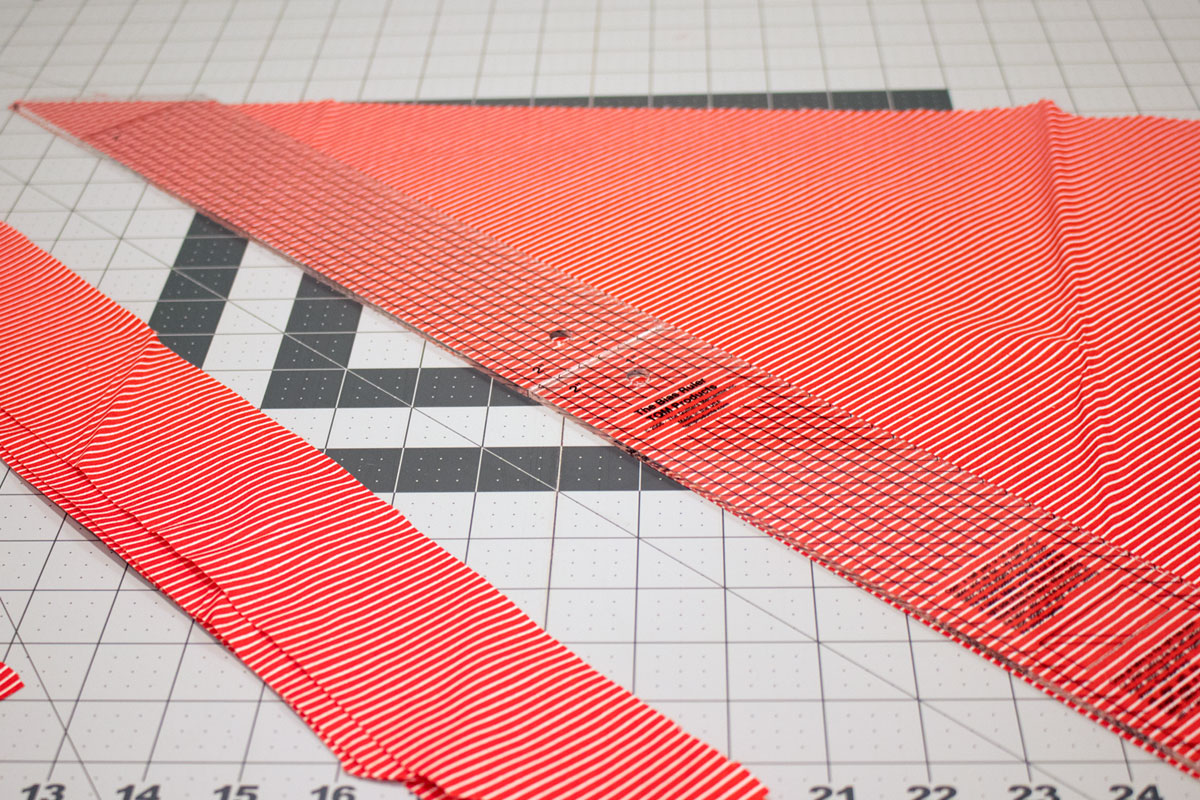
Move along to cut the rest of the fabric into strips. After all strips are cut, you will then place your strips on top of each other and cut the notches on the top and the bottom. The ruler has a blunt end so you can match each end with ease to sew your binding together. Tip: Use Tru Grips to place under ruler to help grab and keep your fabric in place as you cut.
Line-up the blunt end to match with the straight edge as states on the binding tool. Stitch together with 1/4 inch seam allowance. Repeat till all strips are sewn together. Press open seams. For more tips on sewing and cutting binding, visit Measuring, Cutting, Sewing Binding.
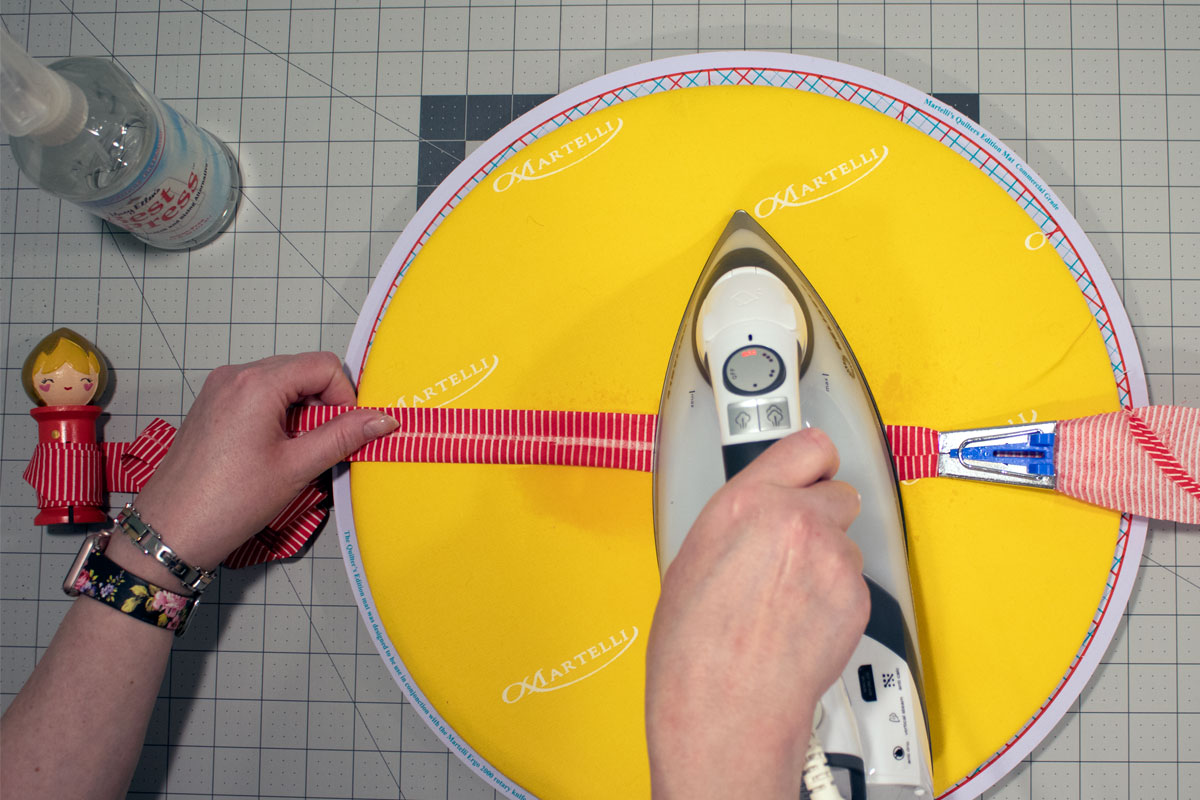
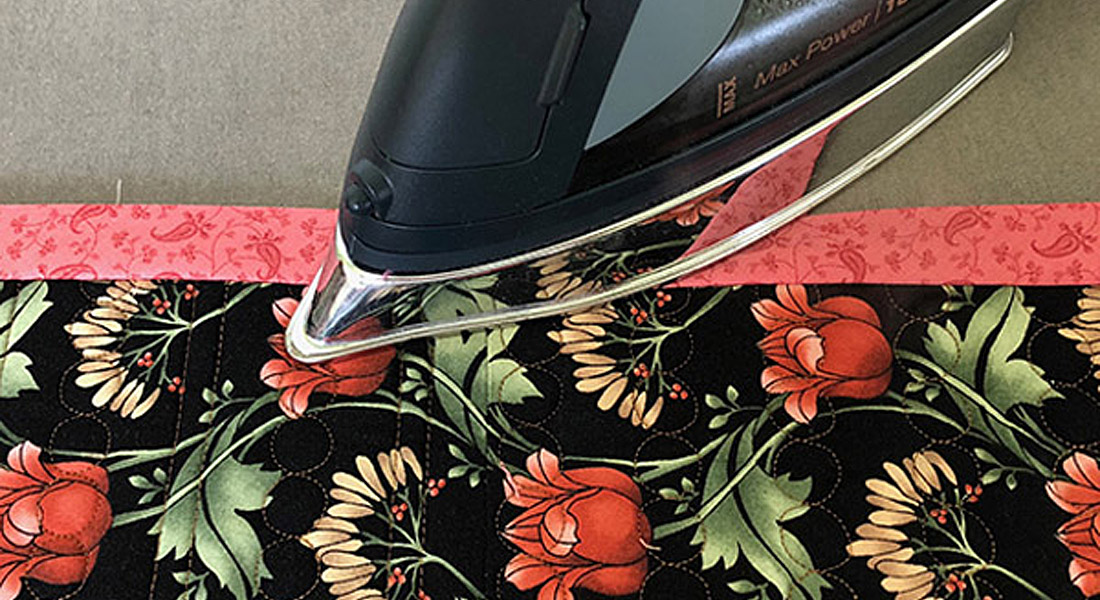
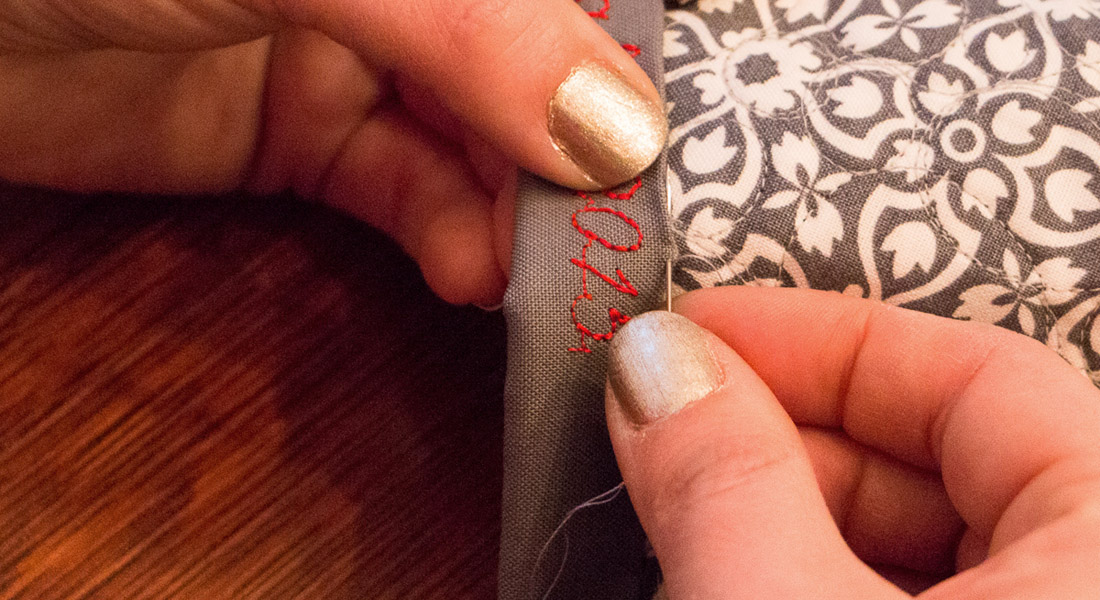
Depending if you want a single fold or double fold you can use a clover tool for both. You will start with a 45-degree angle and feed through the clover maker using a stiletto. Spray with starch and iron with a hot iron.
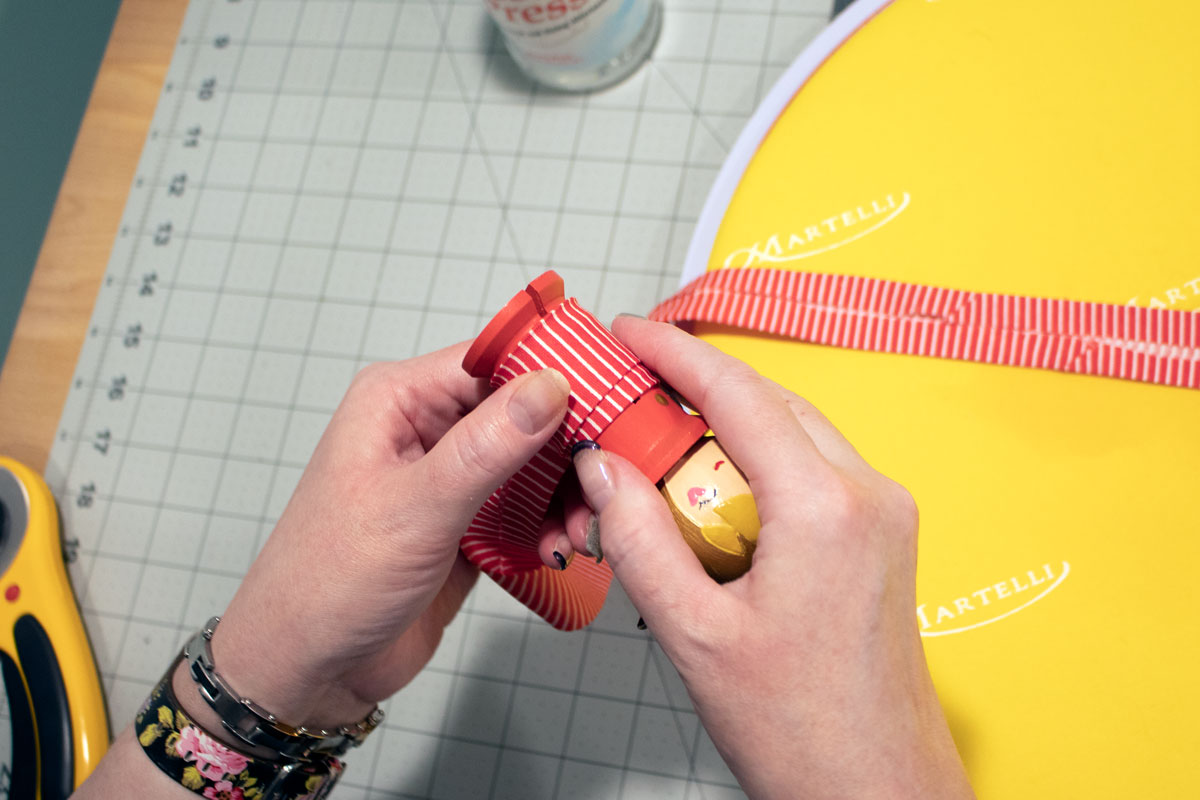
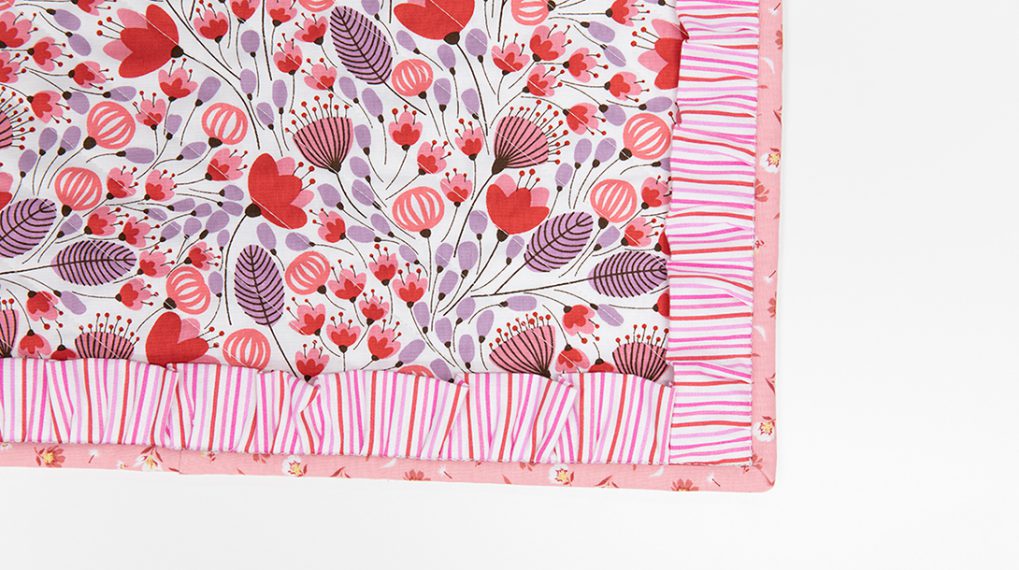
At this point you can start to wrap around your Binding Babies®, or you can wait till after all of the binding is ironed. I like to keep it nicely ironed and wrapped, so I wrap as I go.

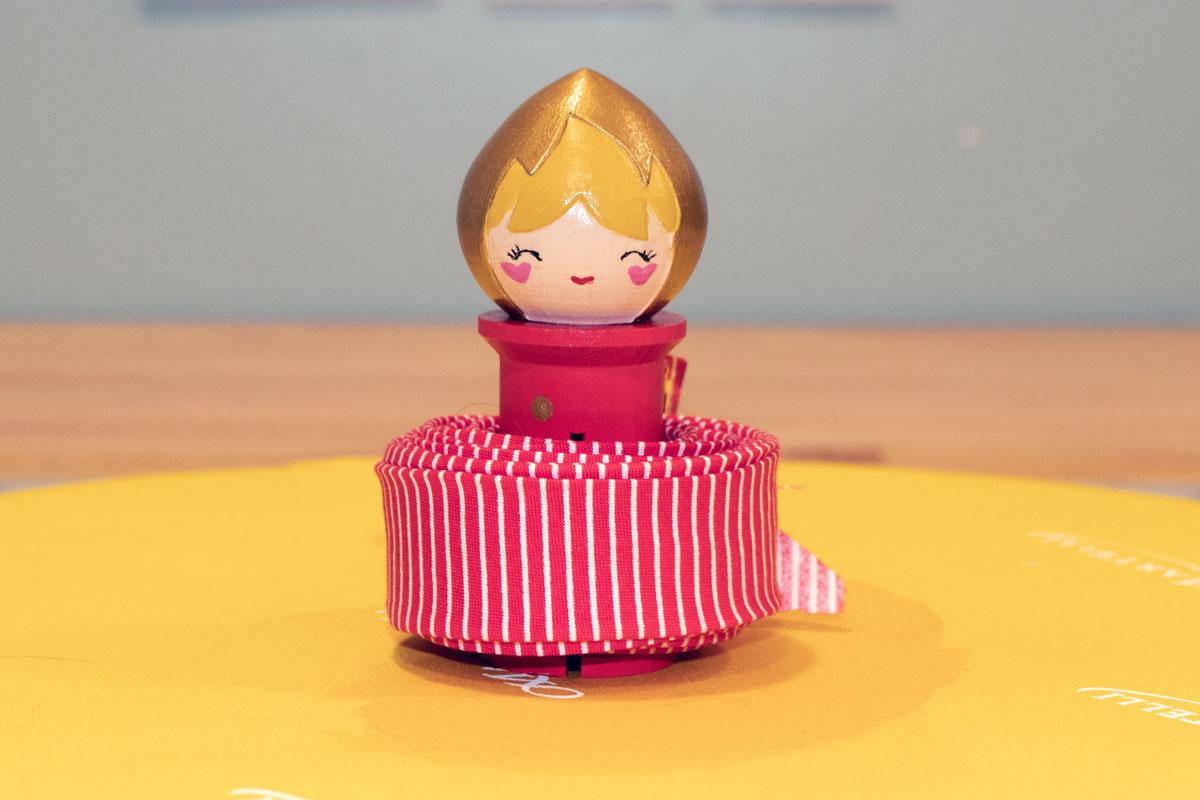
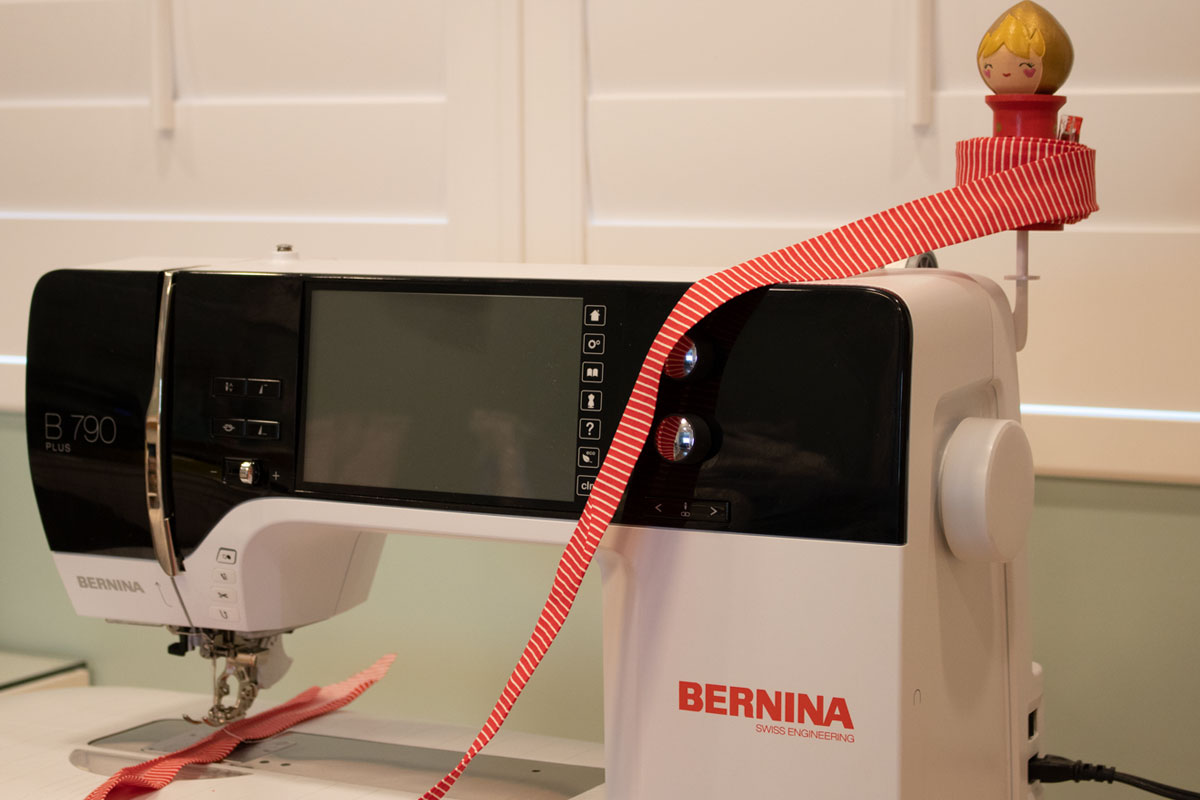
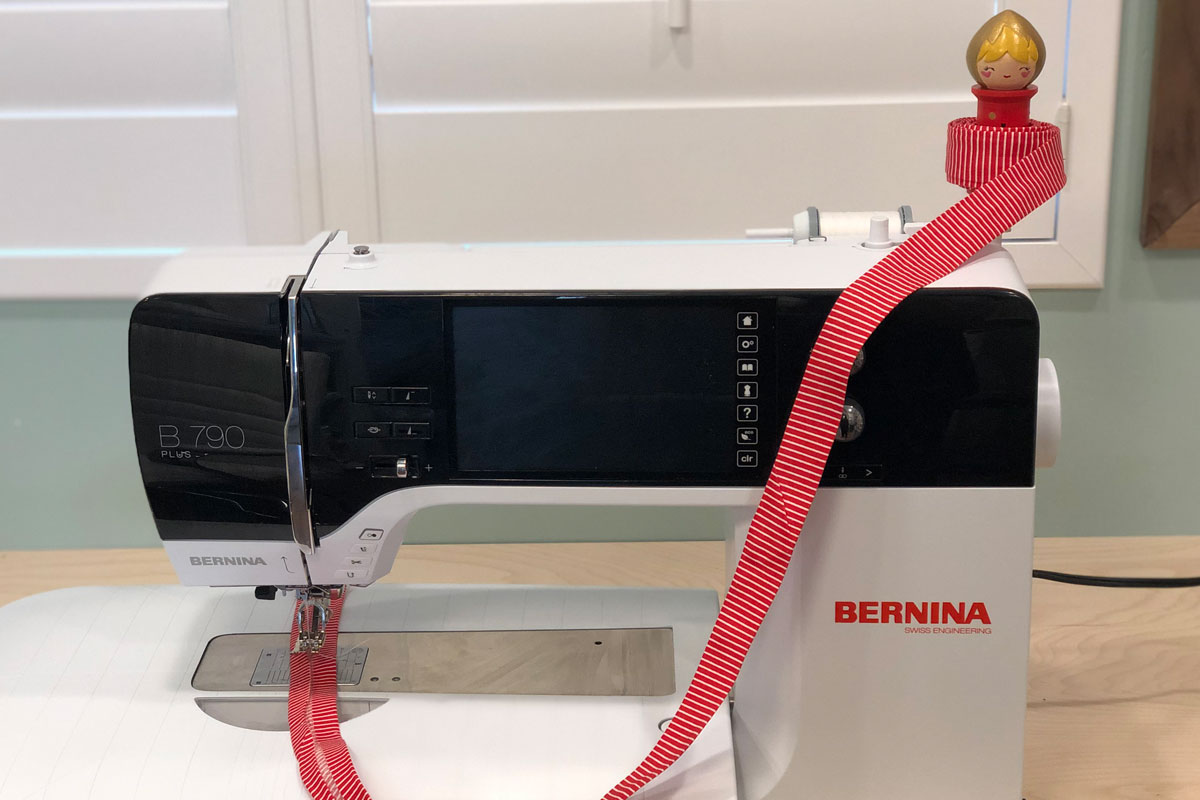
I like to make my binding ahead because it’s the one last thing I like to do when finishing a quilt. The tip is to prepare your binding before the project and get it done before you start your project. Plus, she’s cute to boot sitting there on your shelf. I use a pin or a wonder clip to keep the binding nicely wrapped till I’m ready to sew on the binding.
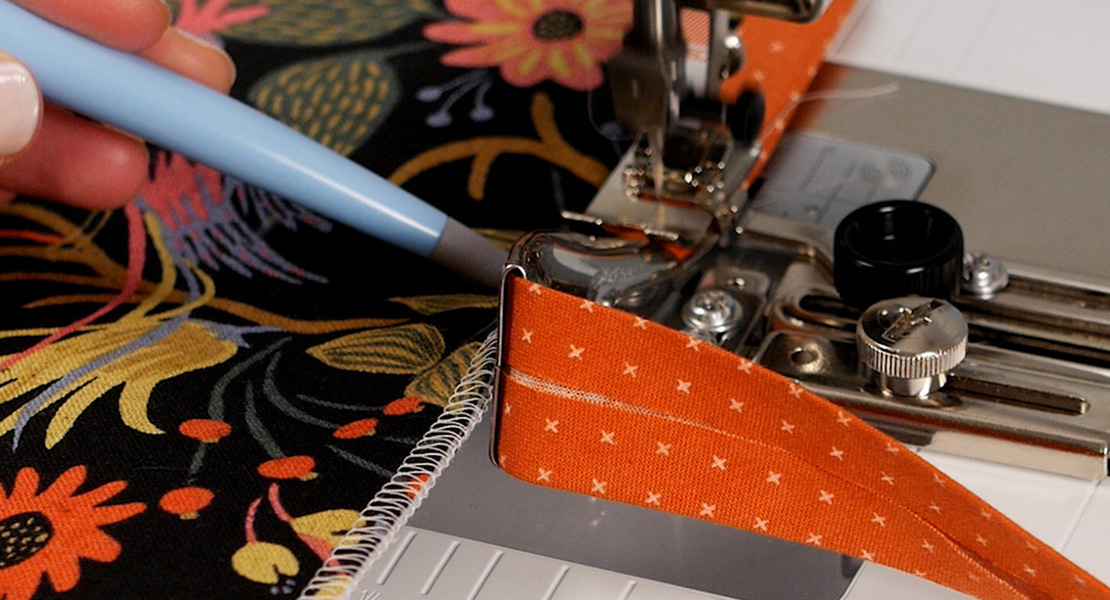
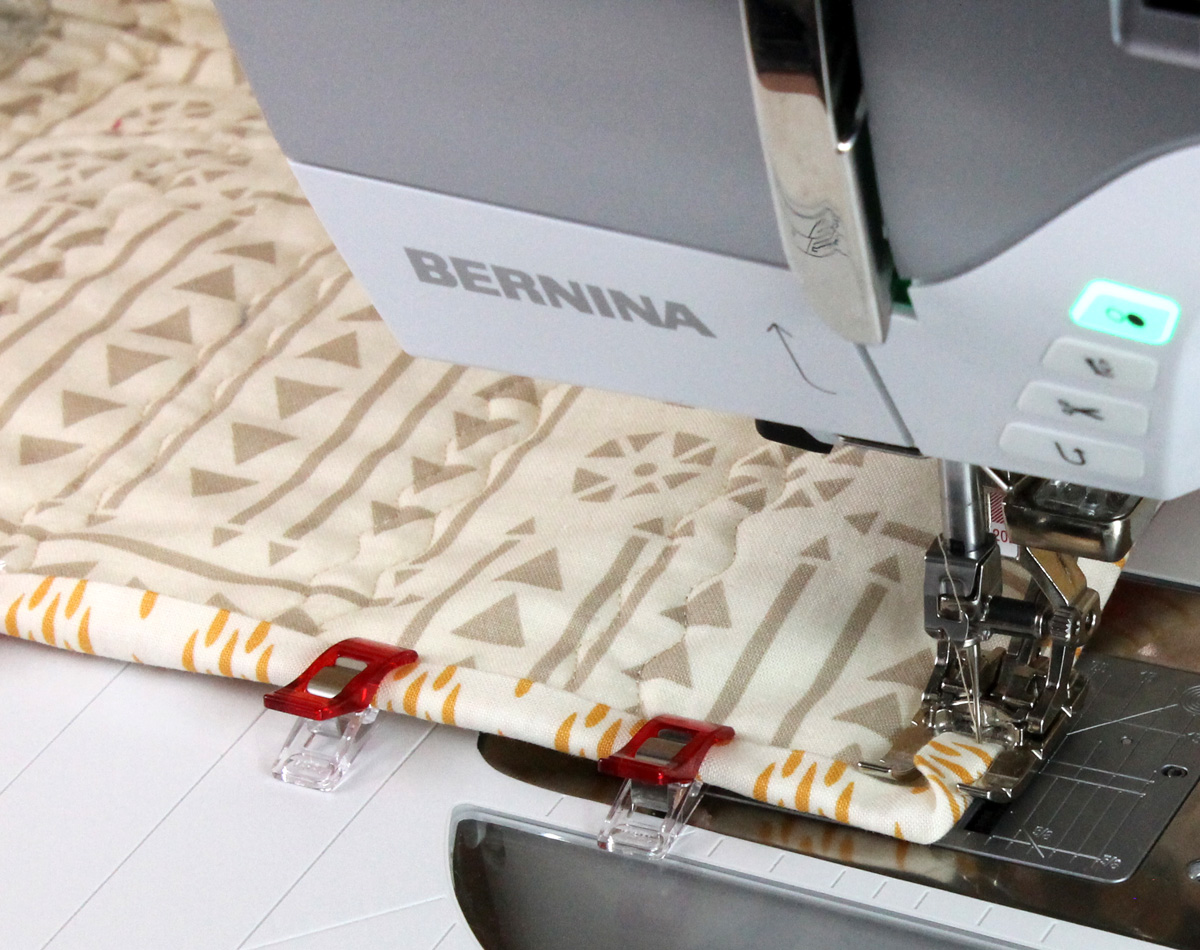
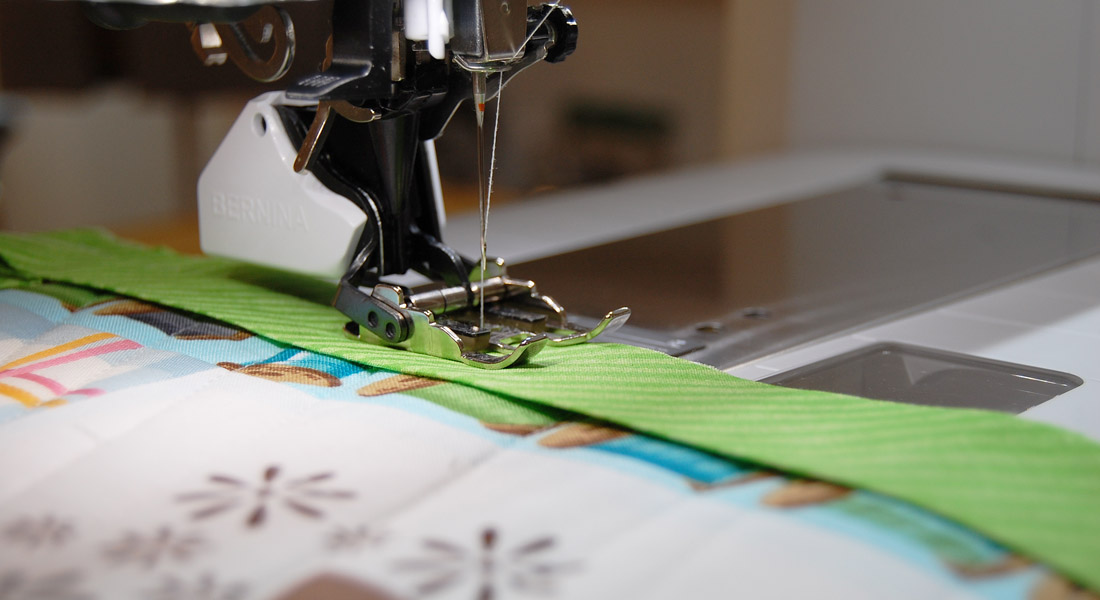
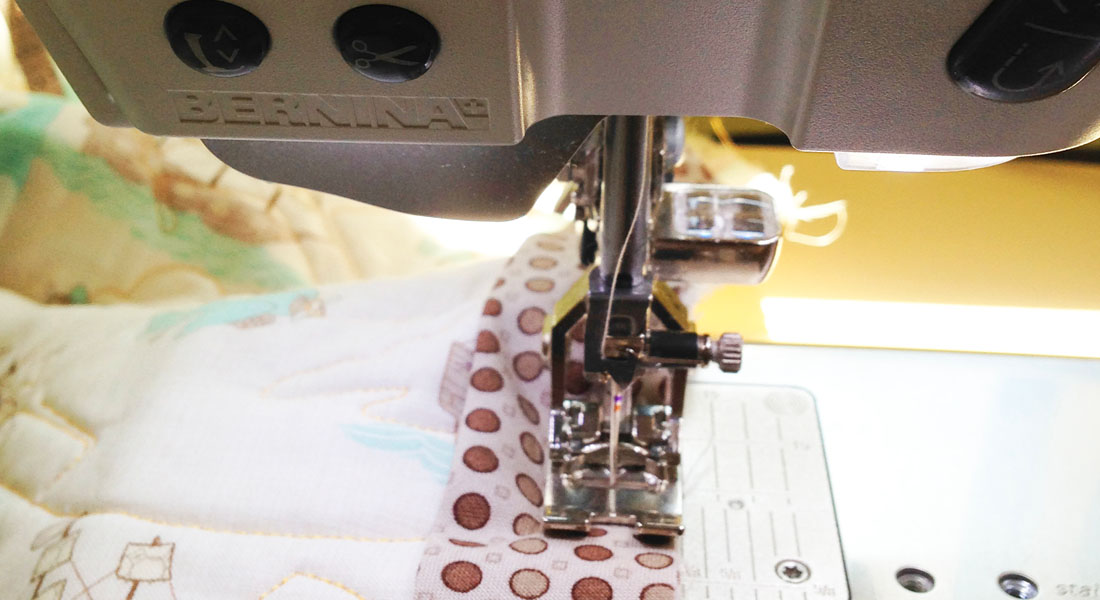
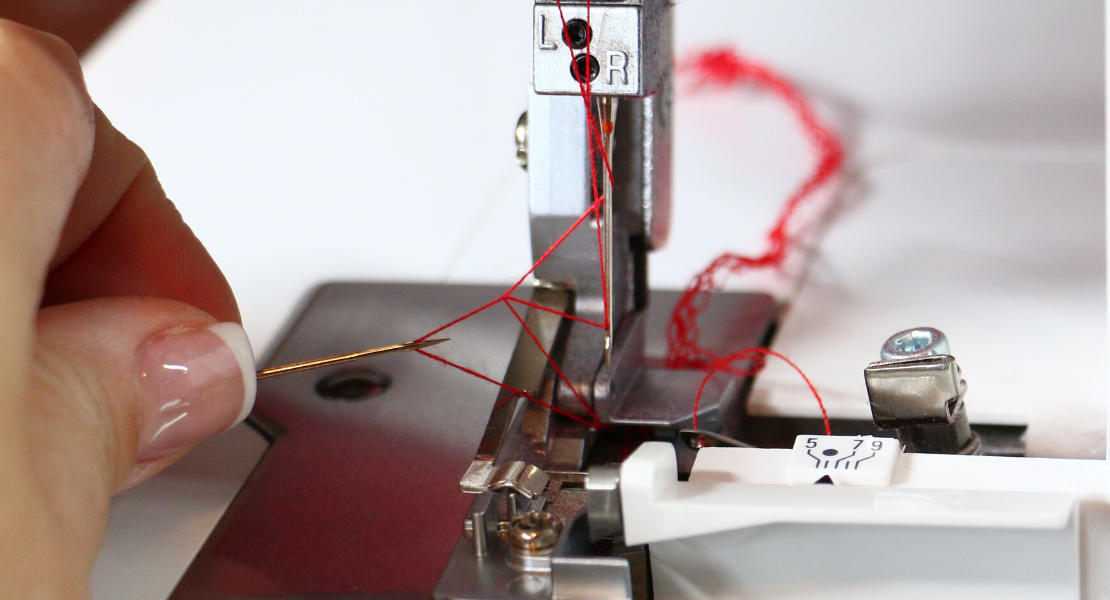
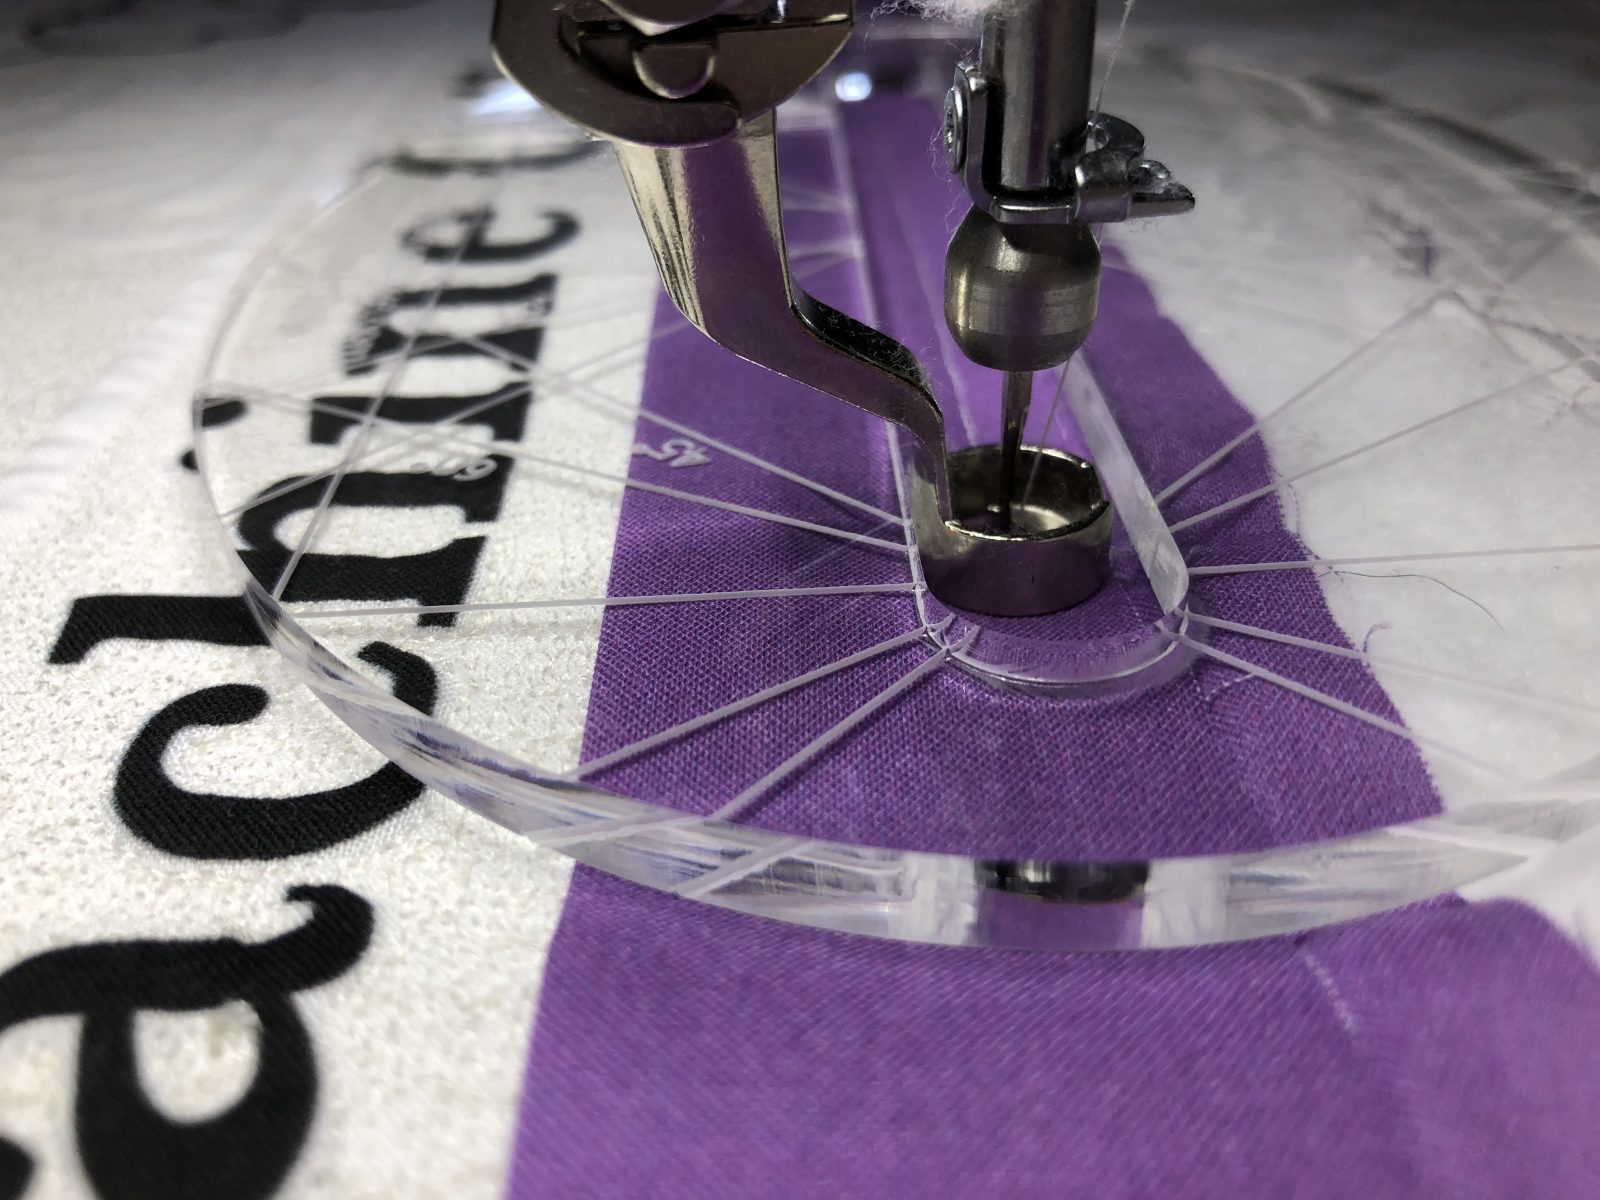
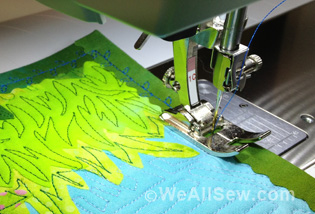
When you are ready to sew, I love that the BERNINA 790 PLUS has a vertical spool pin to make my machine binding easier, whether I am sewing on with the Patchwork foot #97D or using the BERNINA Binder attachment with the 95 C foot. For more on attaching your binding please see Refine Your Binding tip using the Binder attachment and Binding Babies®.
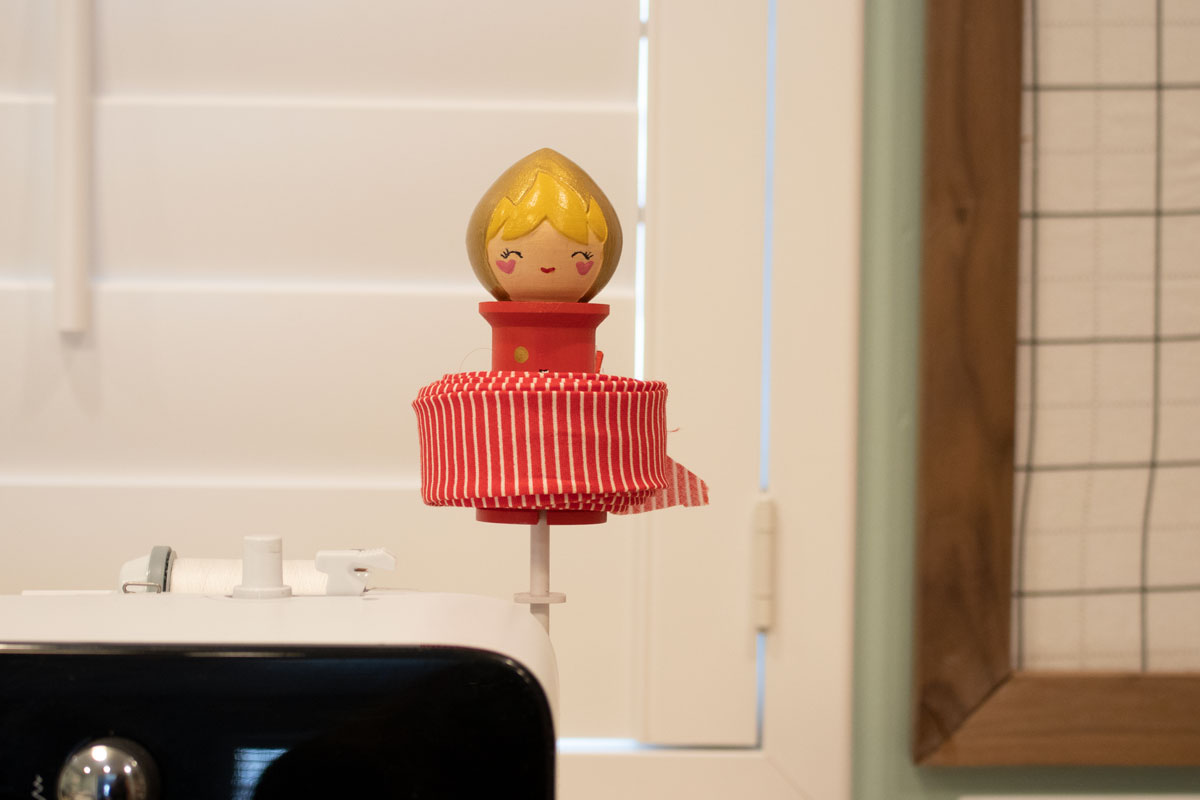
I love how the Binding Babies®, along with the vertical spool pin can keep the binding from falling off onto the floor. It will help keep your tension tight as you sew, and if you need a break in sewing the binding, she will wait there till you are ready to finish sewing on the binding.
For more tips and tricks on binding please visit:
-
- Making and sewing double-fold quilt binding: https://weallsew.com/bind-quilt-using-double-fold-binding/
- Bias binding cutting tips, sewing mitered corners, finishing: https://weallsew.com/quilt-bias-binding-tips/
I hope you will enjoy falling in love with binding once again!
Used Products


What you might also like

2 comments on “Simple Binding Basics”
-
-
Dear lynnei, your BERNINA store might carry them or might be able to order them for you.
-
Leave a Reply
You must be logged in to post a comment.

That Brewer page is for retailers. I’m not a retailer. Where can I get these things?